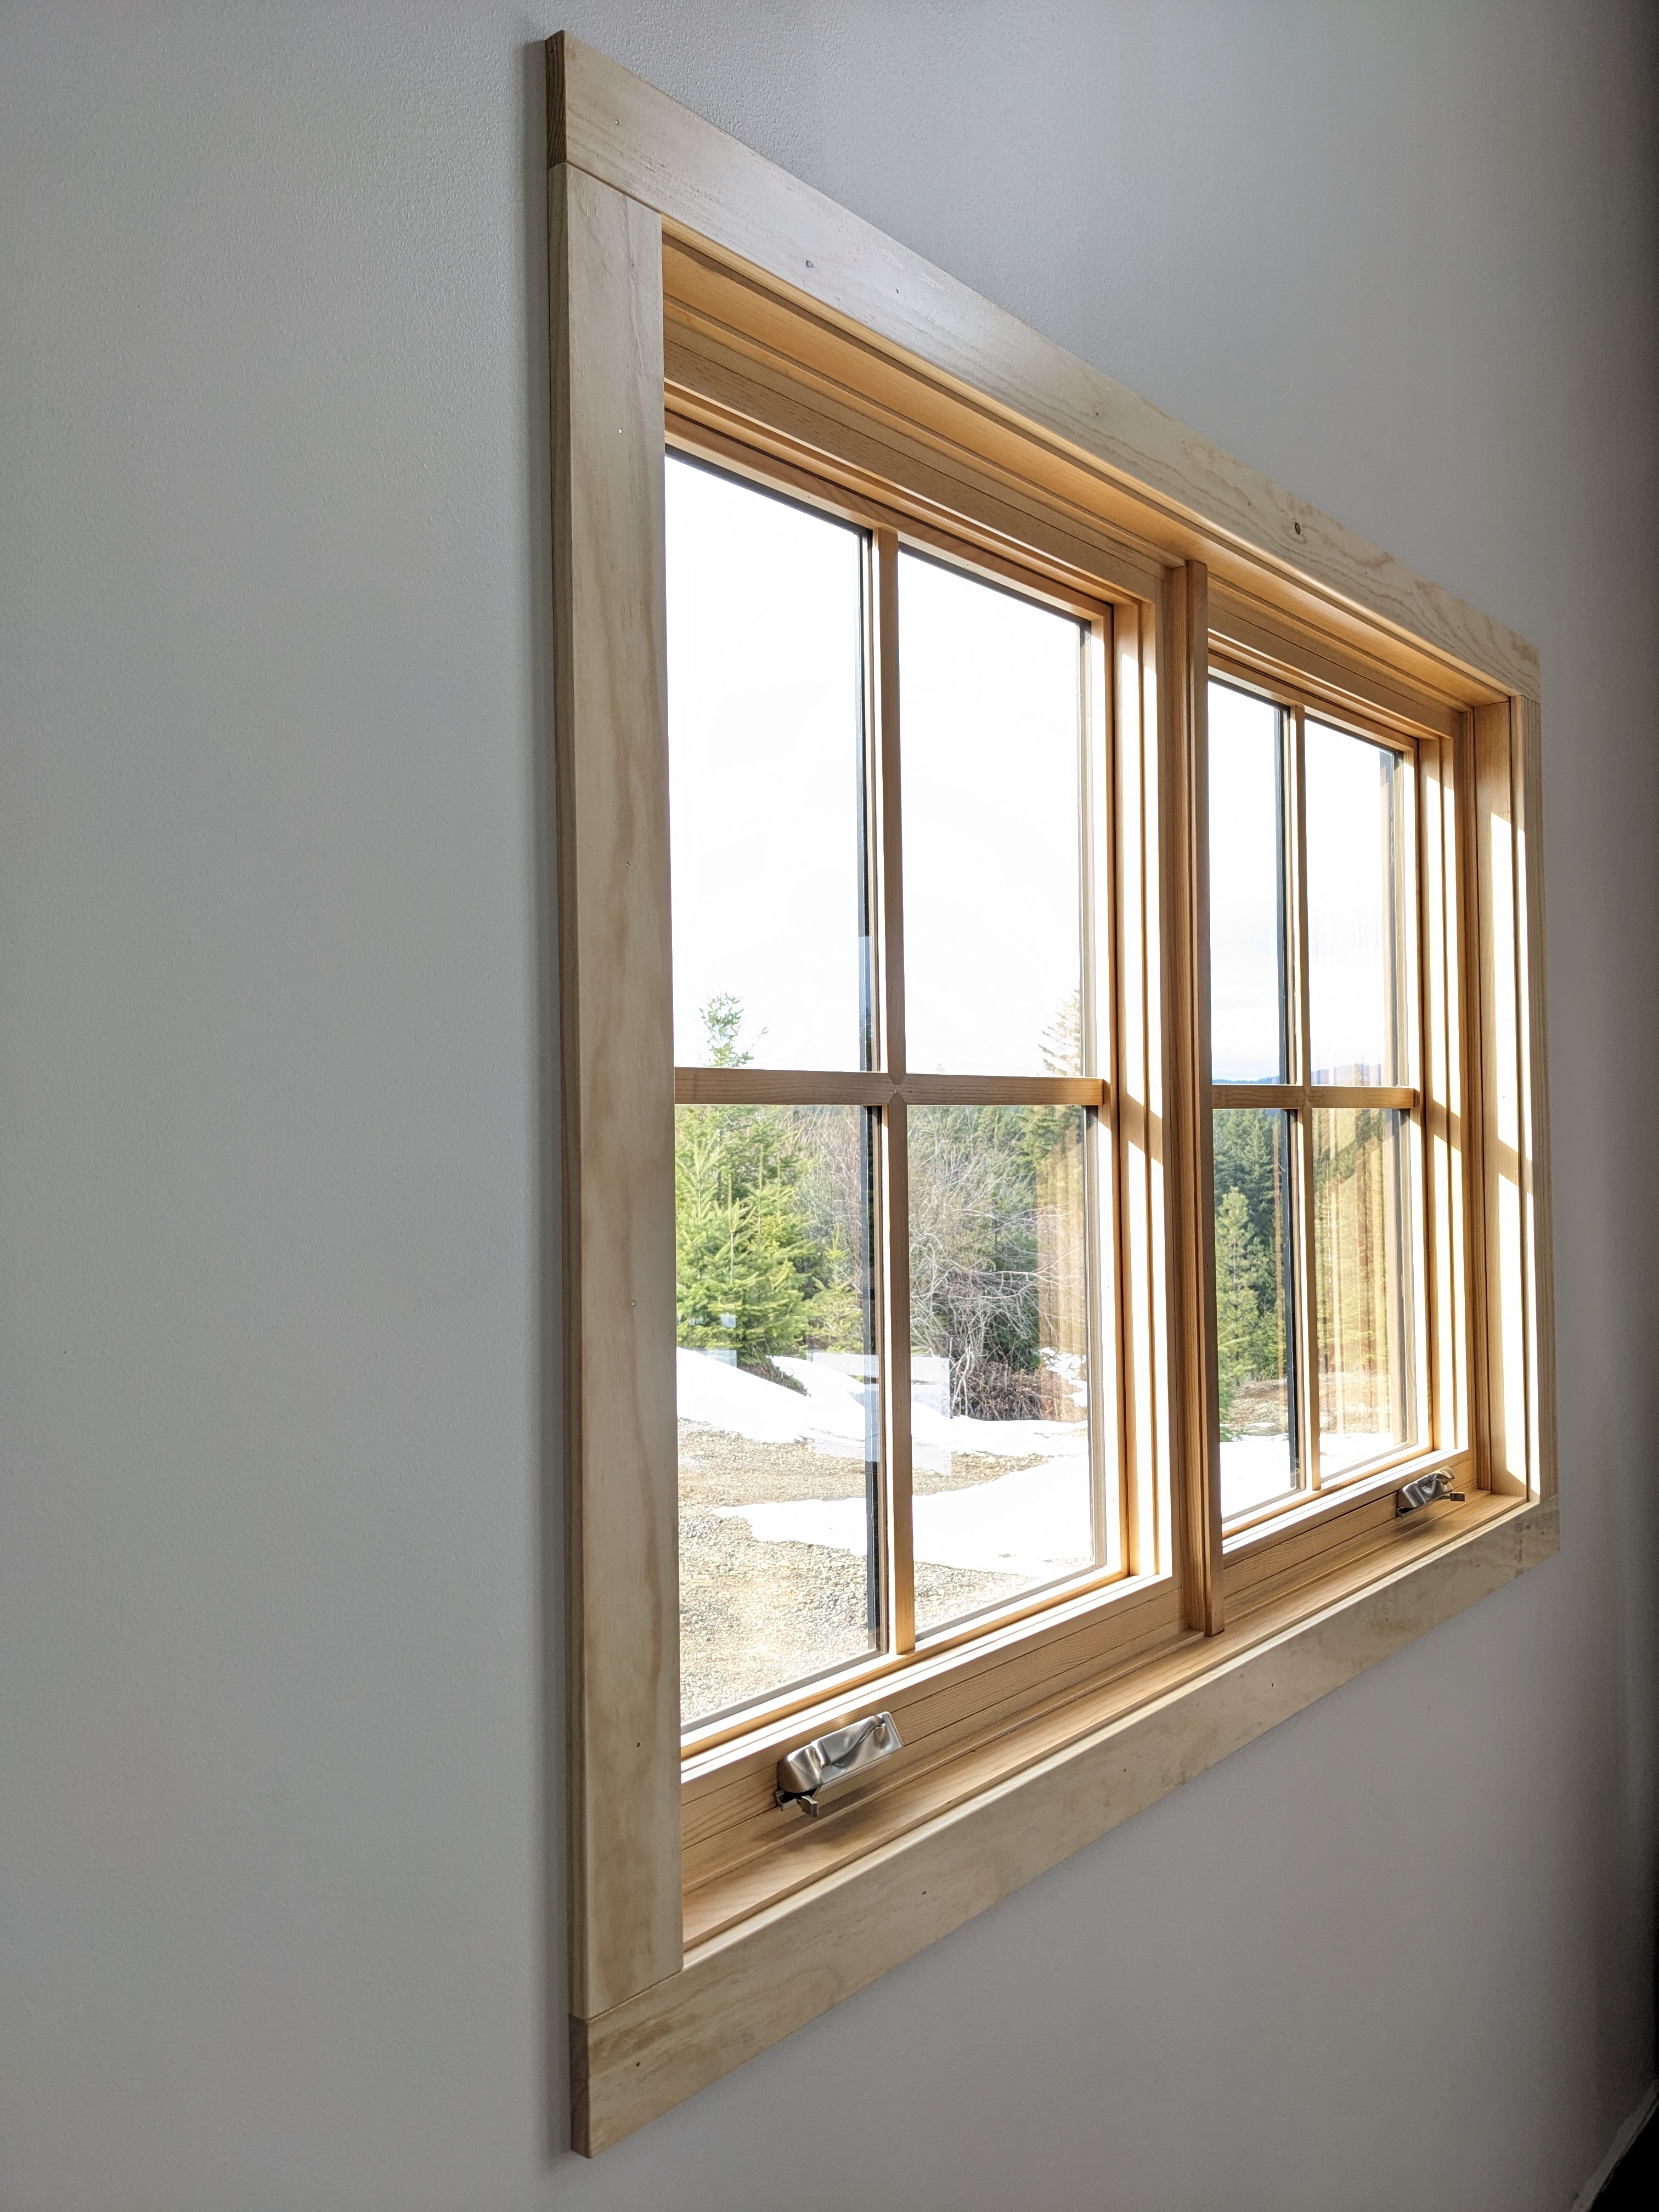
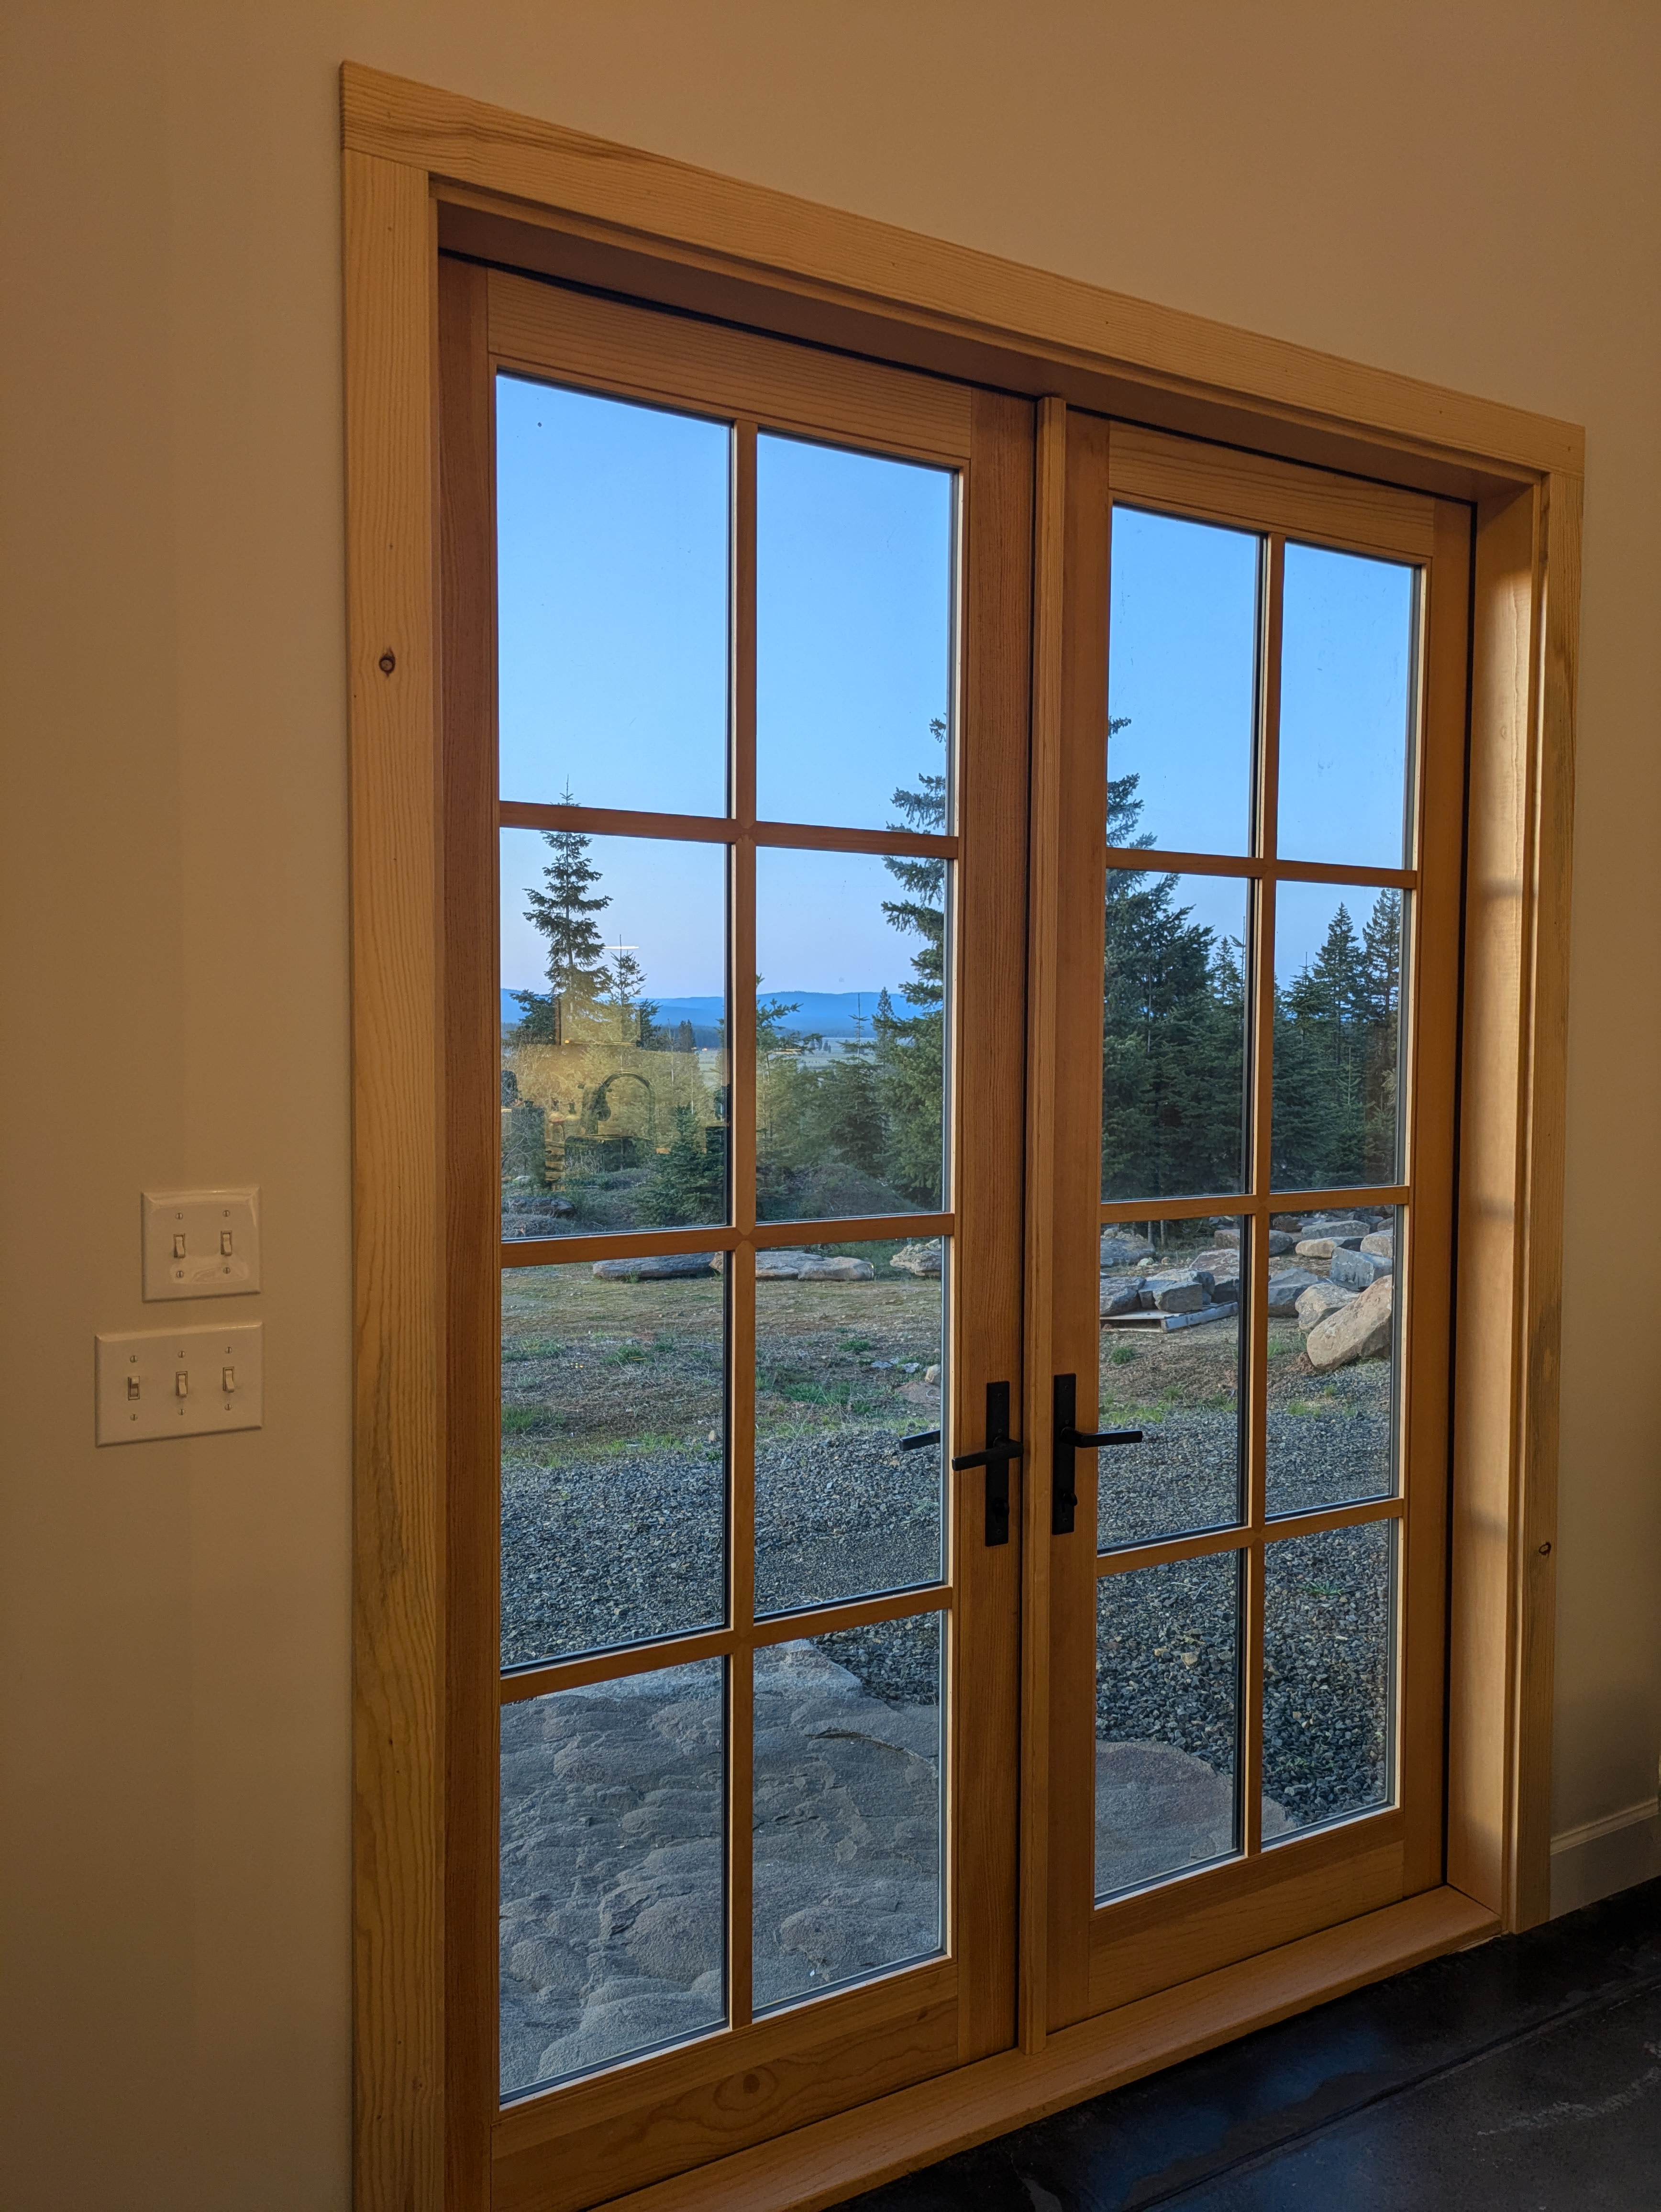
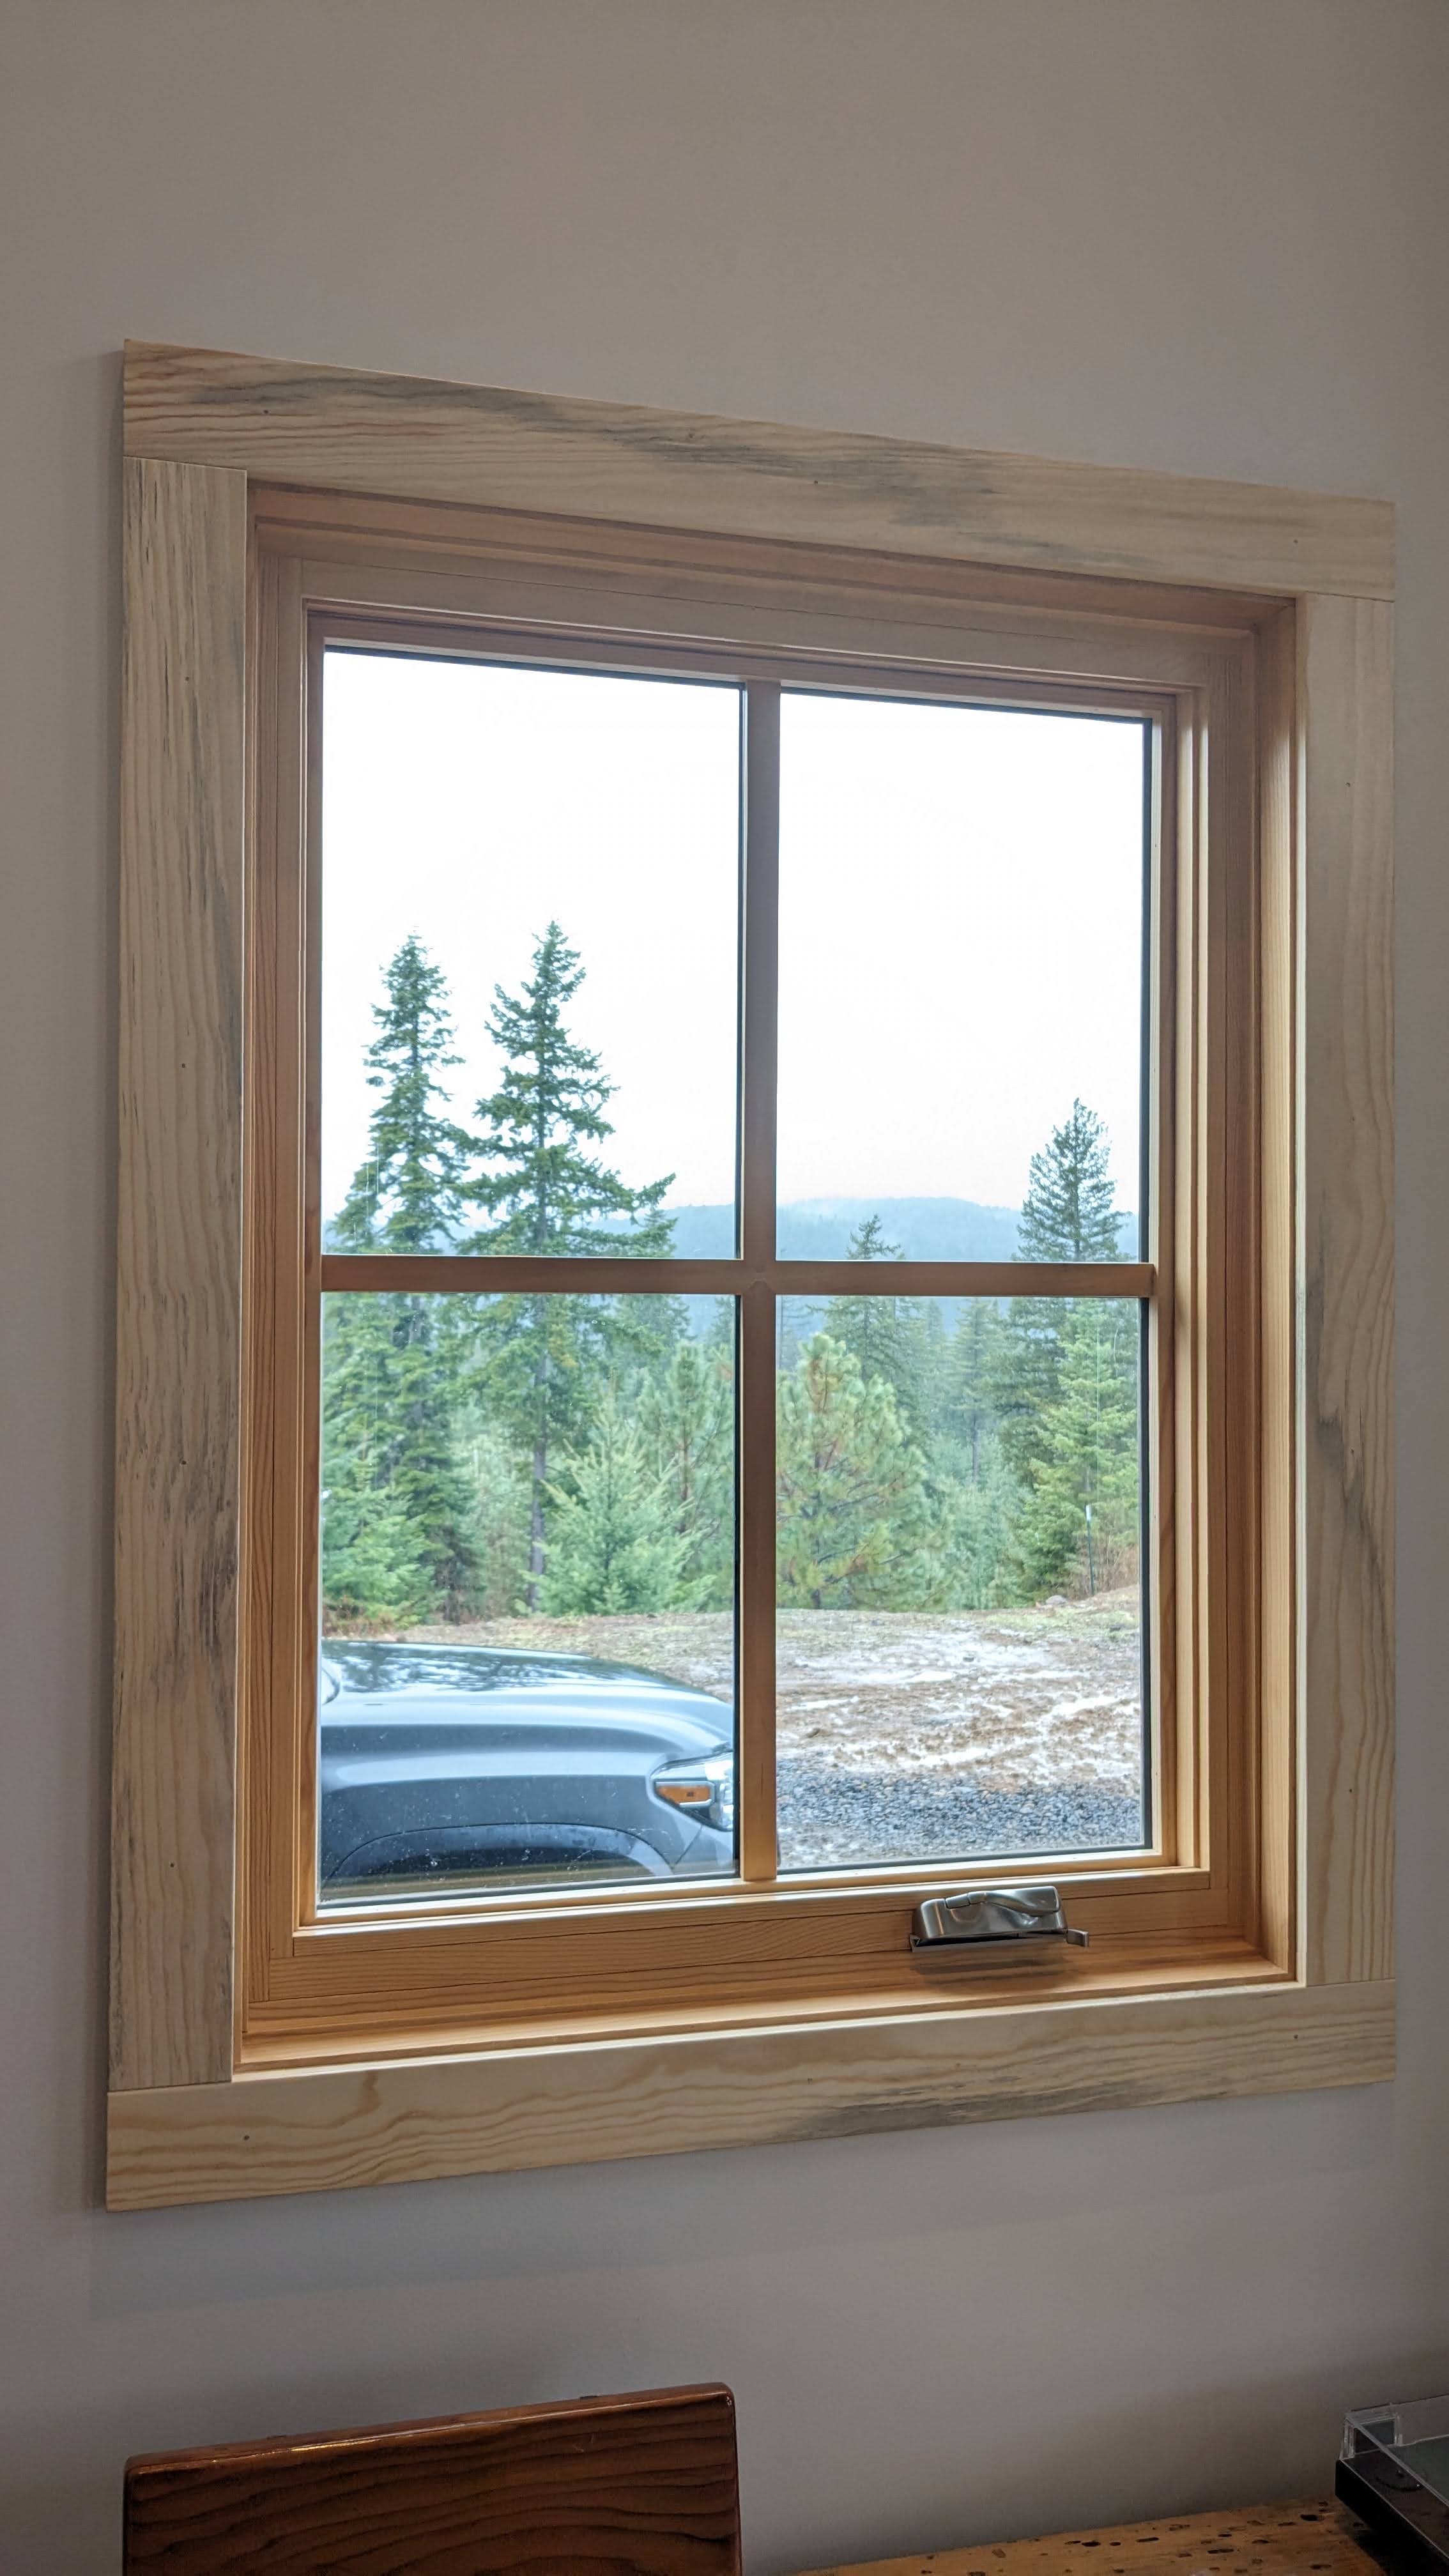
The window and door trims are finally complete! It only took us two years. They look nice, but we would never make our own trim boards again. Never. Next time, we’ll look past a stack of beautiful free wood and head straight for the moulding aisle at Lowes.
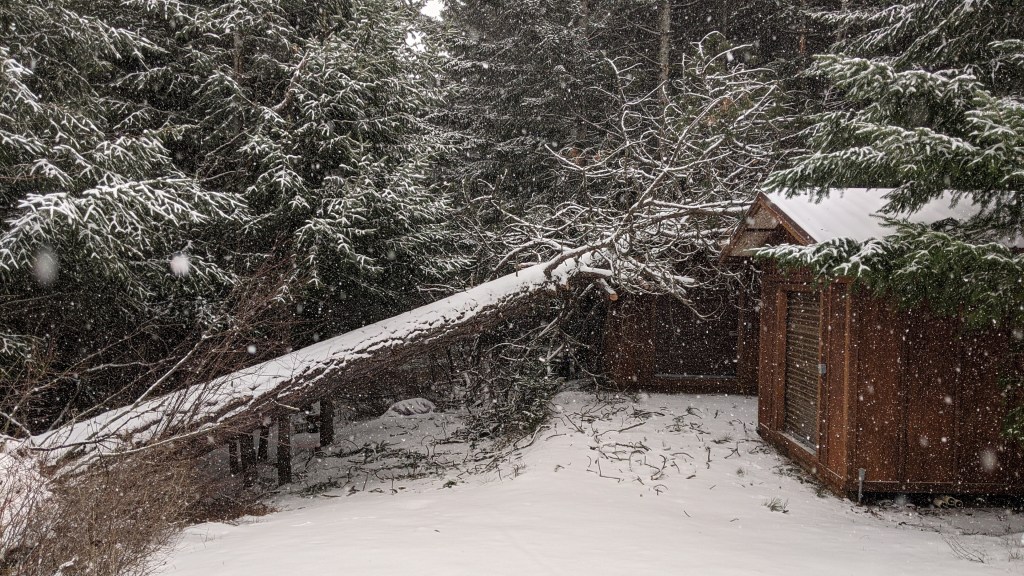
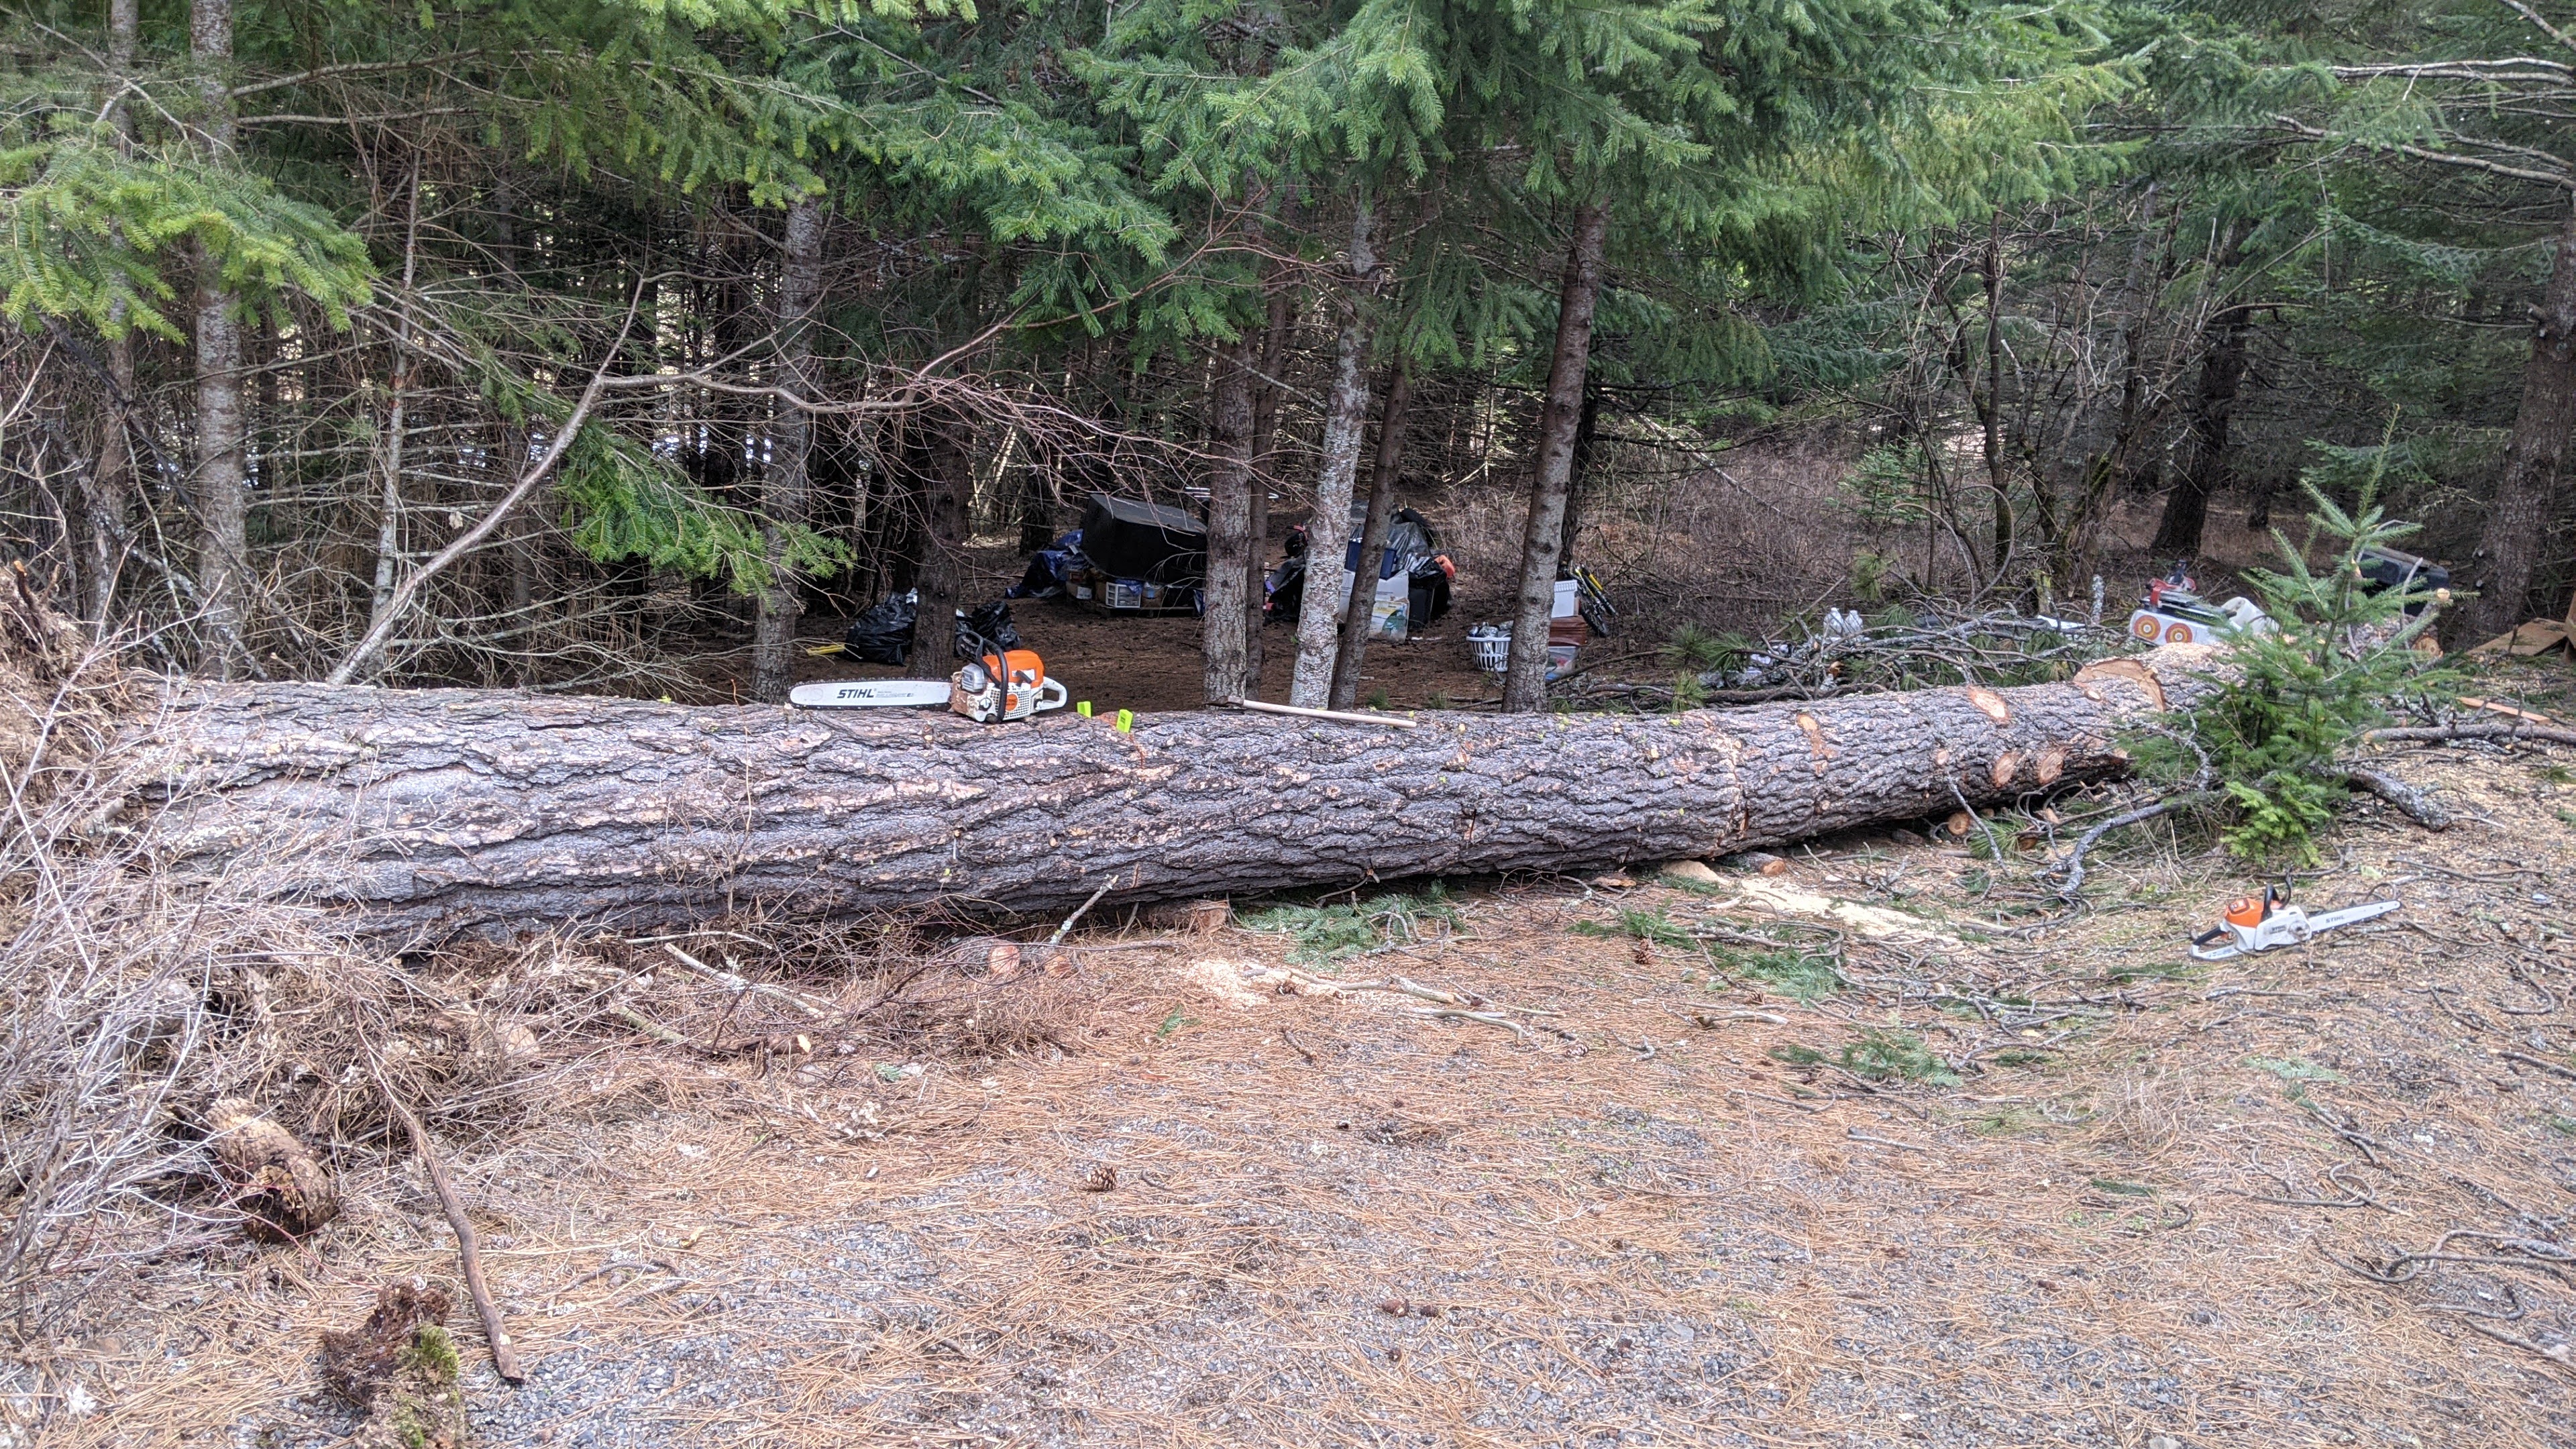
But, we thought it would be special to make our own, especially since we had a lot of pine that matched our windows. The material for almost all of the trim came from a single pine tree in White Salmon. Sam braved the snow to help someone remove the tree from their roof a few years ago.
Sam went back for the logs once the snow melted. The Dodge could barely handle two at a time.
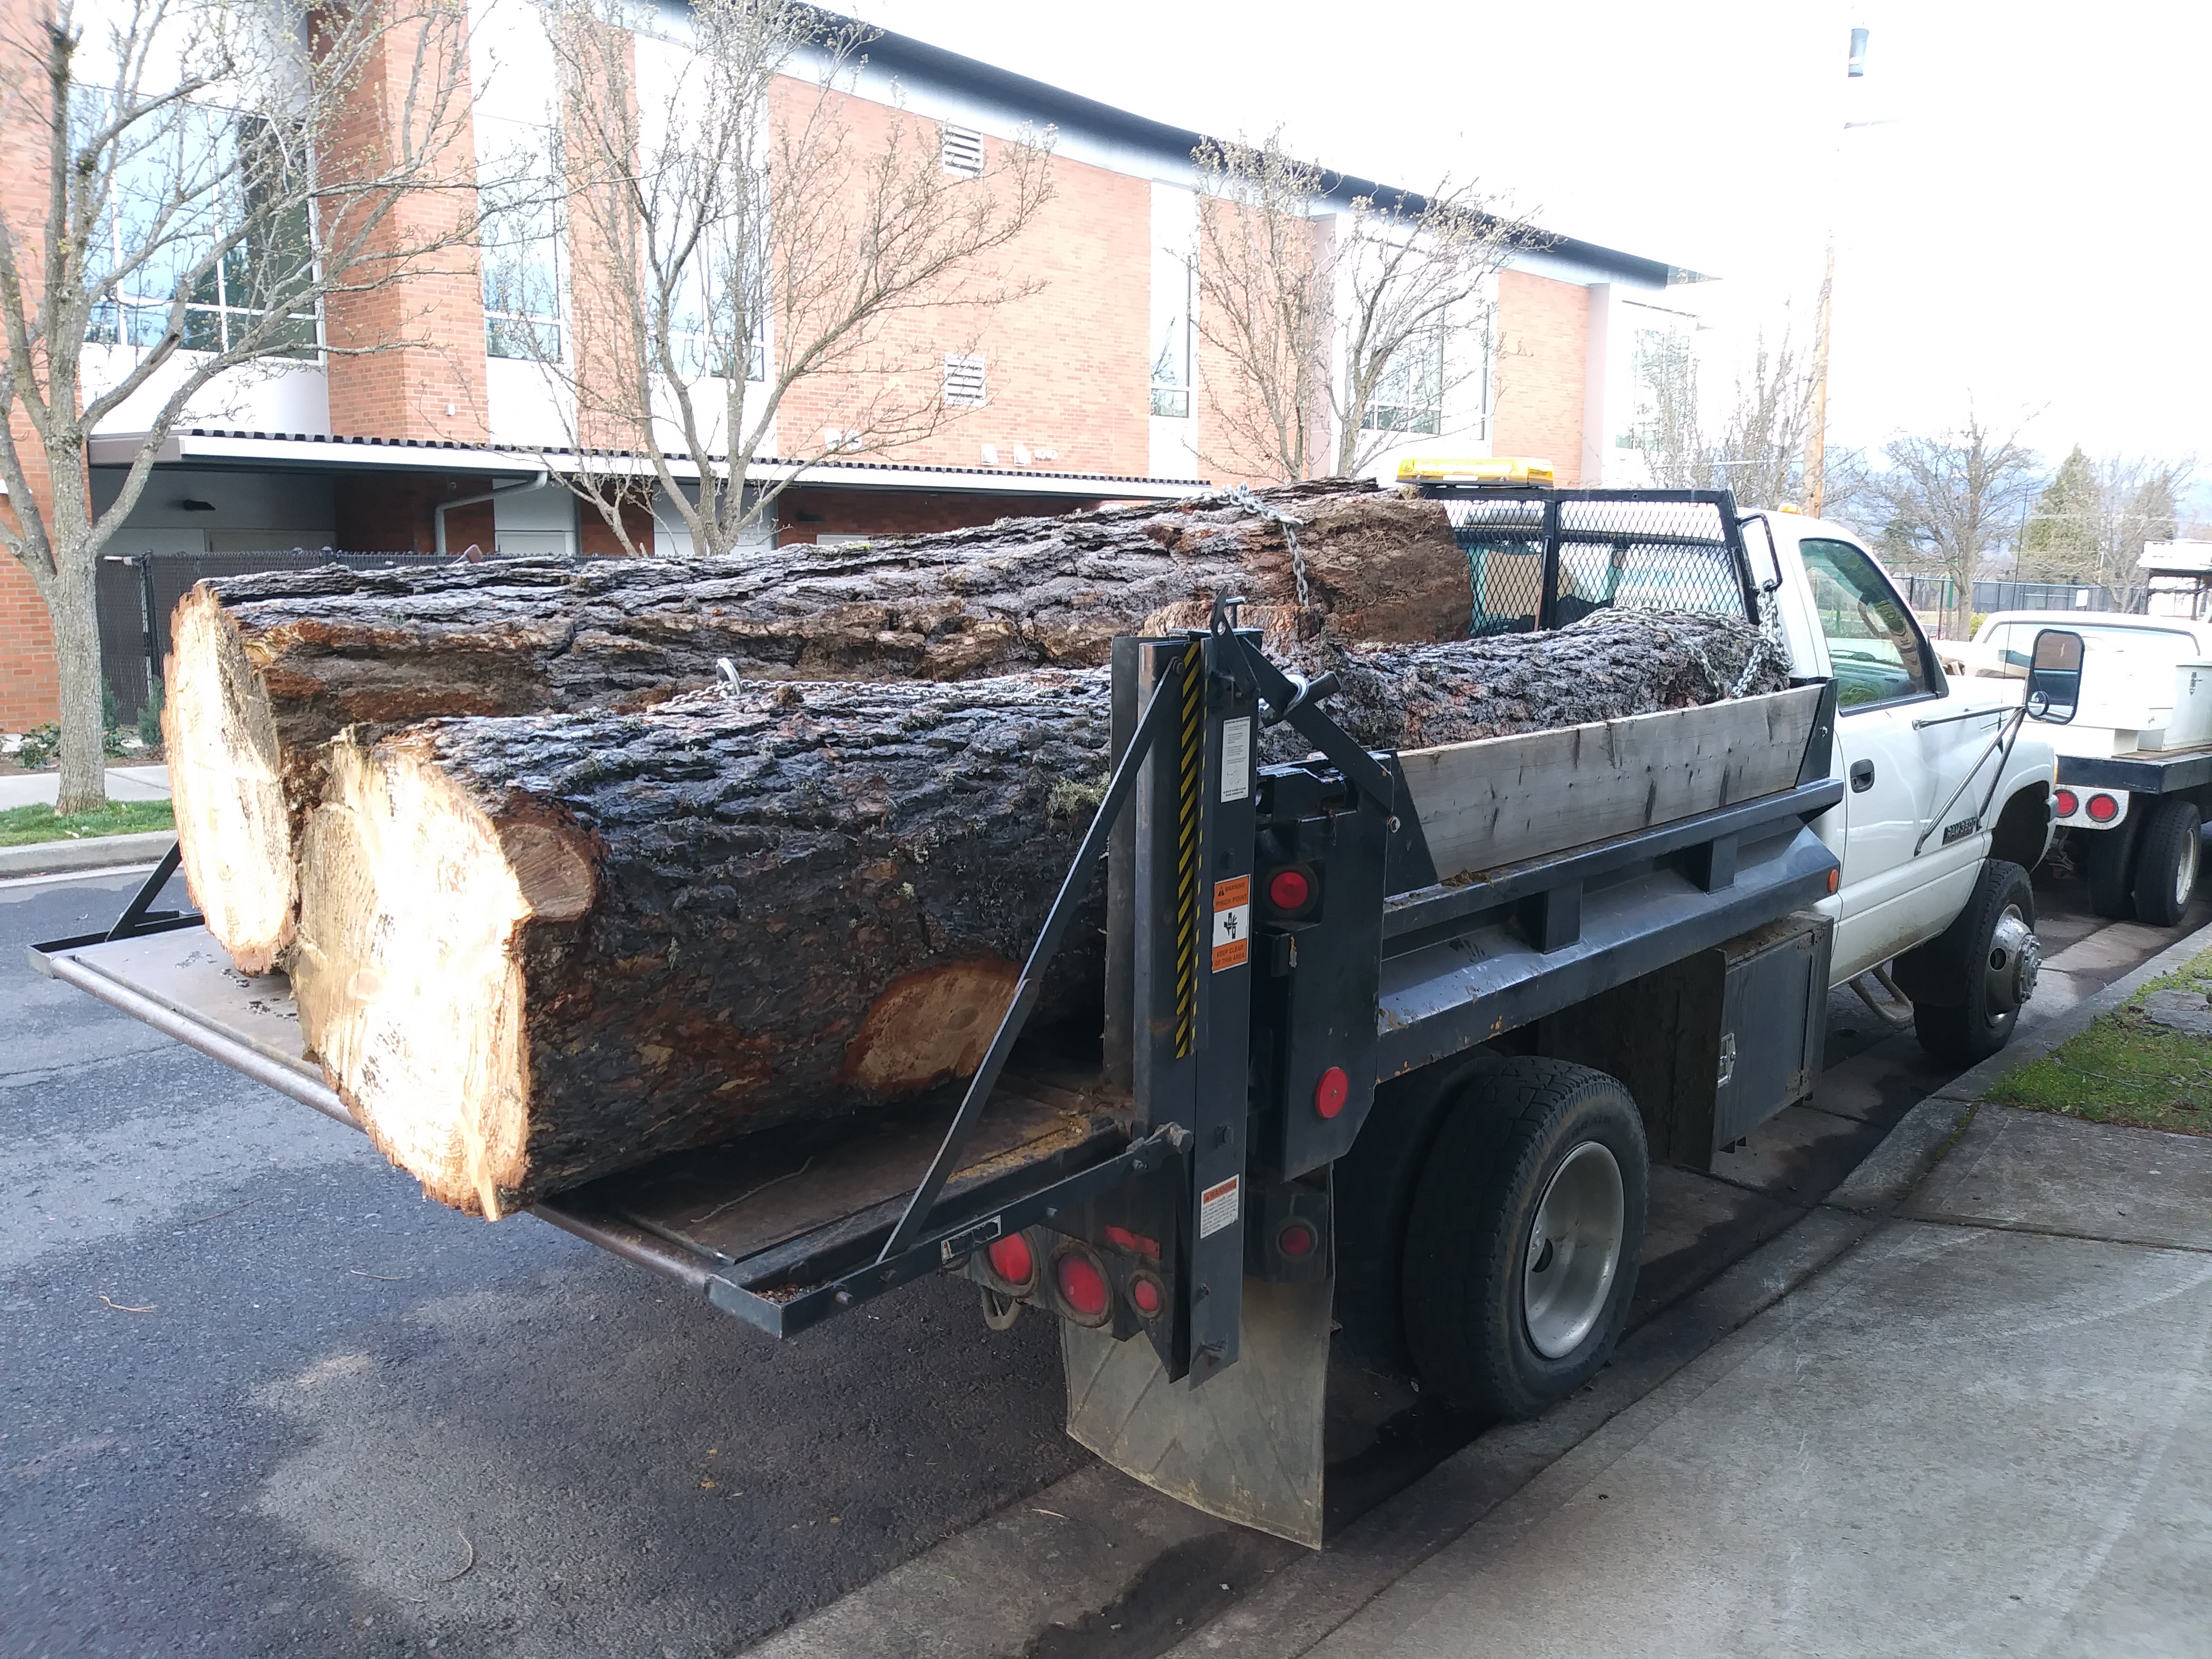
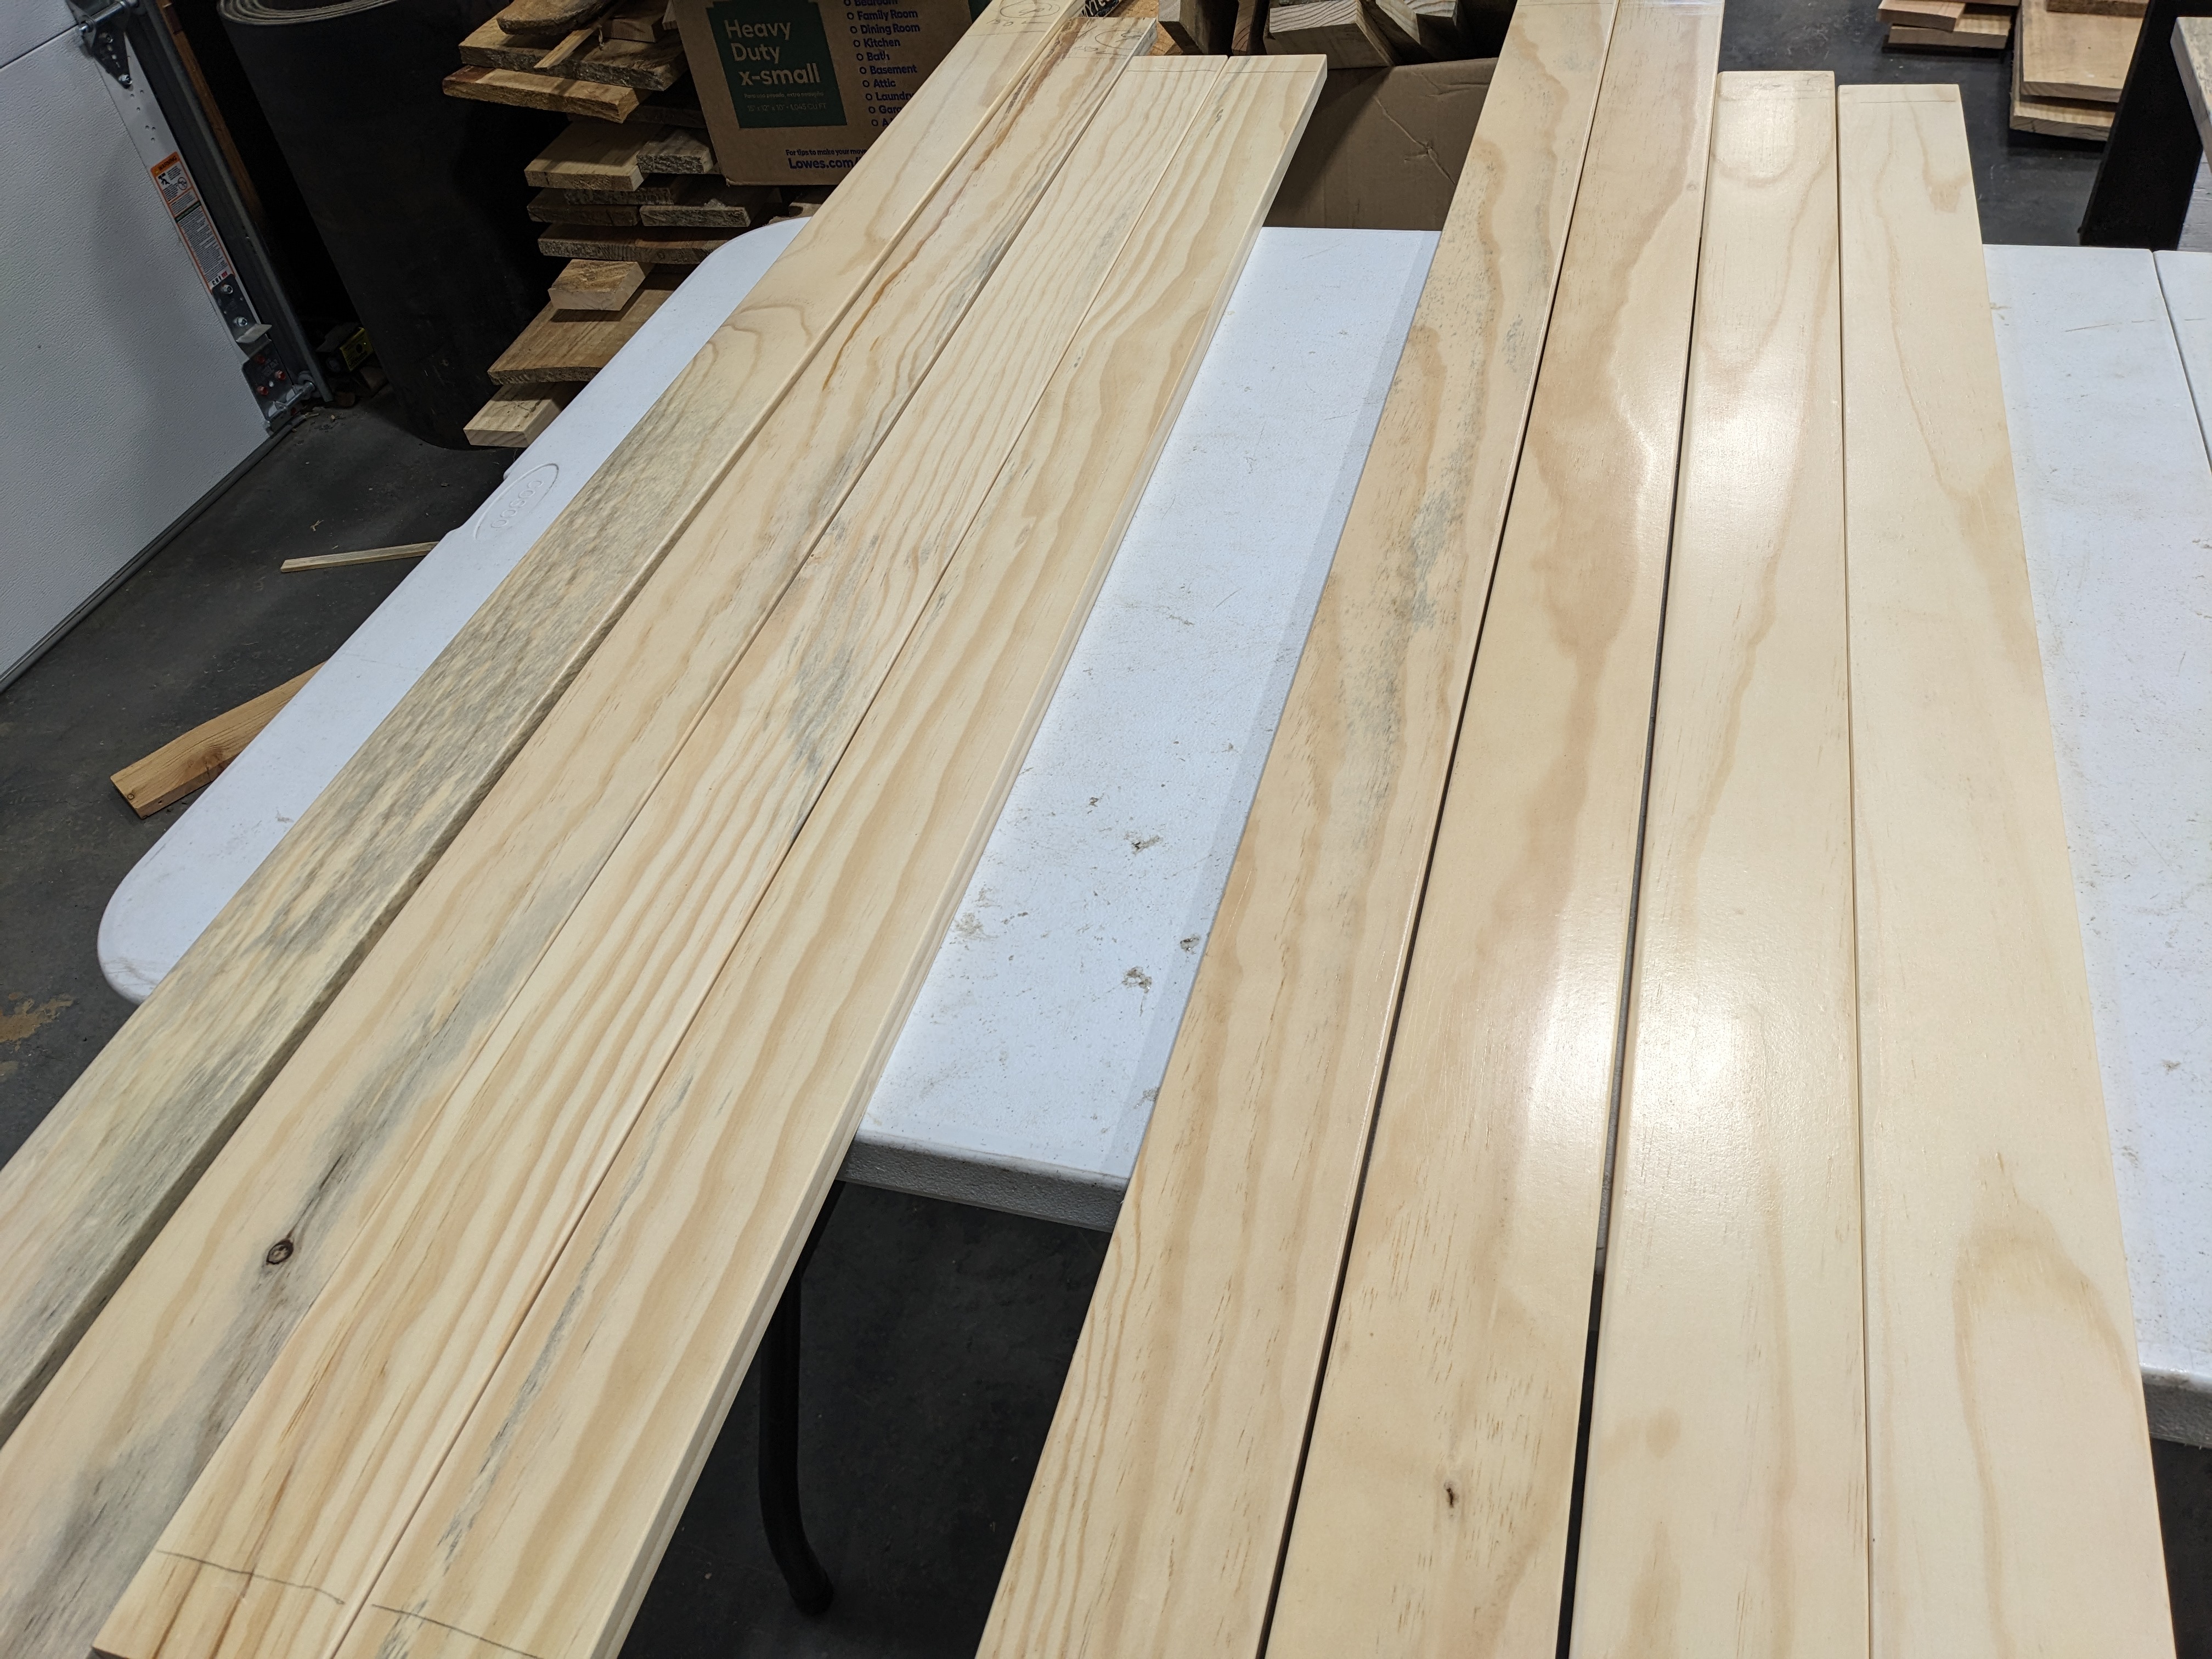
Sam took them to the sawmill where they were processed into 1″ x 12″ x 11′ boards.
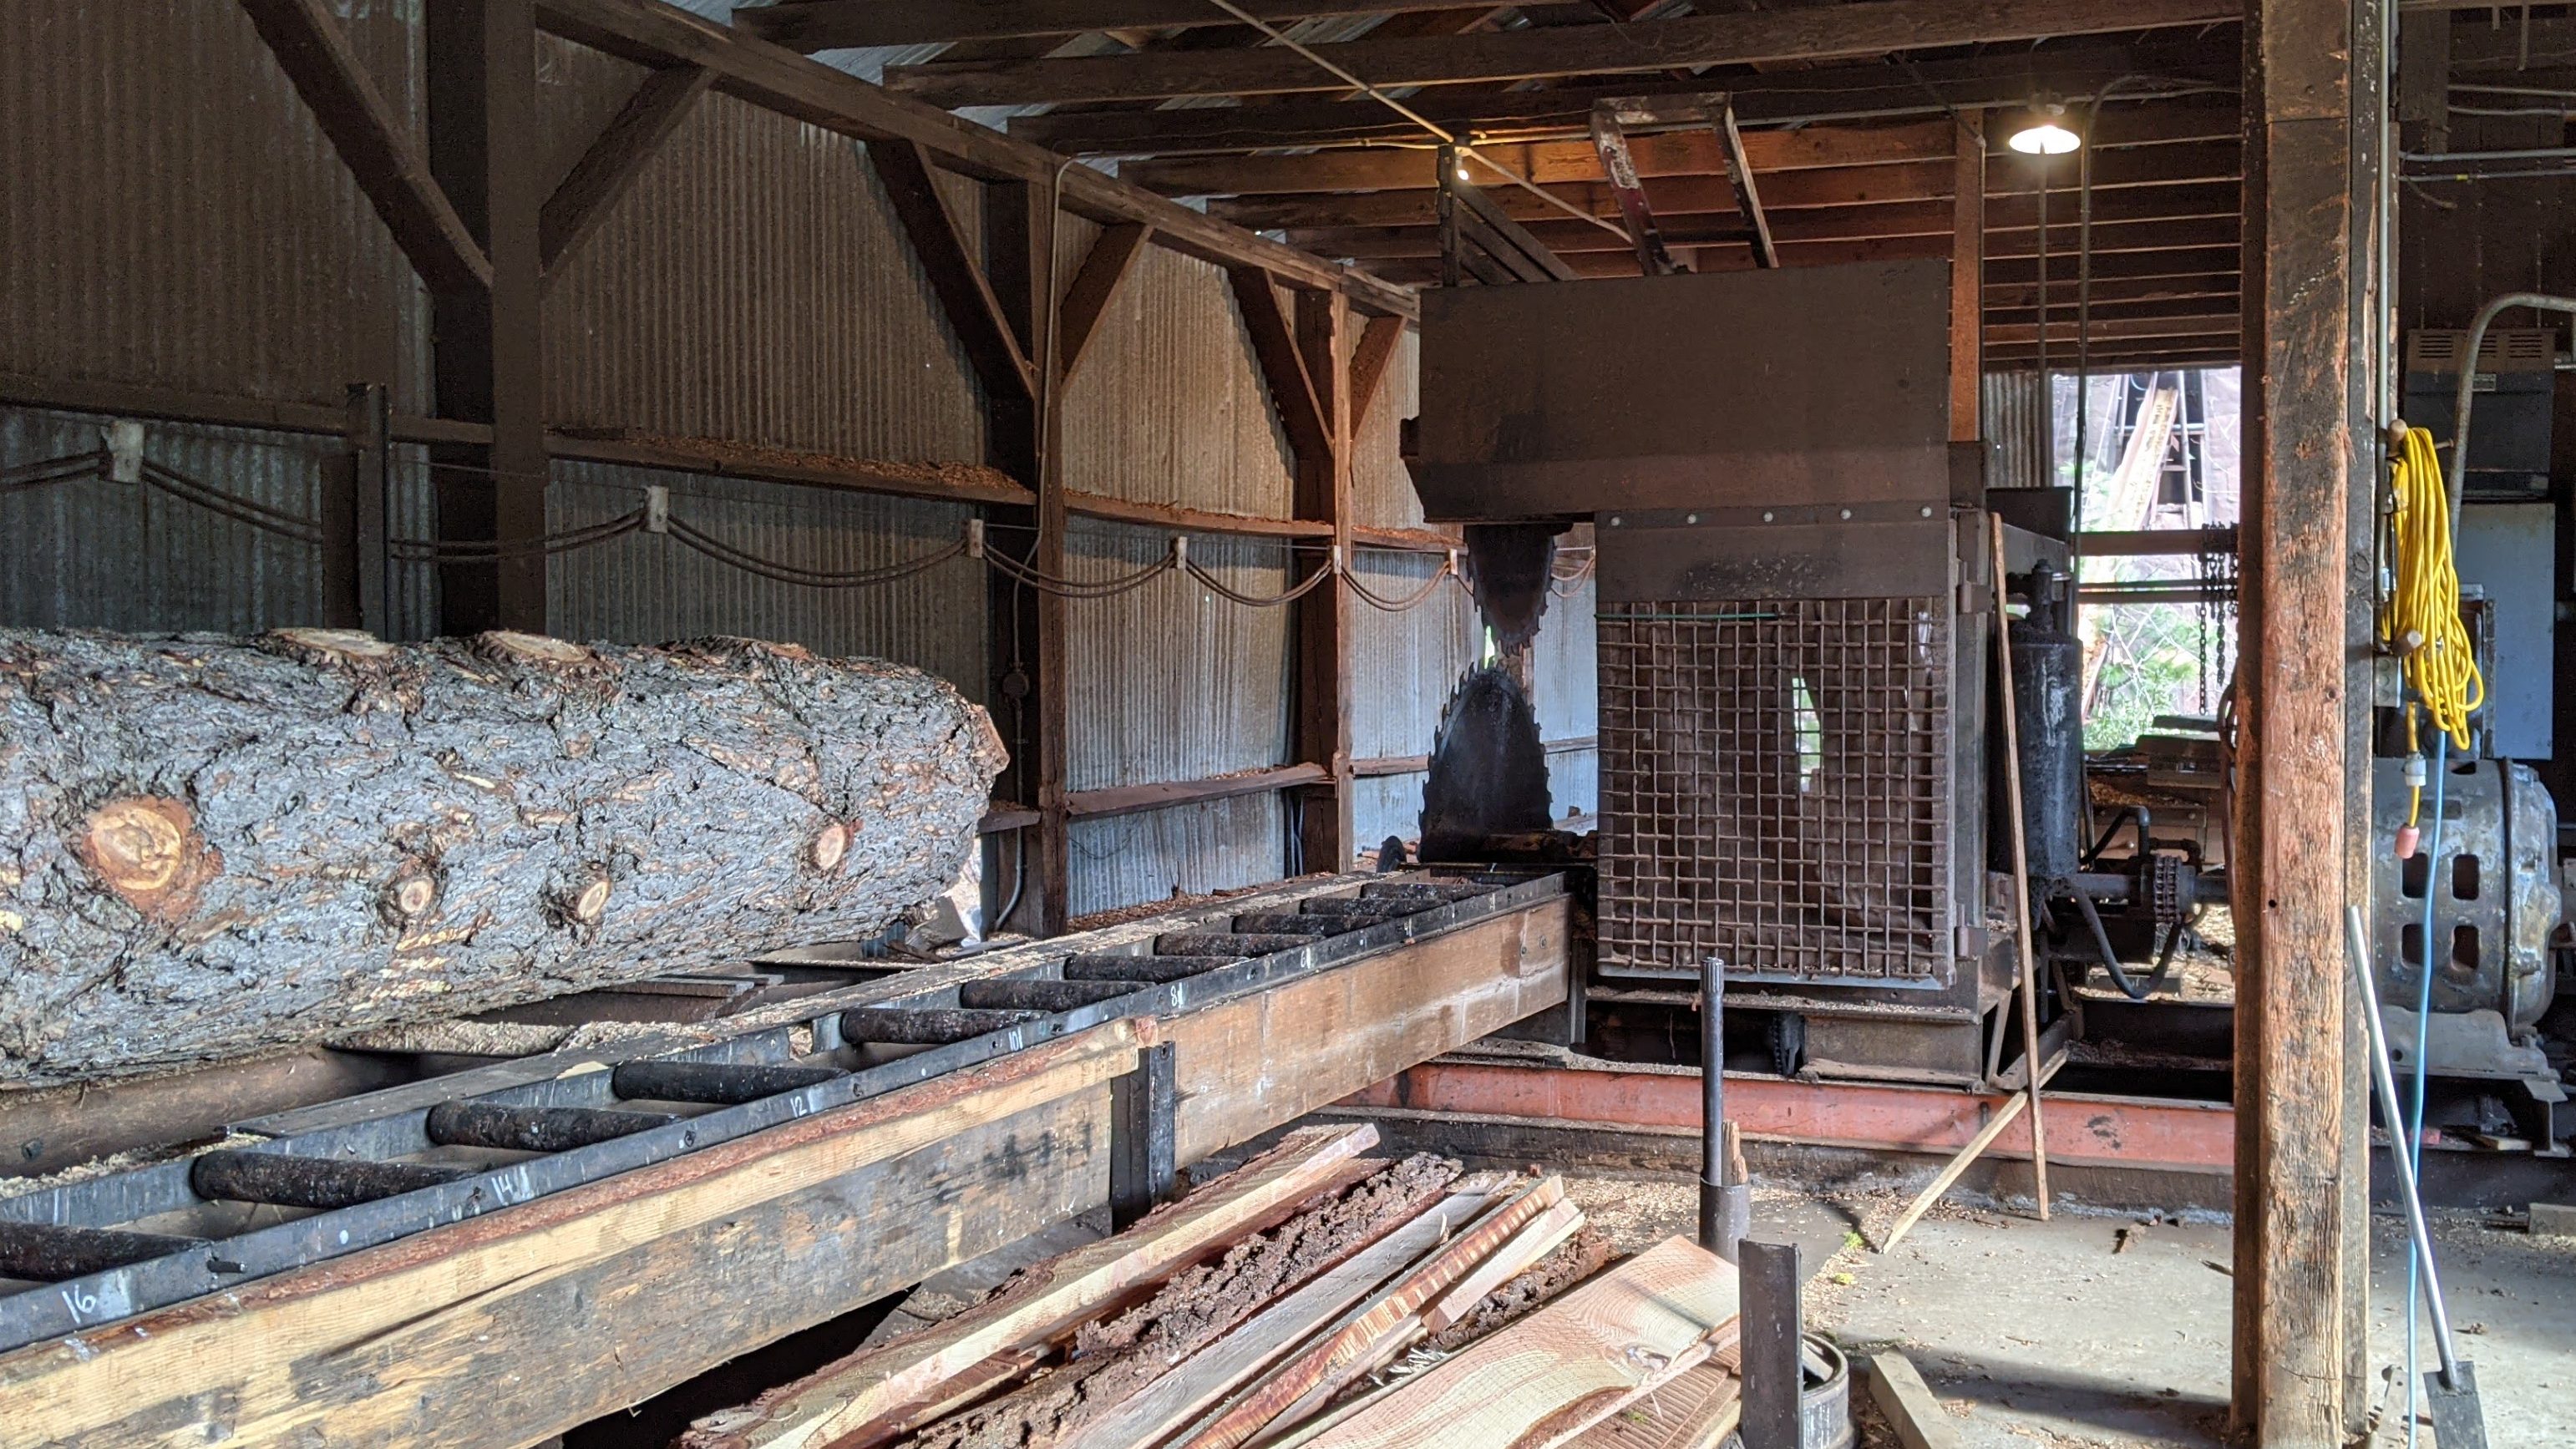
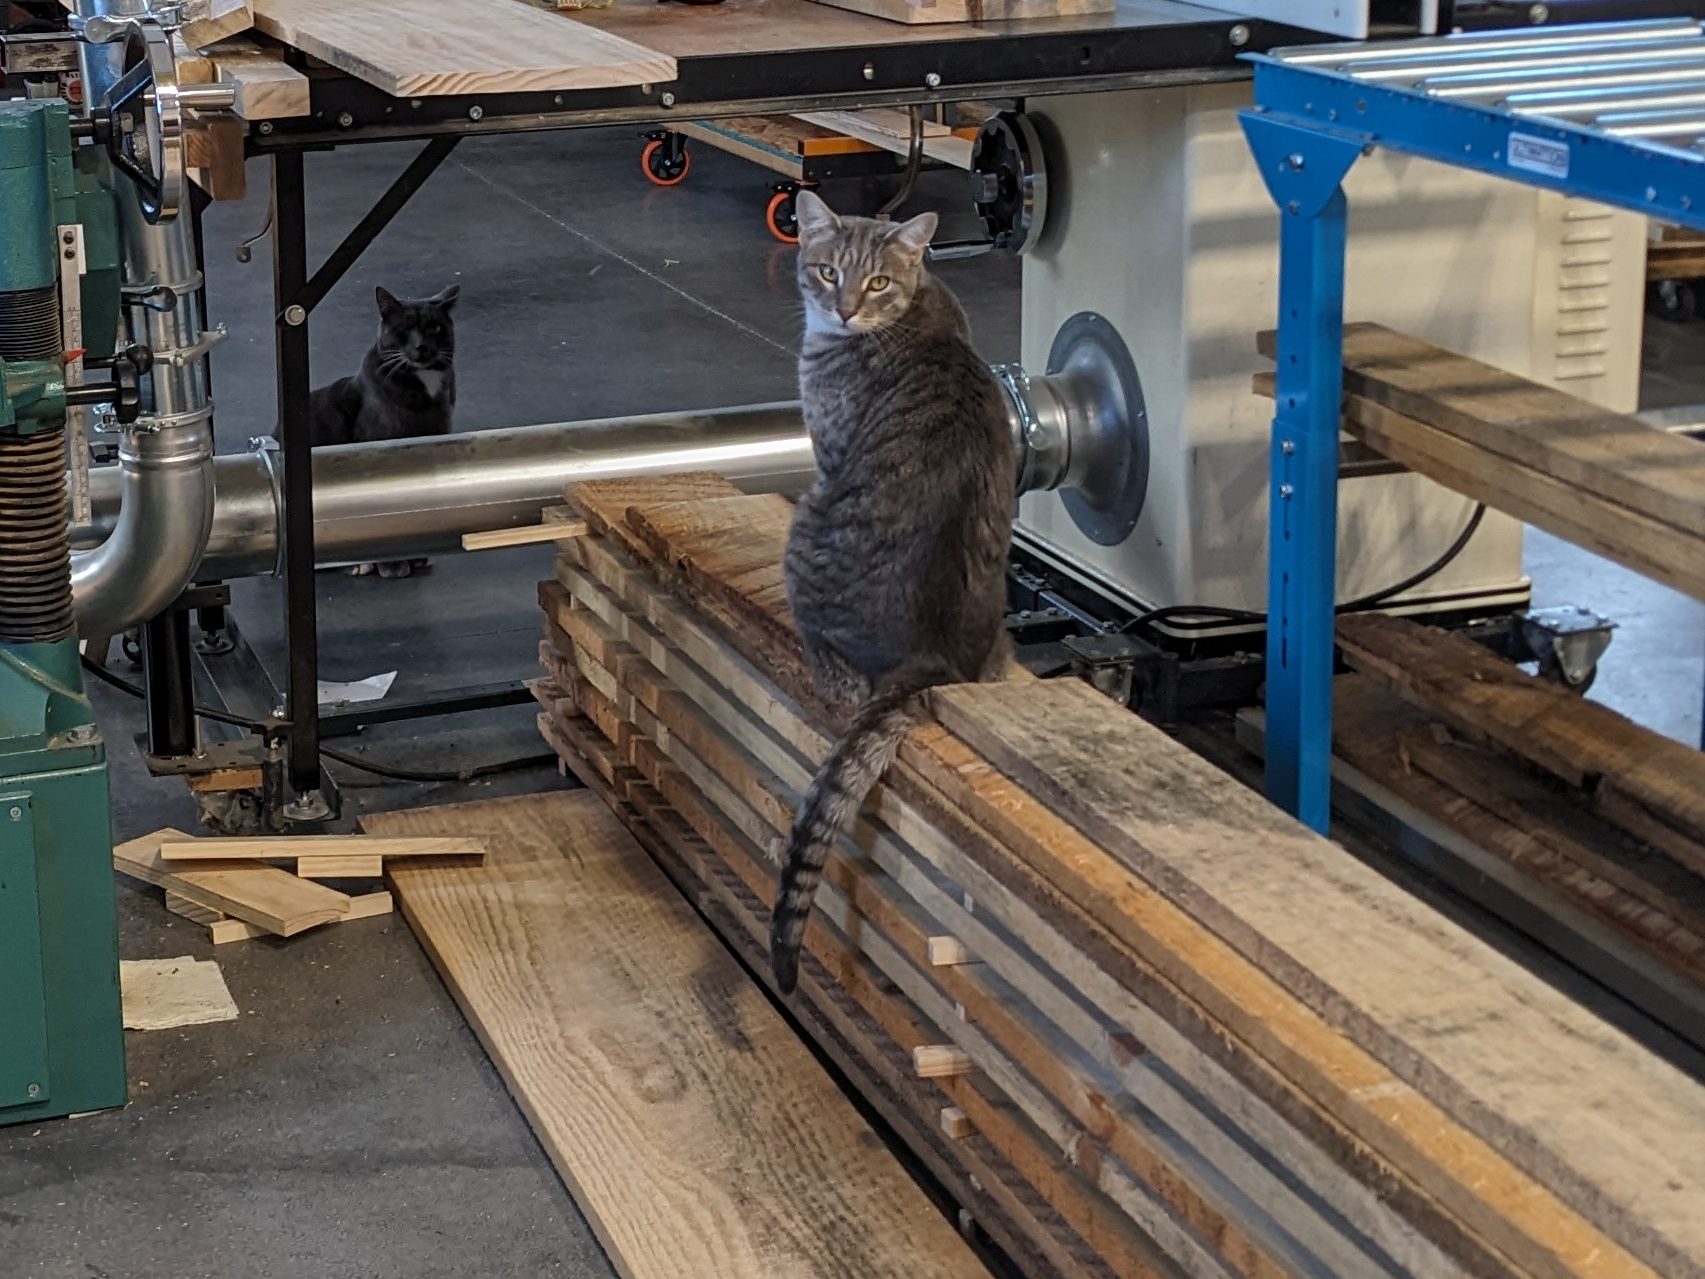
It seemed like we had an abundance of wood for the project; however, the yield was horrible. Well over 50% was scrapped. If a board could catapult Smokey, it went straight to the junk pile. Otherwise, it went to the table saw.
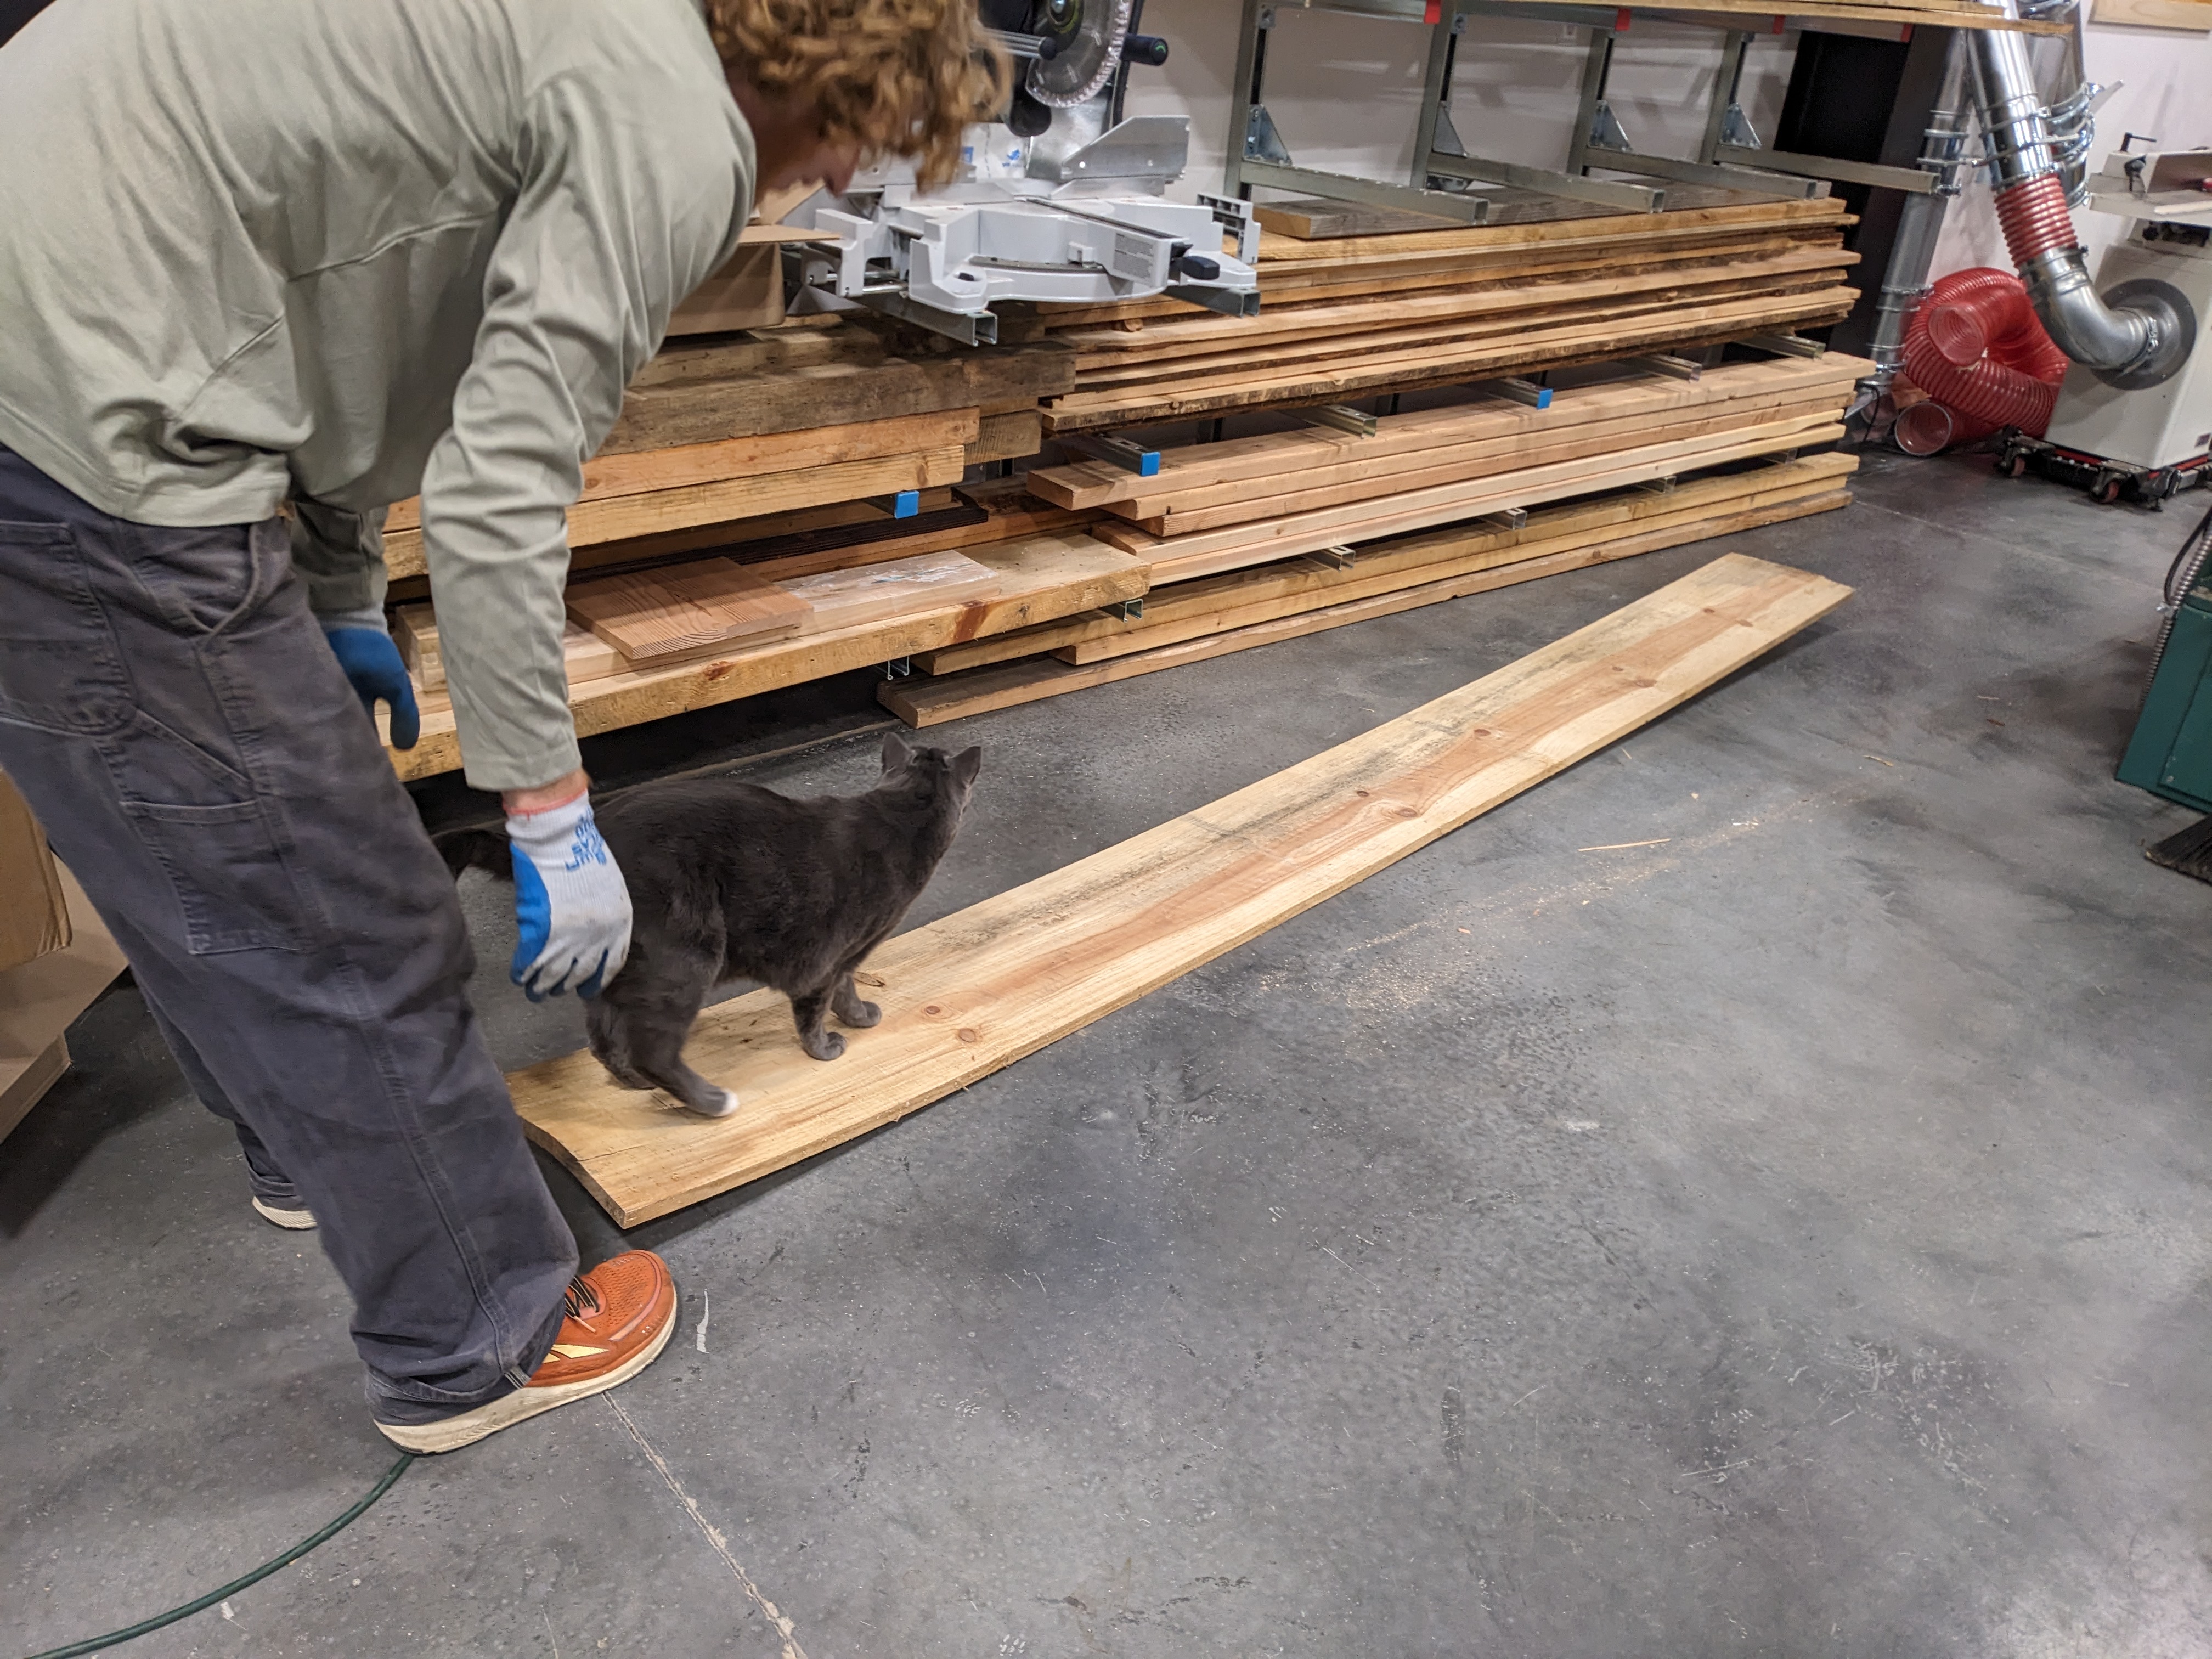
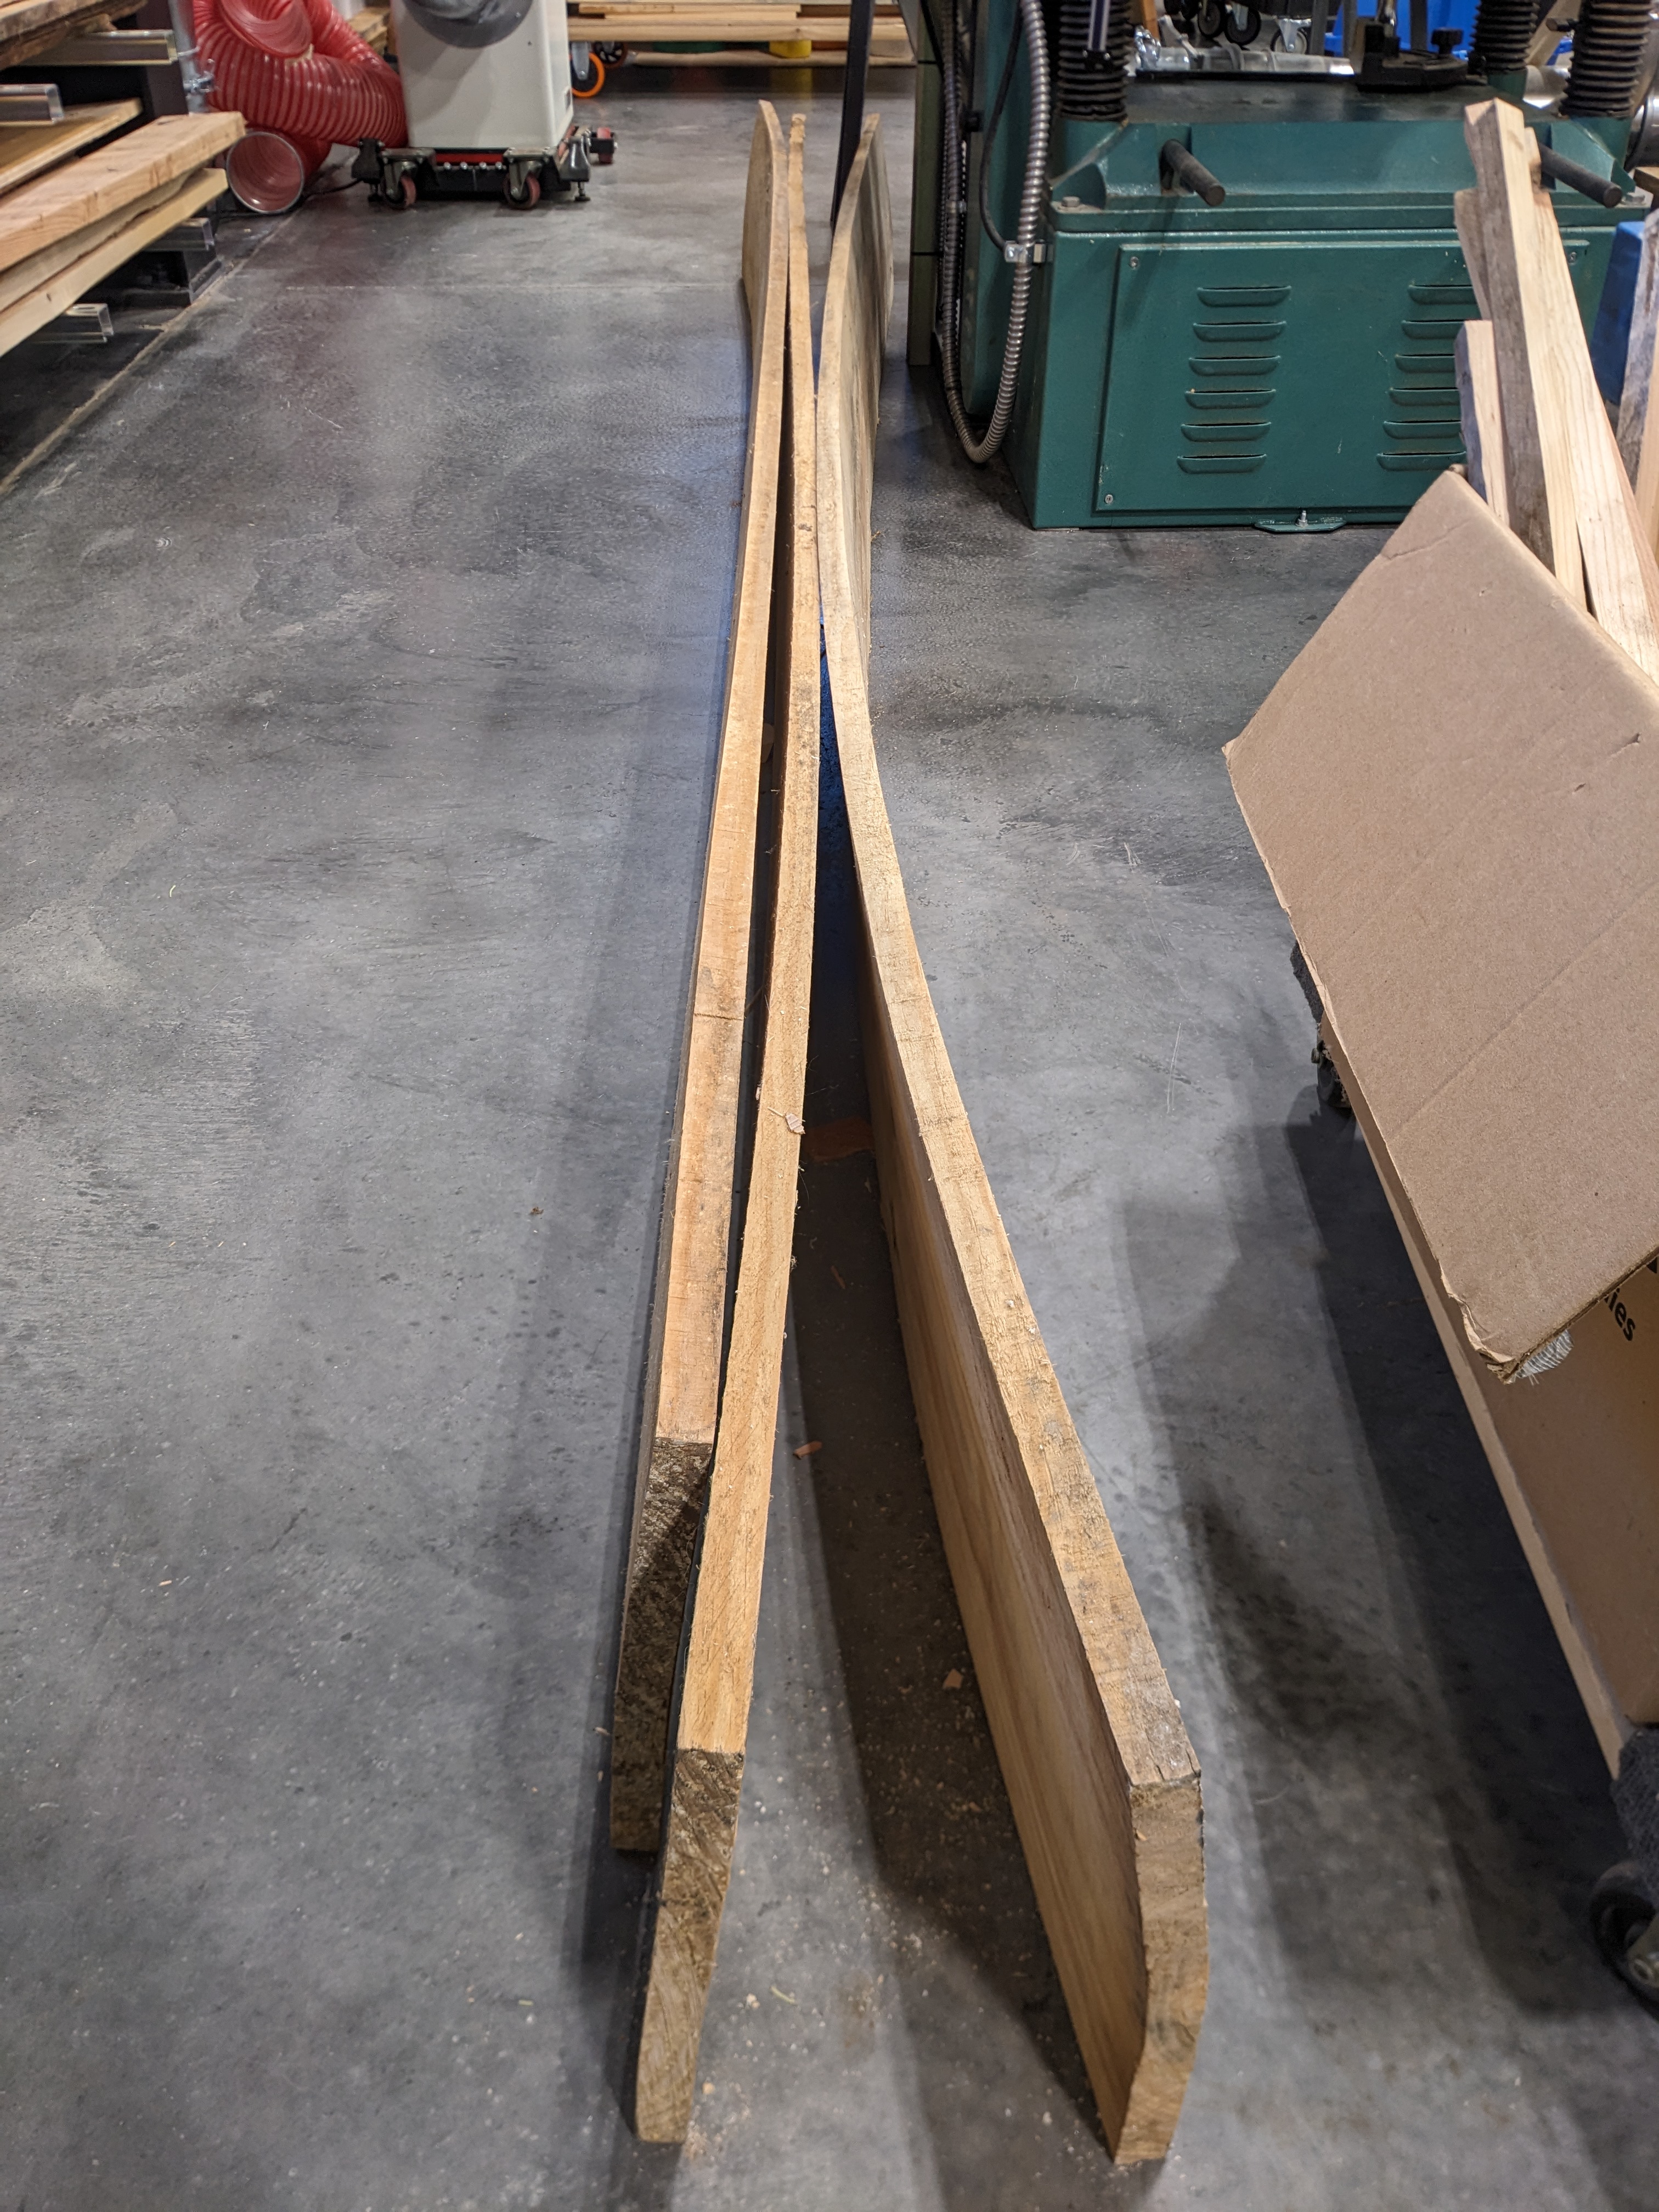
We ripped the 12″ wide boards into three 4″ boards. Watching each board go through the table saw was interesting. We fed a perfectly flat and straight board into the saw and watched in horror as two “C” shaped boards came out the other side. Many were too curved at this point to get a straight segment out of, so into the junk pile they went.
The decent boards moved on to the chop saw.
We cut out the big knots and defects. We cut severely crowned boards in half. We disposed of the “blade” end from the numerous hockey sticks. Our scrap pile was growing much faster than the usable pile. We were getting pretty discouraged at this point and hadn’t even attempted to flatten them out yet.
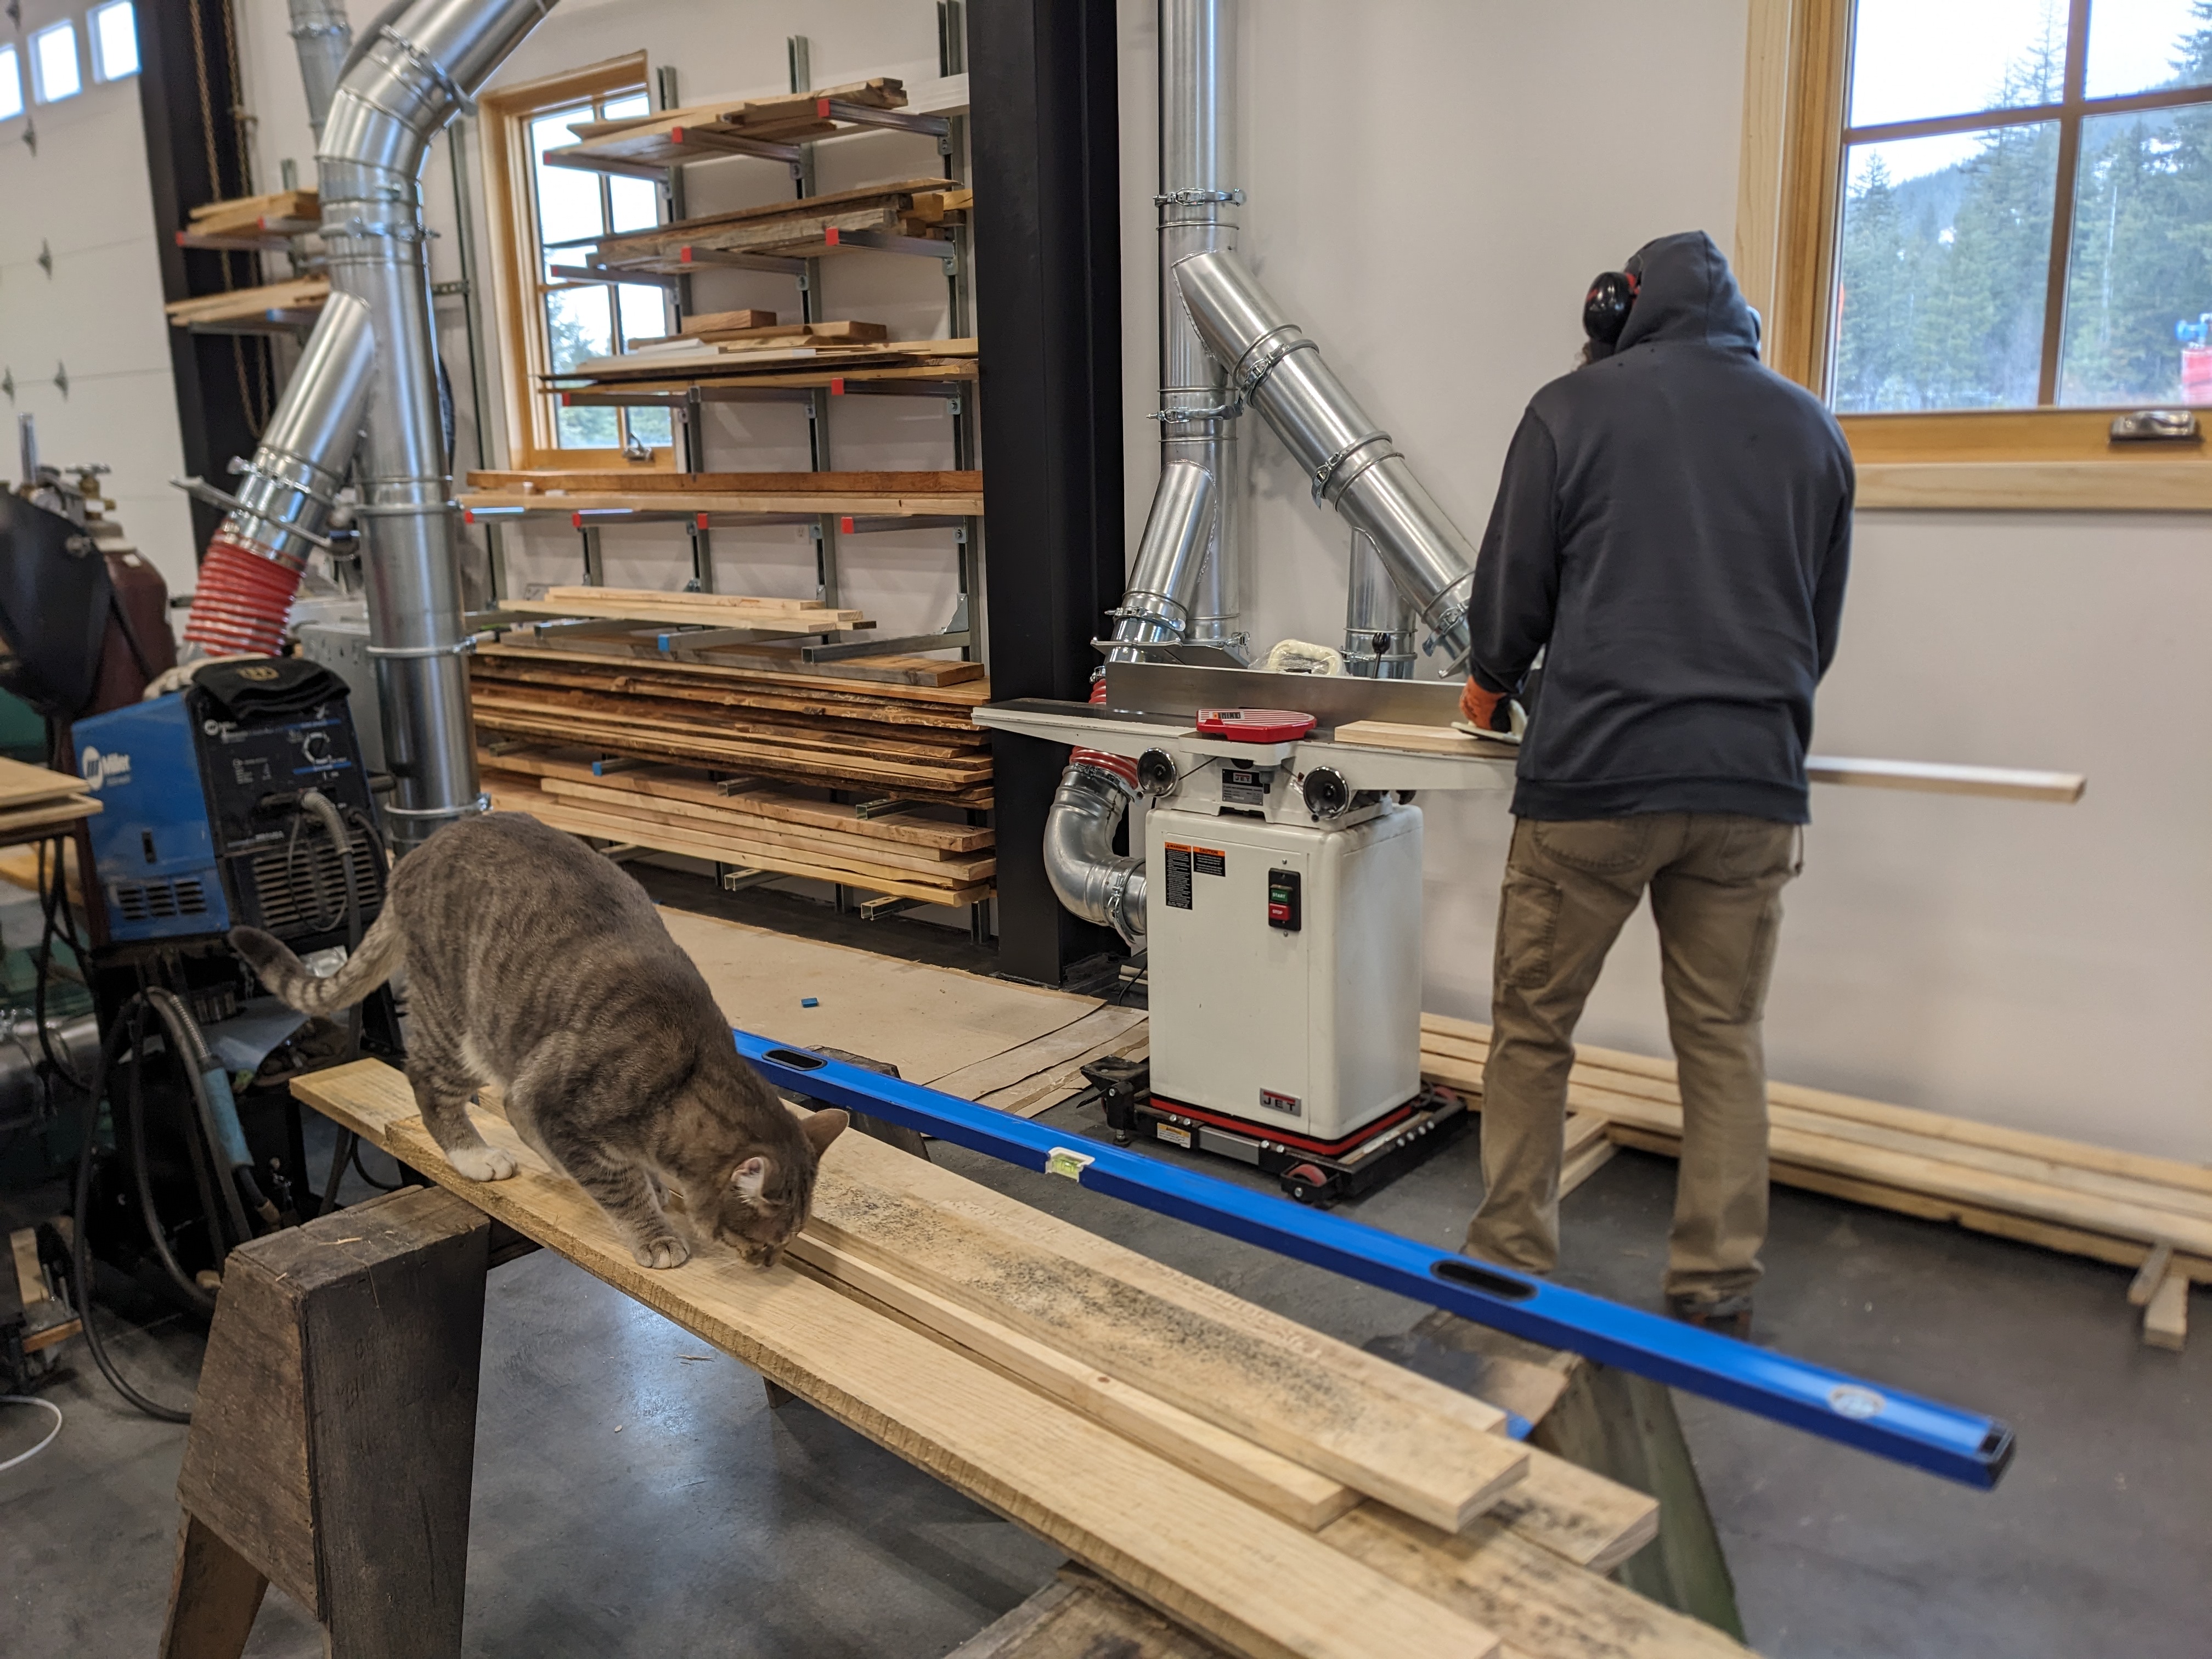
Flattening involved running one edge and one face through the jointer. The jointer is a great tool, but it takes a LOT of practice to get good results. No one knew how to use it at first. It didn’t help that our jointer is slightly undersized for most of the boards we were working with. It required two people and a lot of patience. Sam eventually got “ok” at it. Caution to anyone who visits and knows how to use a jointer properly- we might hold you hostage.
About 90% of the boards moved on to the planer. The rest didn’t pass Buster’s caliper inspection- they got too thin while trying to clean up on the jointer.
We used the planer for the final flattening step and ran the boards through until they were all 5/8″ thick. Planing them down from 1″ to 5/8″ was very time consuming since the machine can only remove about 0.05″ of material at a time.
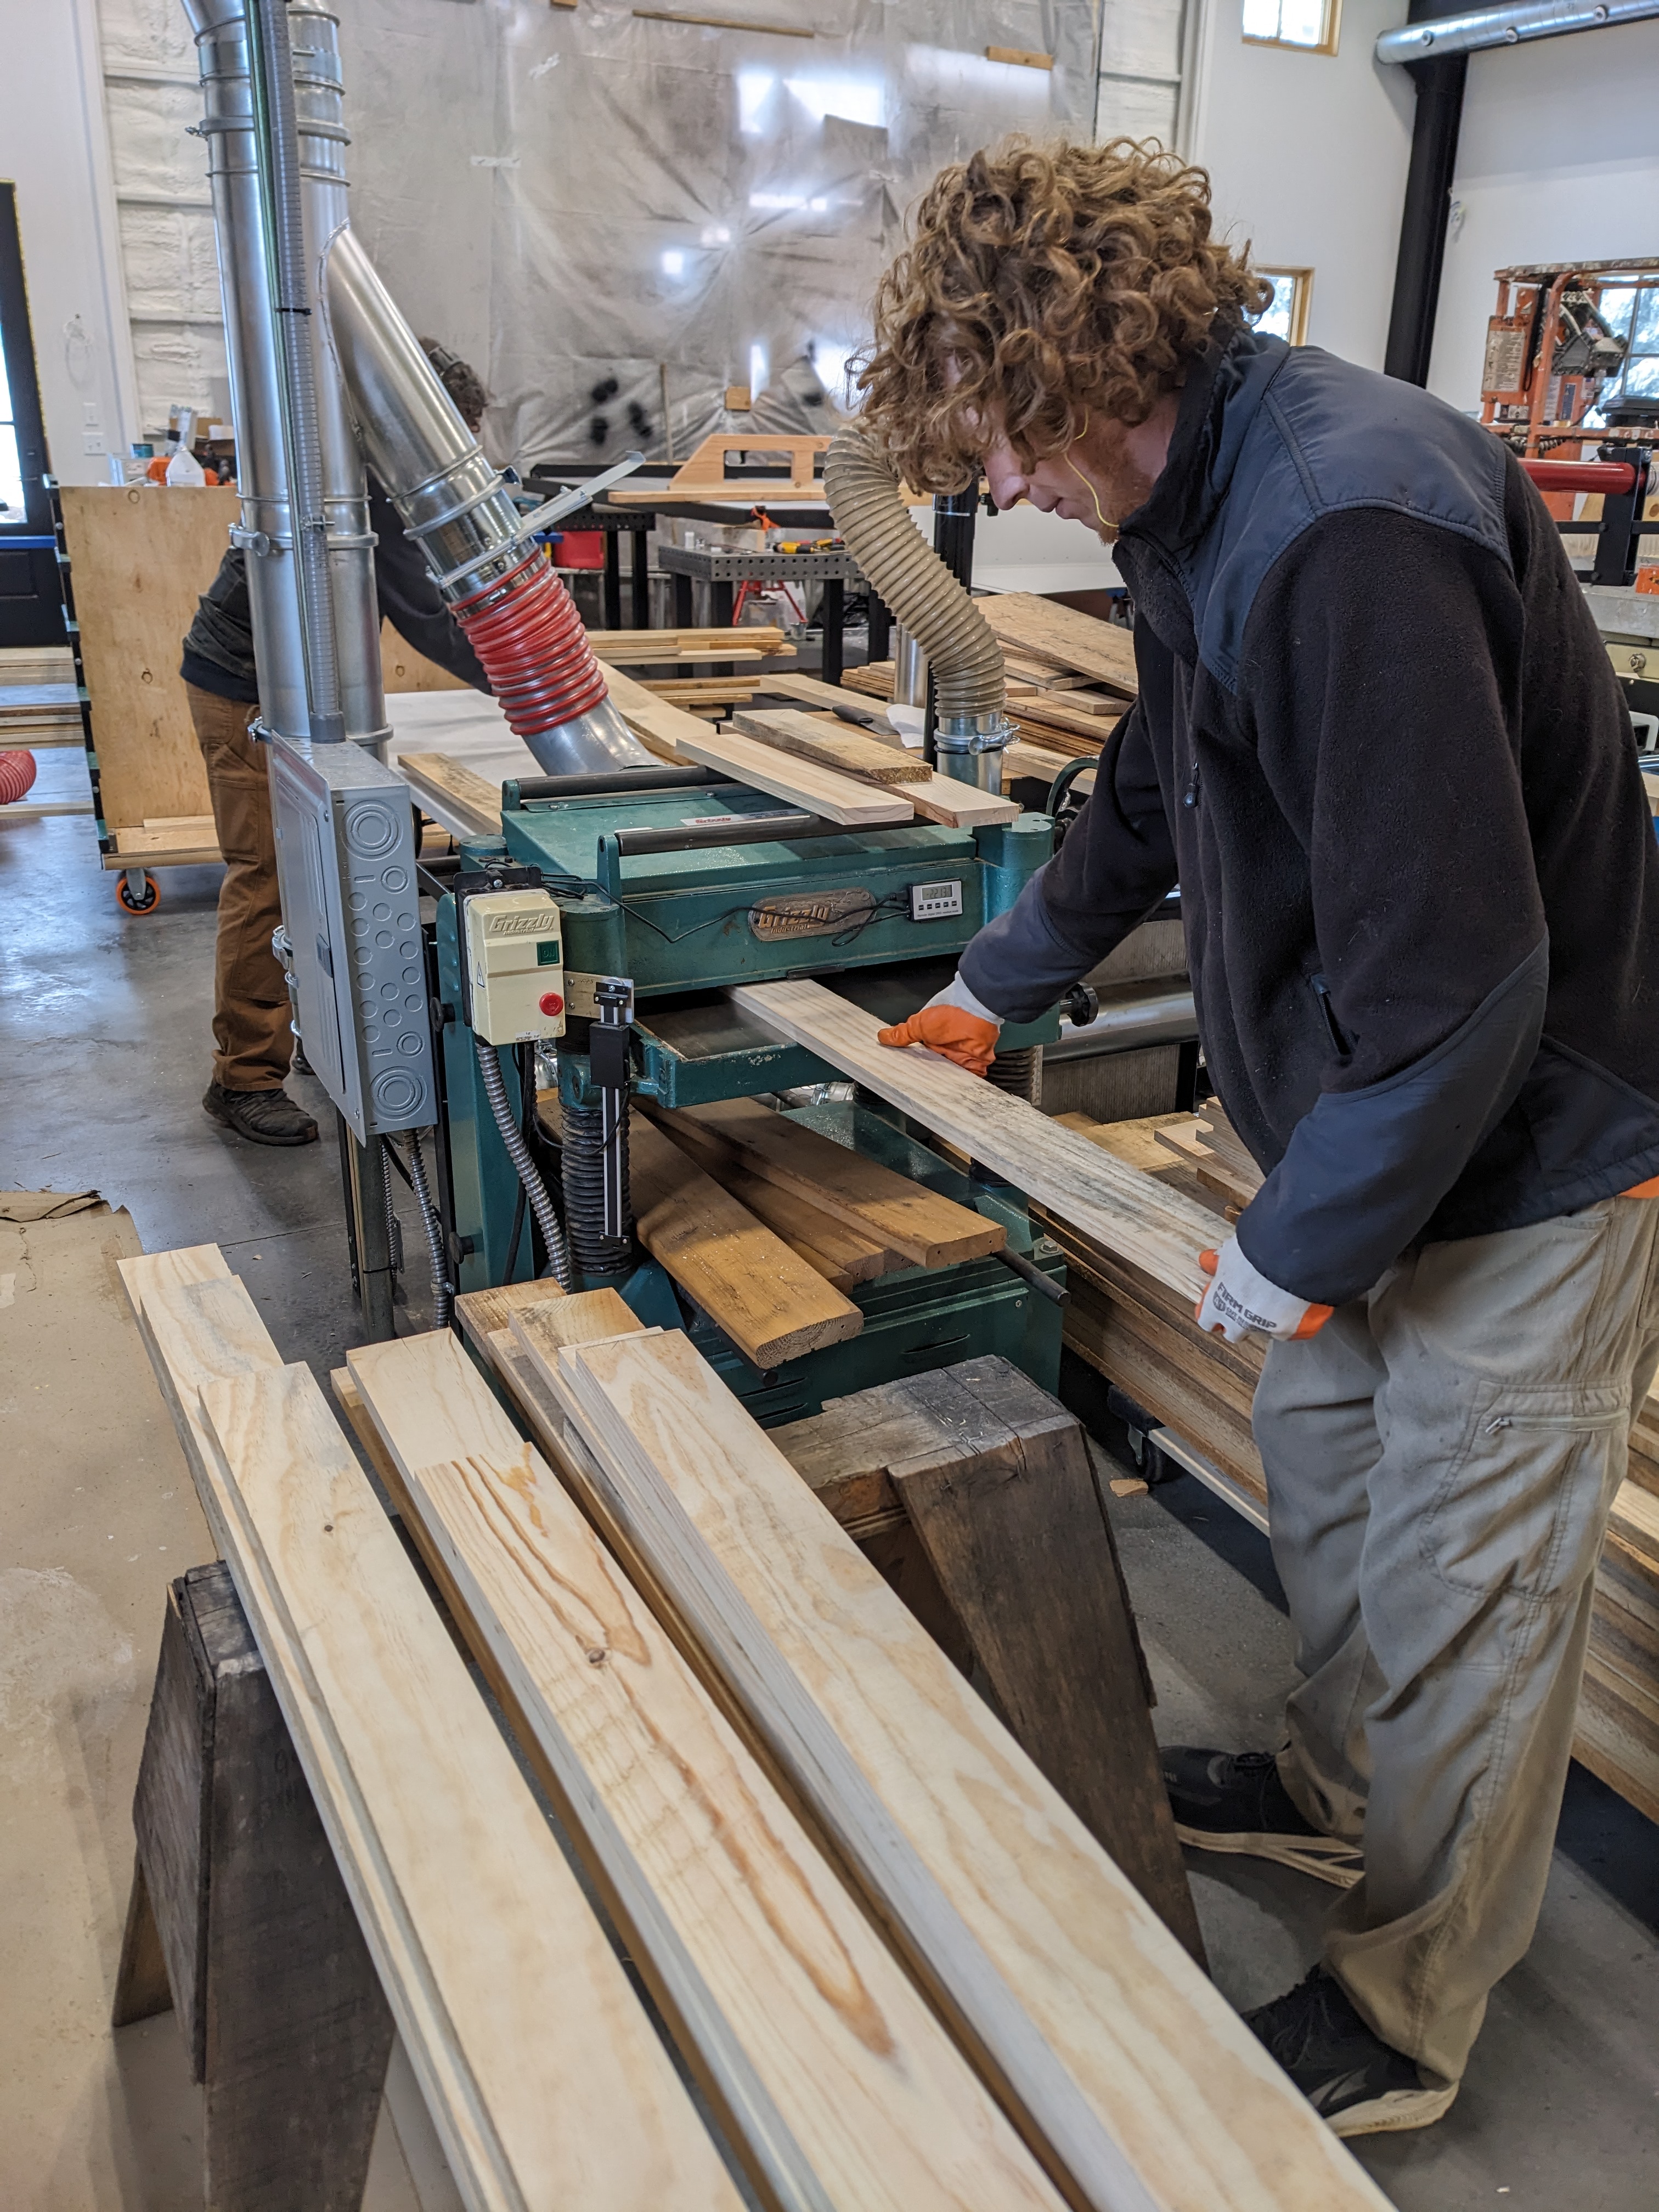

The planer noise coupled with the dust collector is deafening. No one was happy listening to it all day.

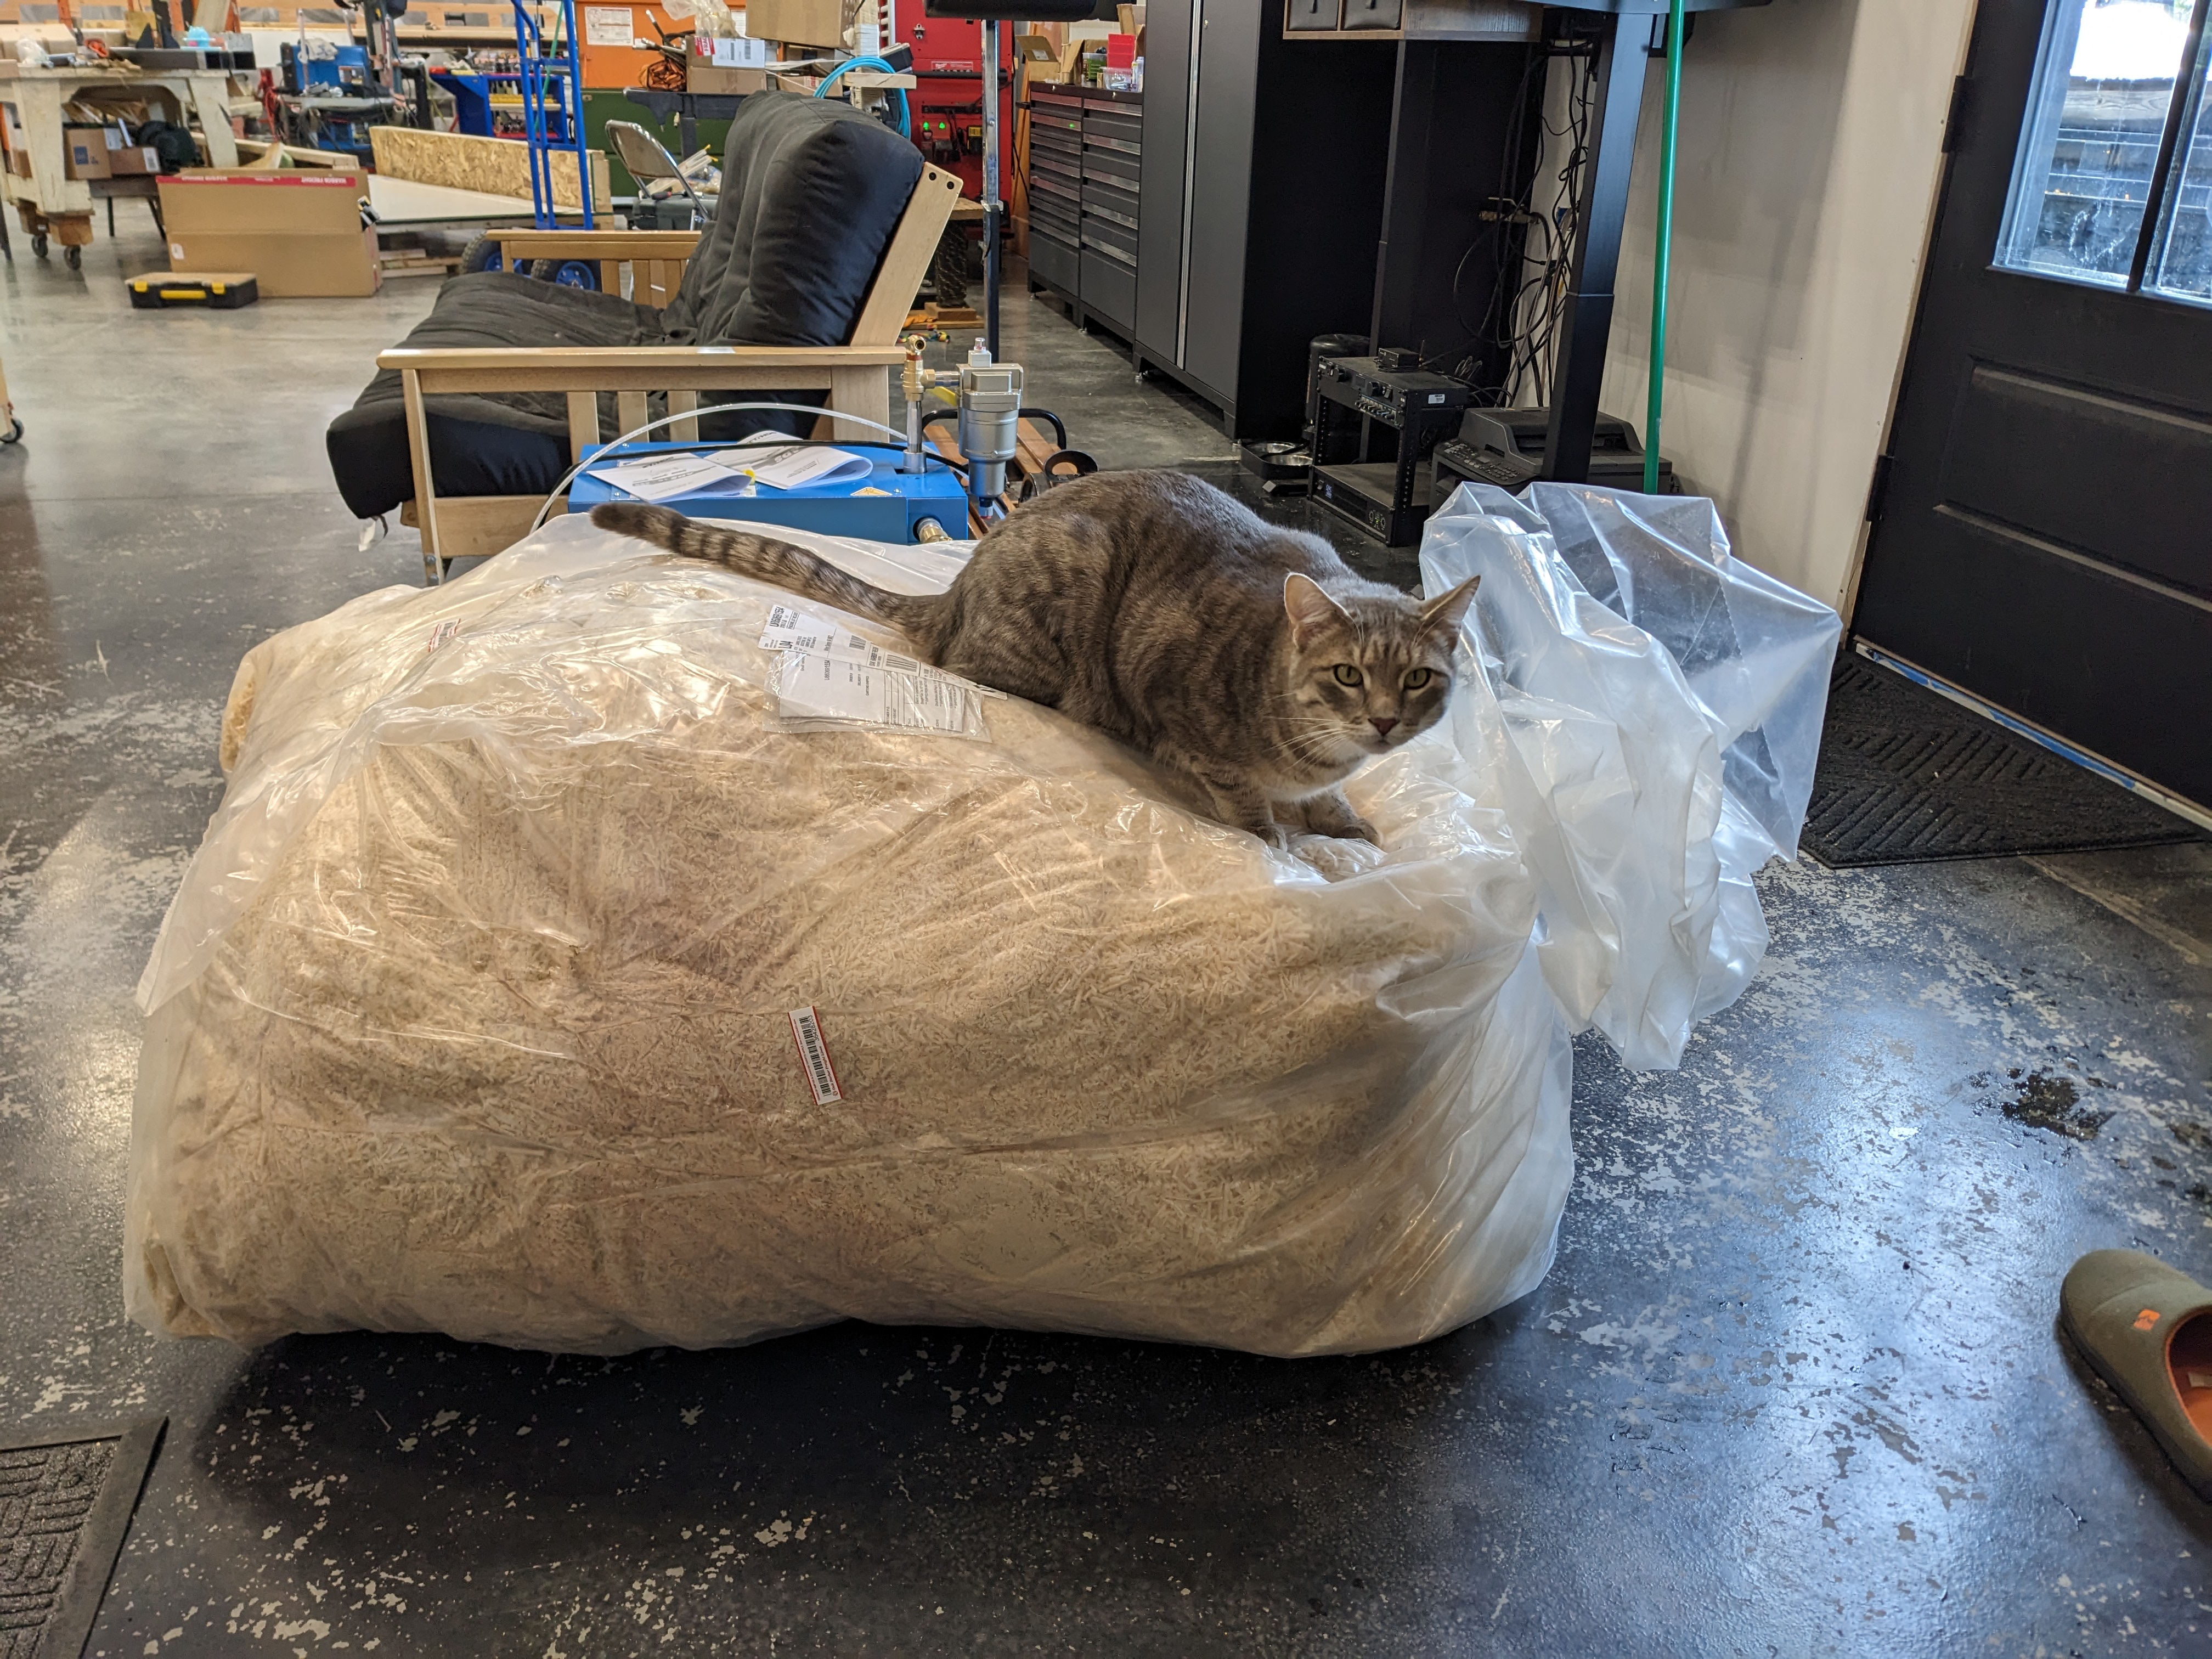
The planer also generates epic amounts of wood shavings. I’m not sure how many 55 gallon bags Sam emptied from the dust collector. We took a lot of bags to the ranch. Unfortunately, we discovered that Buster likes to pee on clear bags filled with wood shavings. We carefully carried those bags outside and mixed the contents with used fuel to aid in lighting wet burn piles.
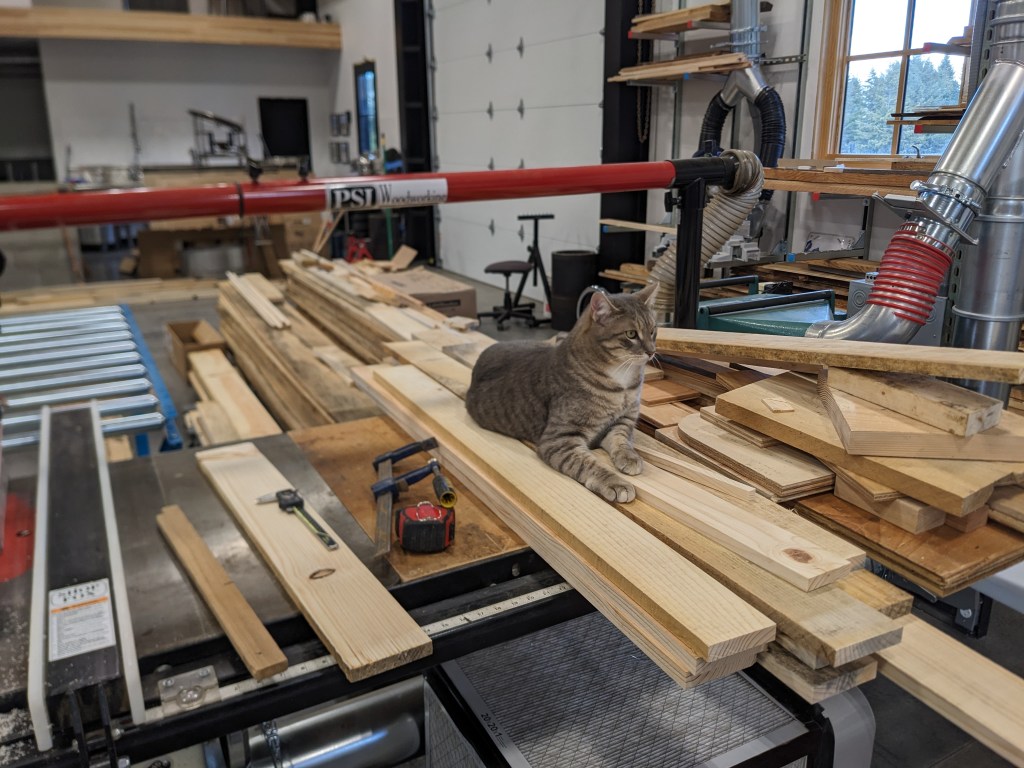
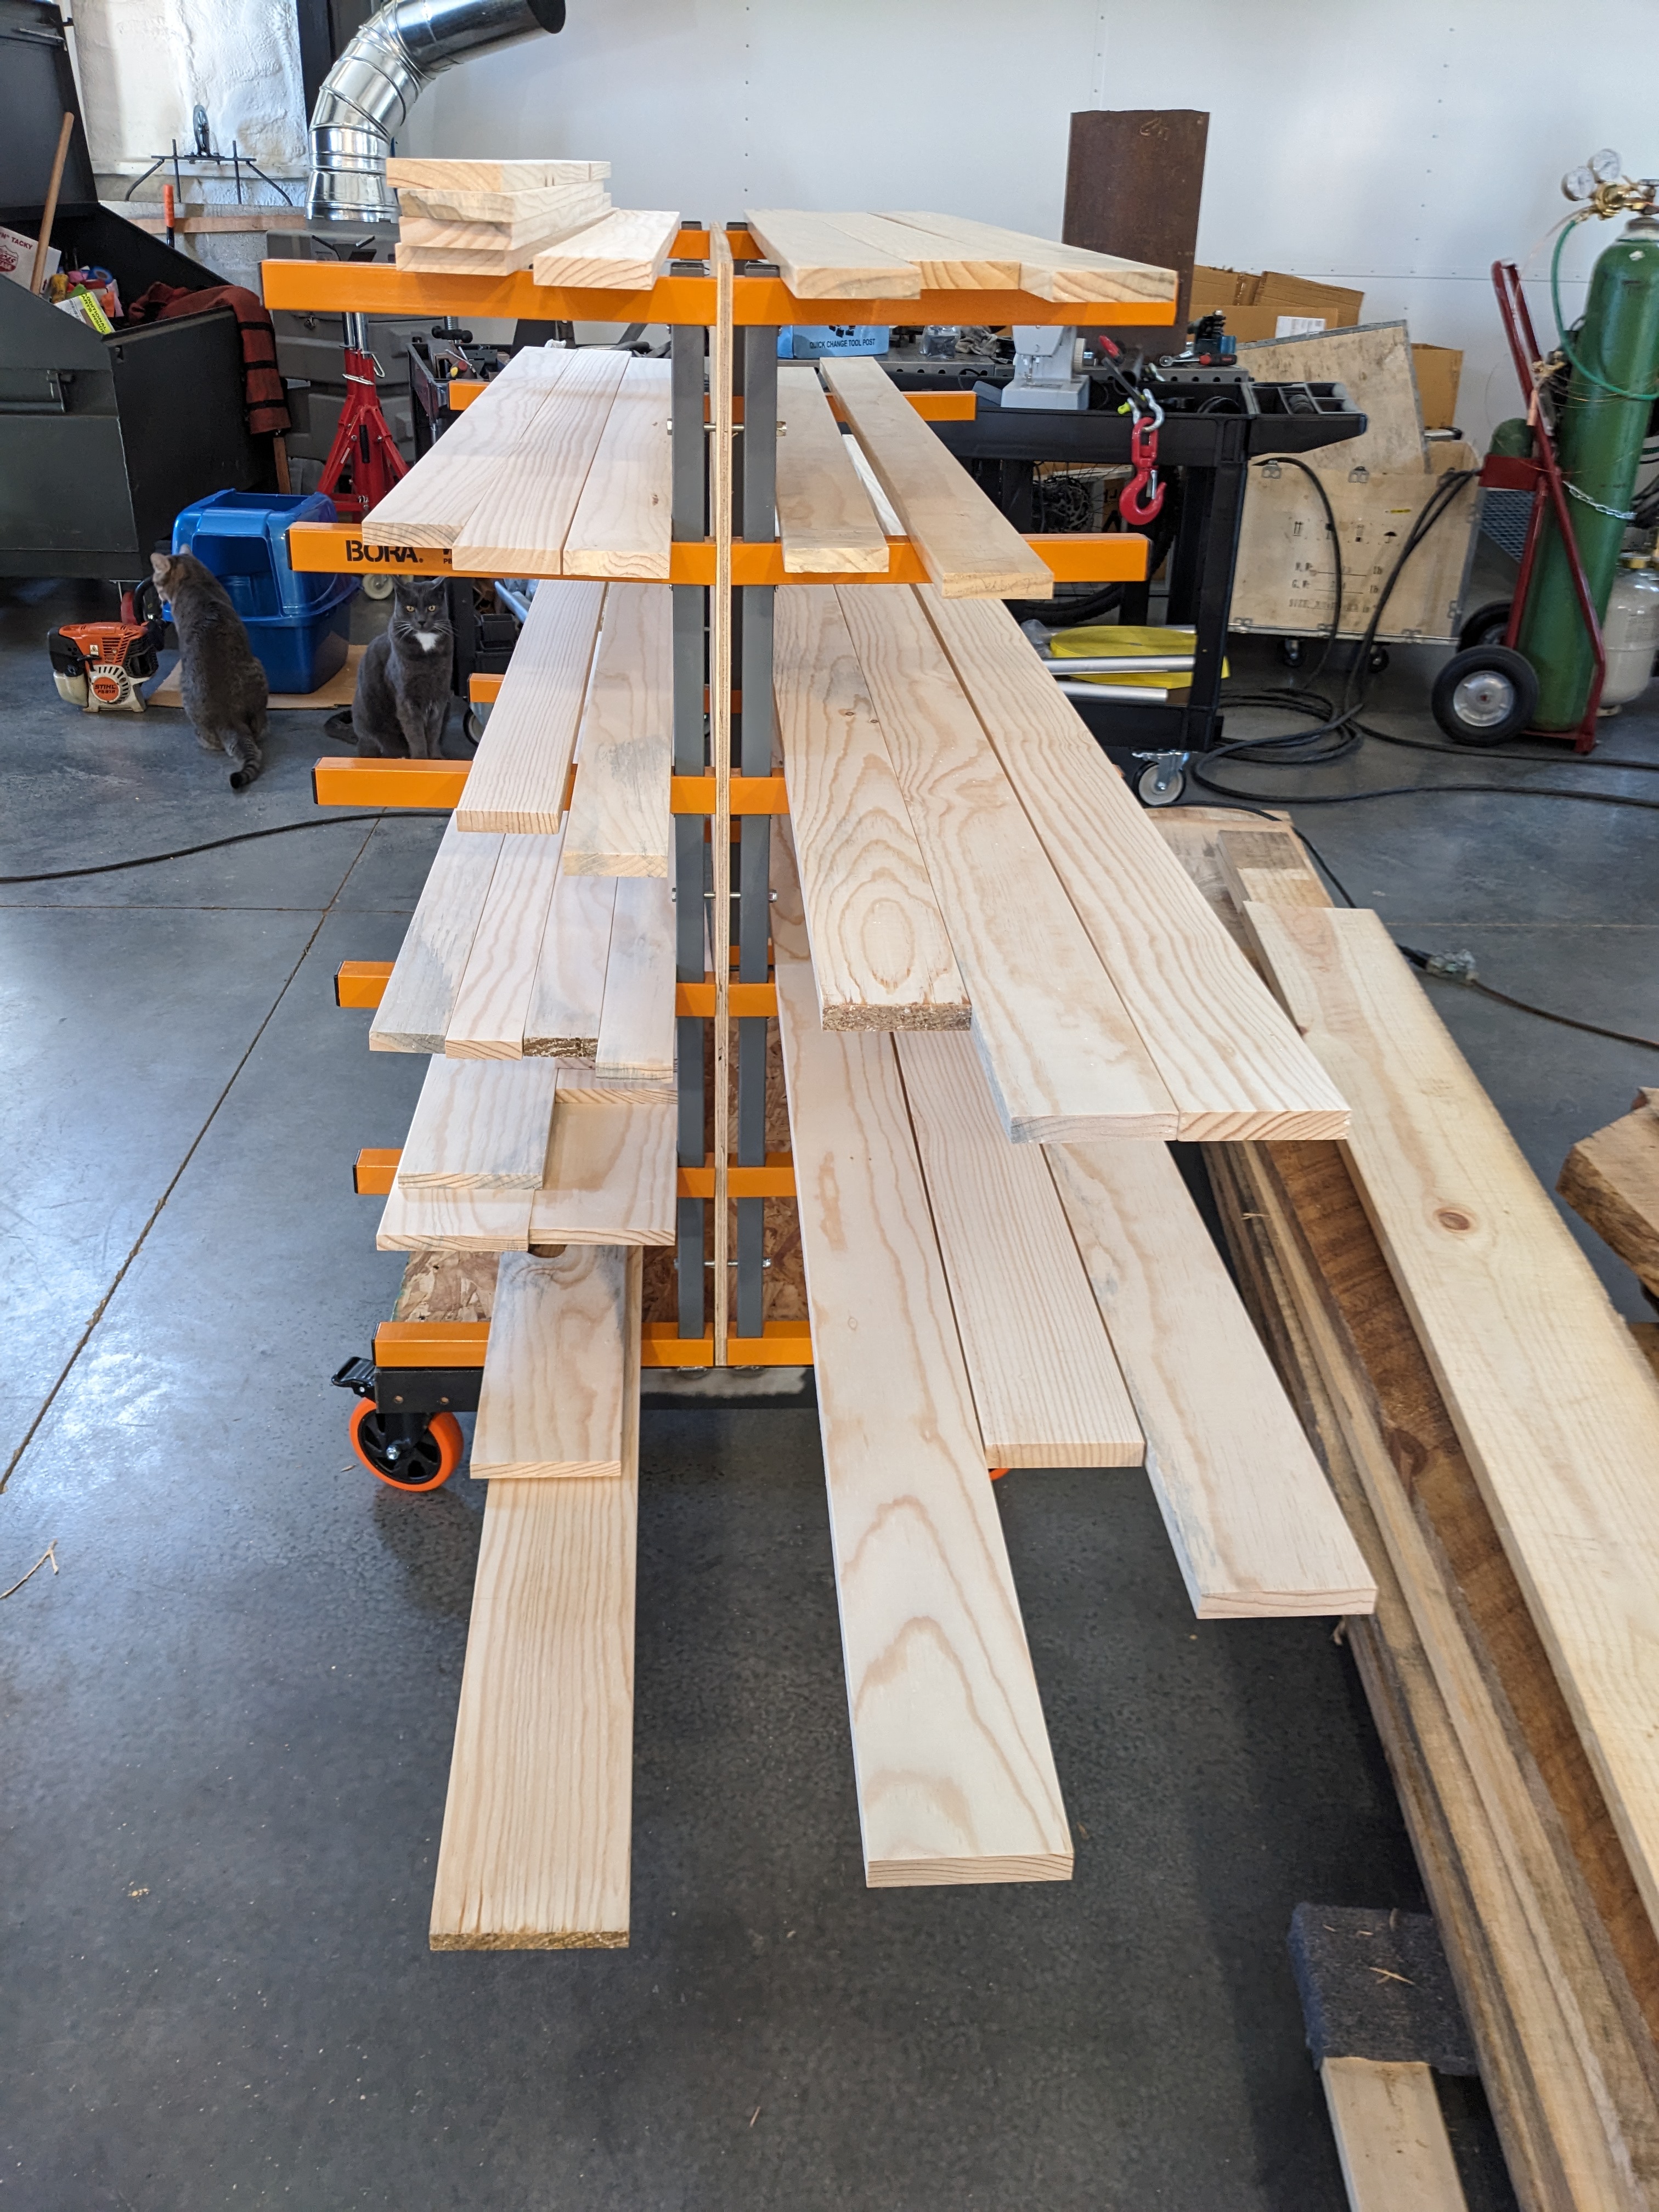
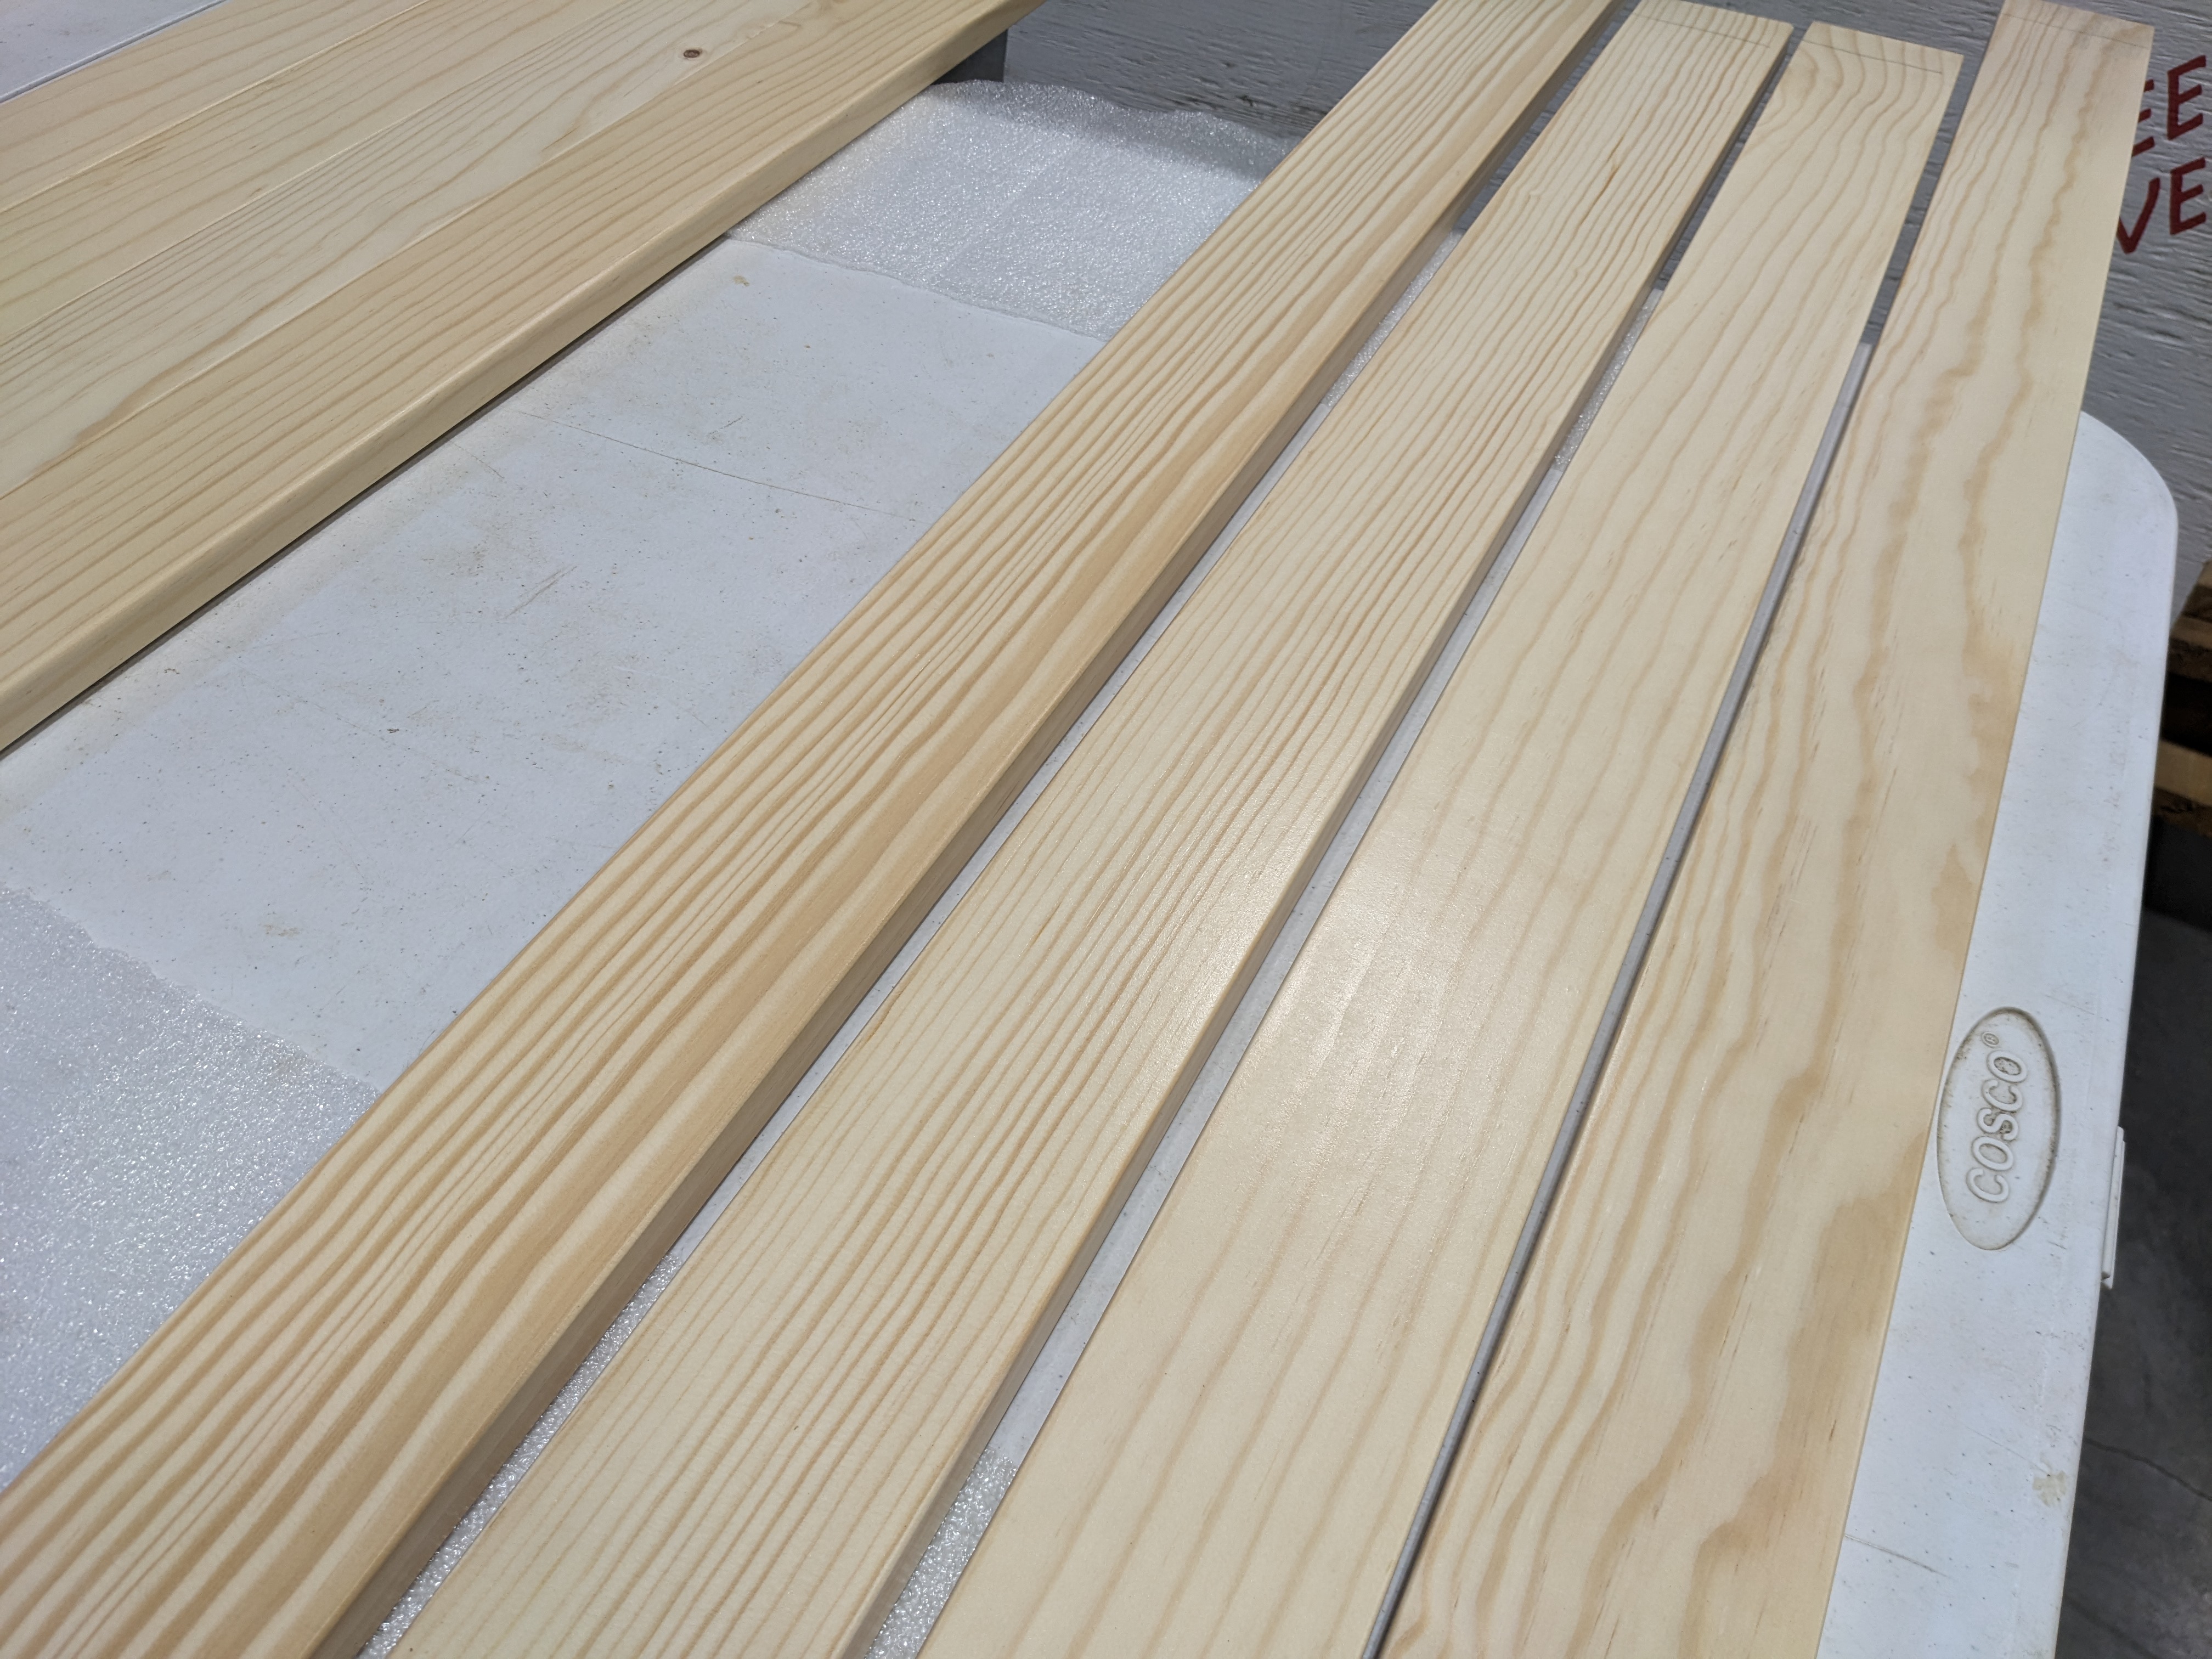
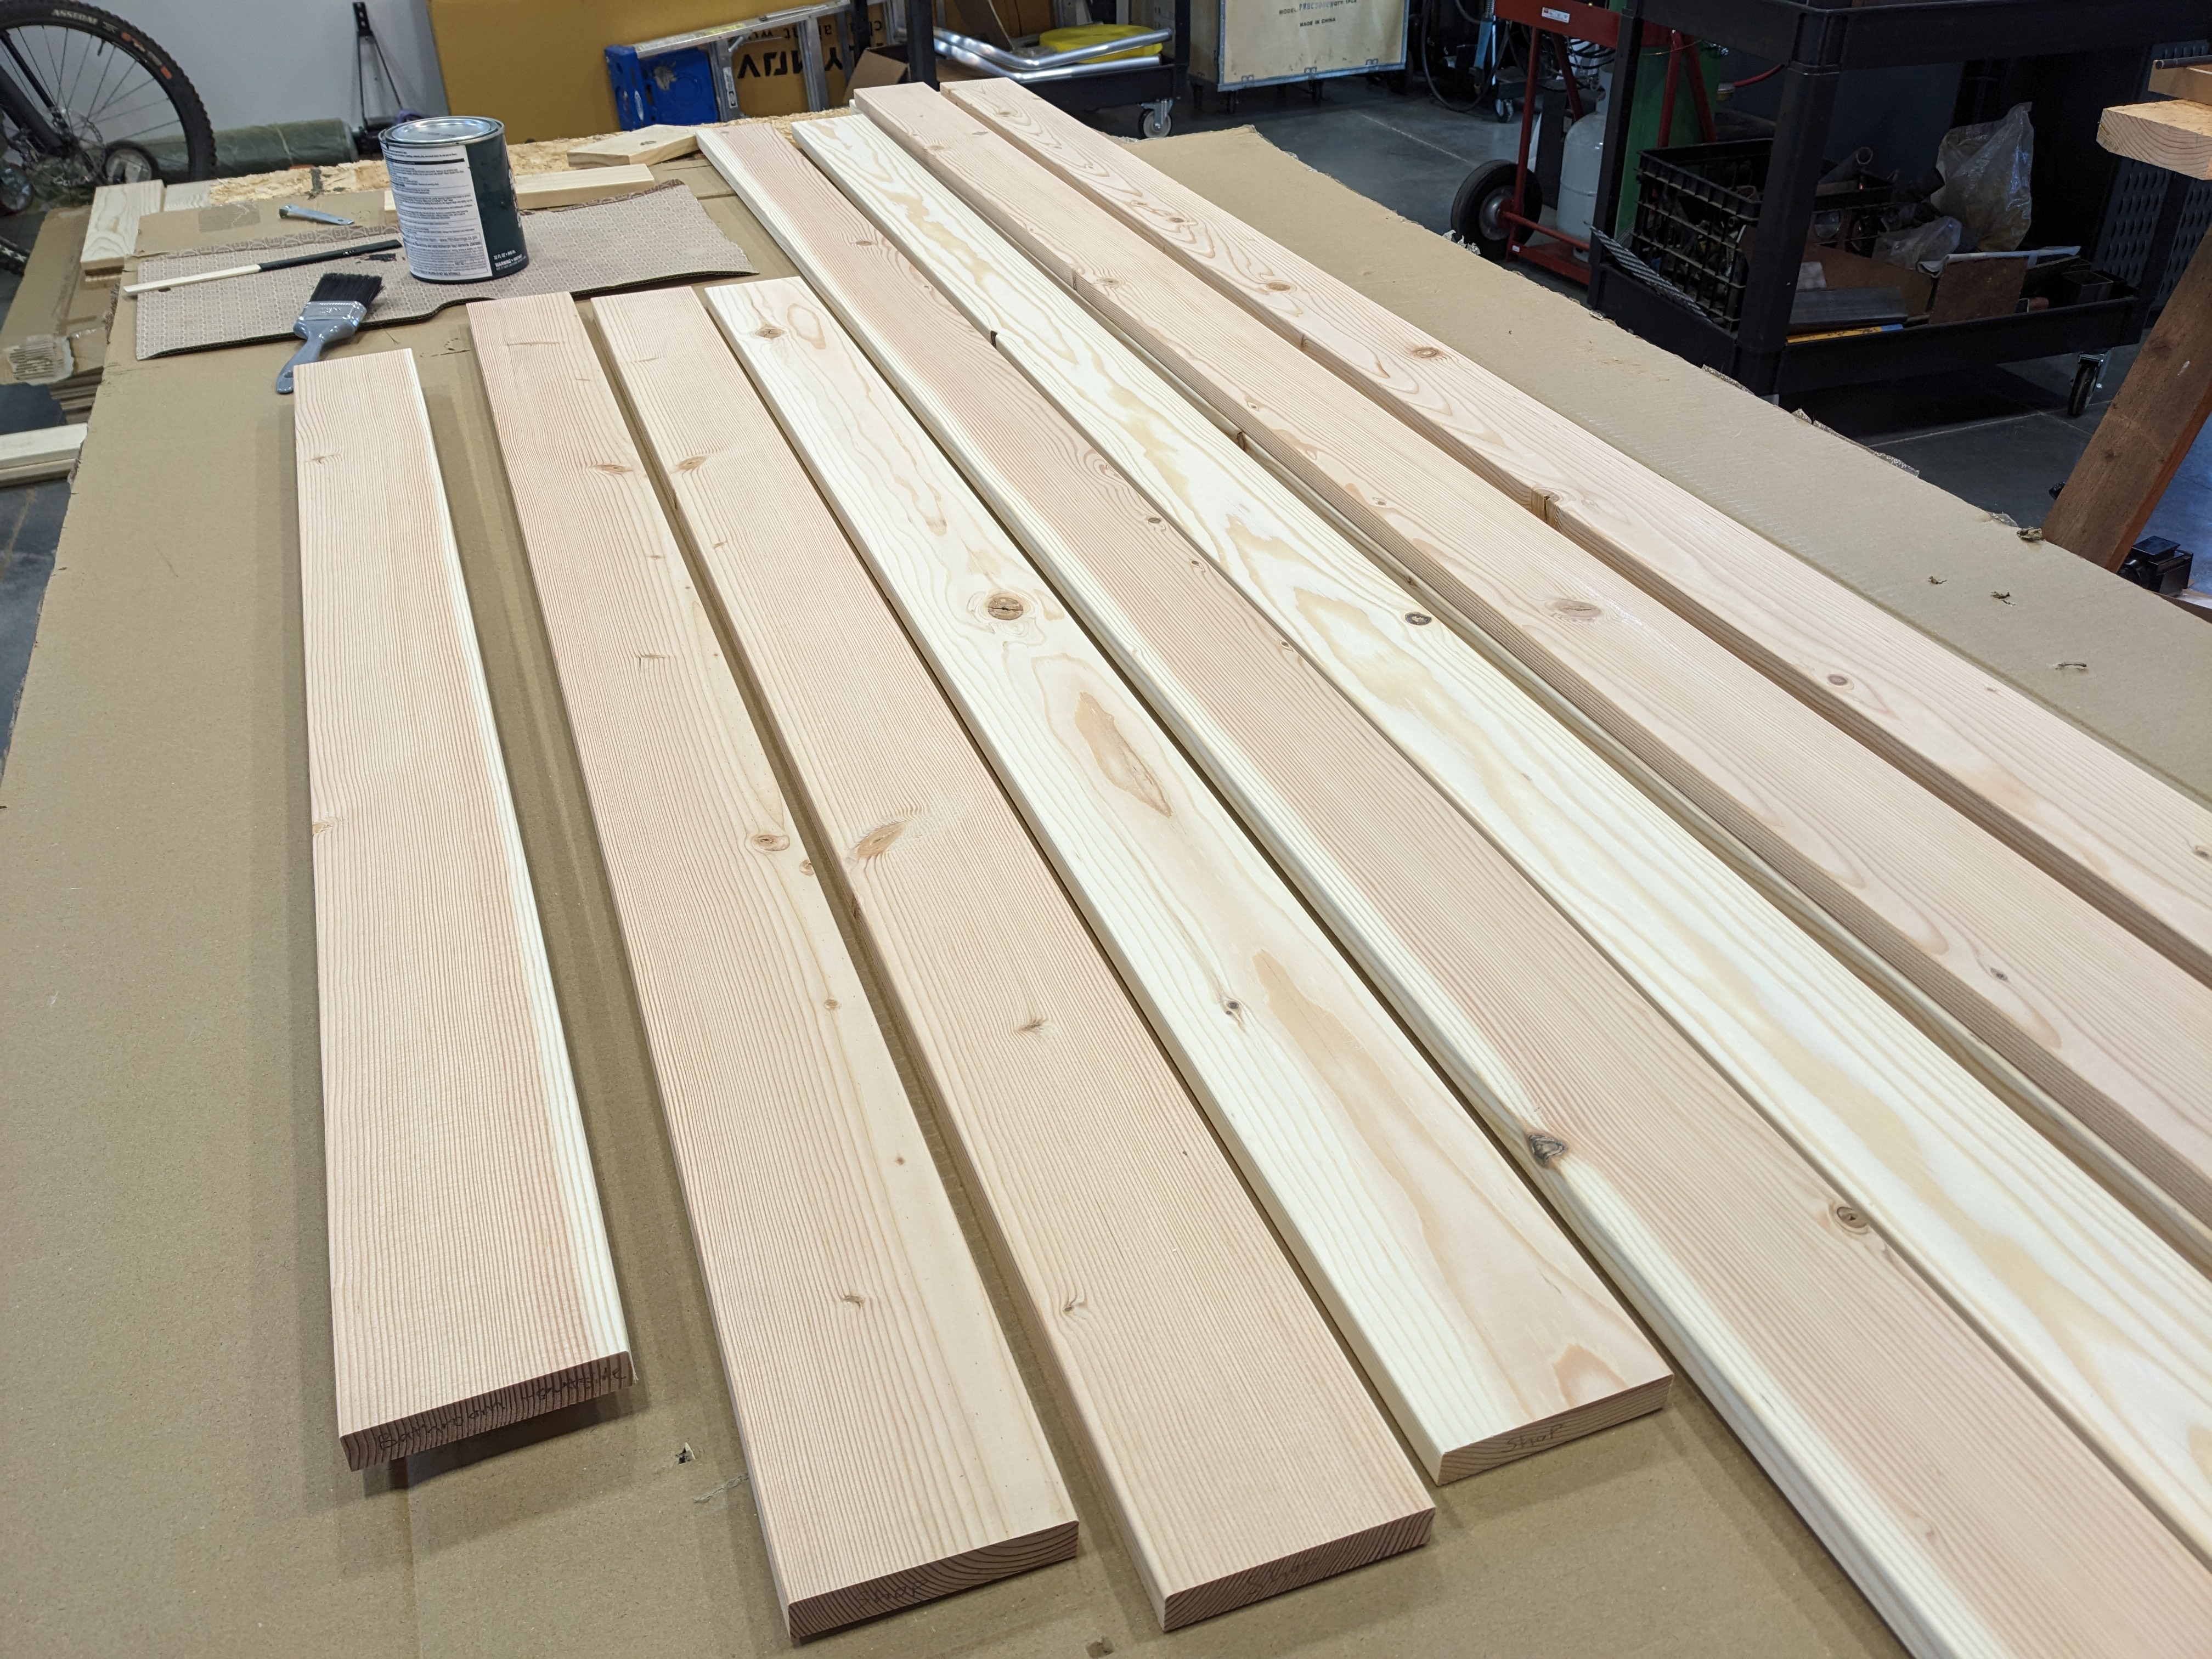
Once we finished planing, we measured the width of the boards and sorted them into three piles – over 3.5″ (for the living room trim), over 3″ (shop trim), and under 3″ (scrap). The boards went for a final pass on the table saw to achieve the finished width.
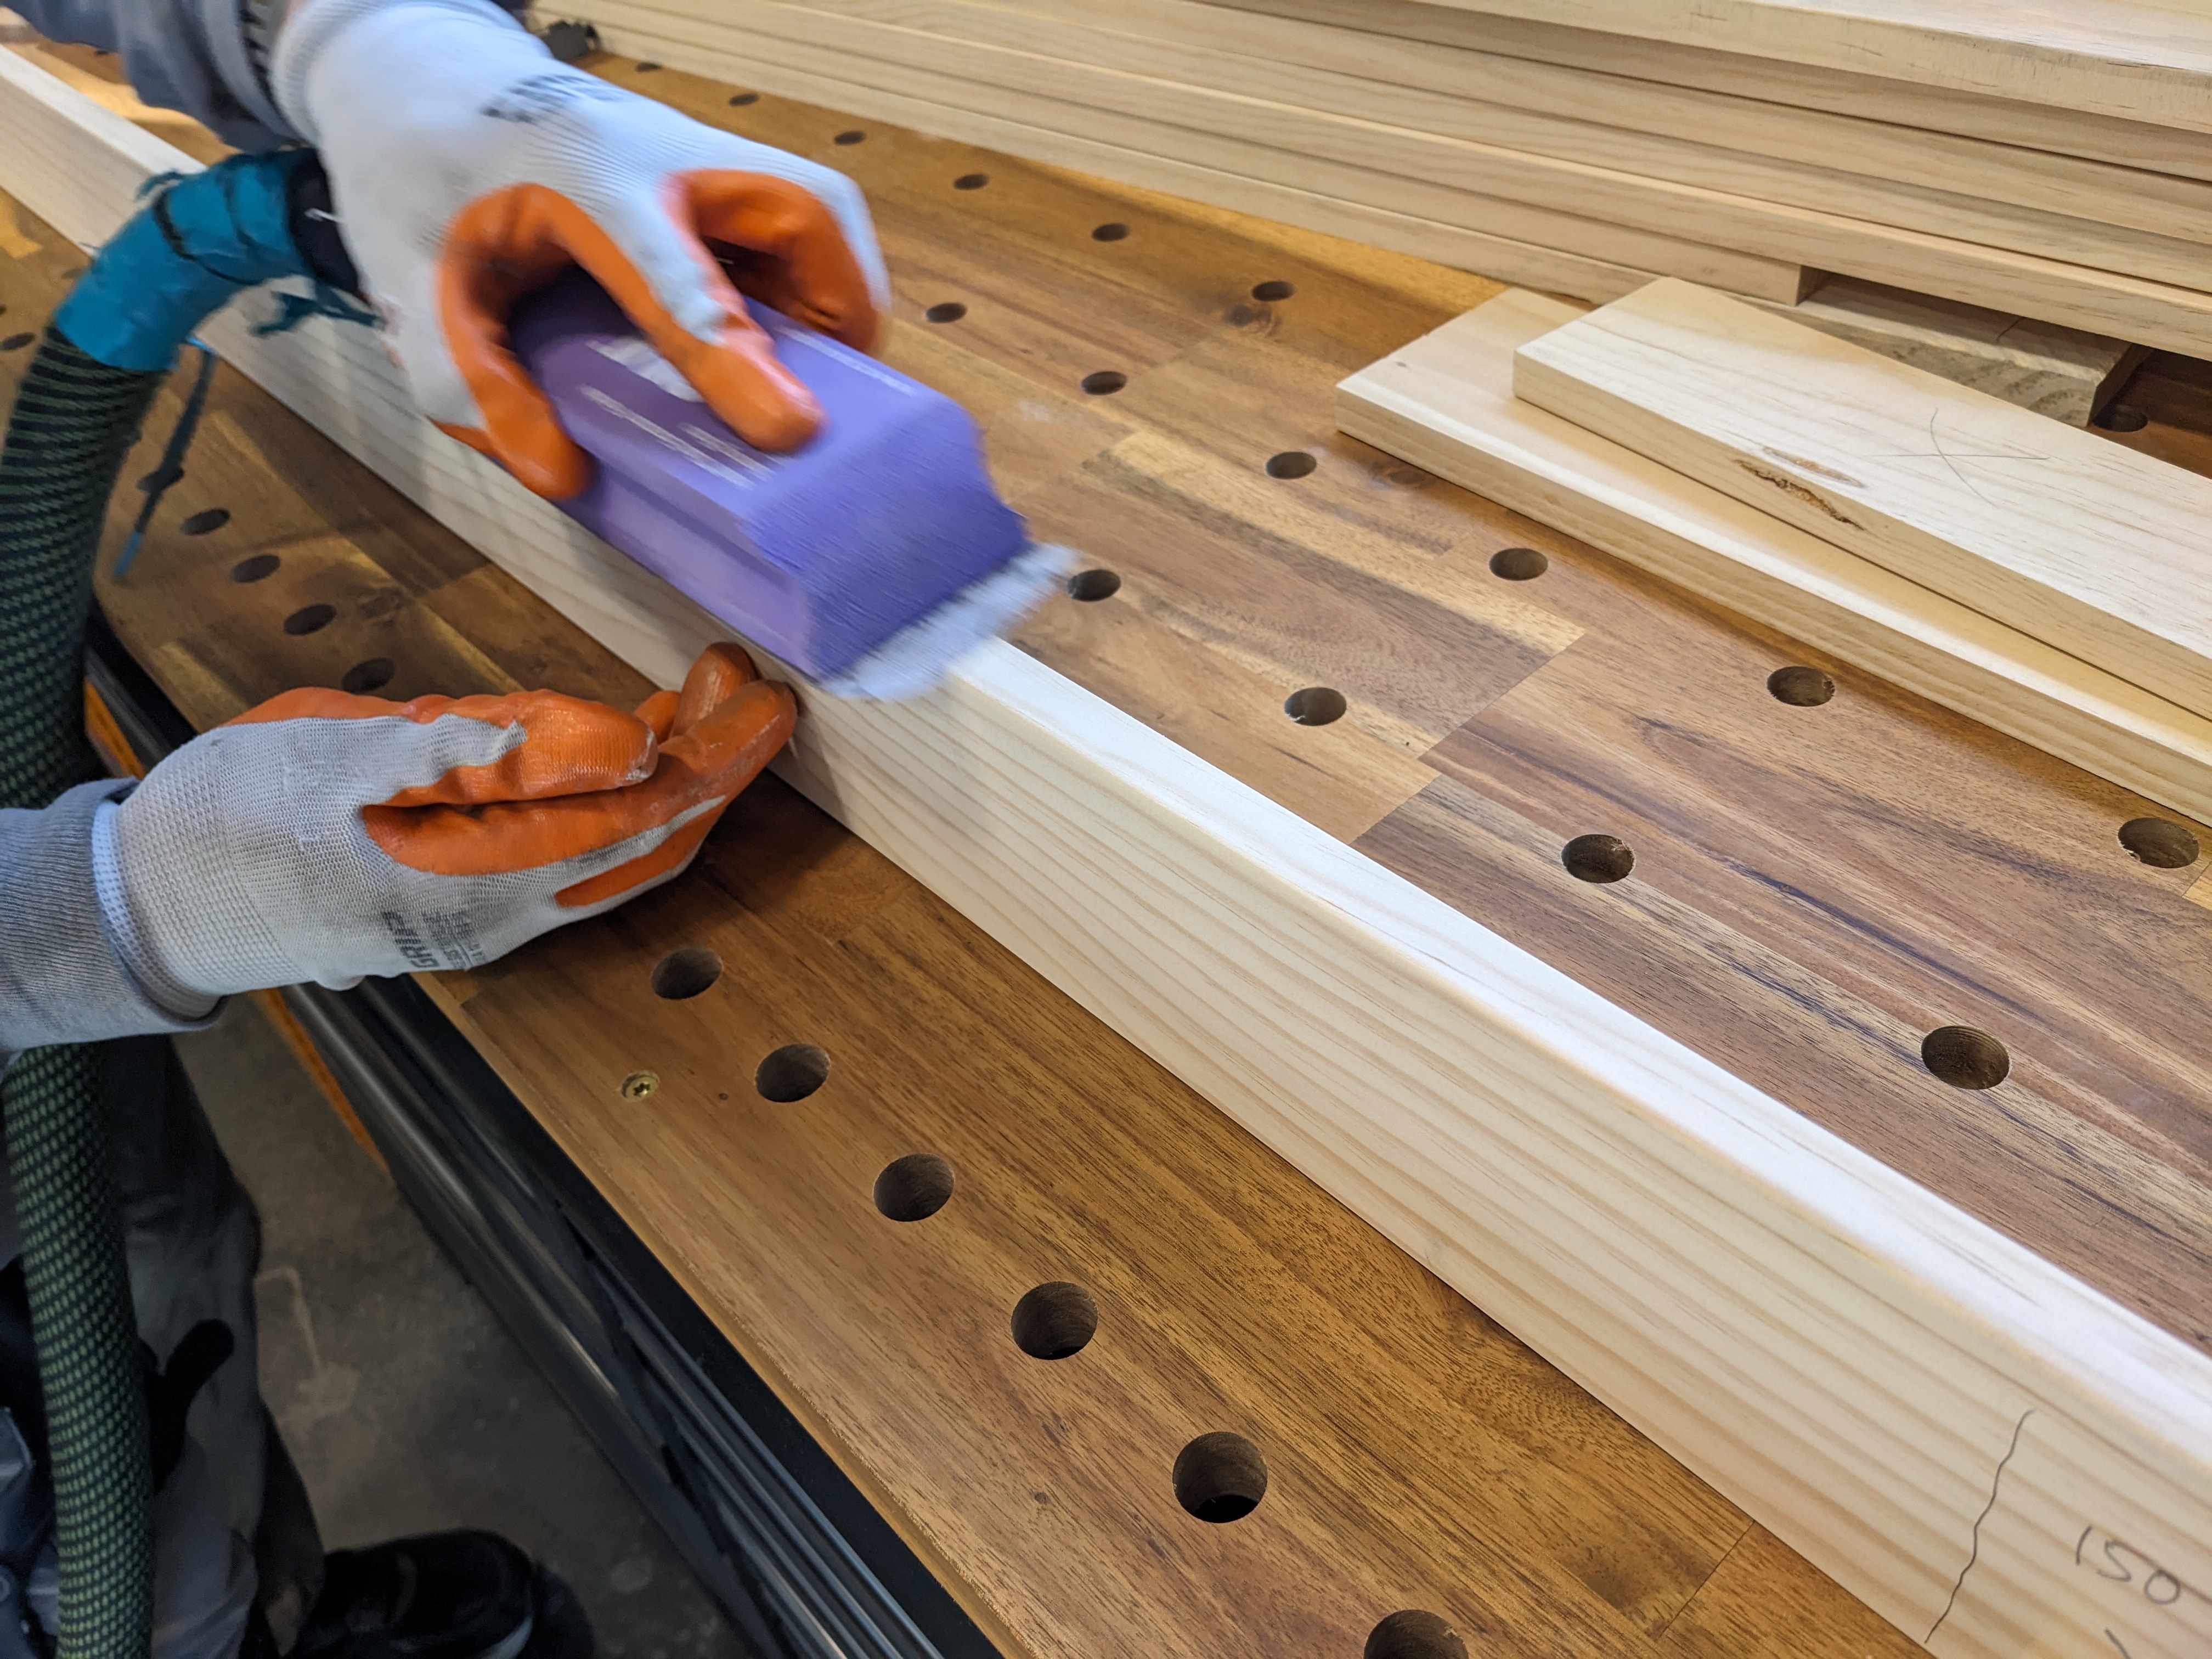
The fun wasn’t over yet! The boards had to be sanded before getting painted. We used a block to hand sand the edges and radius the long edges.
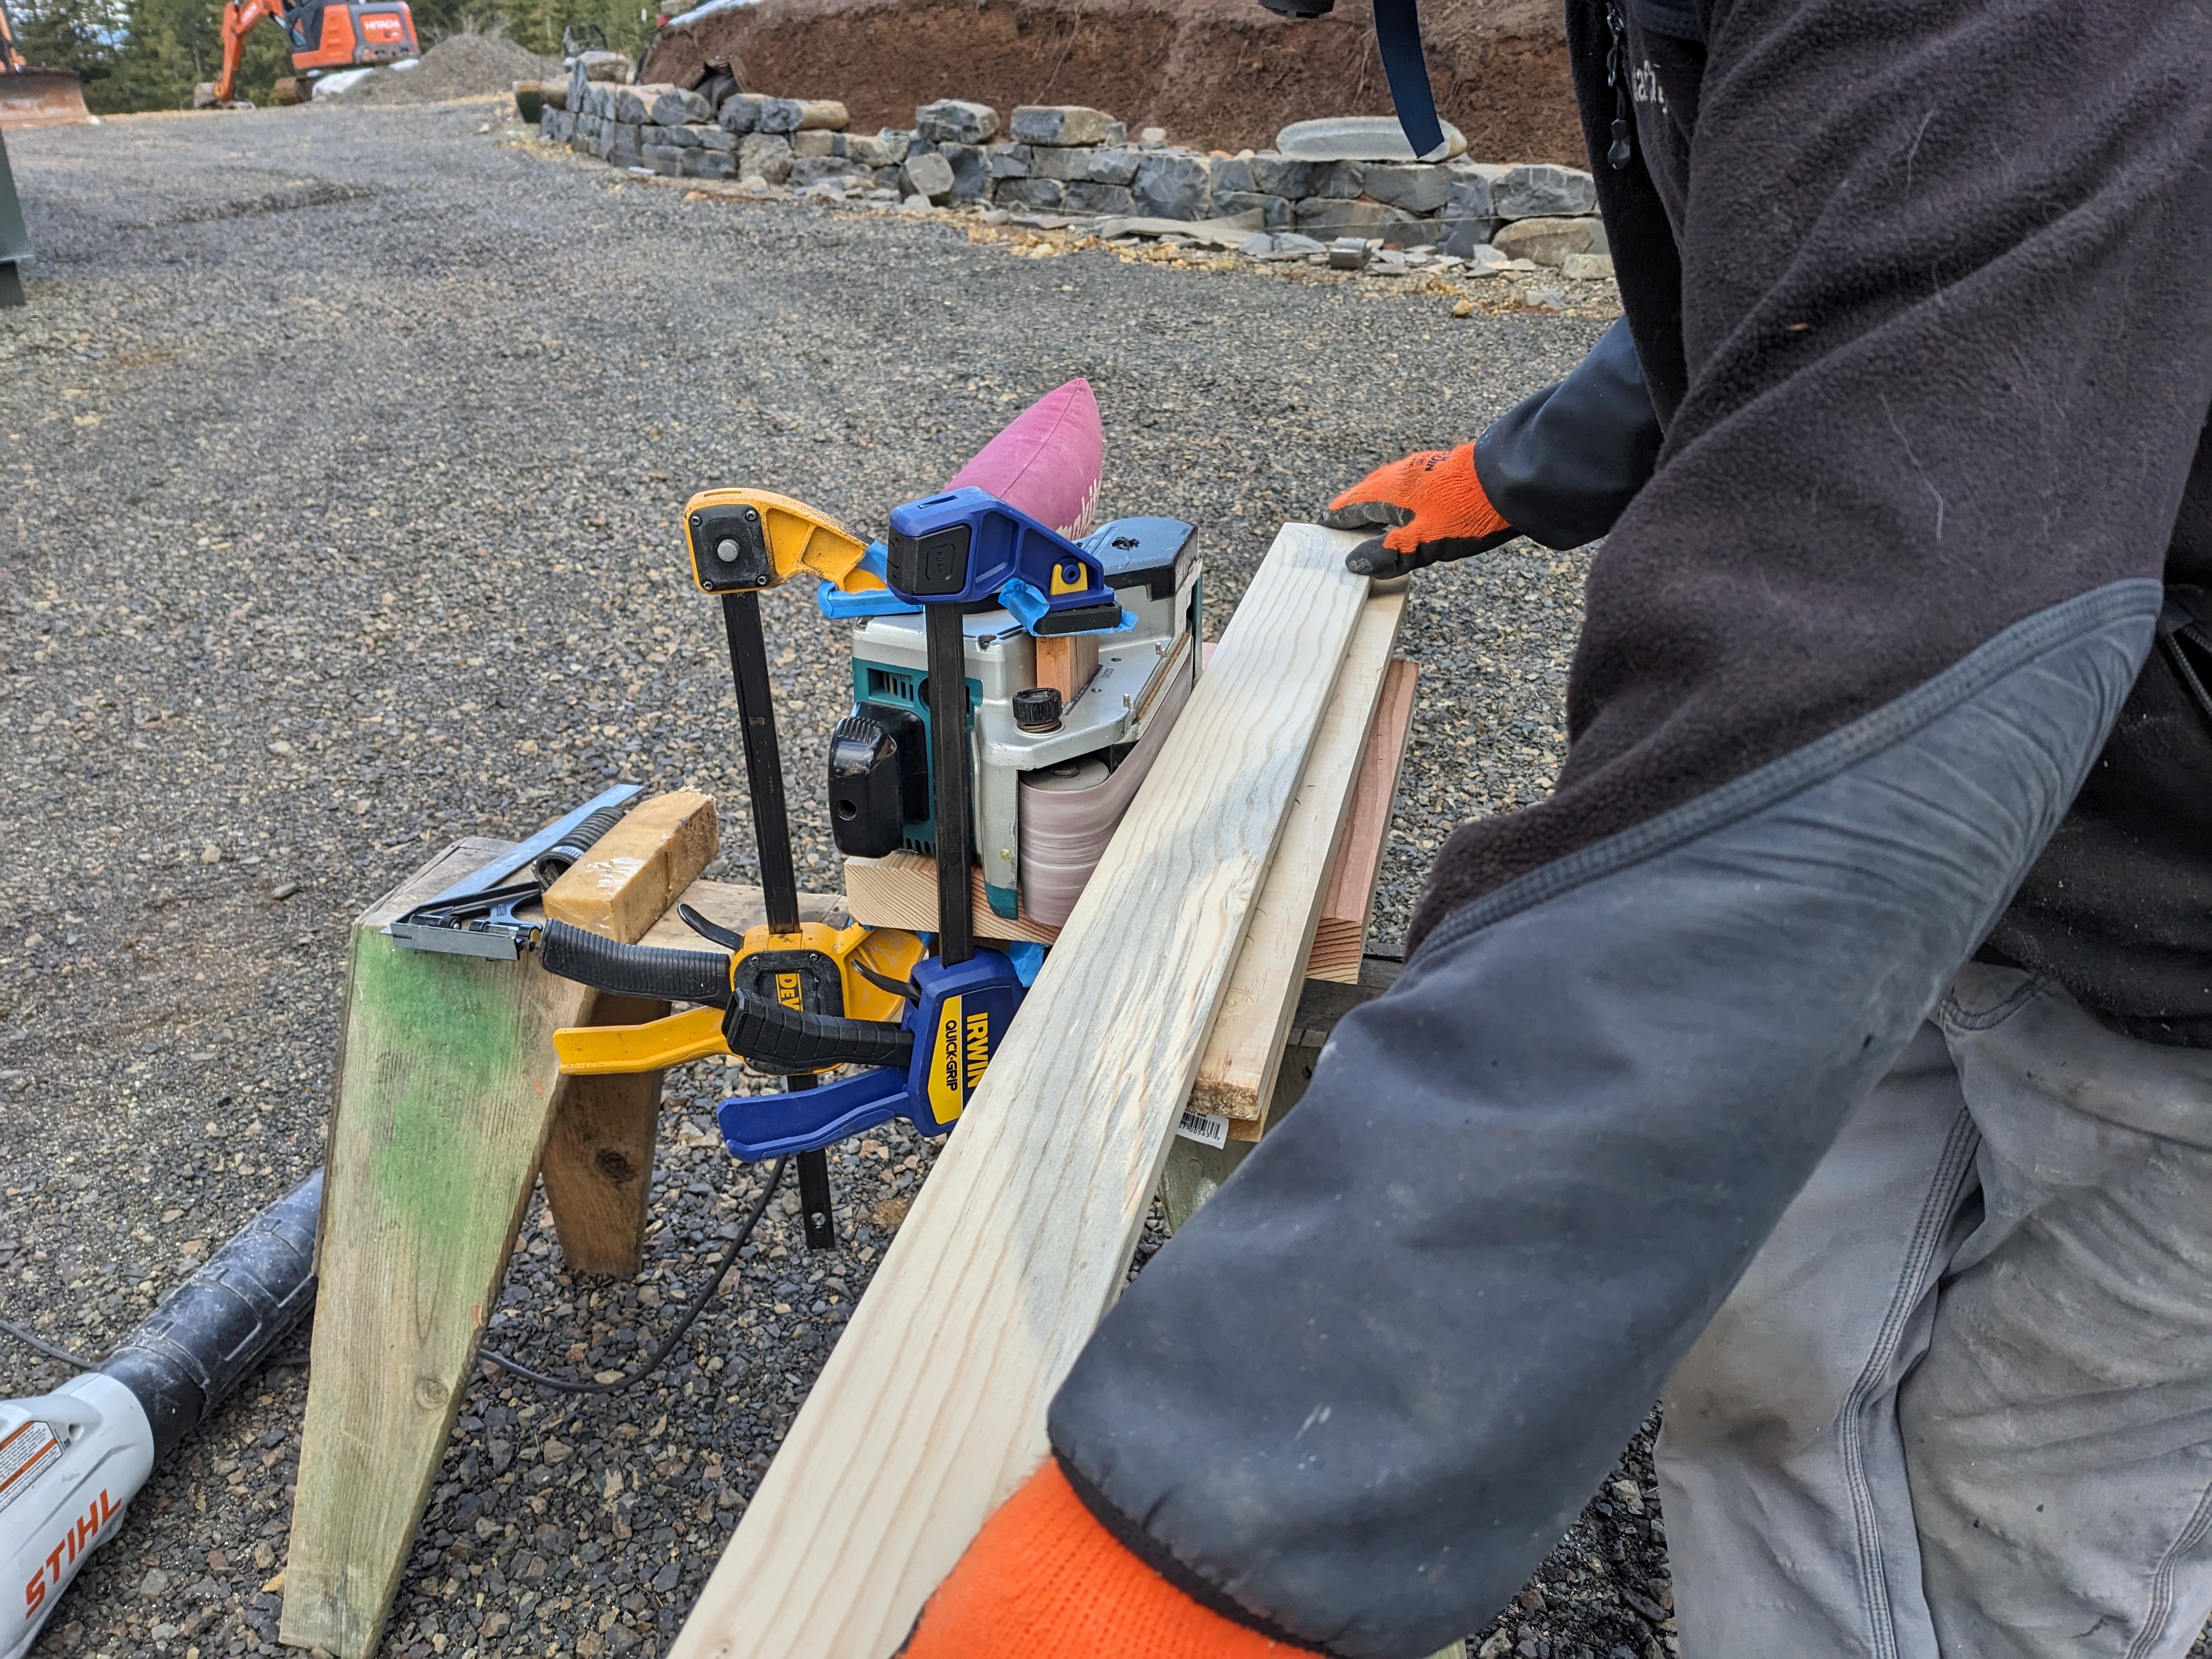
After a few days of that, Sam deemed the process too inefficient. He spent a few hours making a contraption for the belt sander. The new setup was 50 times faster.
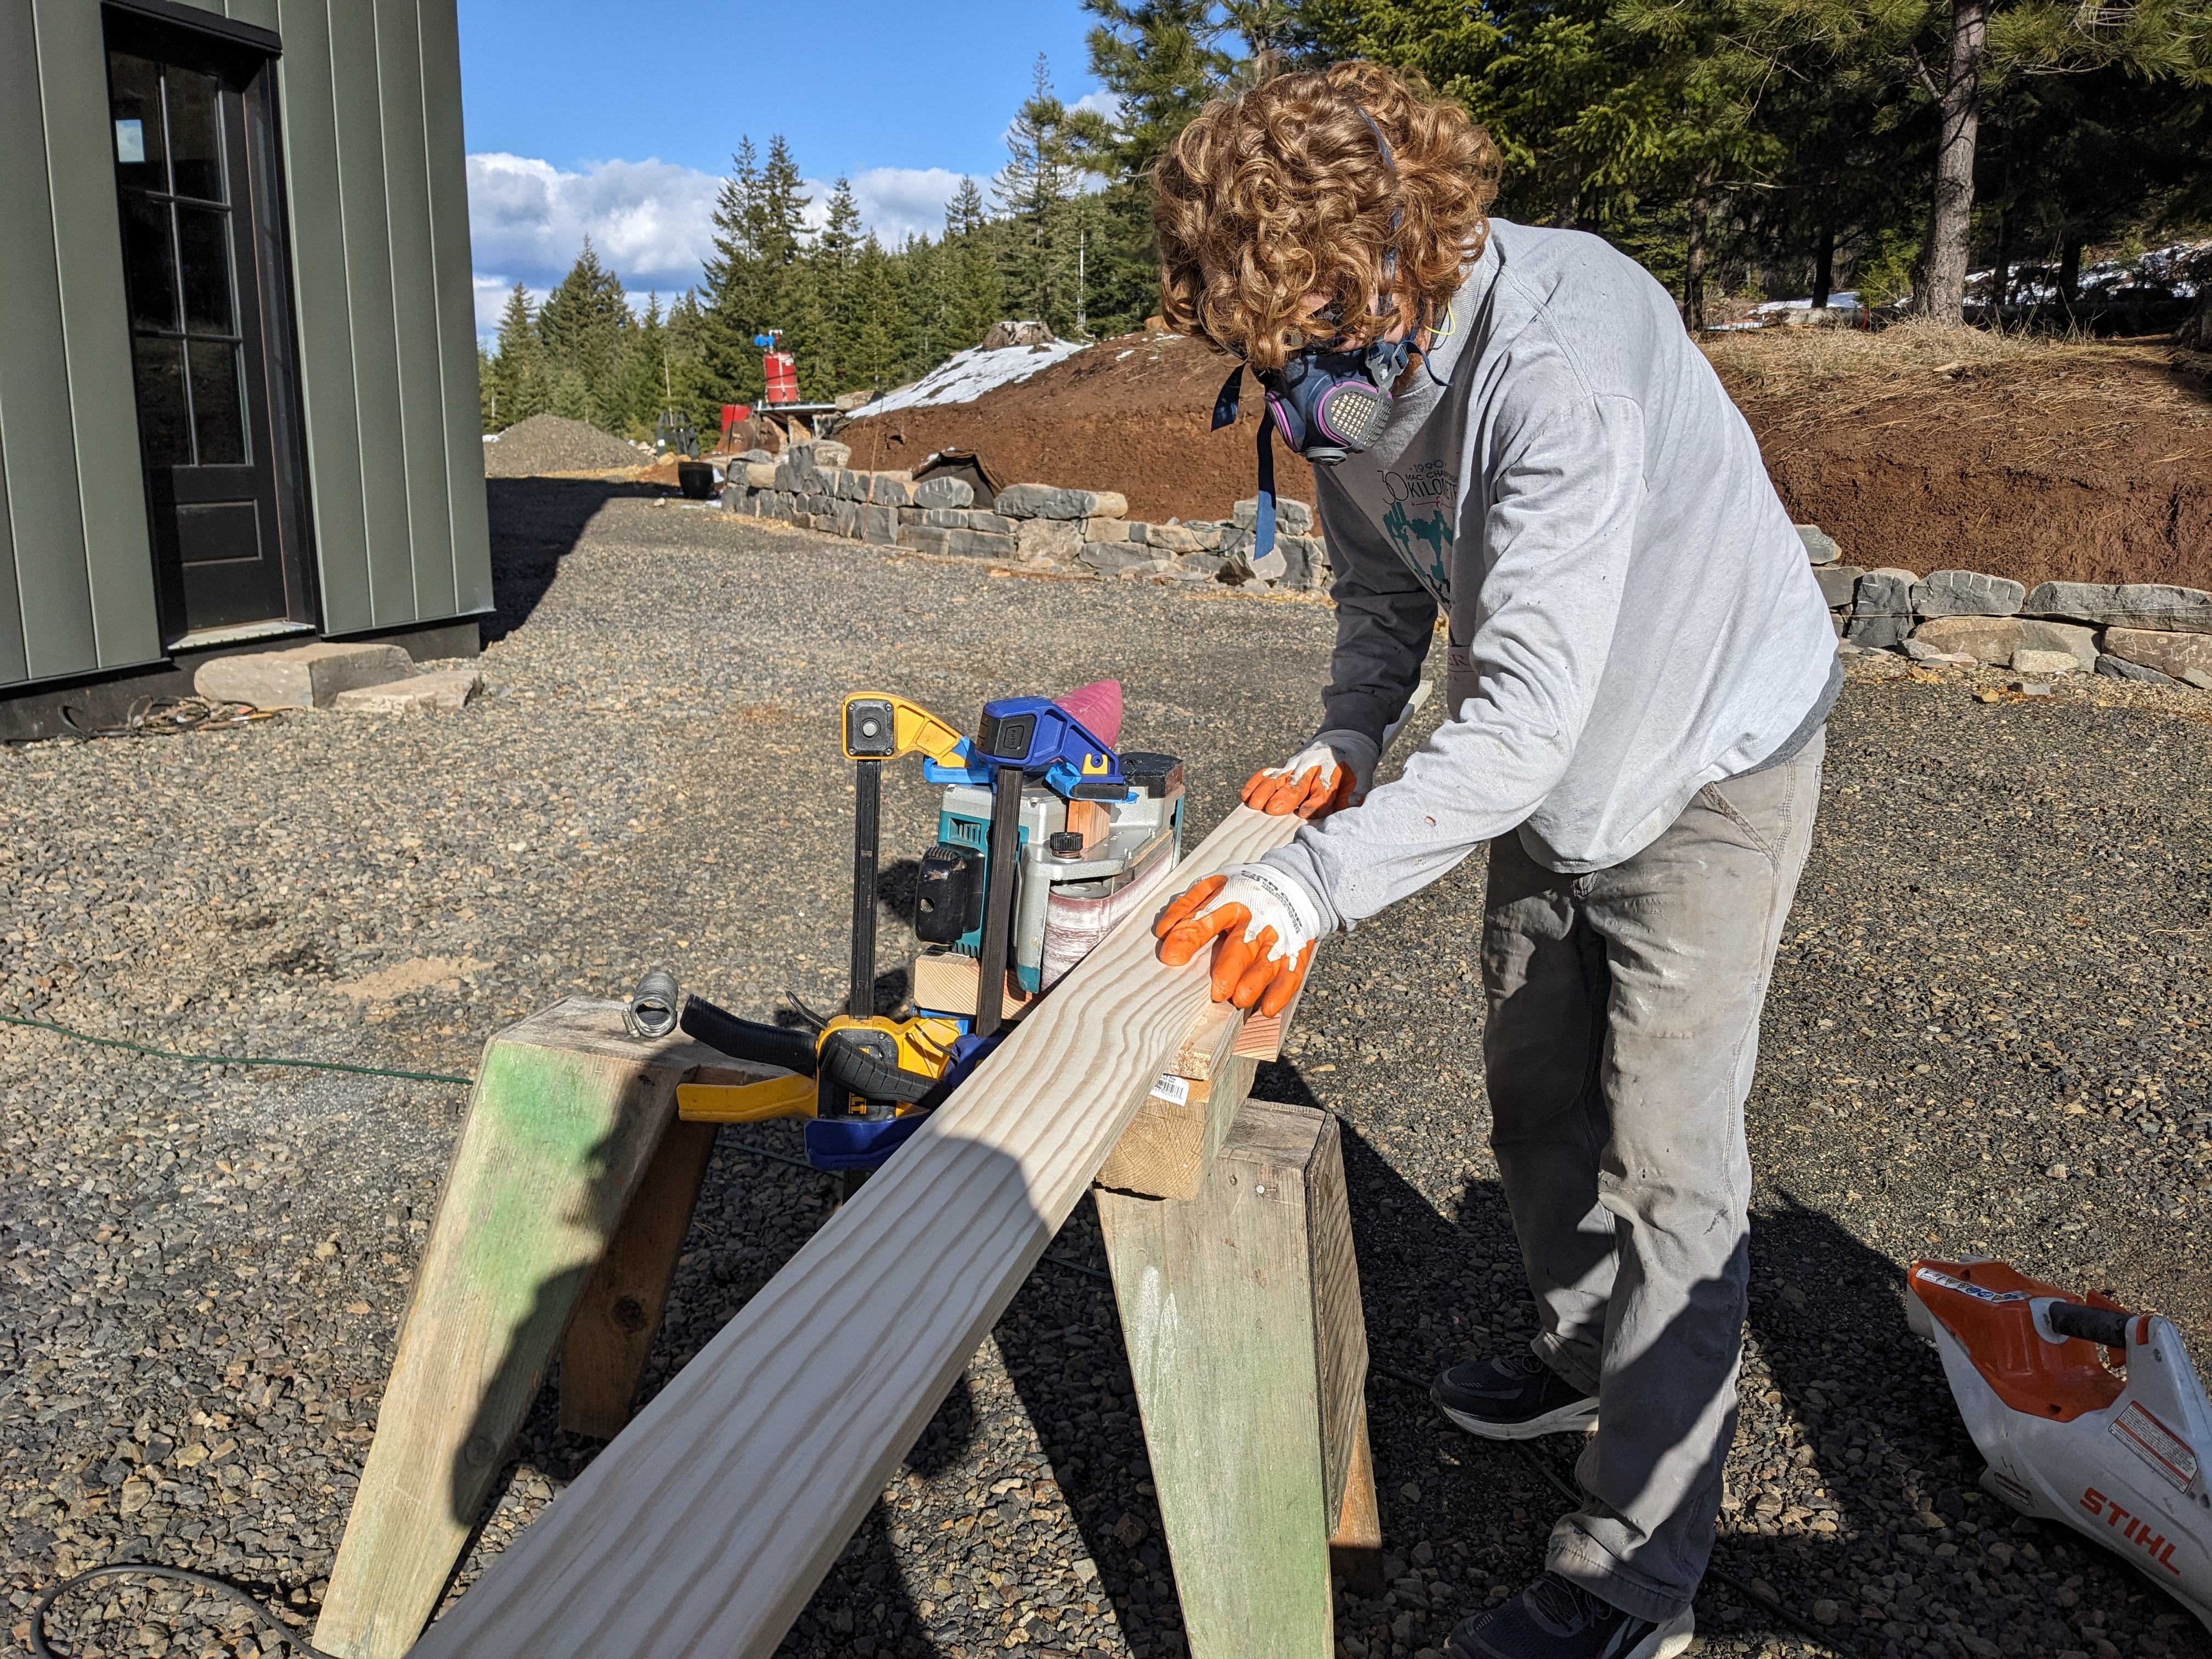
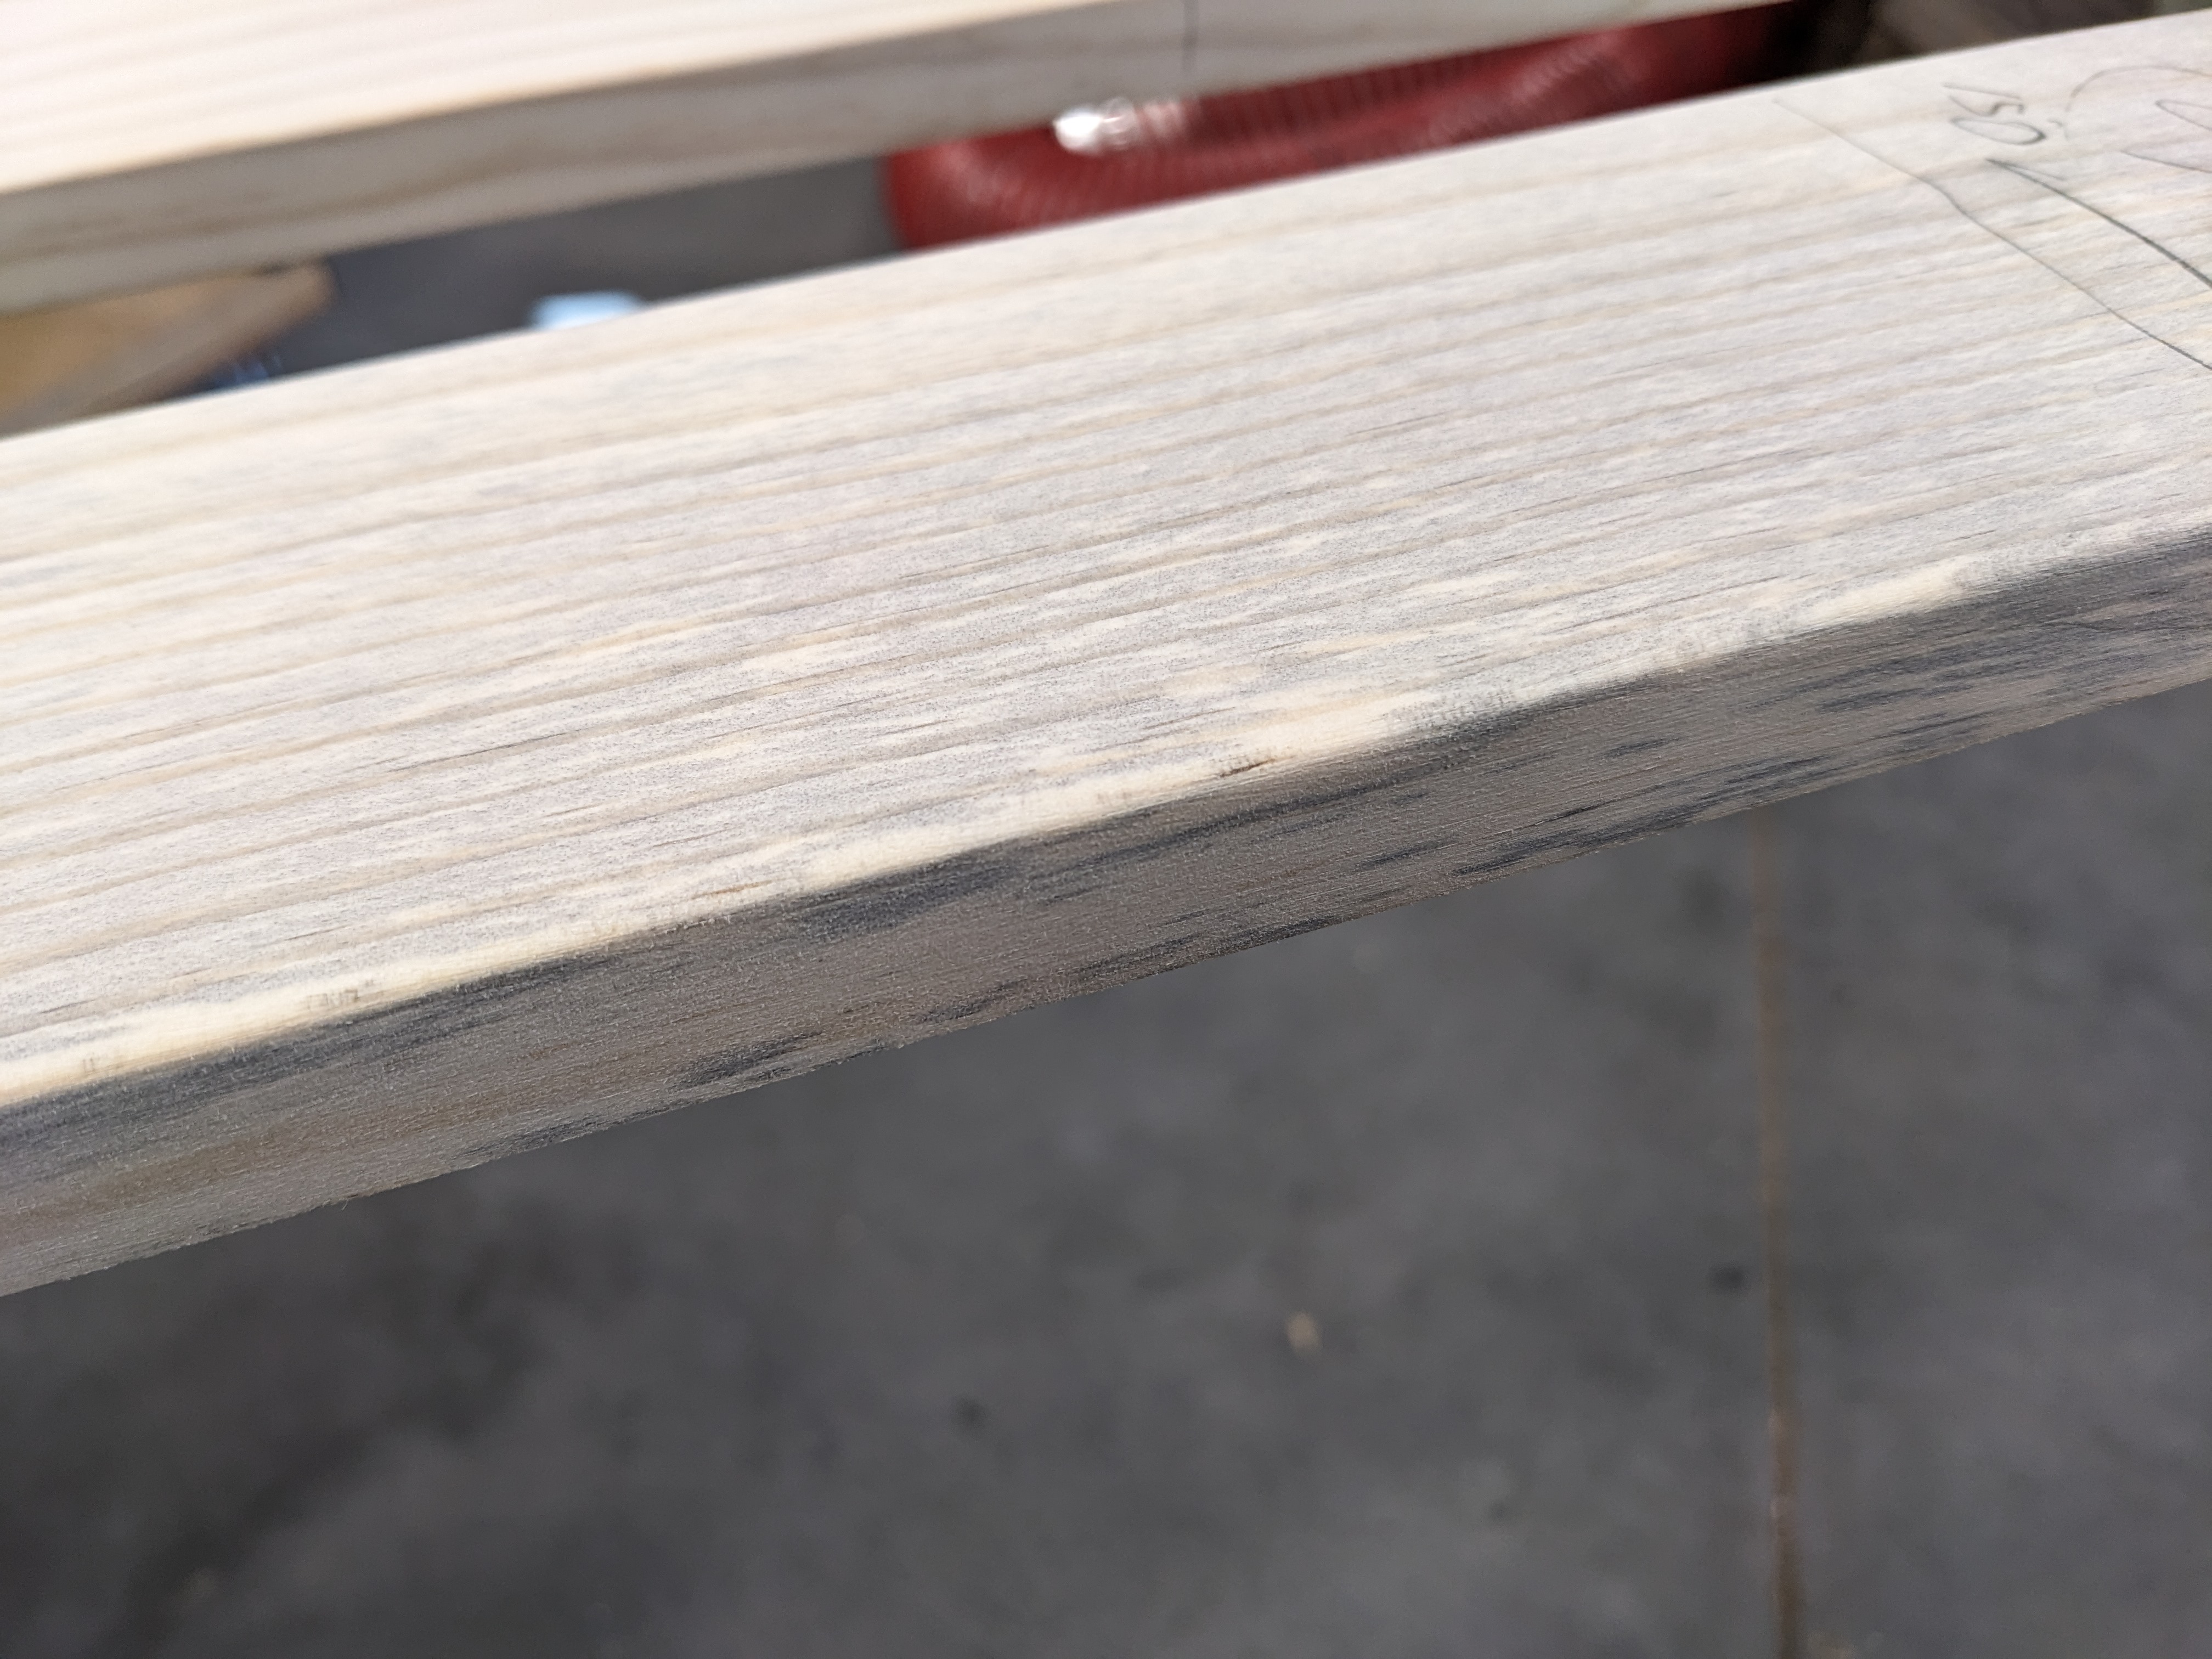
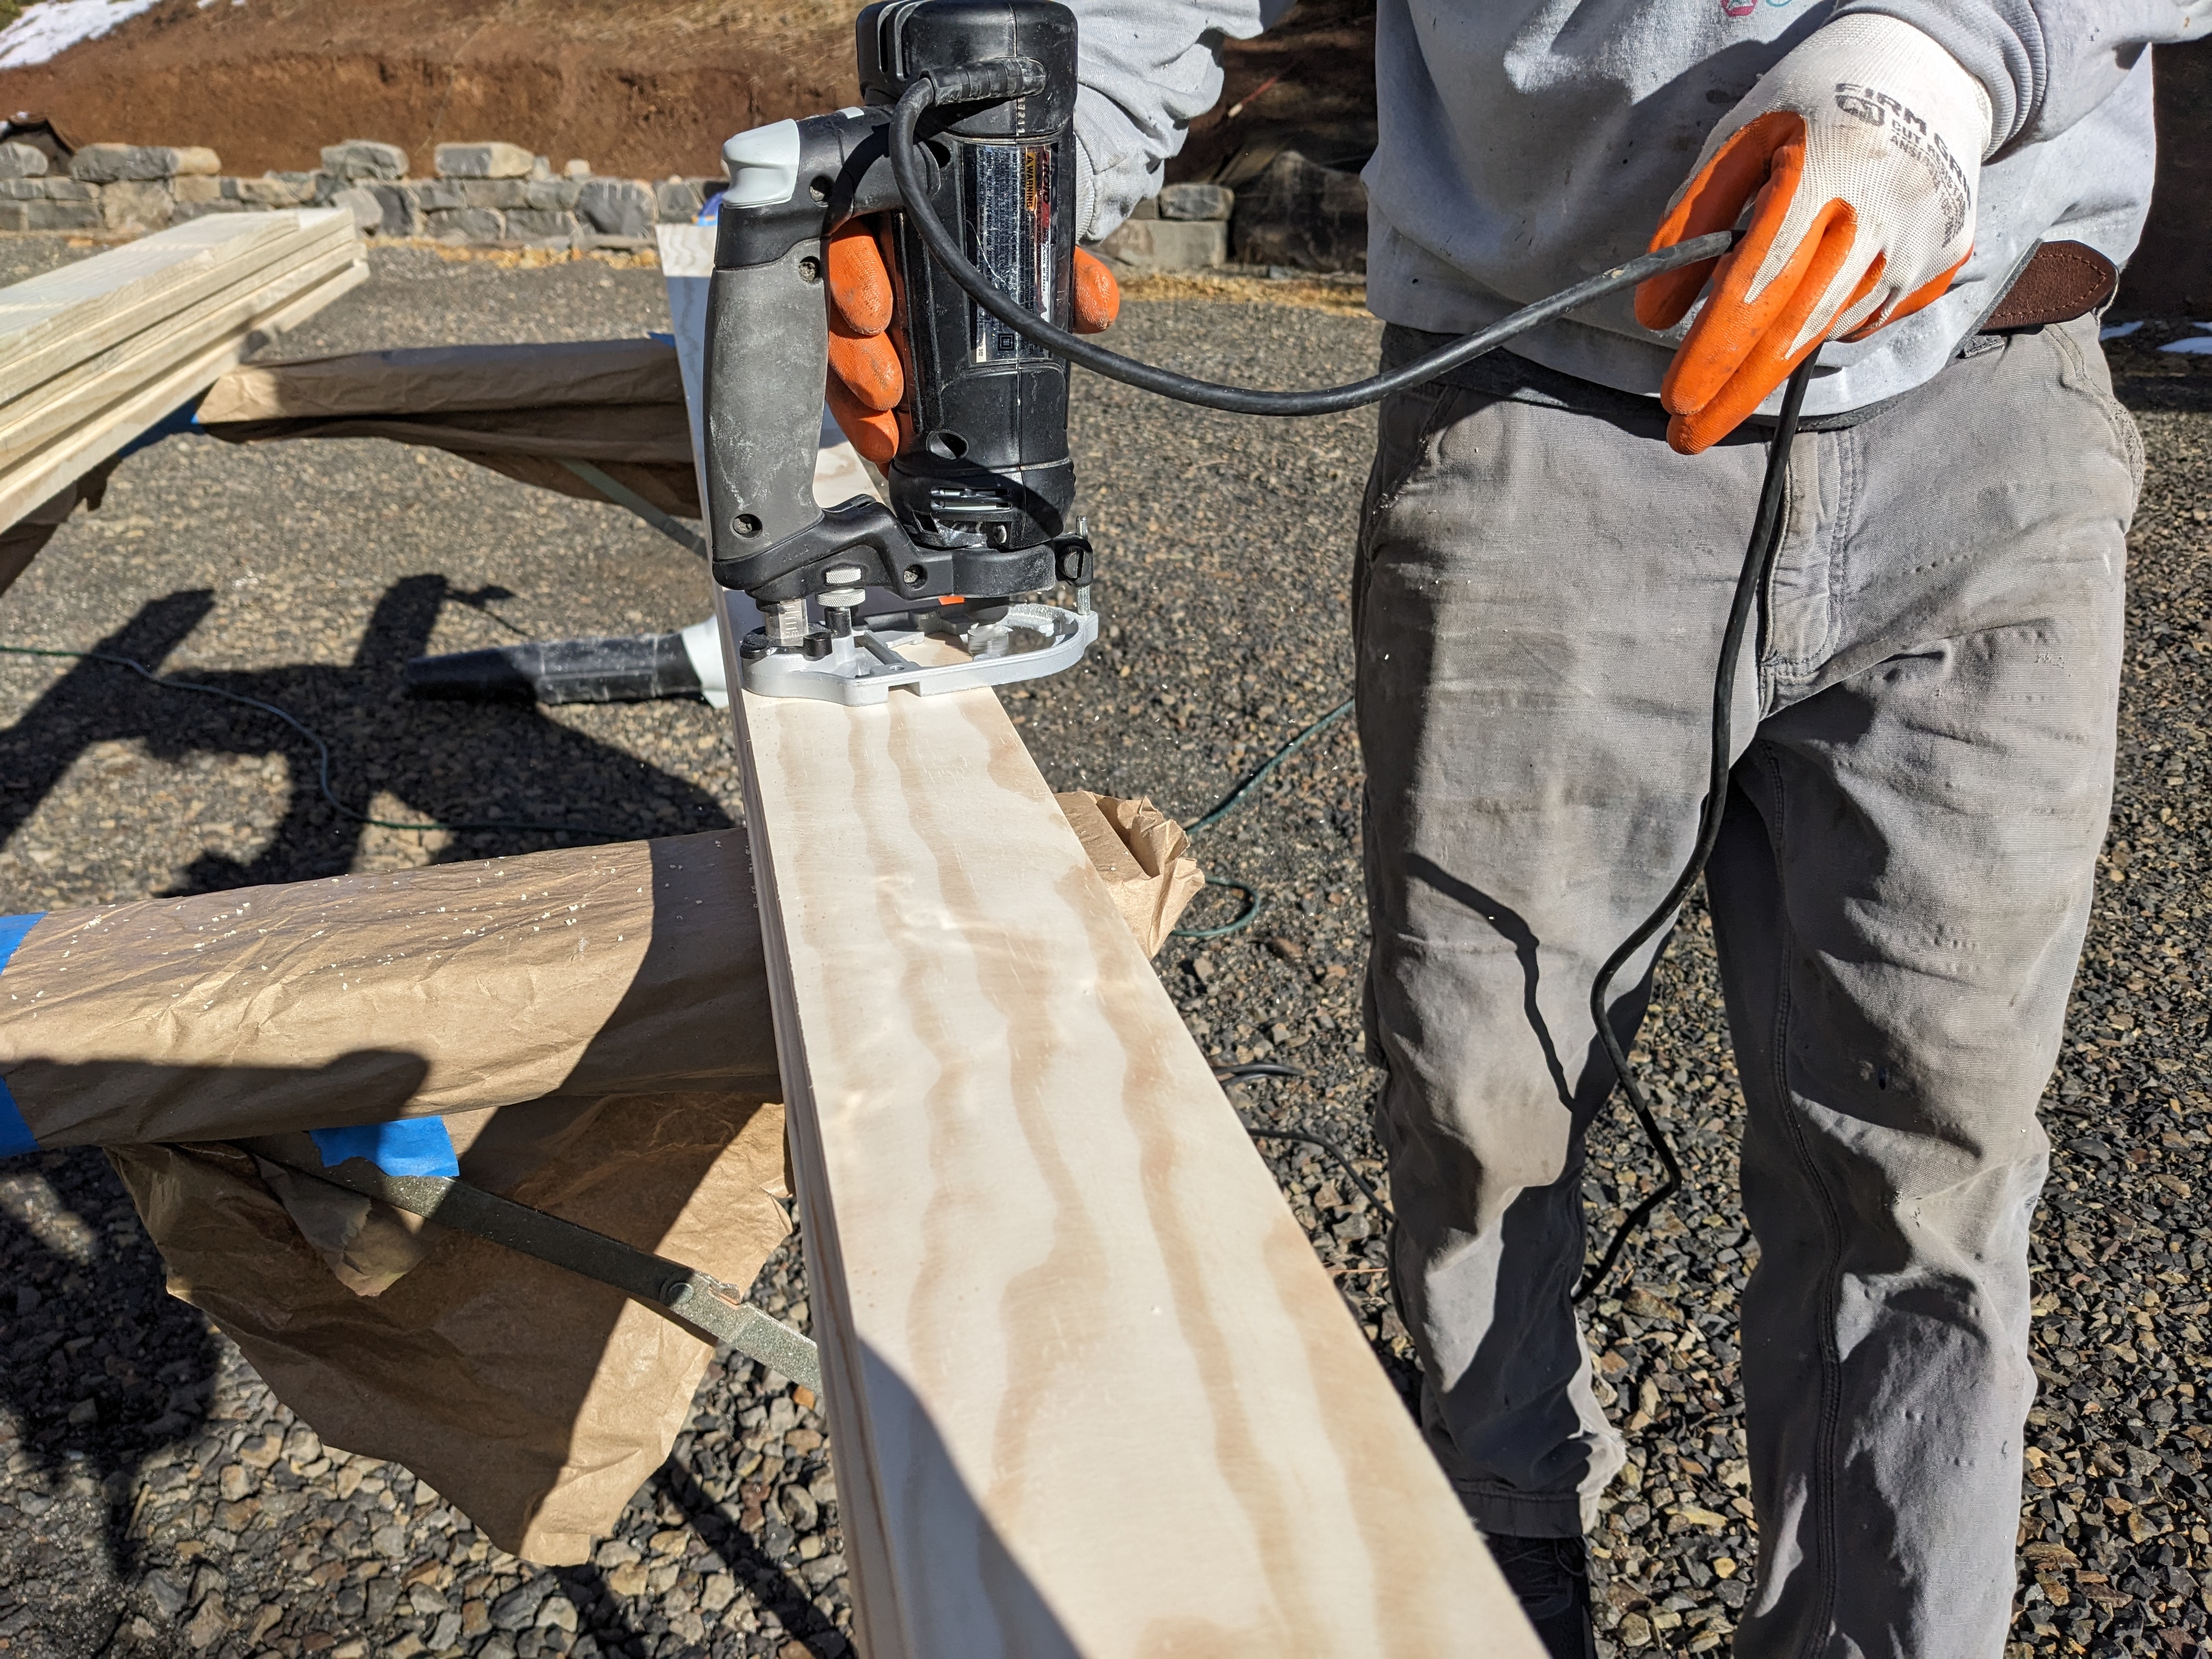
Sam also got the router out to round the edges.
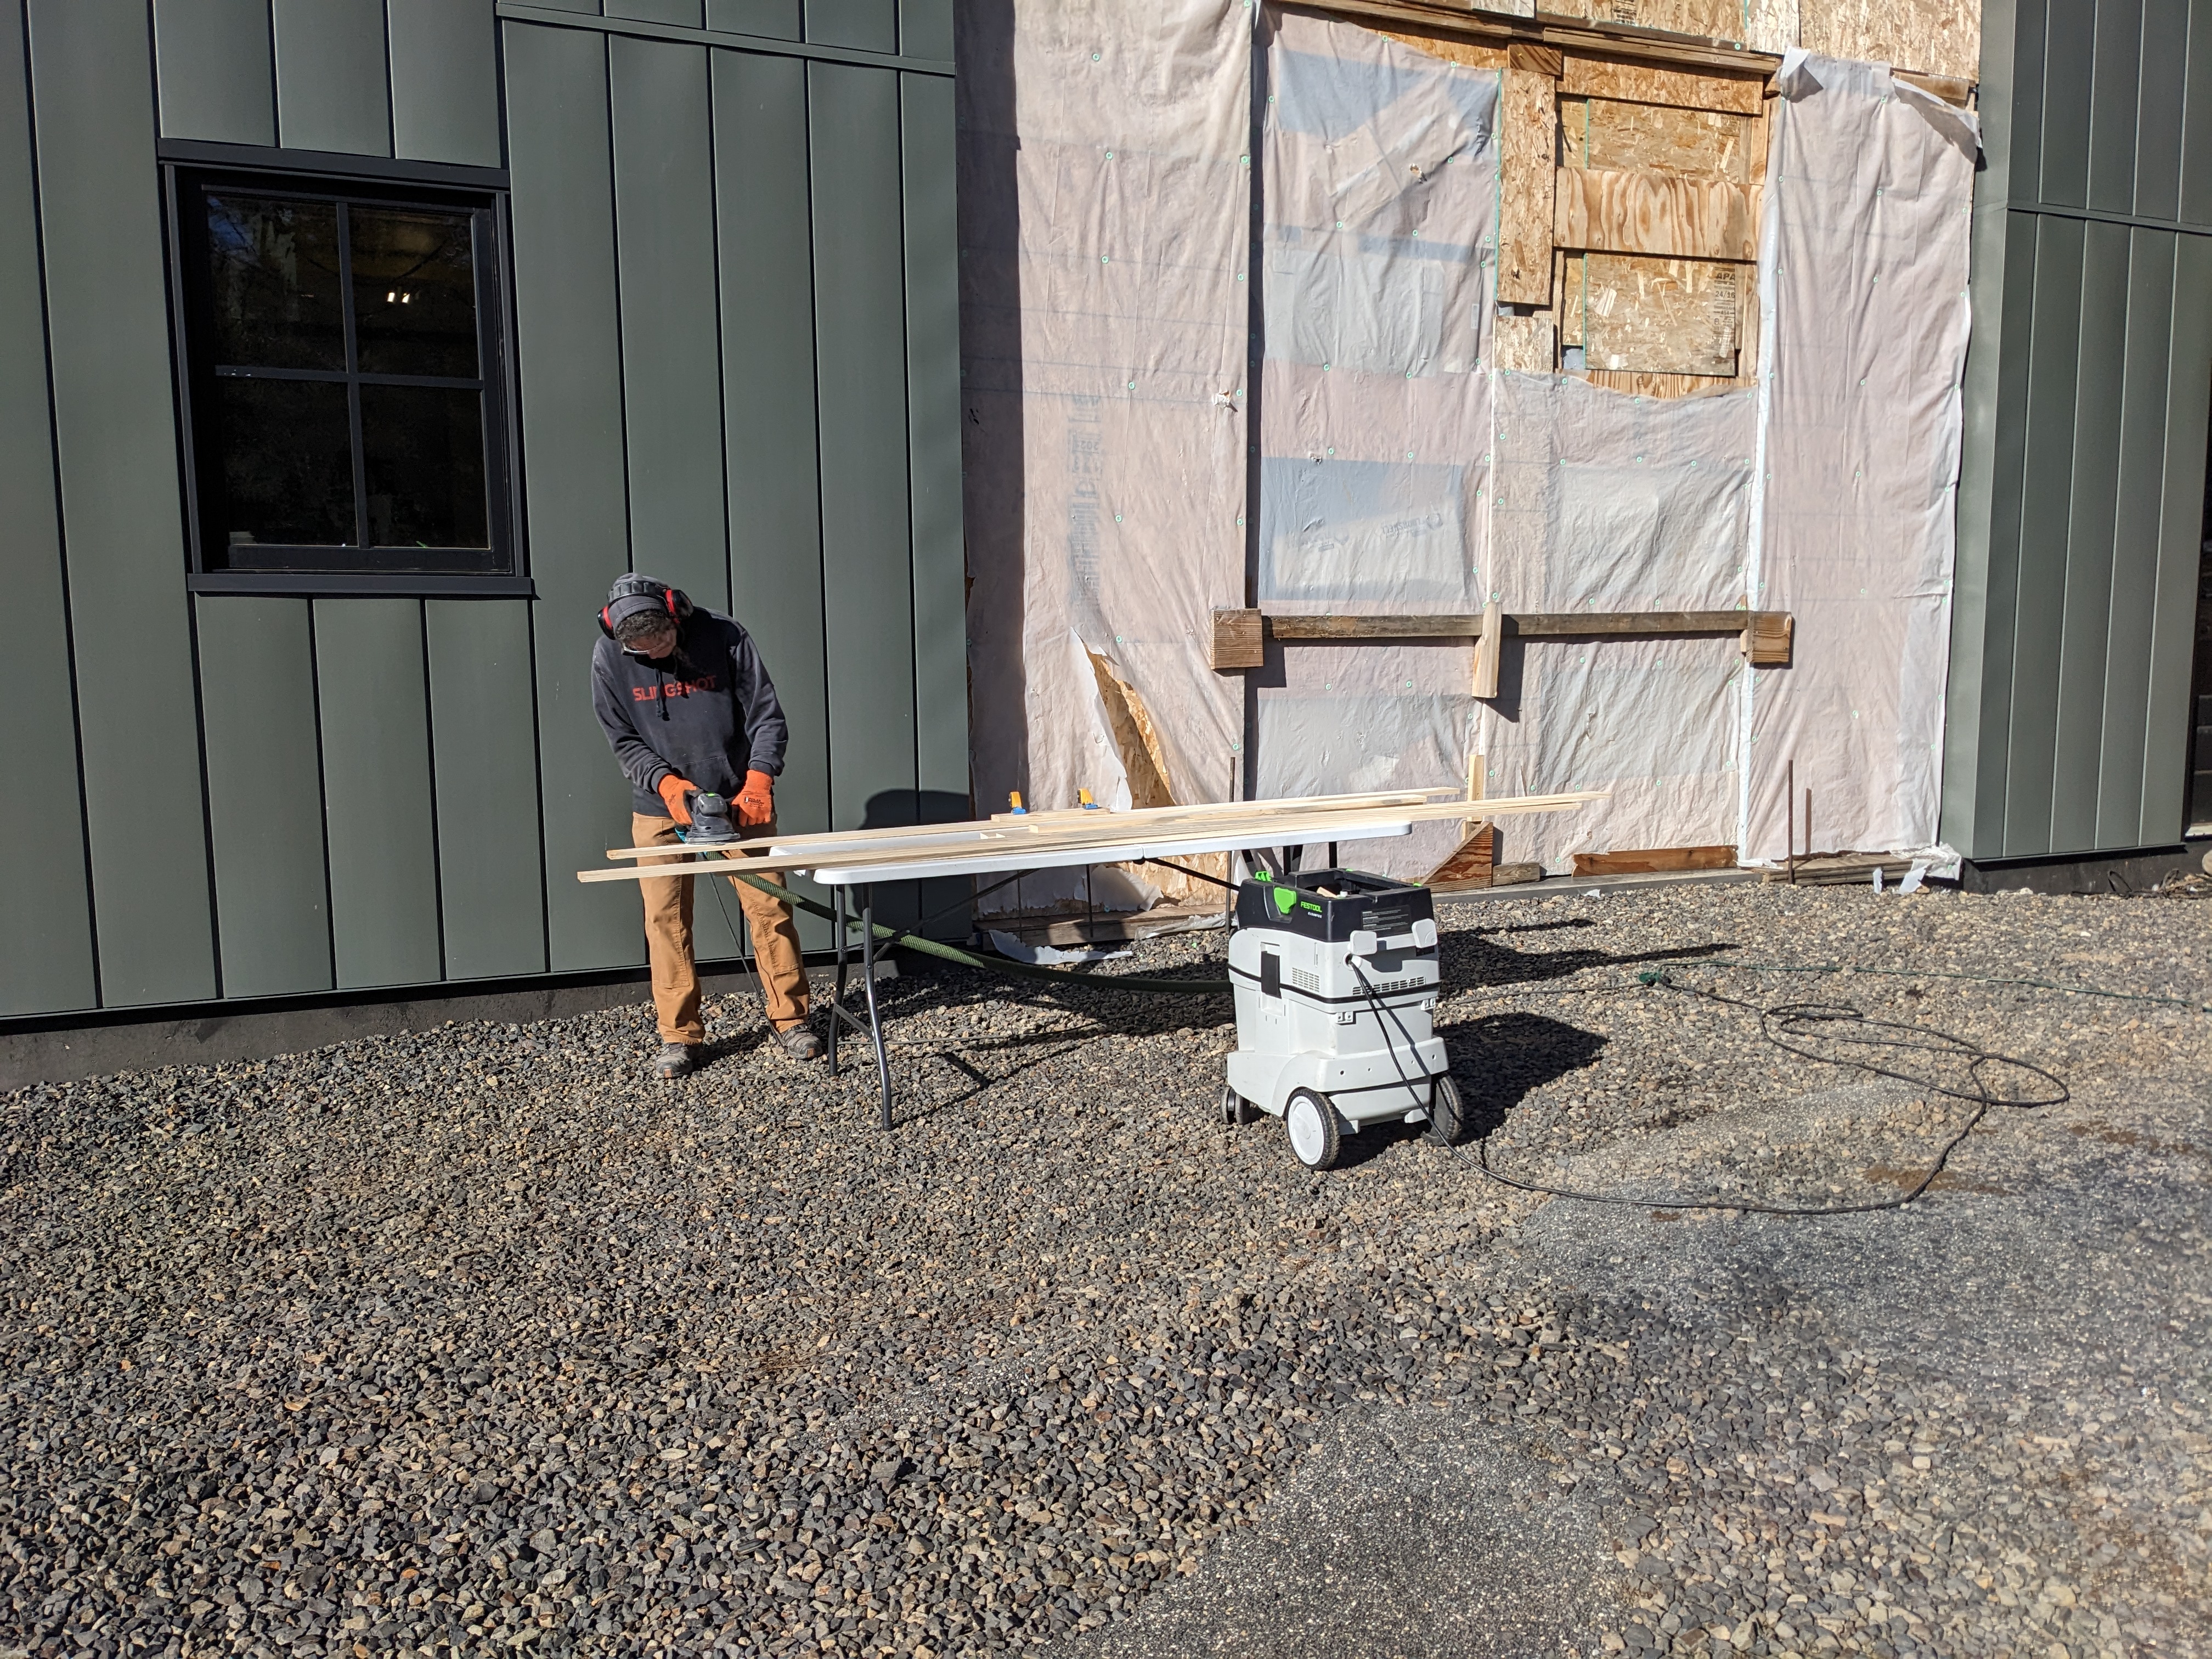
Lastly, we sanded the faces. We used the orbital sander with a course grit followed by a finer grit until we had the smoothest trim pieces in the neighborhood.
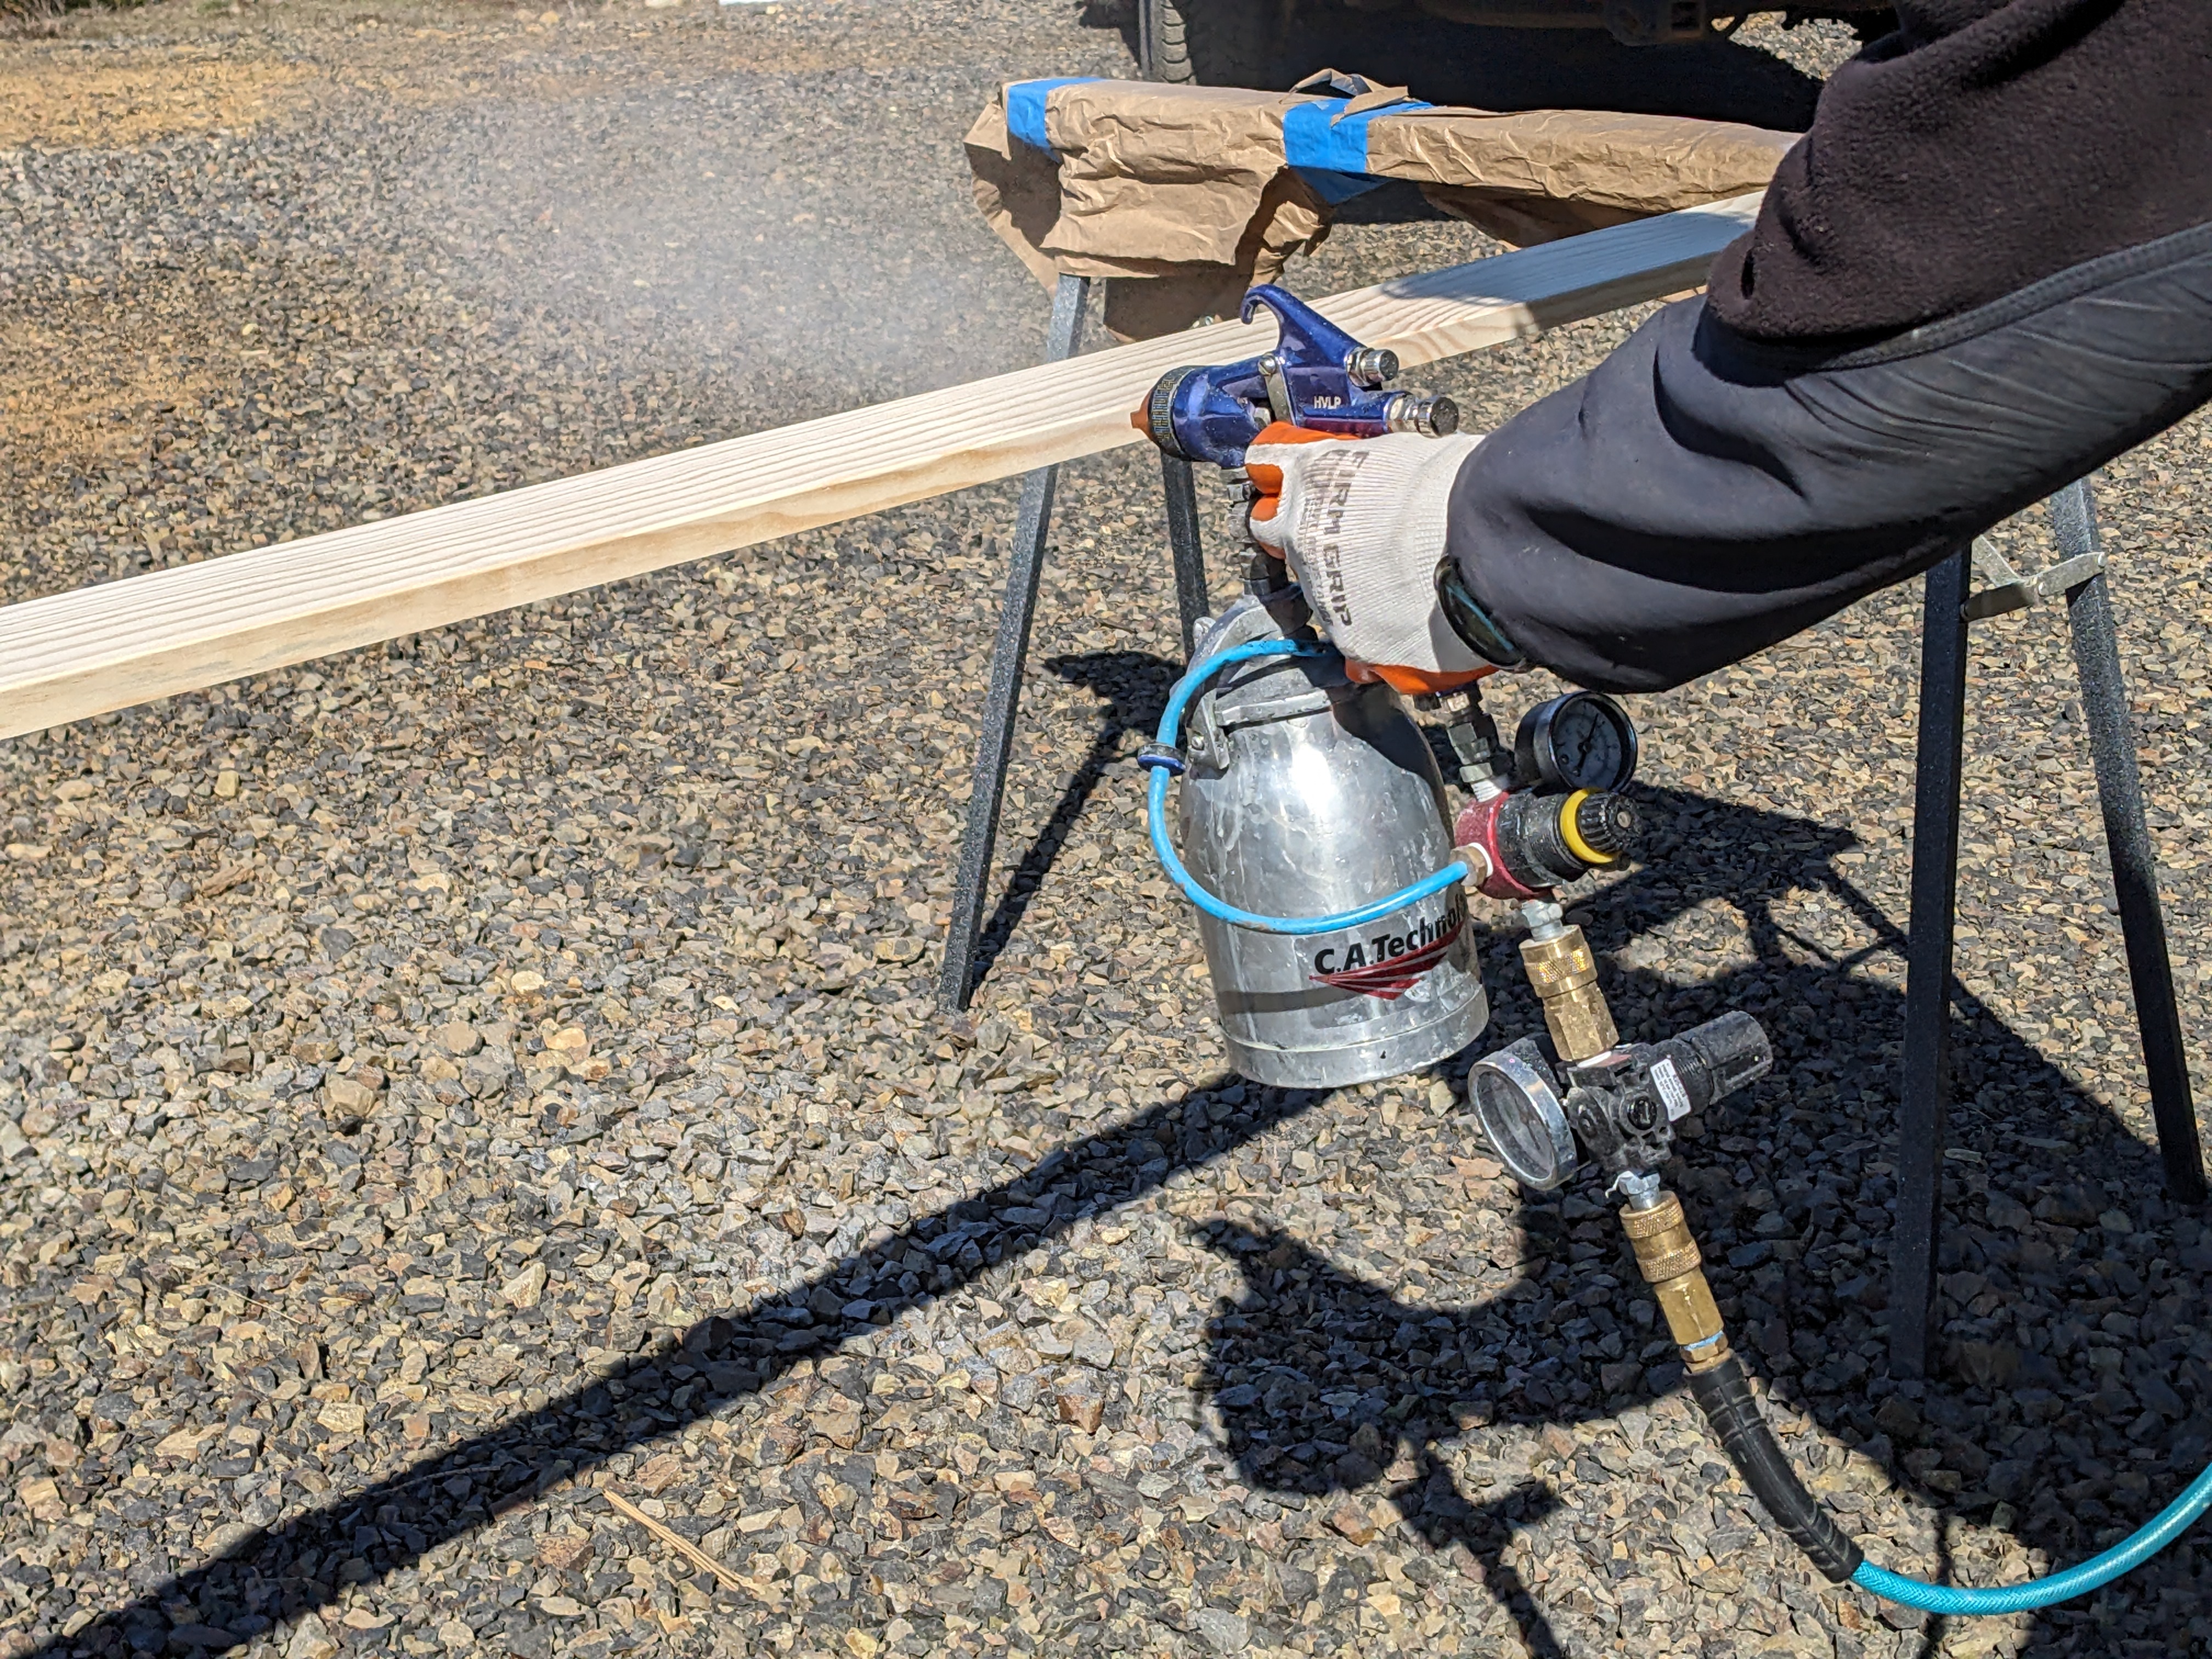
Sam sprayed all the trim we made that winter. I think we finished about a third to a half of the trim last year.

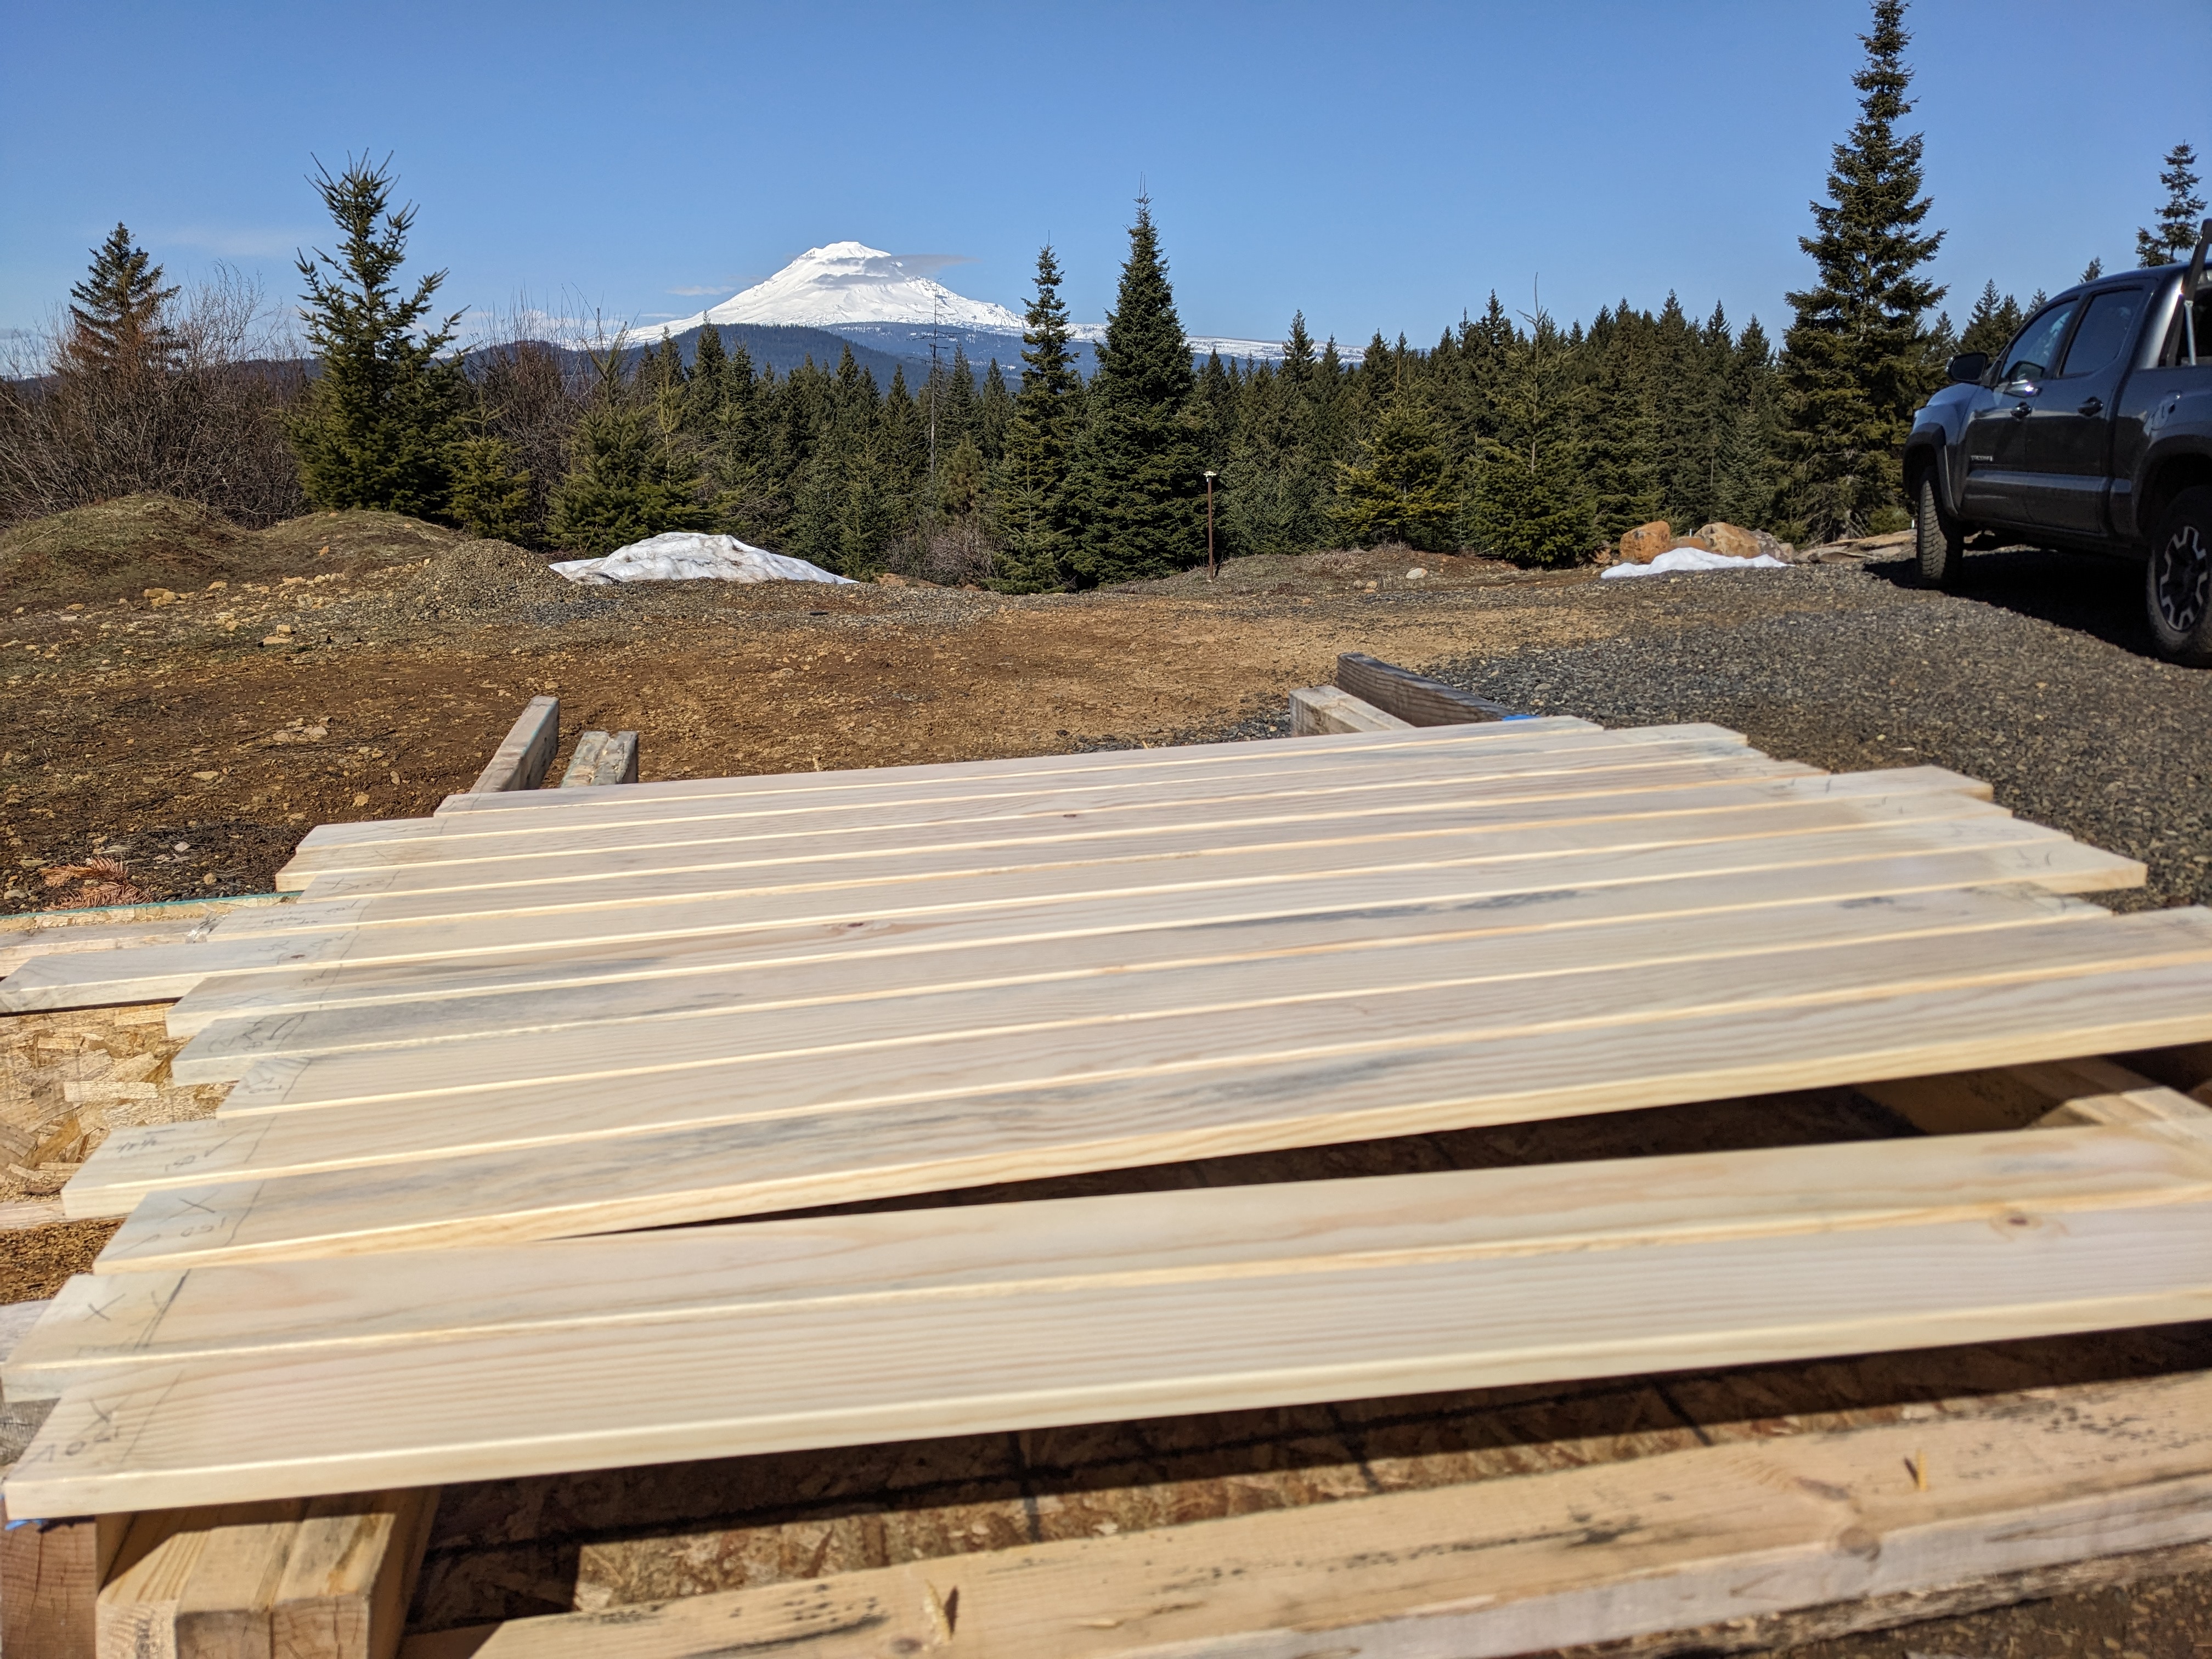
Carpentry season ended with winter, and the rest of the wood remained in inconvenient stacks for another year.
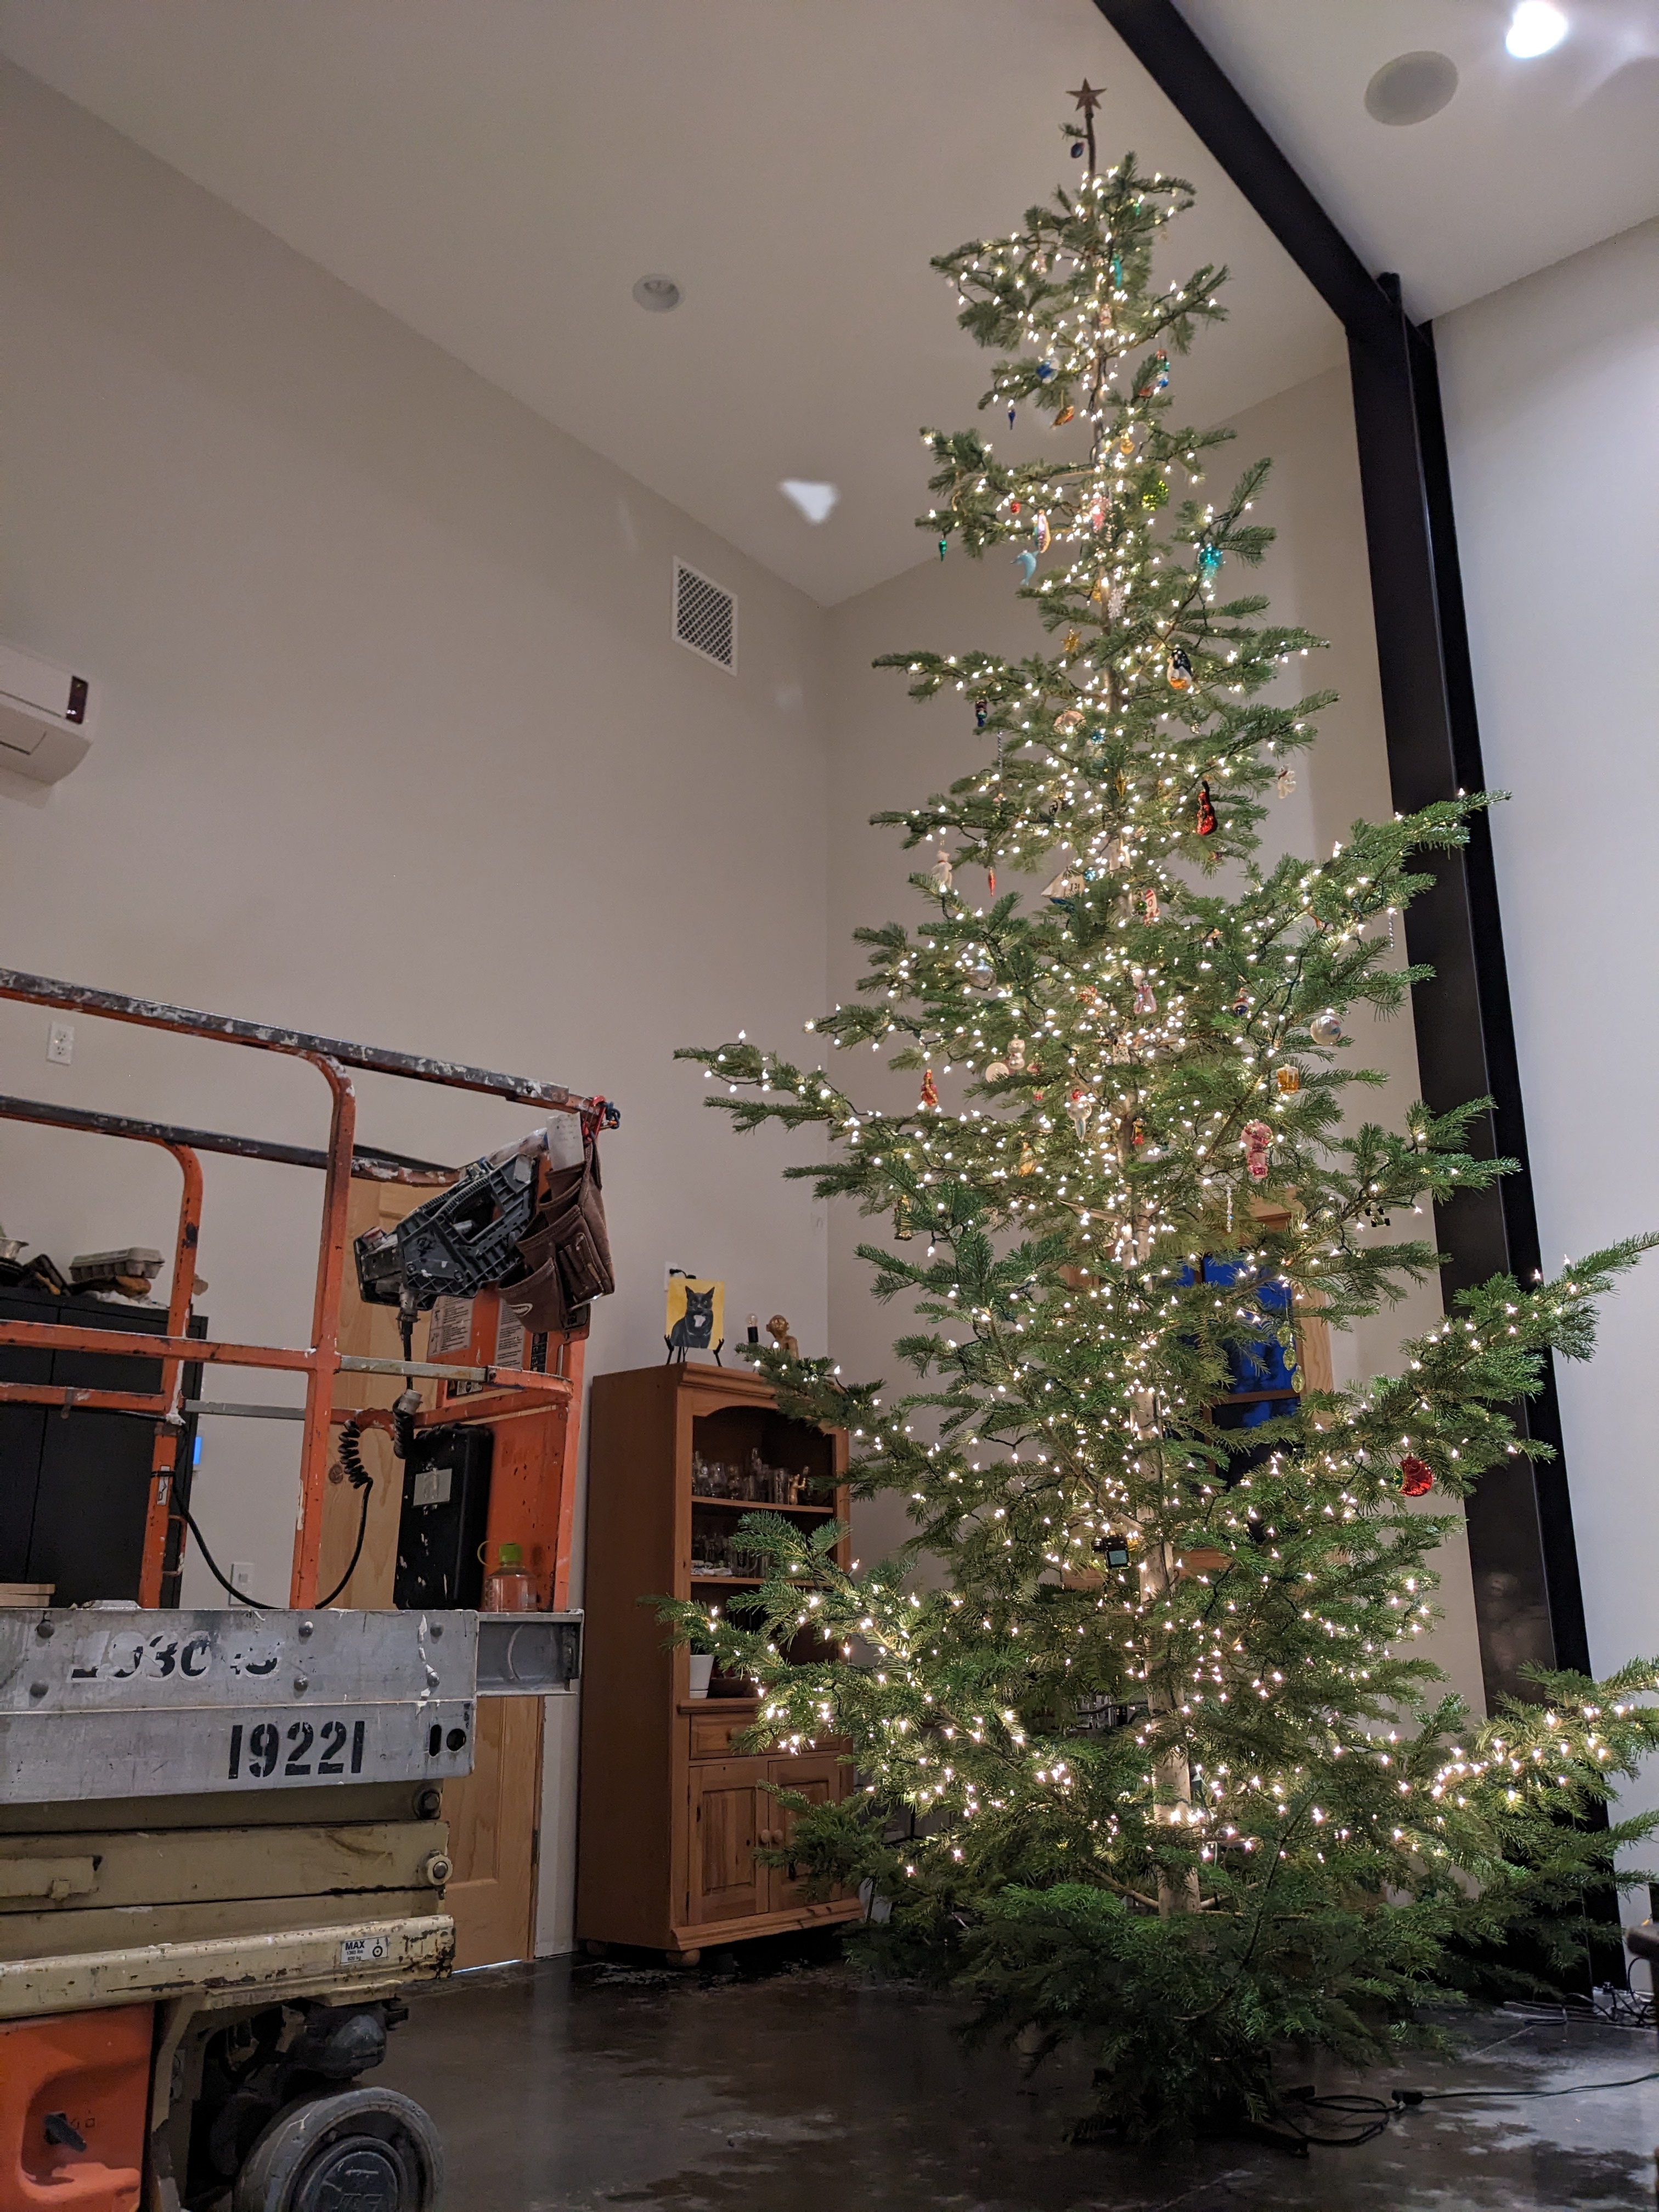
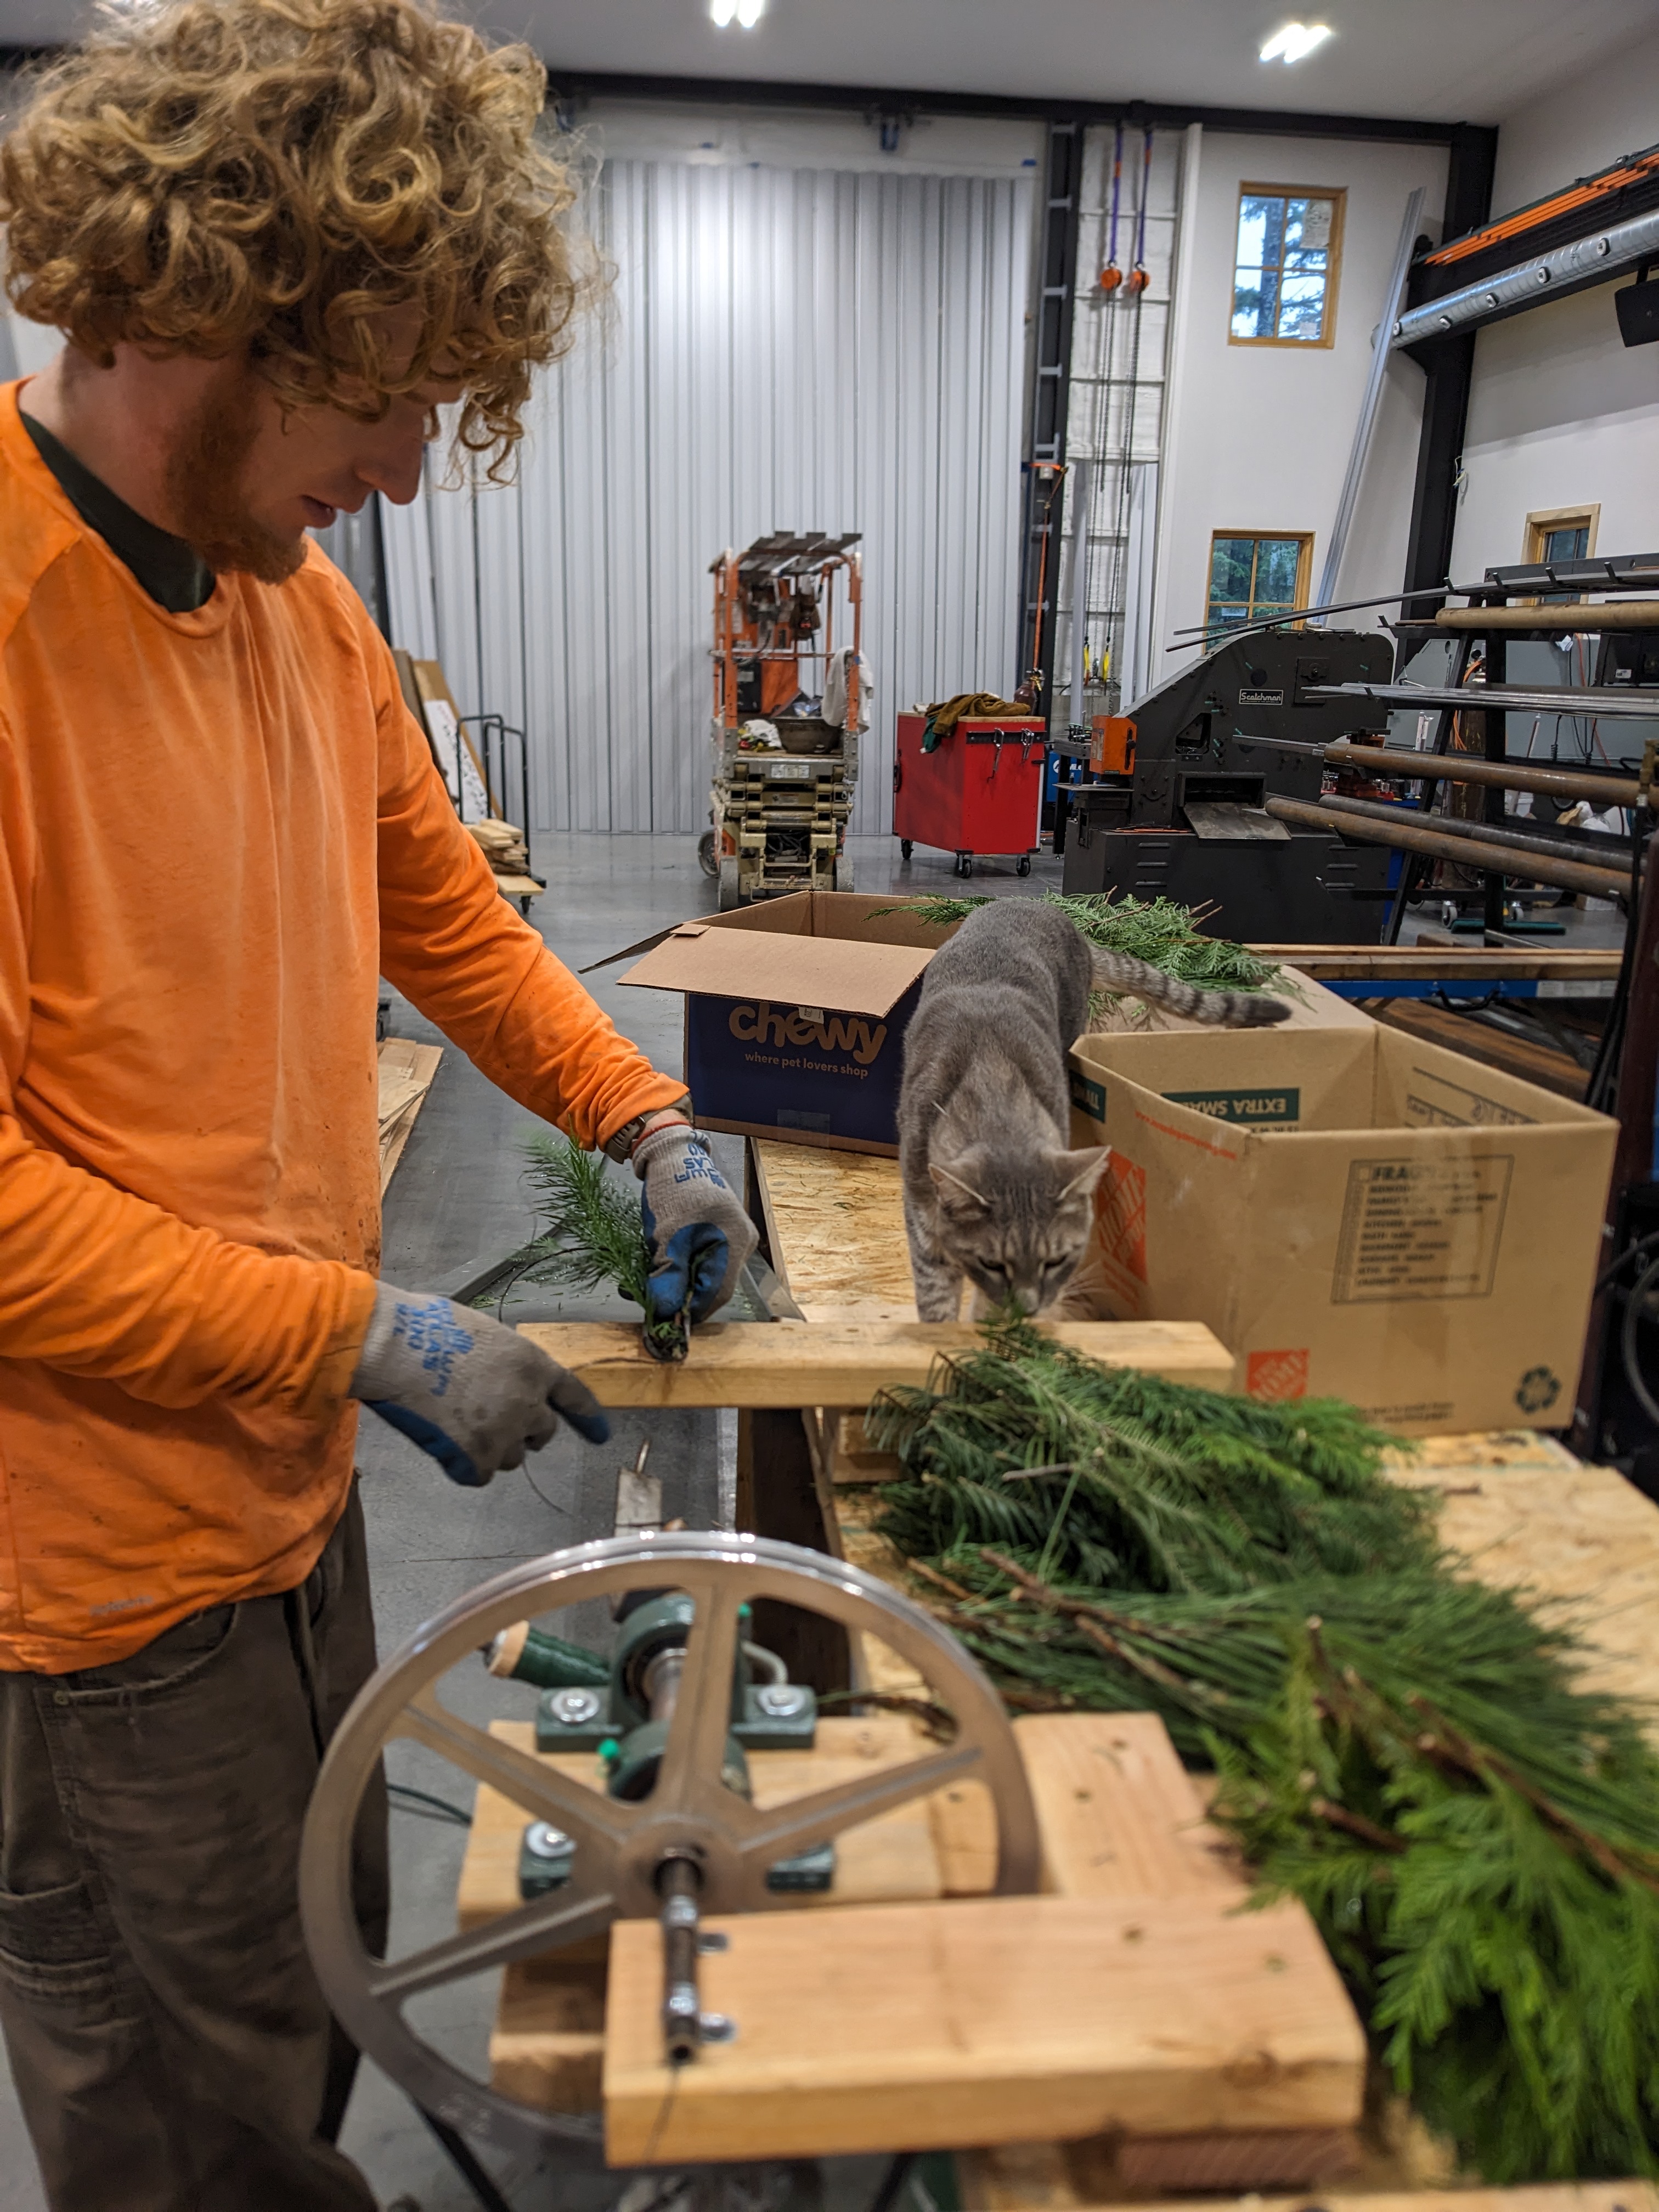
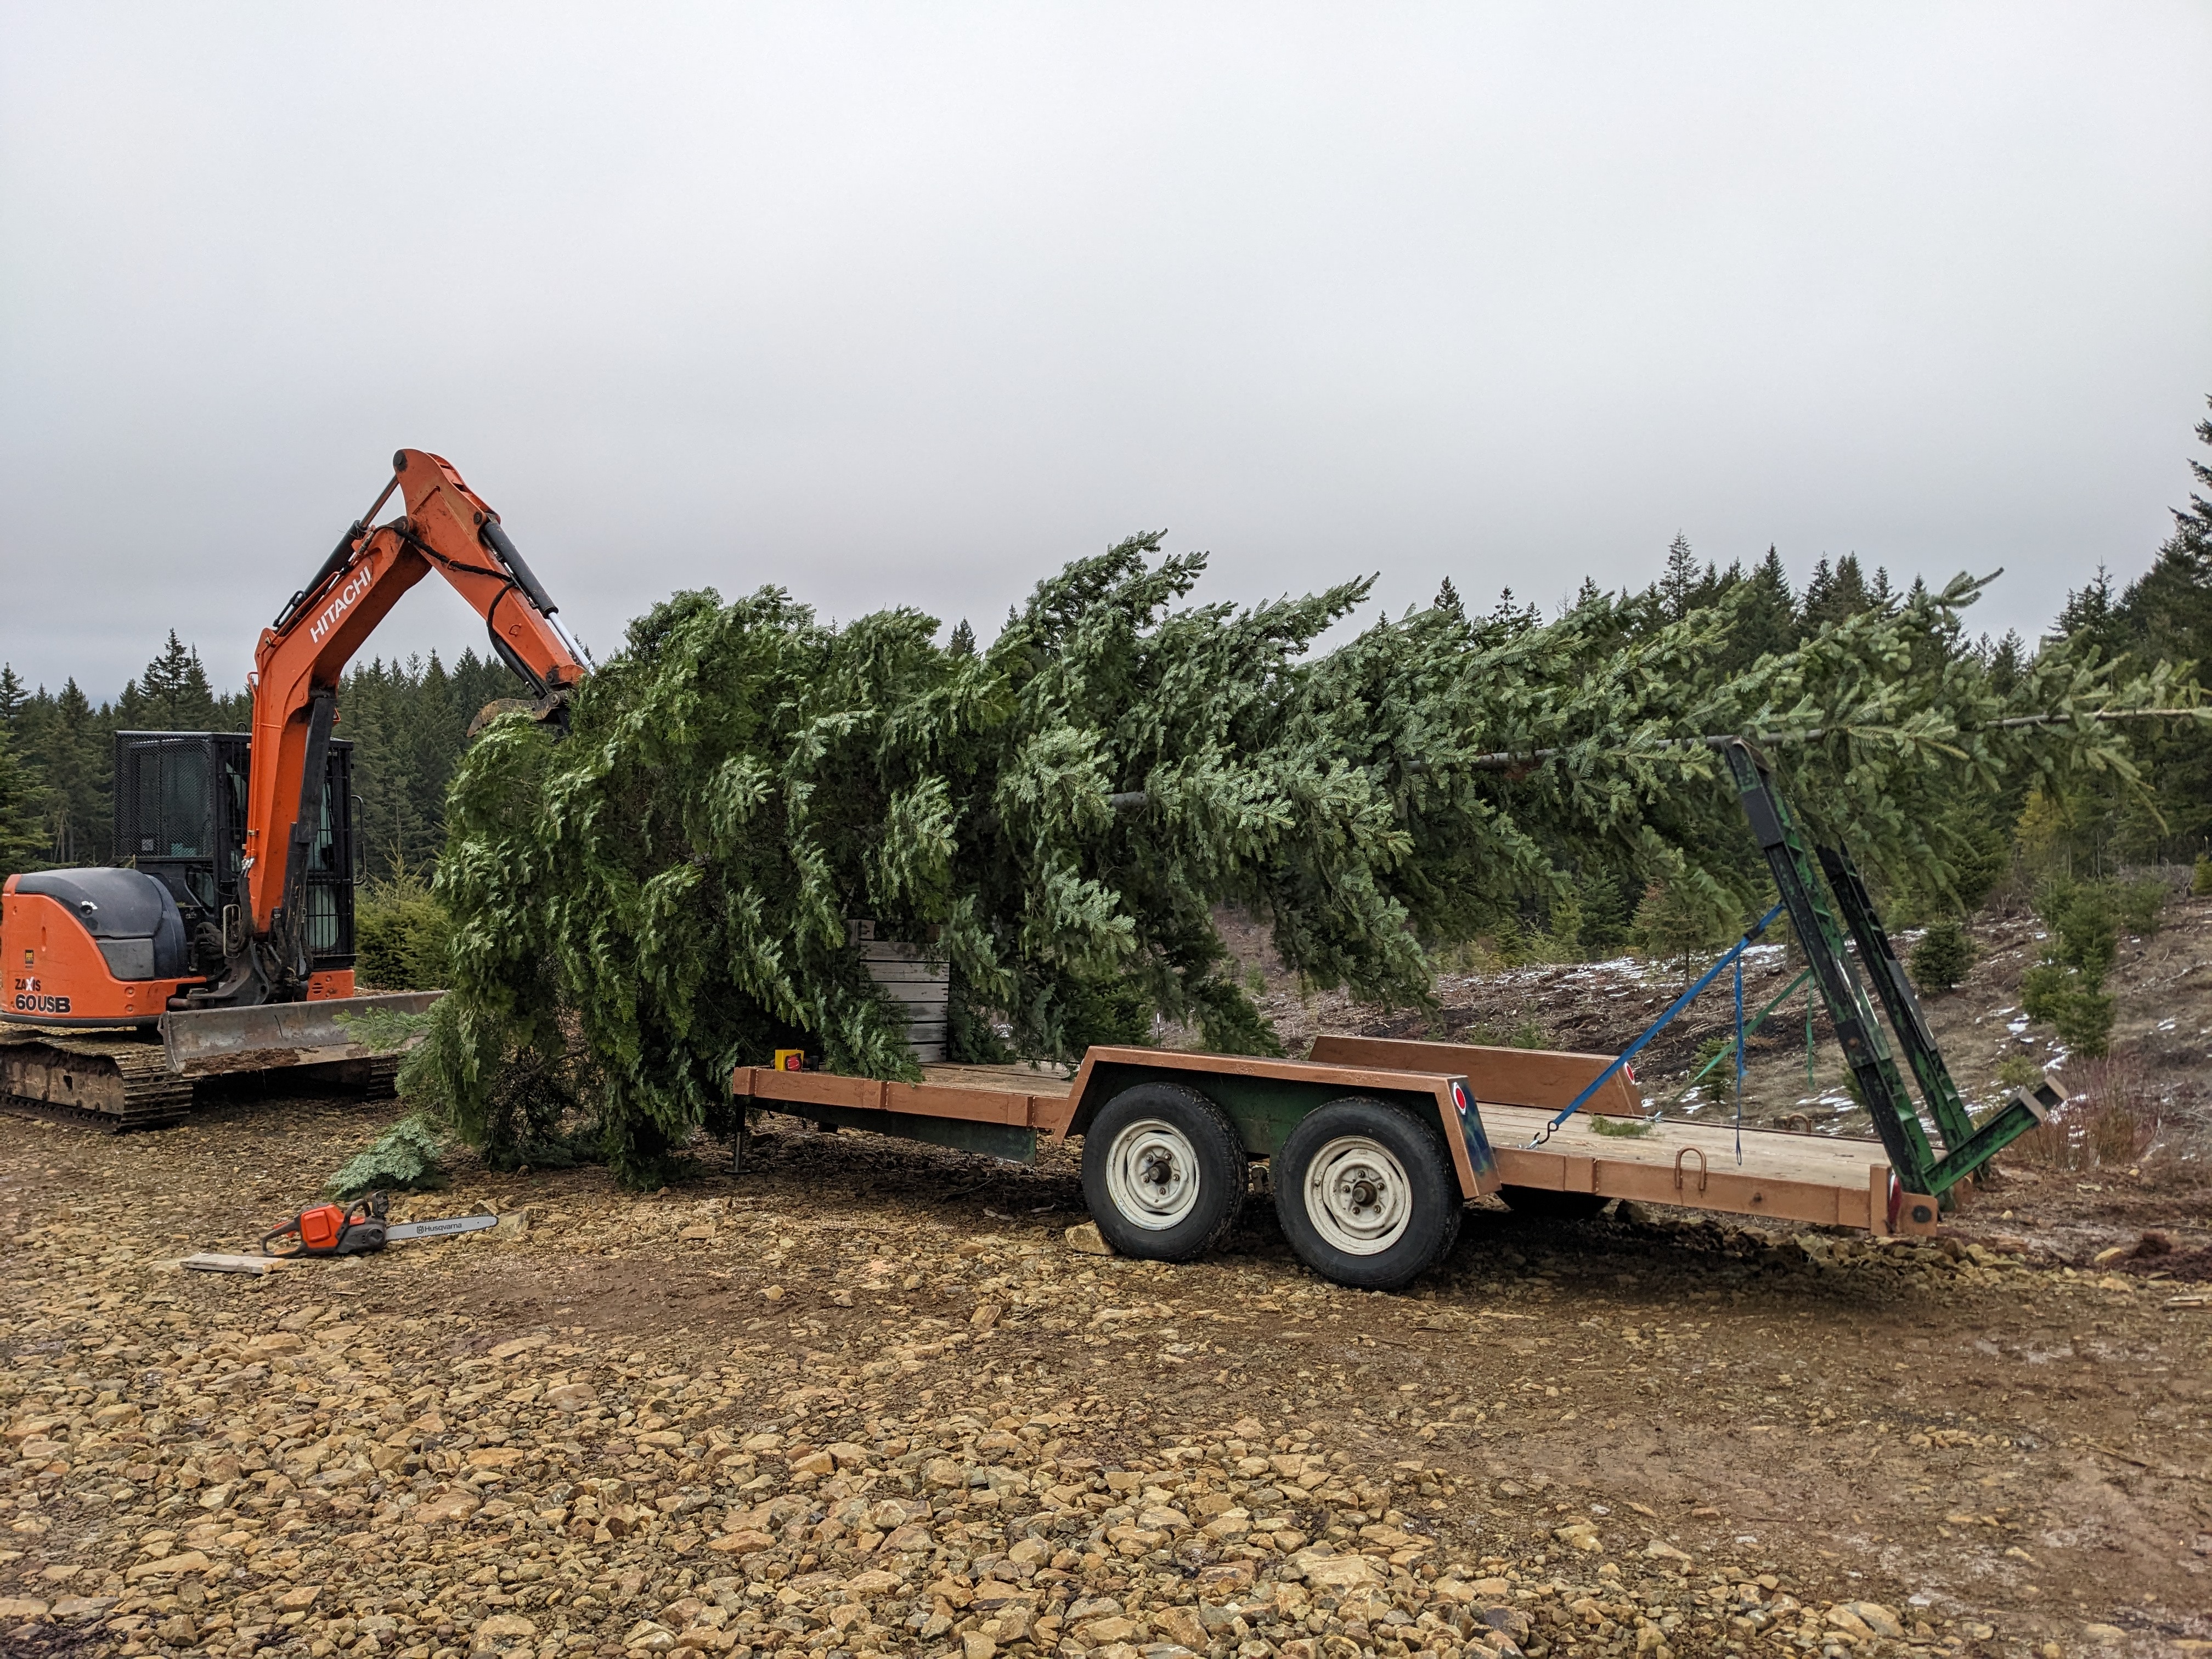
Winter quickly came around again. We trimmed another Christmas tree. This year’s was 18 feet tall!


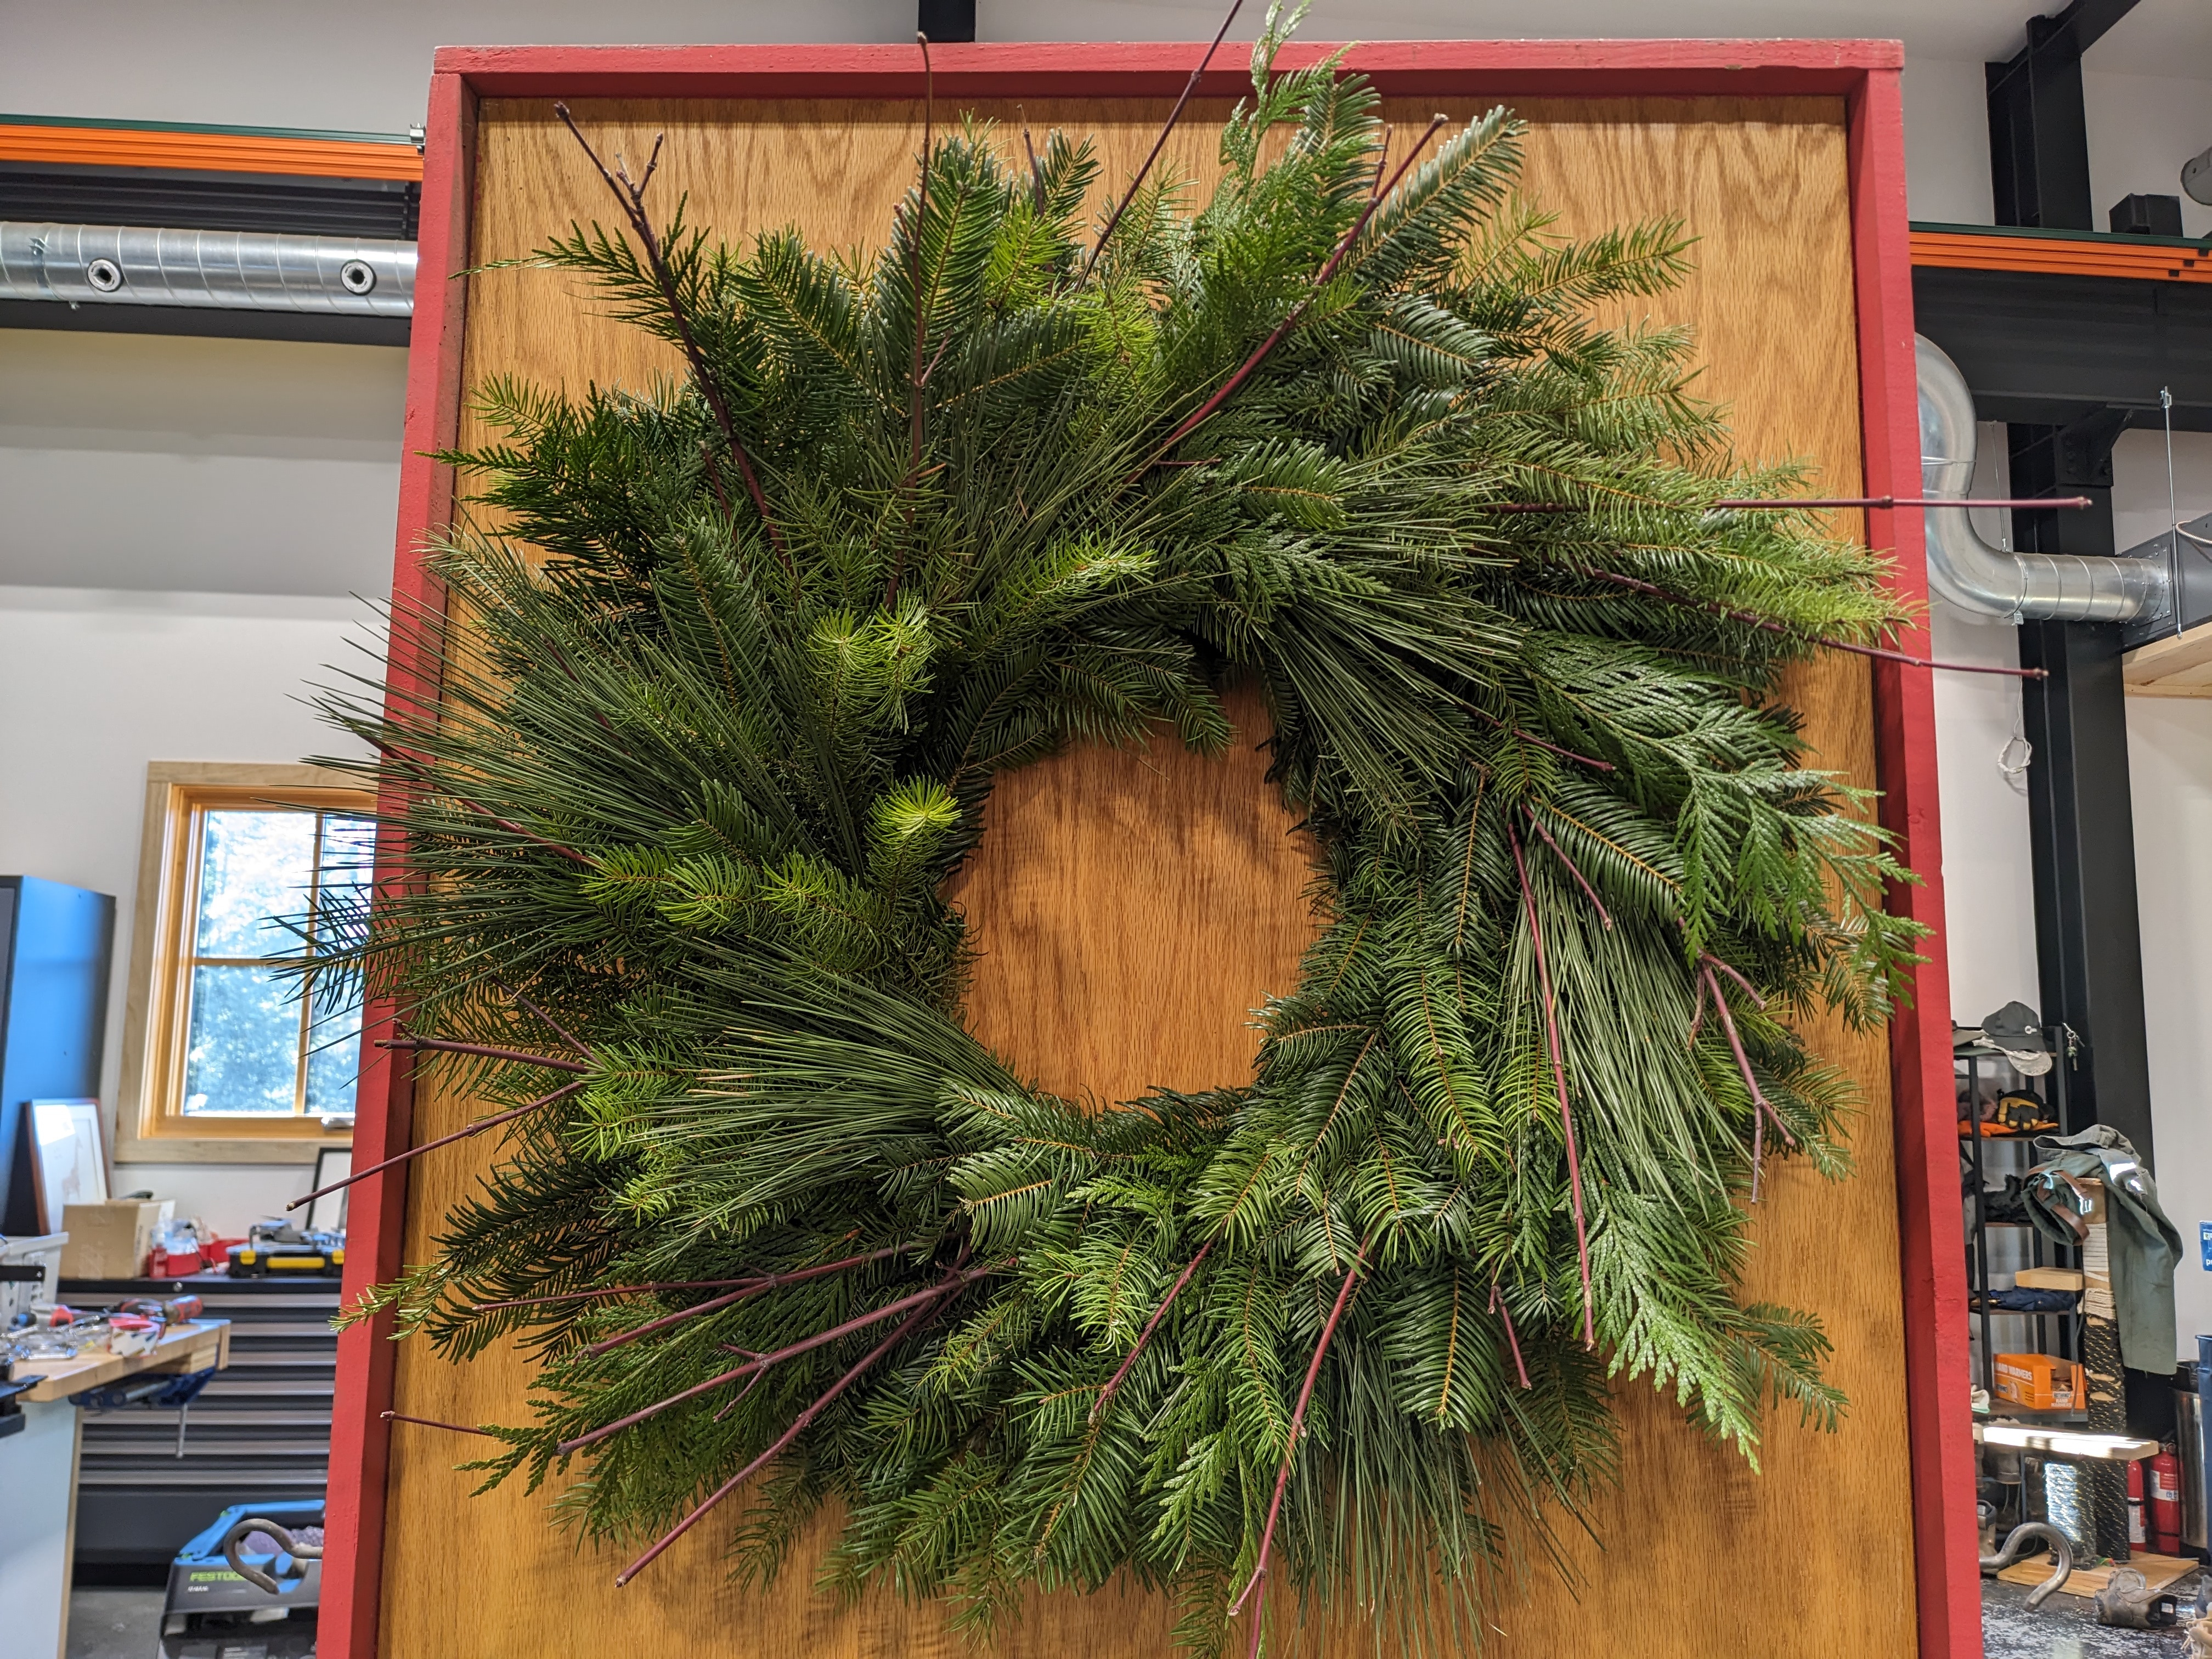
The BZ Elves had another successful season. Garland has been overtaking wreath sales. We made over 400 feet this past season.

After a blissful Christmas, we shifted gears to carpentry.


We hired Douglas to help us finish the trim. We spent most of a month processing more boards. Sadly, flattening the pine didn’t get any easier or faster. (Douglas had never used a jointer either.) We turned a lot of the scrap into kindling for our wood stove, but we weren’t burning through it fast enough. We did find a local painter to spray everything for us! Though he wasn’t cheap, it was a tremendous help and he was able to spray inside all winter.
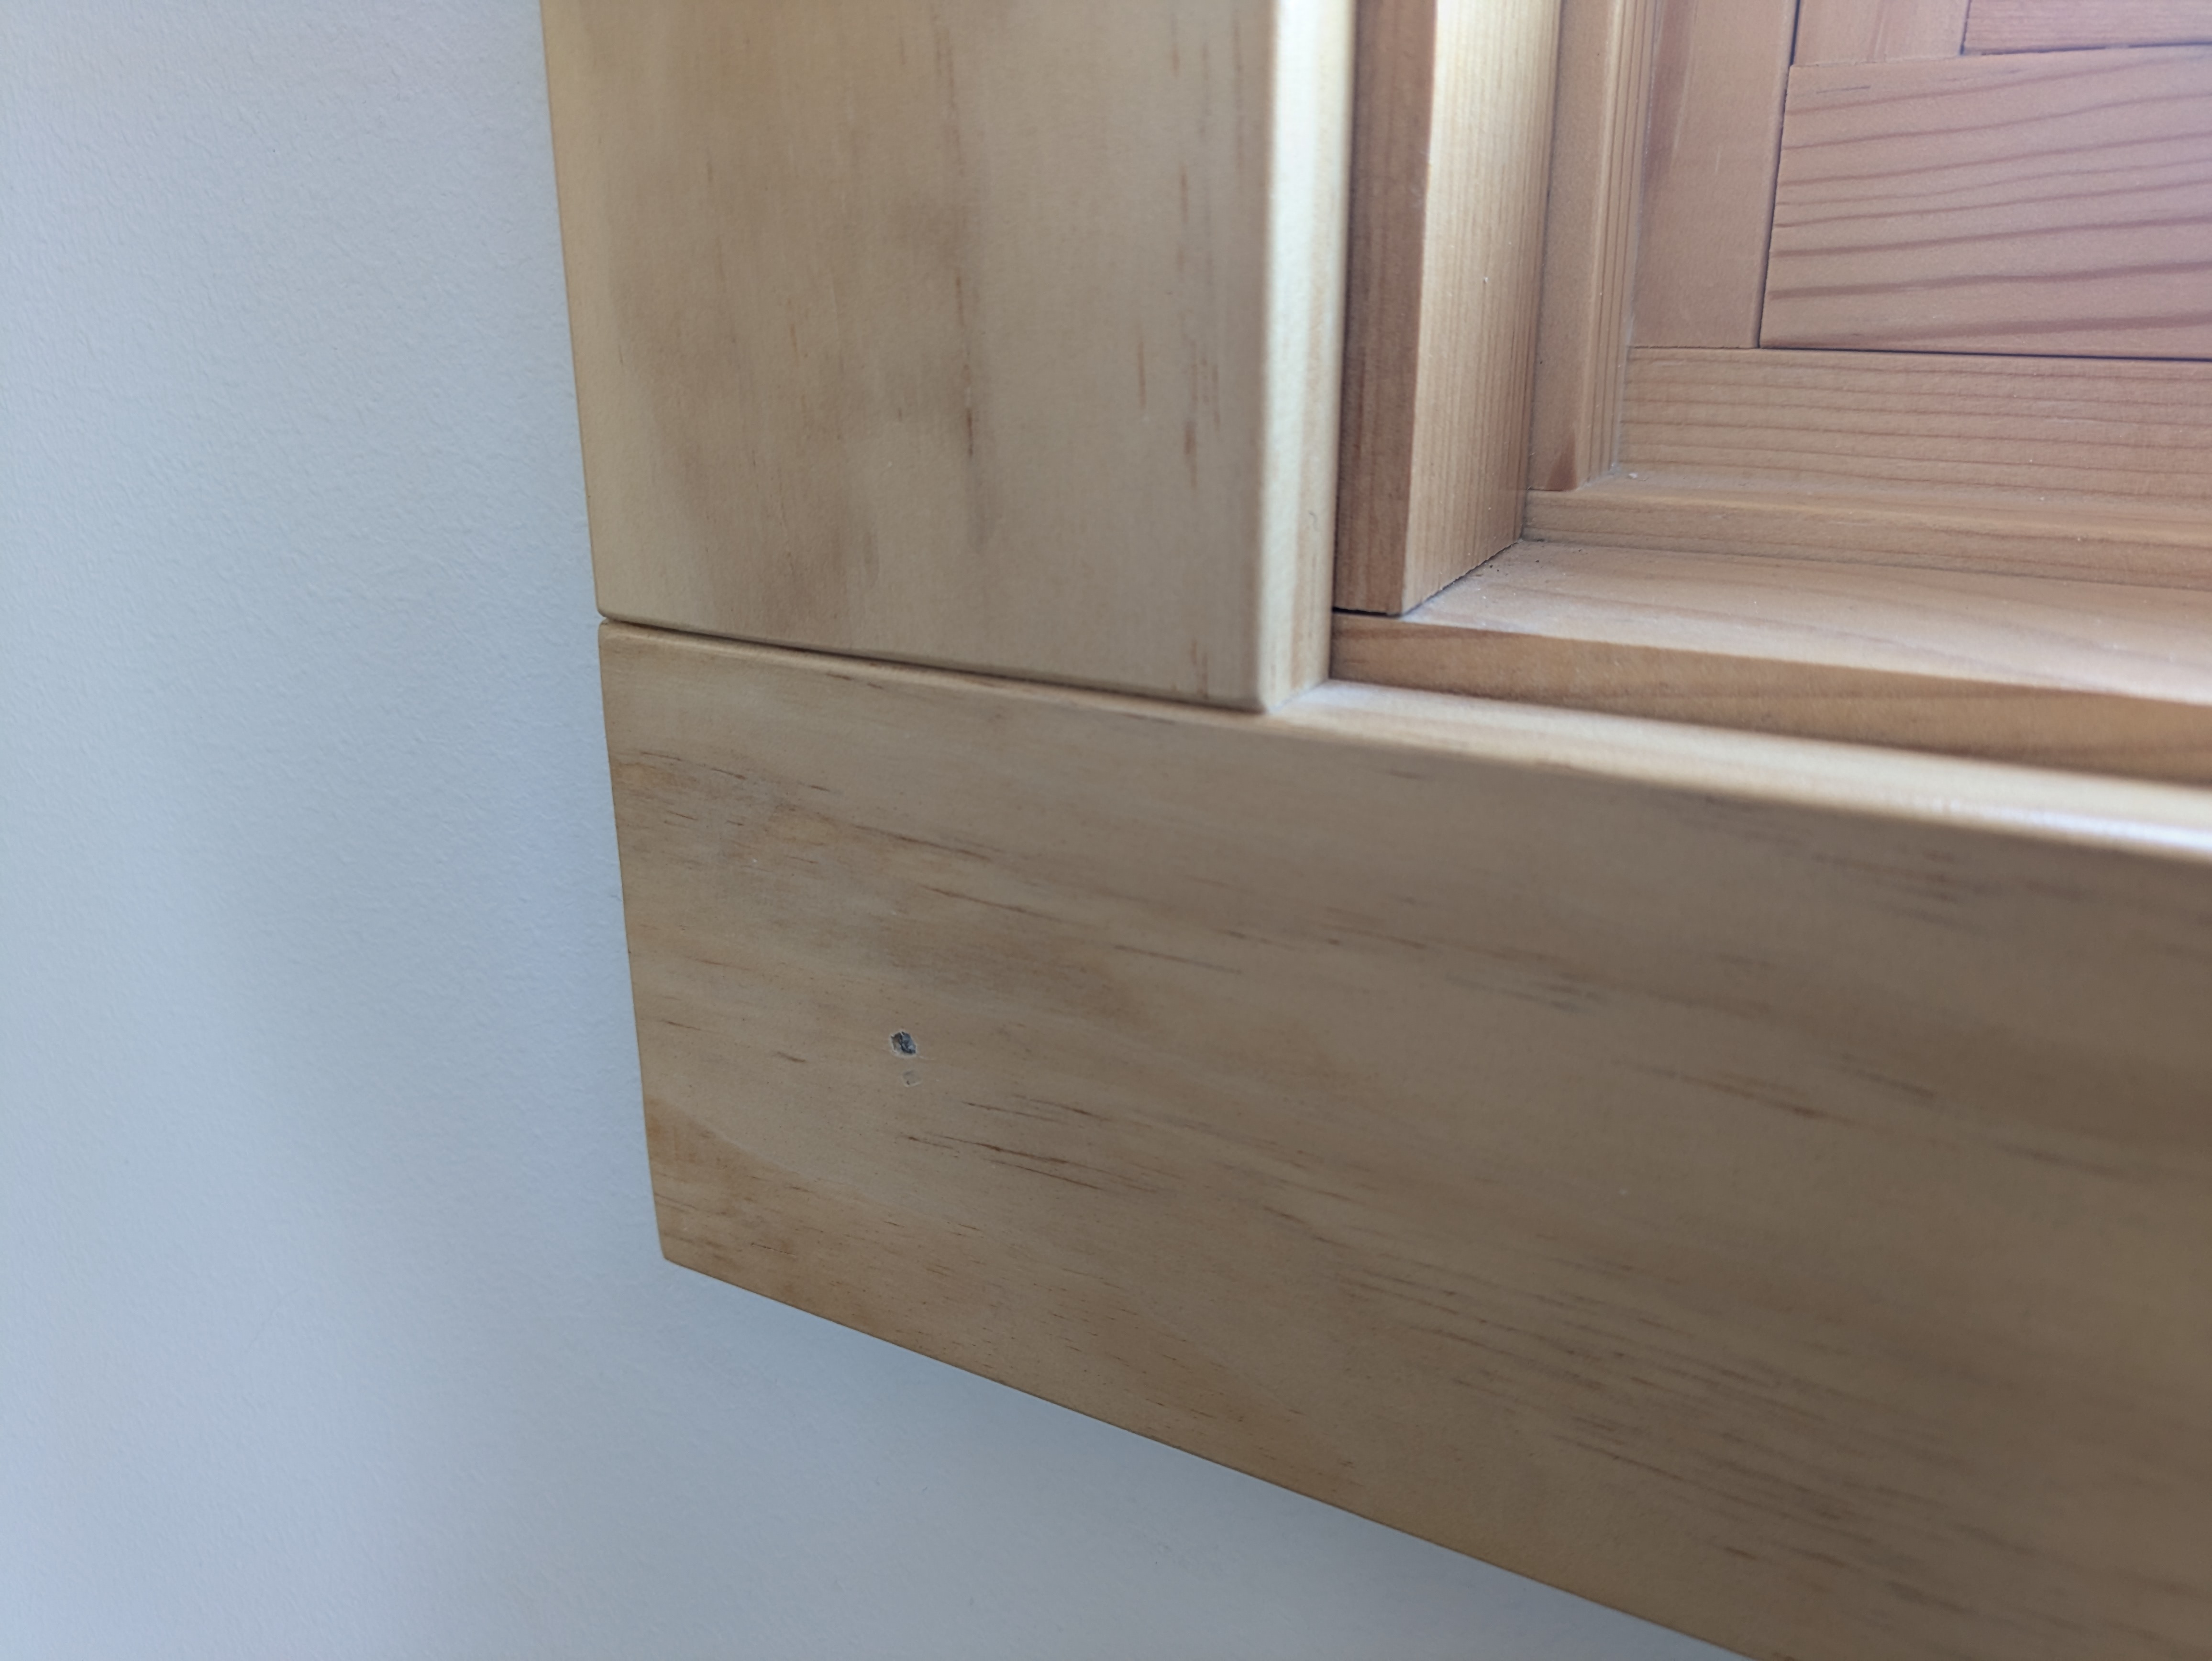
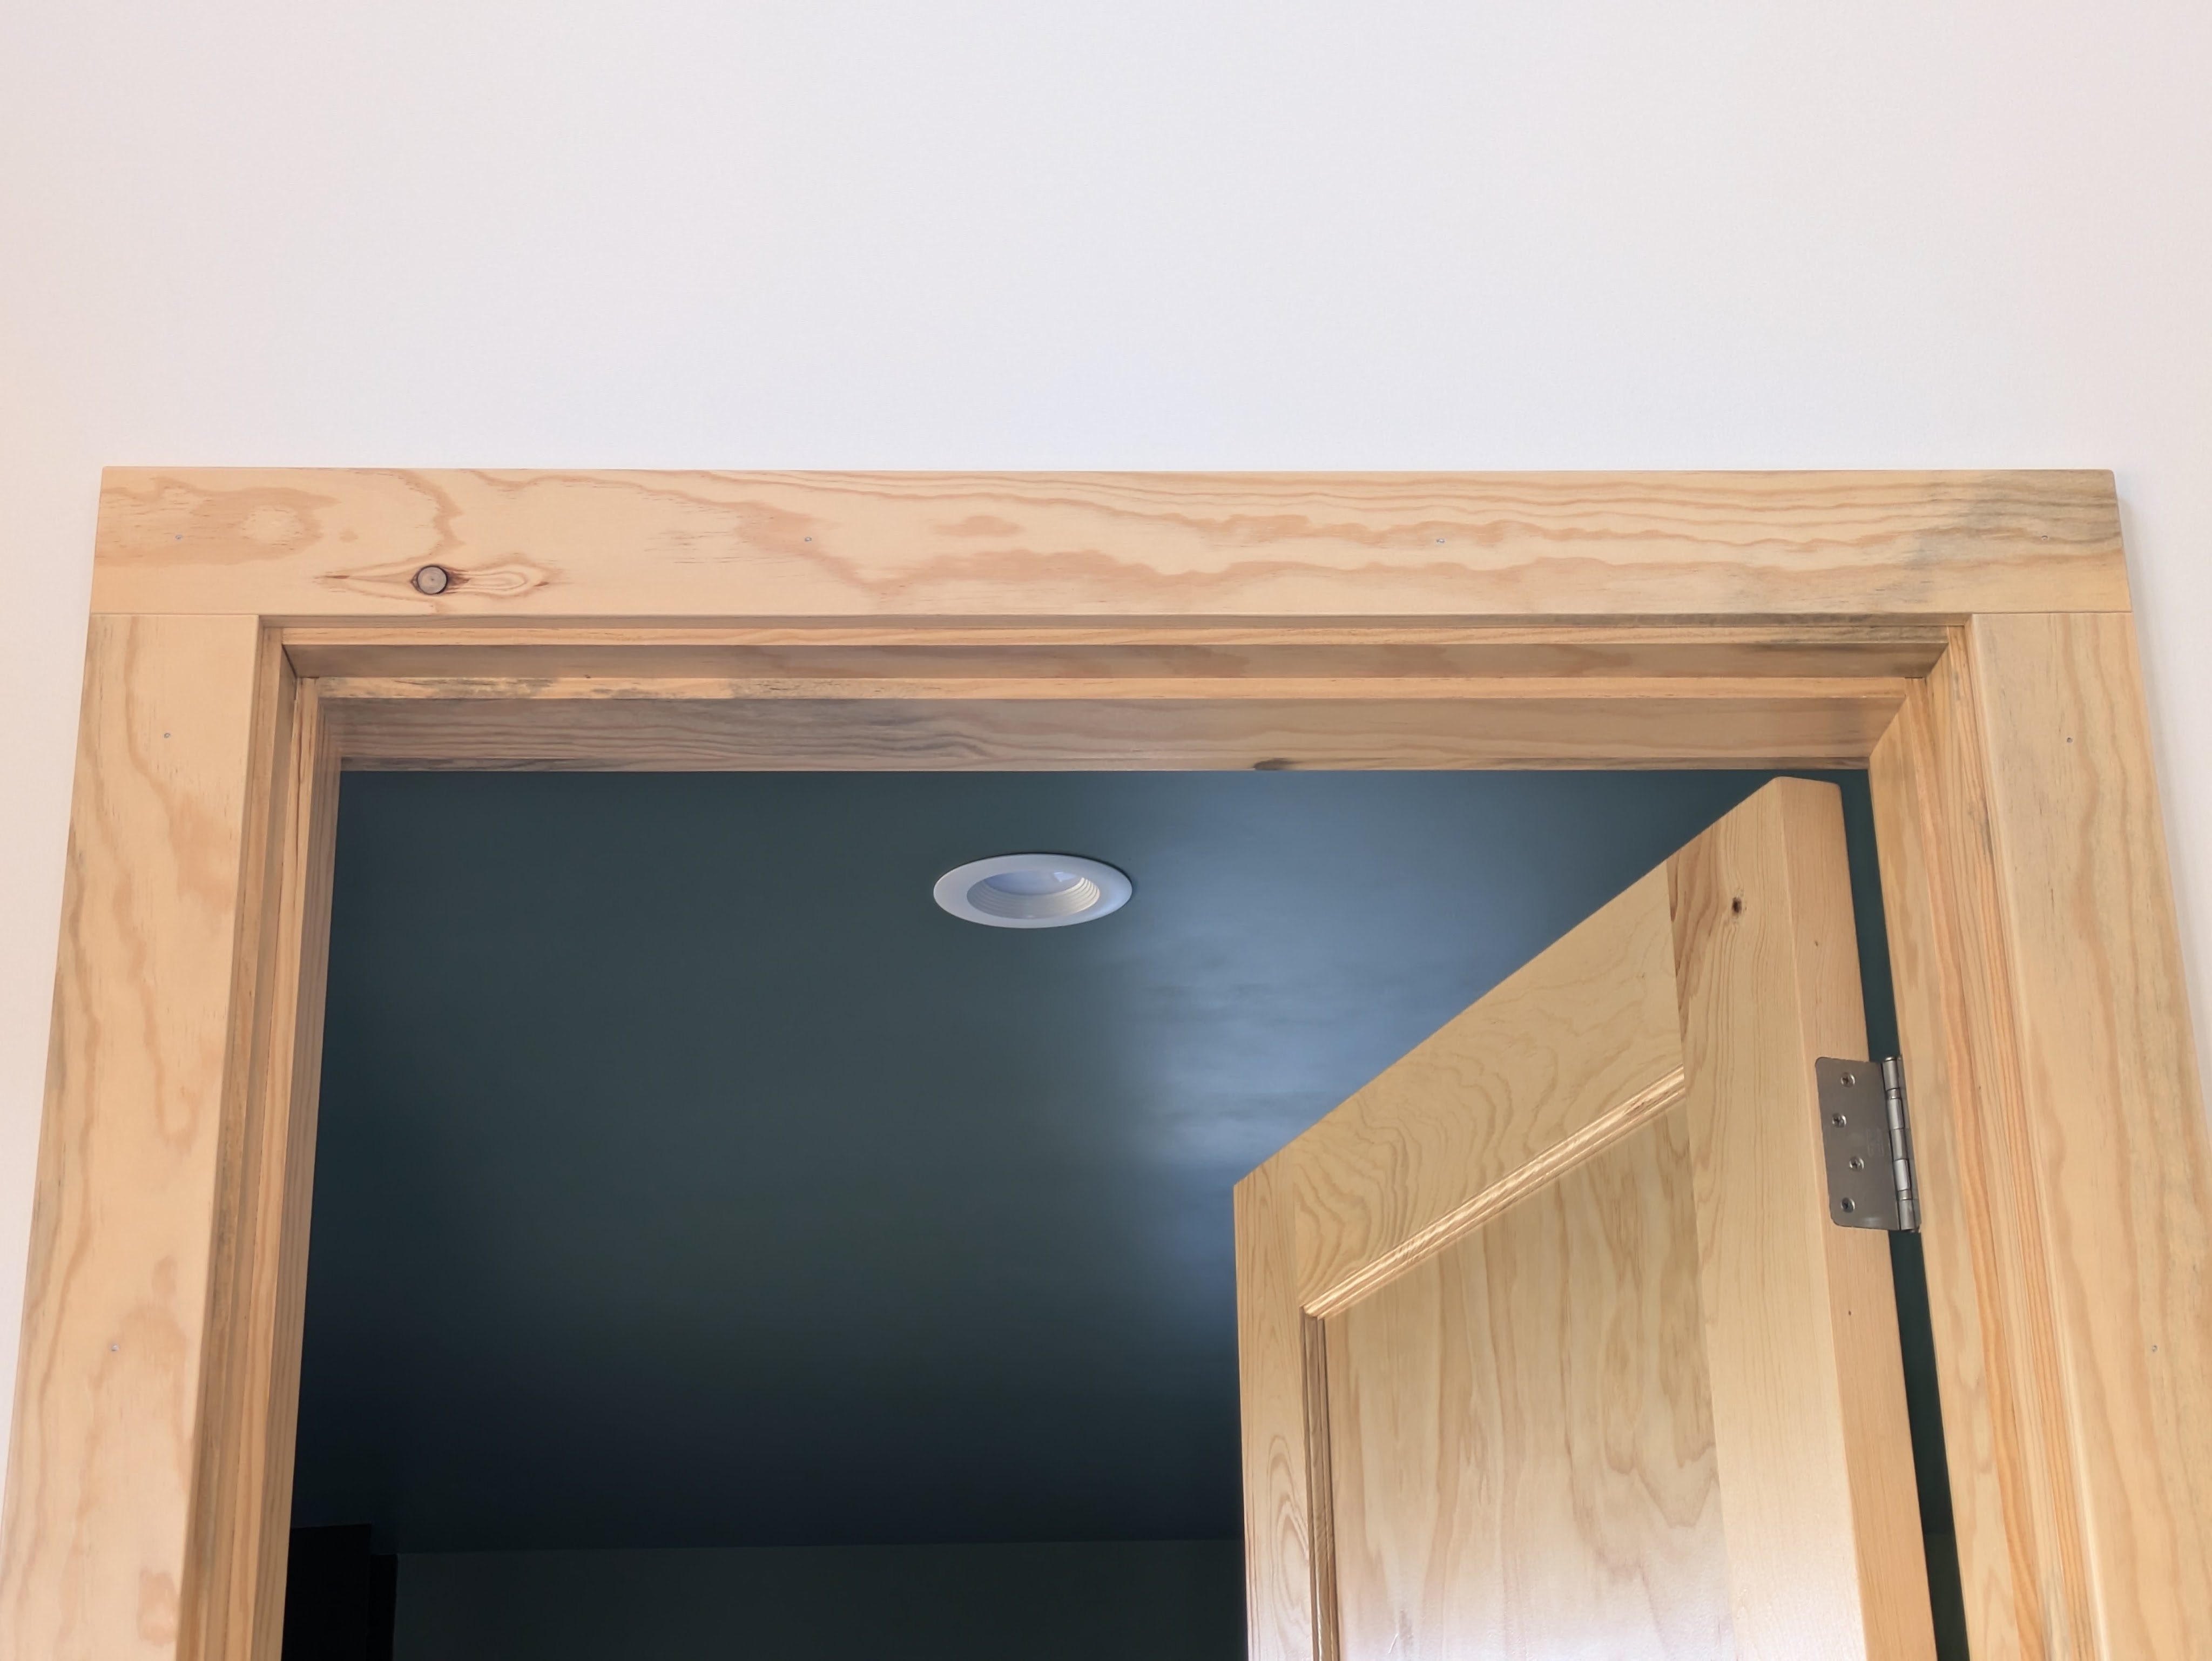
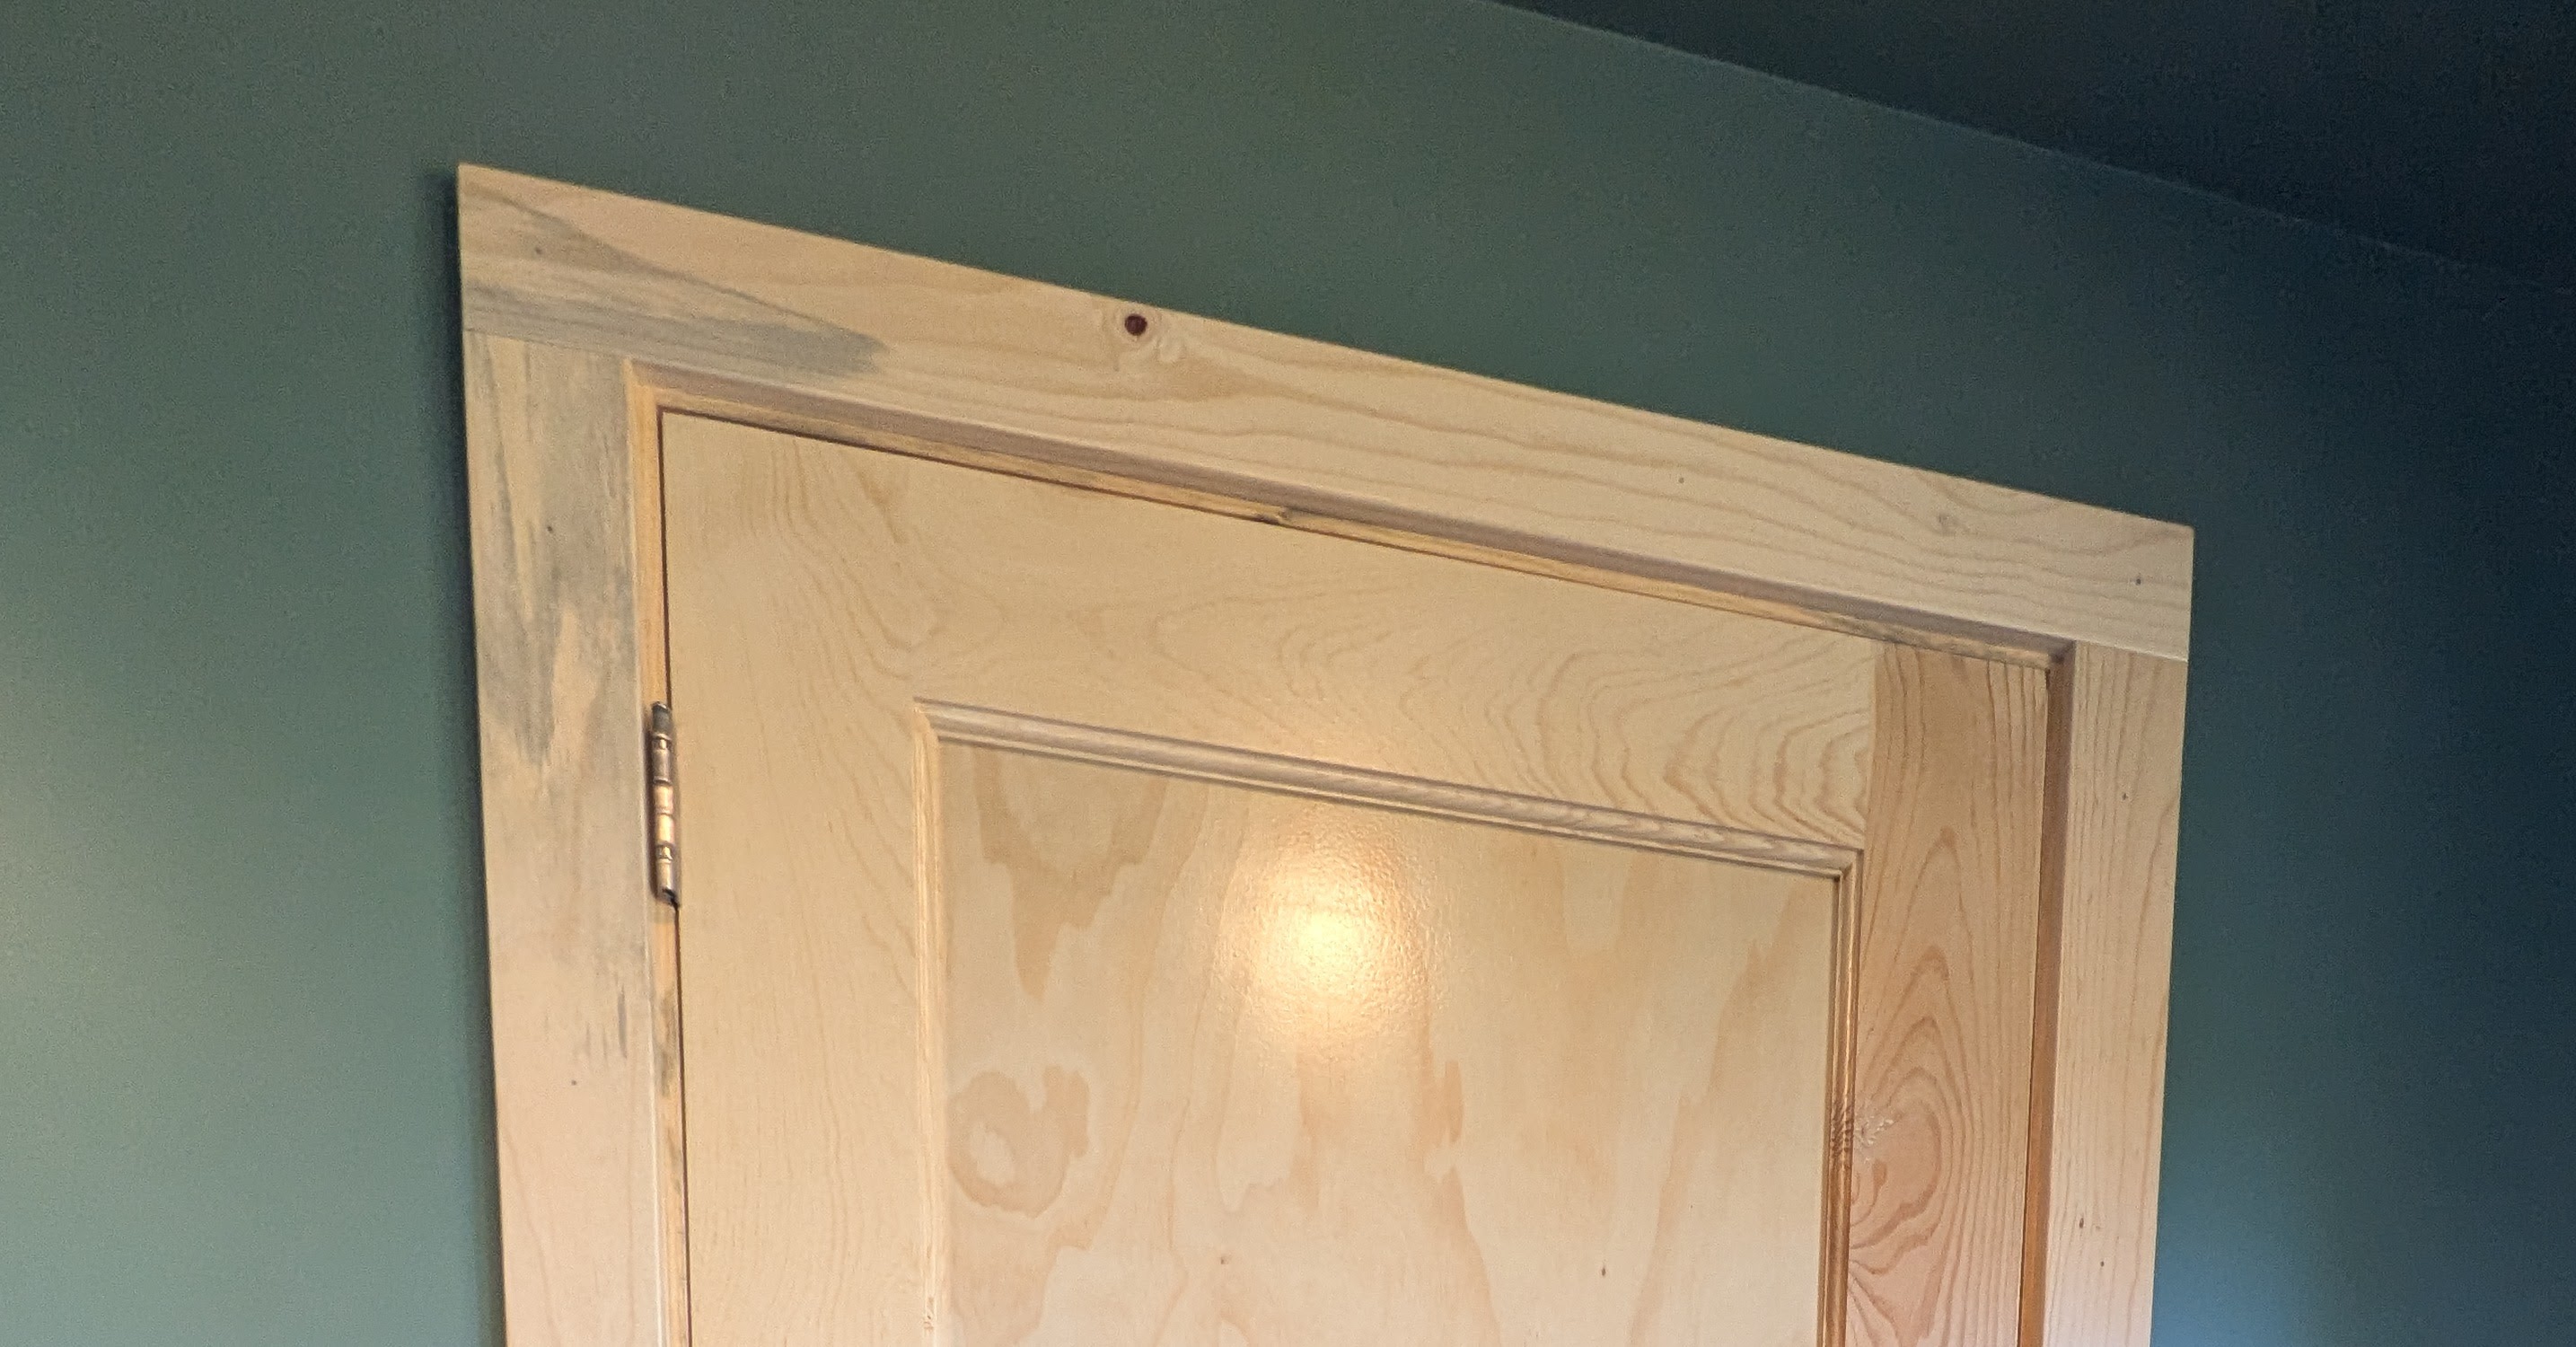
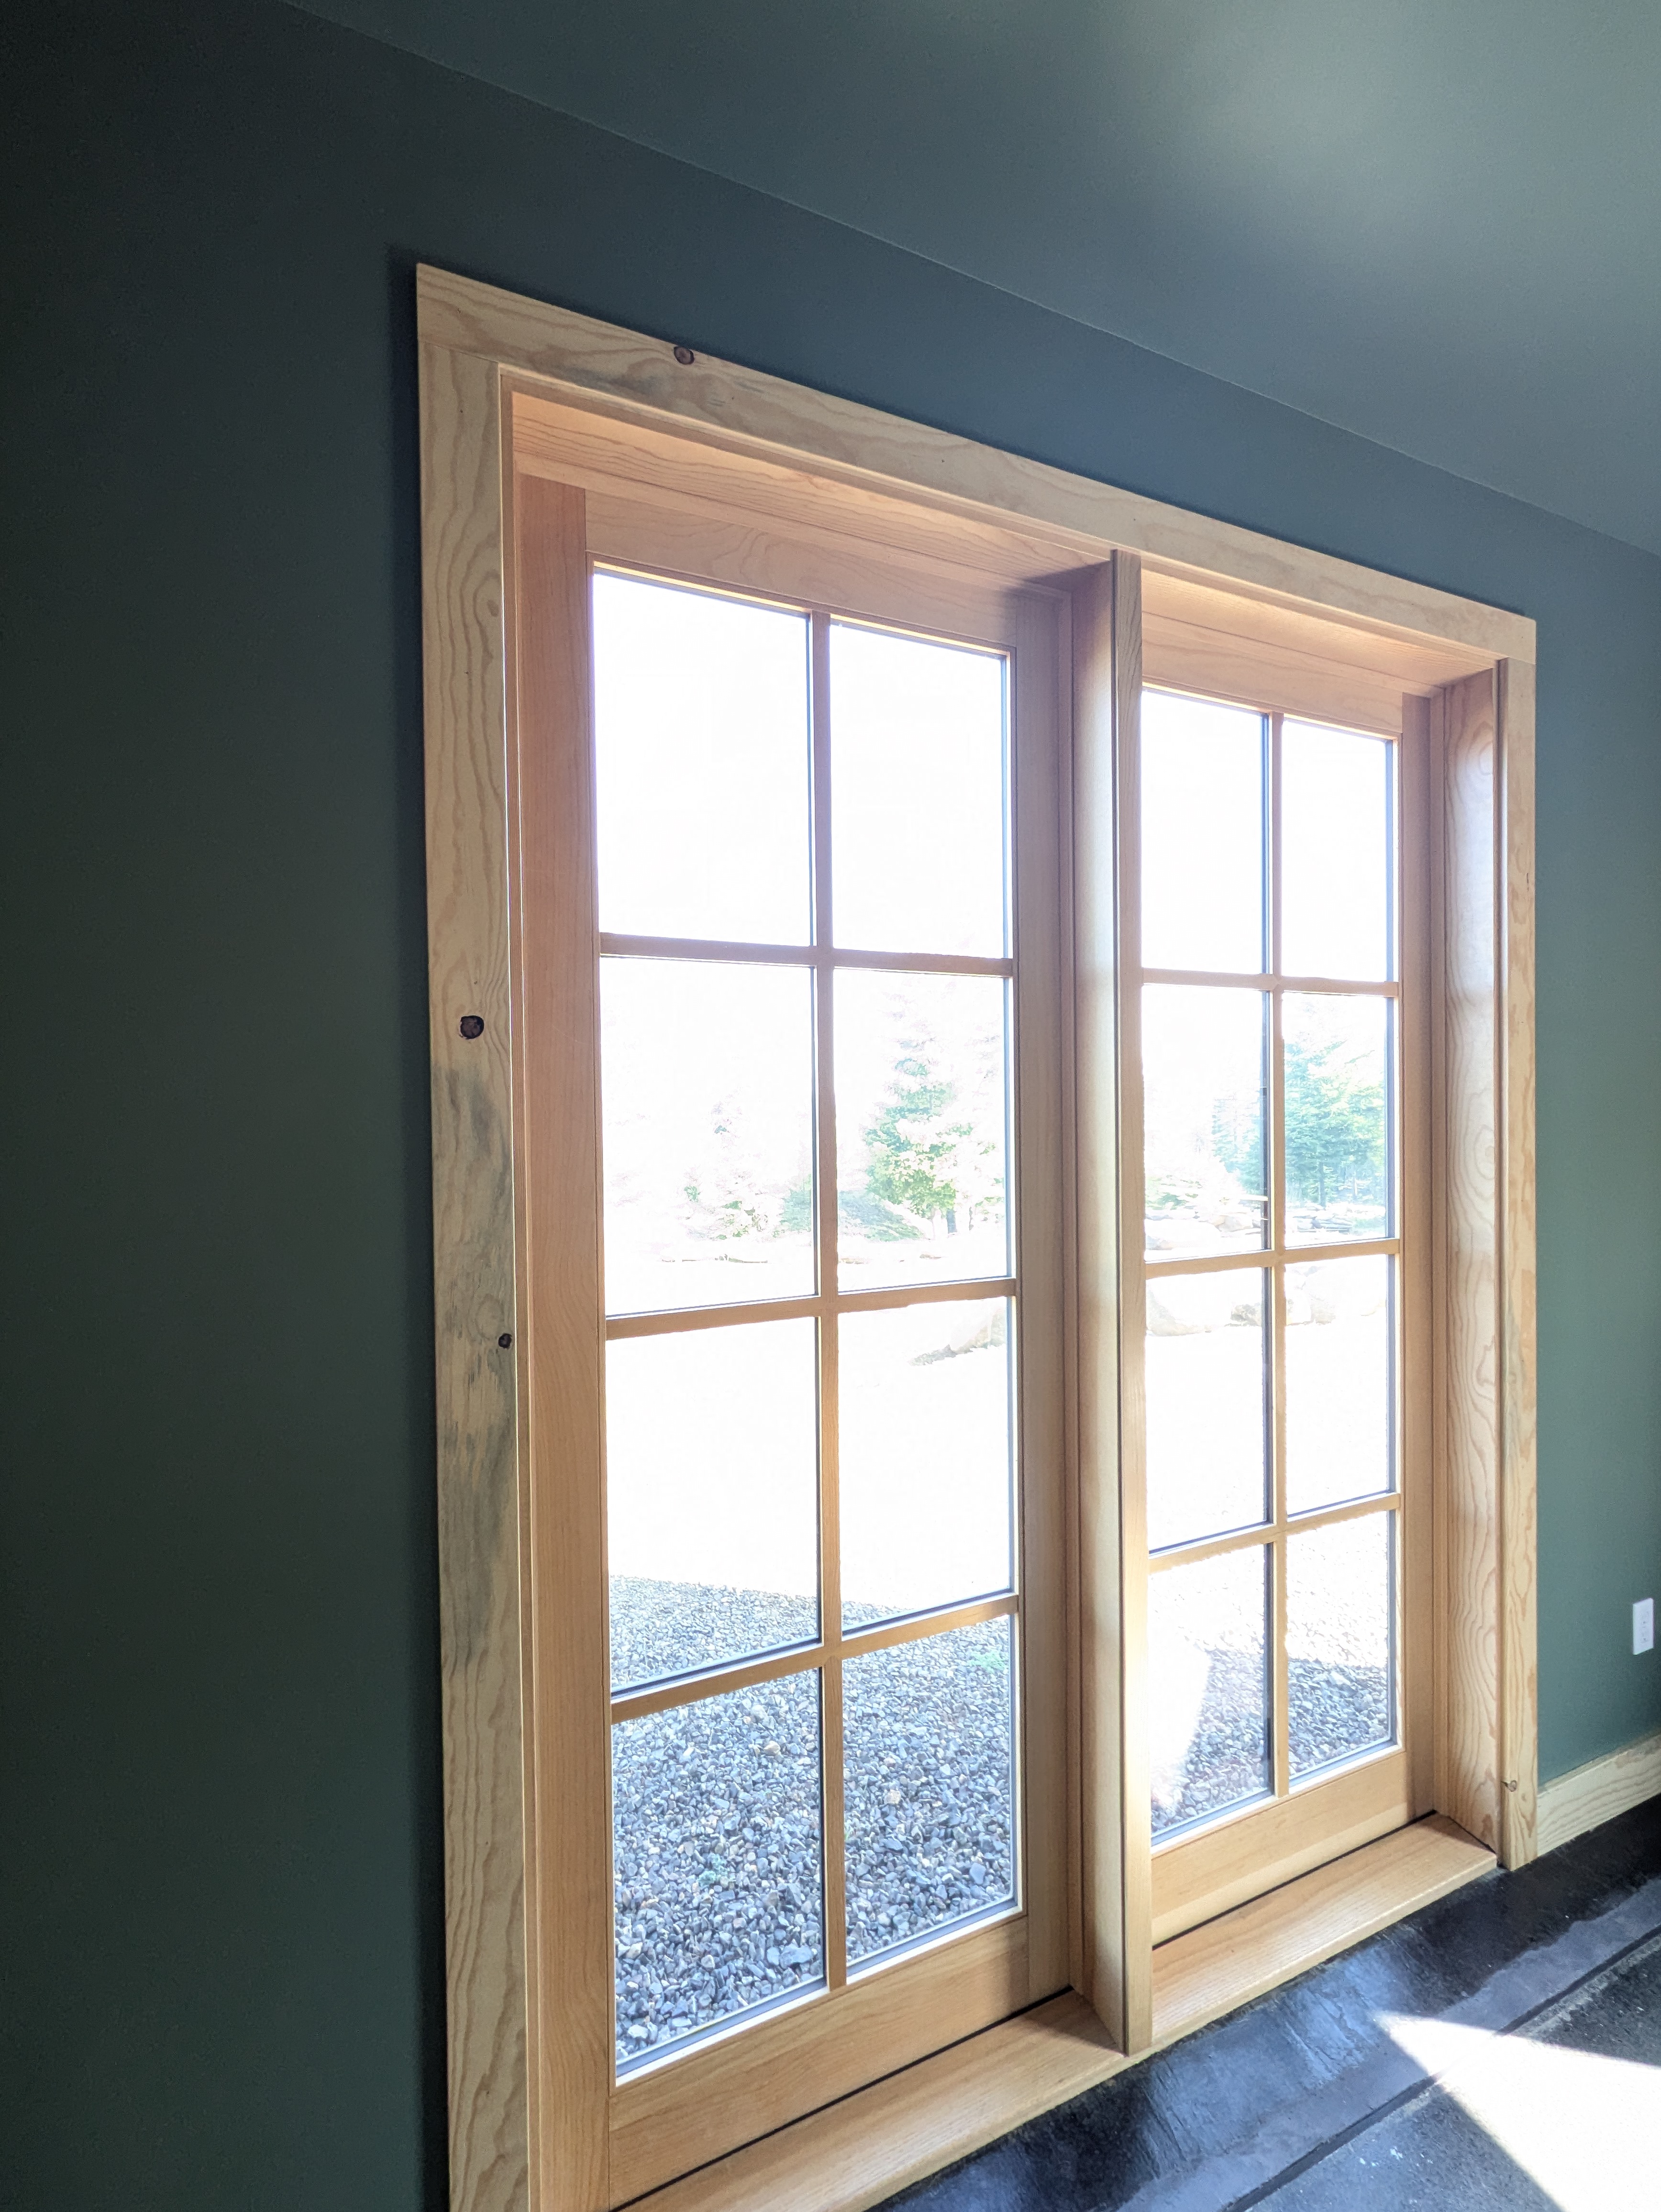
Once the boards were glistening with two coats of our favorite clear paint, it was time to install them. Almost. I sorted the boards into sets of four that looked nice together.
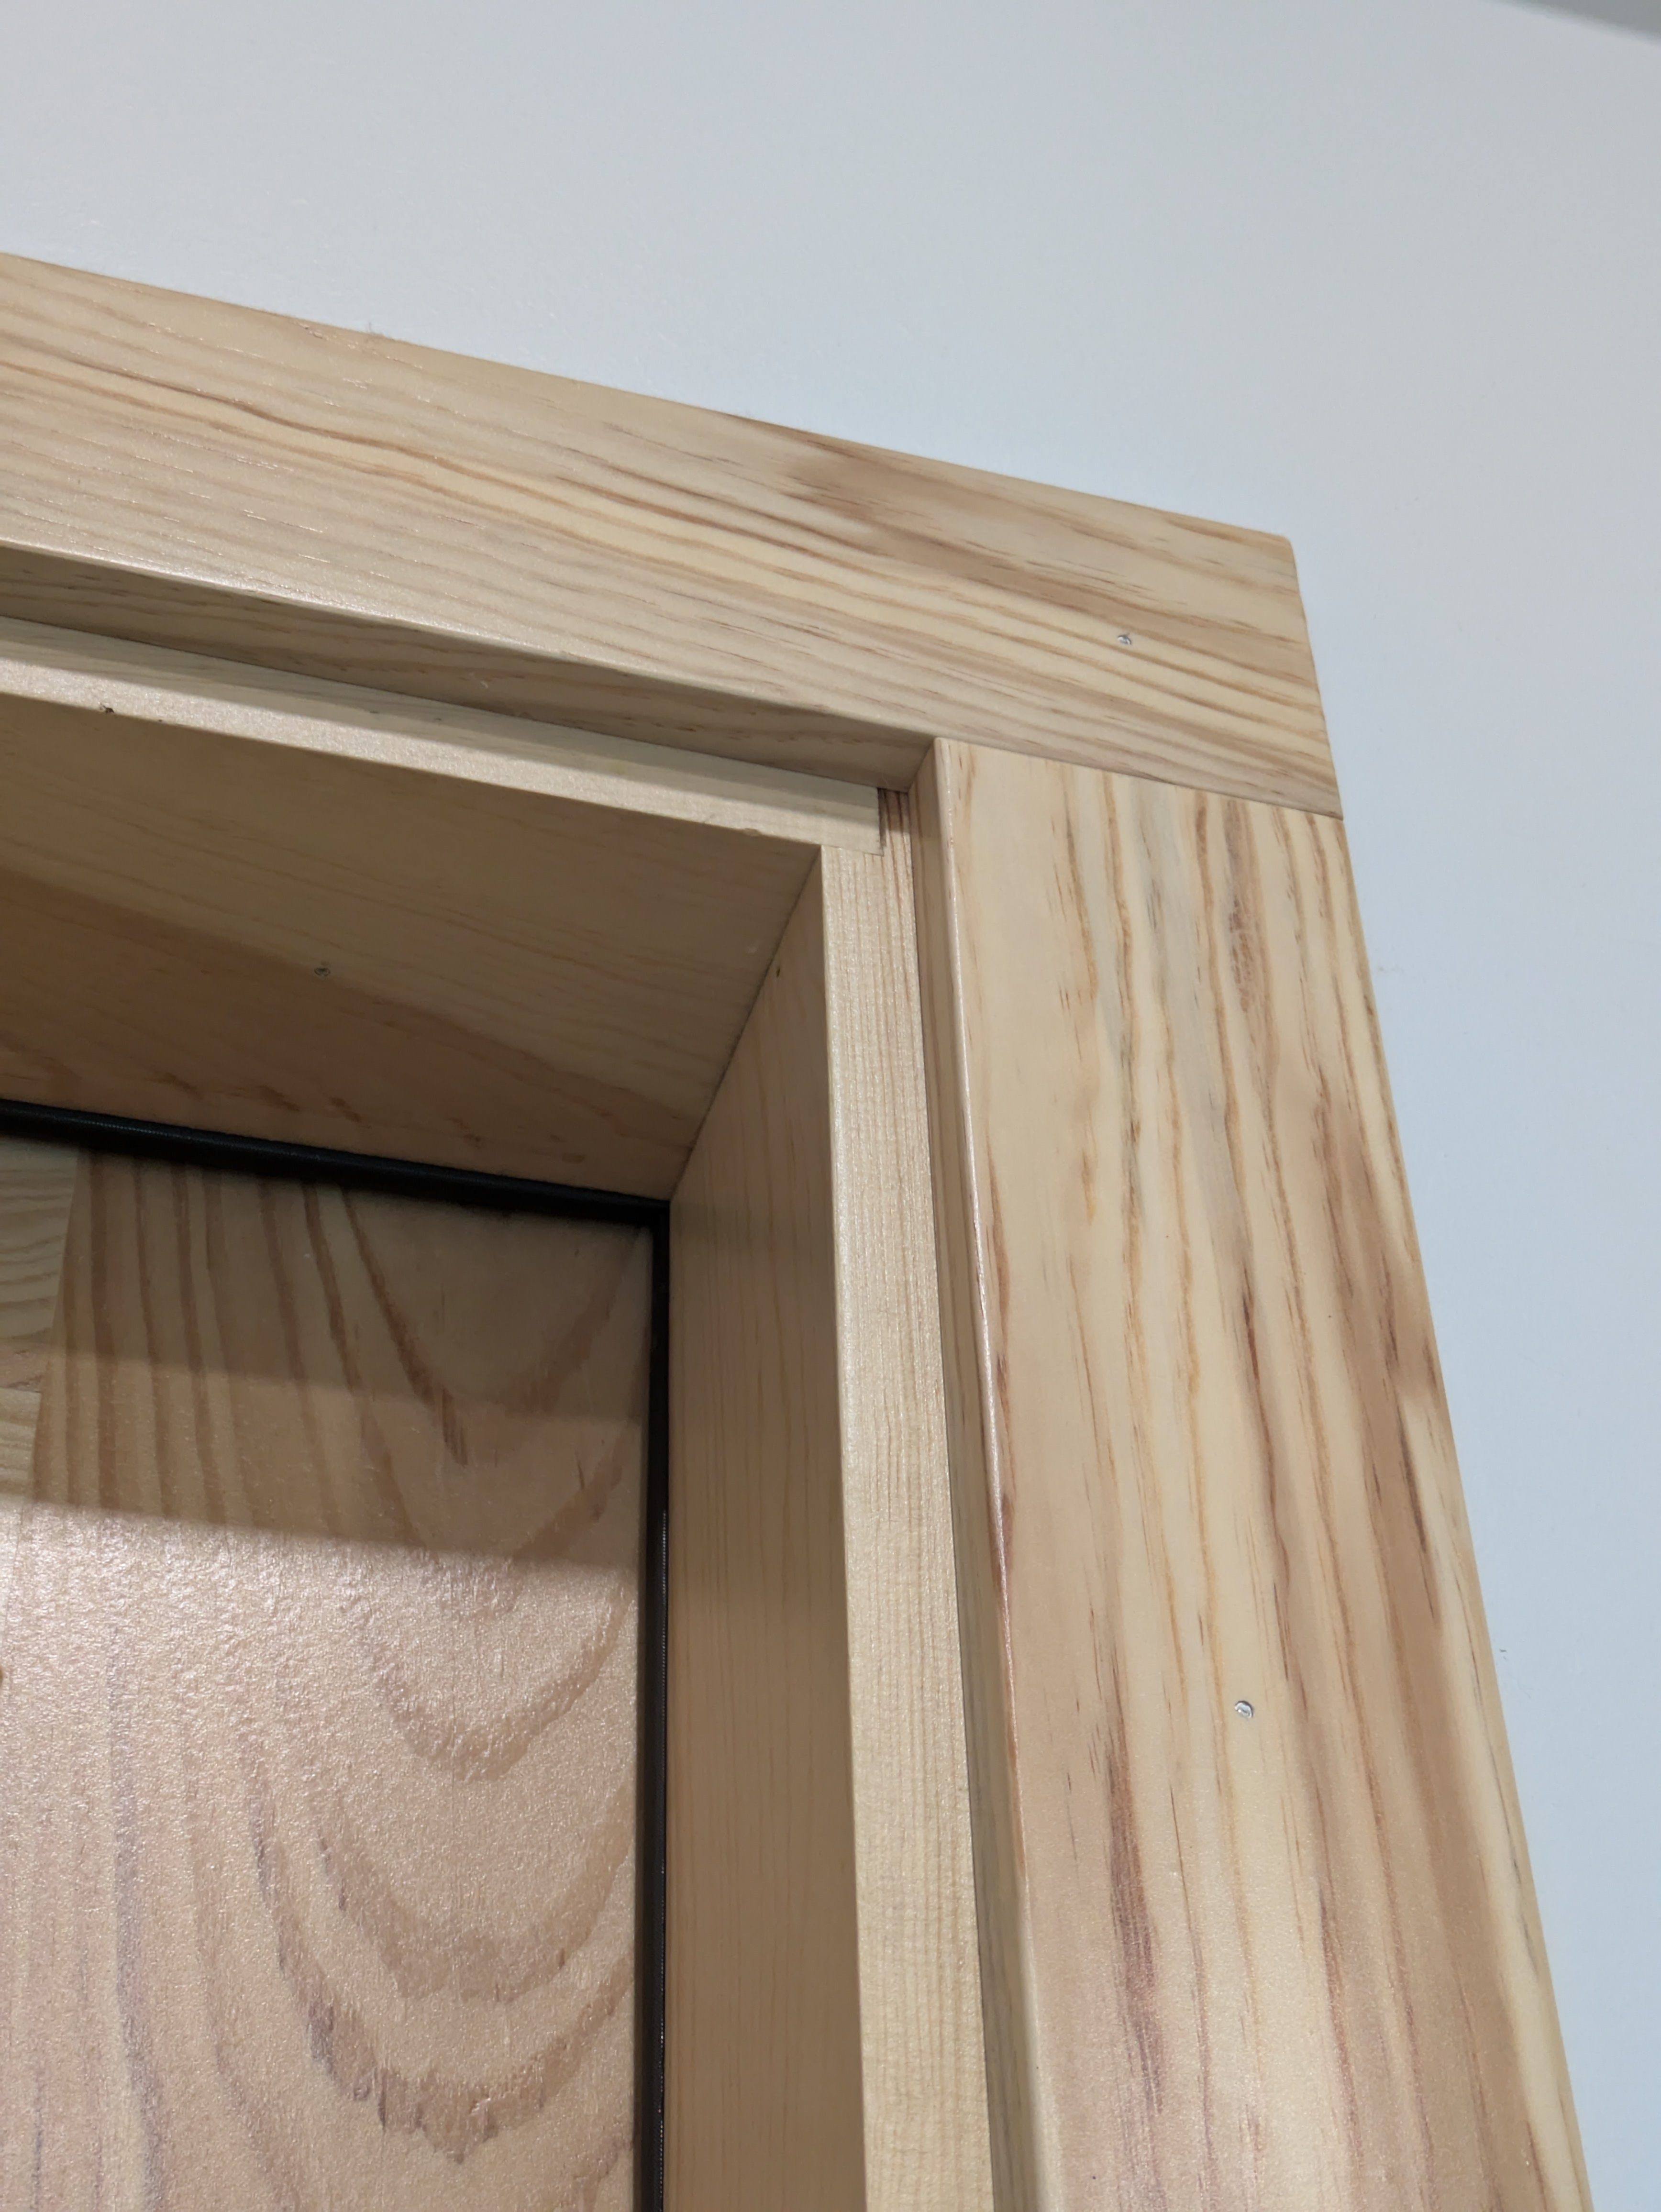
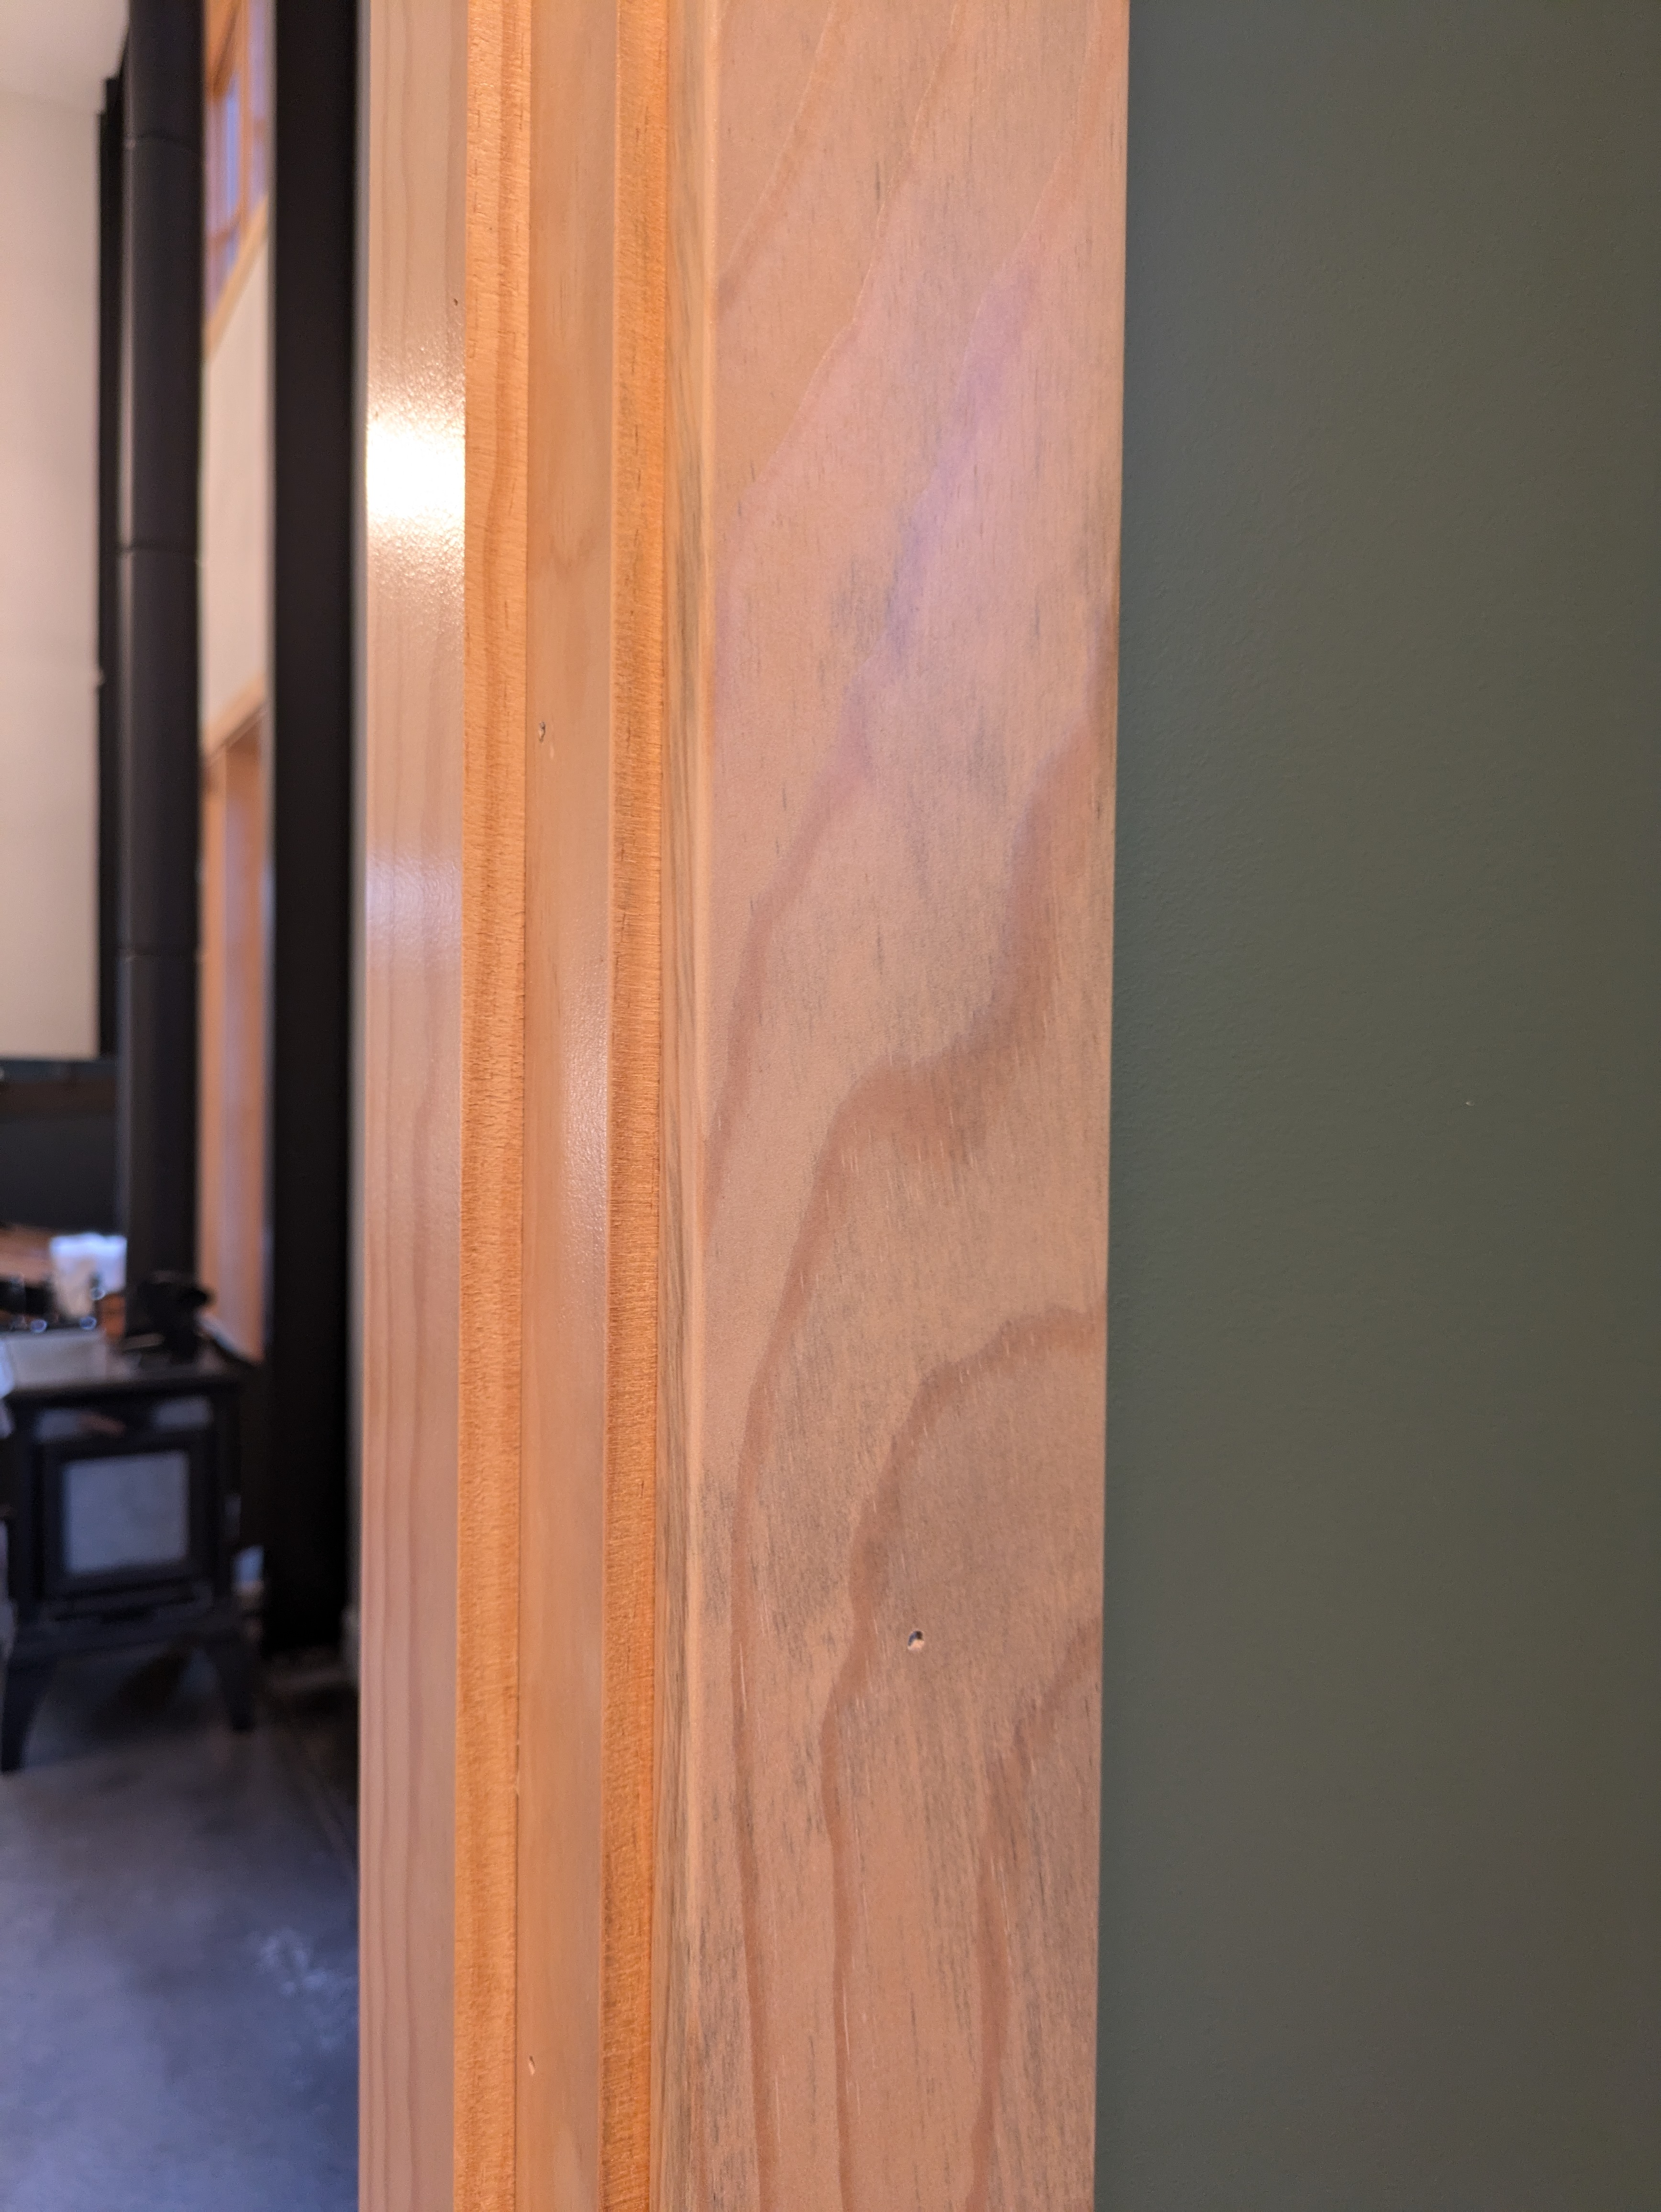
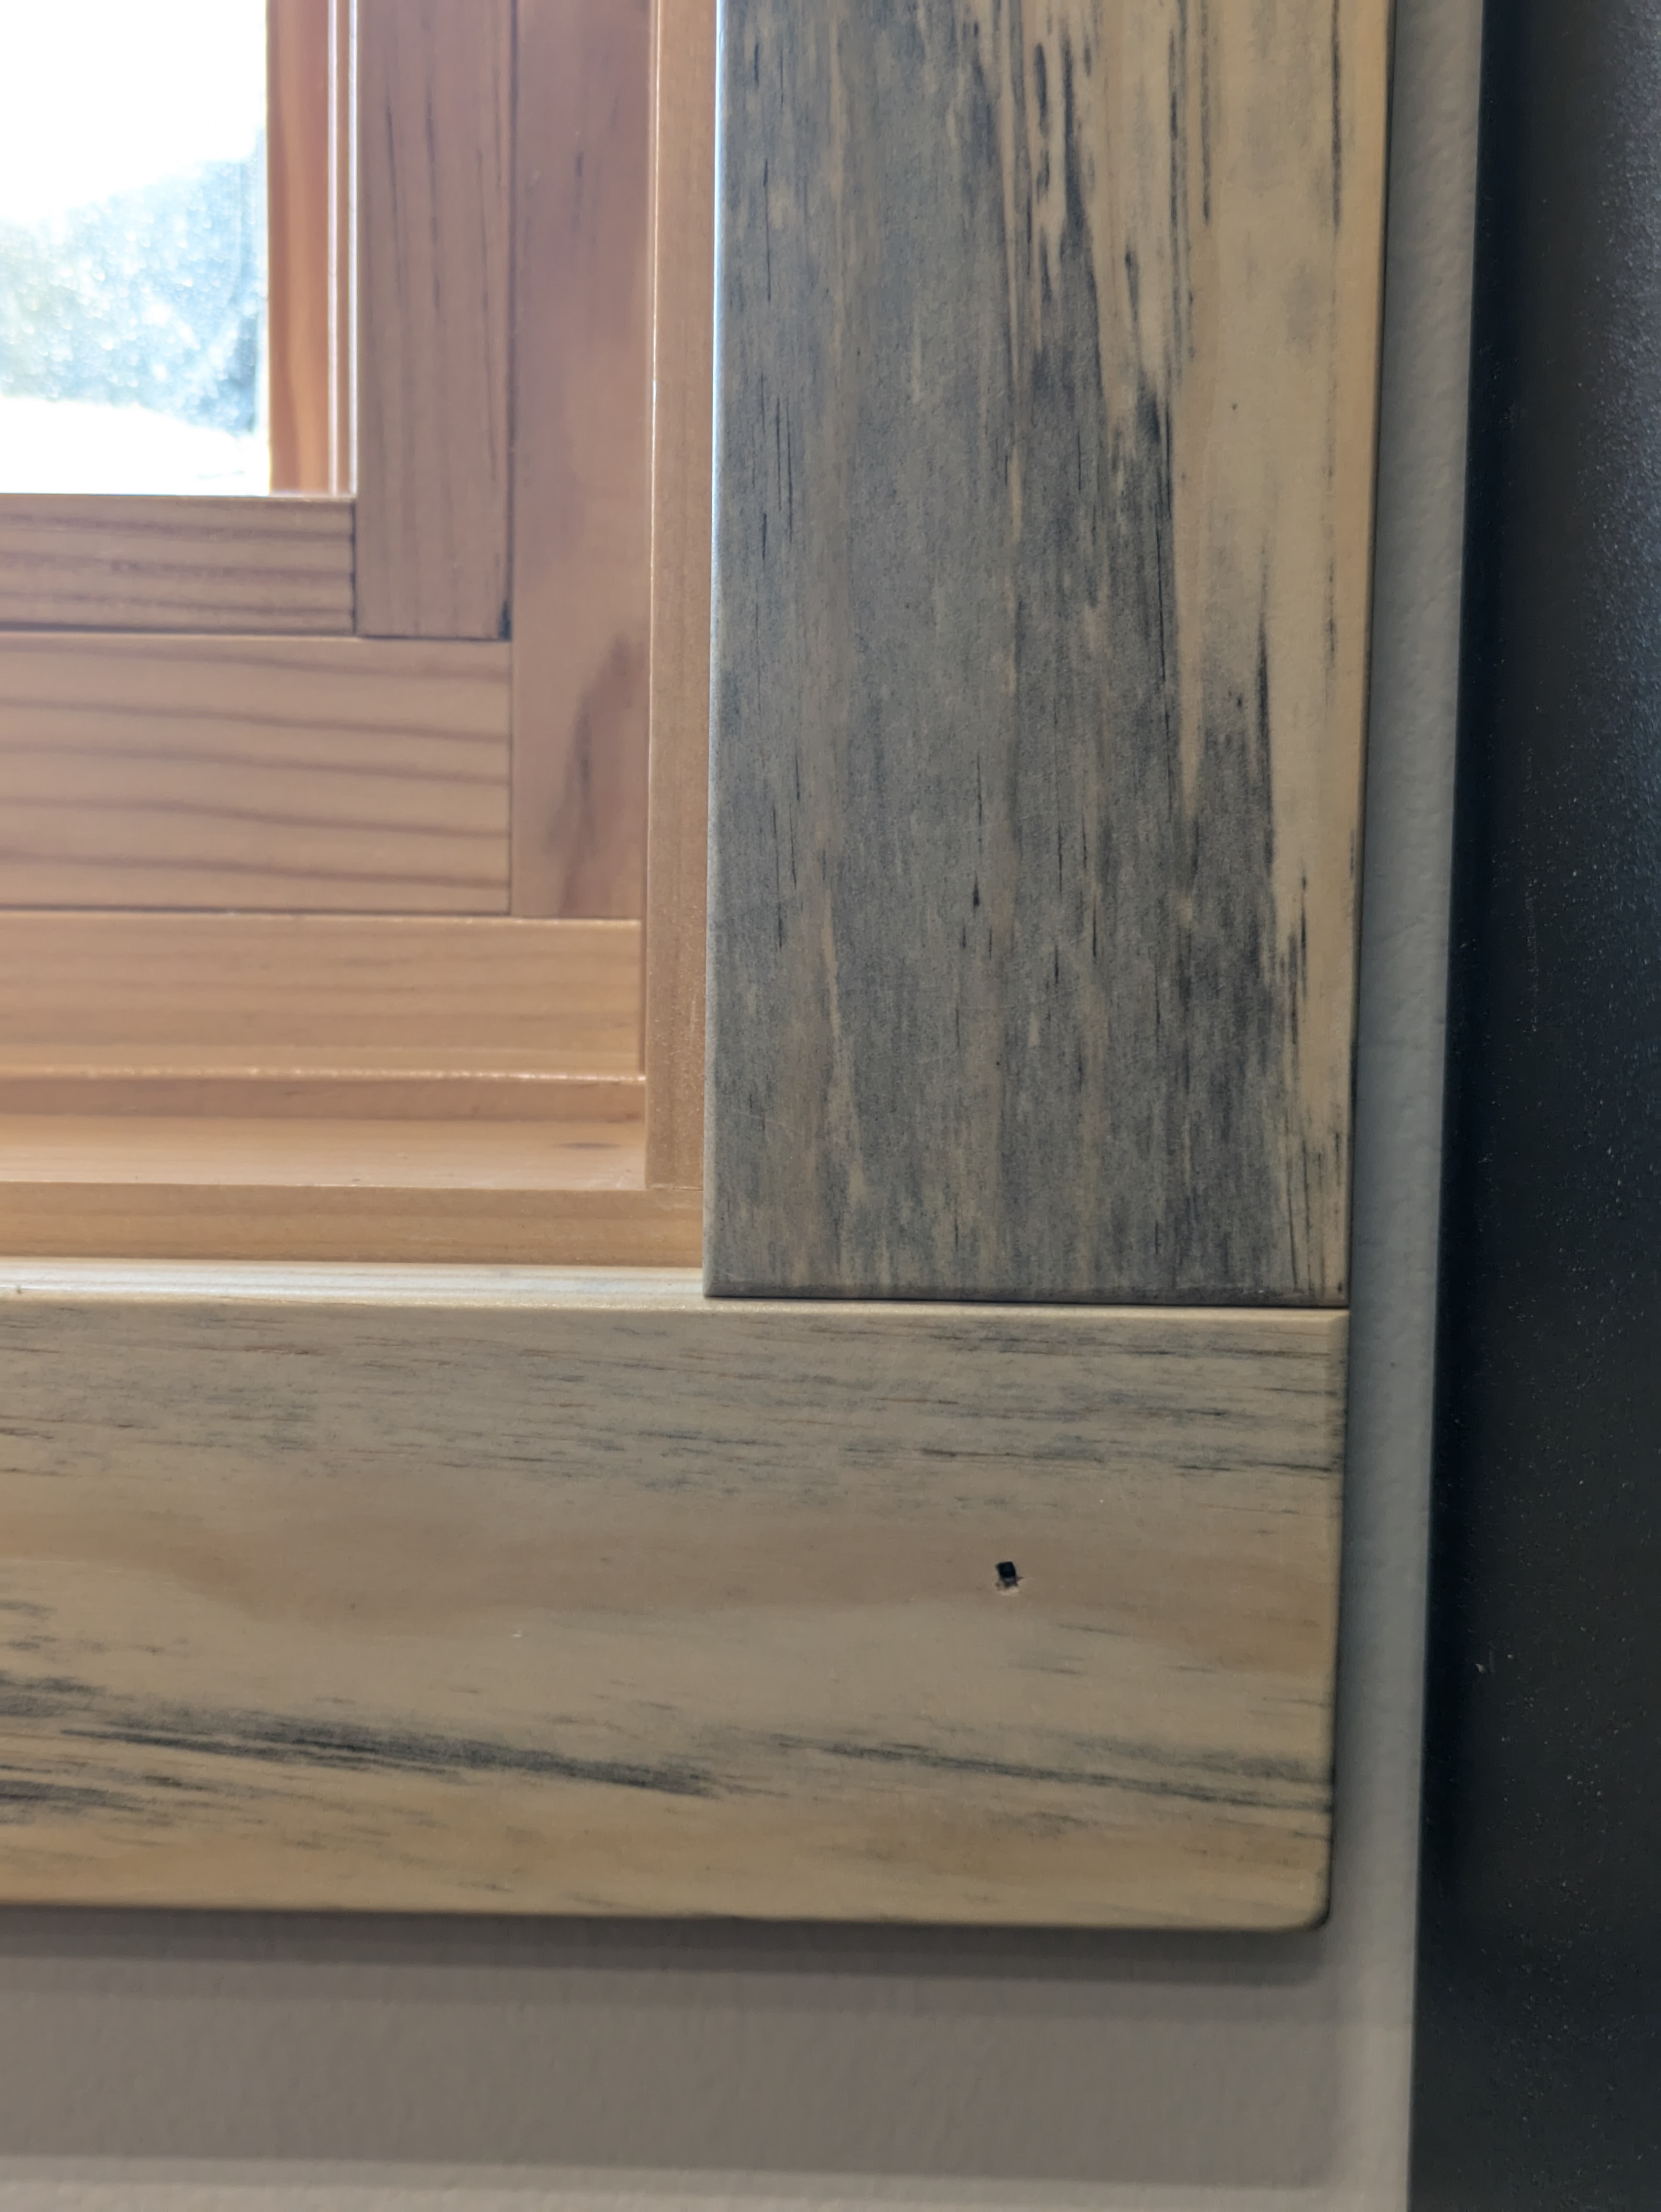
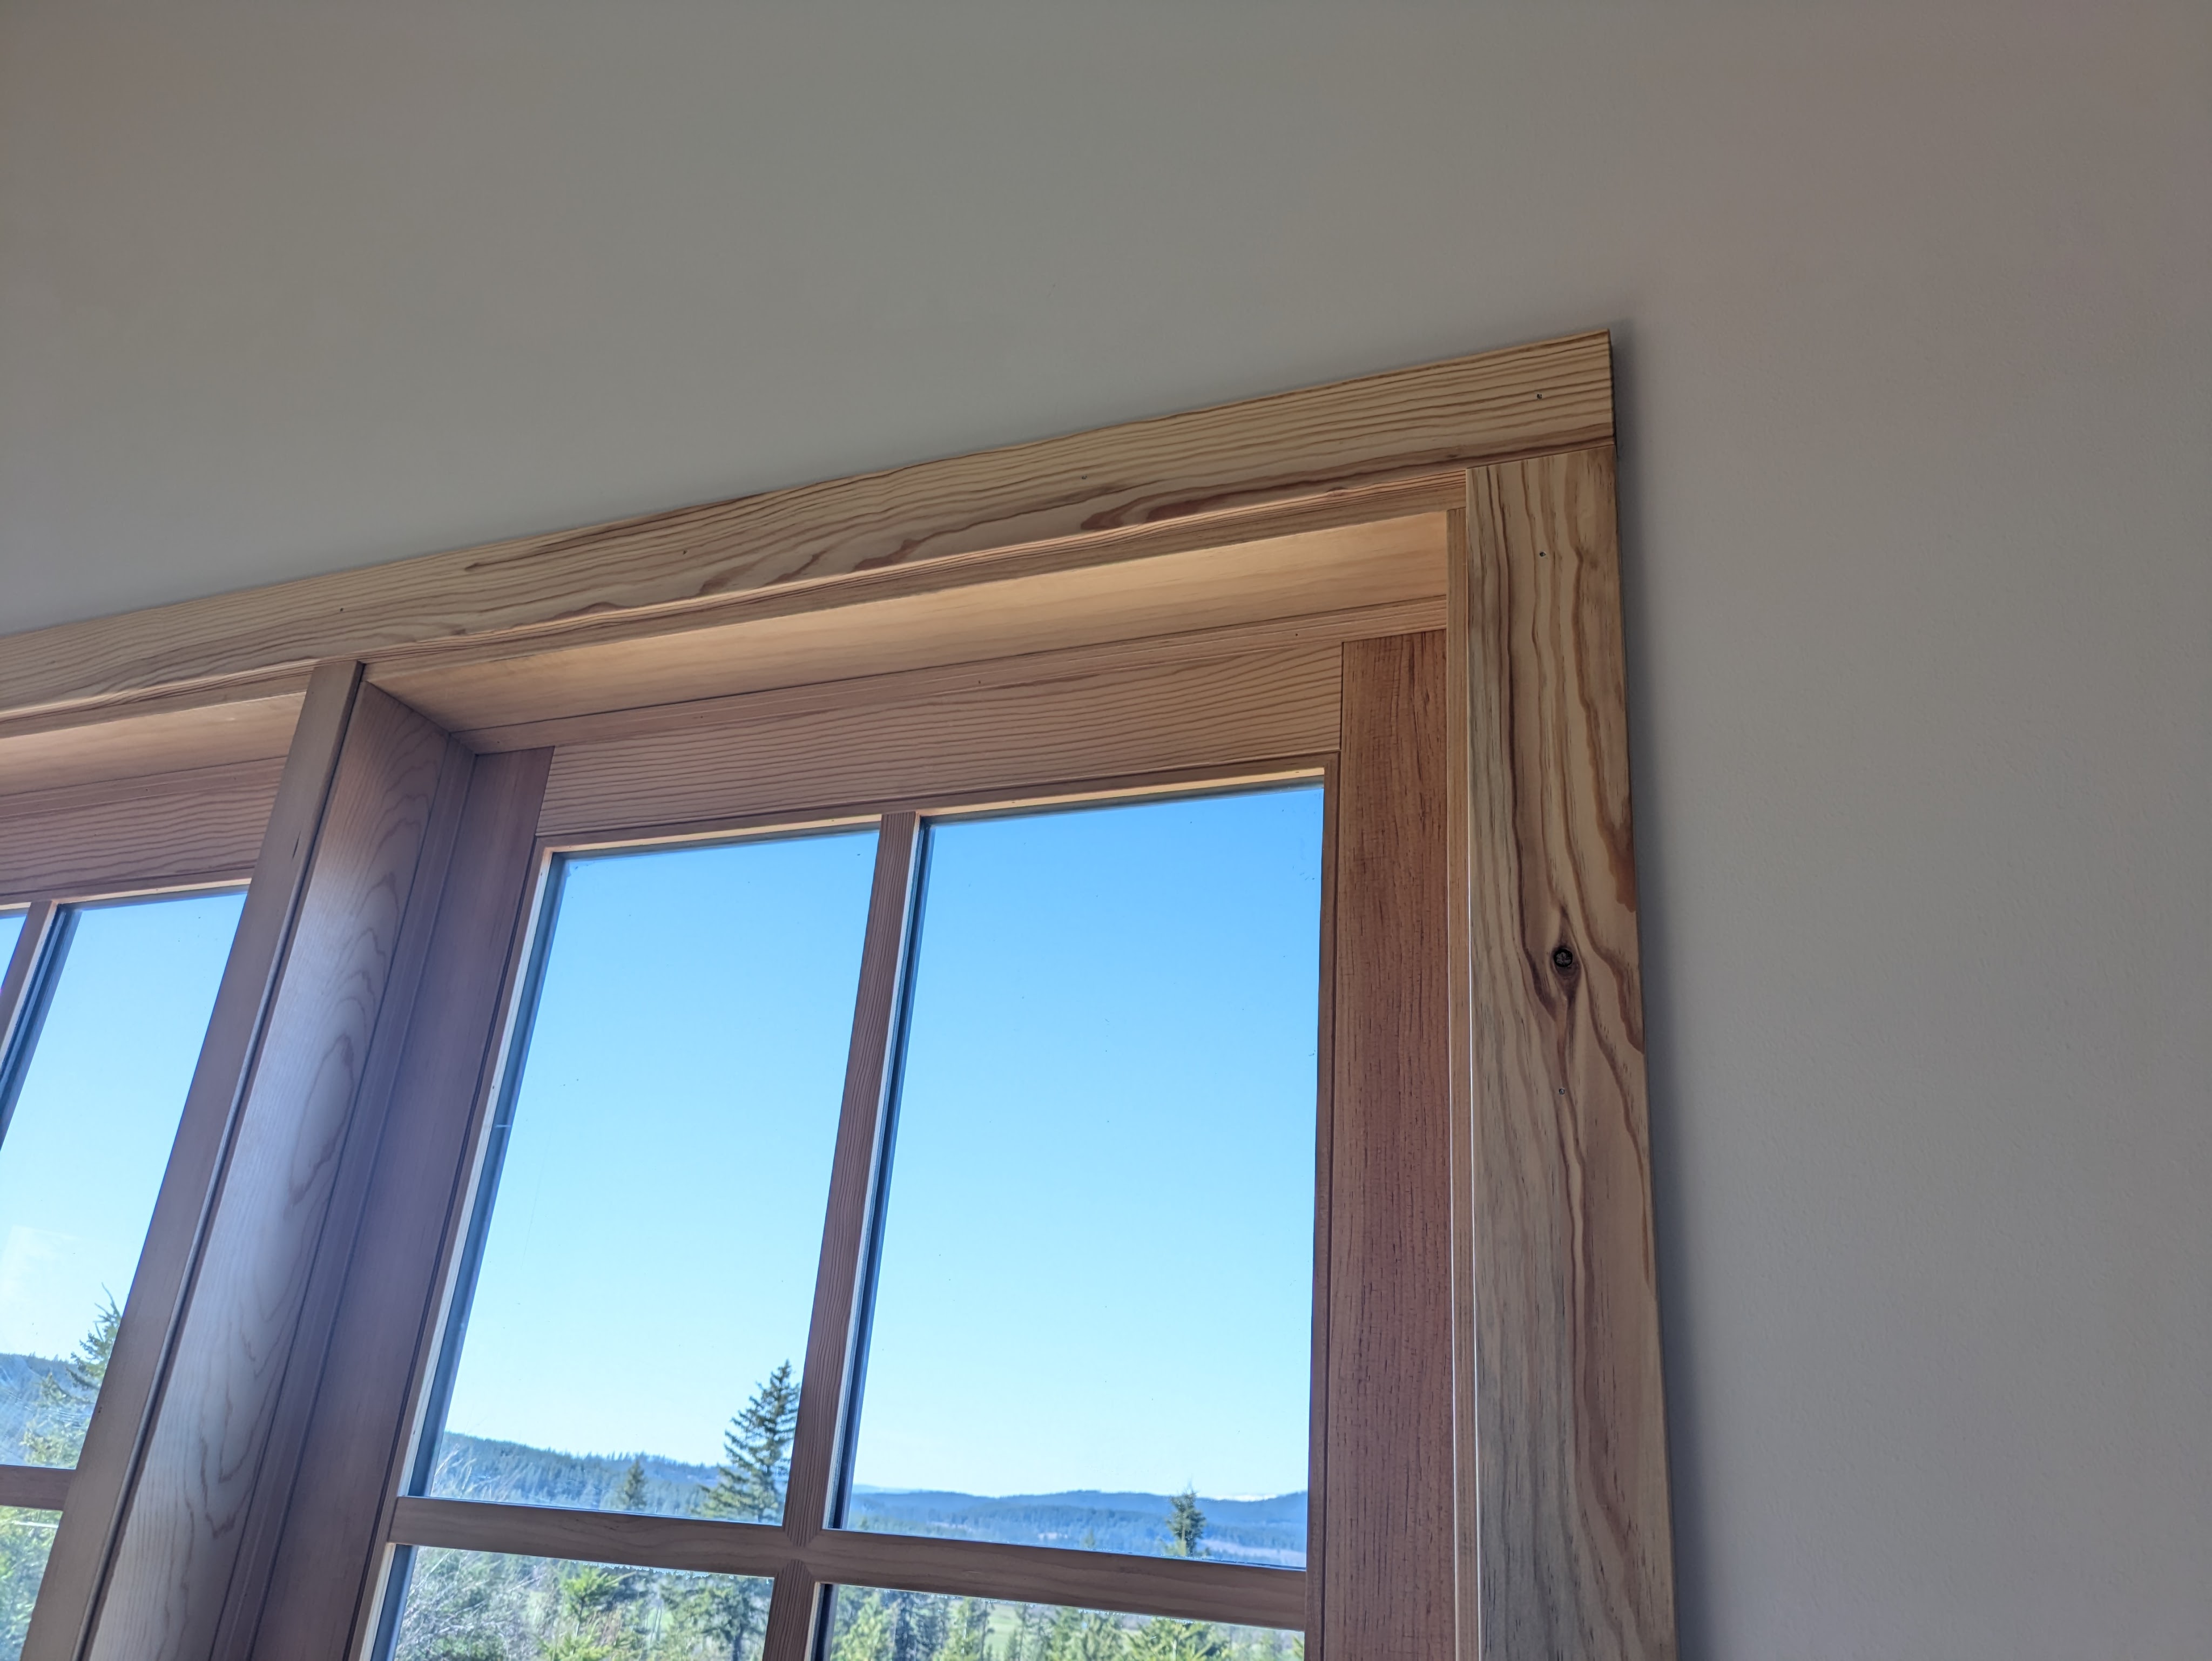
This involved matching the grain pattern and coloring, especially at the corners where the boards meet up. I also tried to balance the grain patterns and knots throughout each room. (I spent a lot of time on this and I’m guessing few people will notice.)
We measured each window (they vary 1/16″ – 1/4″) and cut the trim pieces to their final lengths. I hand-sanded the ends and put a radius on the corners and edges. Lastly, I painted the ends with a tiny paintbrush.
Almost ready for install… There were very few locations where the drywall was flush with the windows. We spent a lot of time cutting back the drywall and/or planing a relief in the back of the boards until the trim sat flat.
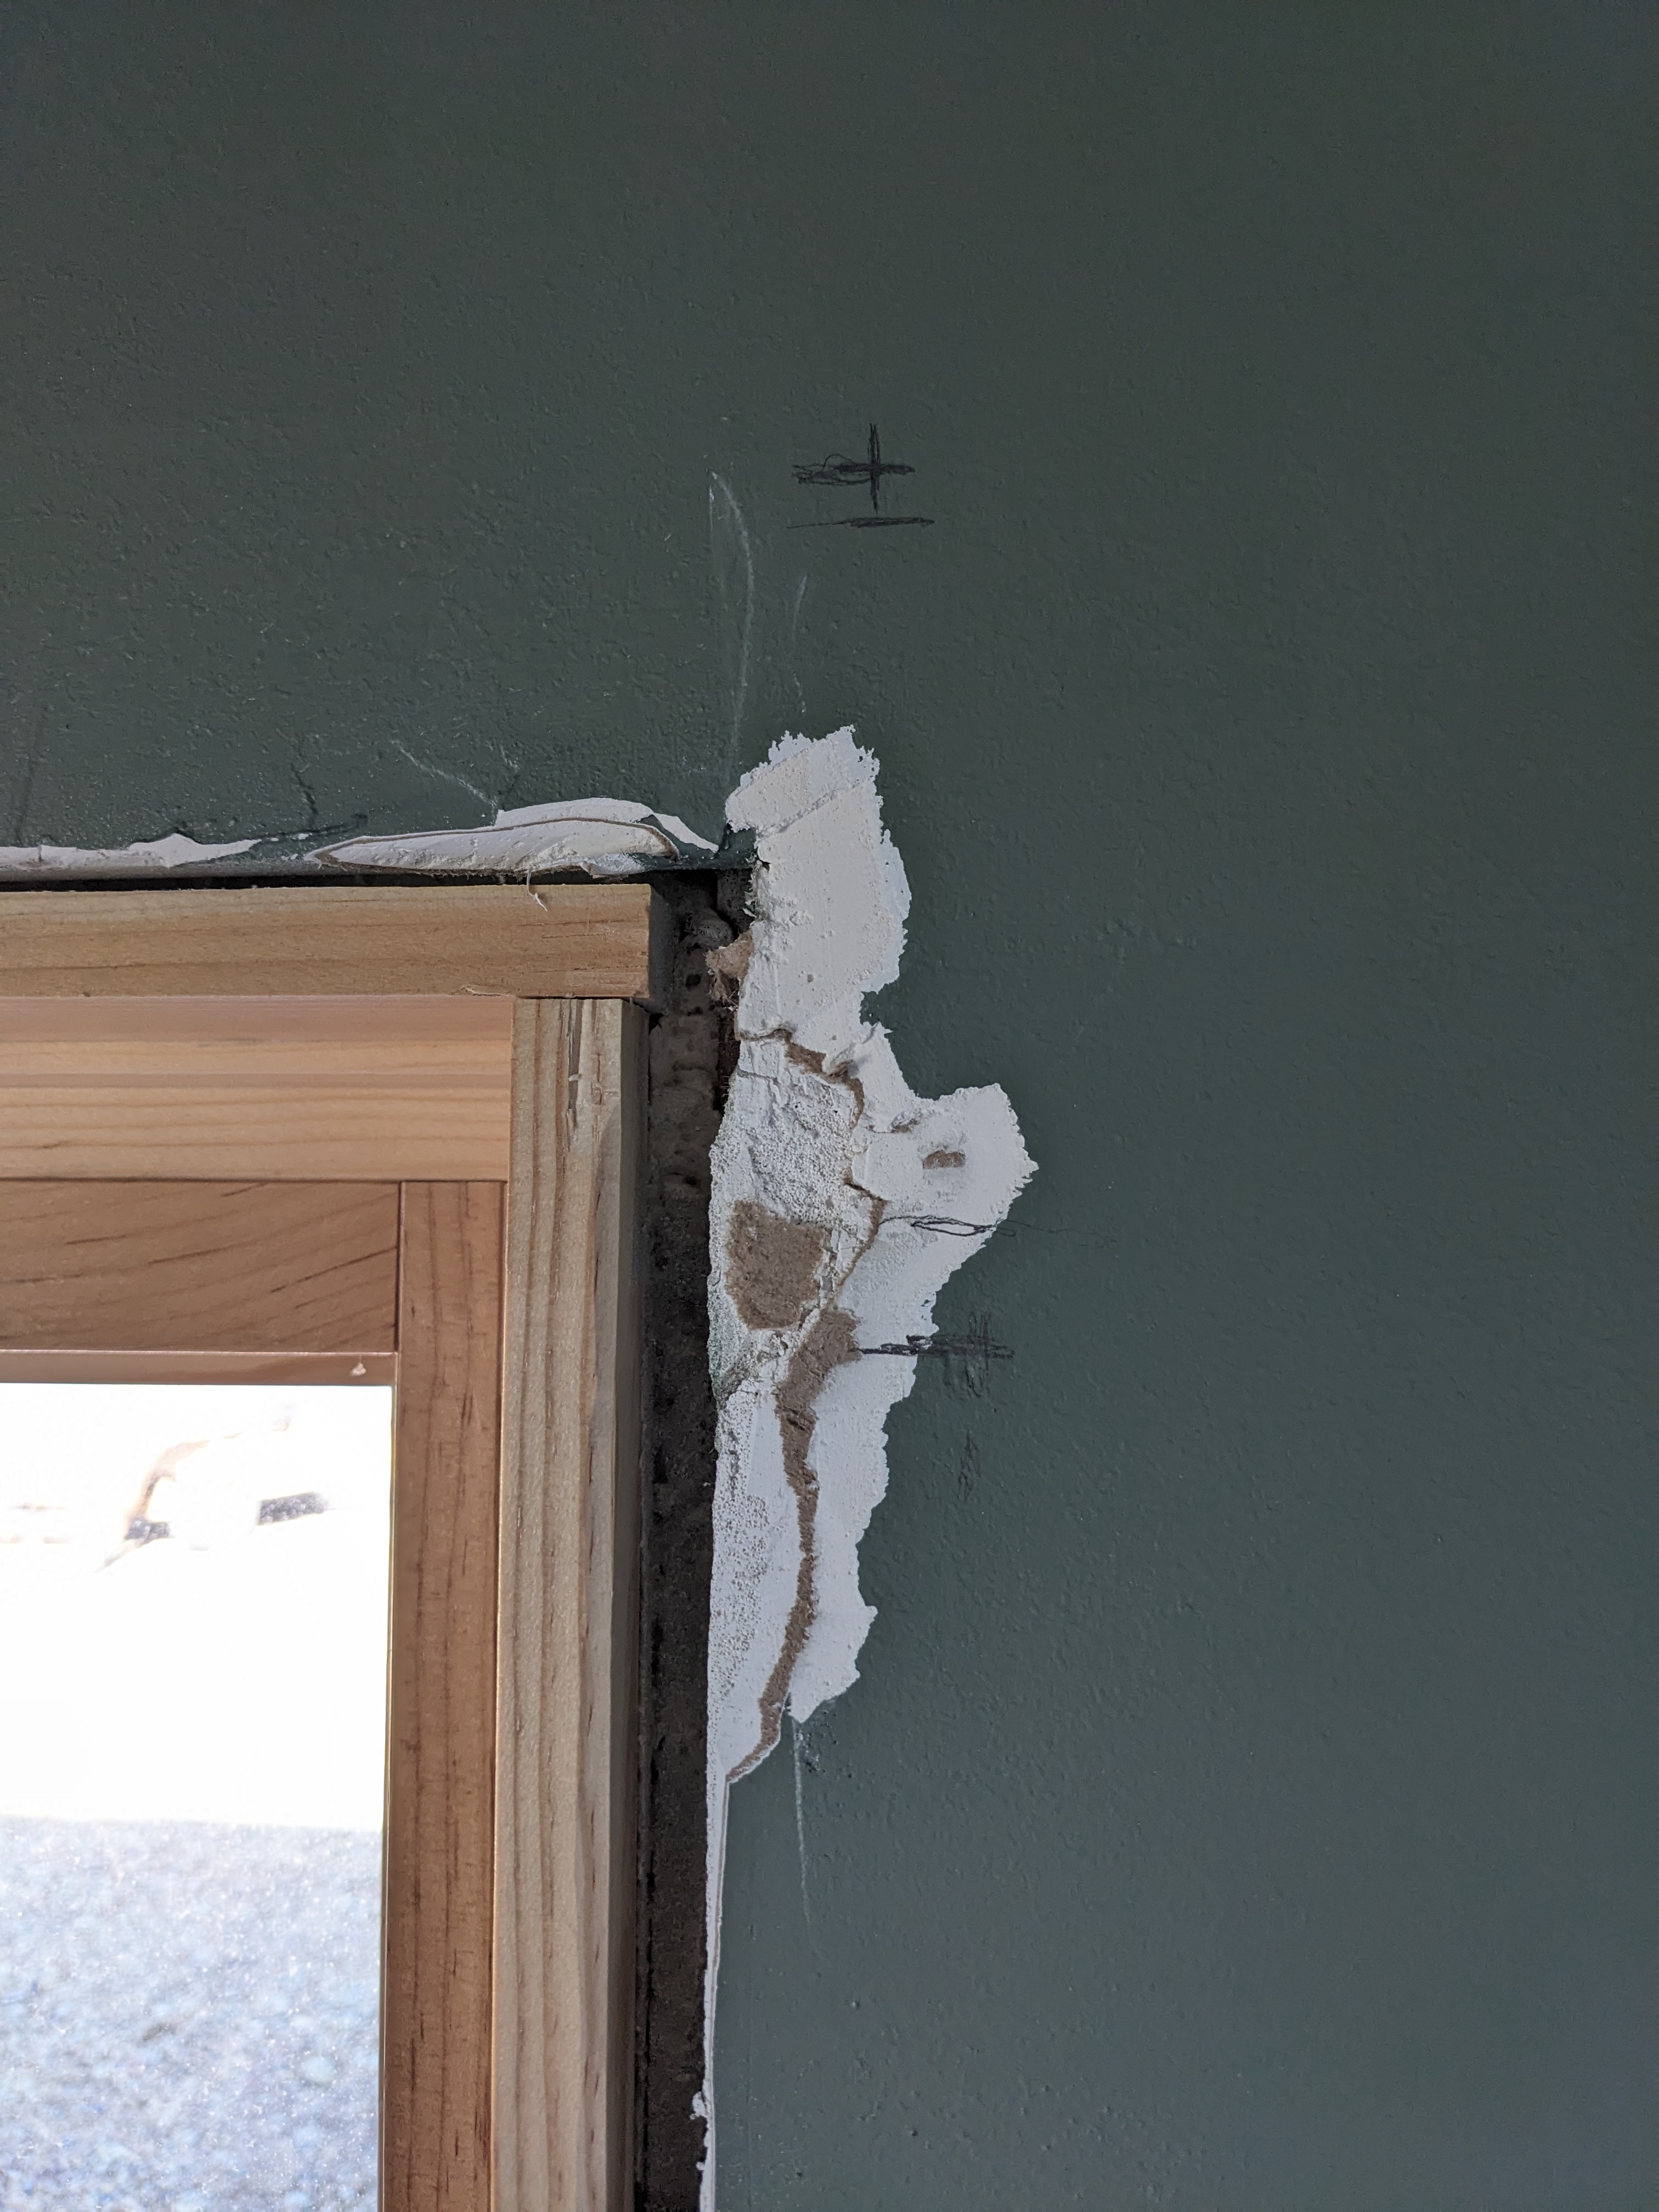
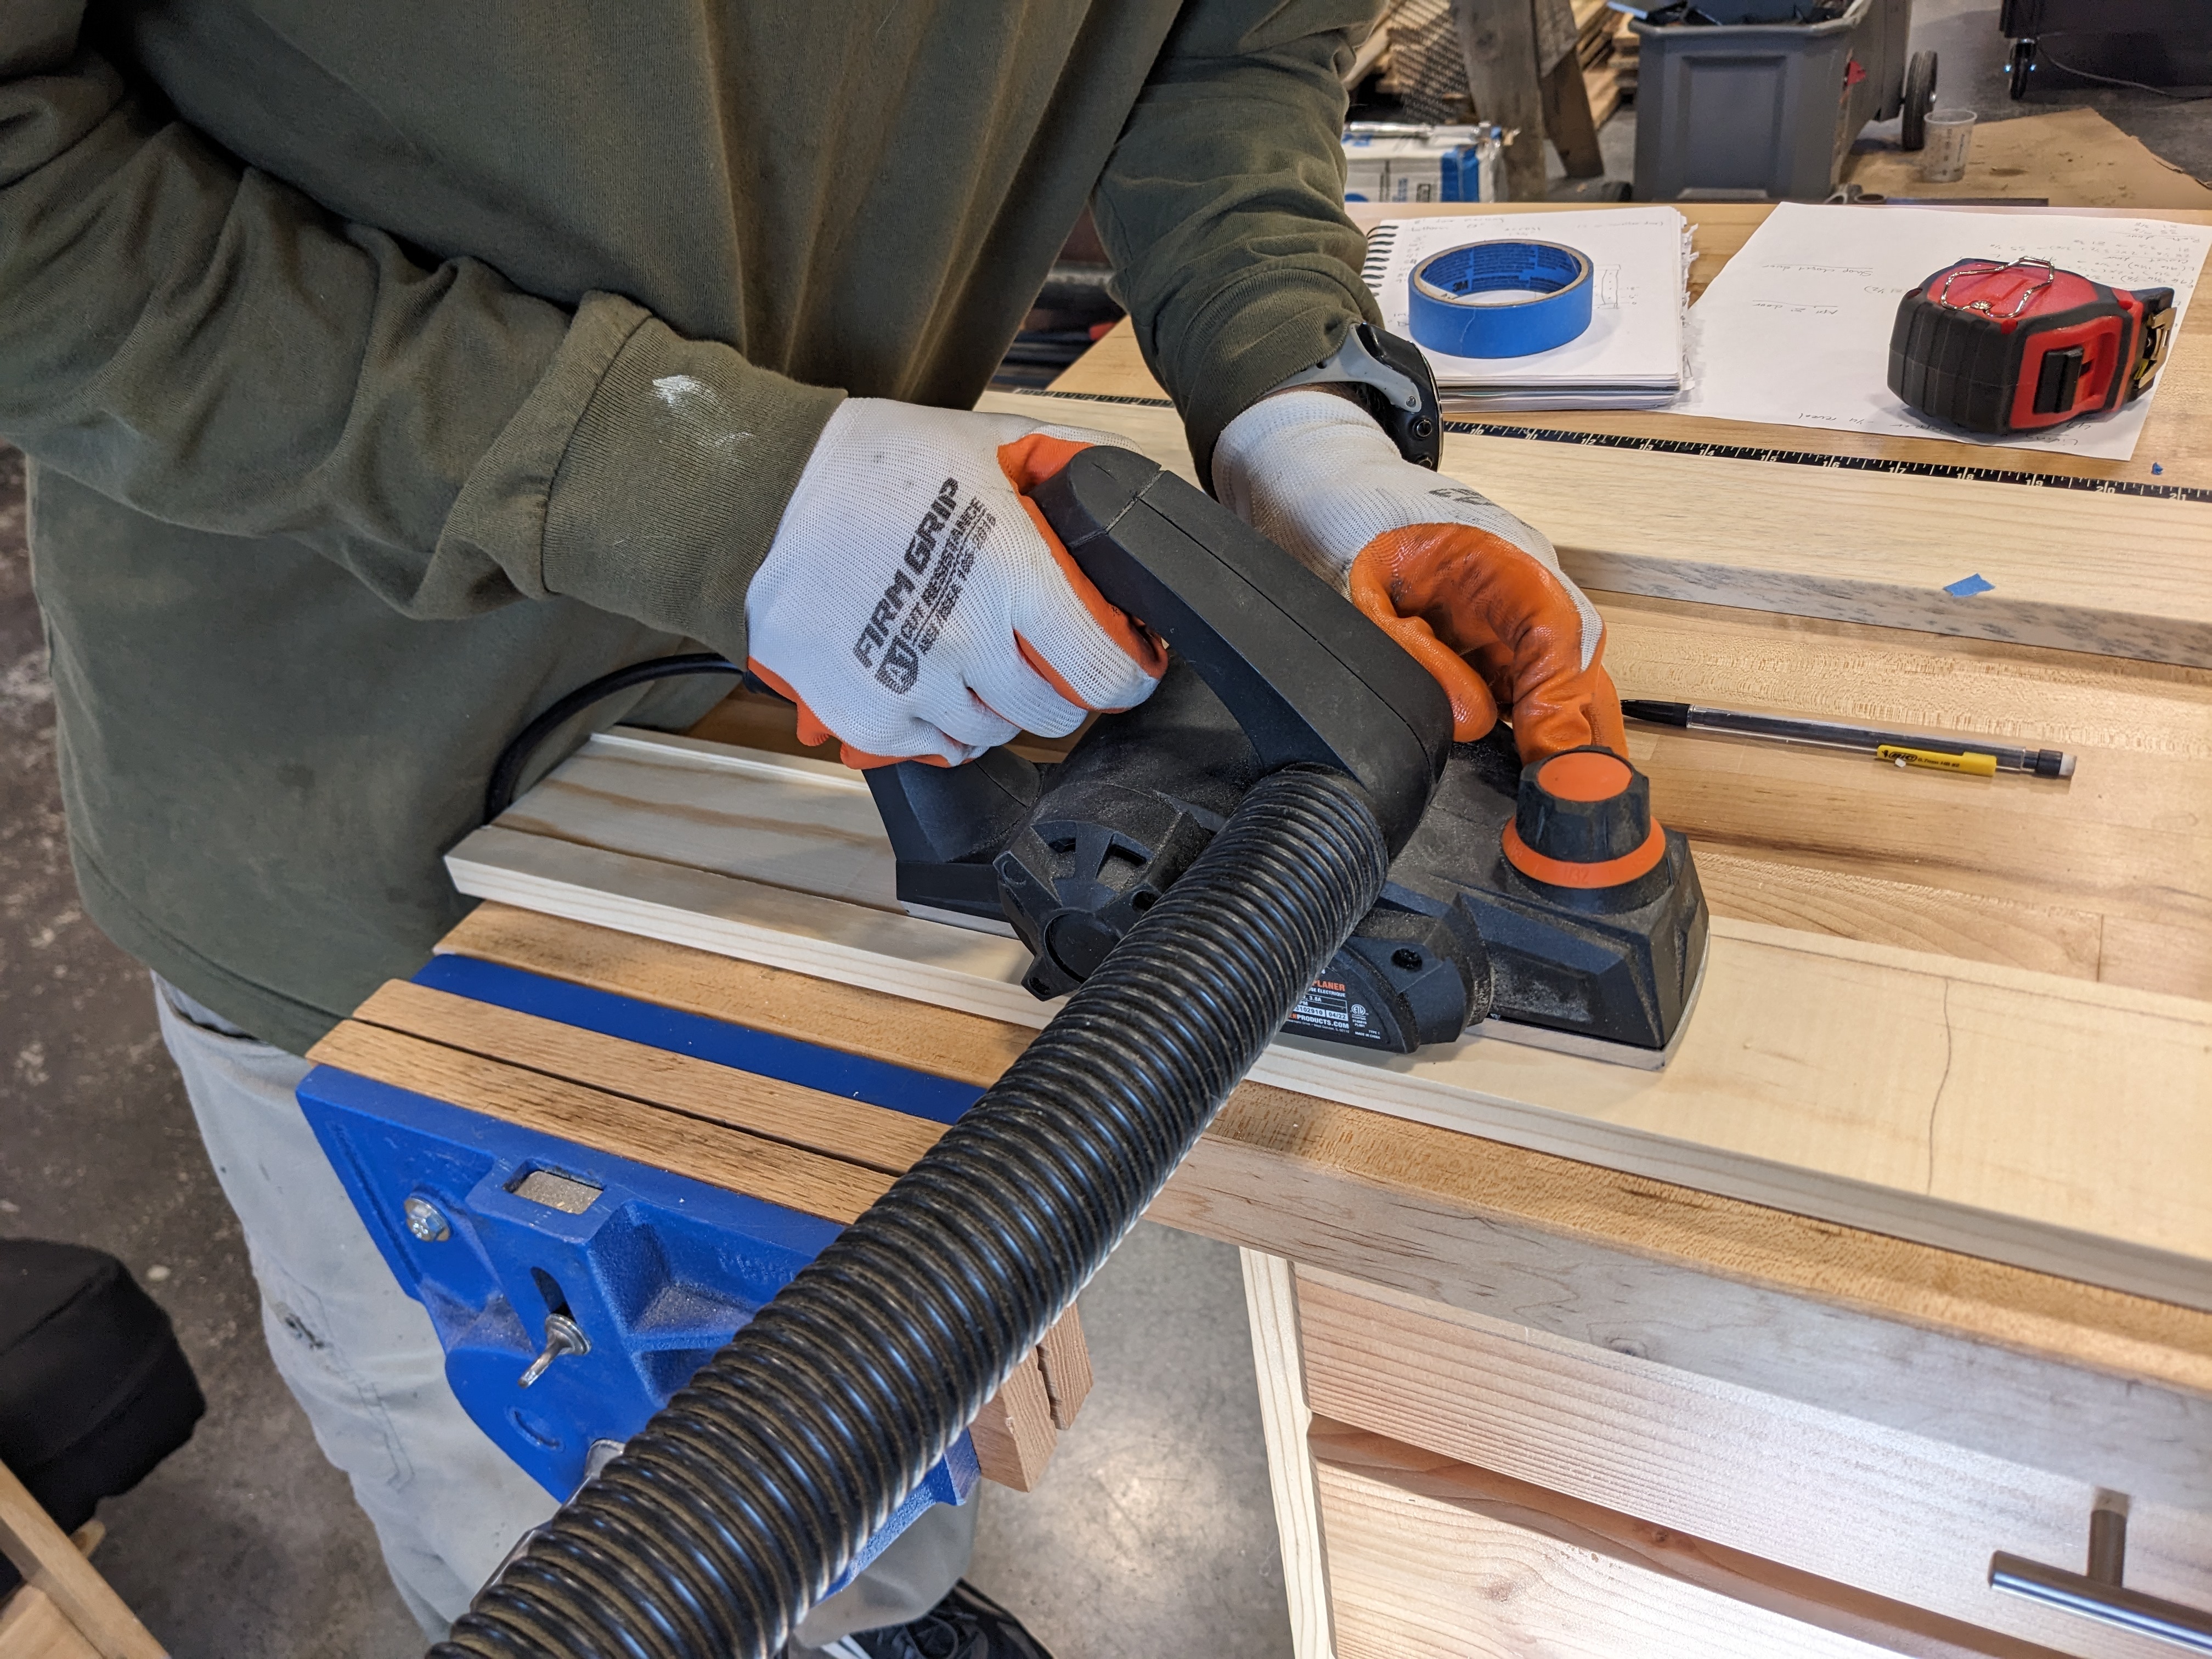
Cutting back the drywall is a real mess. Sometimes we had to supress the perfectionists in us and call it good enough when there was still a small gap between the board and the wall.

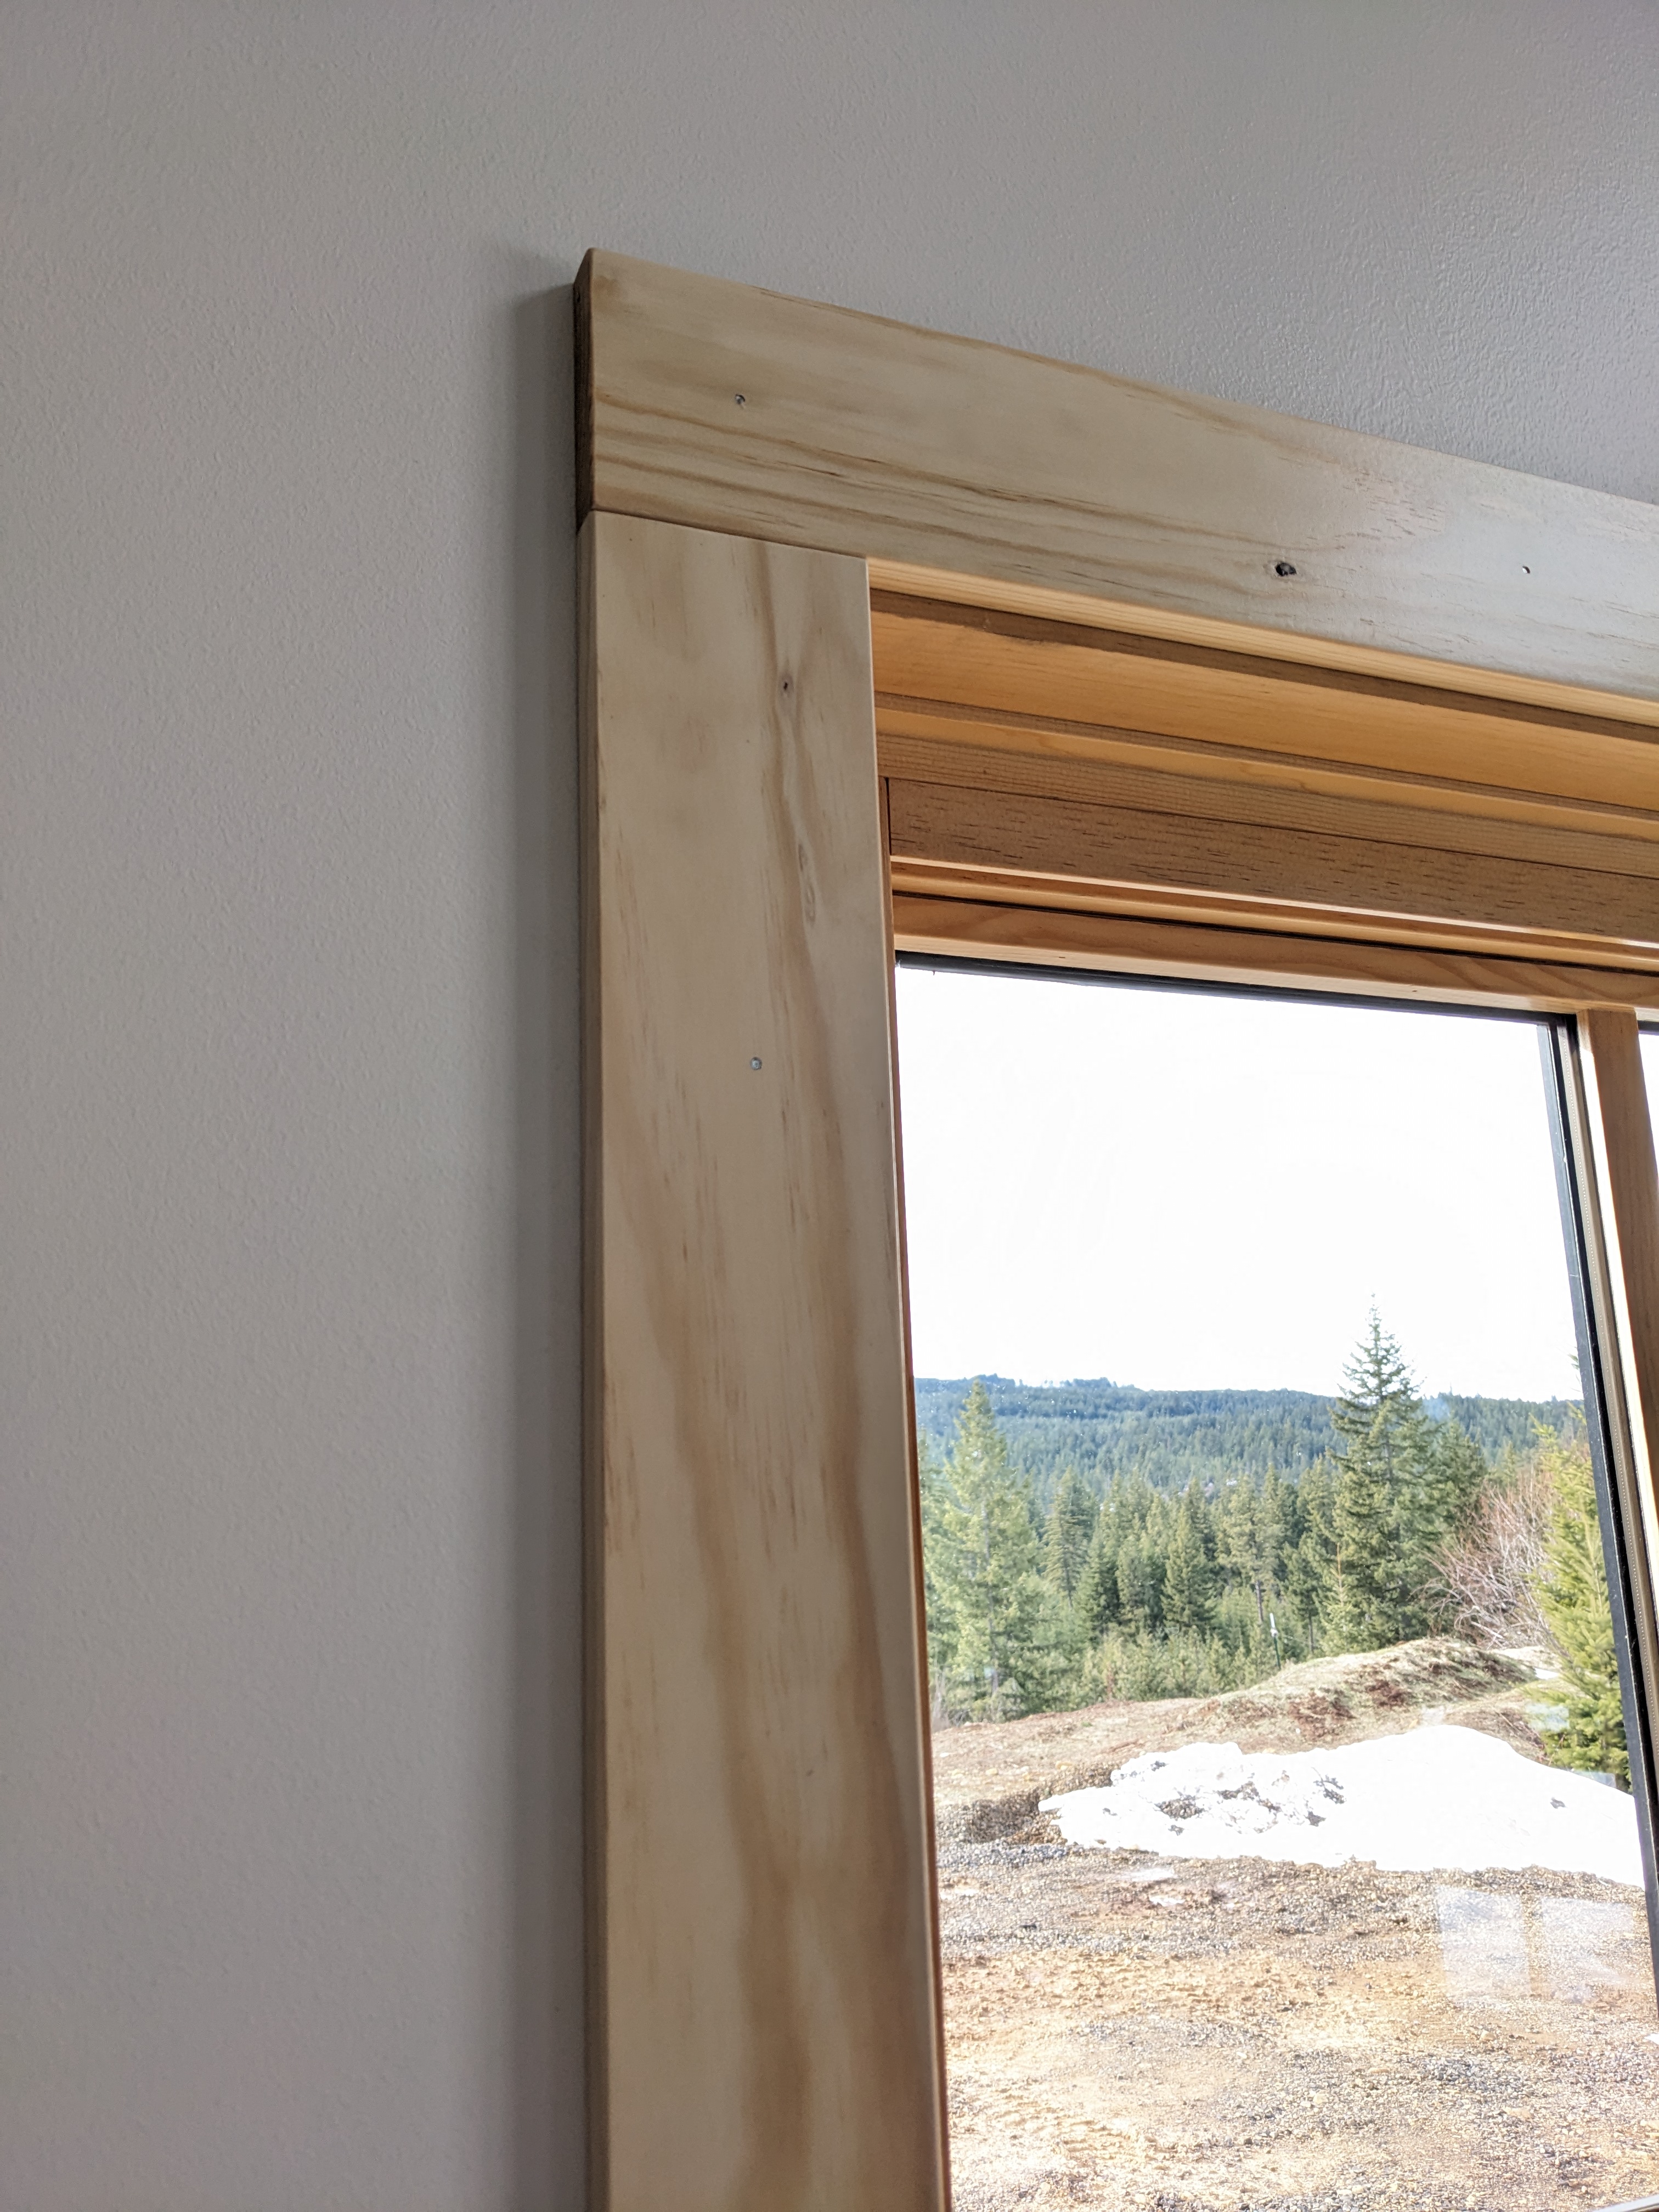
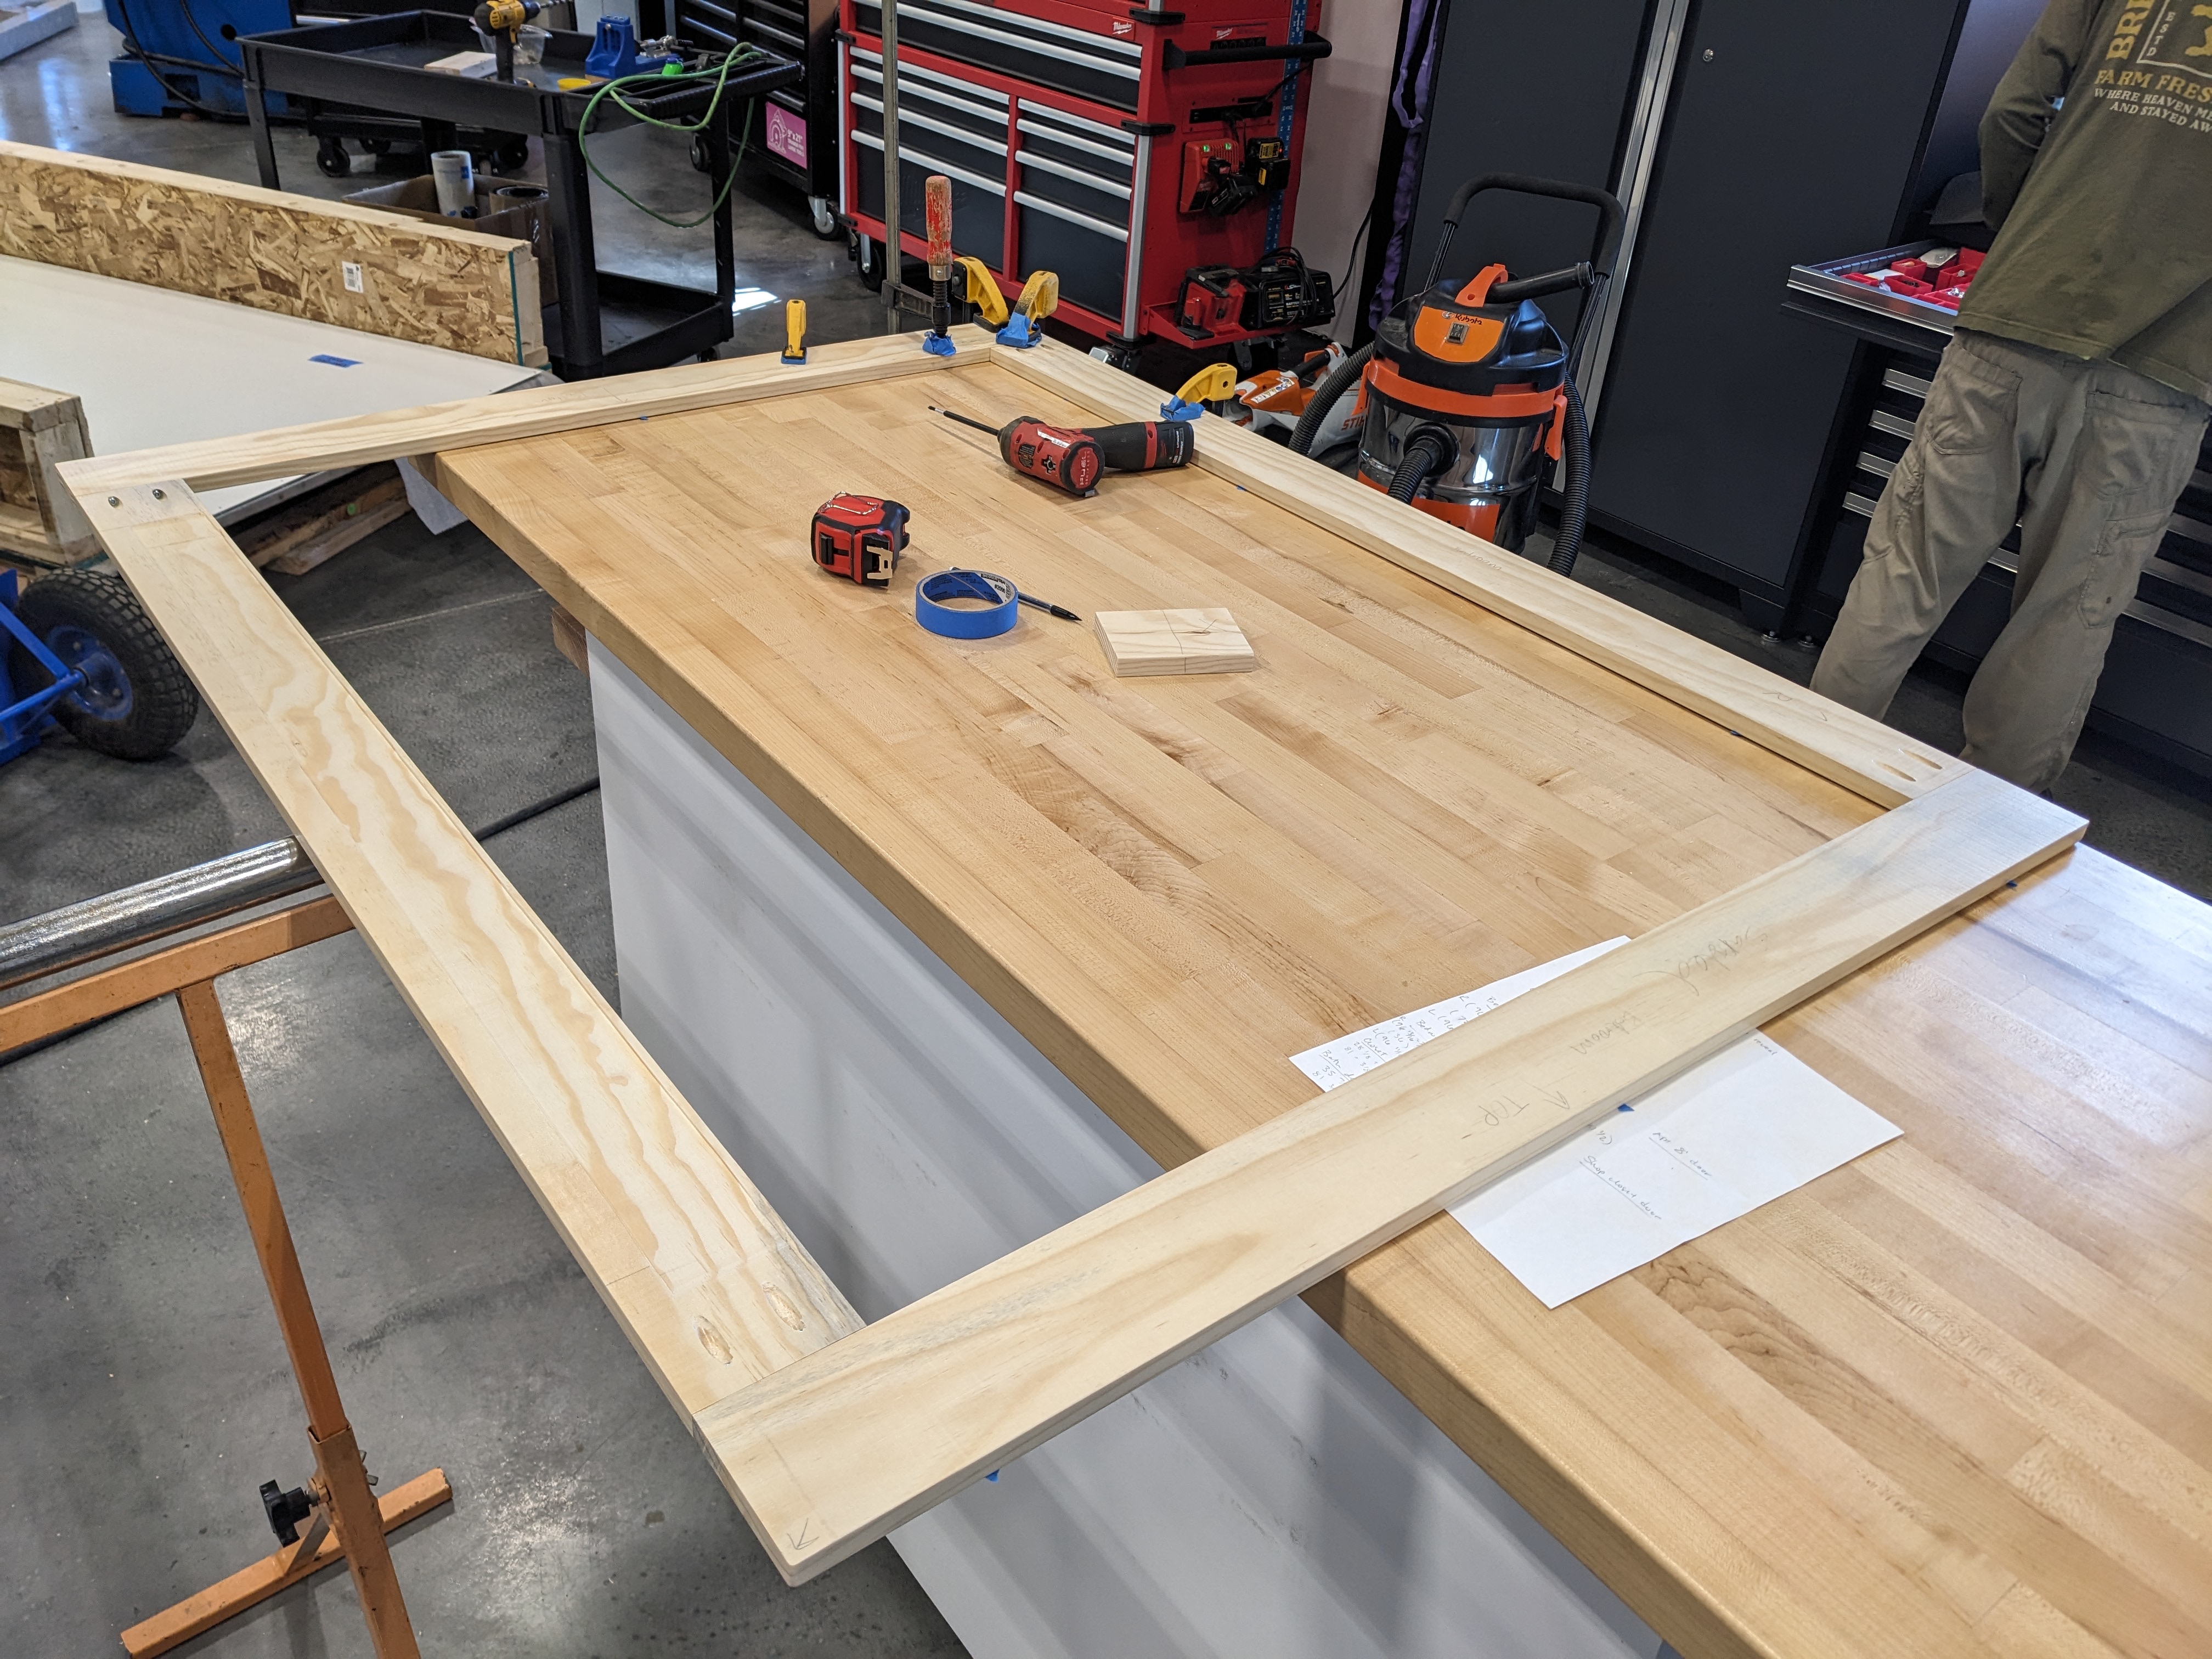
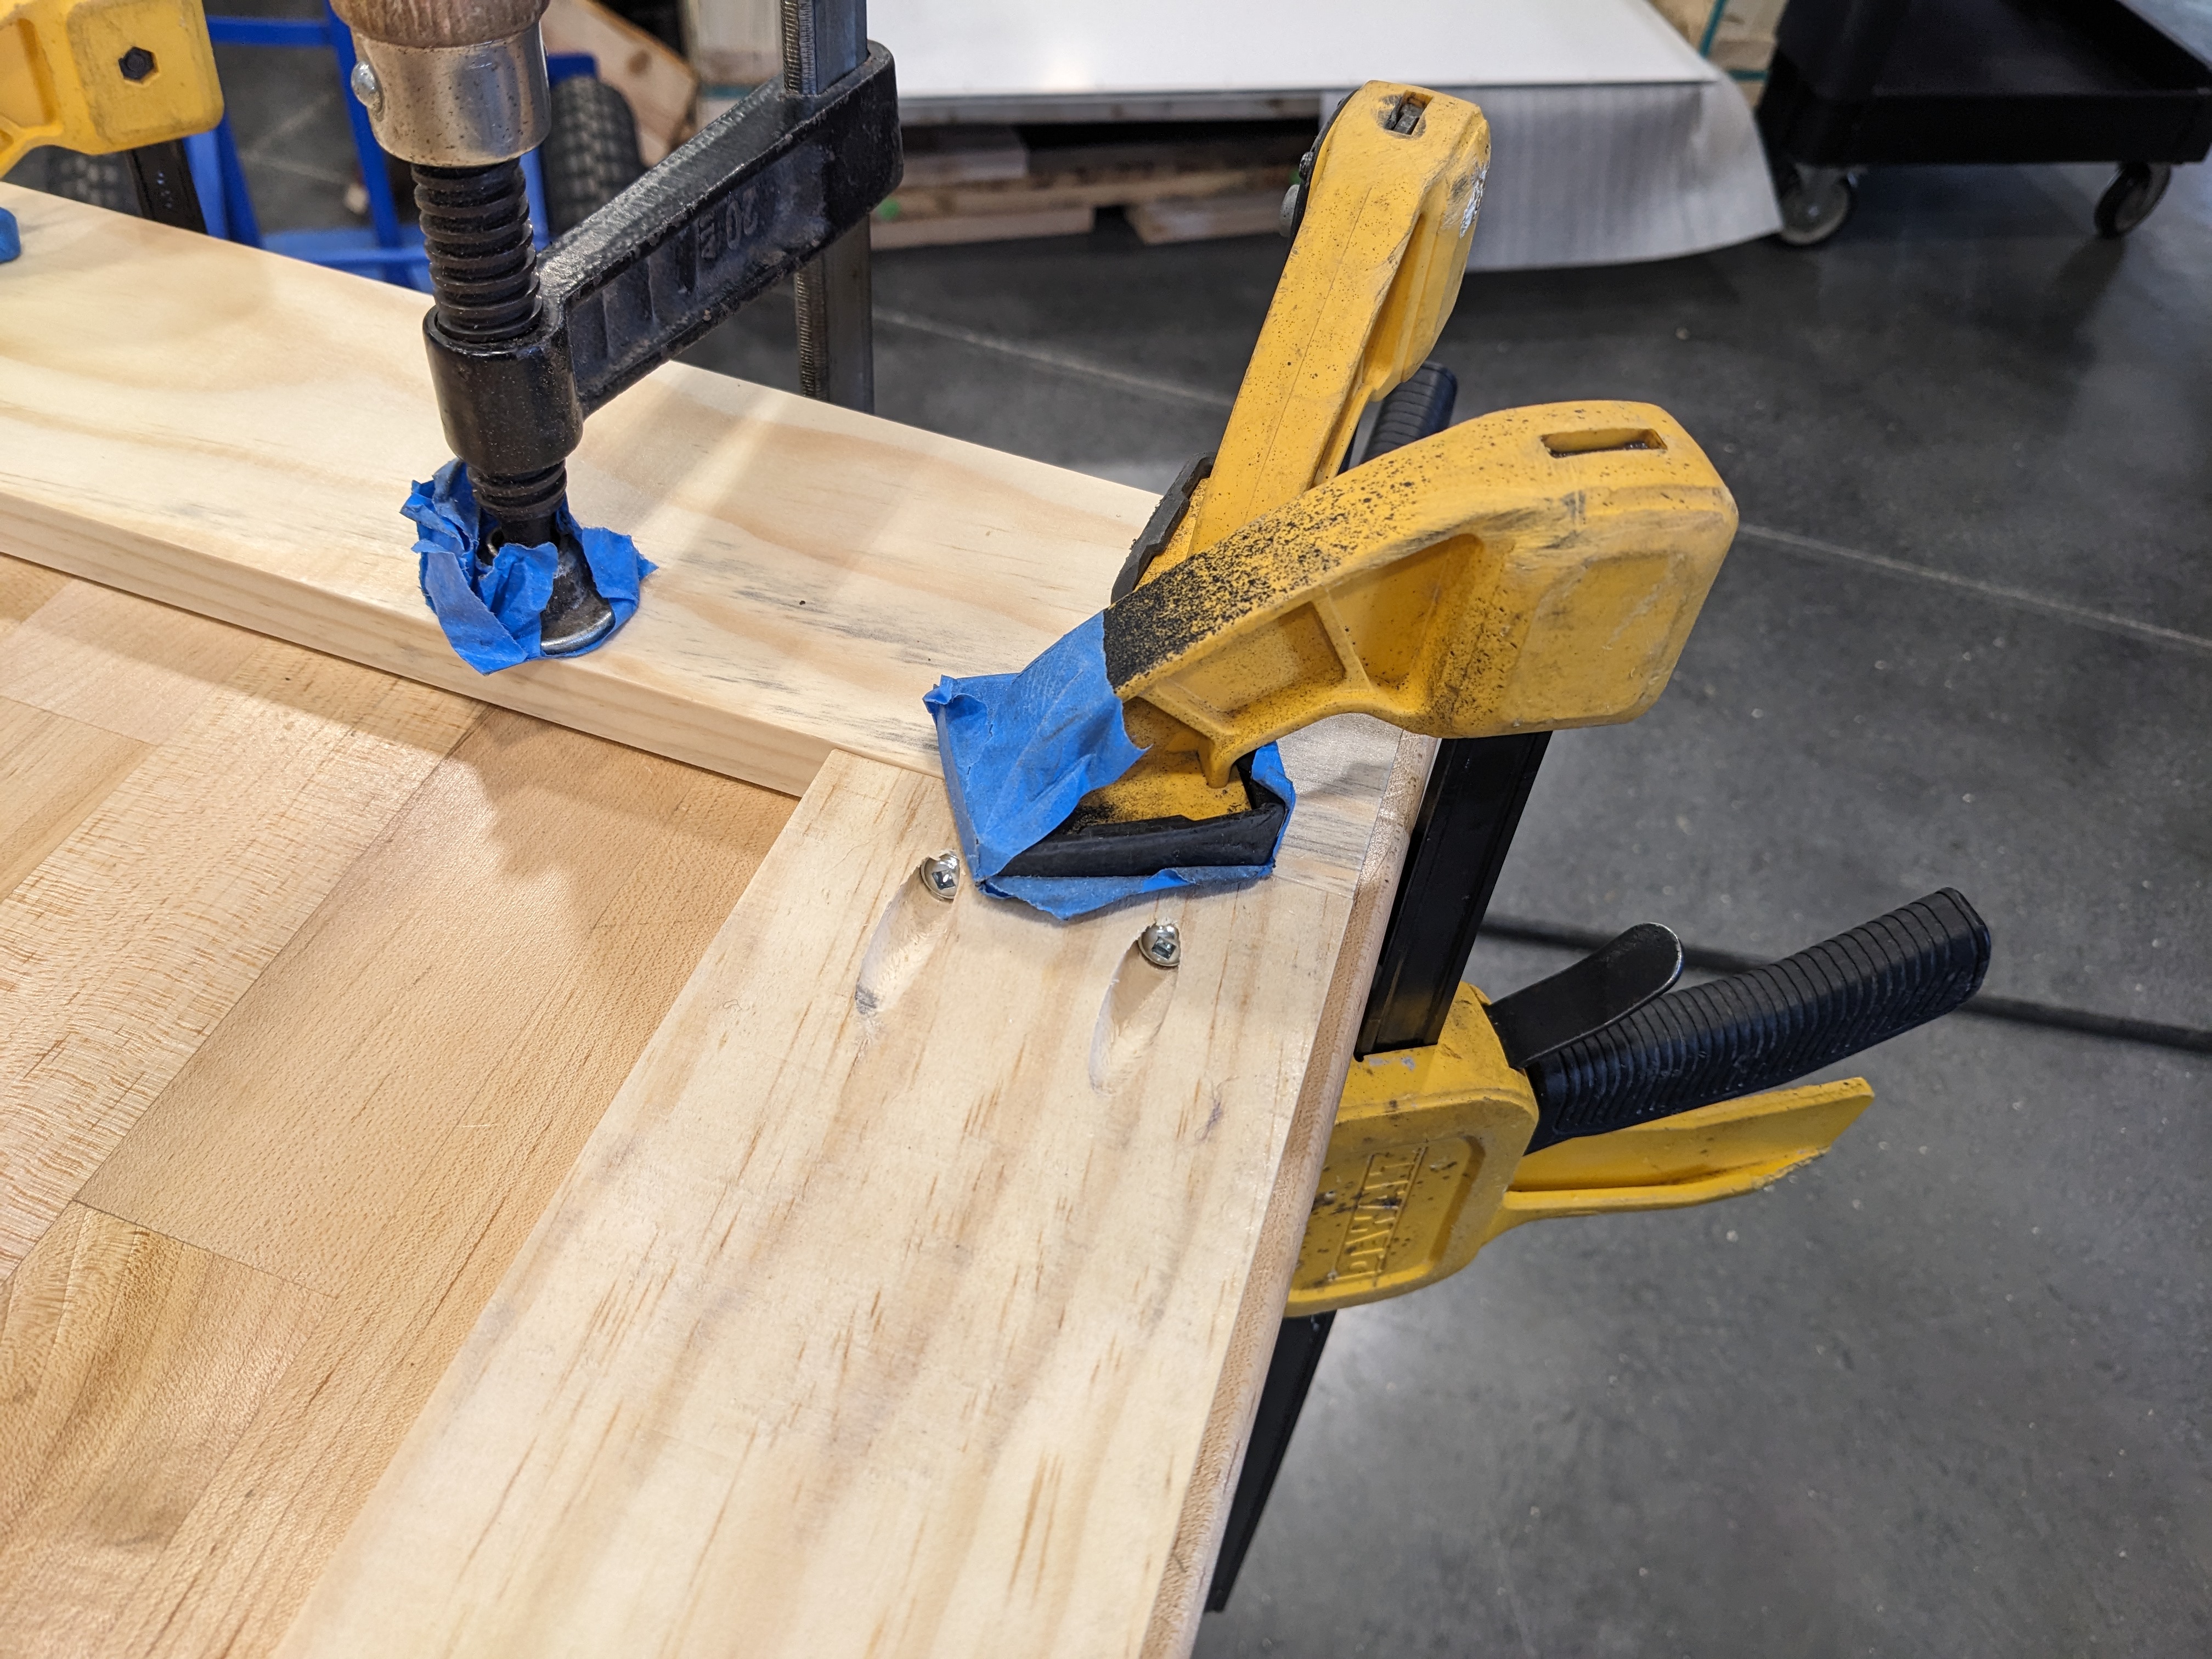
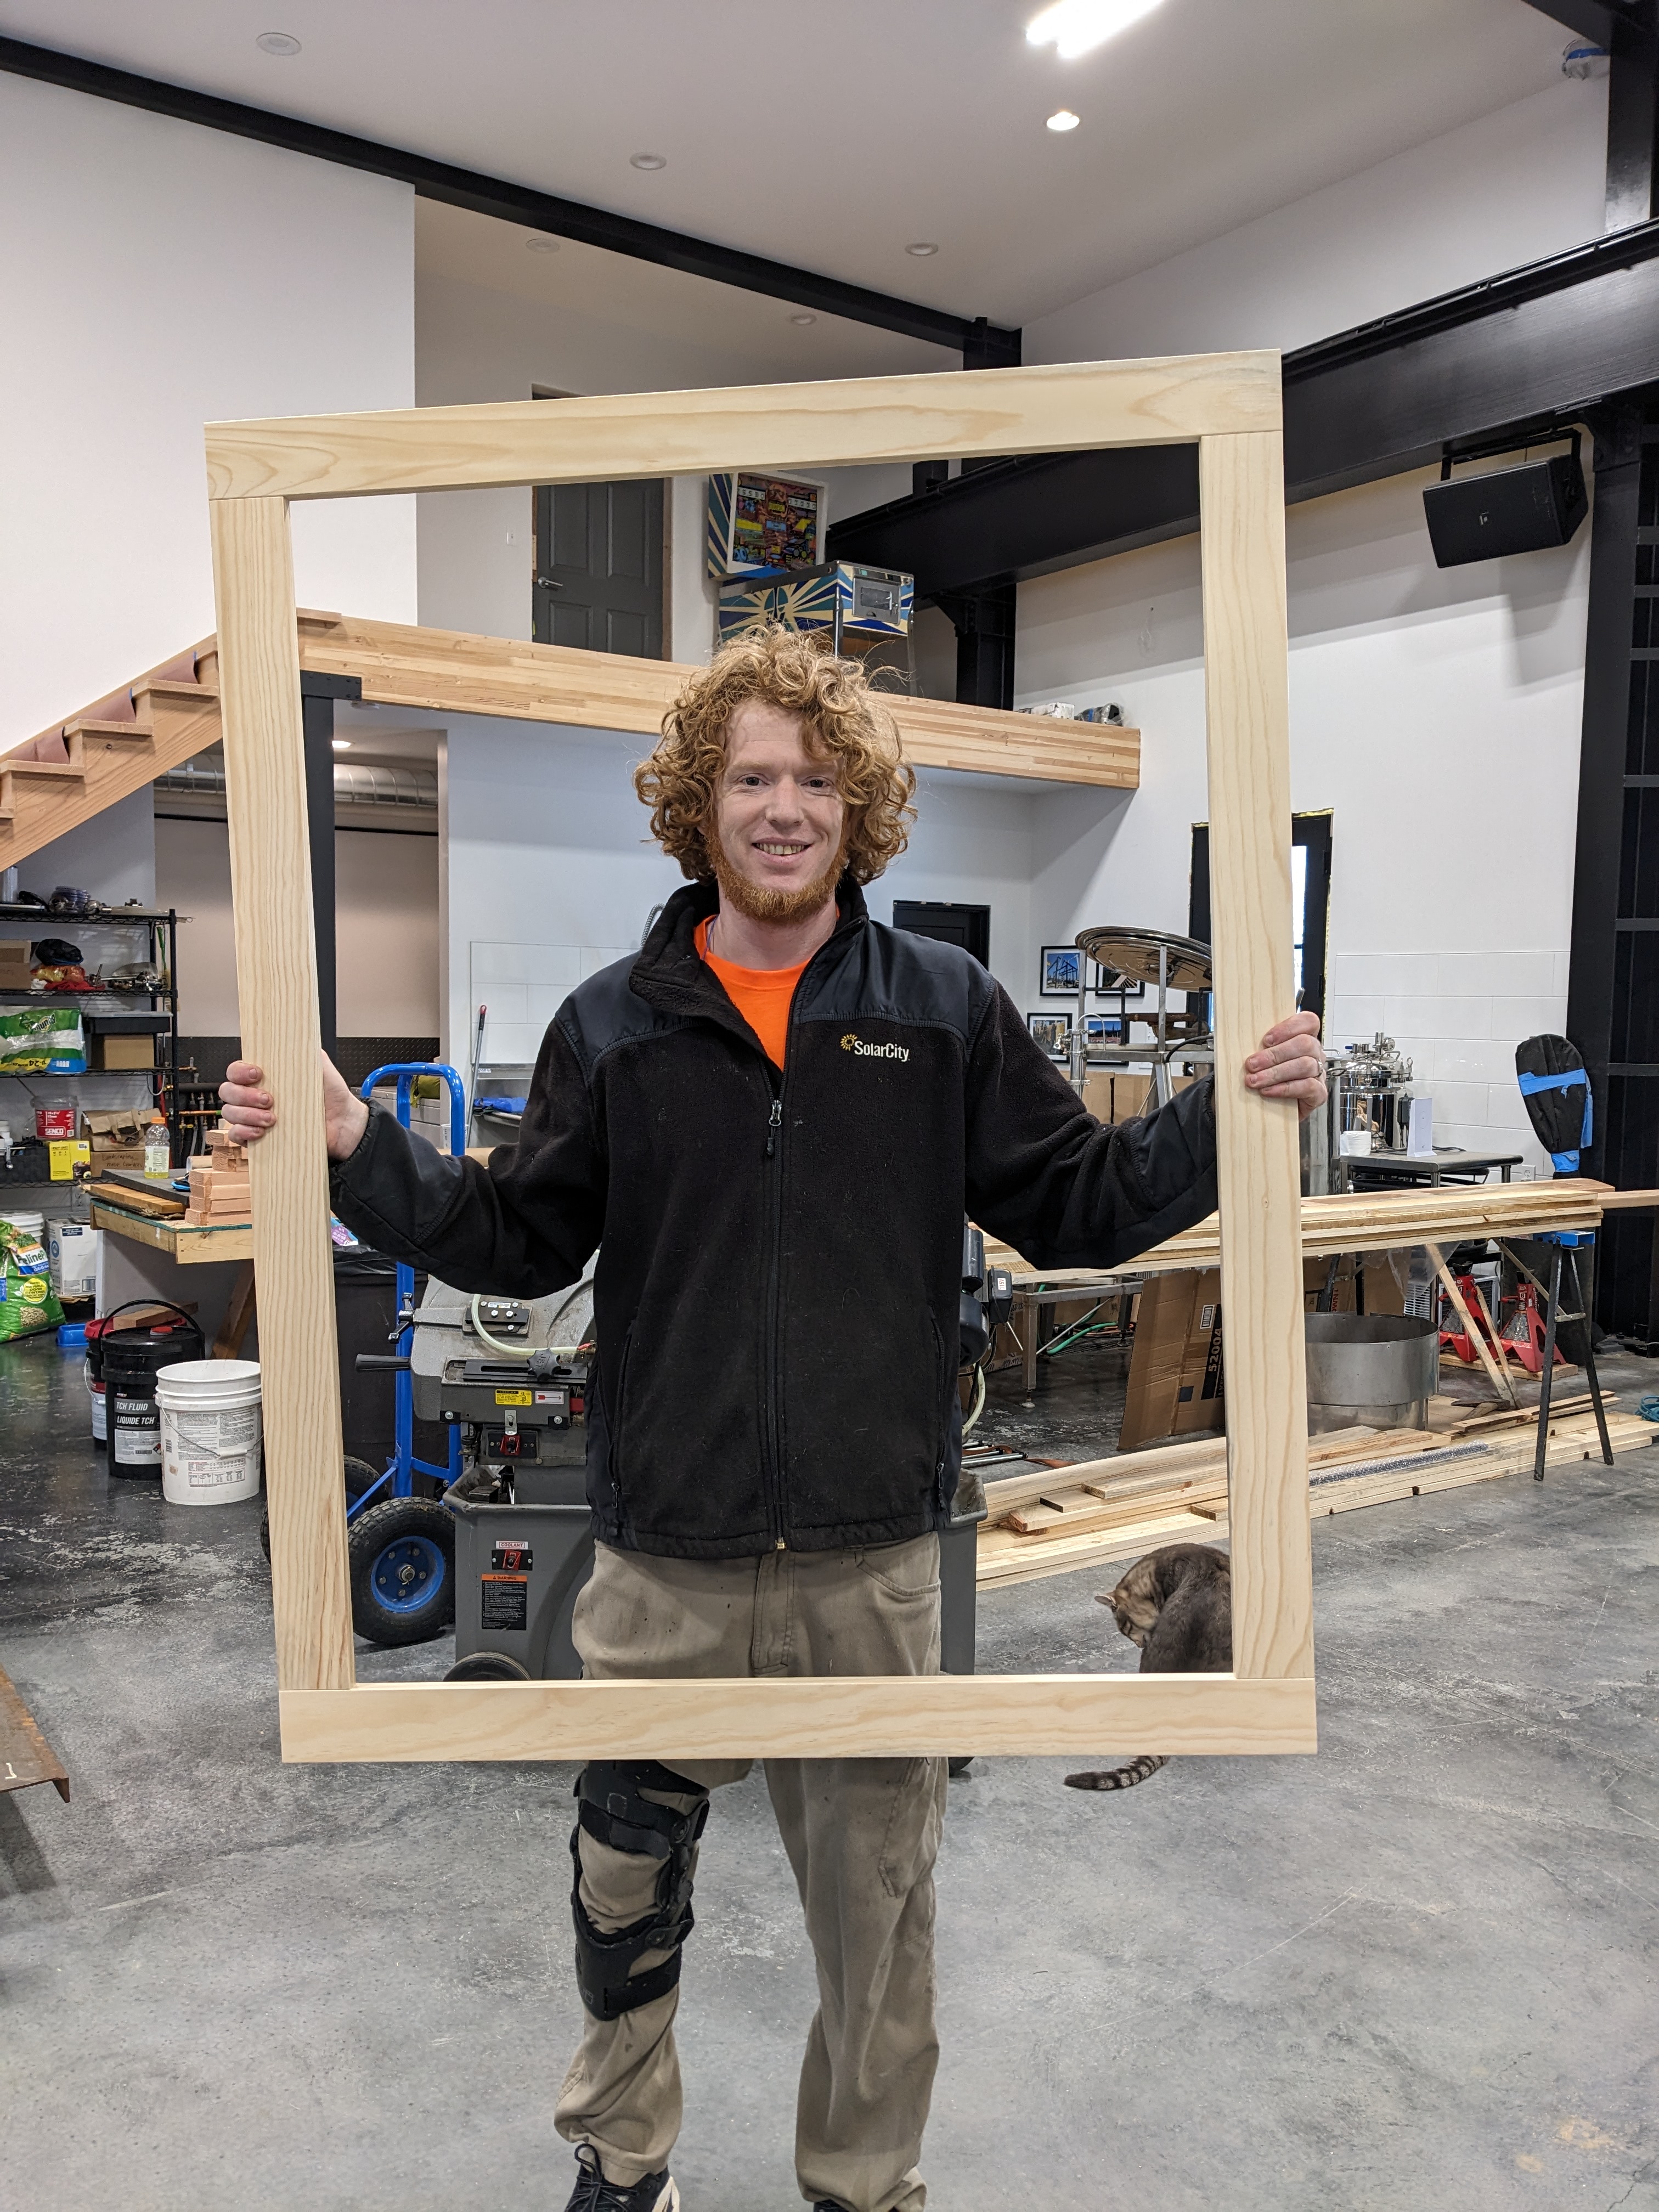
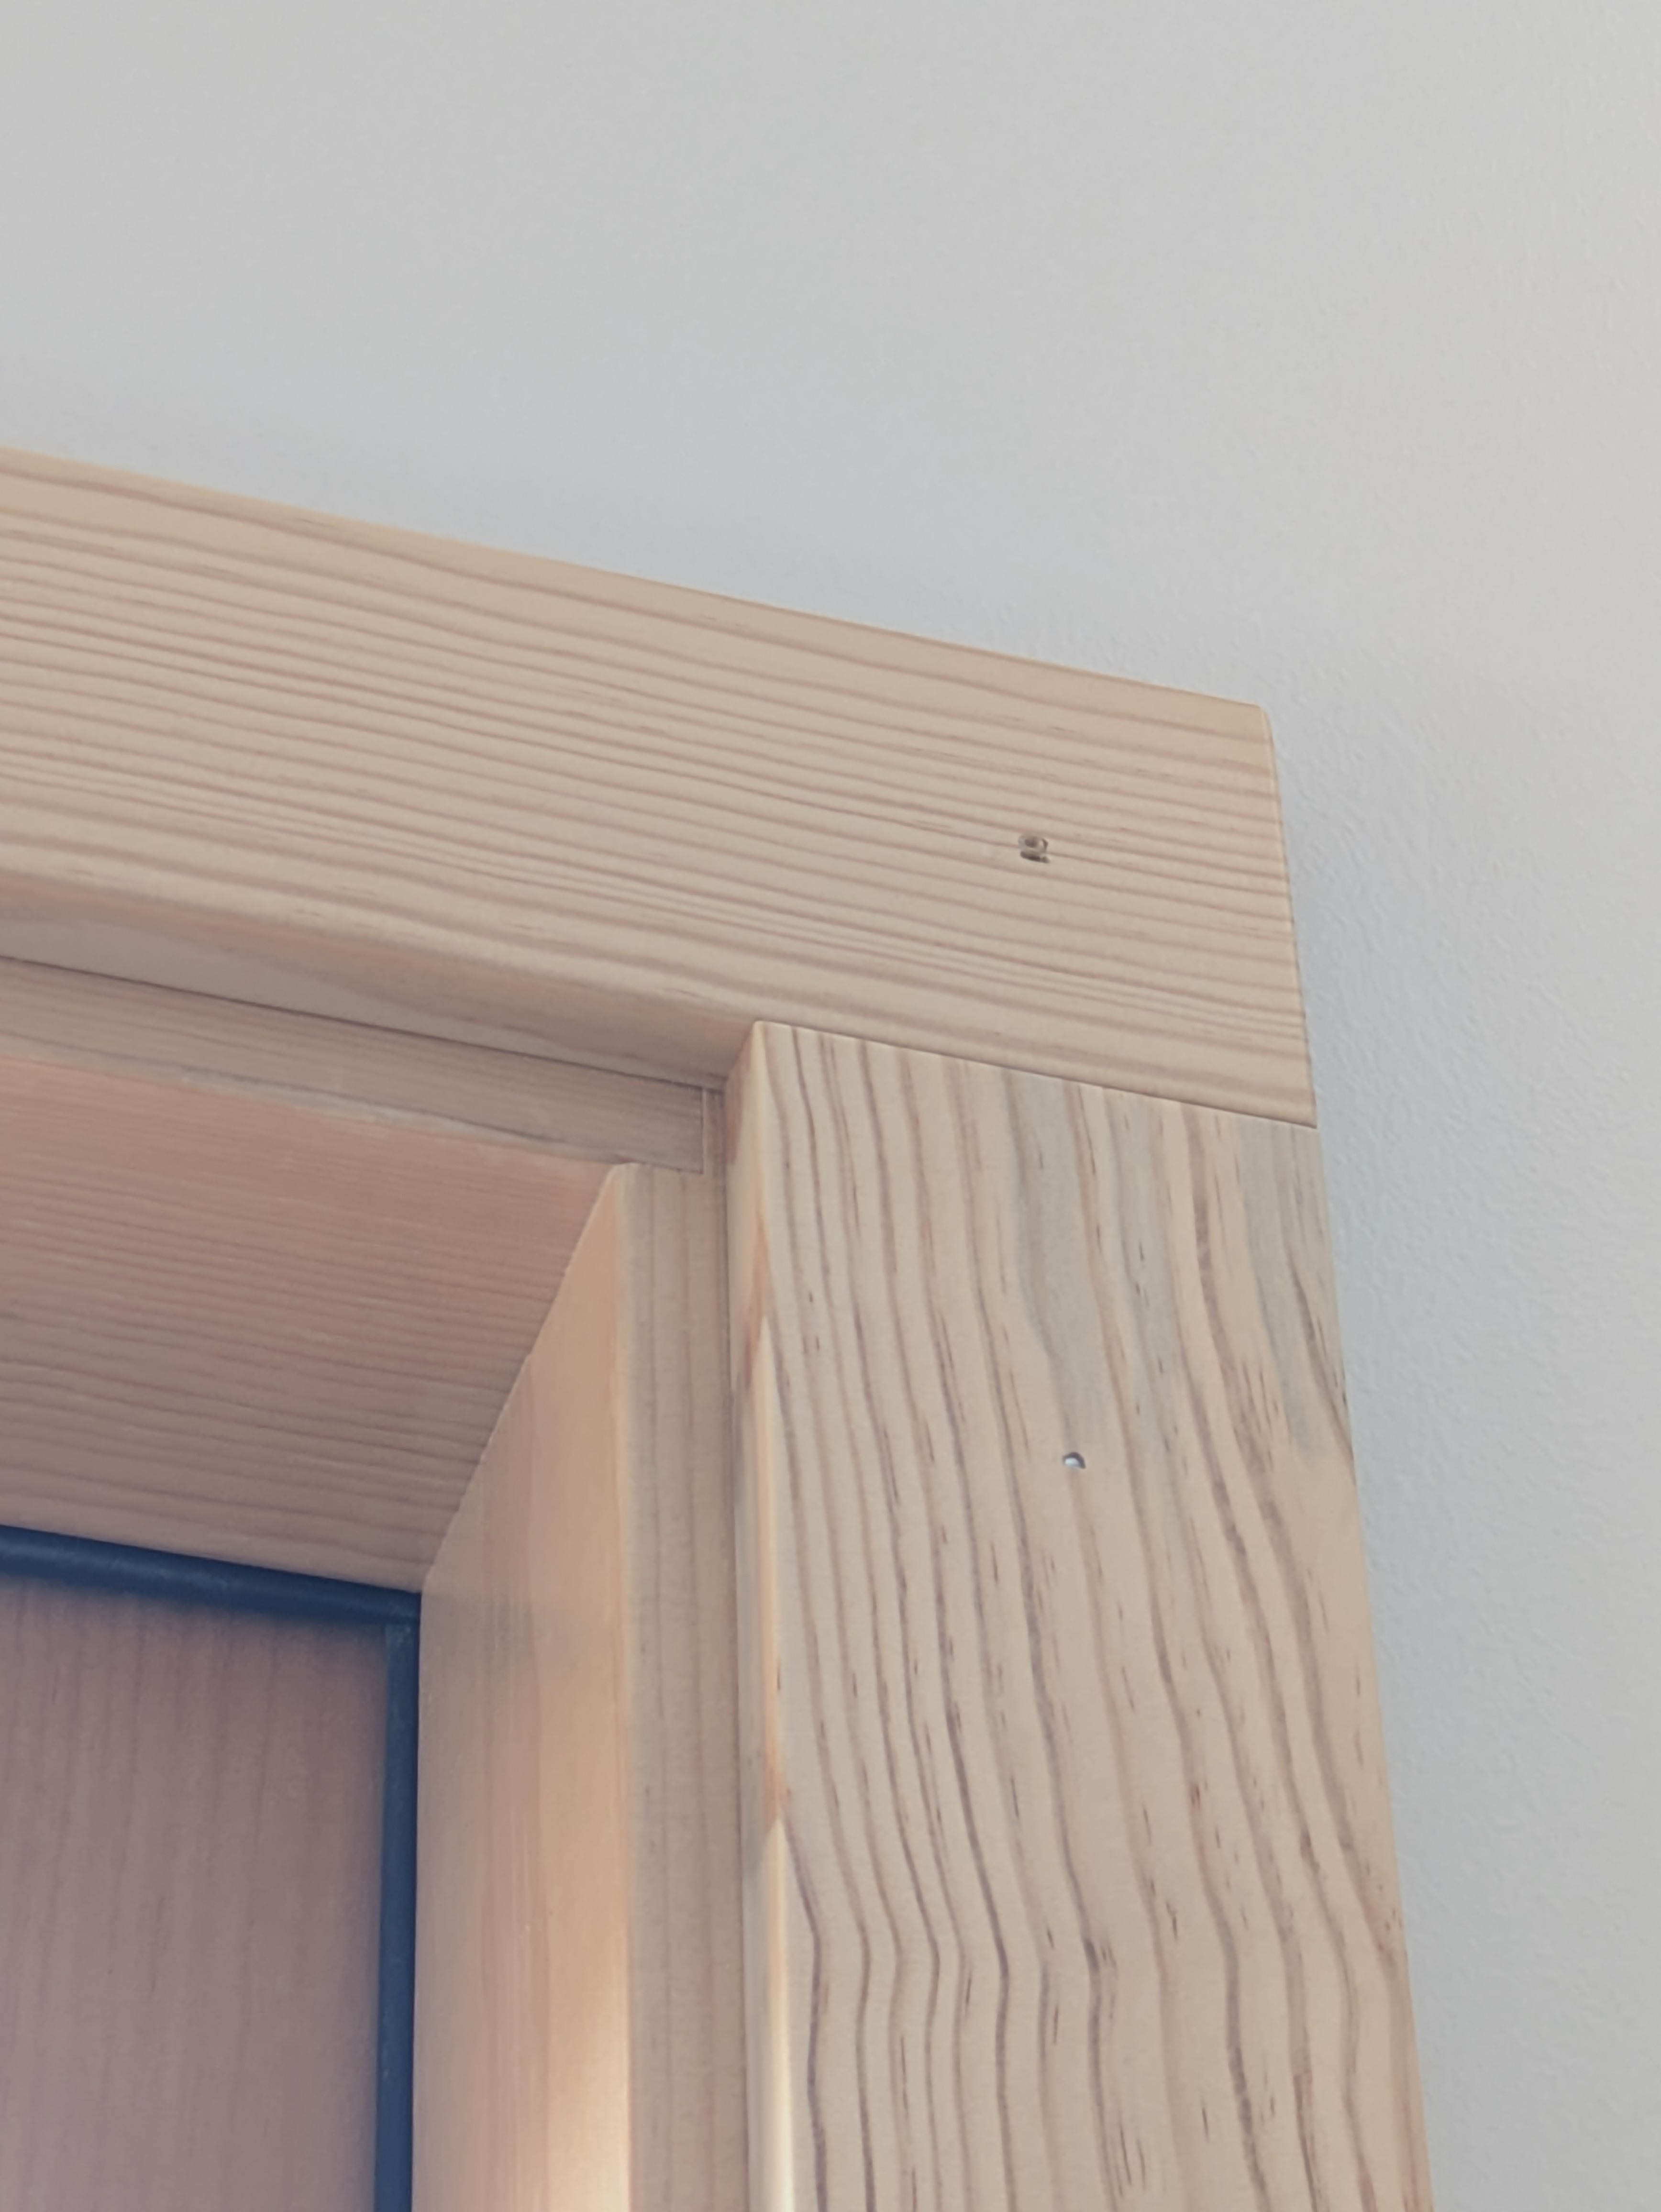
We assembled the four segments together like a picture frame. This ensured that the trim pieces would be square and flush with one another. Sam was the only qualified person to clamp the assembly (don’t ask). We used pocket screws since they are easy to use and eliminate gapping at the joints.
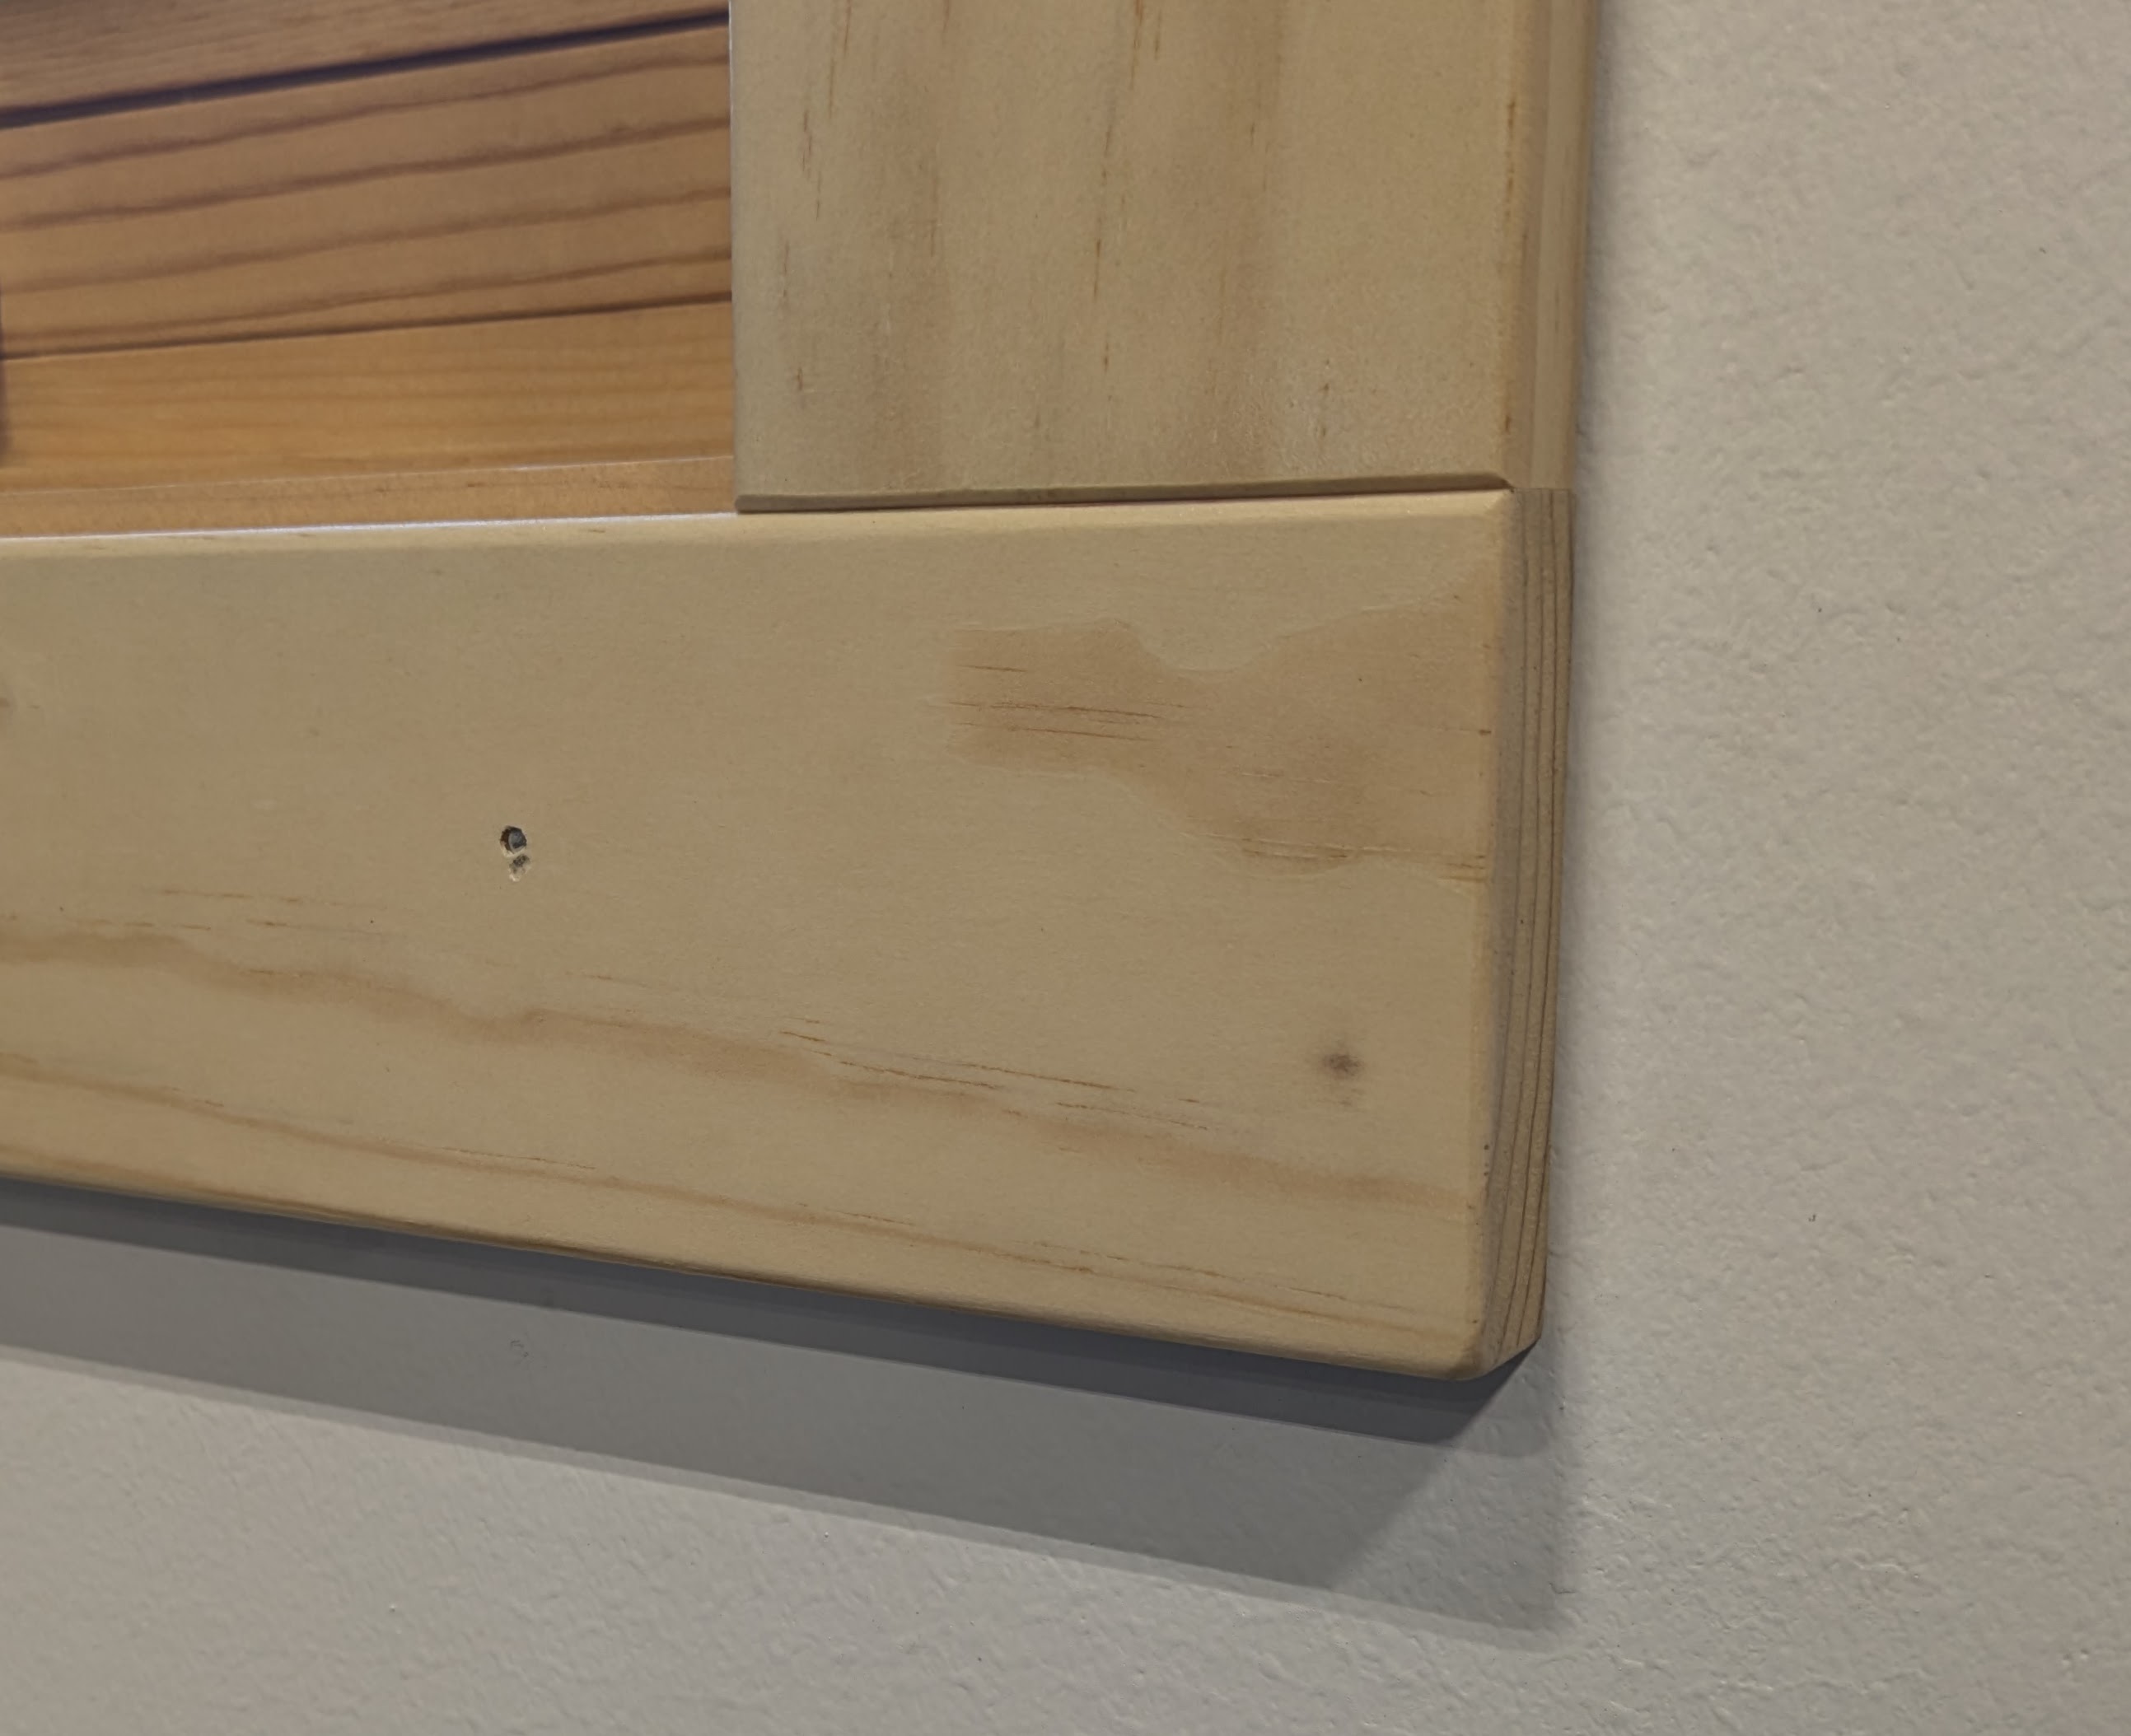
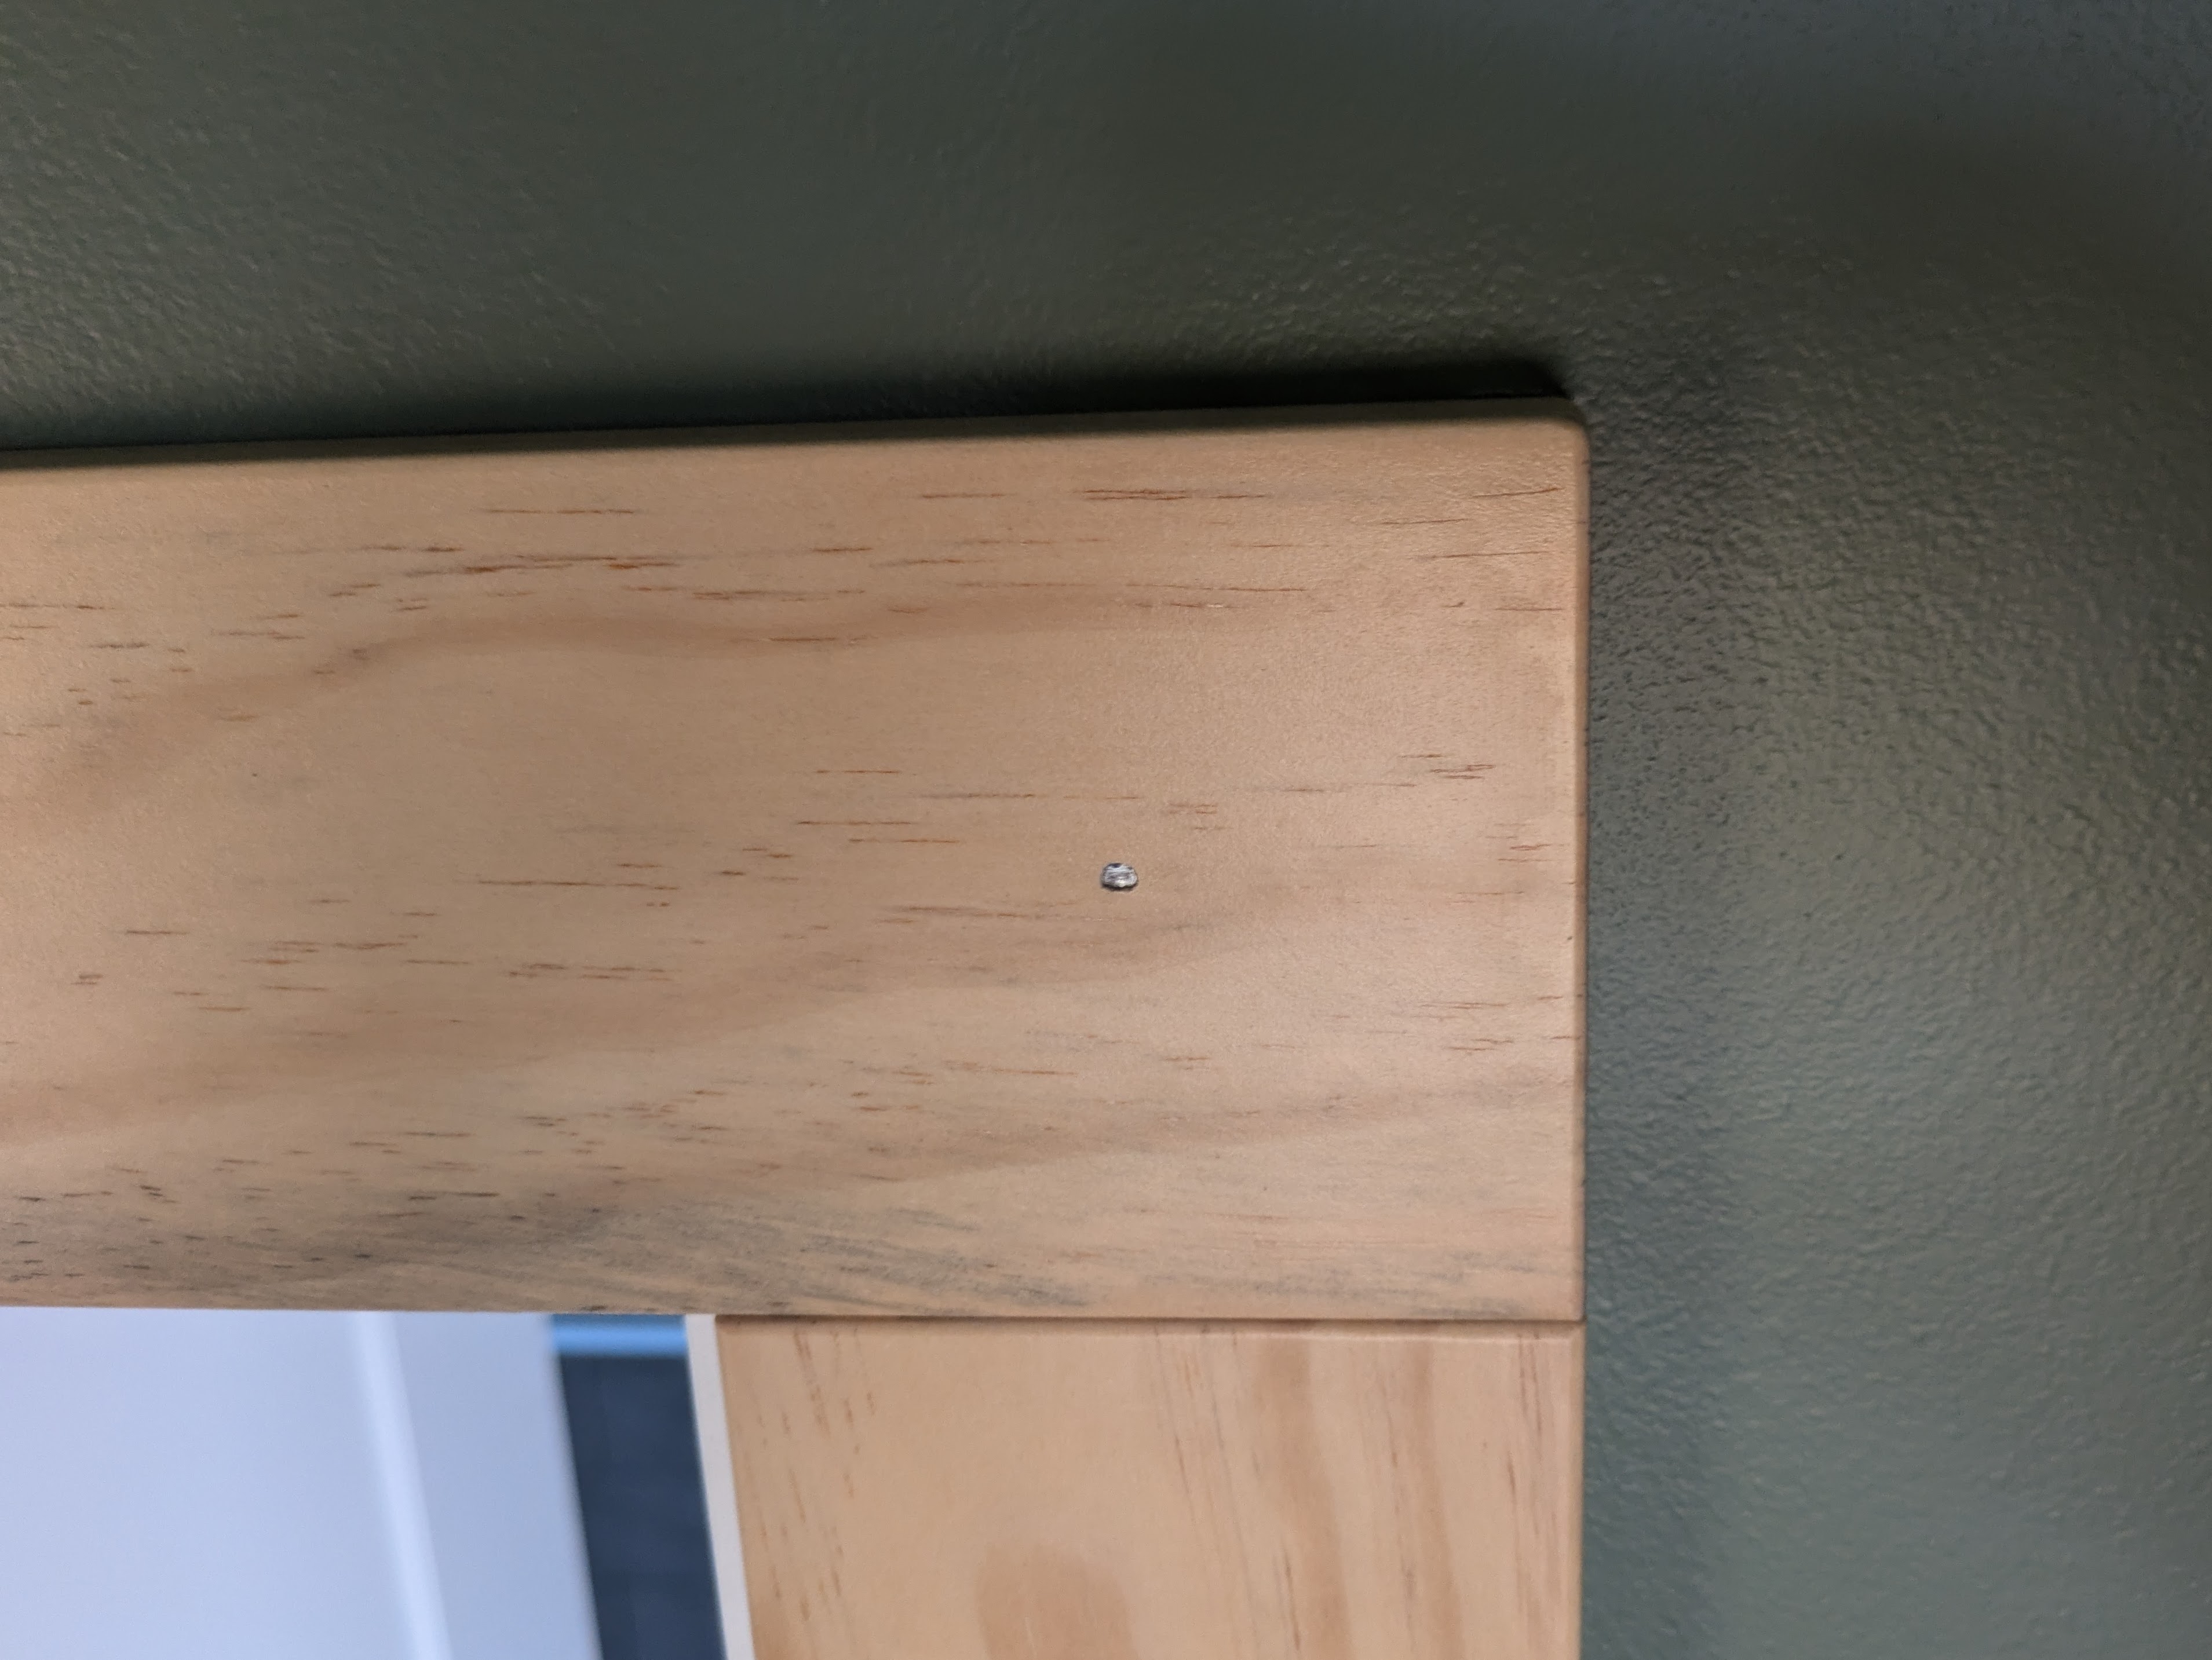
Finally, we nailed the assembled trims to the wall! This was by far the most satisfying part of the project. One nail went directly into a drywall screw and did this!
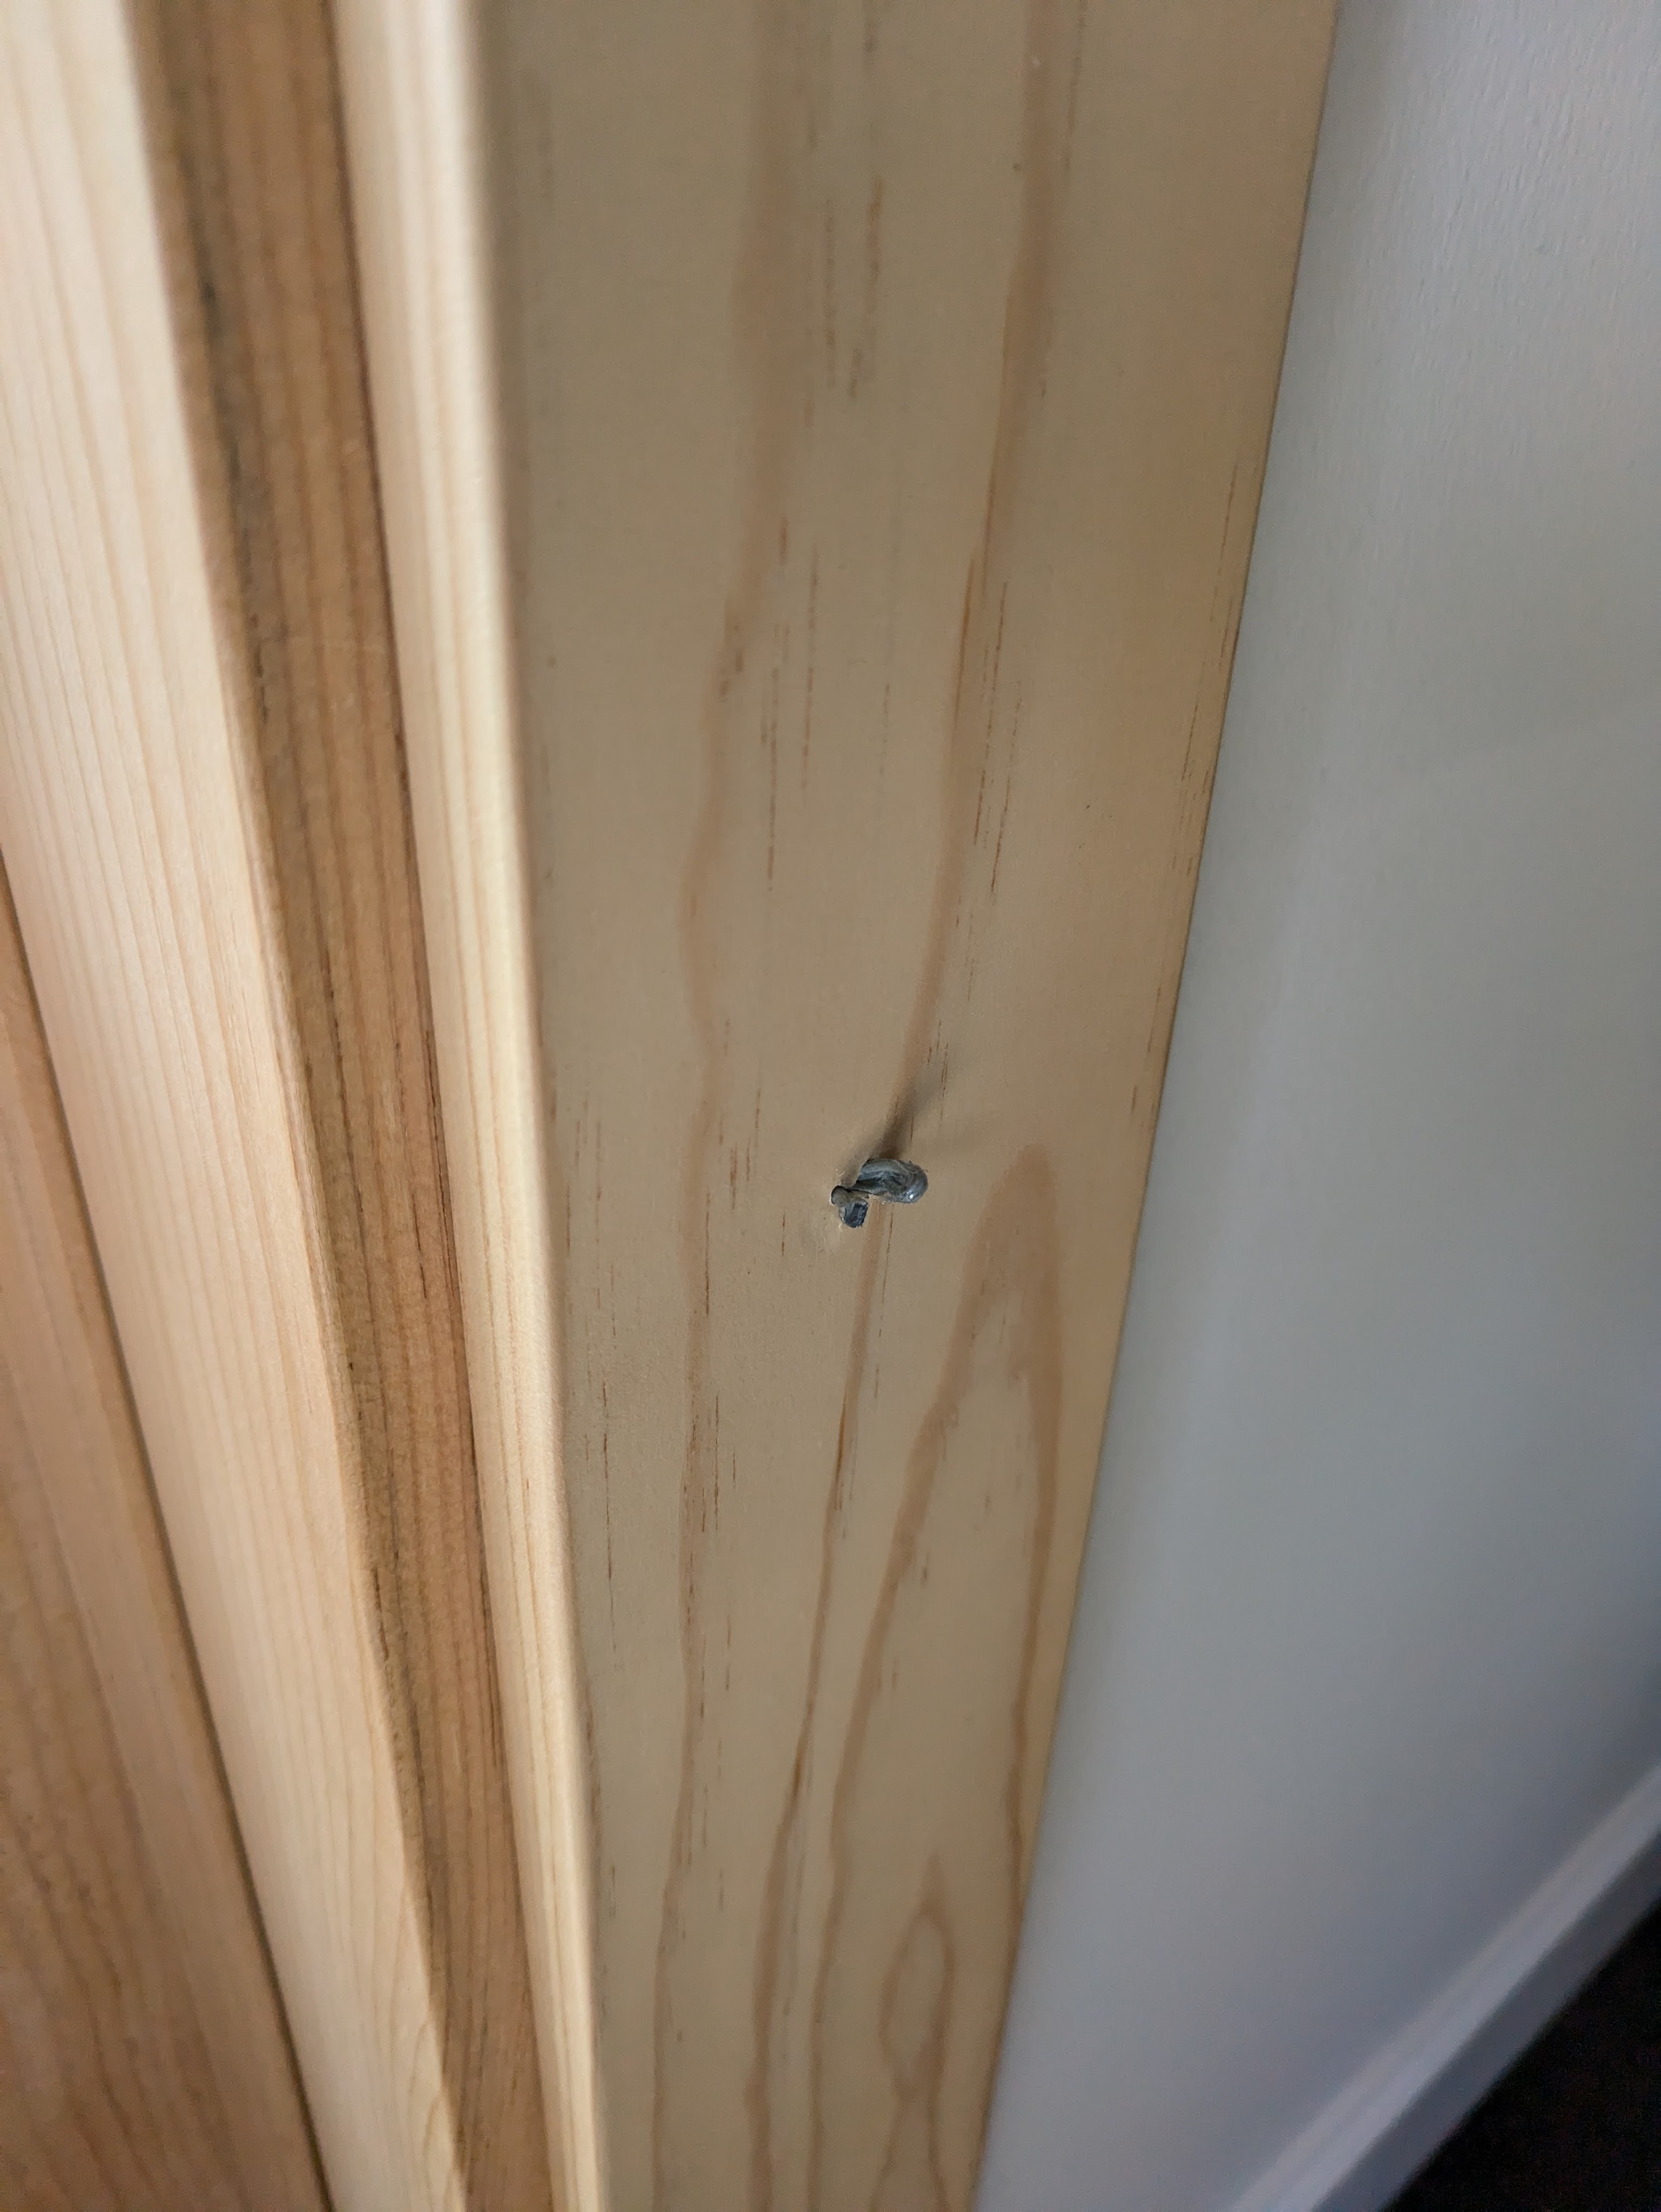
We thought the odds of that happening again were zero, so we didn’t bother locating the drywall screws first. But, it happened again! The installation was so laborious, that we never hung more than two window trims in one day.
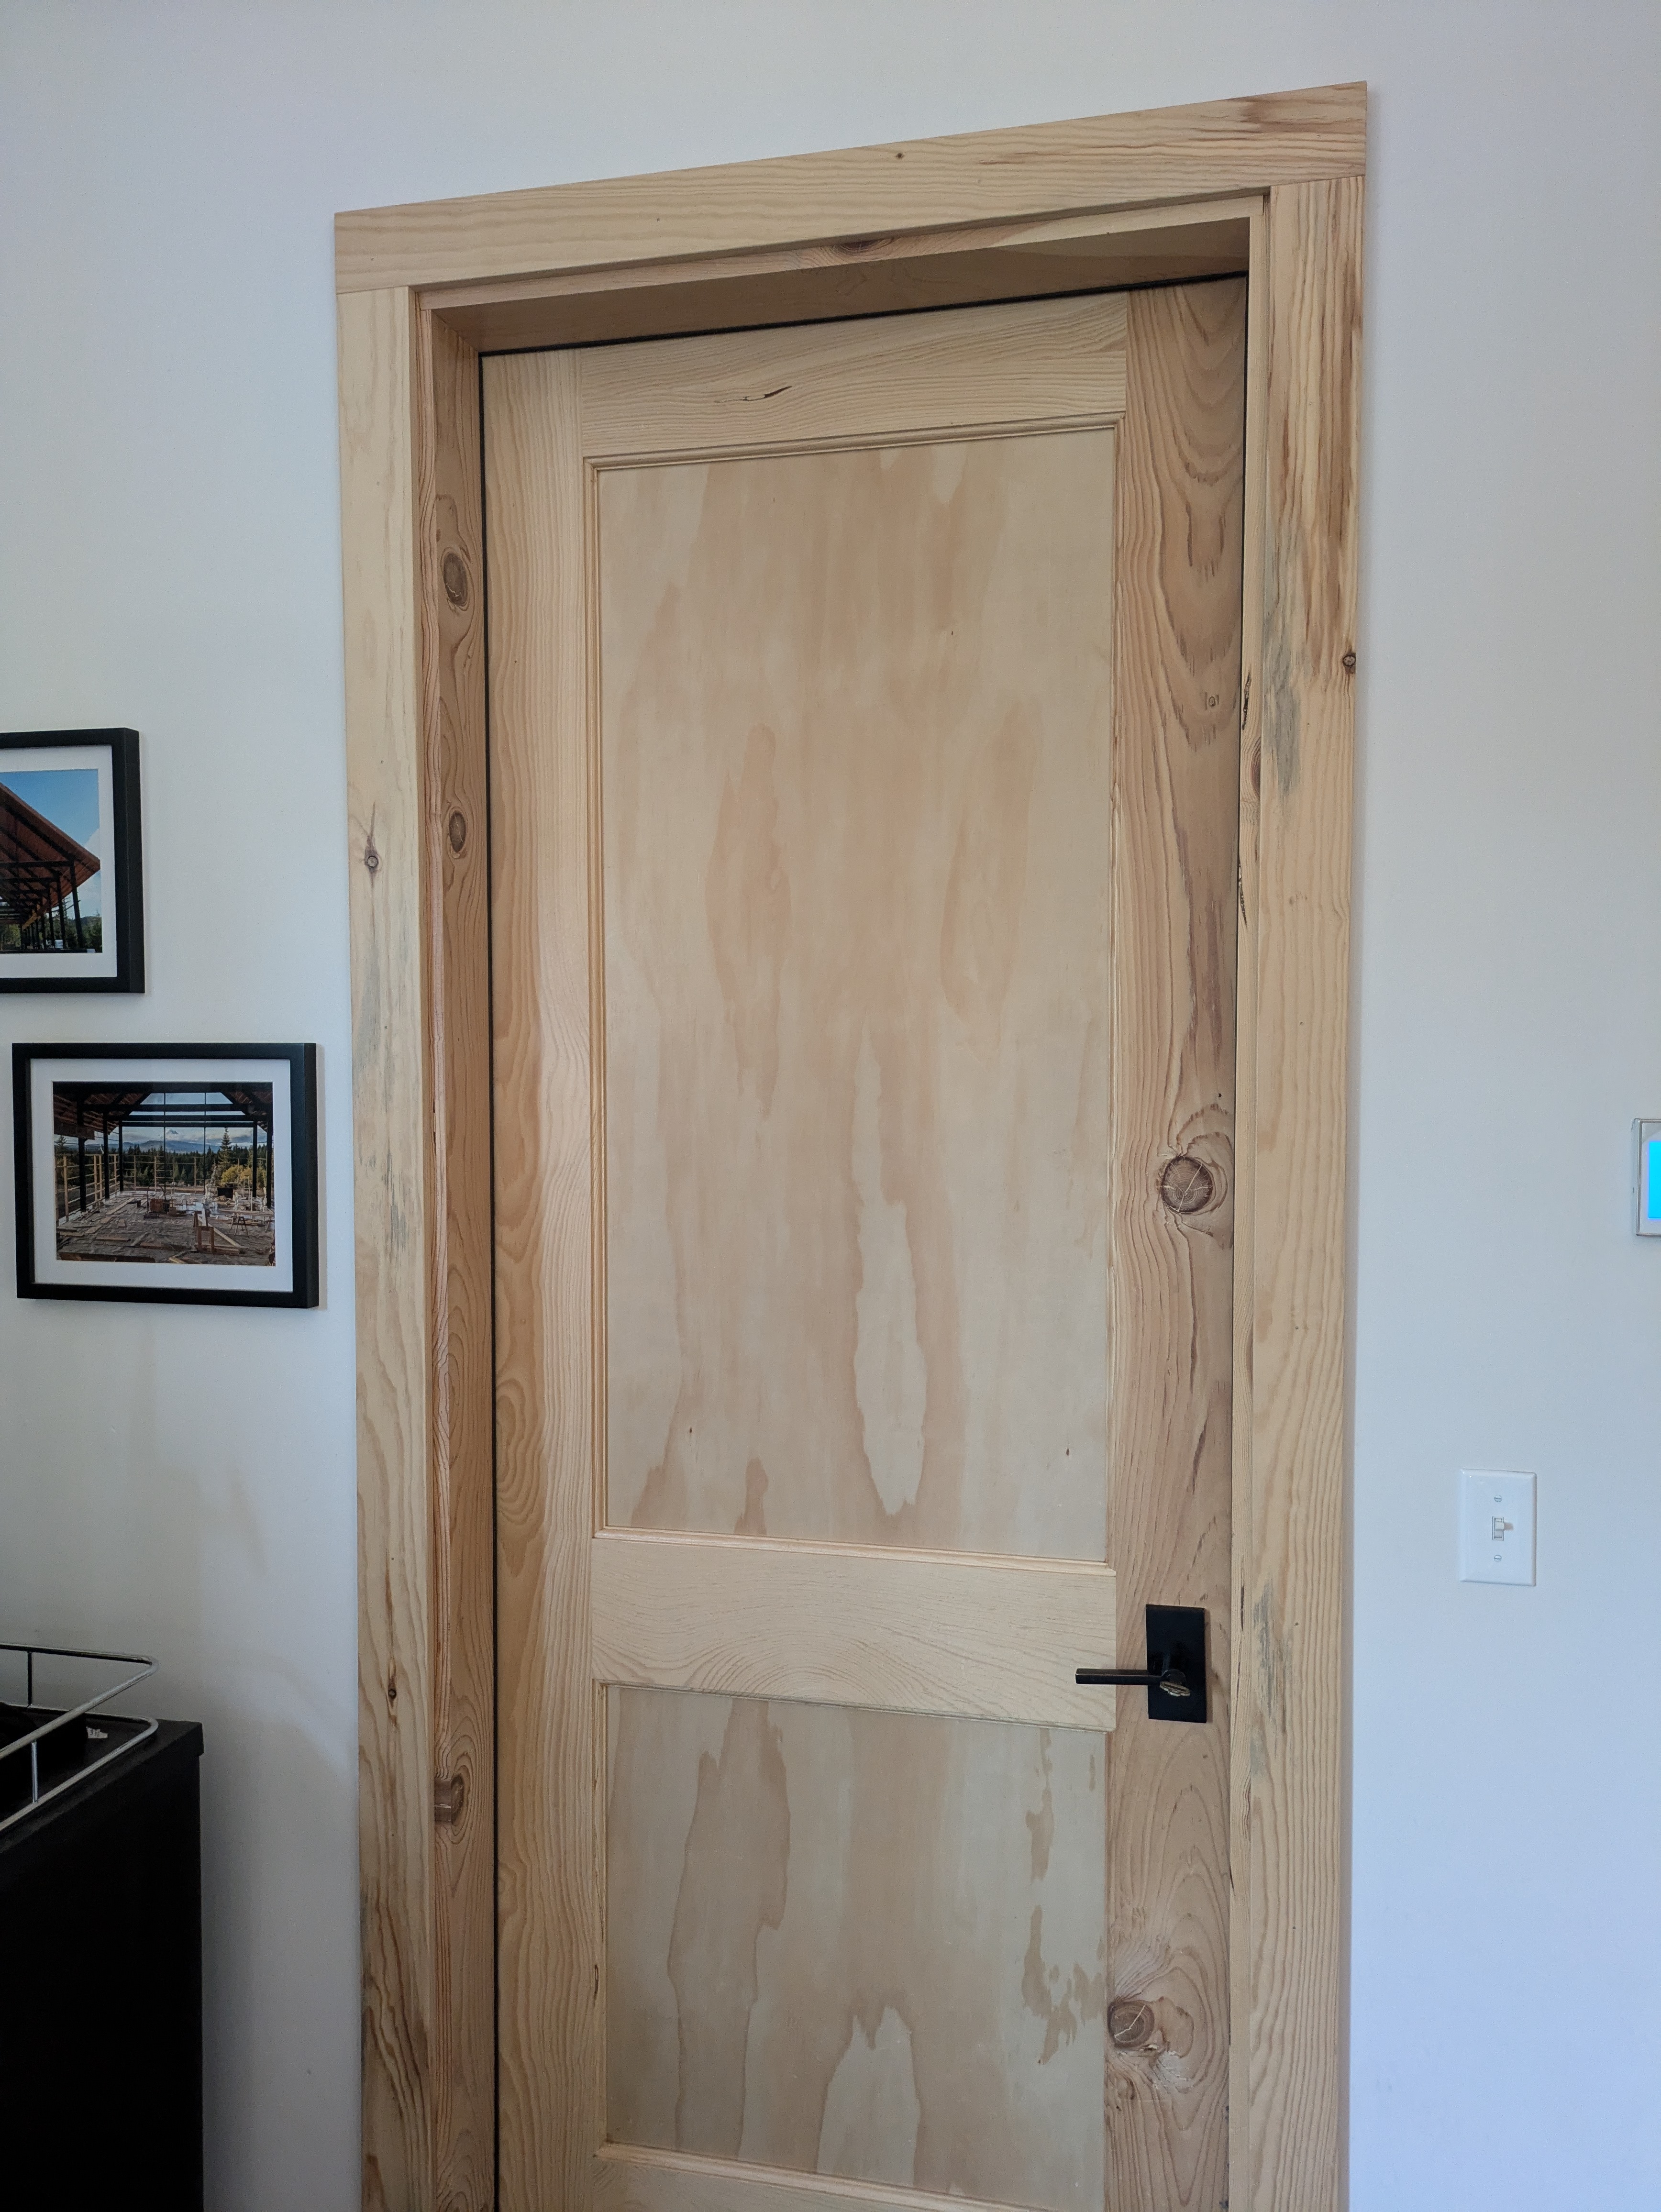
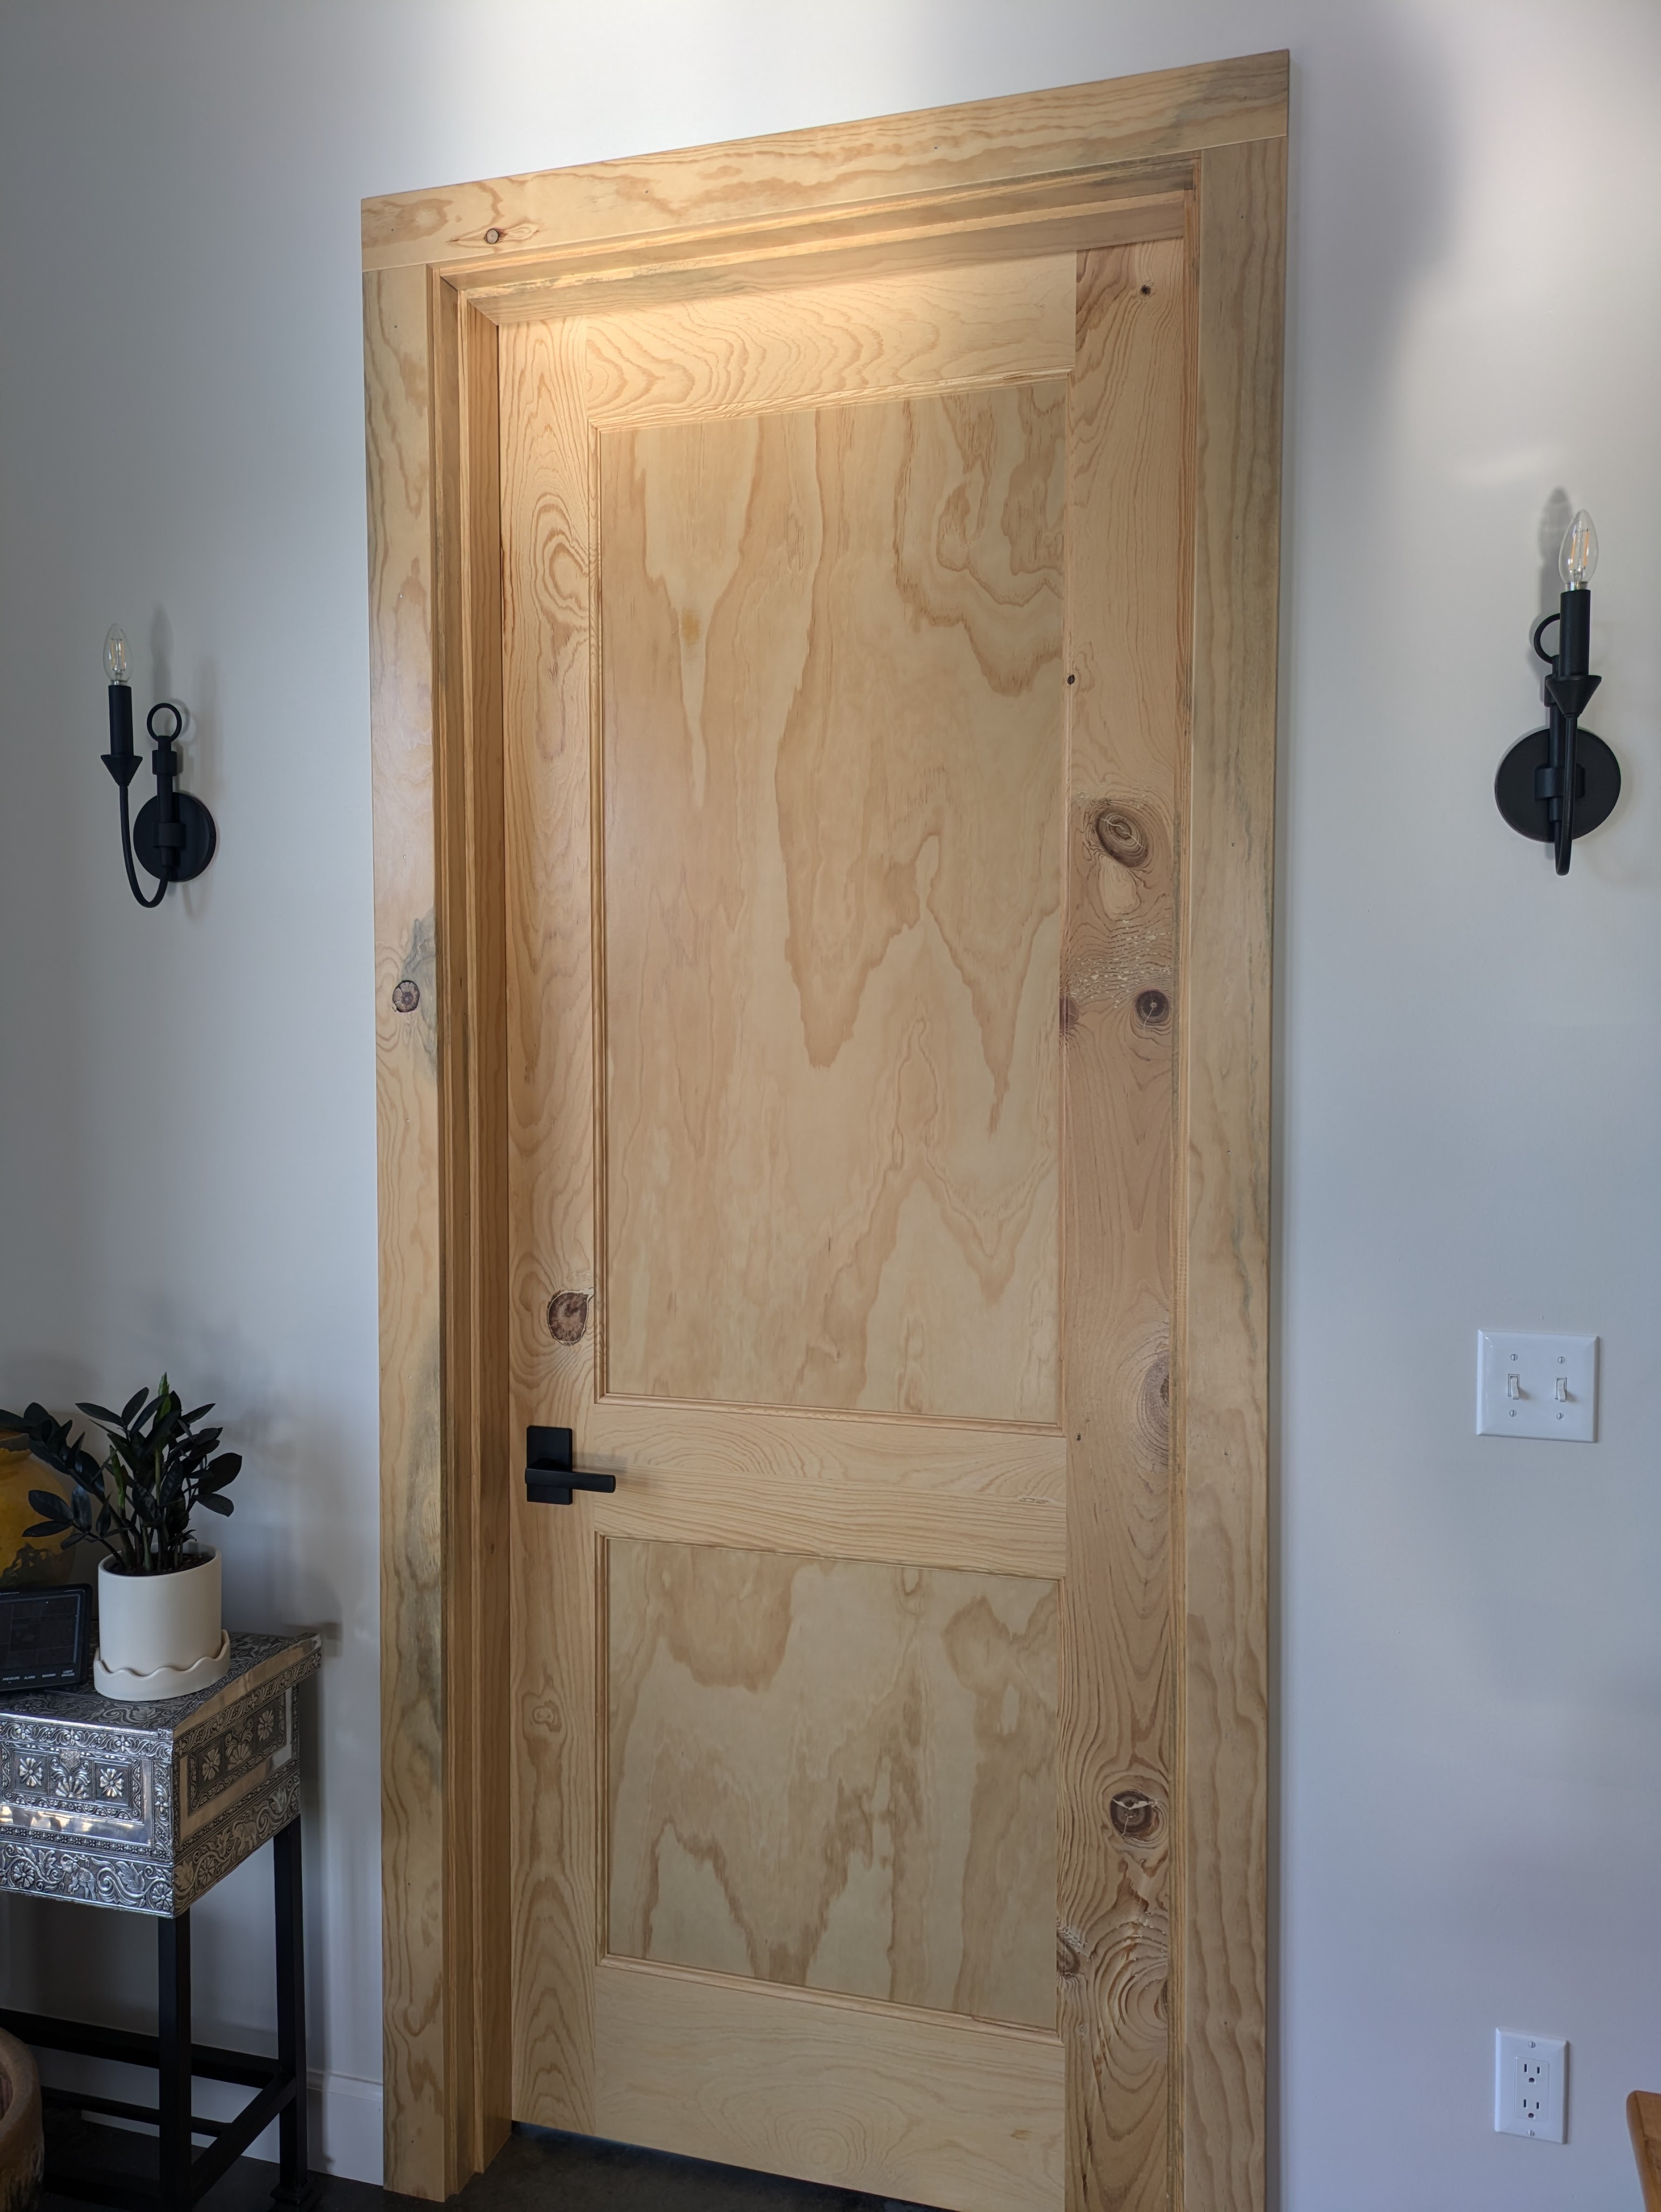
We didn’t have enough long straight boards for all of the 8 ft doors. We ended up using doug fir instead of pine for the black doors in the shop. We had an abundance of fir lying around, plus it’s easier to flatten. I stained the fir black, so you can’t tell it’s a different species.

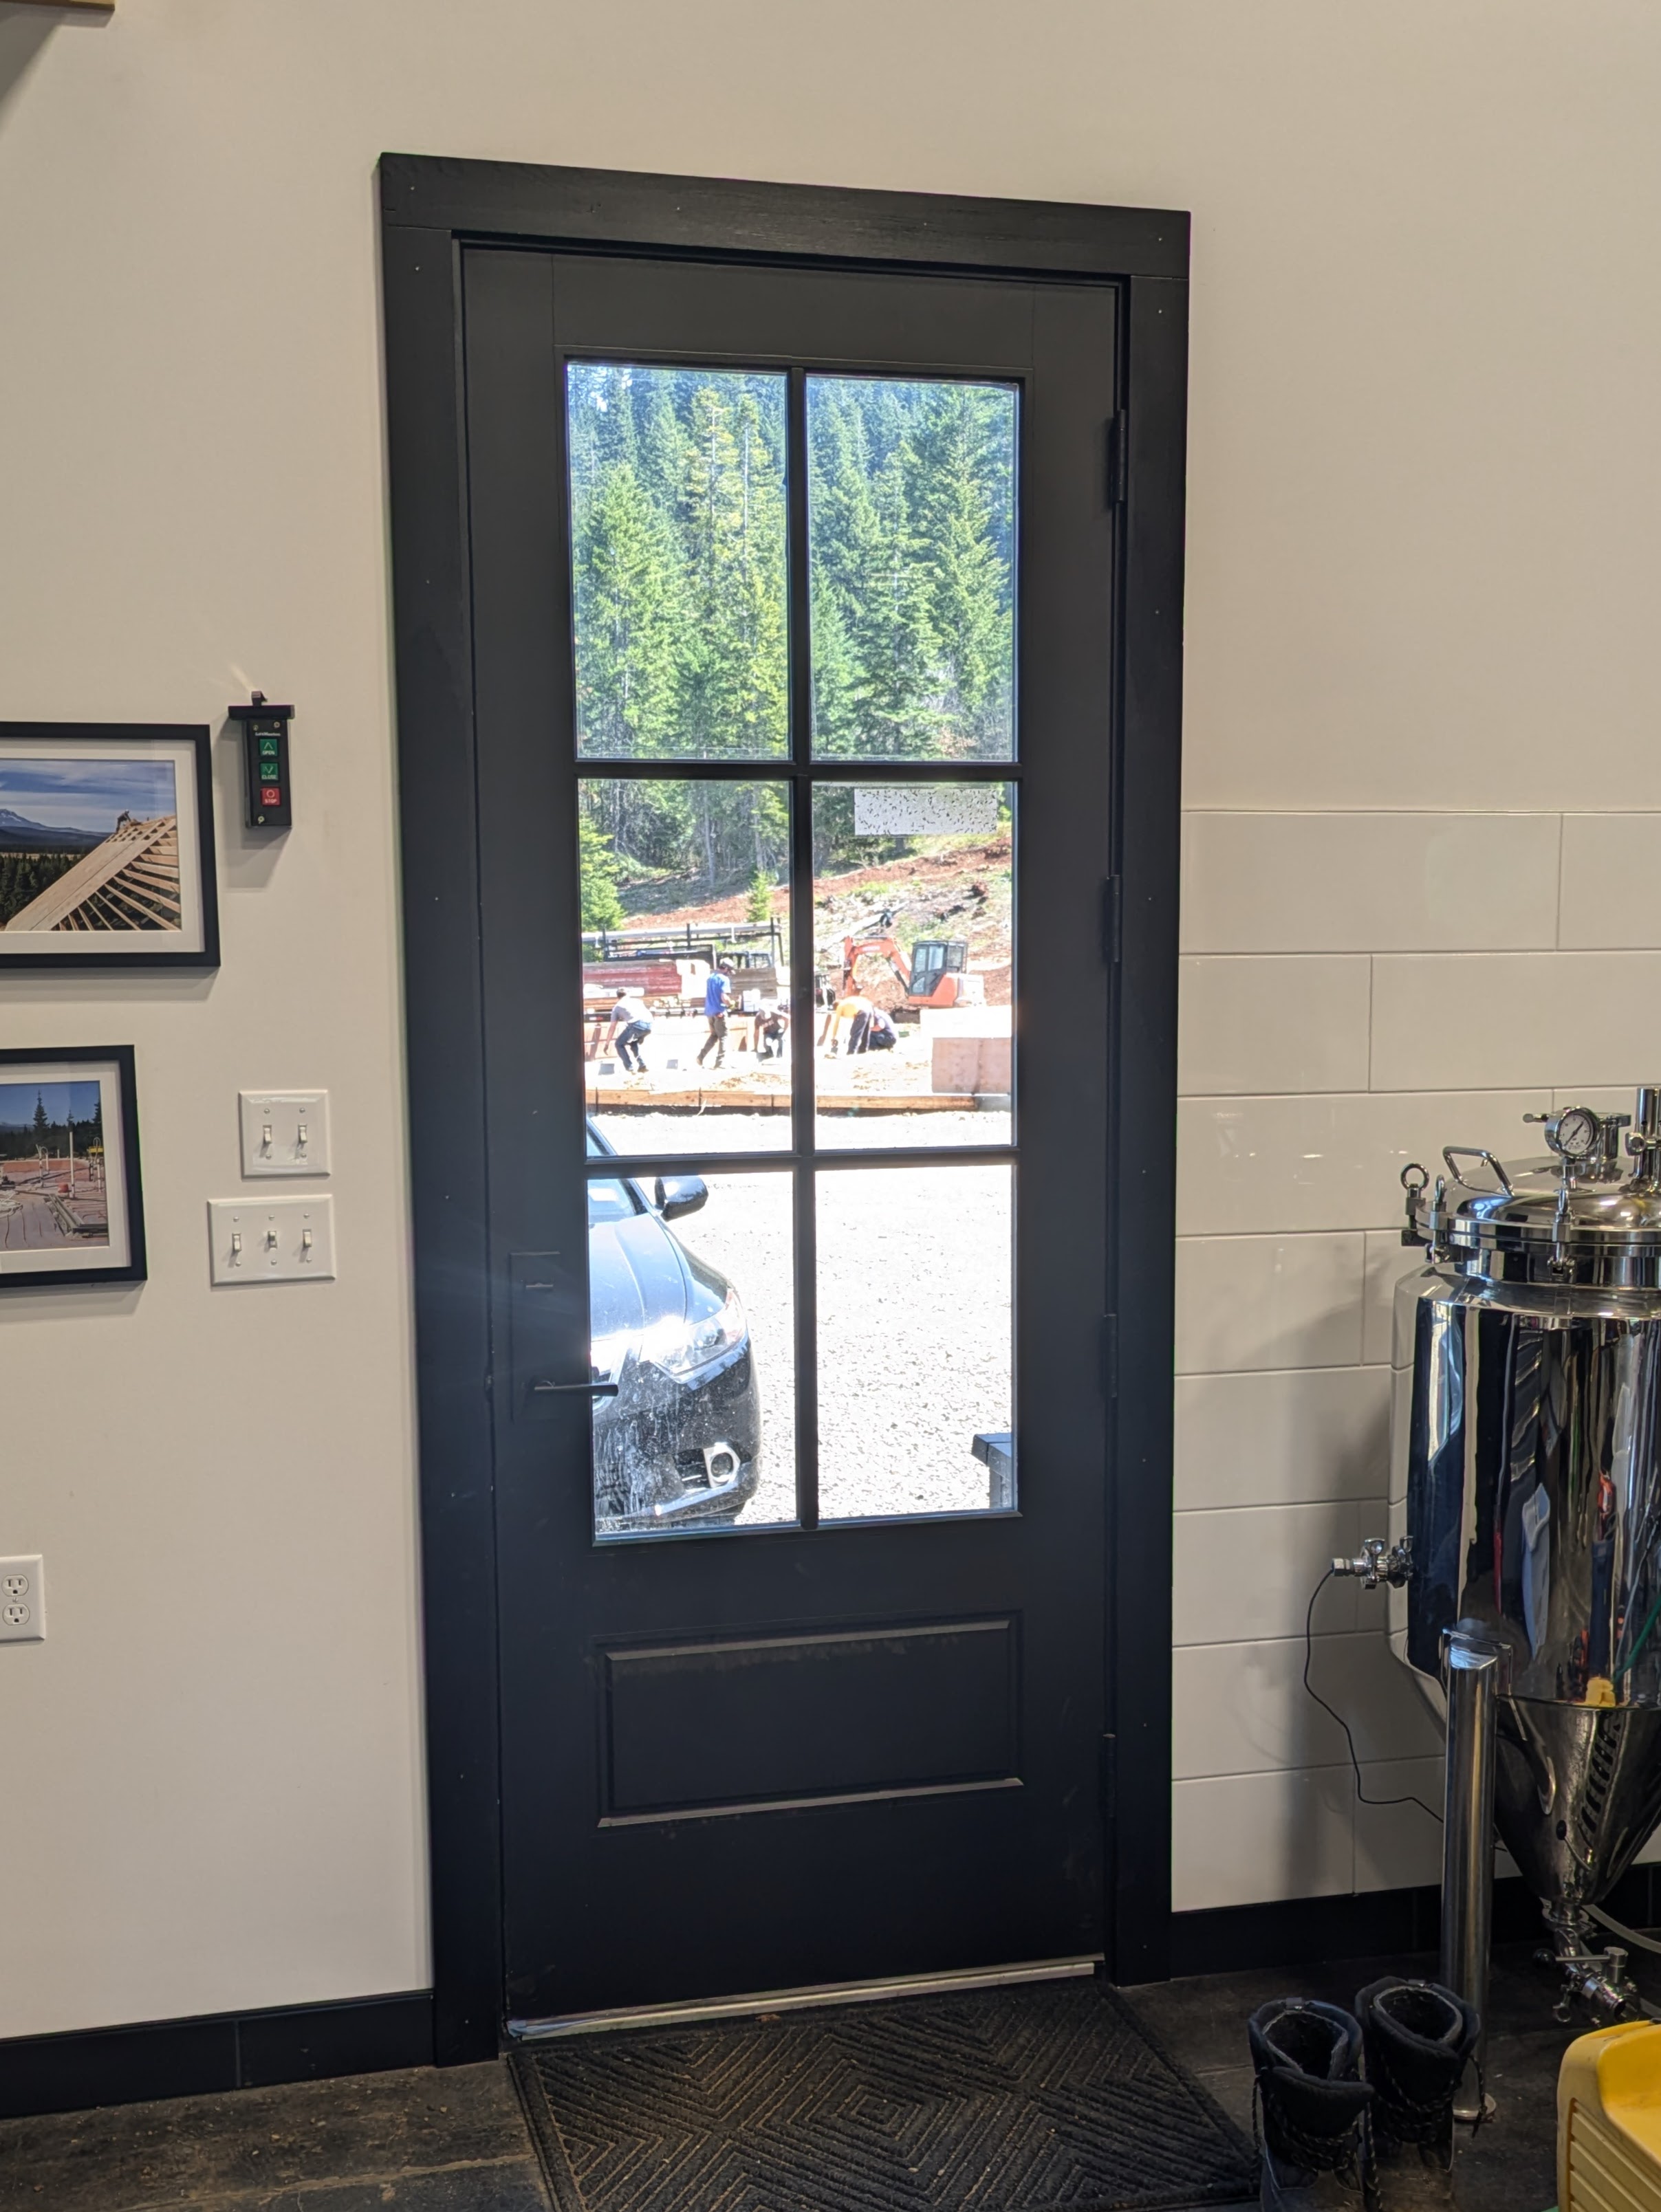
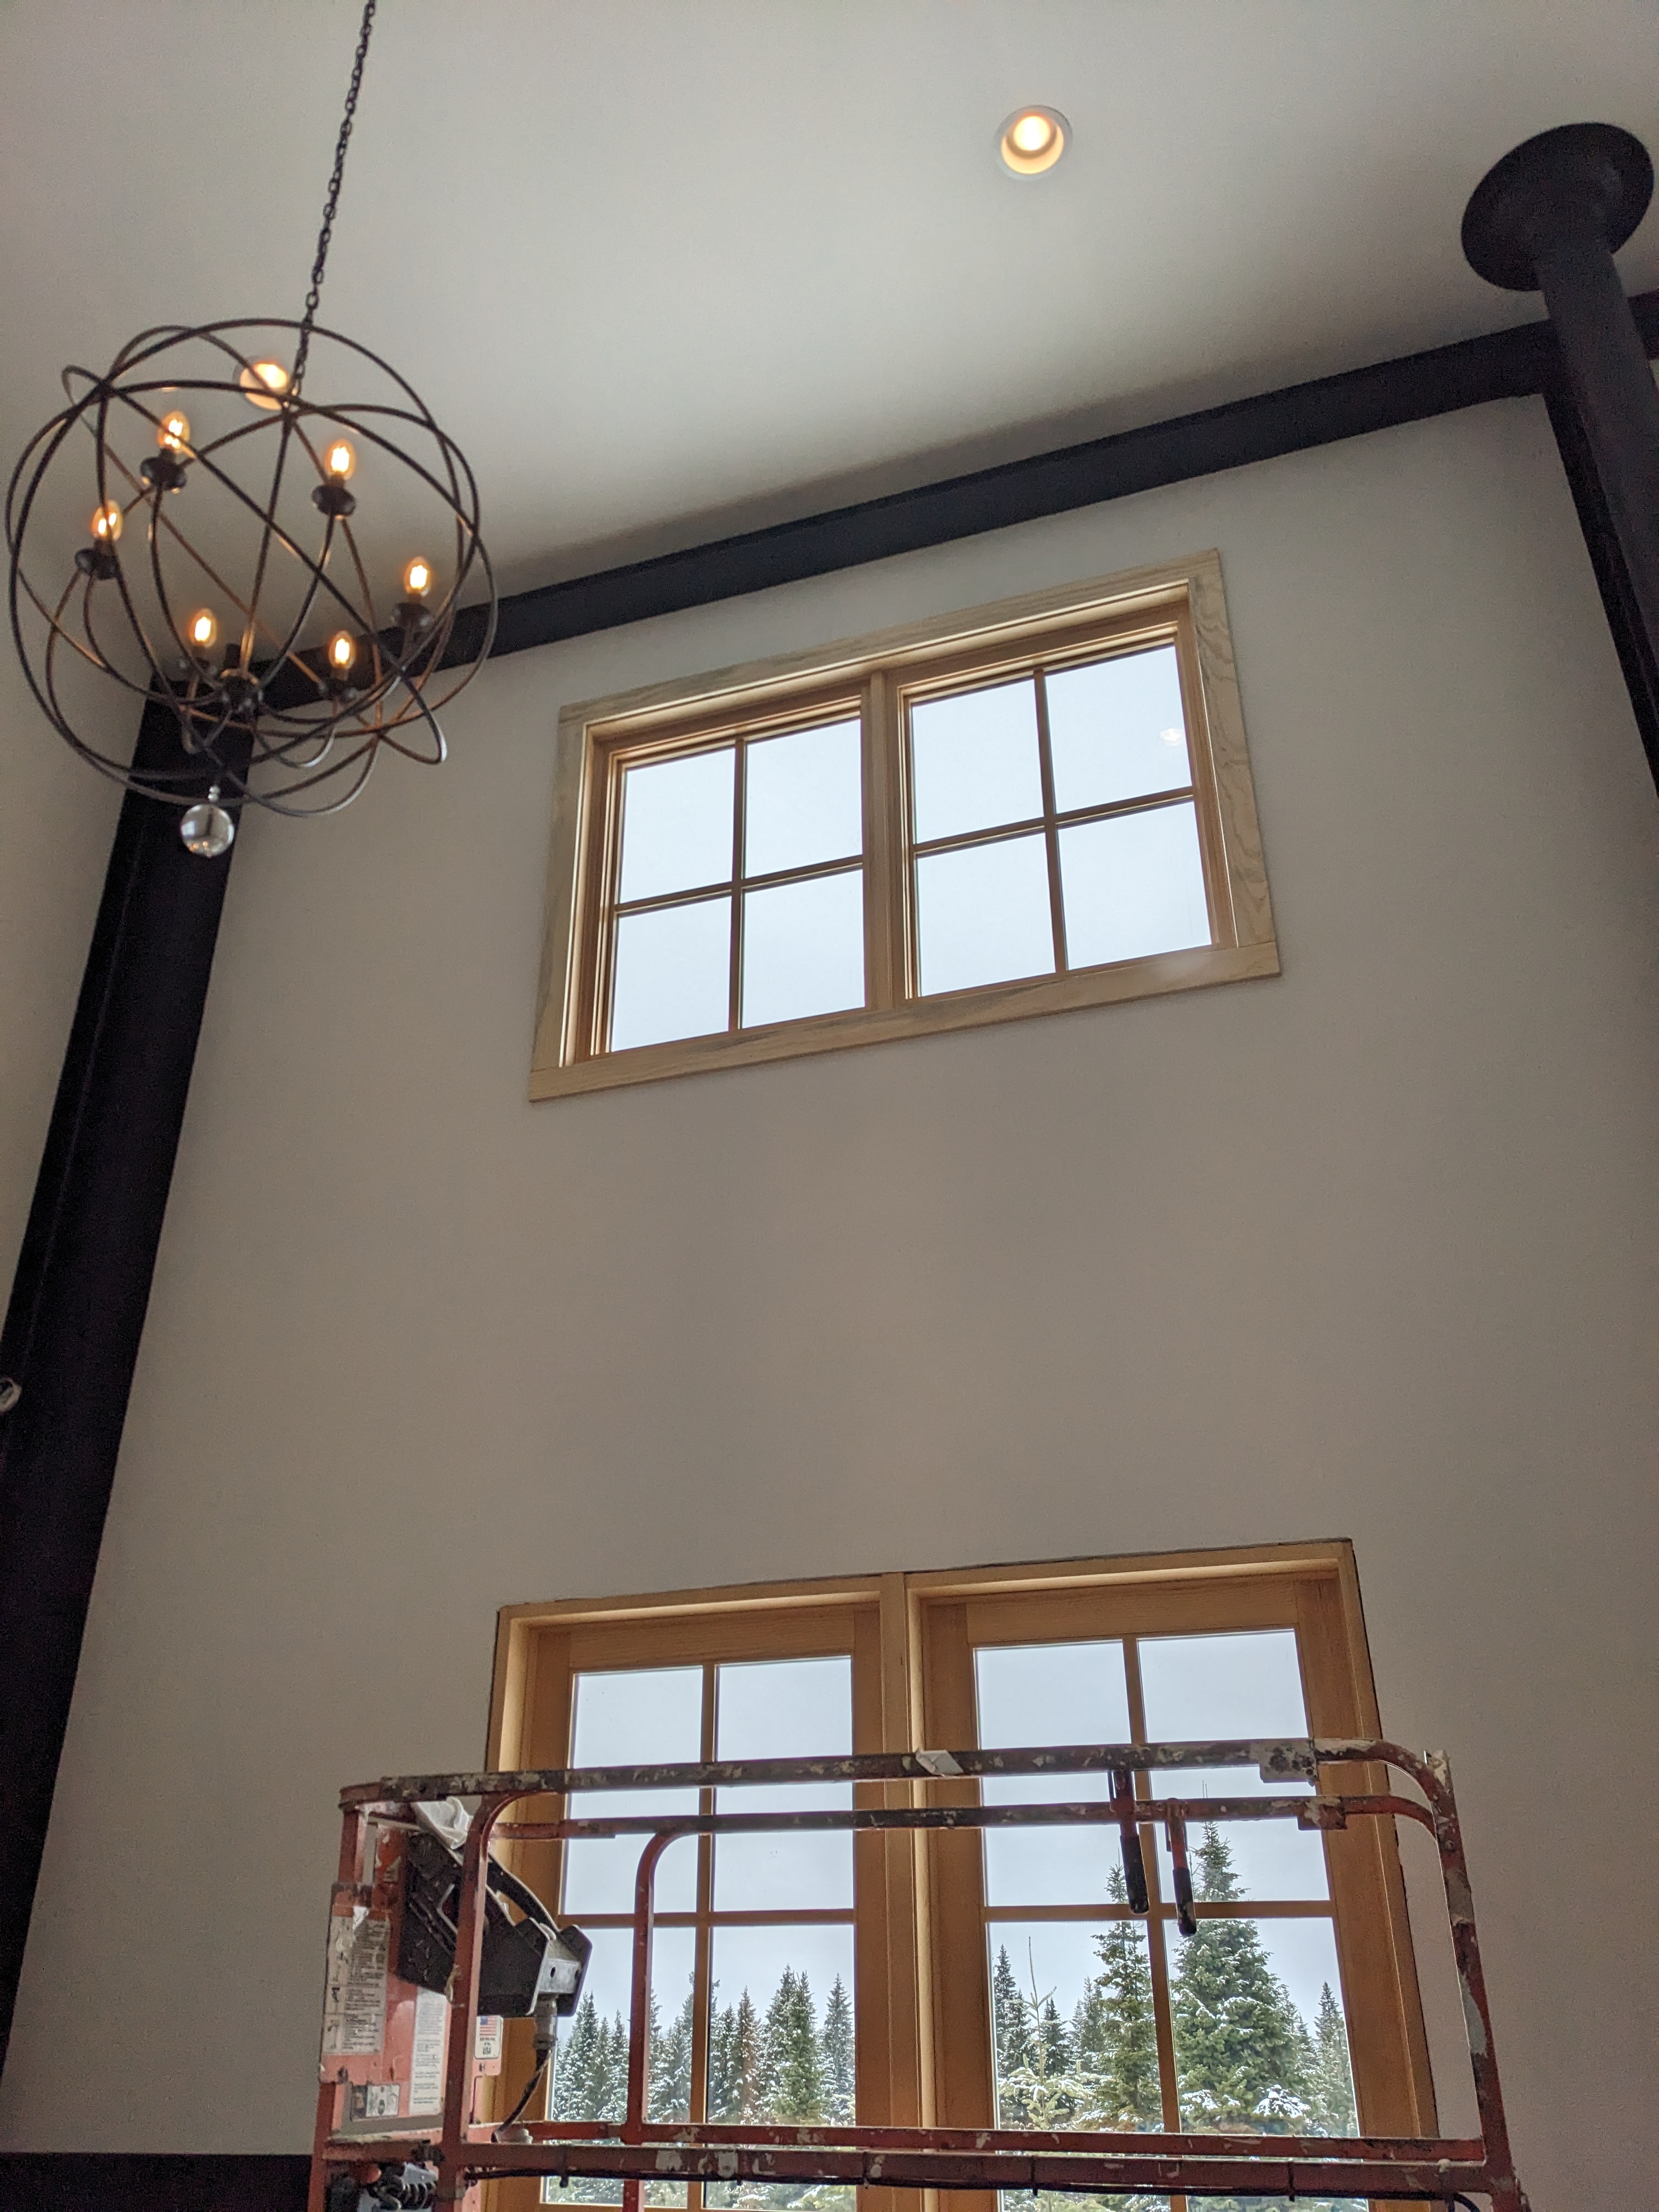
I like this before and after image-
21 windows (82 trim boards) and 20 doors (57 trim boards) later, we finally wrapped things up! That is 701 lineal feet of trim (and miles of scrap)! No wonder it took us so long!
Some of the more colorful trim went in the shop.
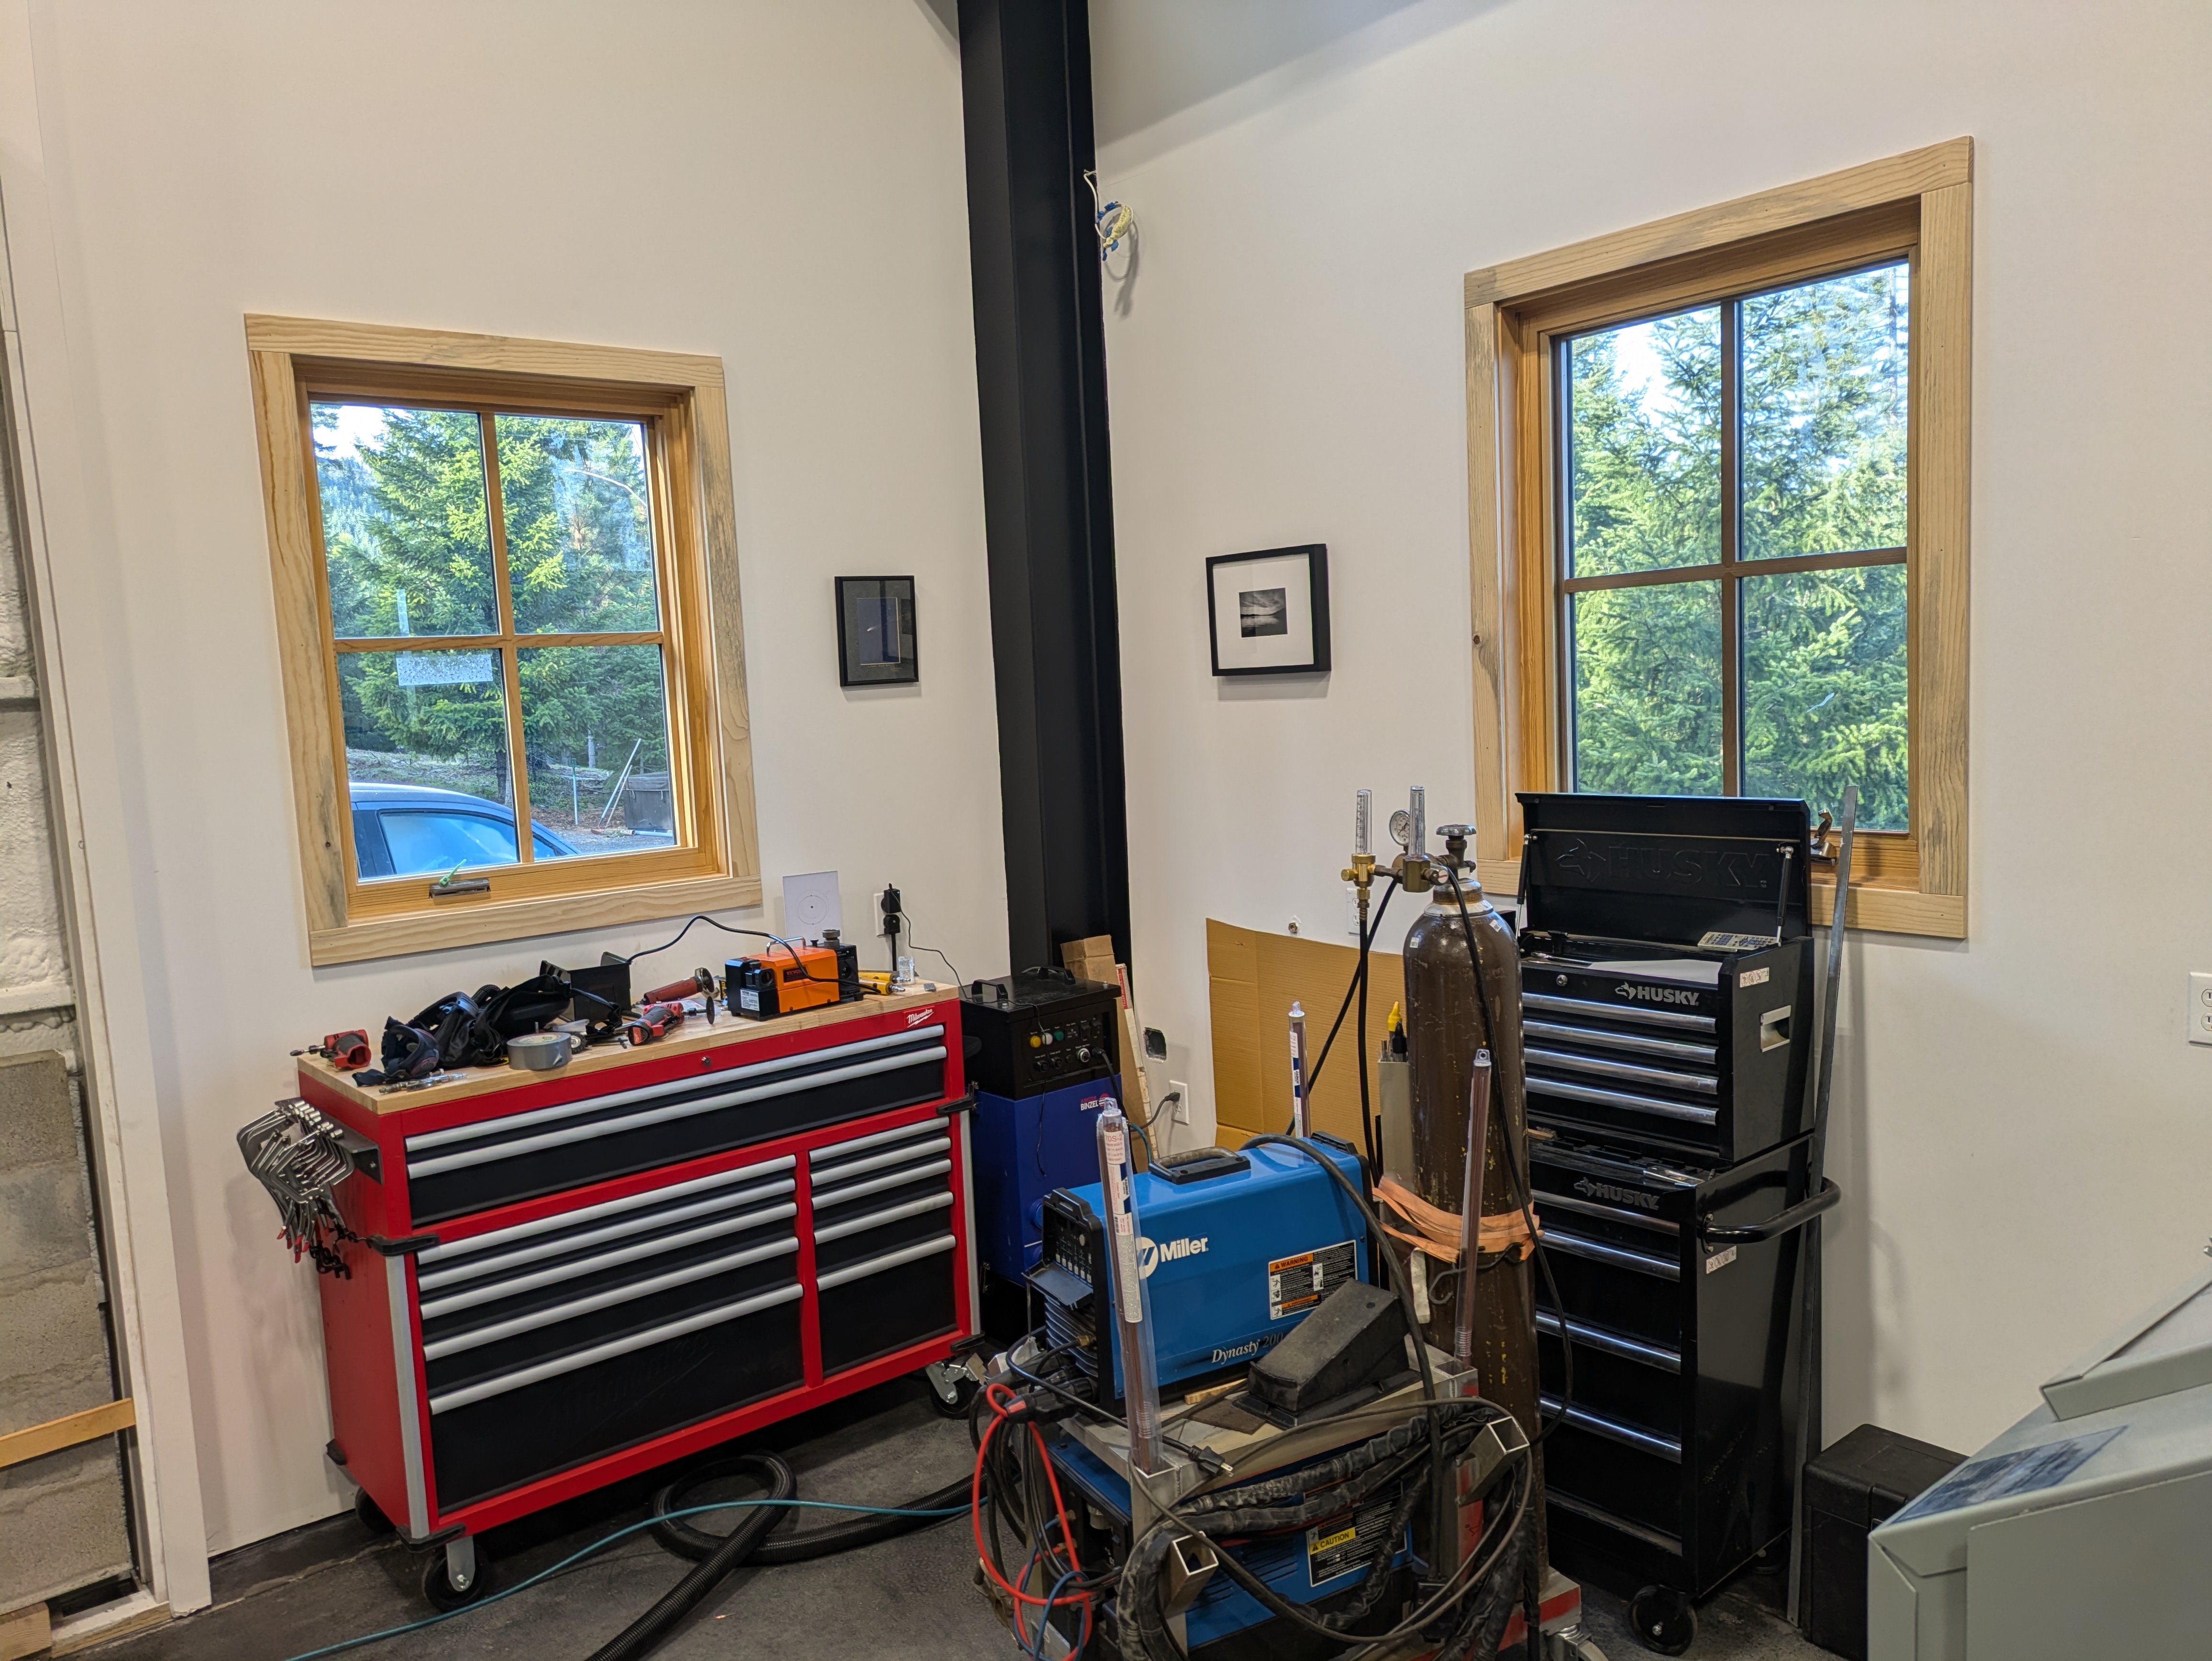

I’m happy to have trim. Sam is happy to have gained more floor space in the shop now that most of the wood piles are gone.
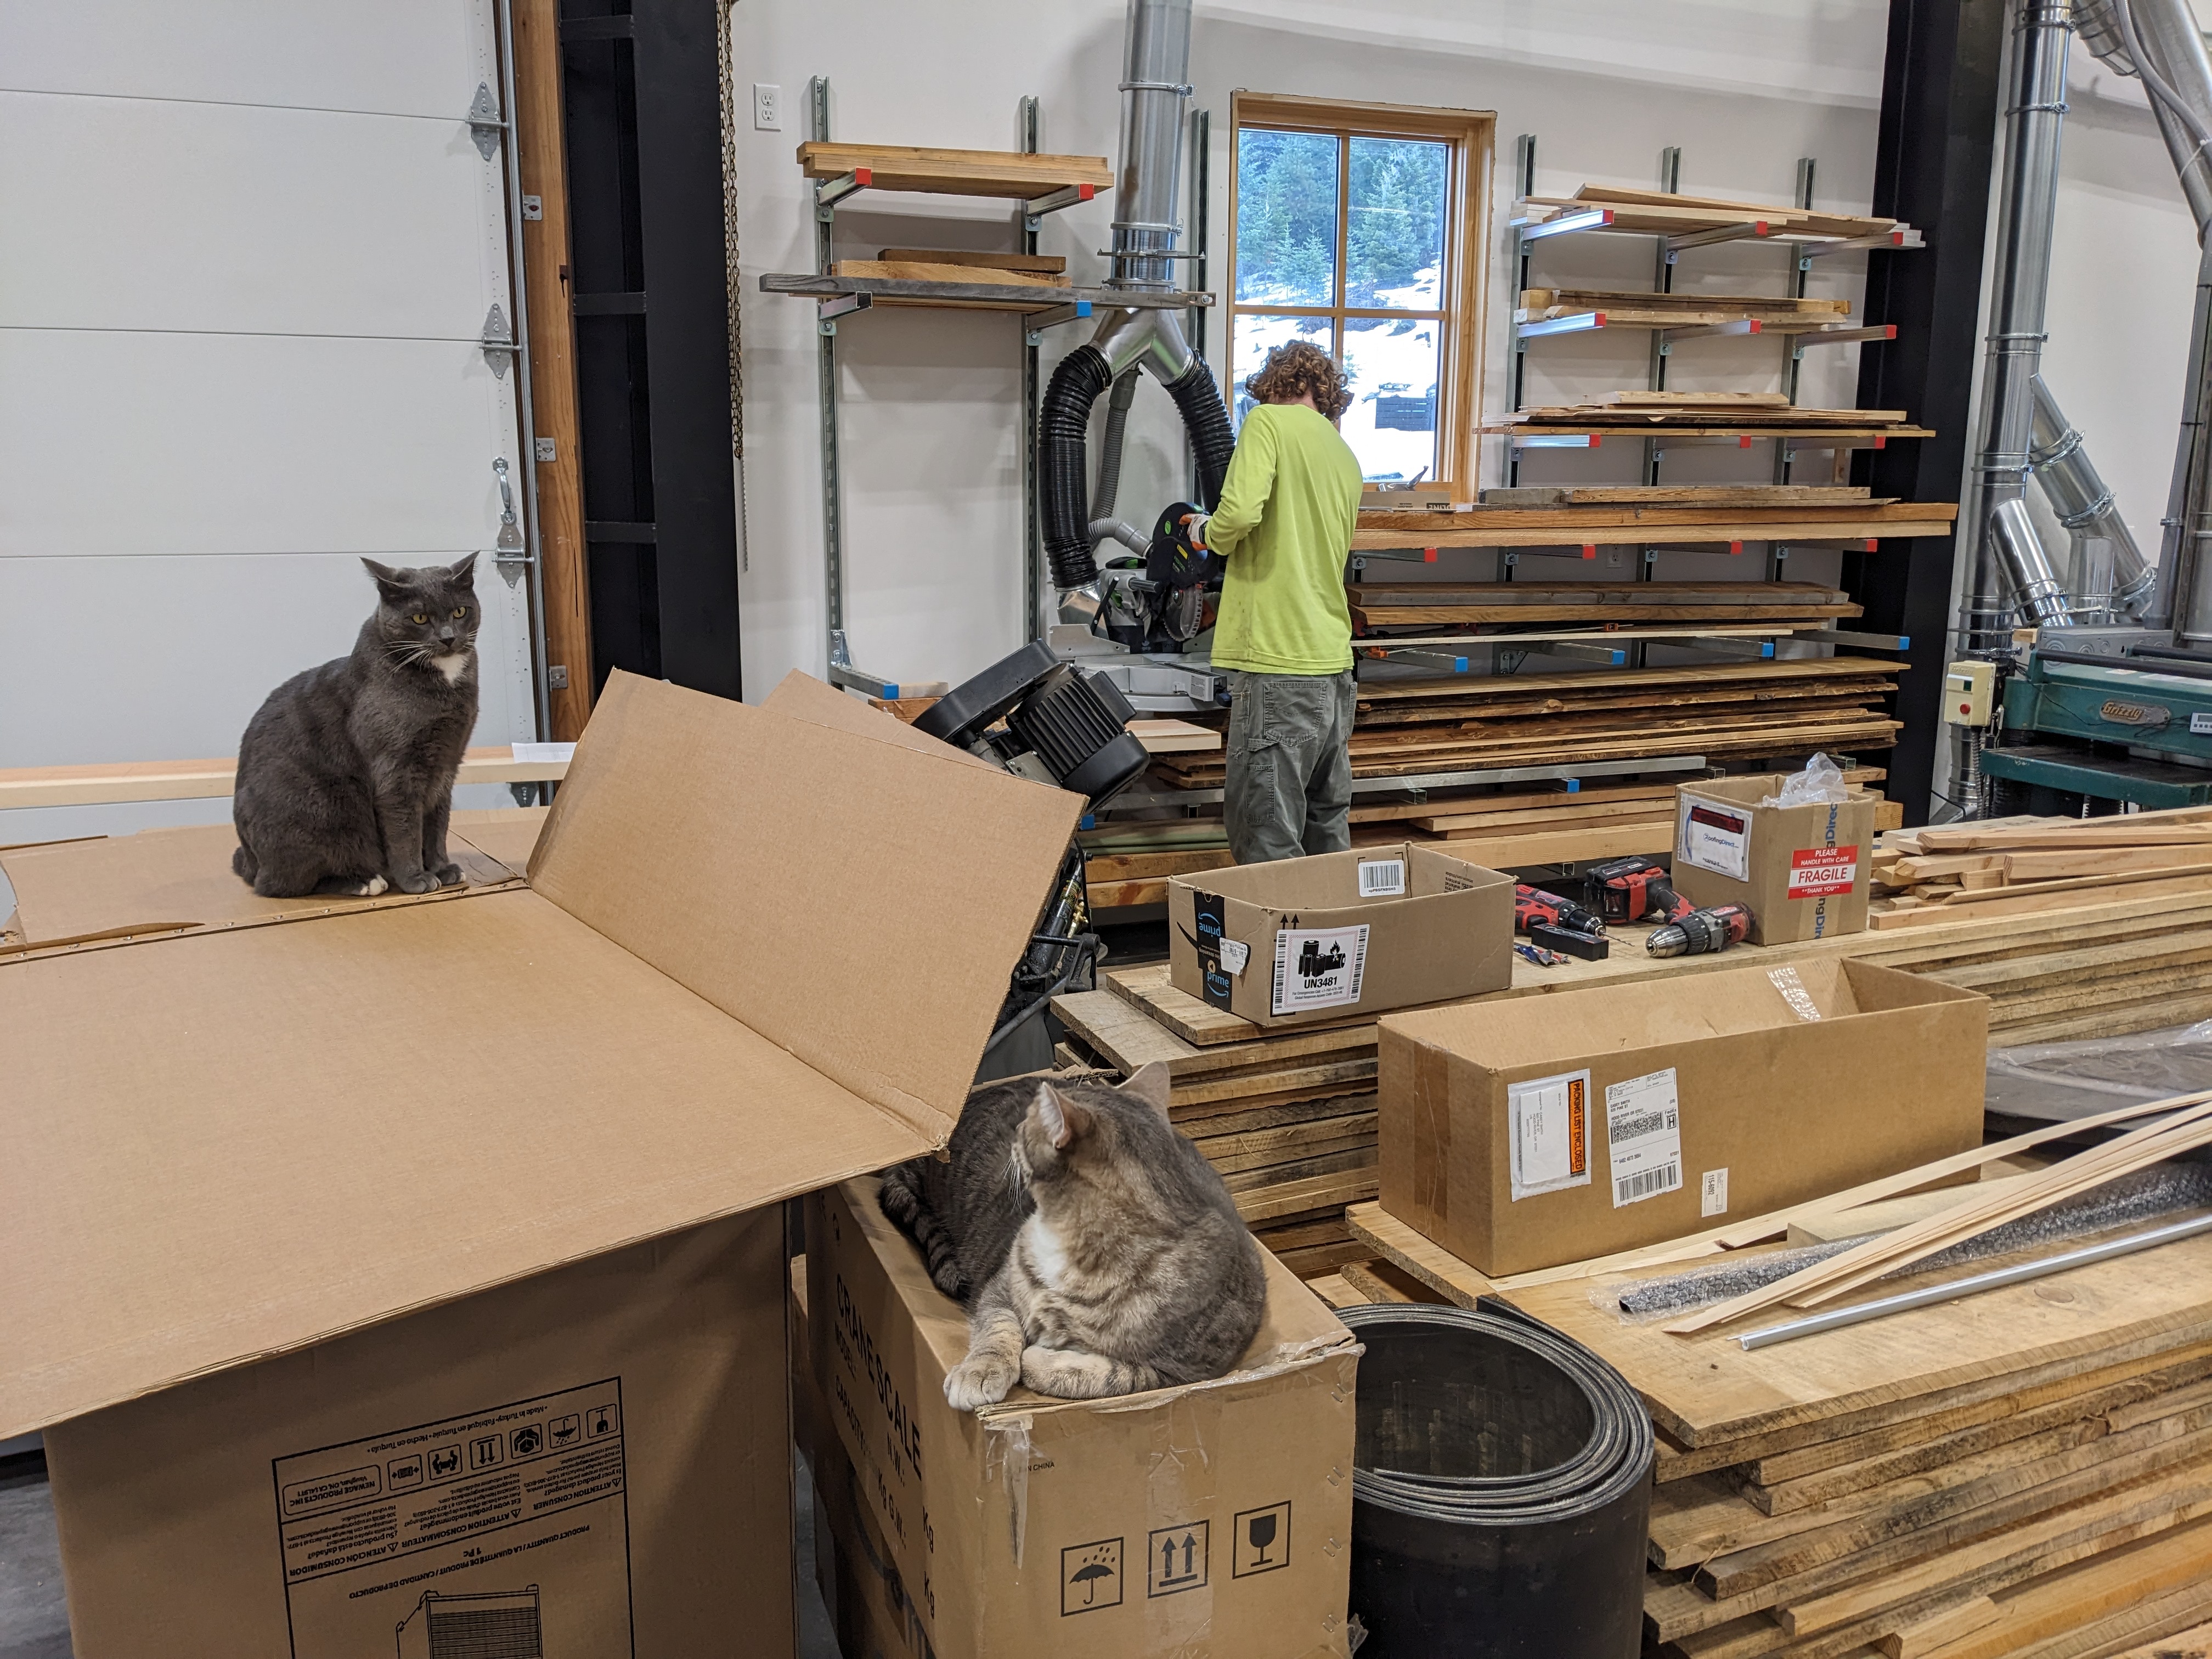
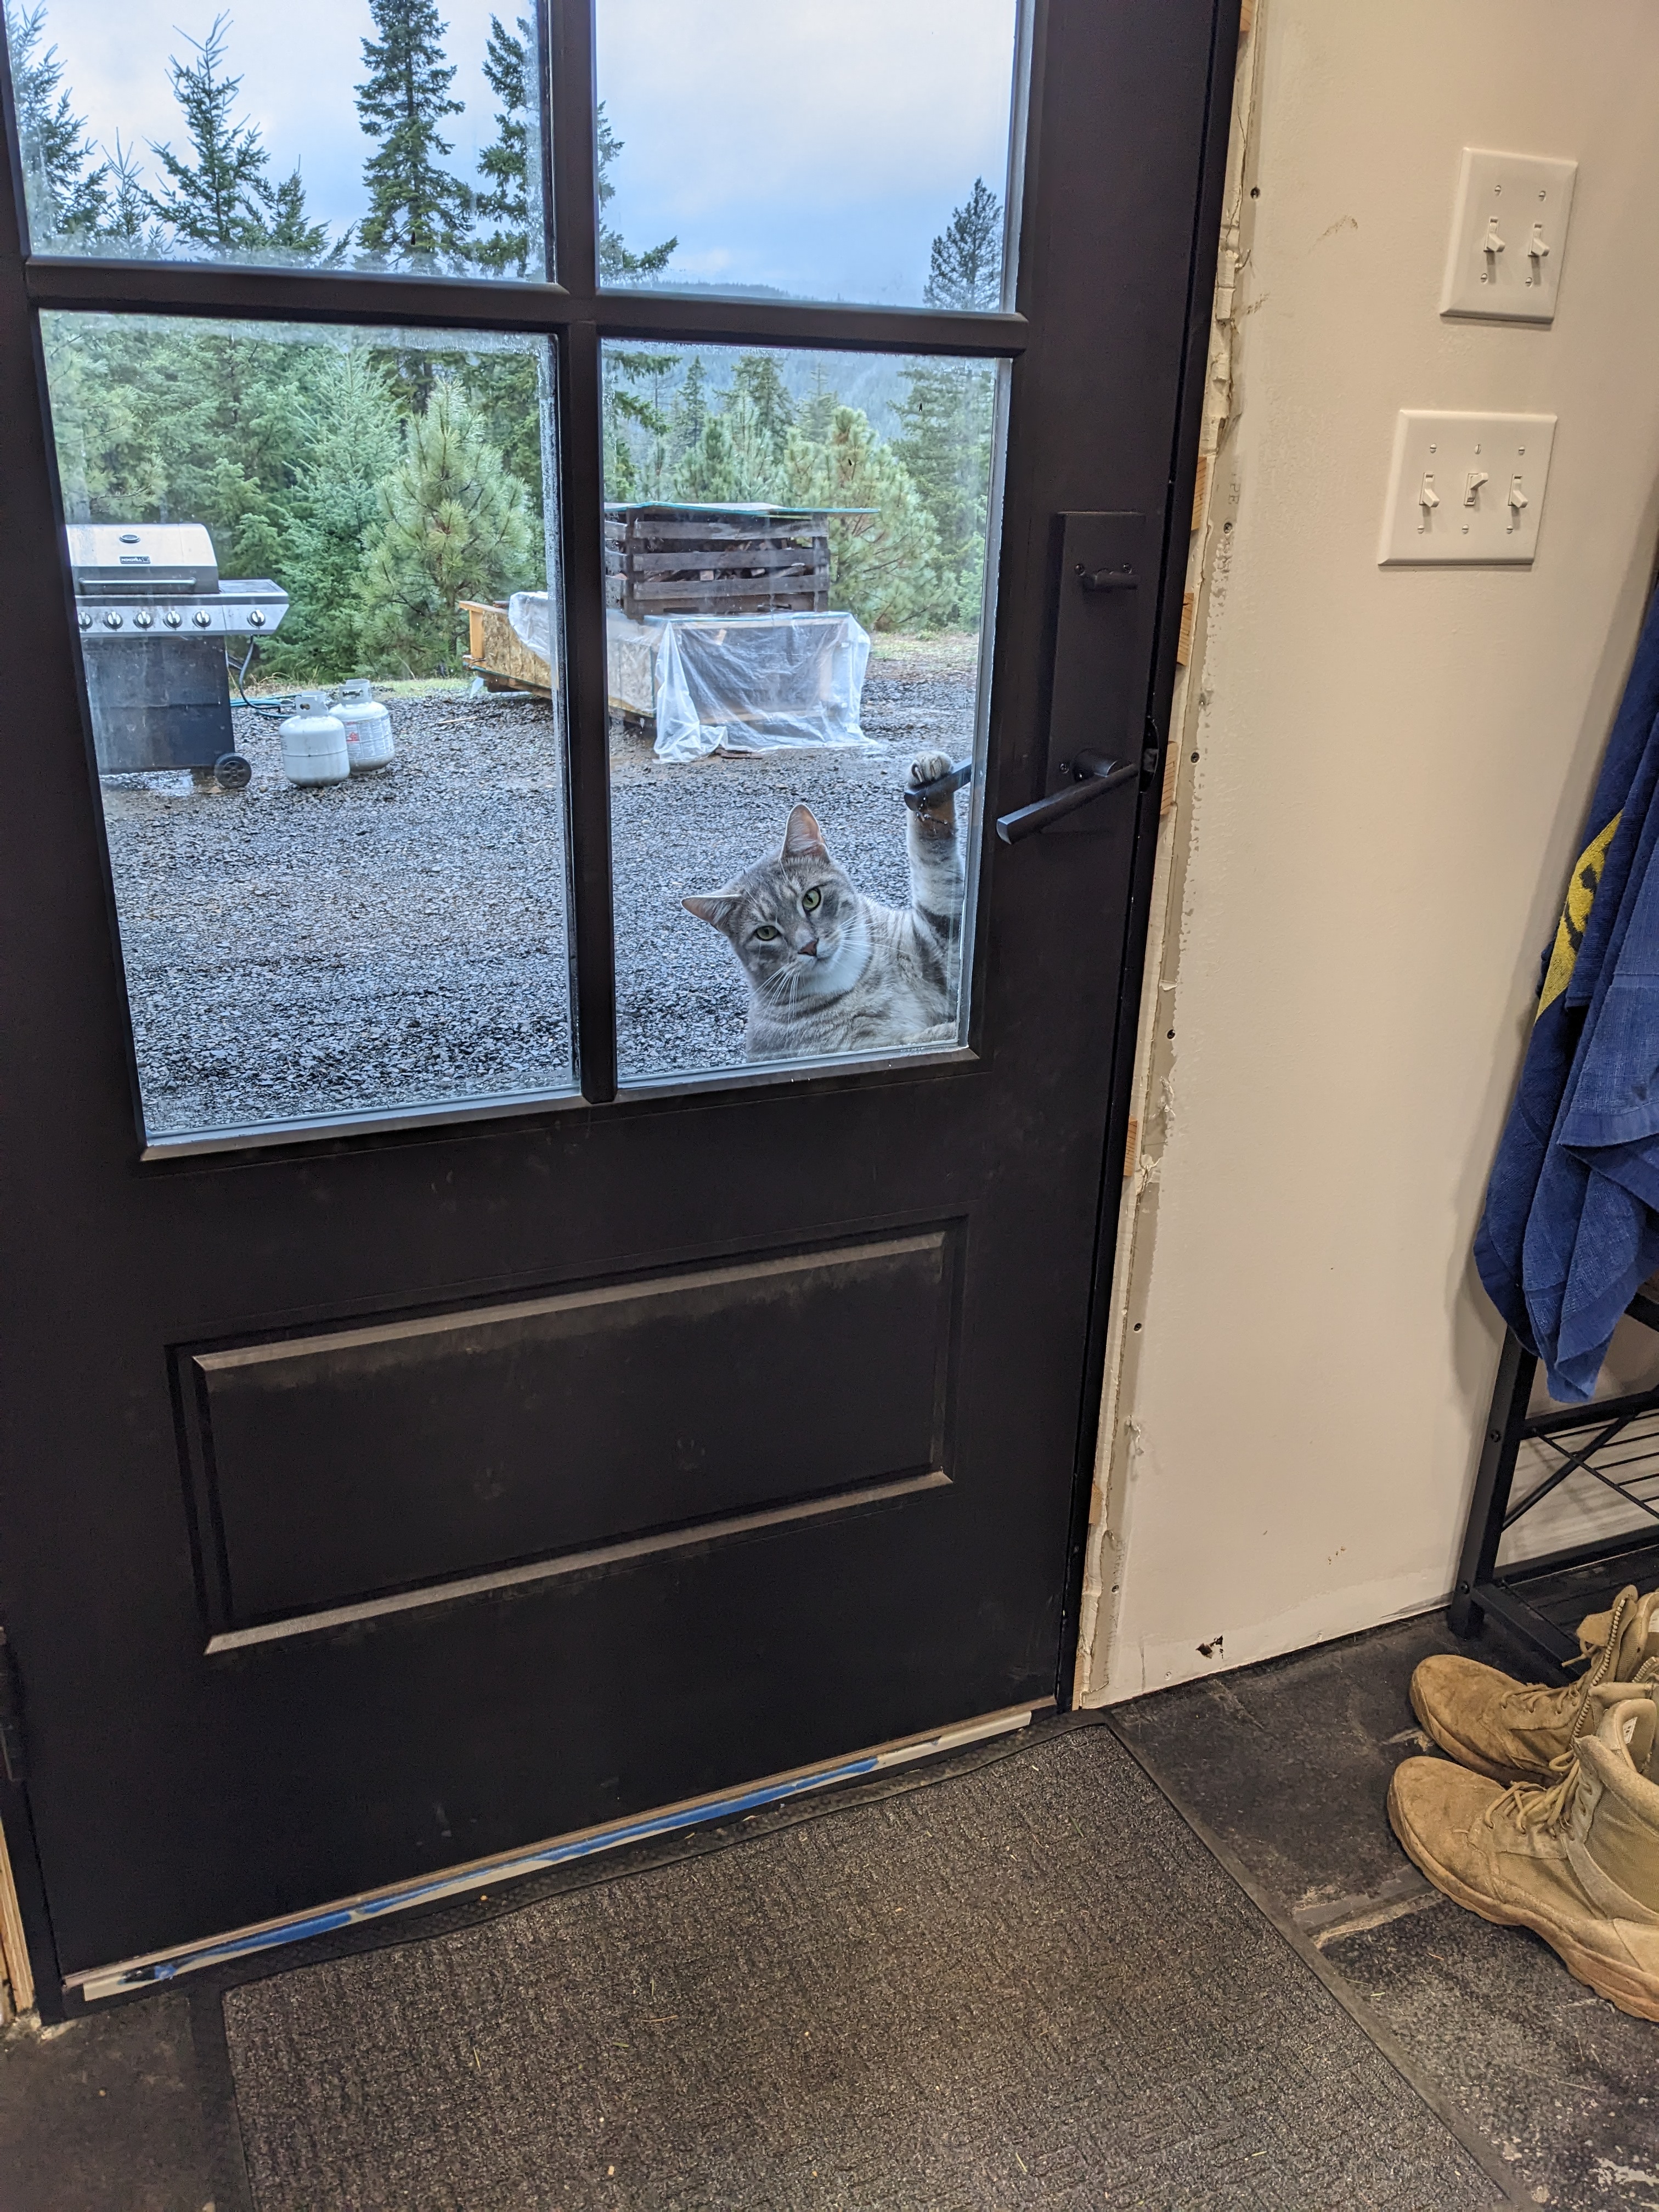
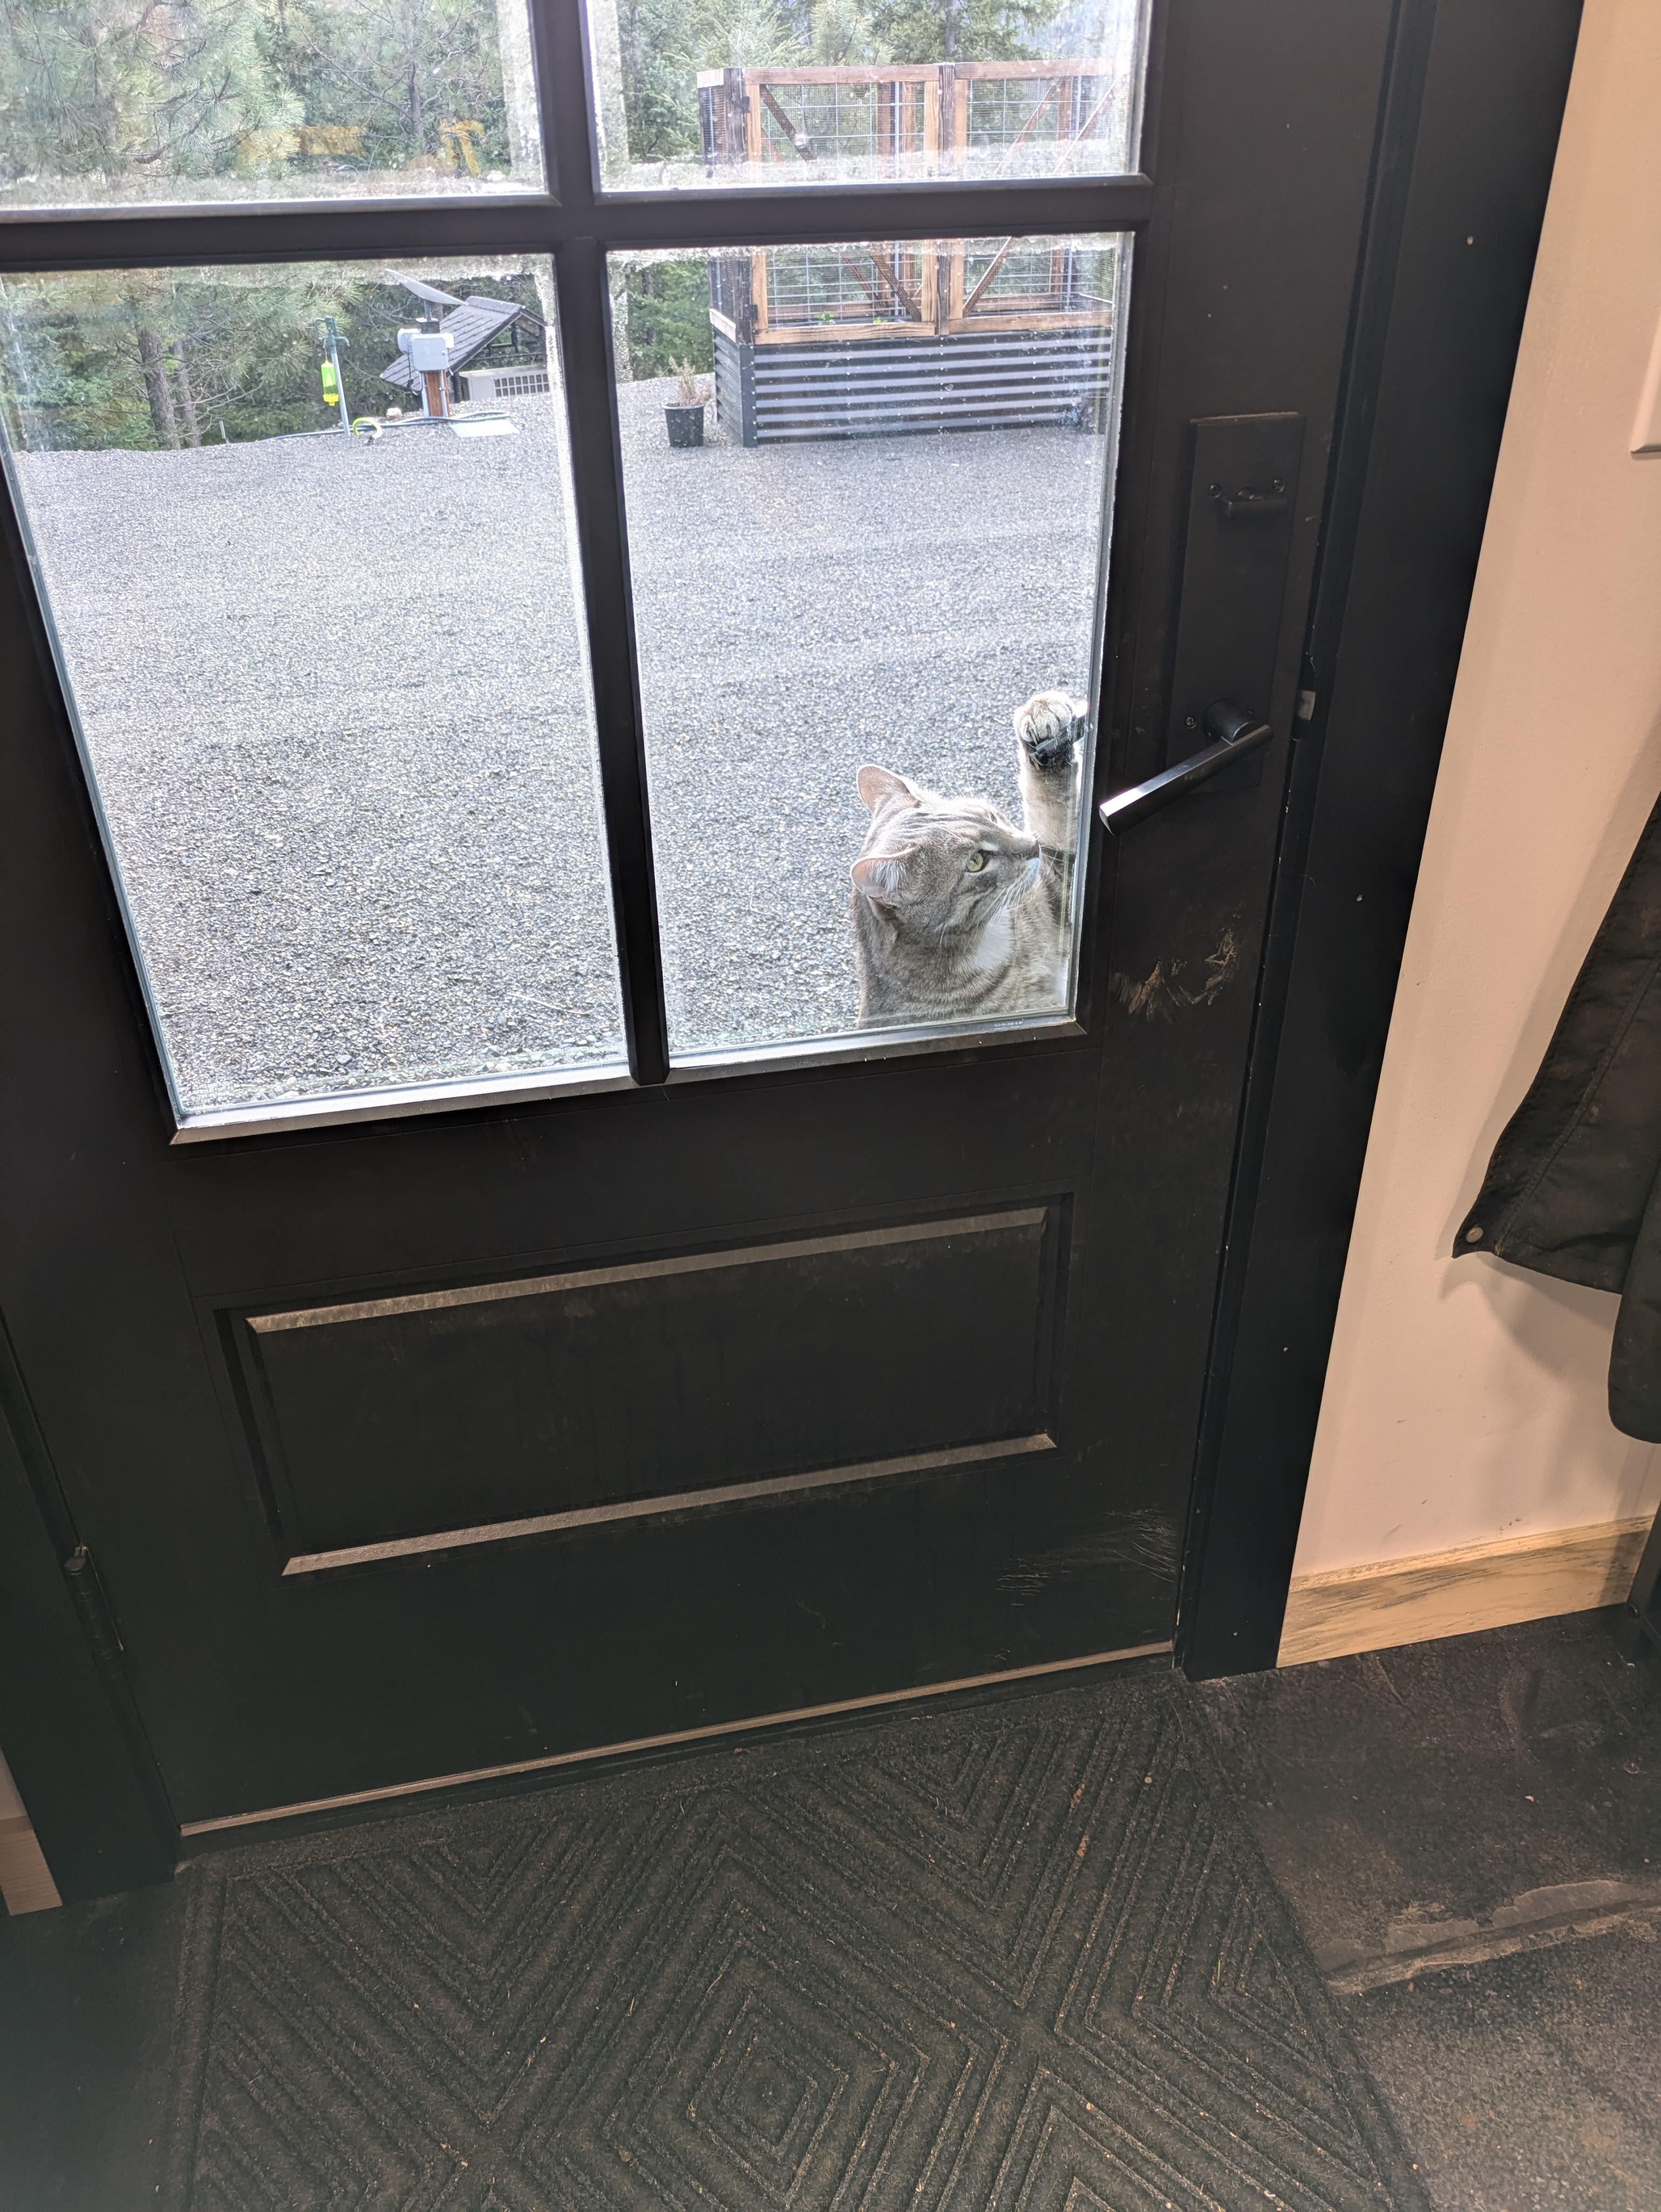
The cats are happy we’re done making noise all day.

Now for the baseboards…
