I think the banquette was the most exciting project of the year for me- even more exciting than the new garage. That’s mostly due to the fact that I designed it with the house plans back in 2020, and it finally came to fruition!
My mom has been hyping up the banquette since I was 15 years old and didn’t care about such things. “What’s this baguette she’s carrying on about?” “A couch in the kitchen?!” Years passed and I still didn’t care about banquettes. Then I was faced with a design puzzle. With limited space for a dining area, I thought a banquette would be the perfect solution! Plus, a long bench would allow more people to enjoy the gorgeous mountain view while dining. And who wouldn’t want a couch in the kitchen? I too, began having dreams of a banquette.
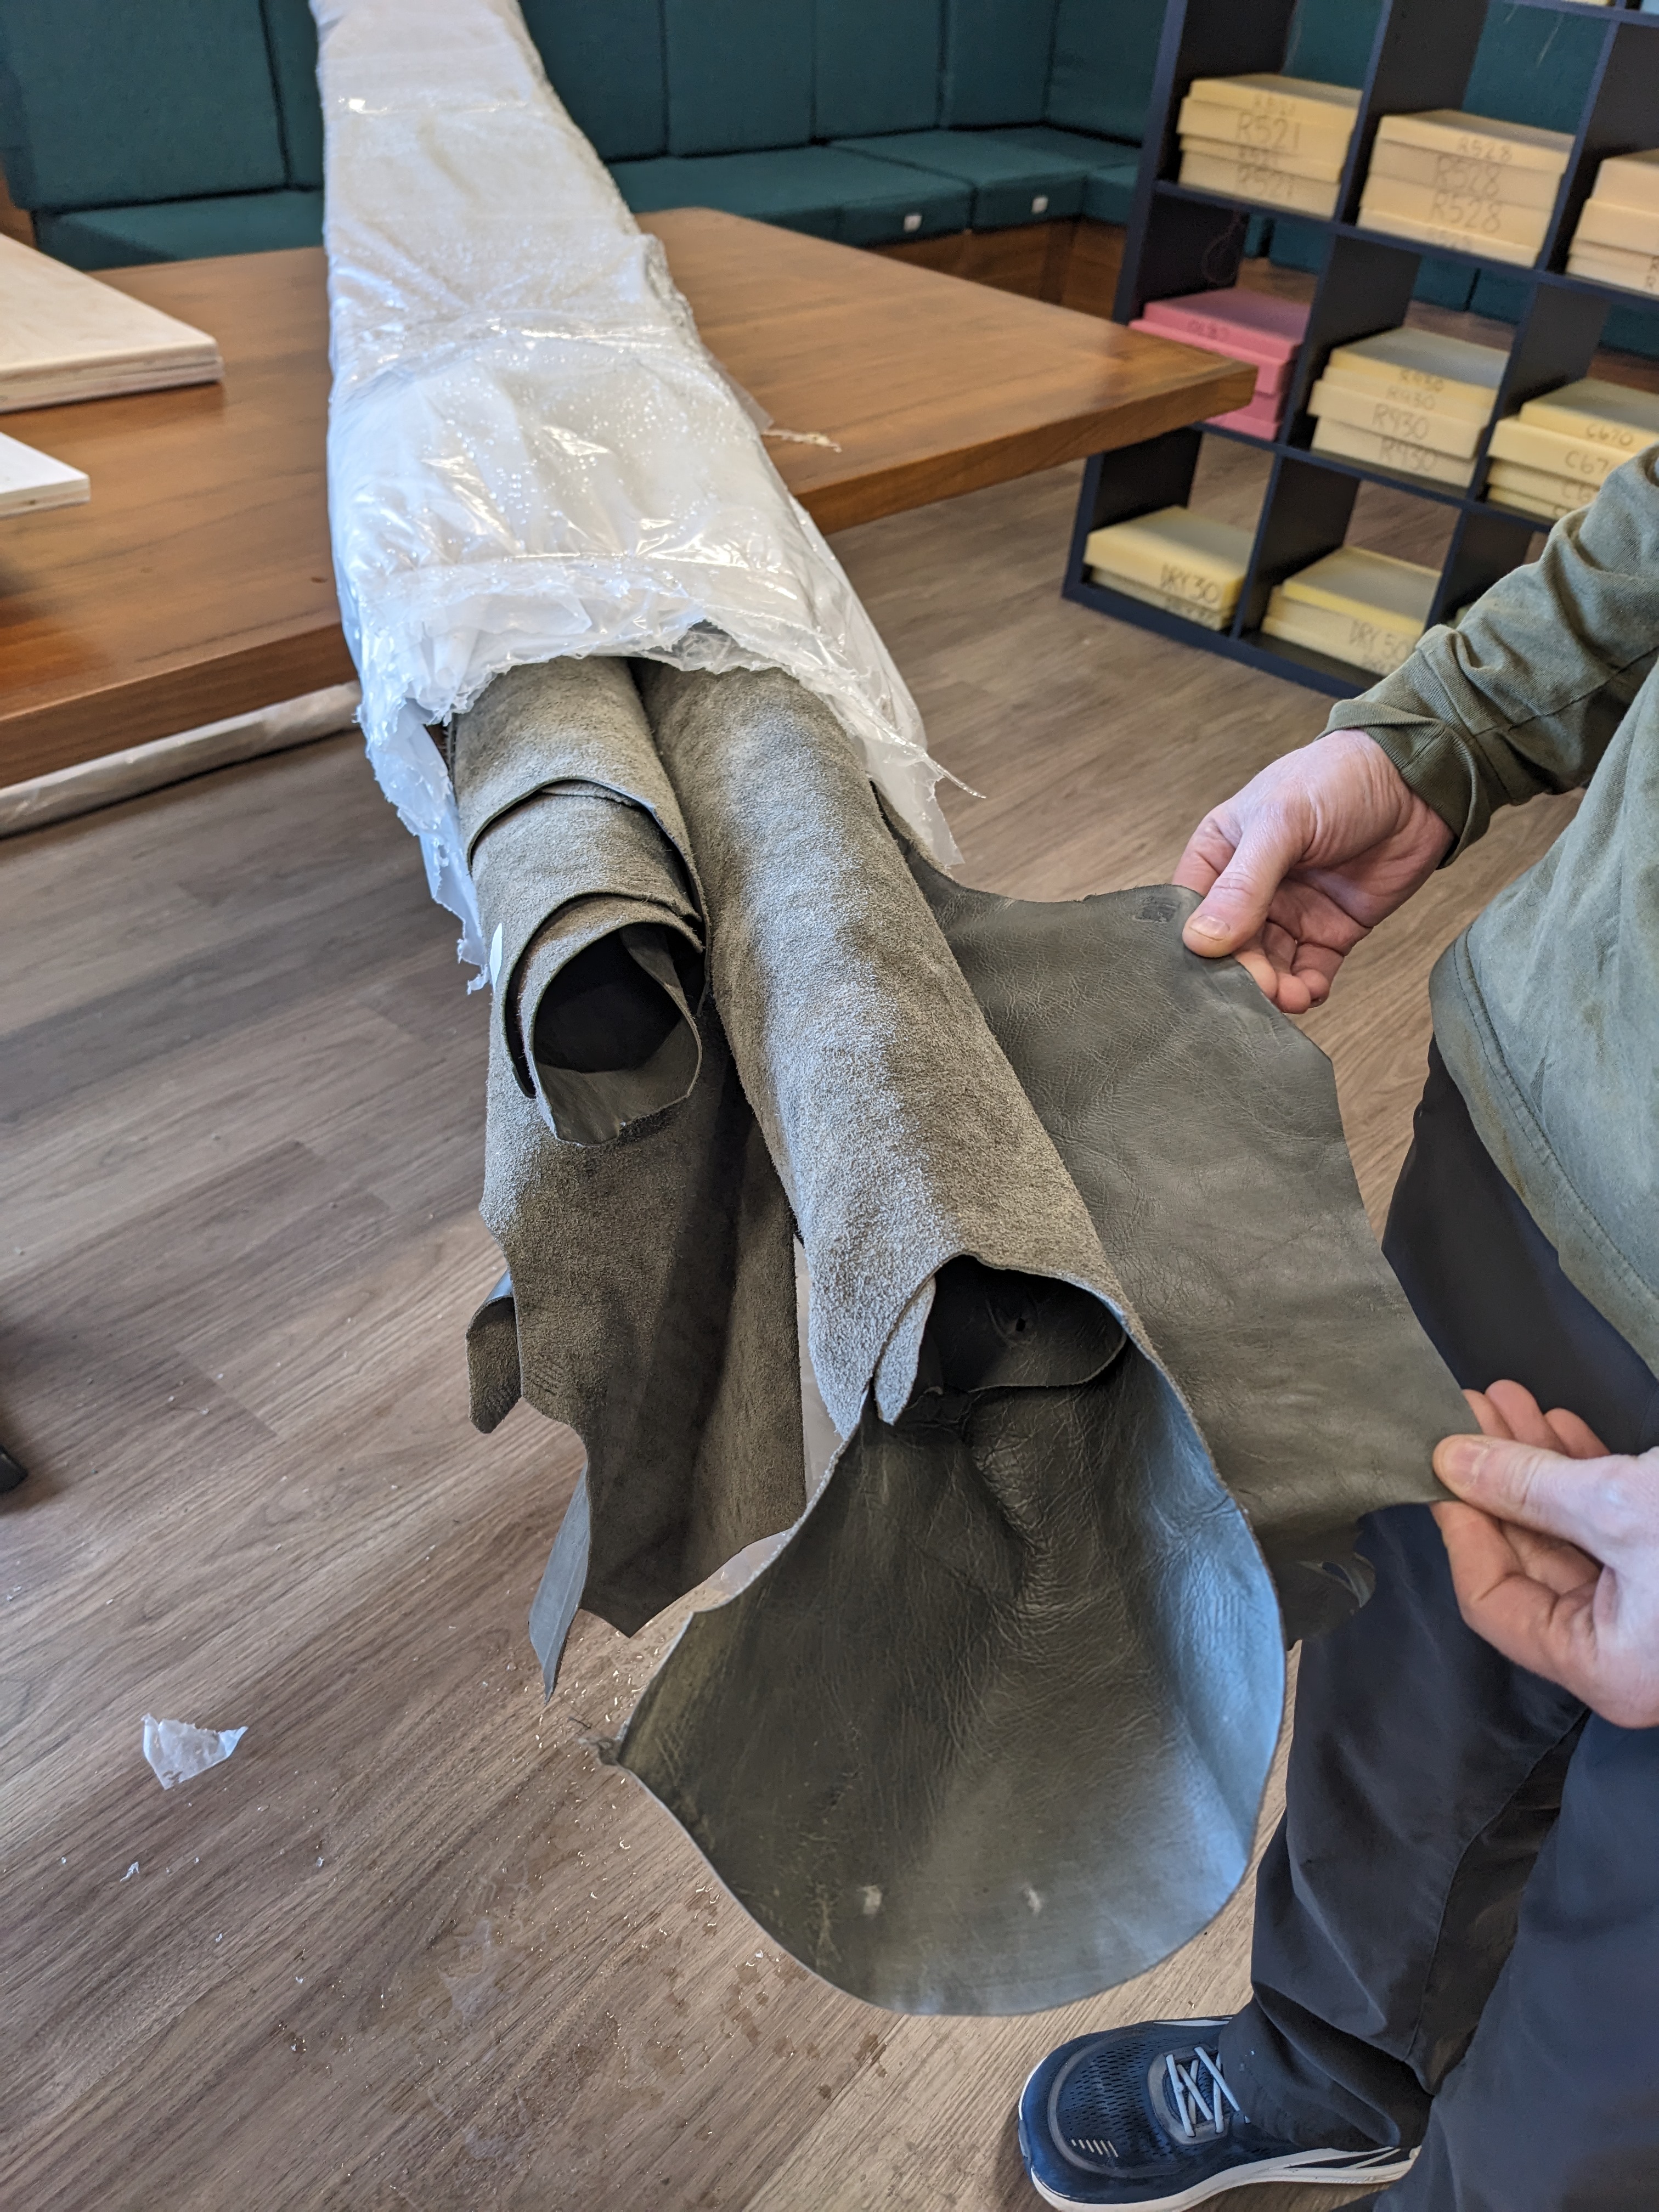
Sam and I wanted to avoid the problem of buttery toast crumbs getting ground into cloth fibers, so we went to an upholstery shop in Portland where I spent nearly two hours flipping through sample books of leather. They had over 1000 choices, but I simply didn’t like any. I ordered another 100+ samples of greys and greens from various online suppliers. The search was getting exhausting, and then I finally found The One! Not only was it the perfect shade, but it was scratch resistant! And, that color was on sale!

I immediately called the upholsterer to see how many hides I needed to order. I had no idea leather is sold by the hide rather than the yard. I got 4 beautiful hides. (This was back in February 2024.) Then we squirreled away the hides for over year.
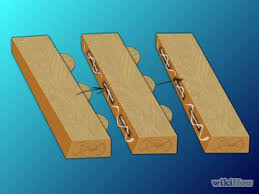
I couldn’t stand my folding chair and beach towel cushion any longer. Douglas was still doing some carpentry for us this past March, so we had him cut some plywood for the banquette before he departed. He used his track saw to cut all the parts for the seats and the backs. One of the backs is over 9′ long which is more than a full sheet of plywood. Douglas attached two segments together using biscuits and glue. I didn’t get any photos of the cool biscuit tool. These are from google.

Then Douglas used a router to make a radius along the edges.

Sam came up with that idea when I pointed this out at the upholstery shop:

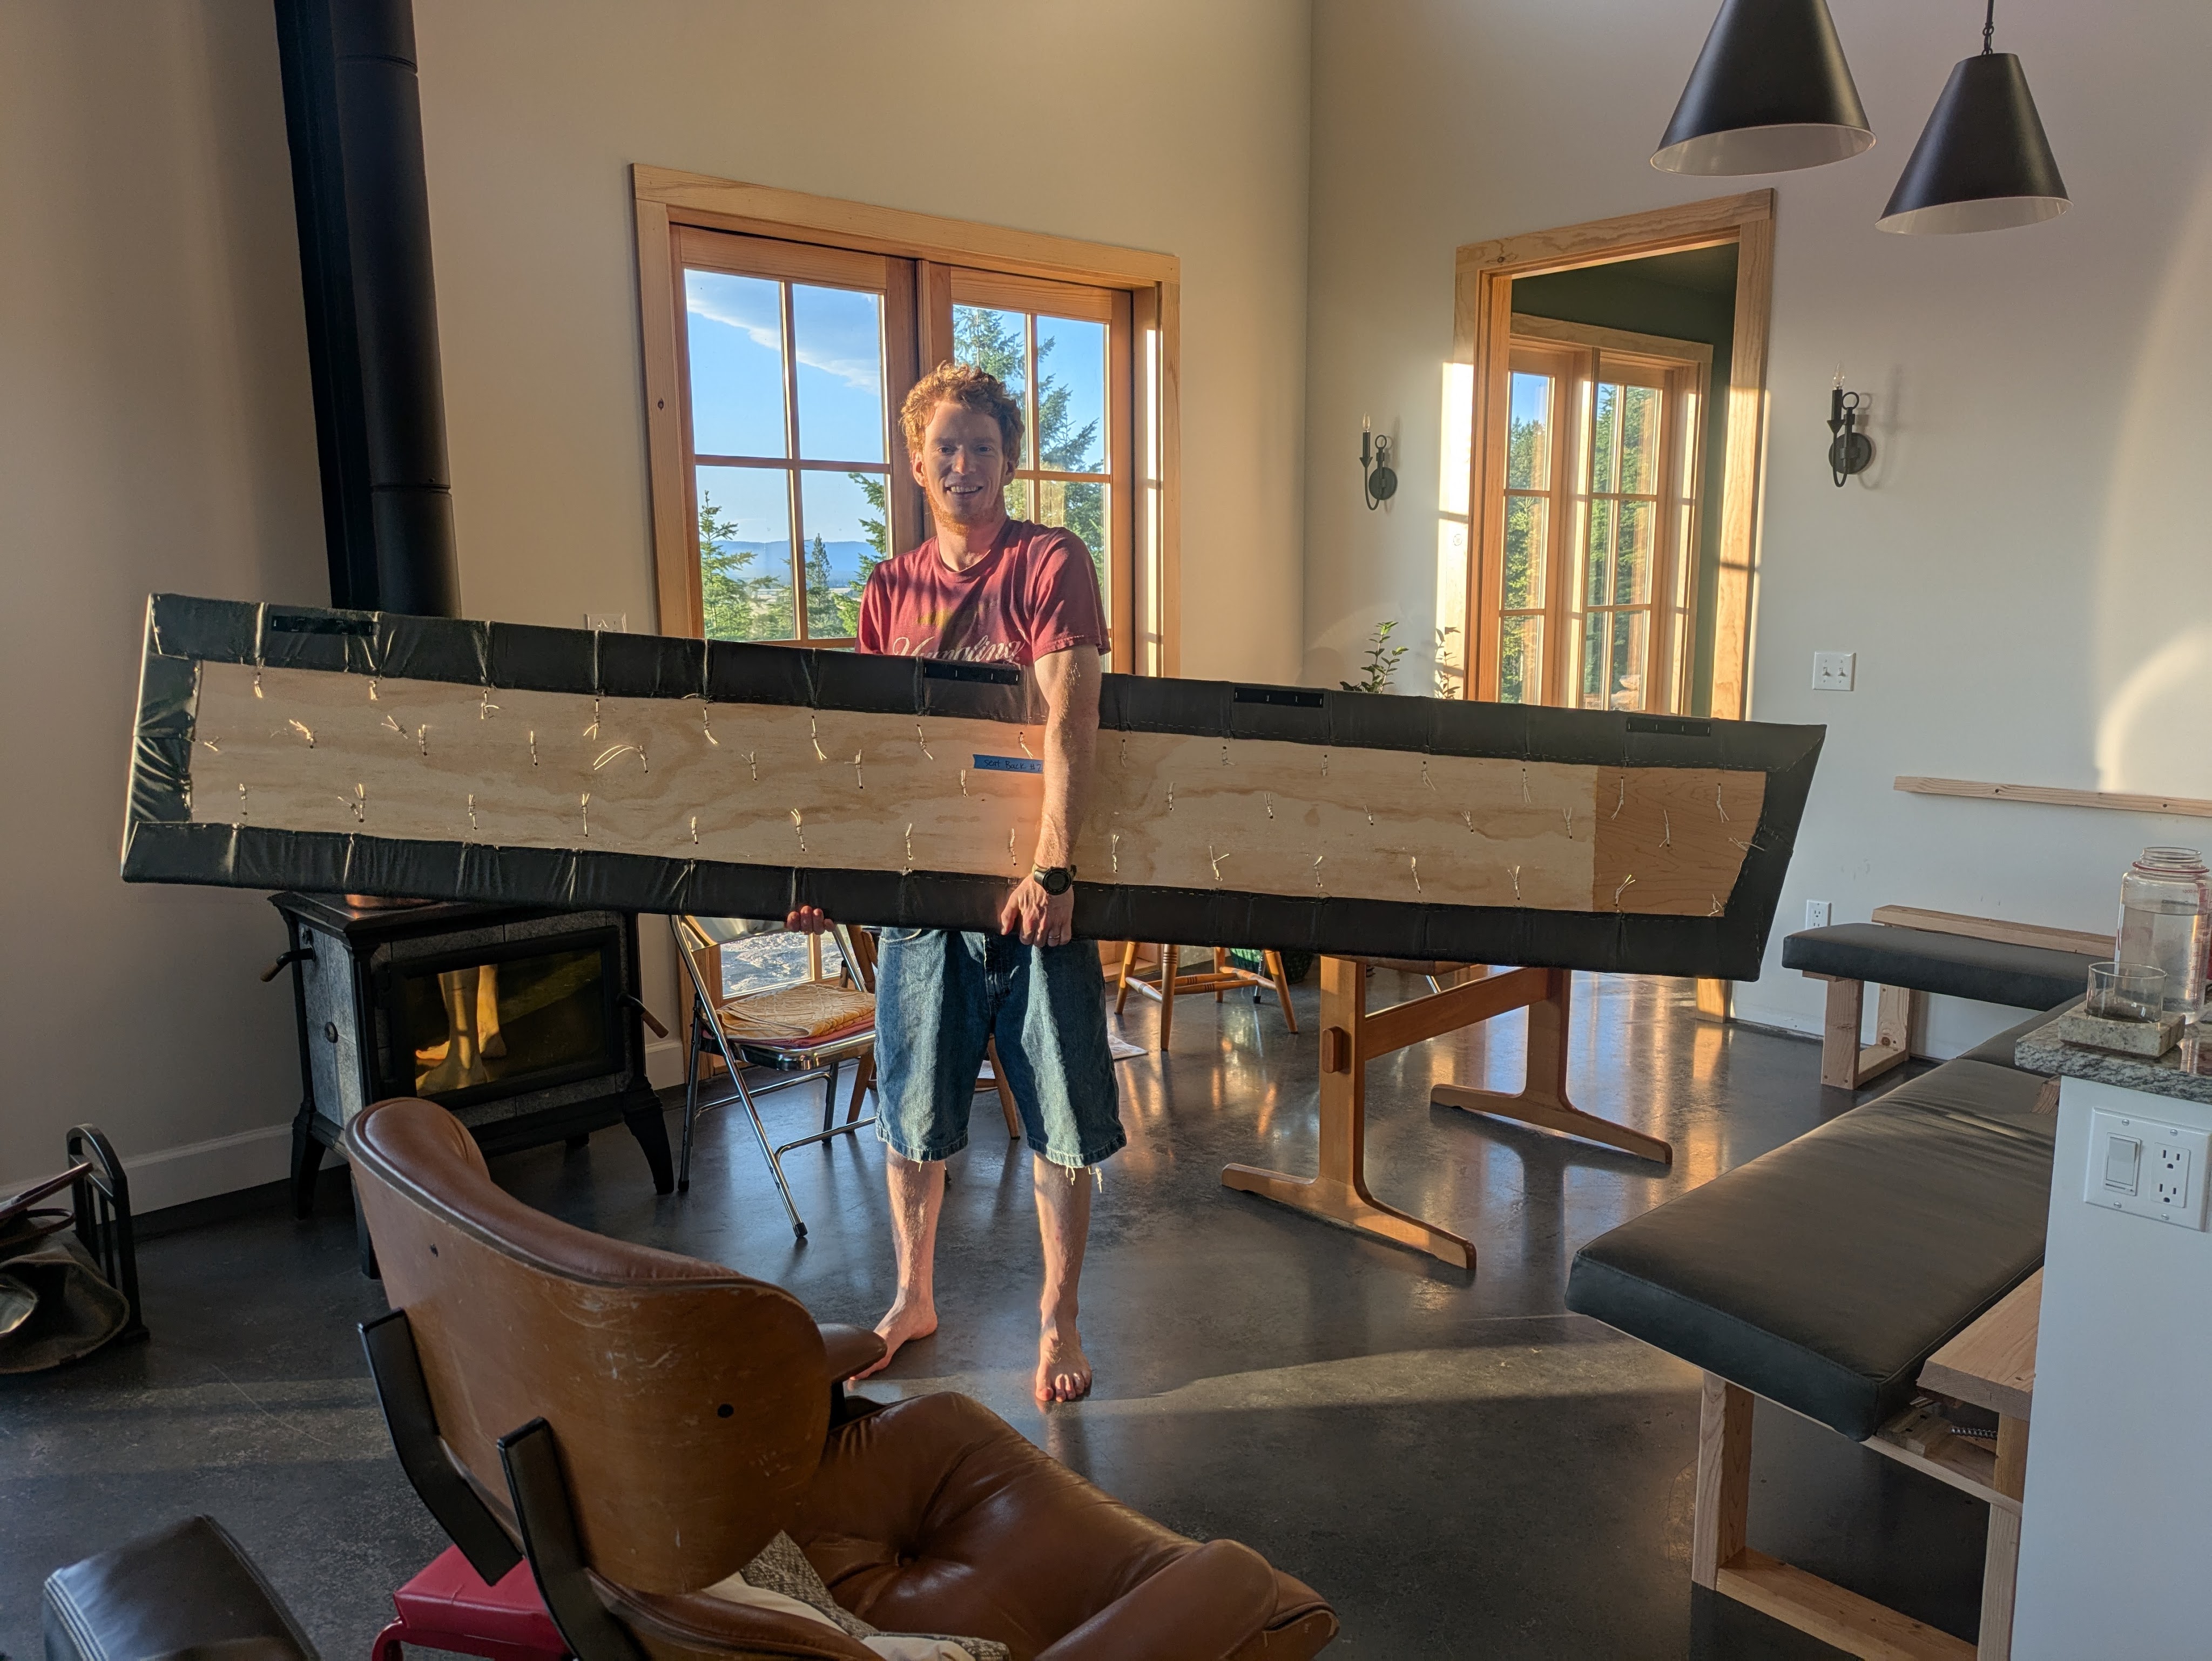
We brought all the wood and leather to the upholsterer. It was a sunny day when we departed for the big city, but we wrapped everything up in plastic to keep the materials clean of dust and debris. Luckily we did that because it started pouring down rain and hailing as soon as we entered Portland. The upholster immediately recognized us when we entered – “I remember you guys…” He was smiling, but I doubt he was smiling on the inside as he recalled the picky lady who wouldn’t leave his shop. Sam and I tested the foam cushion choices again and settled on a stiffness in under an hour.
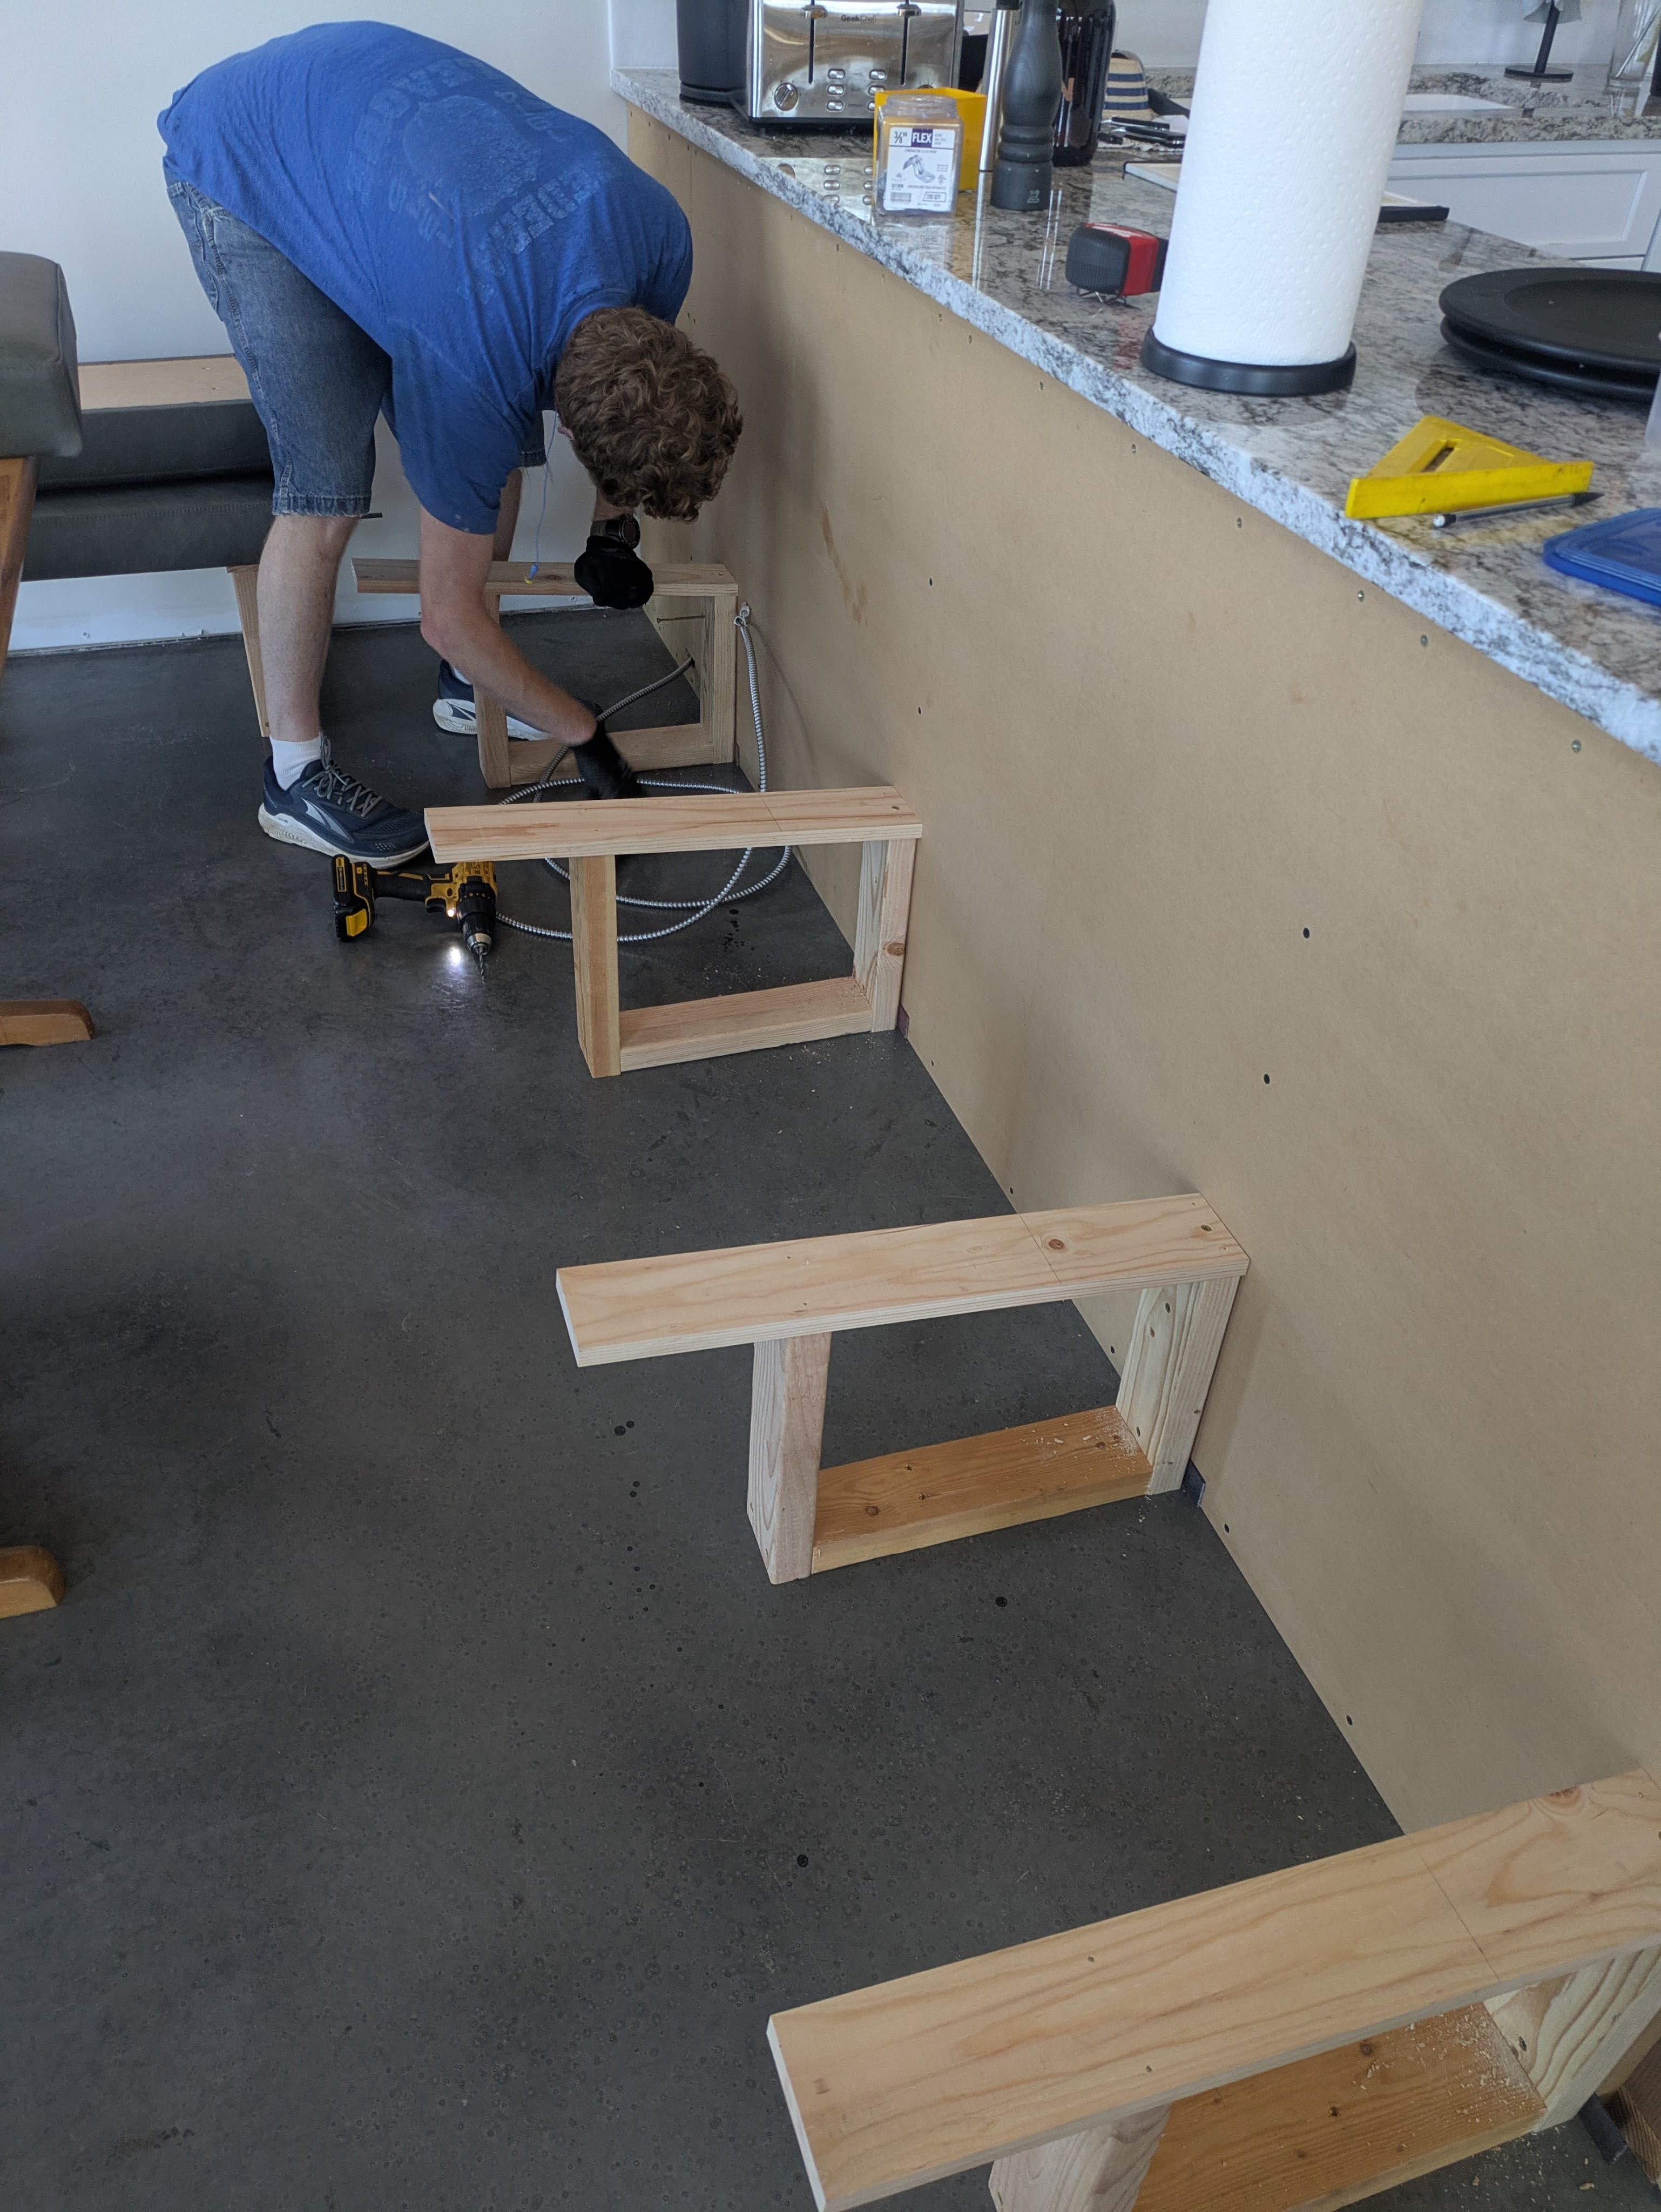
A few weeks later, we picked up the parts! They were perfect. We used the parts to adjust our mock-up frame until we found the perfect height and angle.

This was a process. Sam and I rarely find the same seats comfortable. He likes a larger angle on the backrest and the seat; whereas I prefer flat “uncomfortable” seats. We eventually arrived at a happy medium where neither of us had to compromise!
We built the frame first. Each seat cushion has sort of a box as a base. The corner seat is not angled, so it has a special base. The seat is flat, so if you put your legs up on the bench you won’t be sitting at a weird angle. Sam added an outlet under one of the seats too.


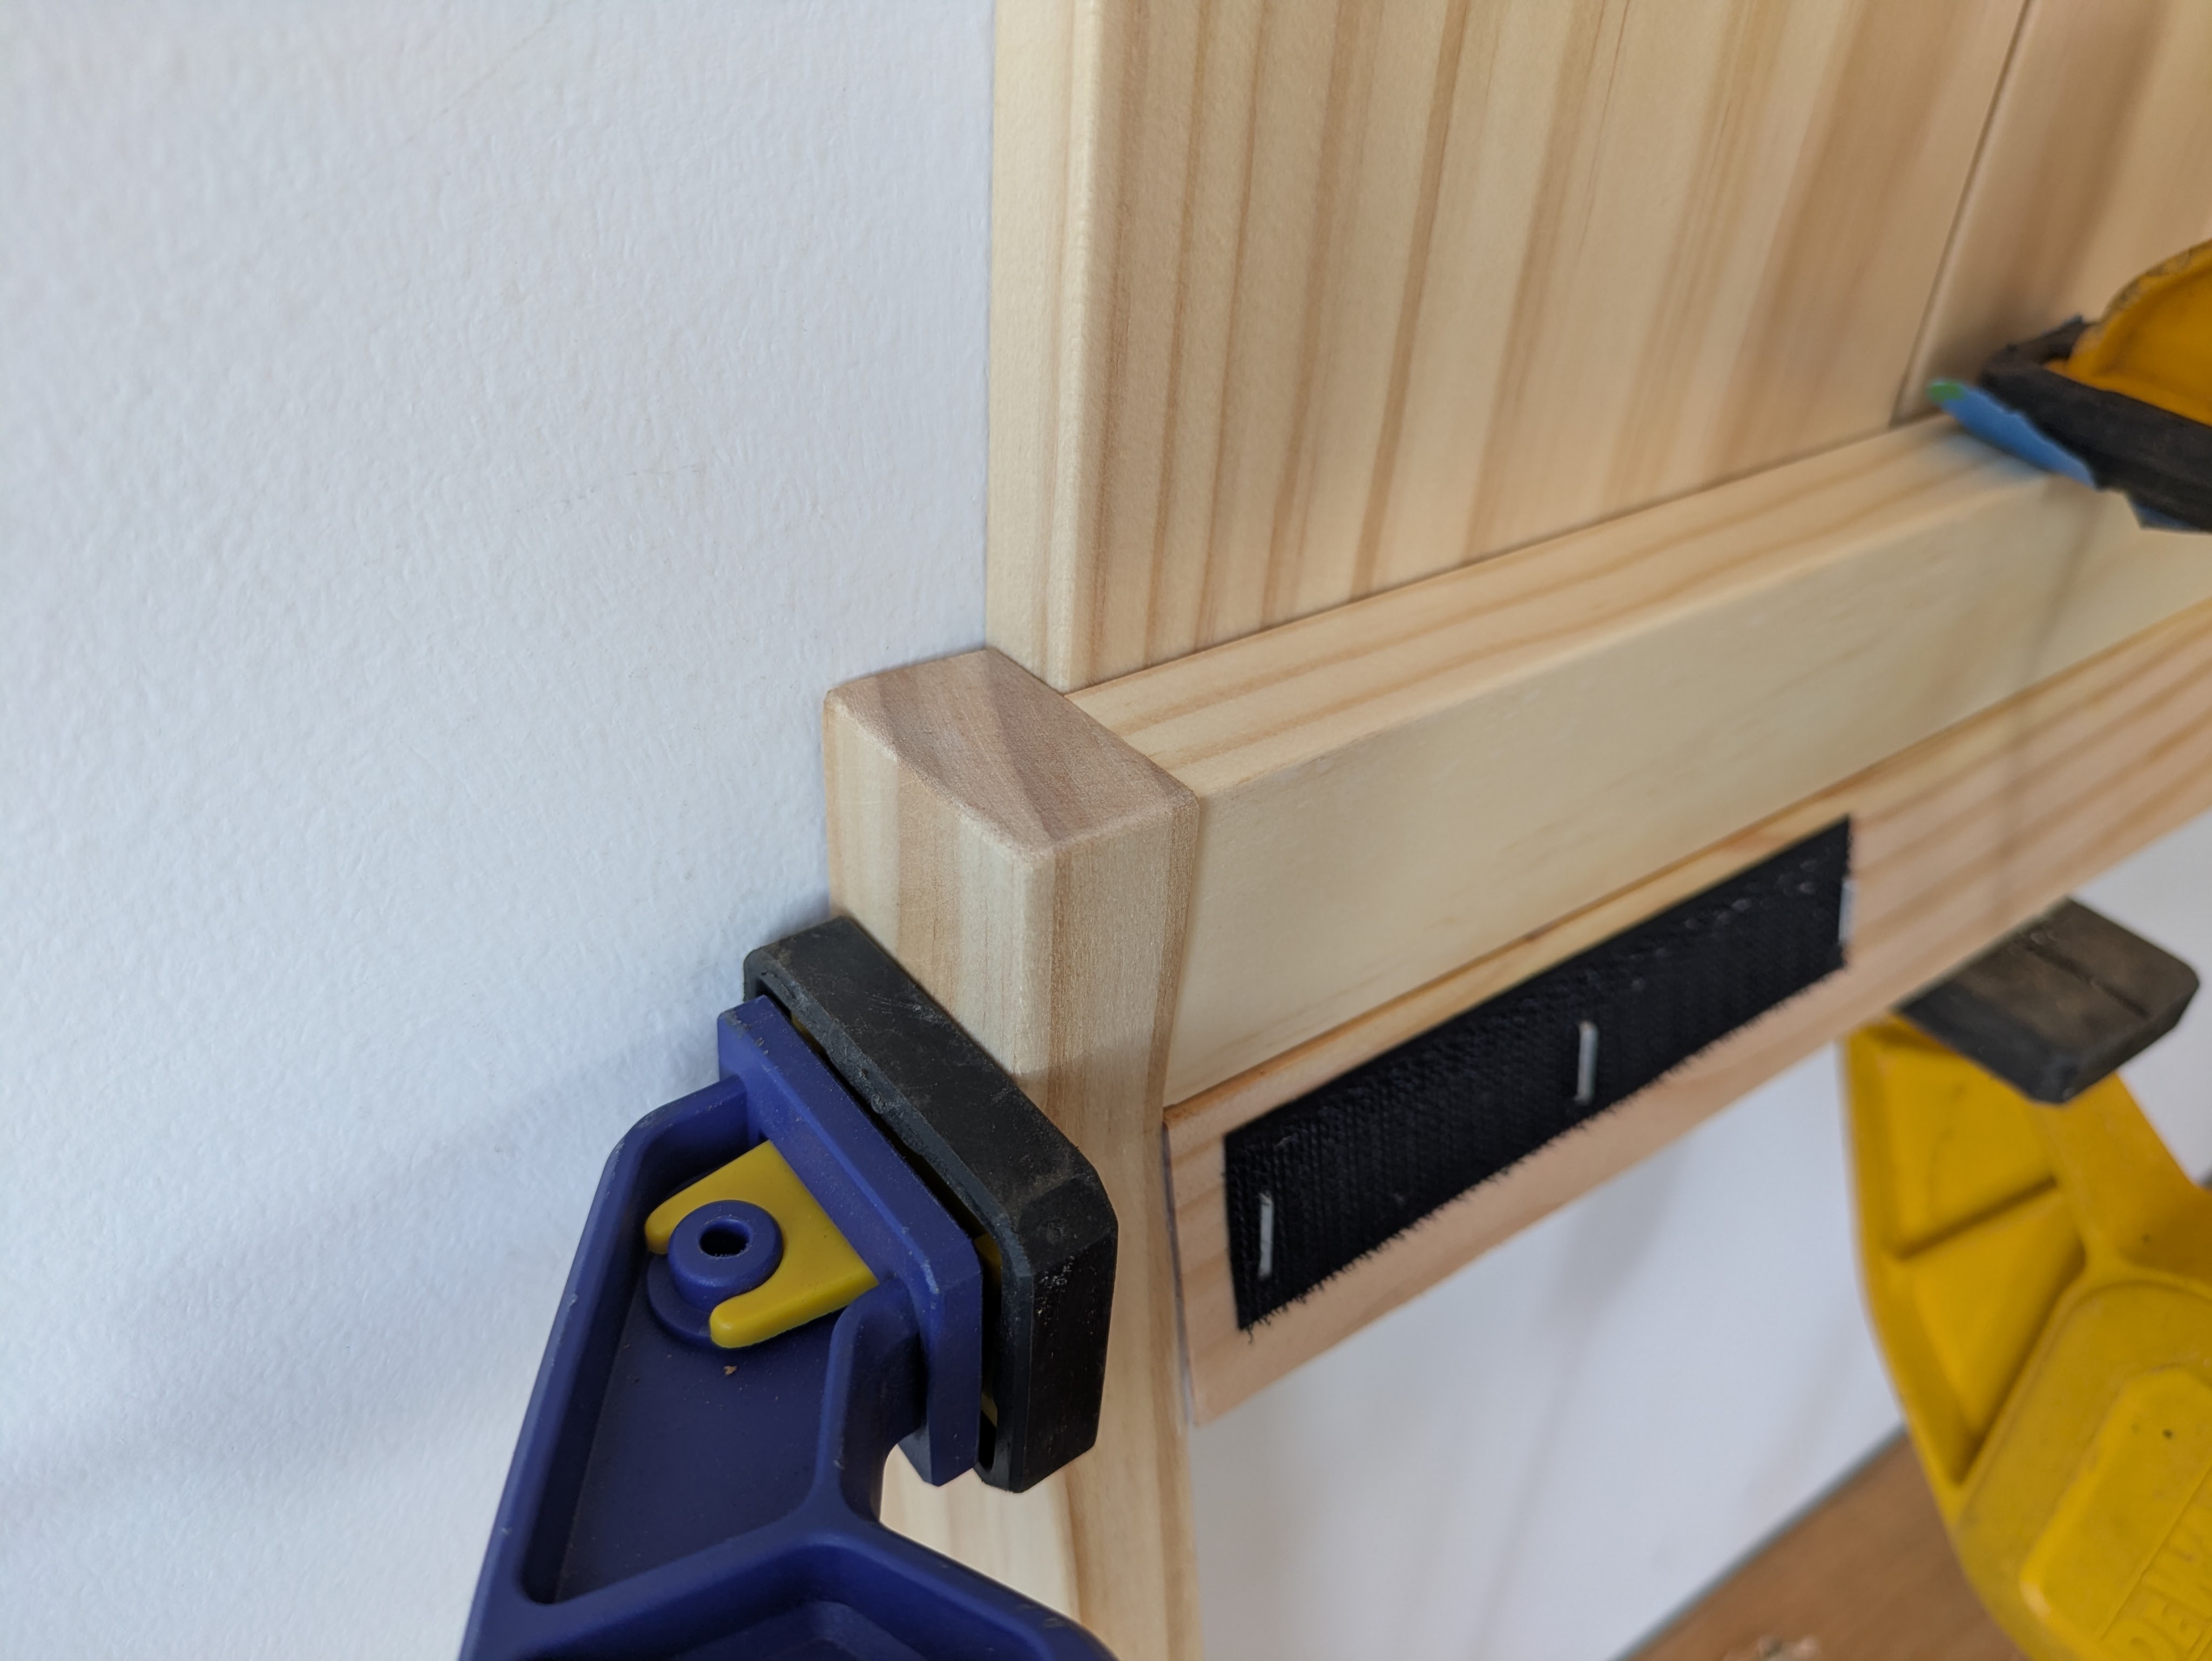
I wanted to be able to remove the seats (to access storage underneath) without removing the heavy seat backs.
This made it difficult to install everything without a slight gap between the seat and the back but we overcame. We found the sweet spot and hurried to attach some velcro. We stapled velcro to the seats, the backs, and the frames so nothing would slide around.


The banquette was fully functional but far from complete. We still had to do all the finish woodworking around the base. The plan was to cover the base in plywood, make wainscotting along the one wall, and stain it all charcoal. I was trying to replicate the color of our pepper mill.

It’s velvety black with silver tones, and the grain pattern is visible. I experimented with various black and grey stain mixtures until I was pretty happy.

Sam and I applied my formula to the plywood base first. It looked pretty good, although it was more opaque than I had hoped. Sam sprayed a clear coat to seal it, and when we installed it, it looked too dark and too blue. We tried staring at it longer, but it never got better-looking.
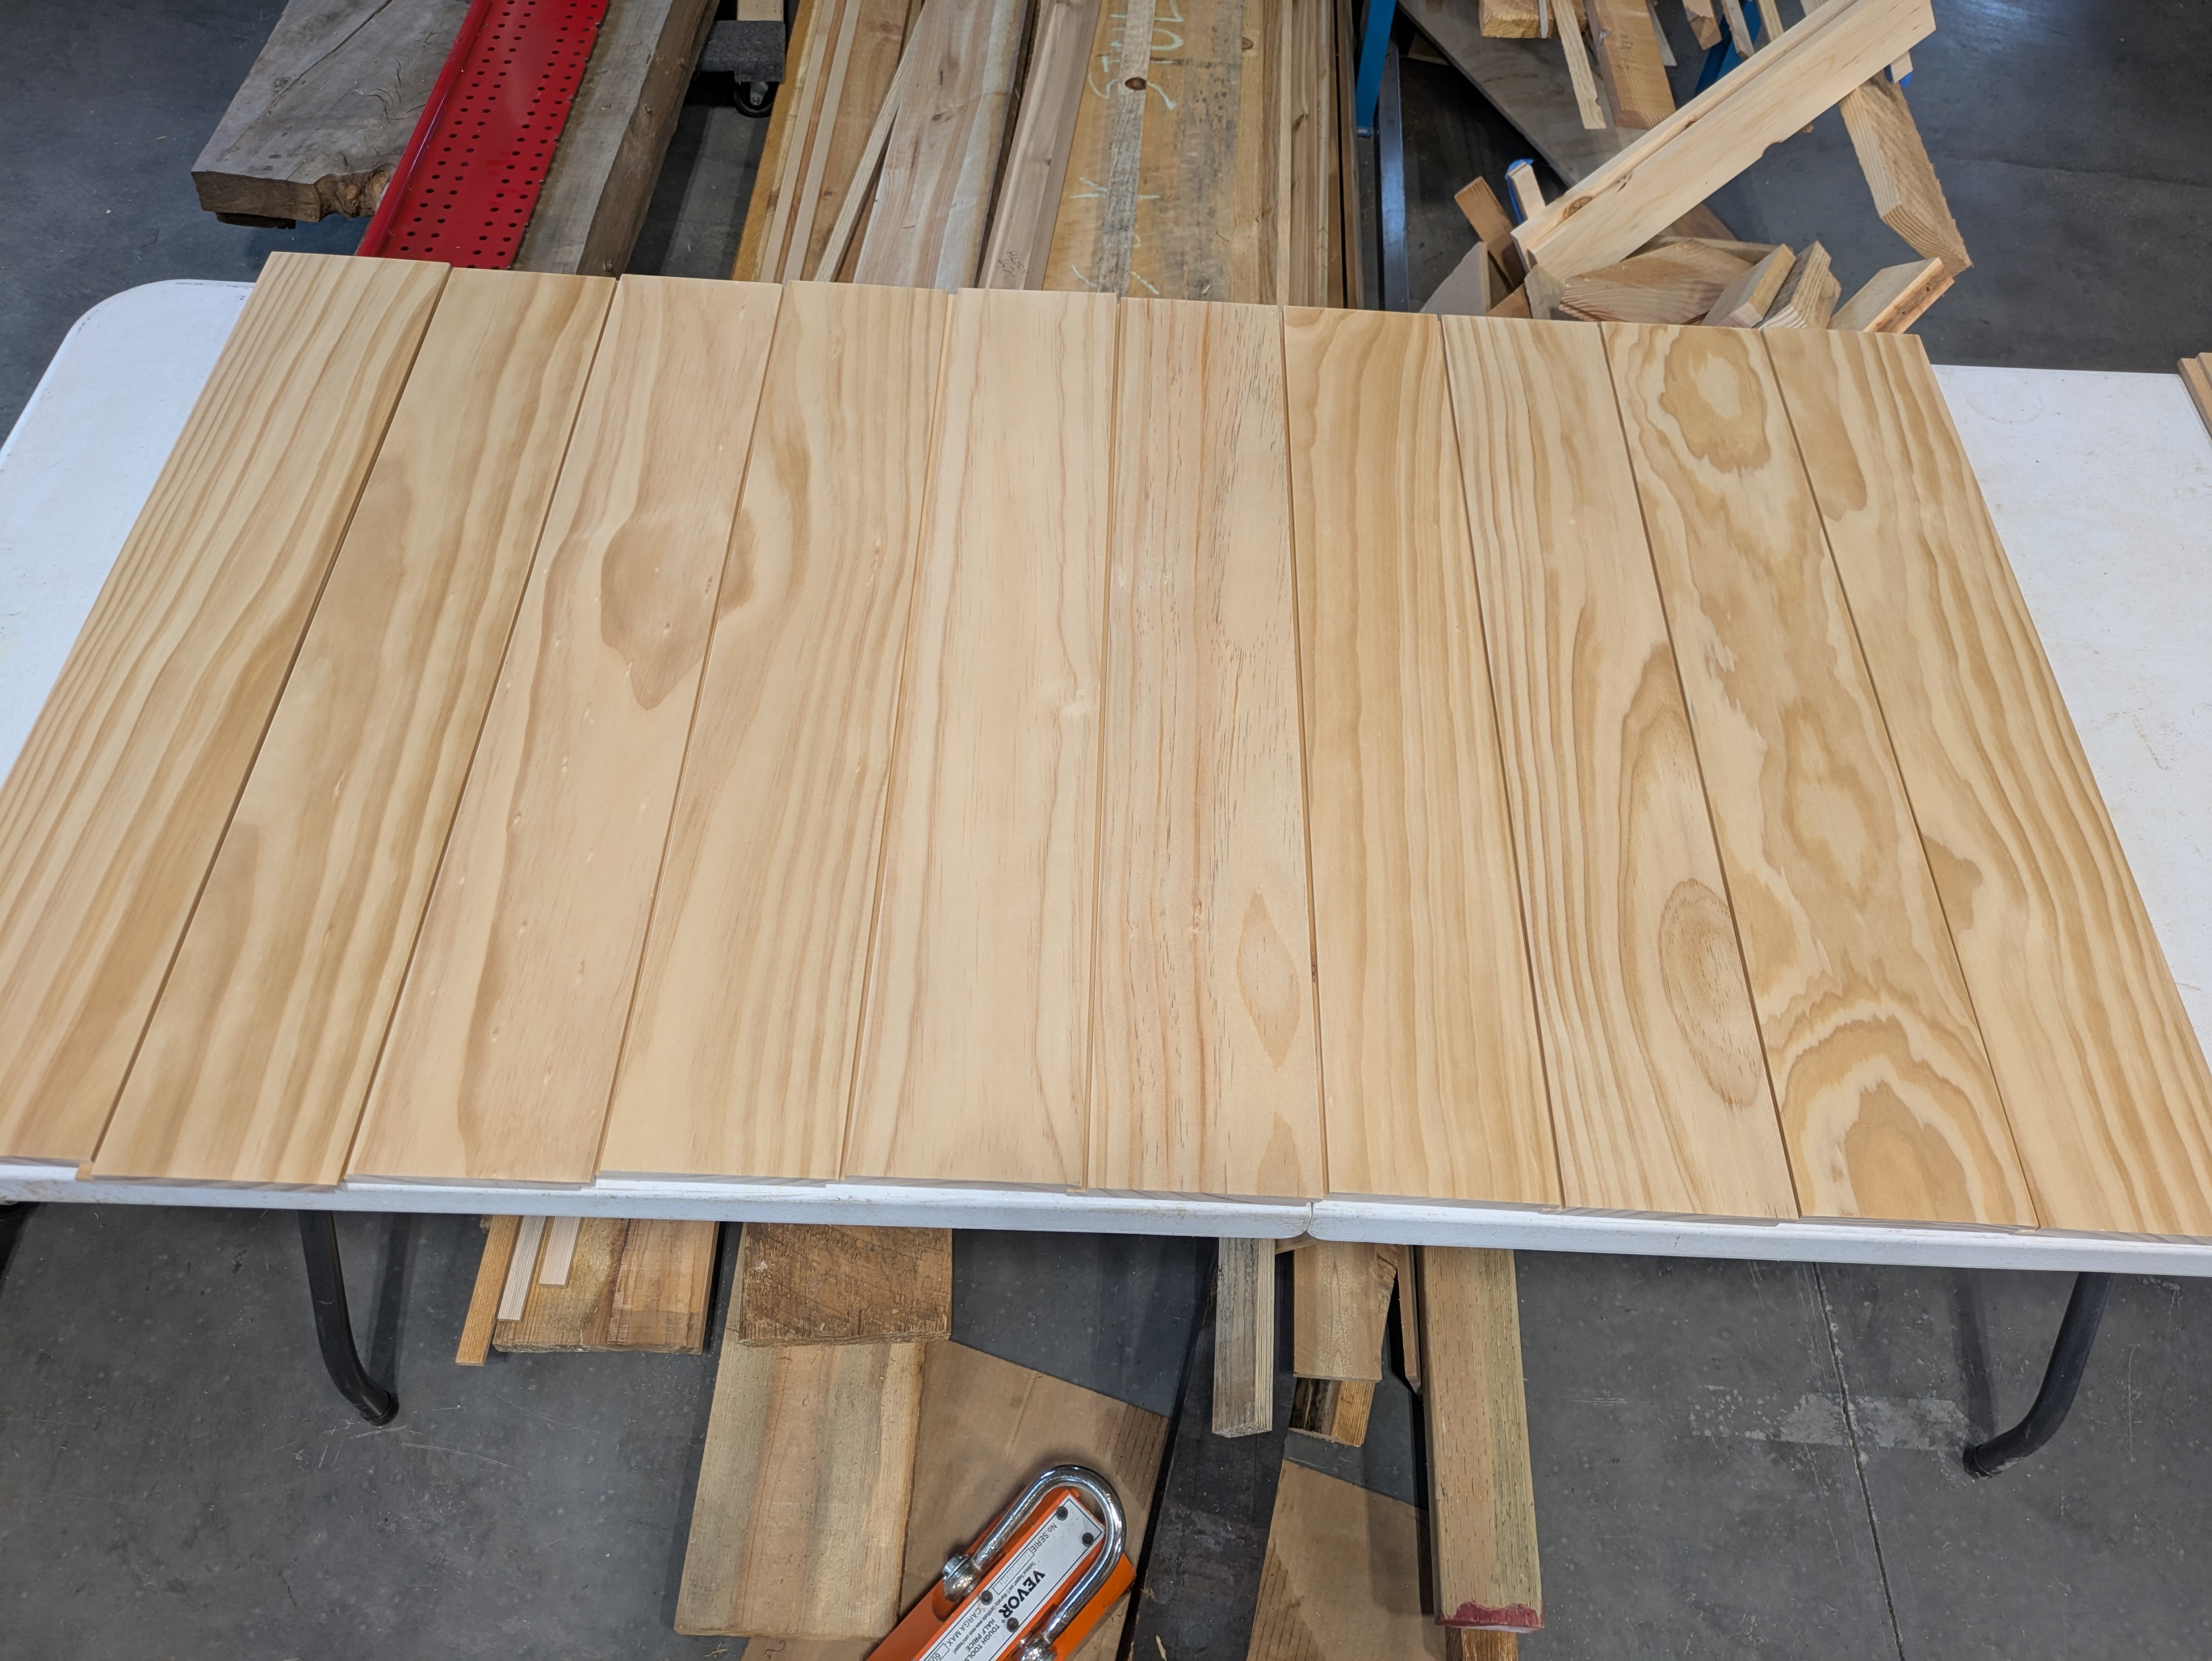
We decided to change the look to natural pine and ordered a bunch of 6″ pine boards from Lowes. They arrived the next day before I could change my mind again. We used the shaper to cut a shiplap profile on all the boards. Sam sanded all the faces while I sanded a small radius along the edges. Then Sam sprayed them all with our trusted clear coat.


We started with the wainscotting. I played with the layout for a long time and handed them off to Sam to install.
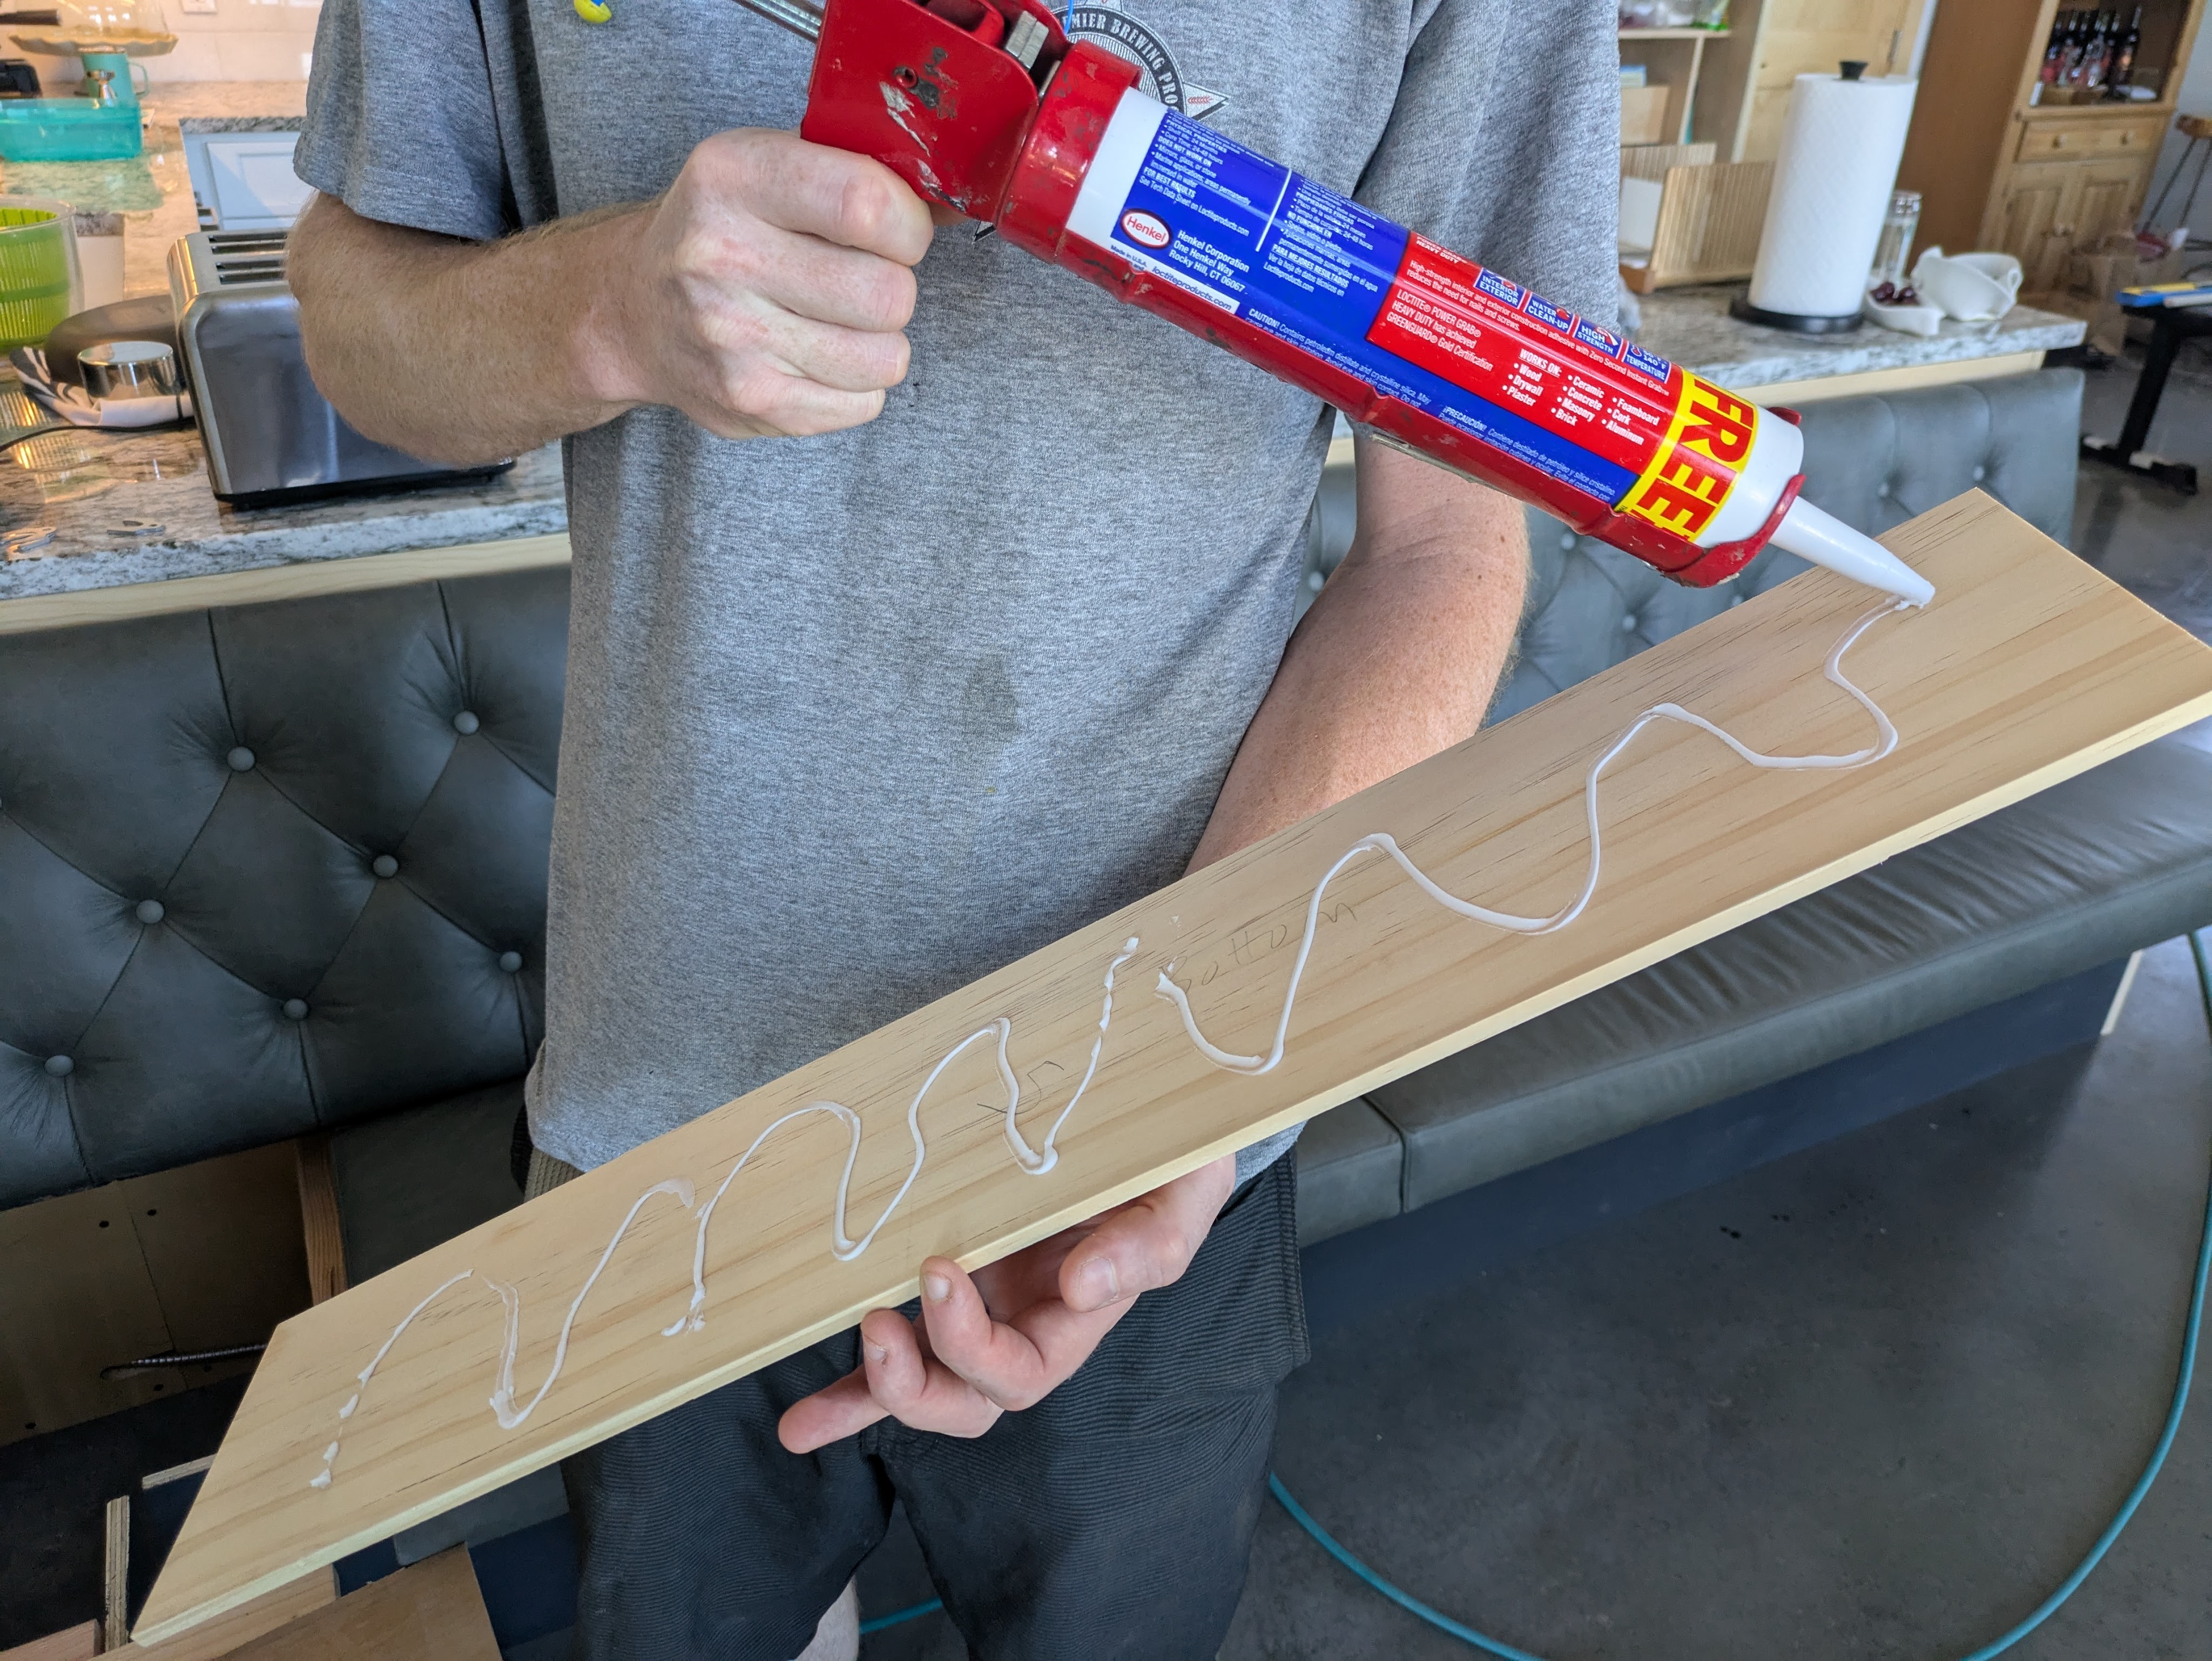
There weren’t many studs for nailing the panels, so we glued the panels to the wall.


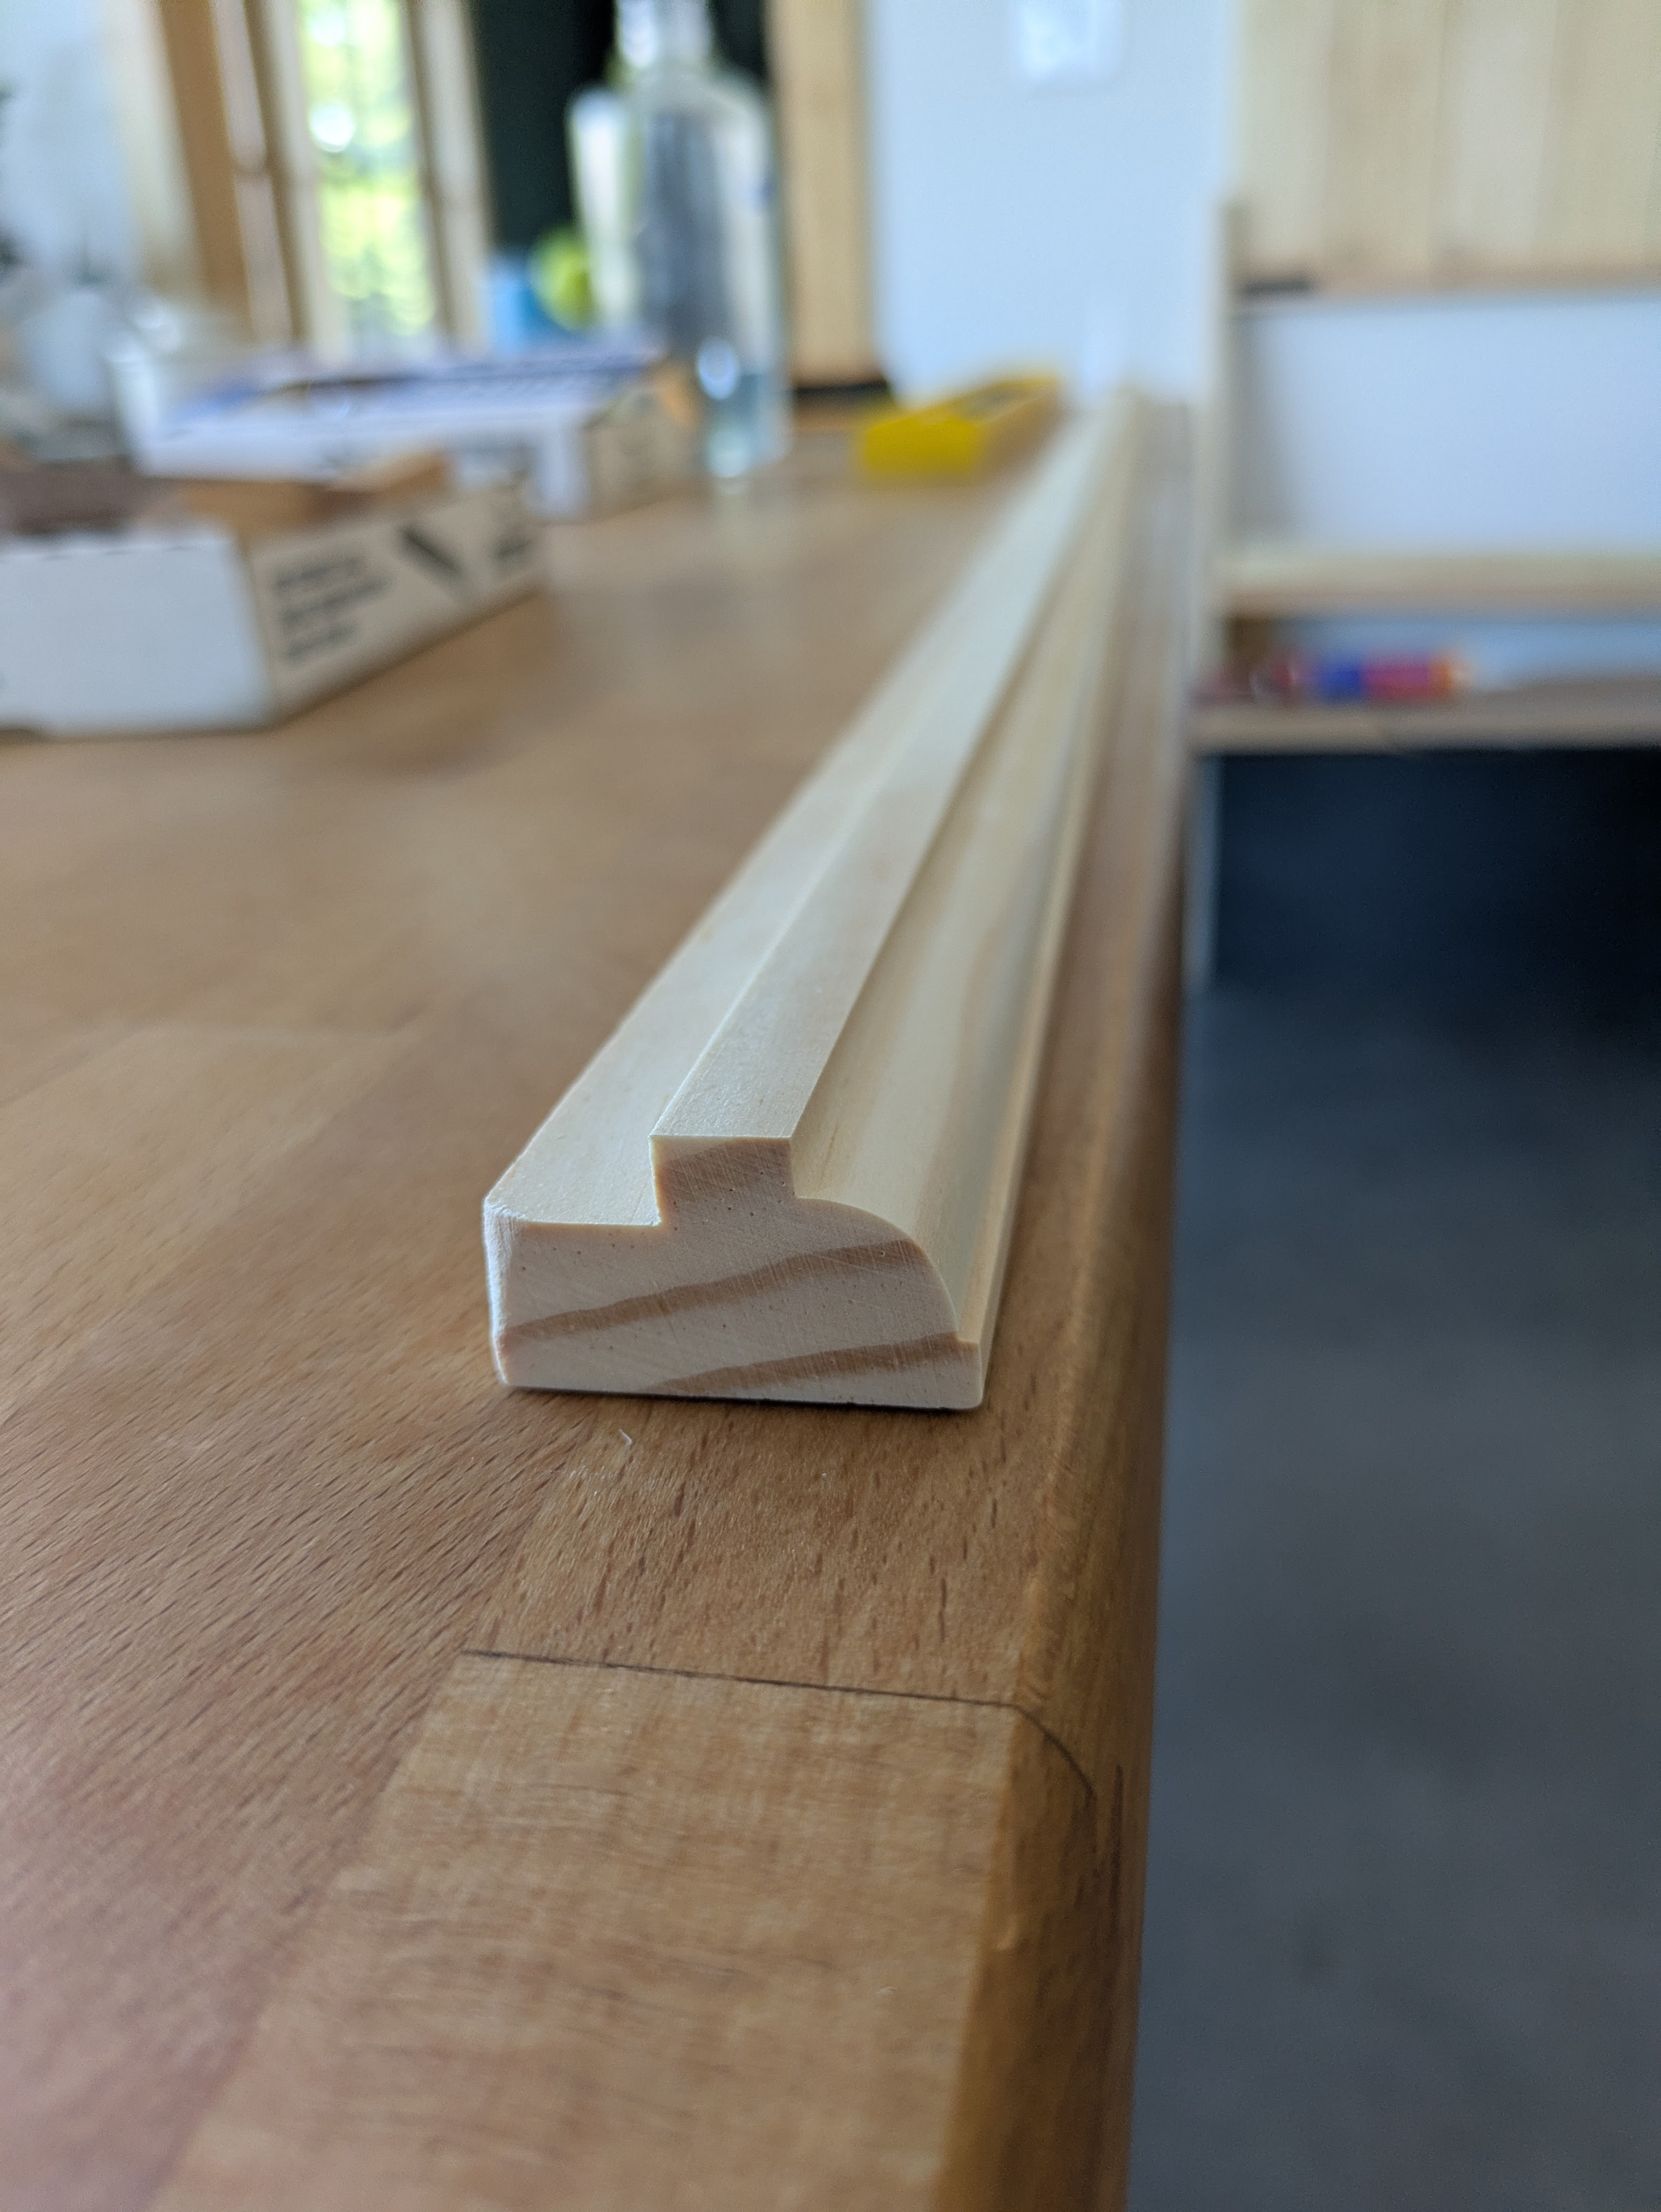
I wanted to cap off the wainscotting with a trim piece that matched the upper detail of our cabinet moulding.


Sam happened to have a router bit with a similar profile. The trim board was small and narrow, so Sam made a jig for the router and we fed the board through it. I think it turned out well.
We also made a lower trim piece. The trim pieces also help hold the wainscotting panels in place.


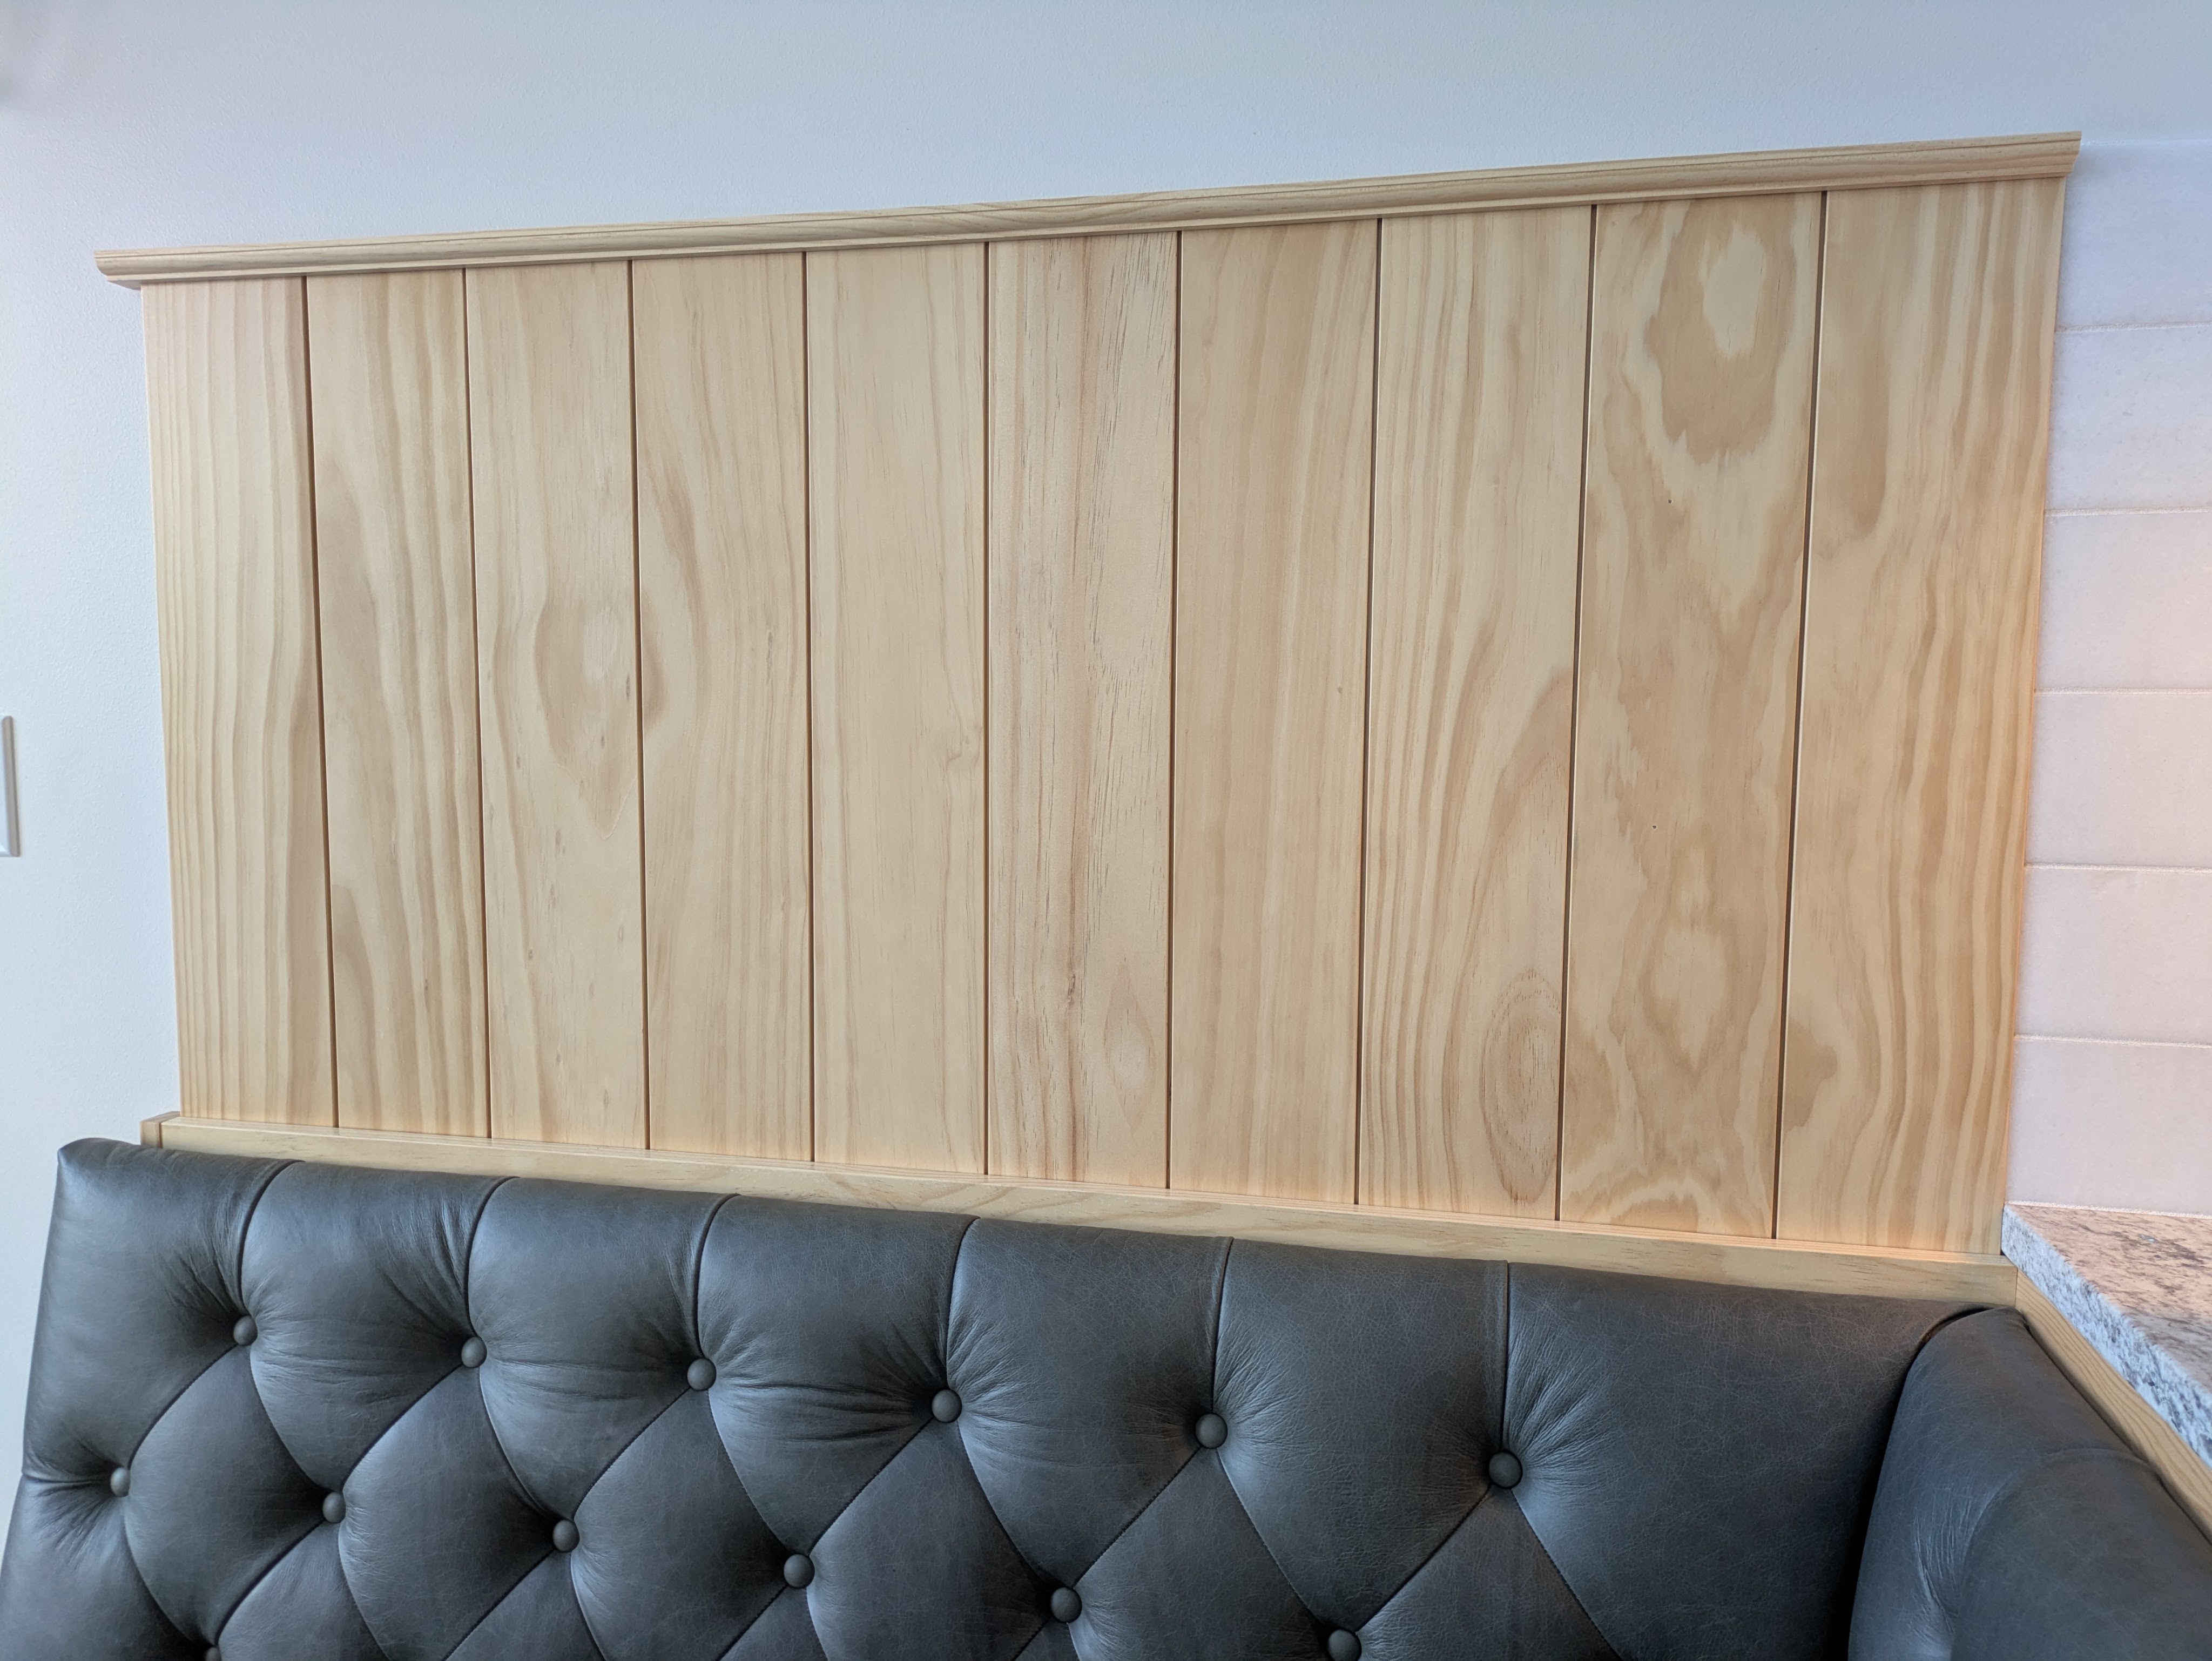
Then we moved on to the base. Sam nailed more of the shiplap boards over the ugly black plywood.


The final step was capping off the open ends of the banquette. Sam worked his magic on those. He carefully cut out three pine boards and glued them together. The profile was tricky since the upholstery created some organic angles.

After painting them, Sam installed them from the inside of the bench, so you can’t see any fasteners or nails. (We still need a trim to wrap around the white cabinet.)


This was our first project that involved upholstery, and we were really pleased with how everything came together. We had to make a lot of assumptions during the design – like how much the seat cushions would compress, how much the seat backs would overlap in the corner, how thick the seat backs would be after the tufting. A lot of trigonometry was required before starting the CAD model.
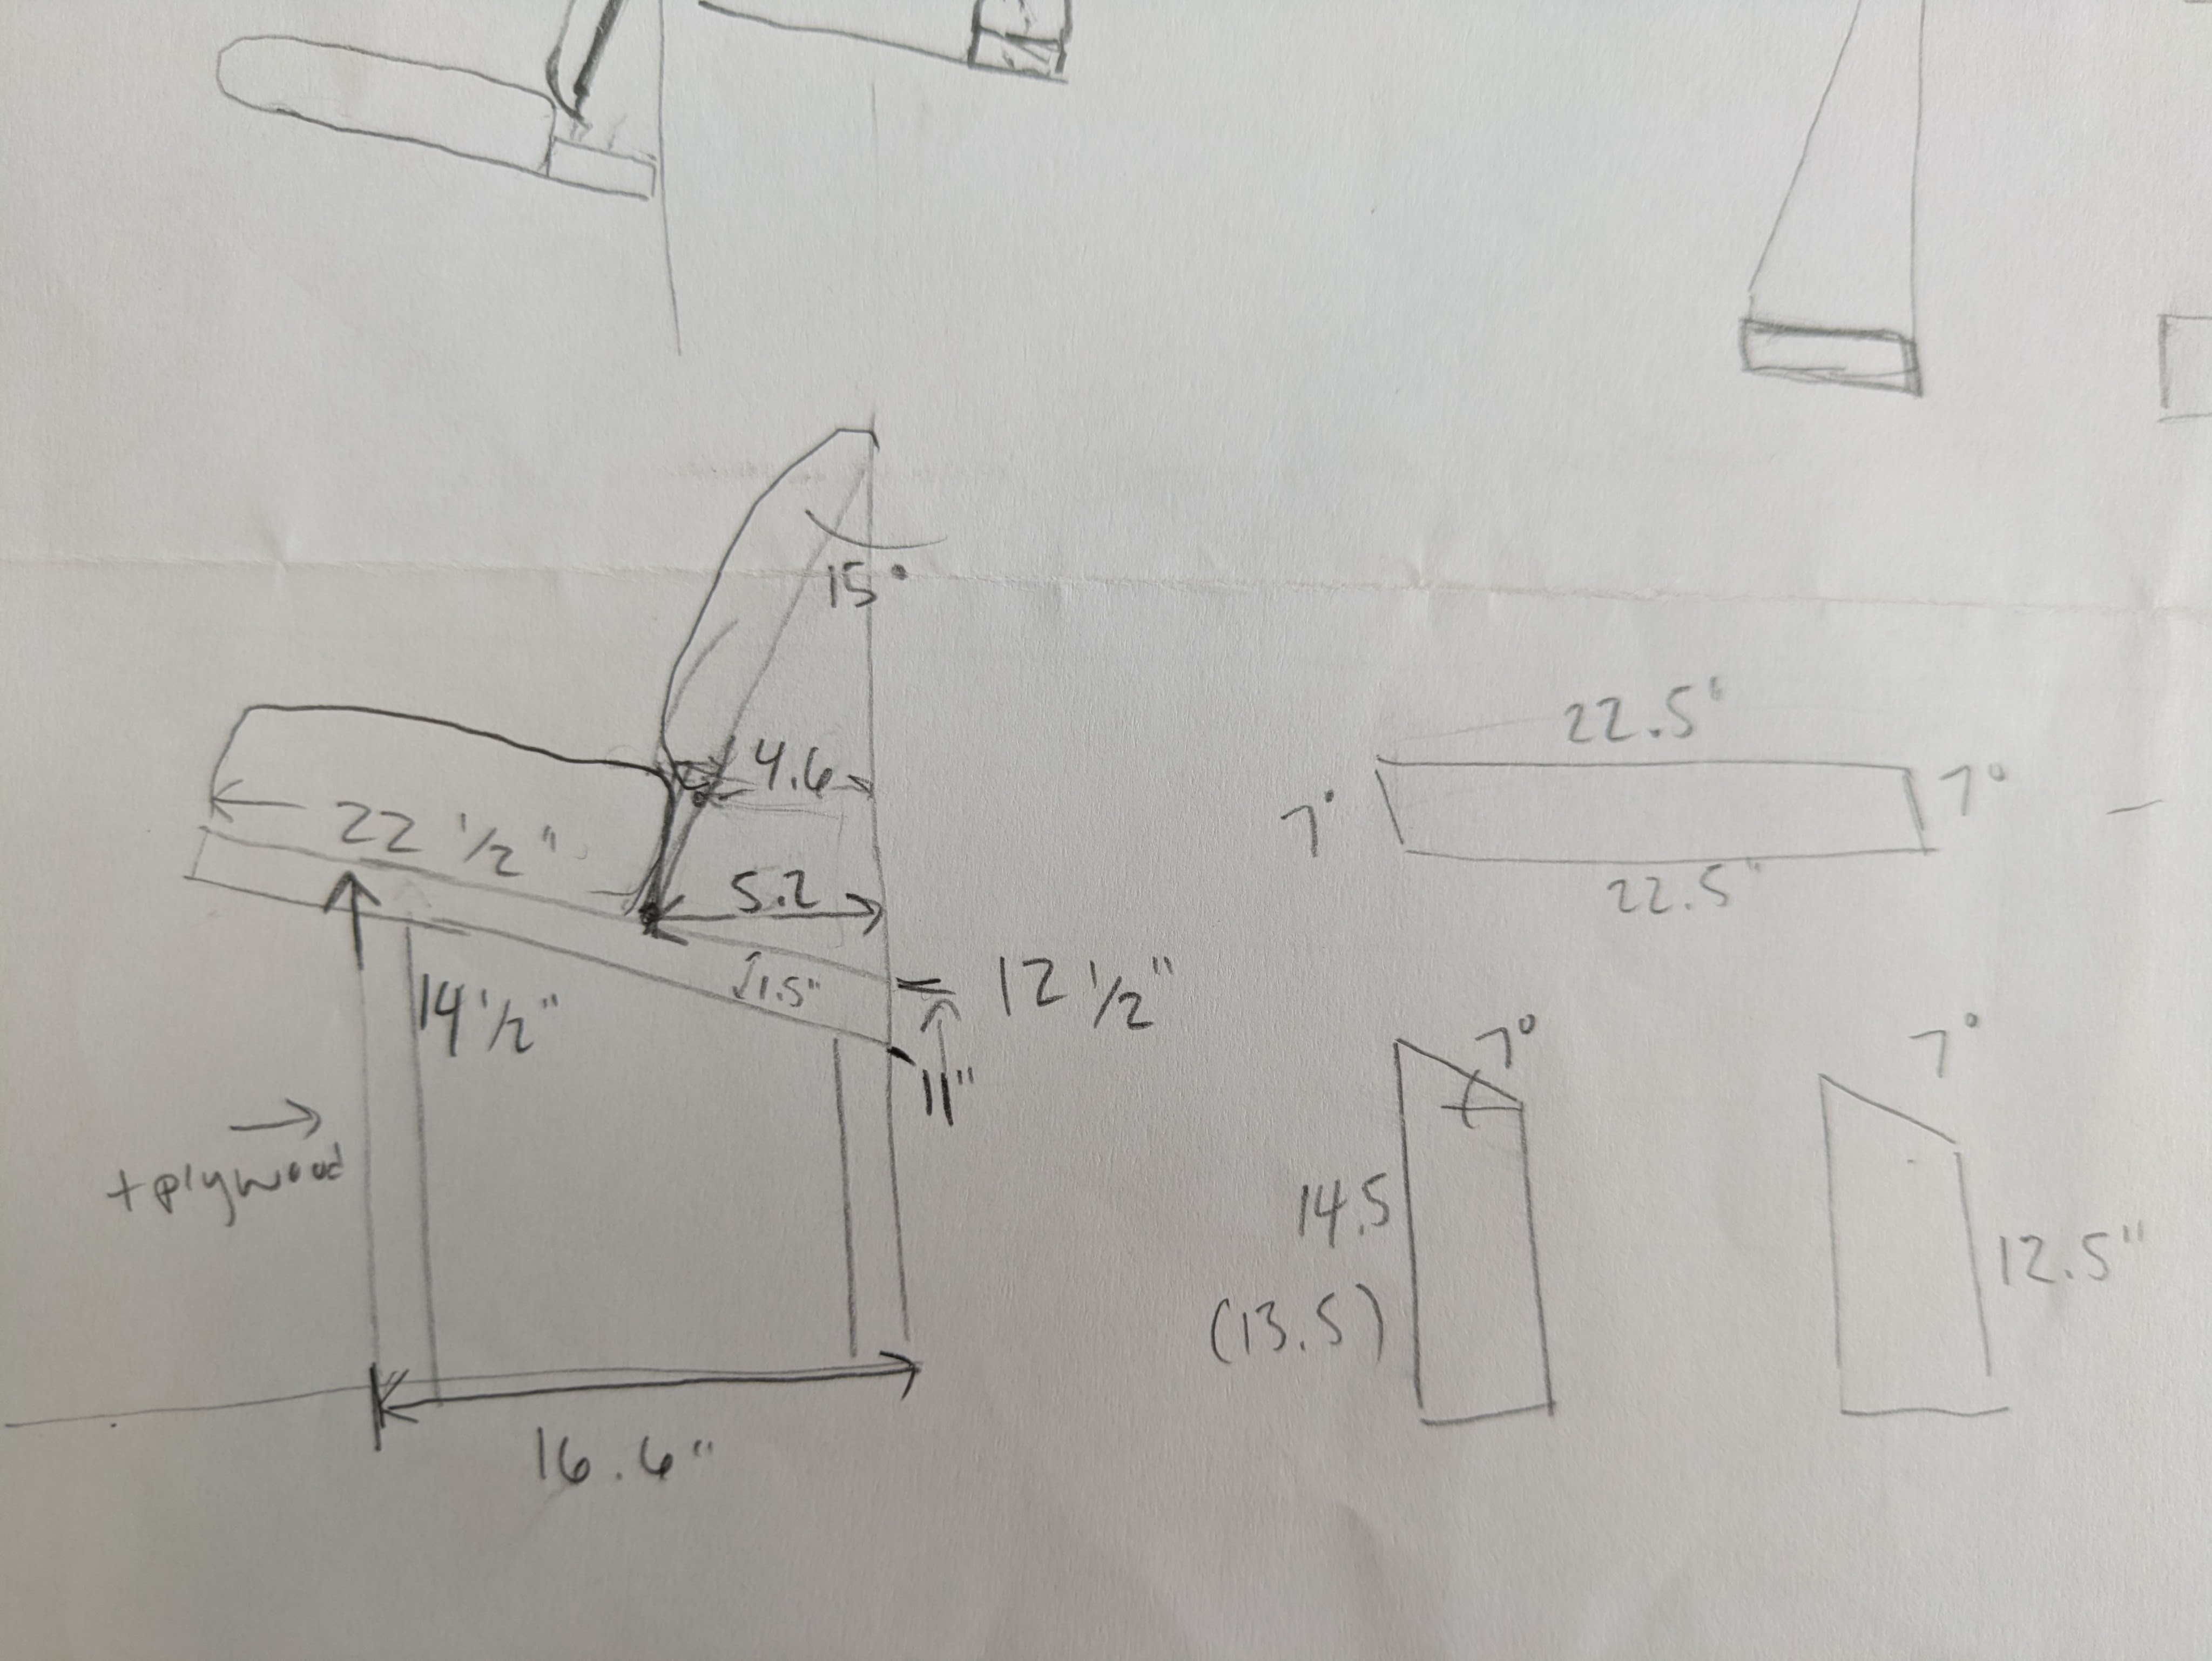

We didn’t bother to model the framing, nor did we build the frame ahead of time. This allowed us to make adjustments to accommodate the upholstered pieces. However, we didn’t have much wiggle room due to the counter height and other constraints. Everything worked out!
The banquette is now our most comfortable piece of furniture. It wins the ergonomic award, plus I can sit on it for hours without my butt falling asleep. Sayonara folding chair!


Now we just need to make a kitchen table. This oak garage sale piece has been serving us well, but it’s time for it to go.

(The lighting was very pretty while I was in the middle of decorating for Halloween.) And now I don’t have to store all of my seasonal kitchen decorations in the attic!


