Last week we tackled plumbing, one of the remaining steps before pouring the floor. I have to give Sam most of the credit for the plumbing. He spent a long time researching and designing the plumbing system. I did my part too though. I spent hours online picking out our two bathtubs. This was critical because every single 30″x60″ tub has a different drain location!
Sam opted for a circuit vented plumbing system, which allows for several of the drains to share one vent (as apposed to each drain/fixture having its own vent). The tricky thing about this system is that all of the drains need to be in one plane. In order for it to work, we had to measure things very carefully.

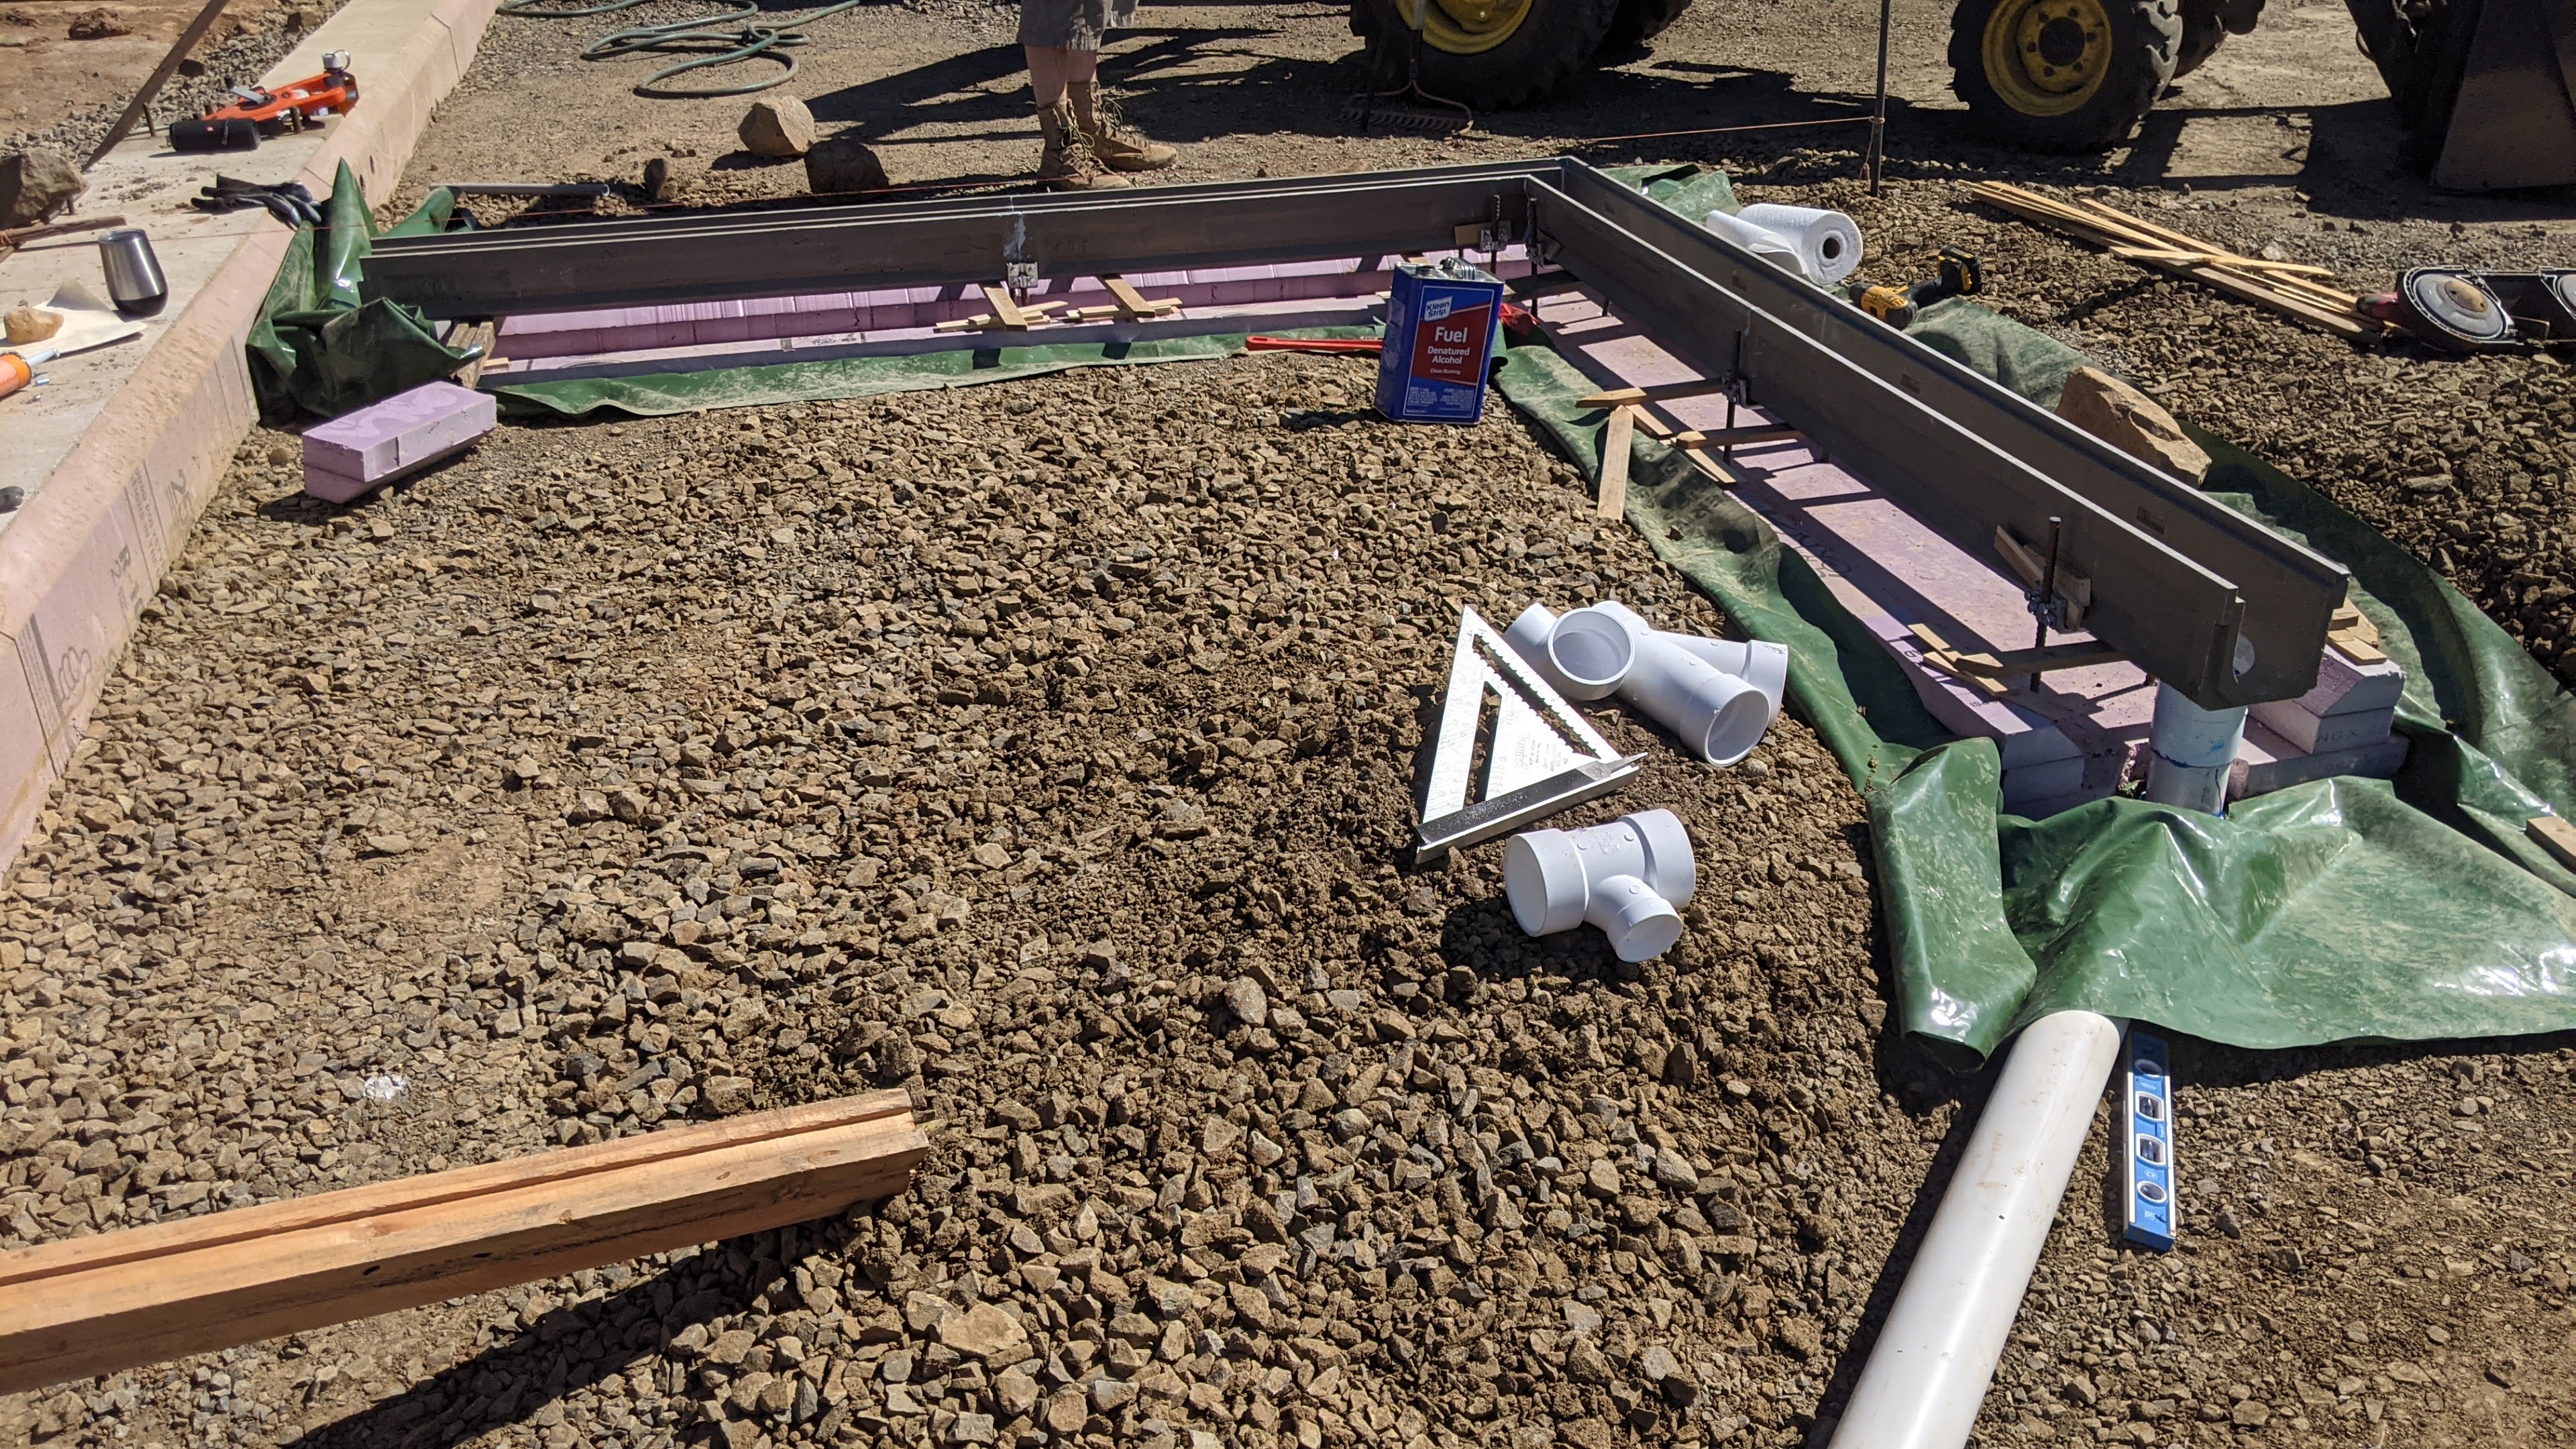
We began with the most tedious task, installing a trench drain for our brewing area. The trench drain is made of a concrete/polymer blend and came in multiple pieces that we had to cut and fit together. After locating the exact positioning of the drain on the ground, we dug another trench.

Since the top of the drain will be flush with the floor, we had to set each piece at the exact height. We drove rebar stakes into the ground and attached support brackets for the drain pieces to sit on. This allowed us to adjust the height of the drain while holding everything in place.
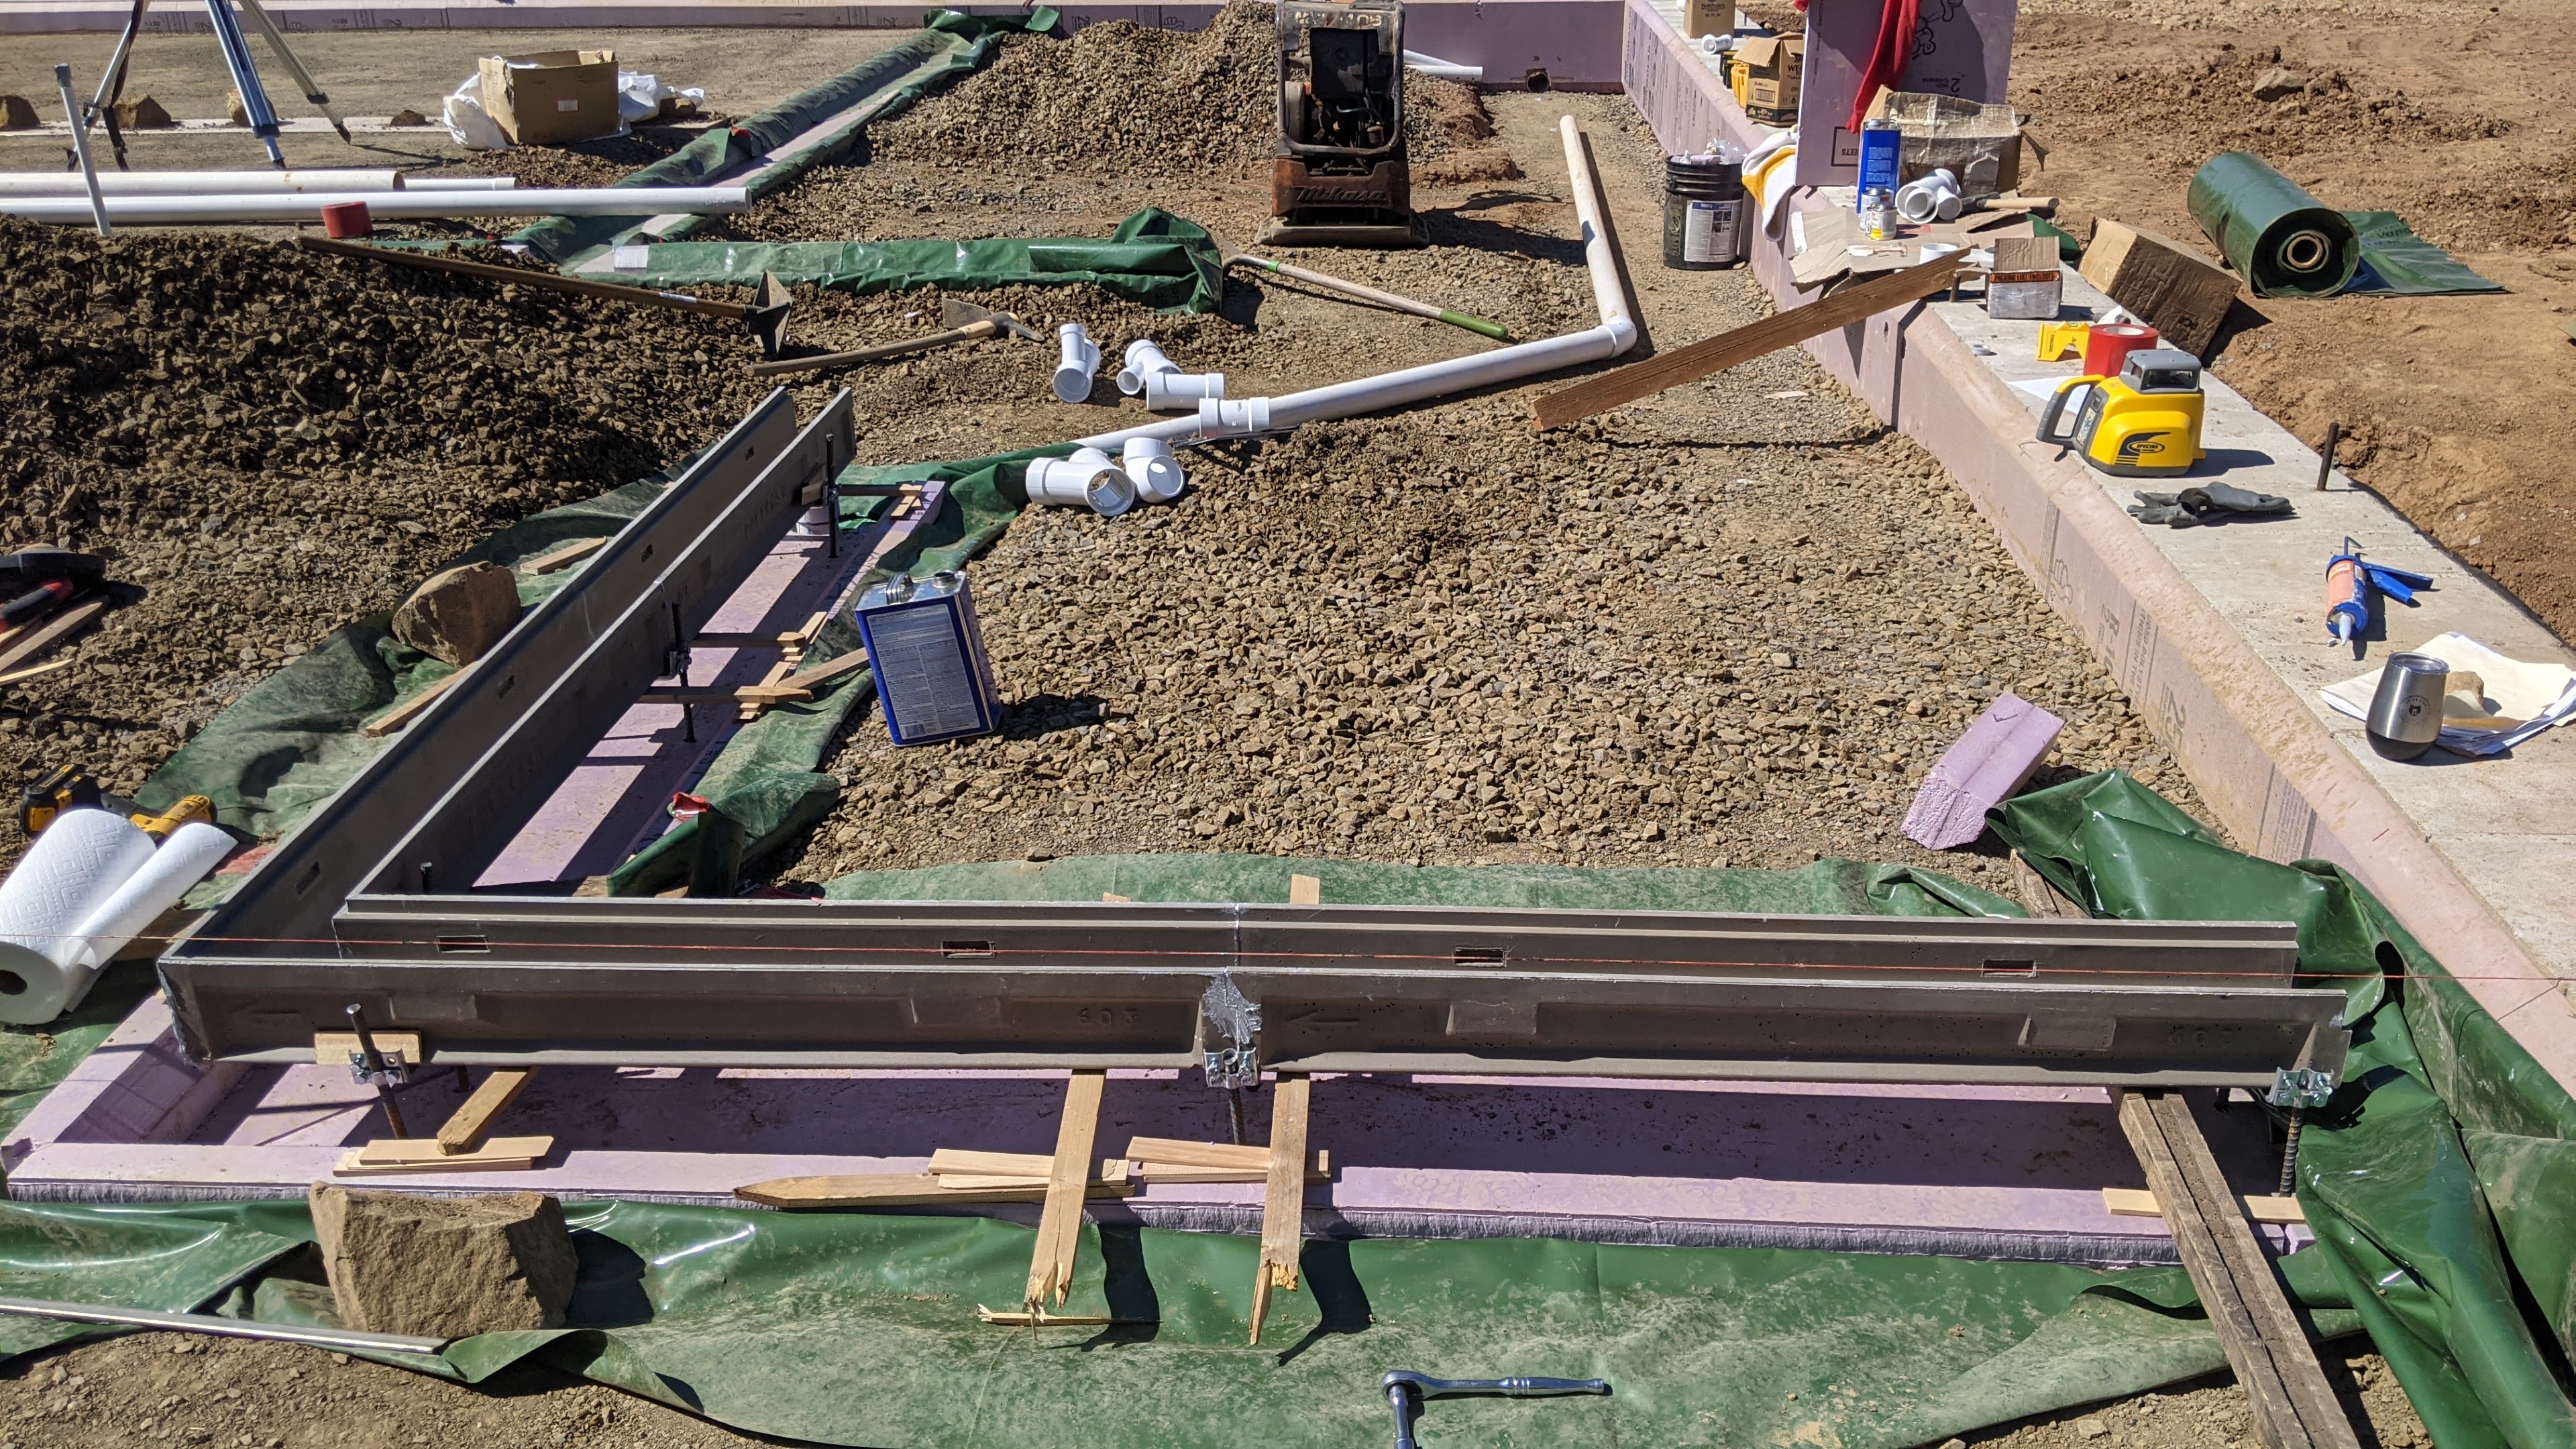


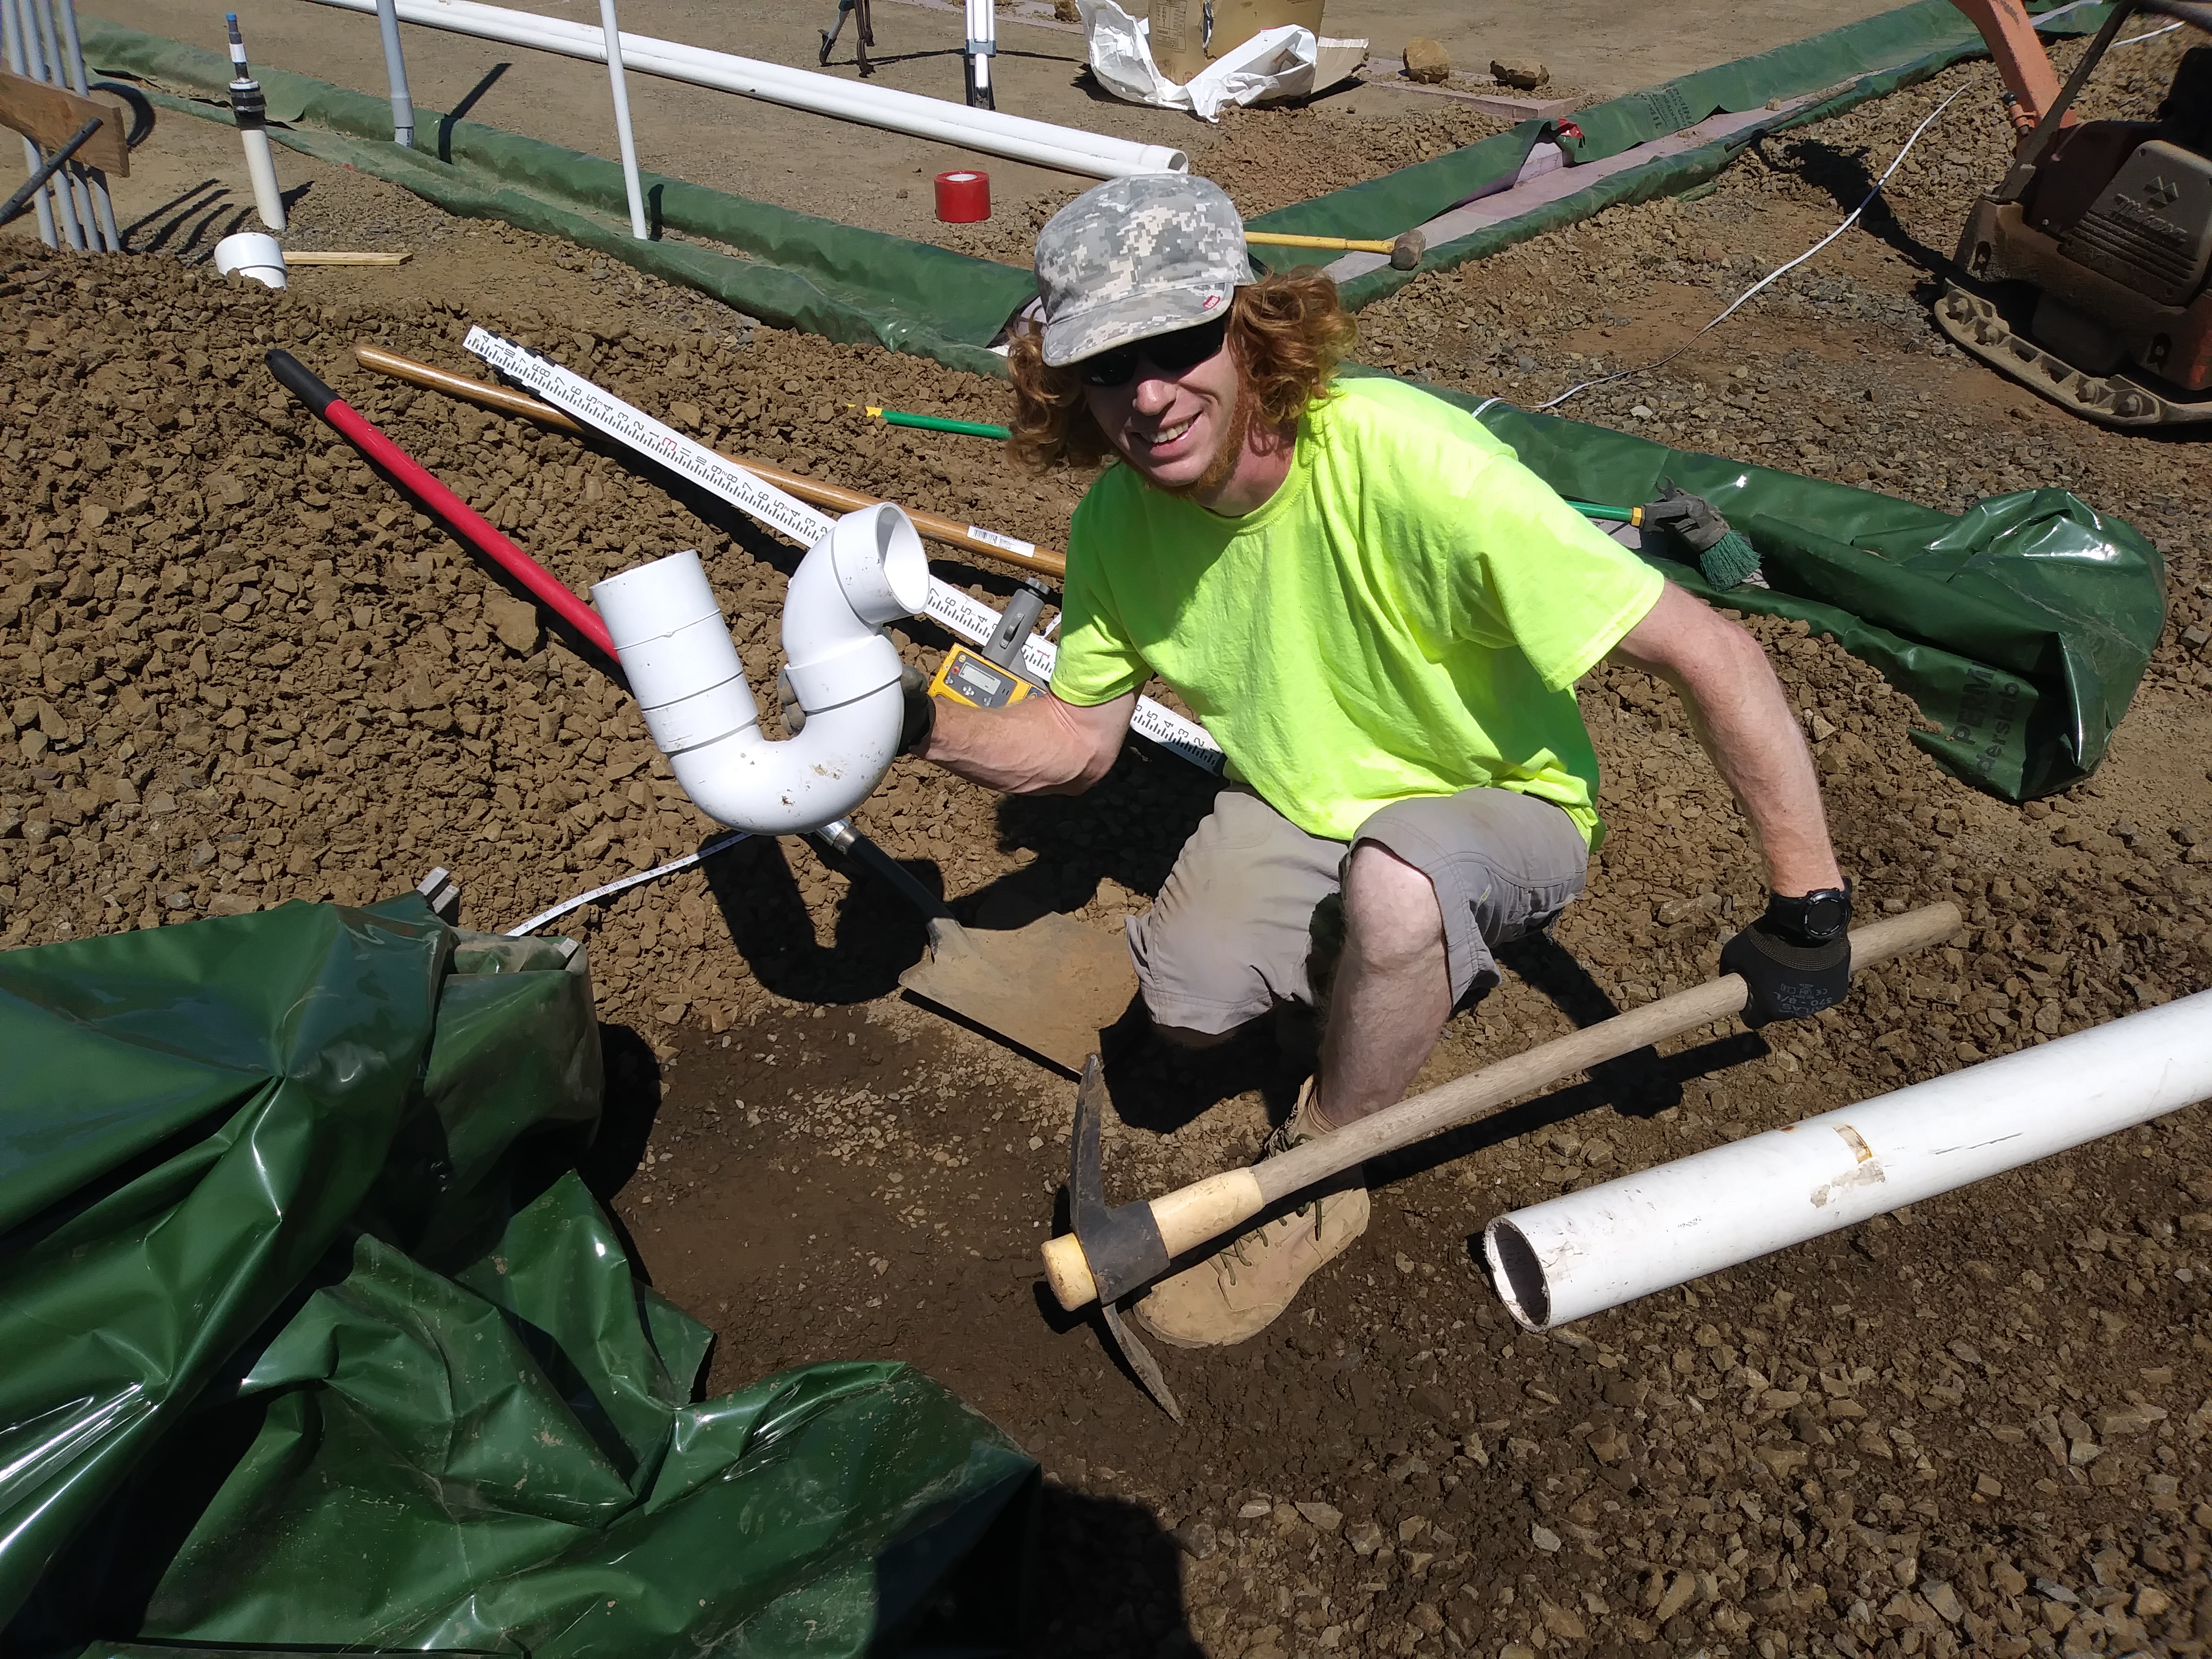
We poured a little water into the drain to test it before gluing it together and were extremely disappointed when the water did not move. After an hour of more shimming and adjusting, we had a functioning drain. We glued a P-trap to the end of the drain first and then glued the subsequent pieces.


Then we tacked it all down with a bag of ready mix concrete to minimize the risk of the drain shifting or floating when the floor is poured.


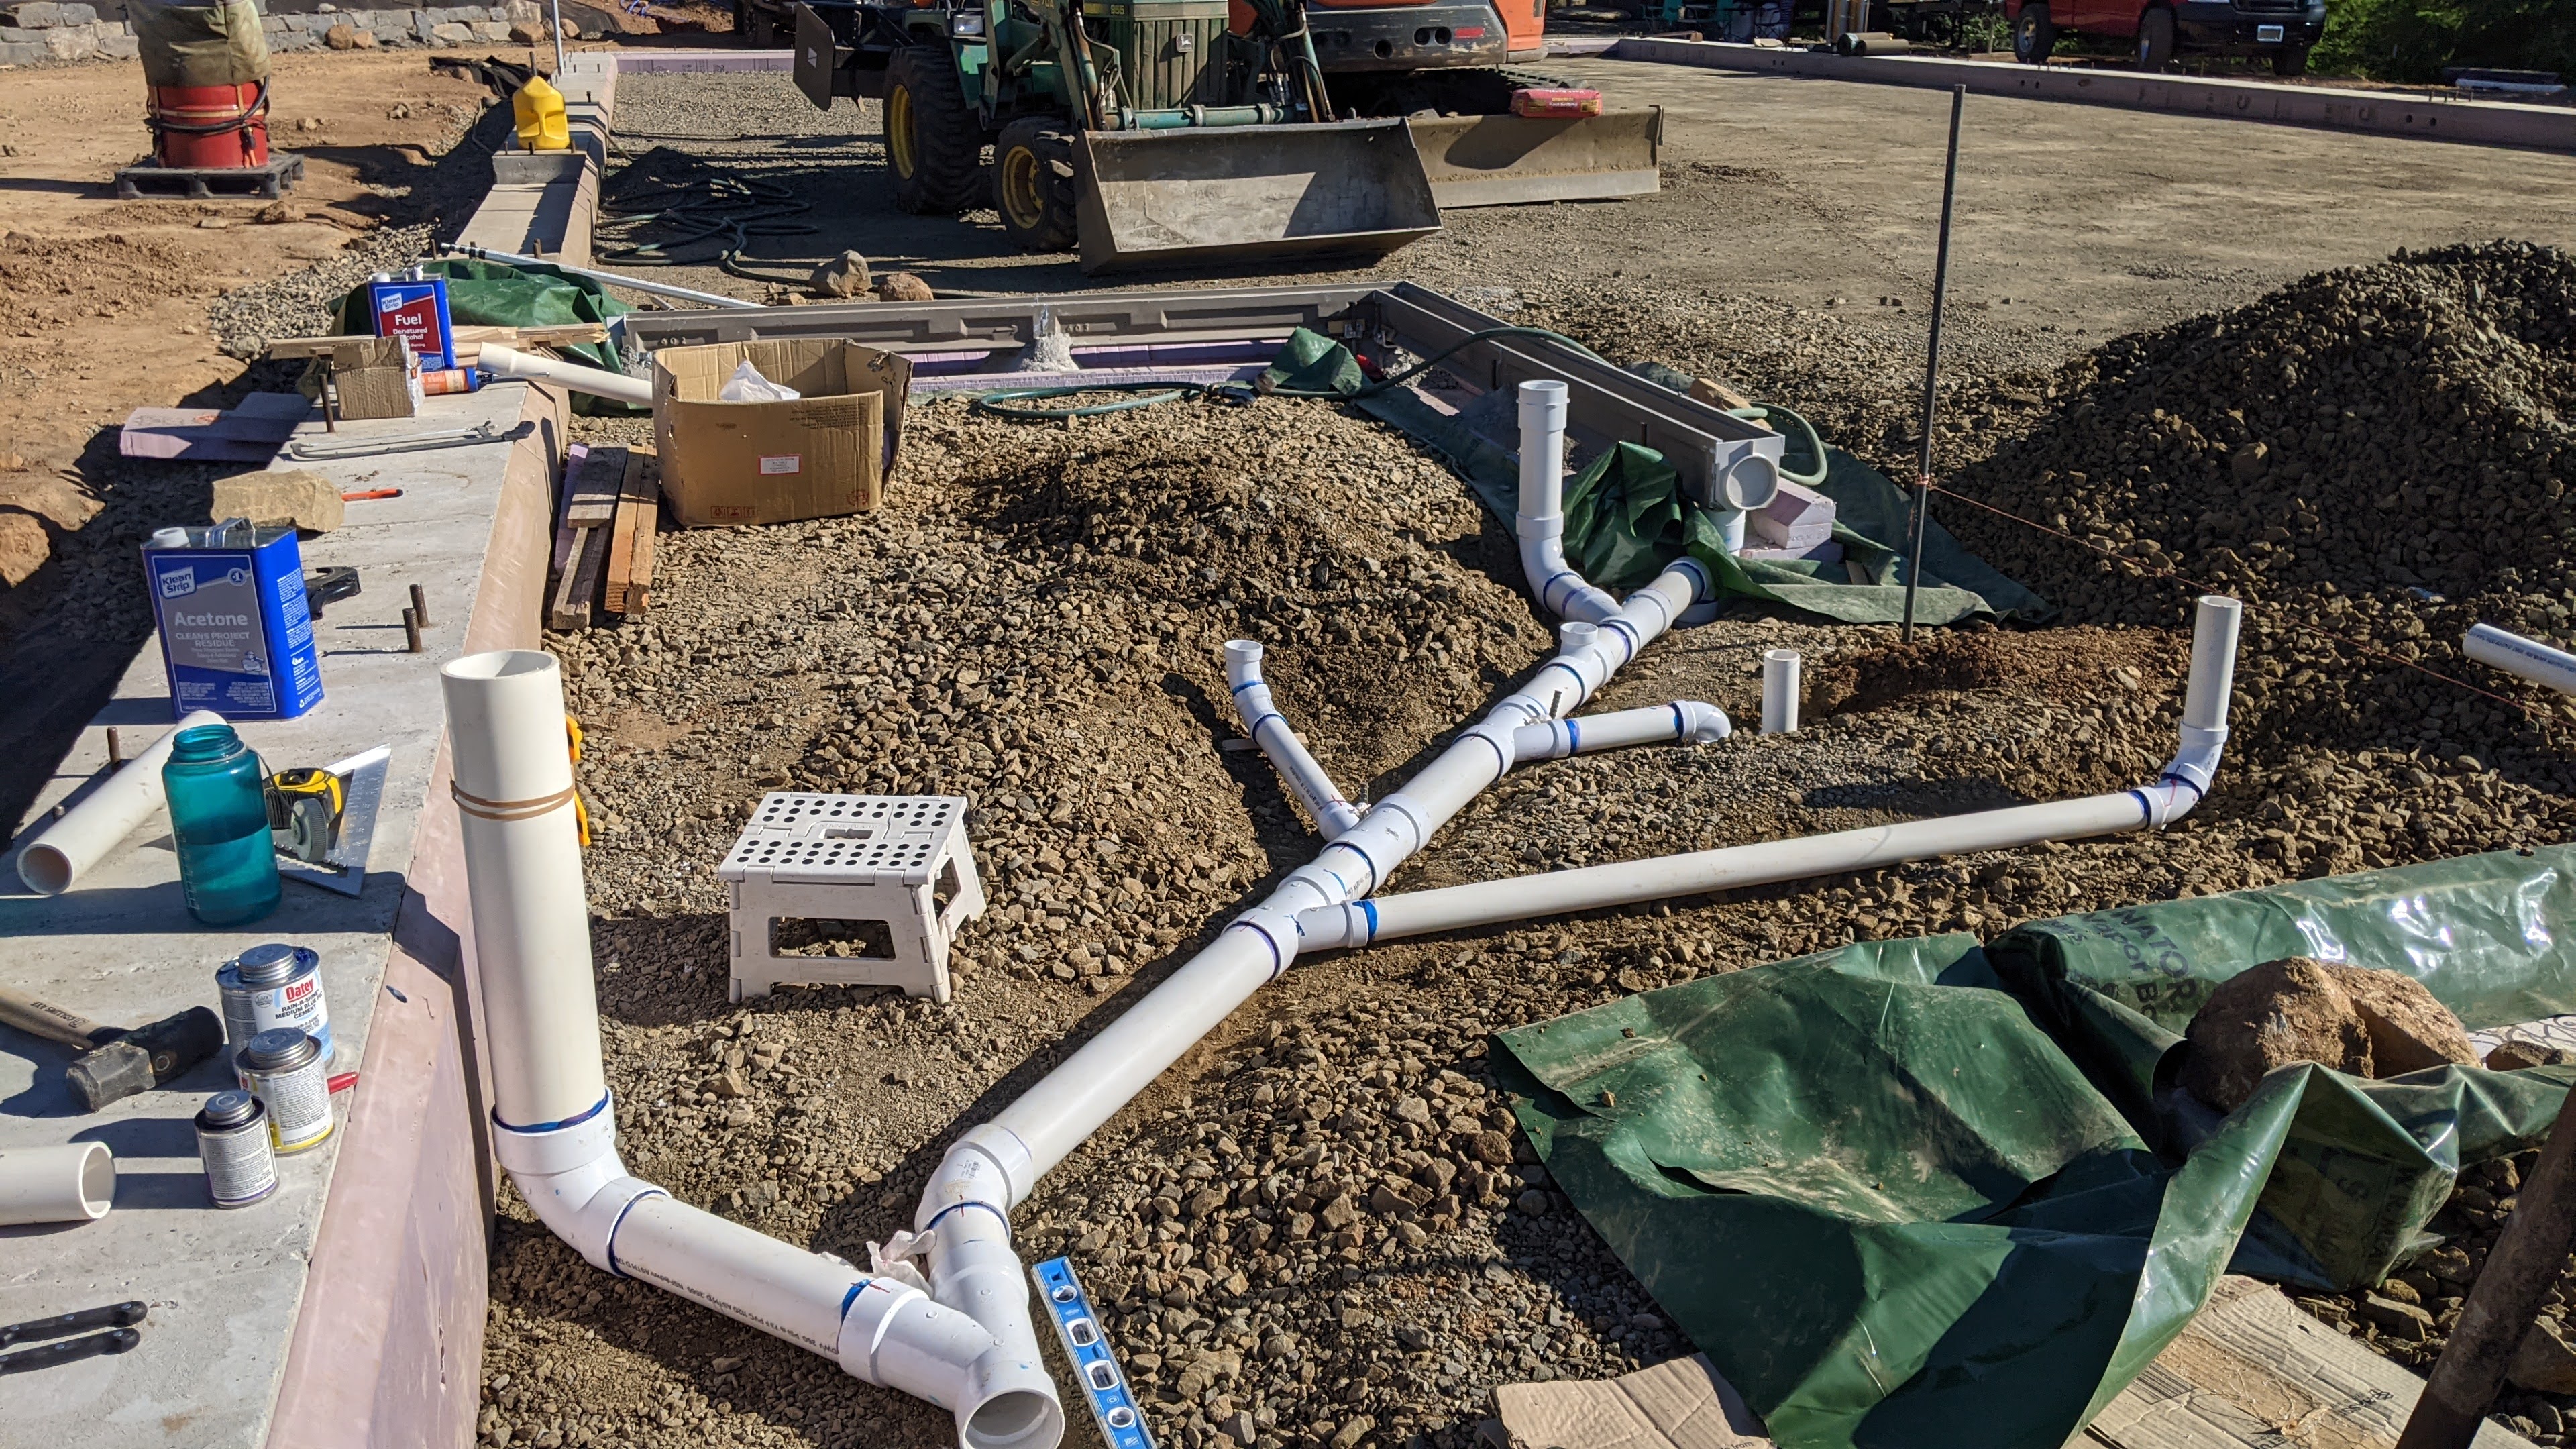
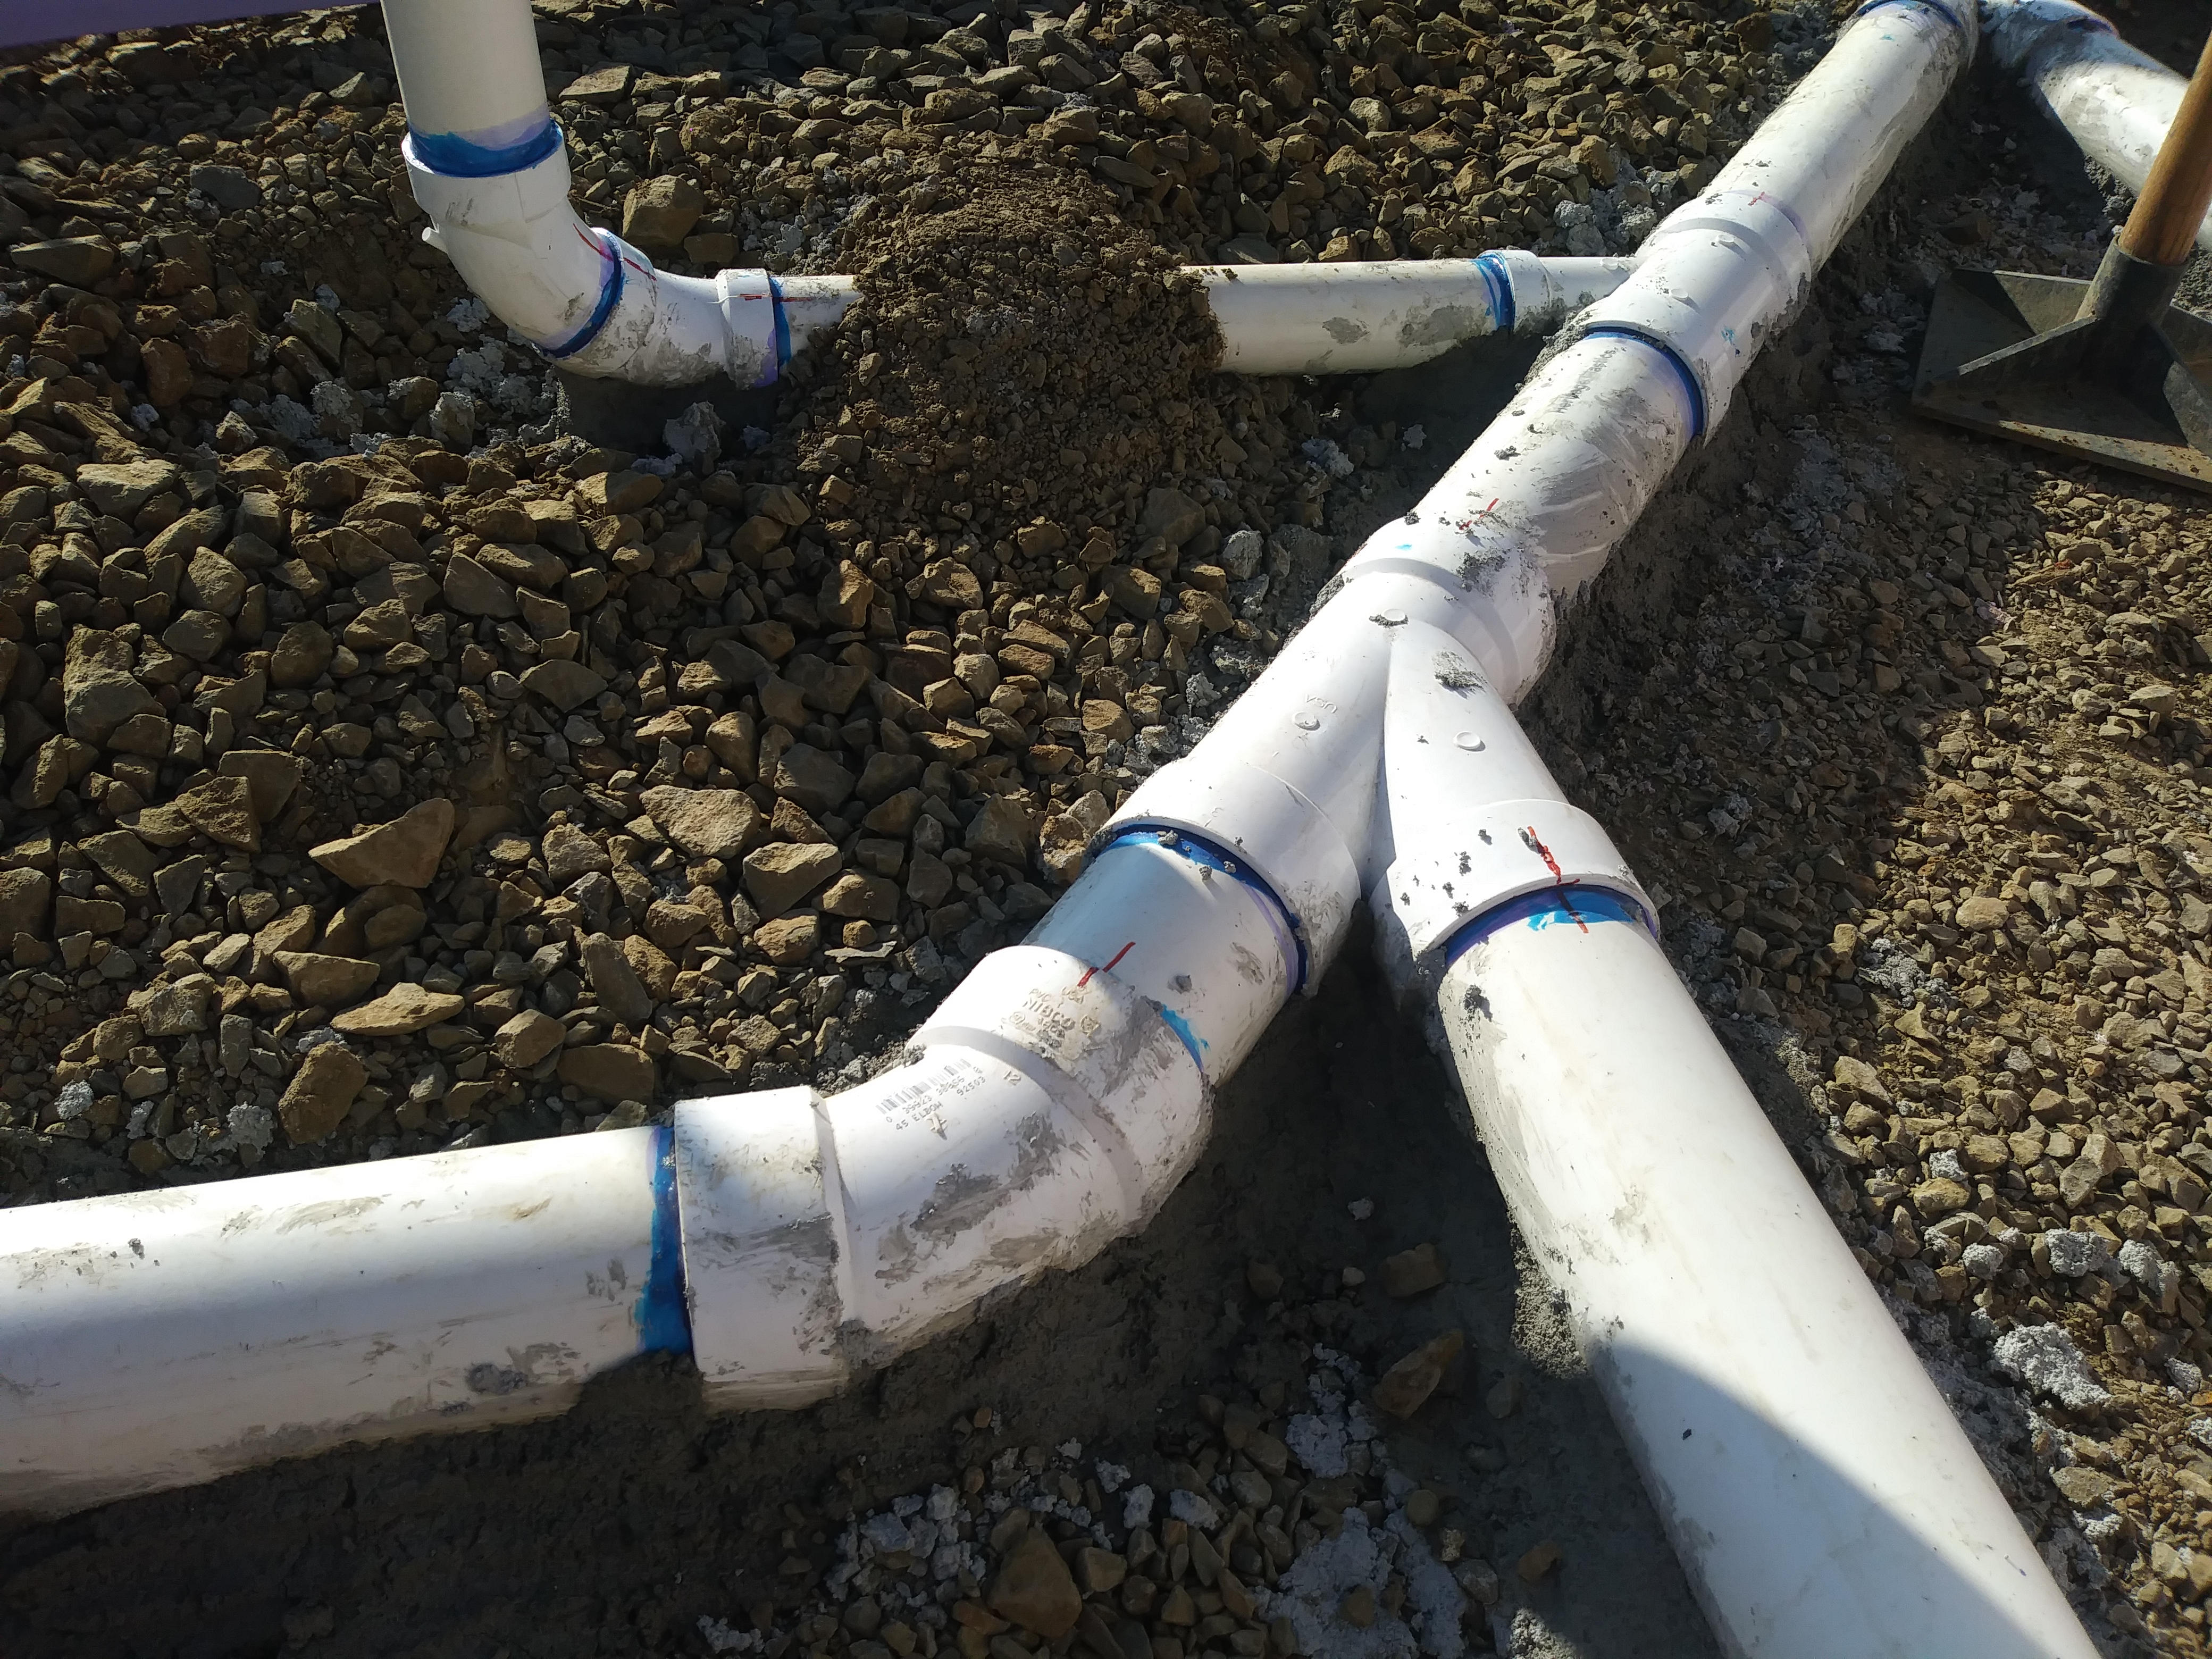
Next, we worked our way into the bathrooms and kitchens. We used strings to map out the interior walls to help locate the plumbing fixtures (sinks, toilets, etc). Since our living area is small, we are utilizing each inch of space and can’t afford to have a toilet end up 2 inches away from the designed layout. Plus, some 3″ pipes are located within 4″ walls, so there really wasn’t room for error anywhere. You can imagine how many times we measured things.


The drains for several fixtures feed into one main drain line, so we just worked our way down the line. Once we were happy with the position and pitch of a section, we glued the pipes together before moving on. The pipe glue cures in about 5 seconds, so this added to the stress of getting the pipes in position.
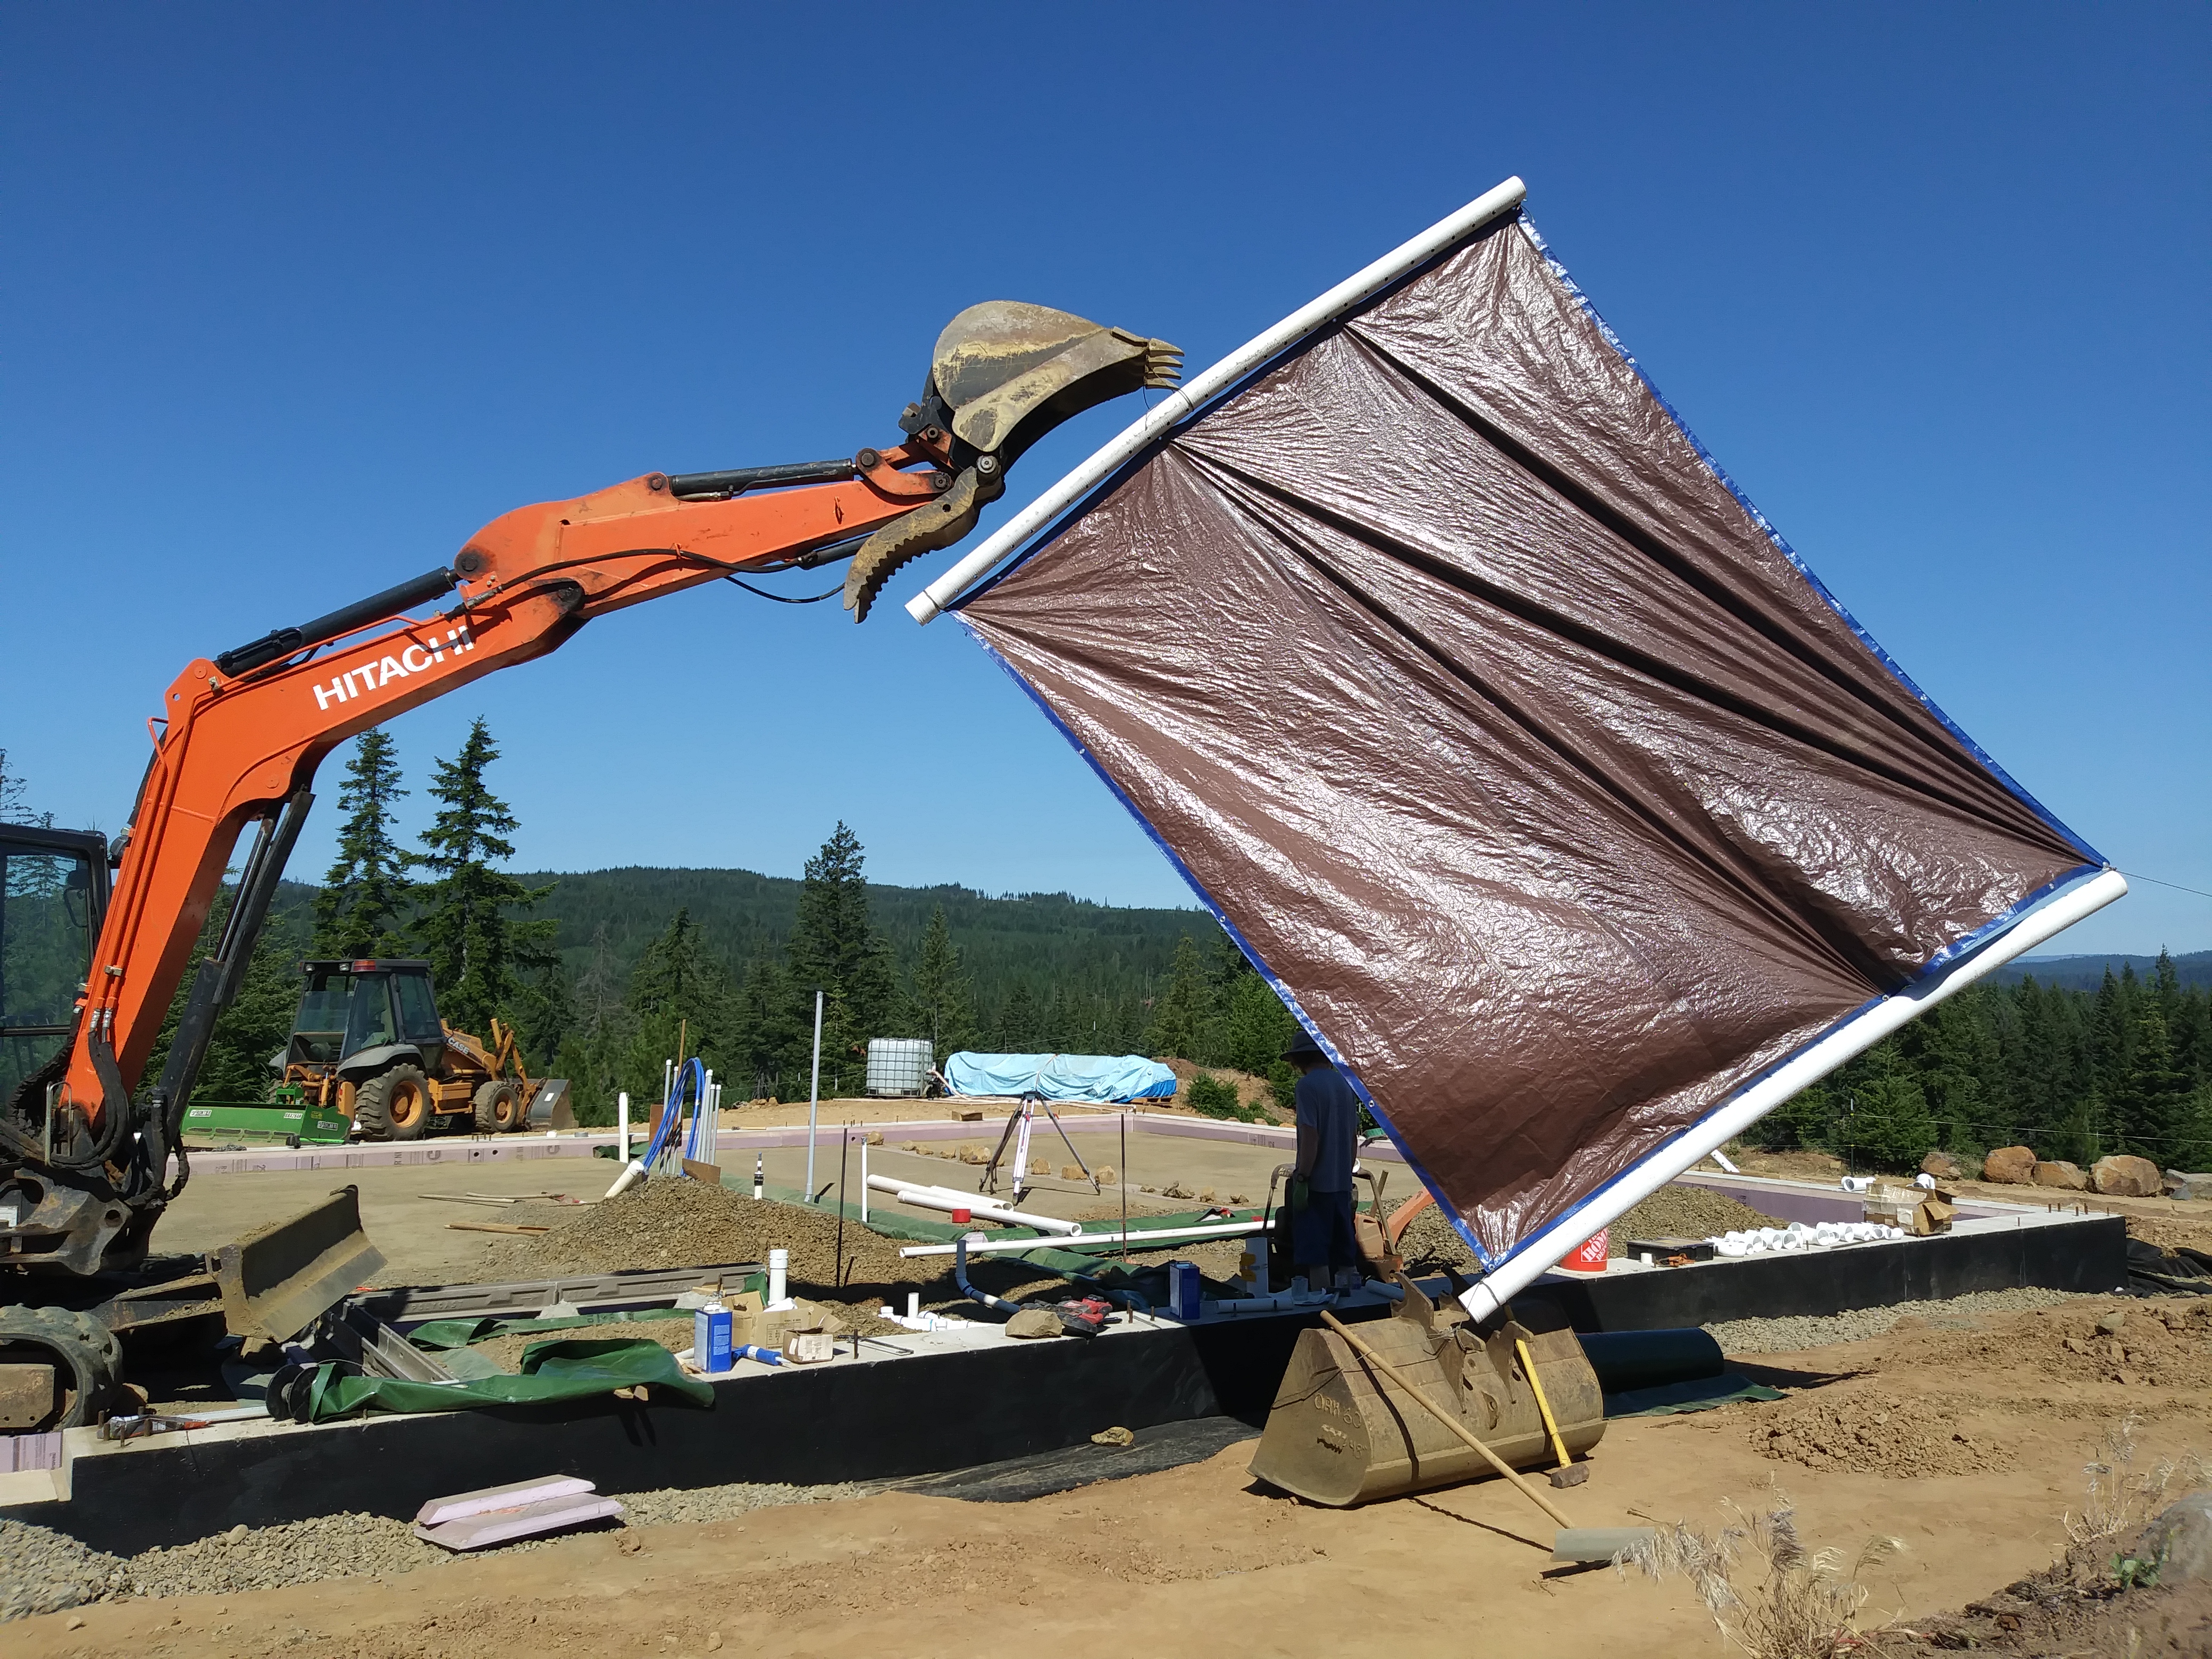
We were baking in the sun during this activity, so Sam whipped up a sunshade using a tarp. It provided terrific working conditions for two days, and then fell apart in the wind.


We eventually reached the end of the line!


We tacked the pipes down with another bag of ready mix concrete to keep them in place.


Sam filled the very tall vent pipe with water to test the system. It held pressure and didn’t leak!


After getting a signature from the building inspector, we were ready to bury everything. More gravel!


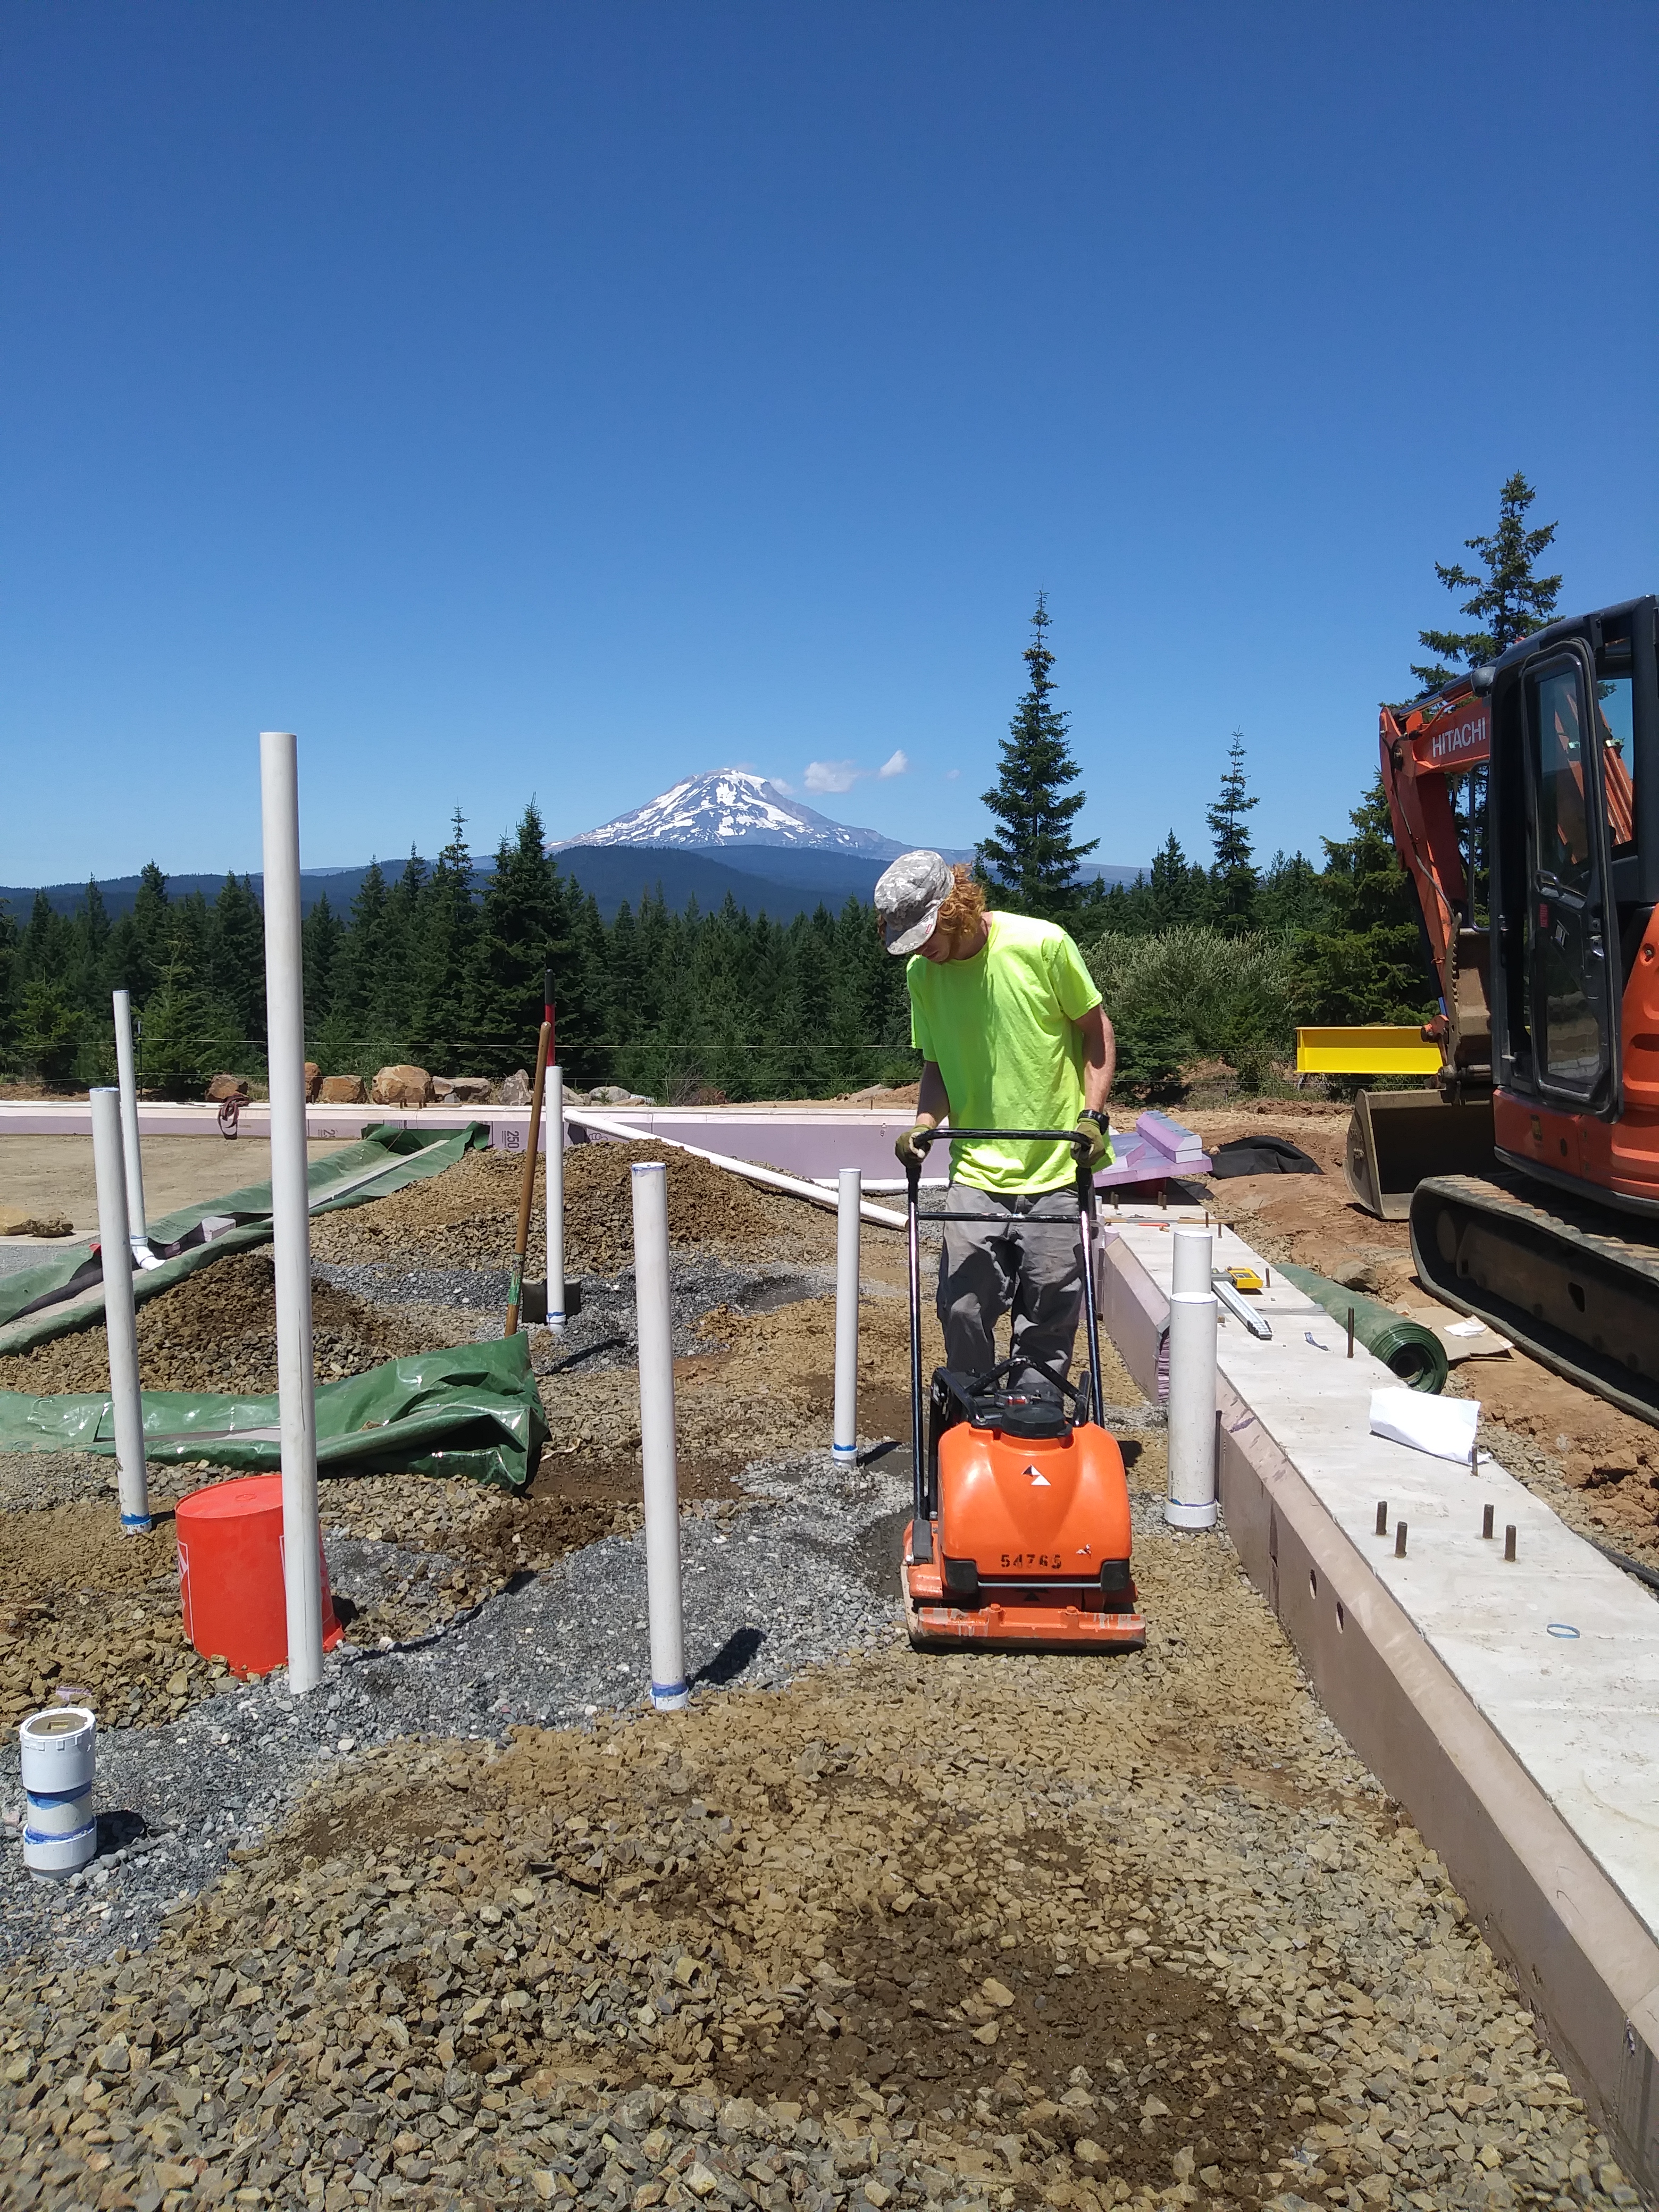
We rented yet another type of compactor, the “nervous turtle”. This one also has a vibrating plate, but it only drives in the forward direction. It operates at a higher frequency, ideal for smaller gravel and tight spaces.

You can get right up to the pipes. I felt like a nervous turtle watching Sam run over the pipes that were only buried with two inches of gravel. Everything was fine though.

We finished! Hopefully we are done with compaction work for a long time!

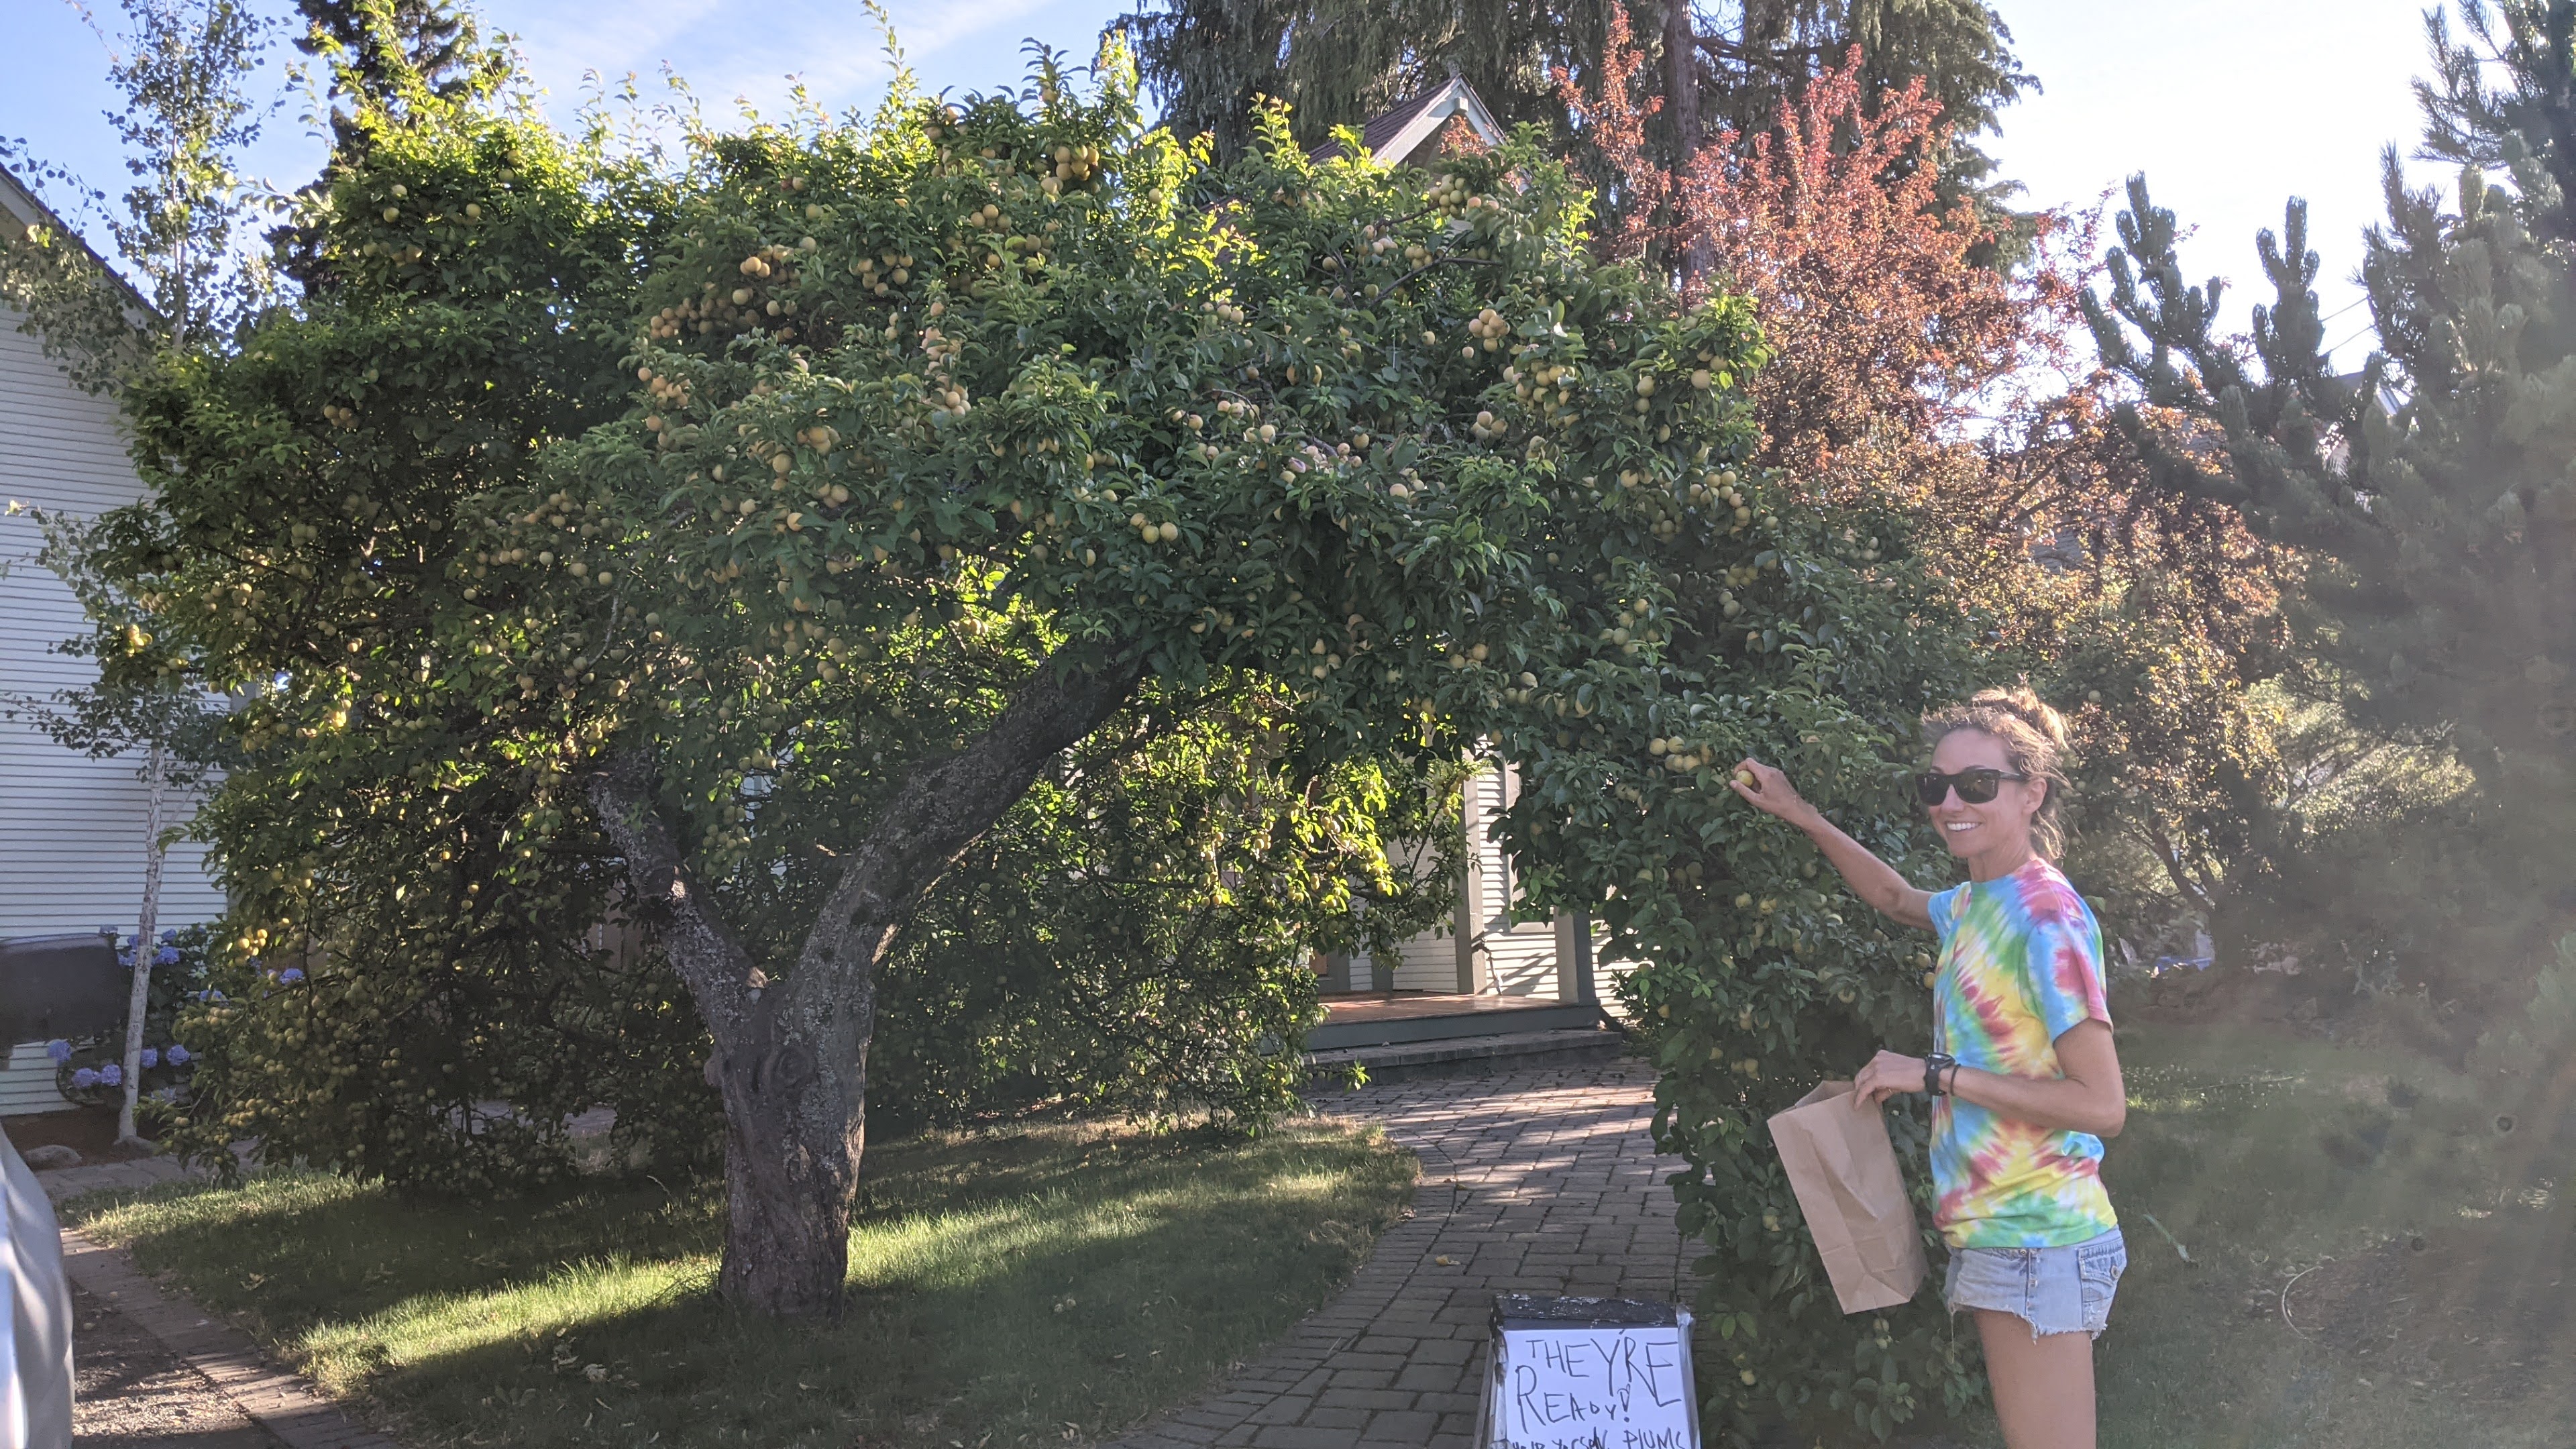
Coincidentally, our neighbor’s plum tree was ready for picking the day we finished the plumbing project. What timing and what a crop this year!


Wow, the location accuracy requirements for the plumbing were intense! How did you do the measuring? Do you have a fancy surveying setup or something?
LikeLike