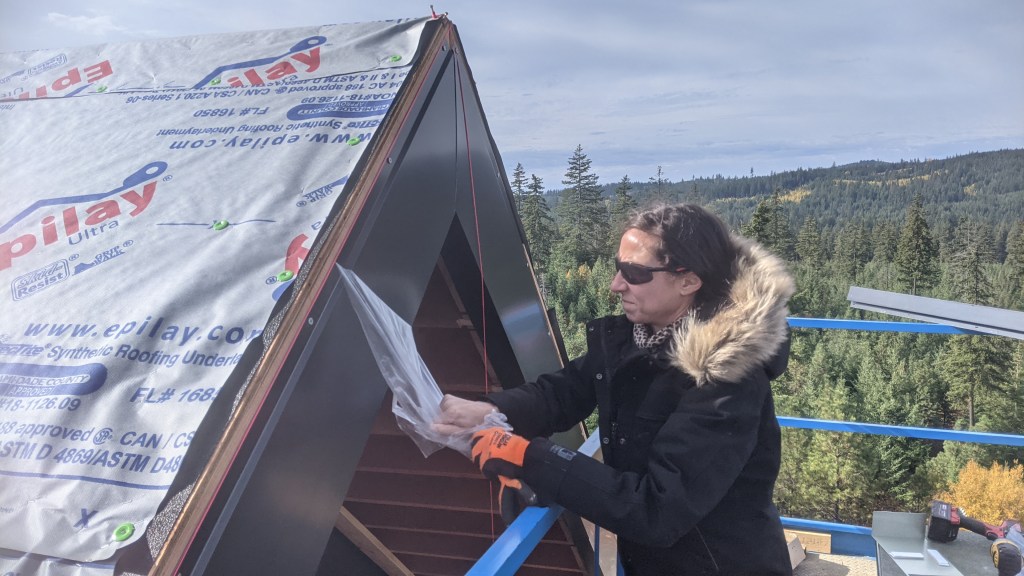
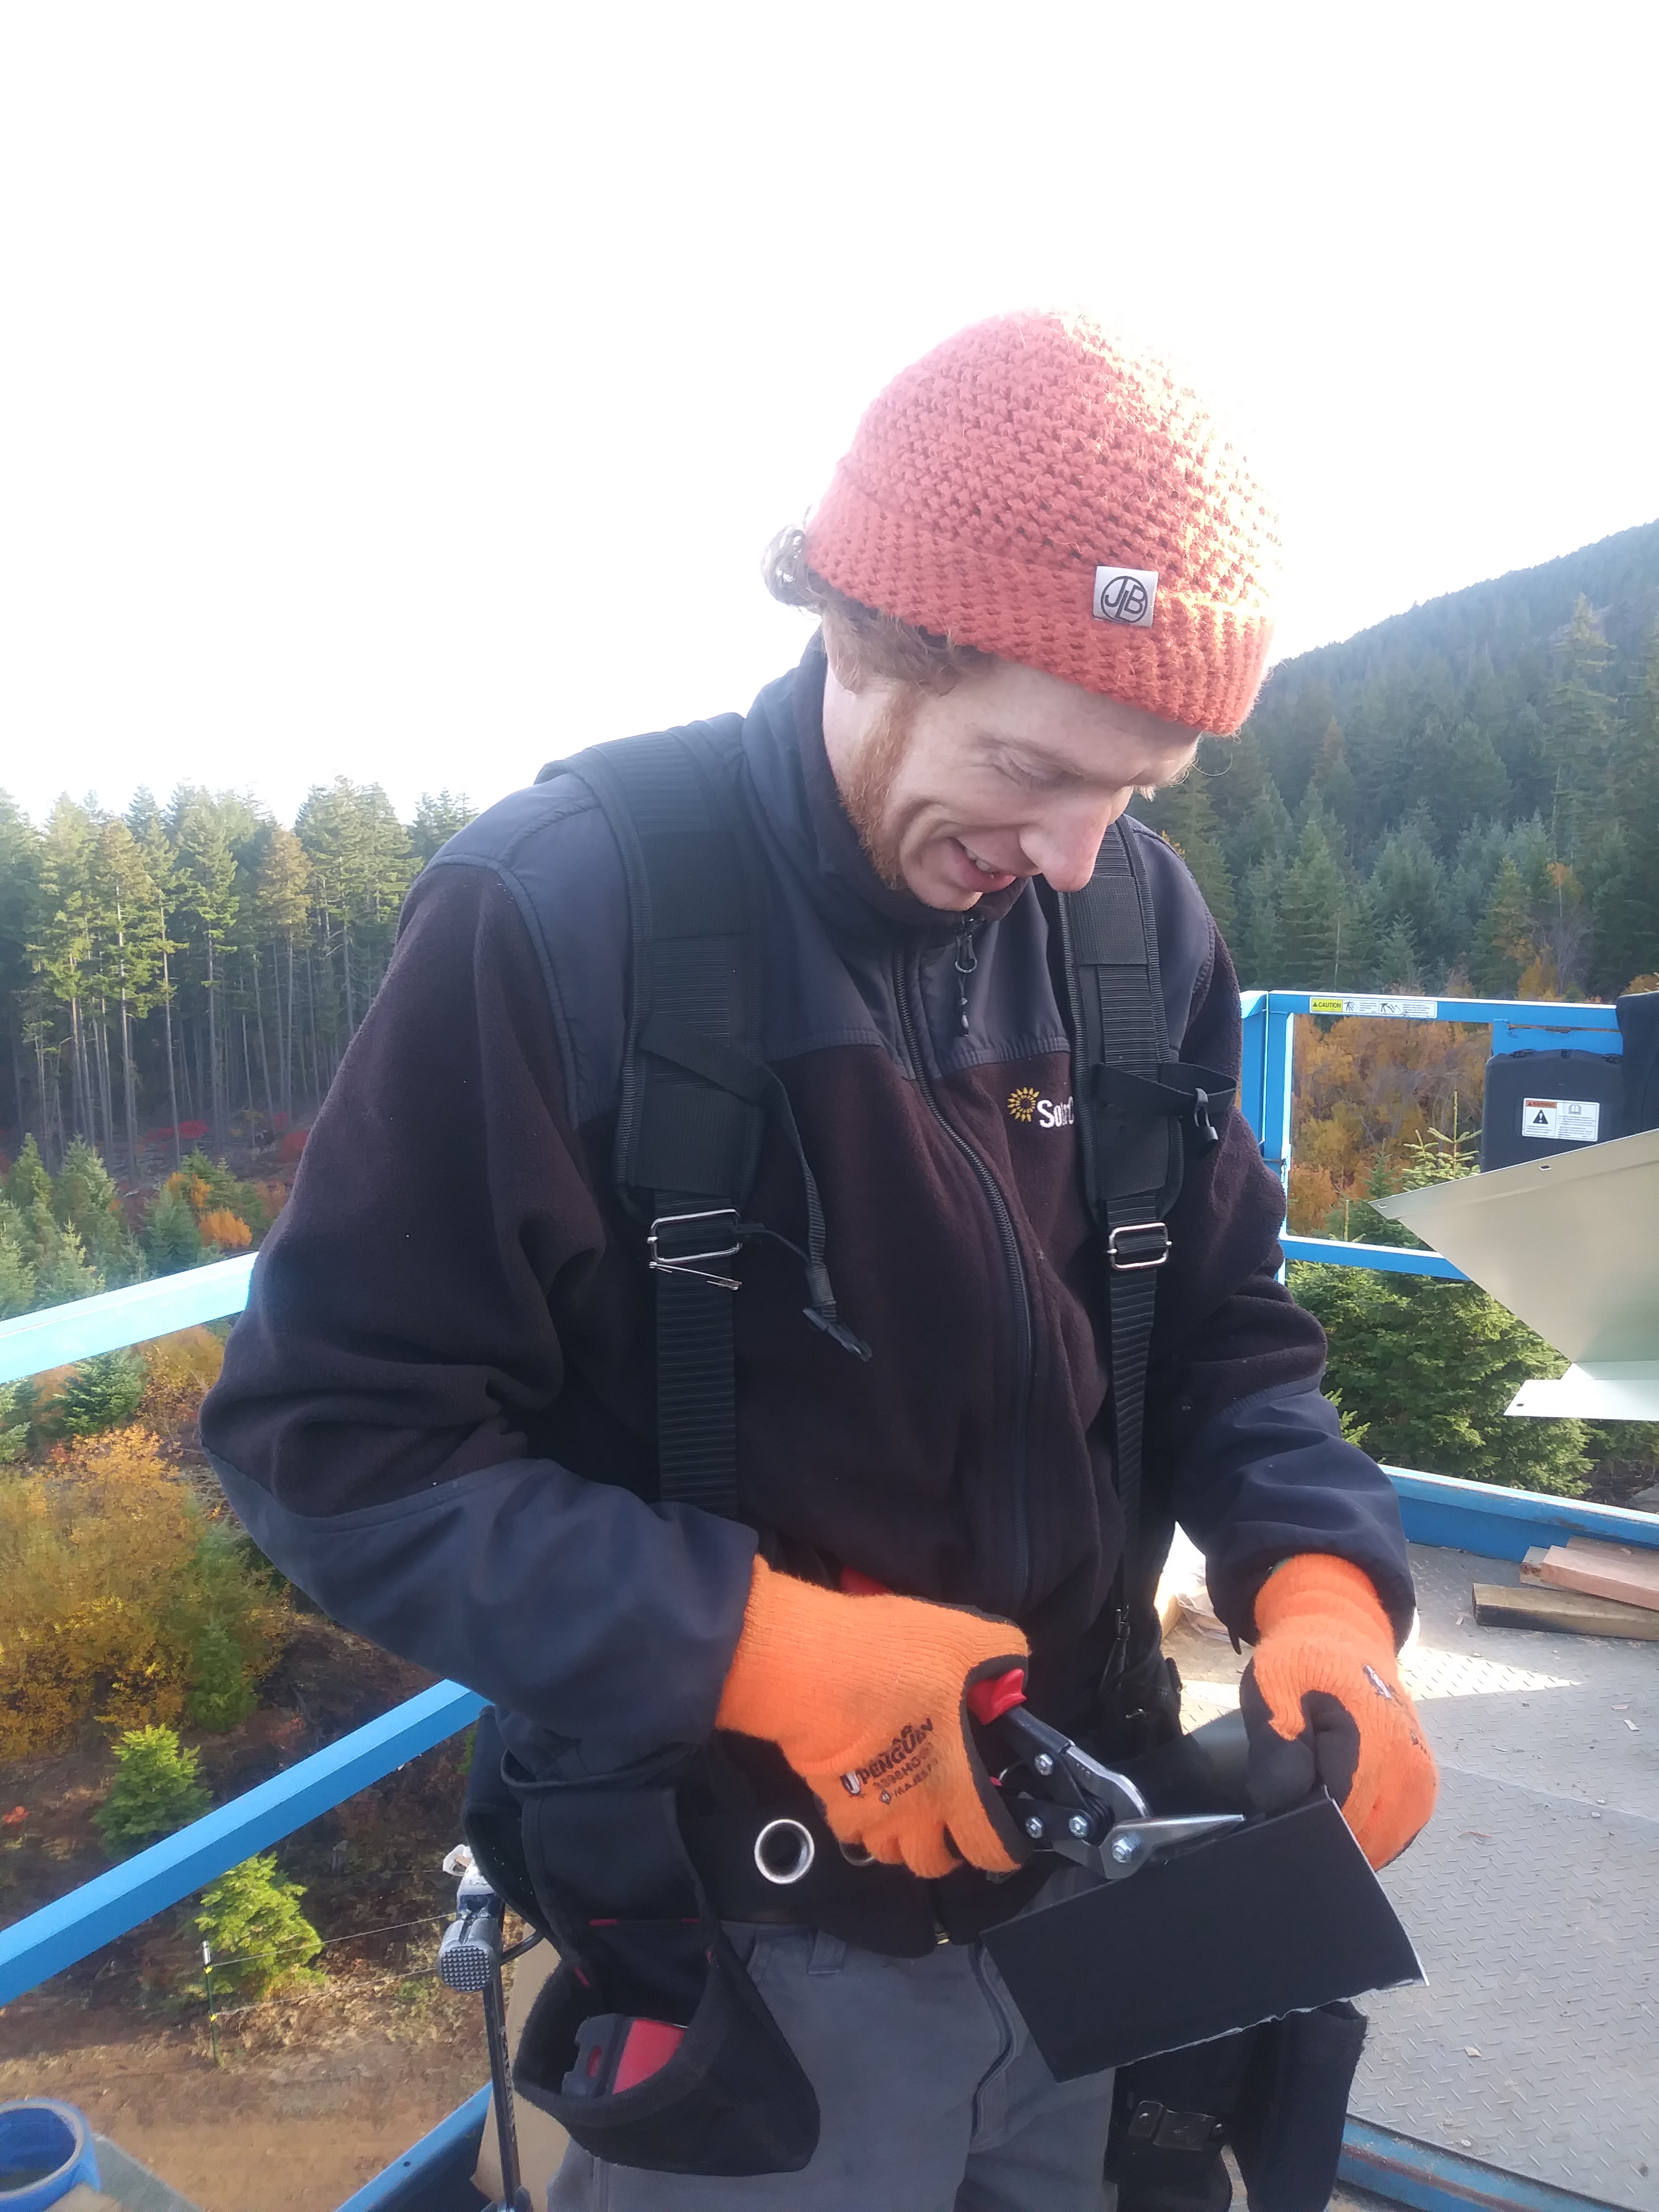
That’s what Sam said when he took that photo of me.
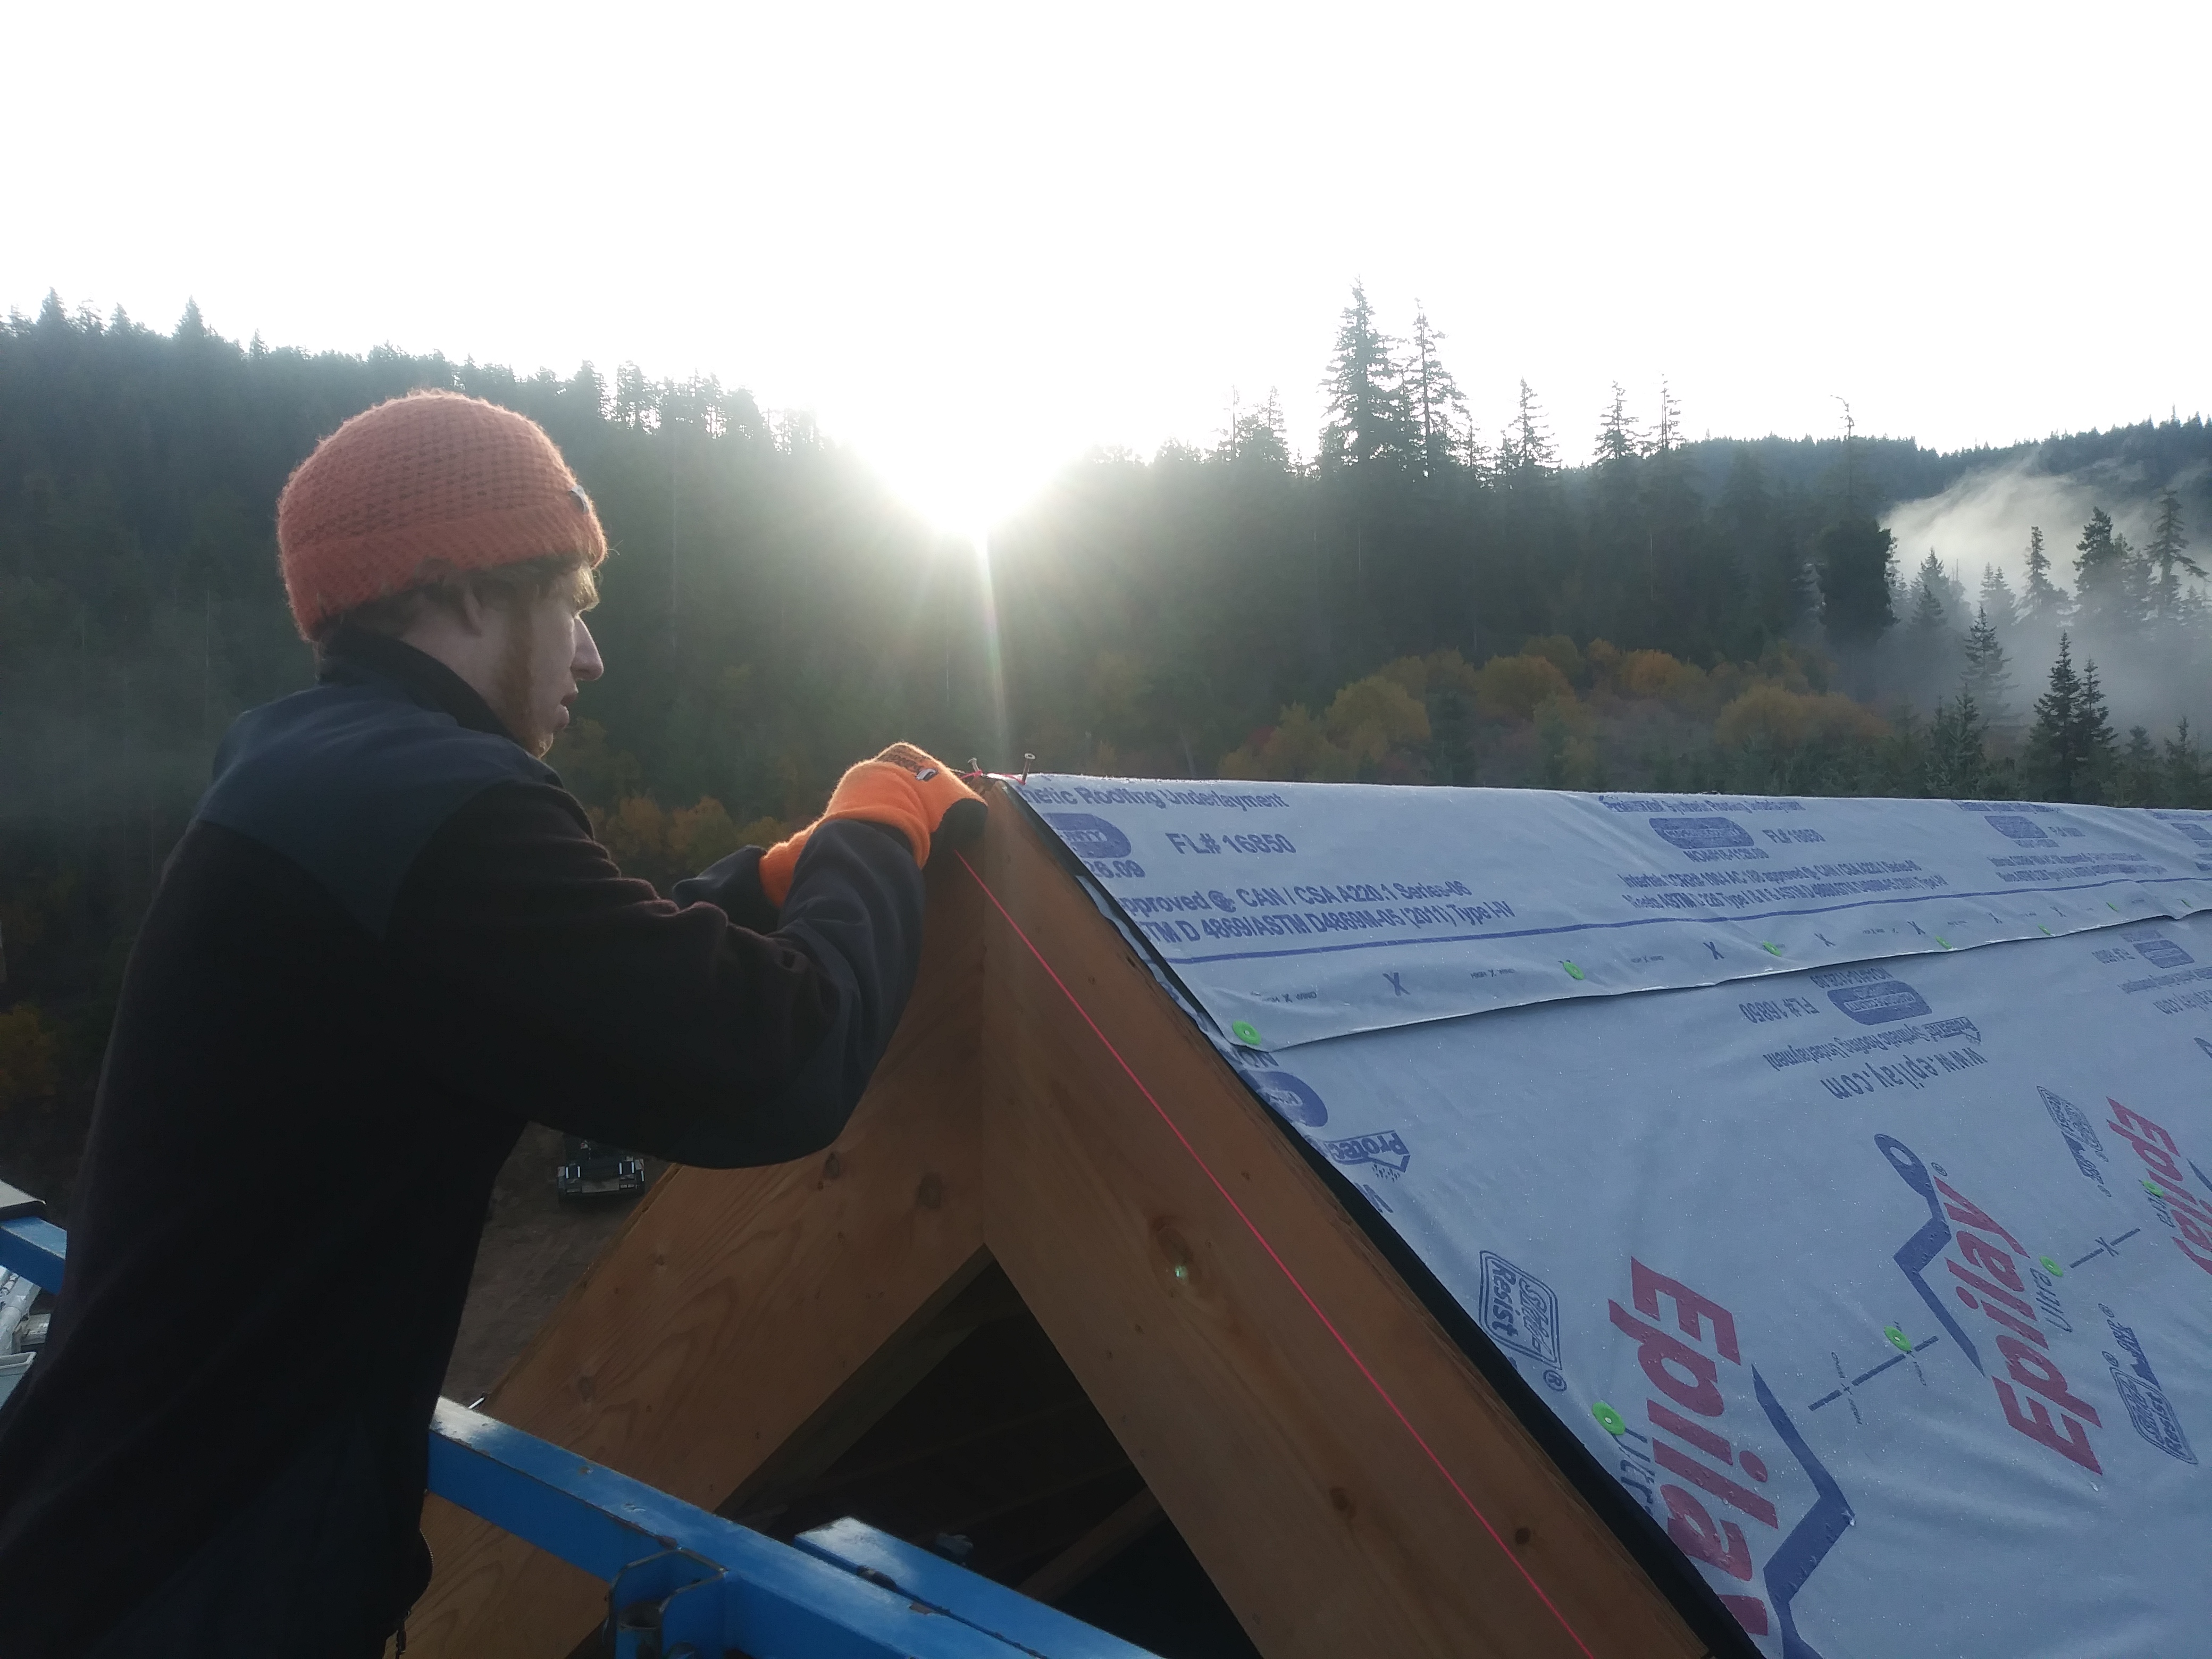
It felt strange to be working on solid ground for so long, so we took a break from girts and went back up to the roof to install the fascia cladding. (See the redeeming photo of myself below.) We also had to complete this task before the roofers return to put the shingles on.

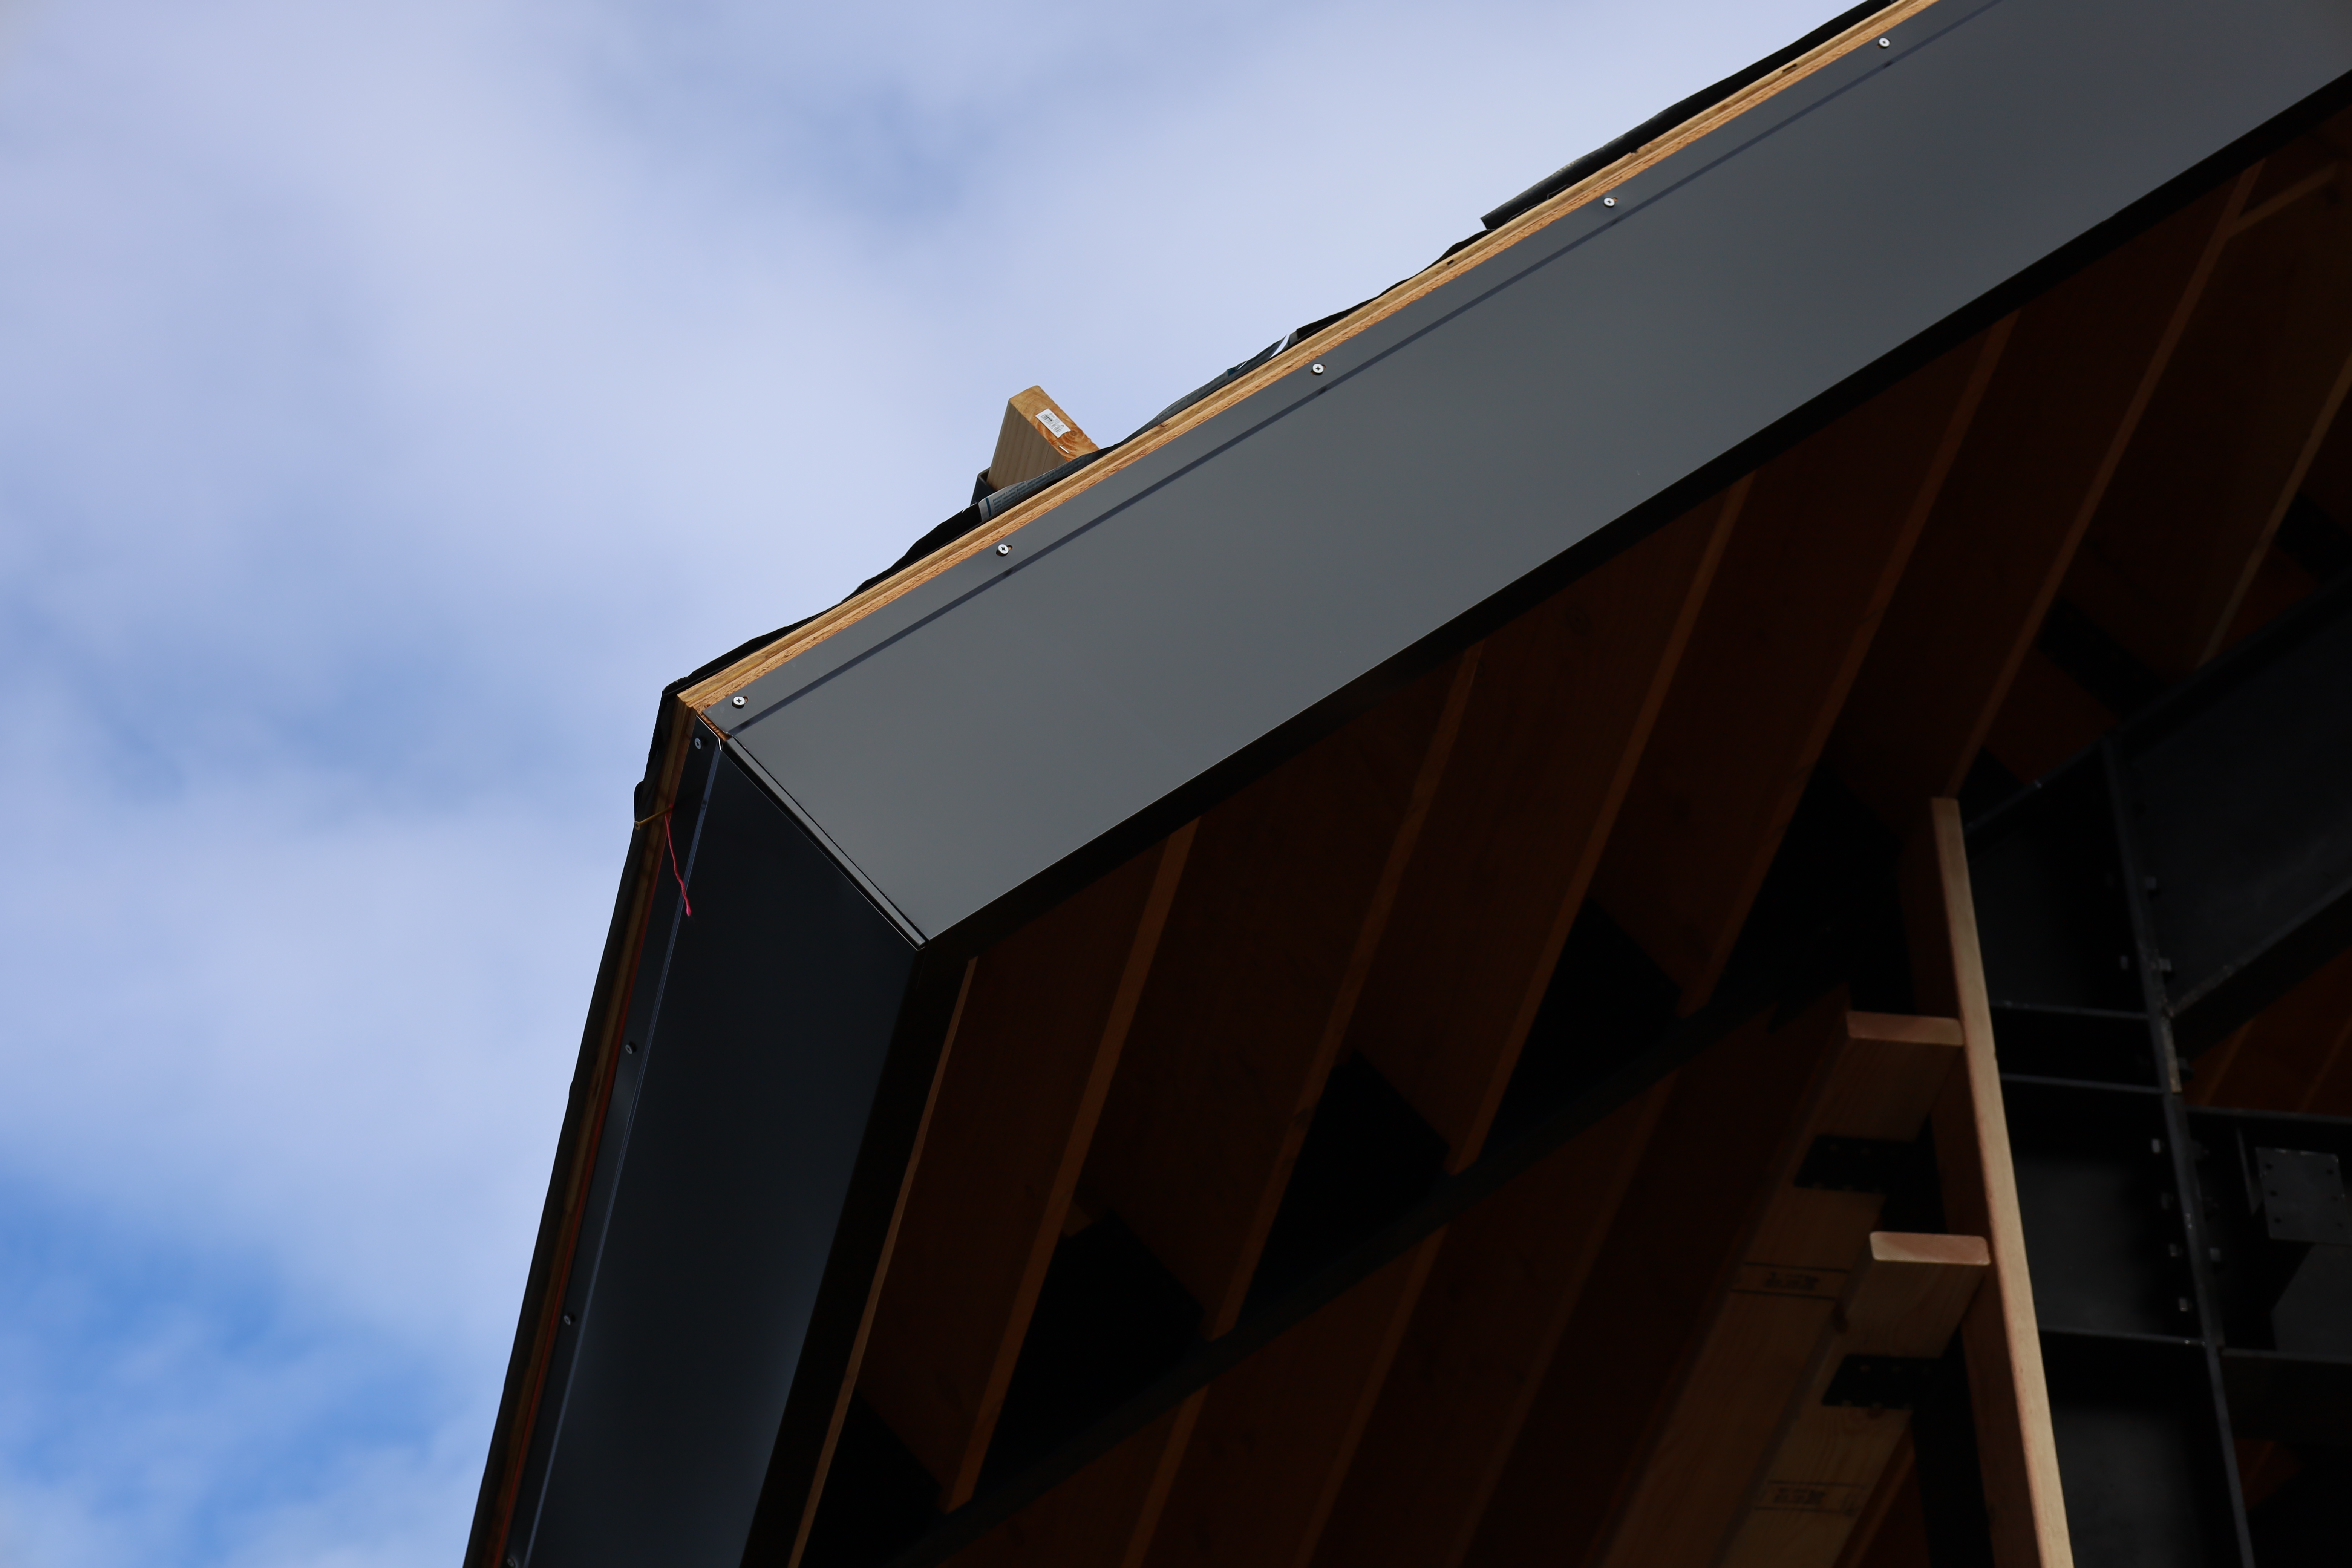
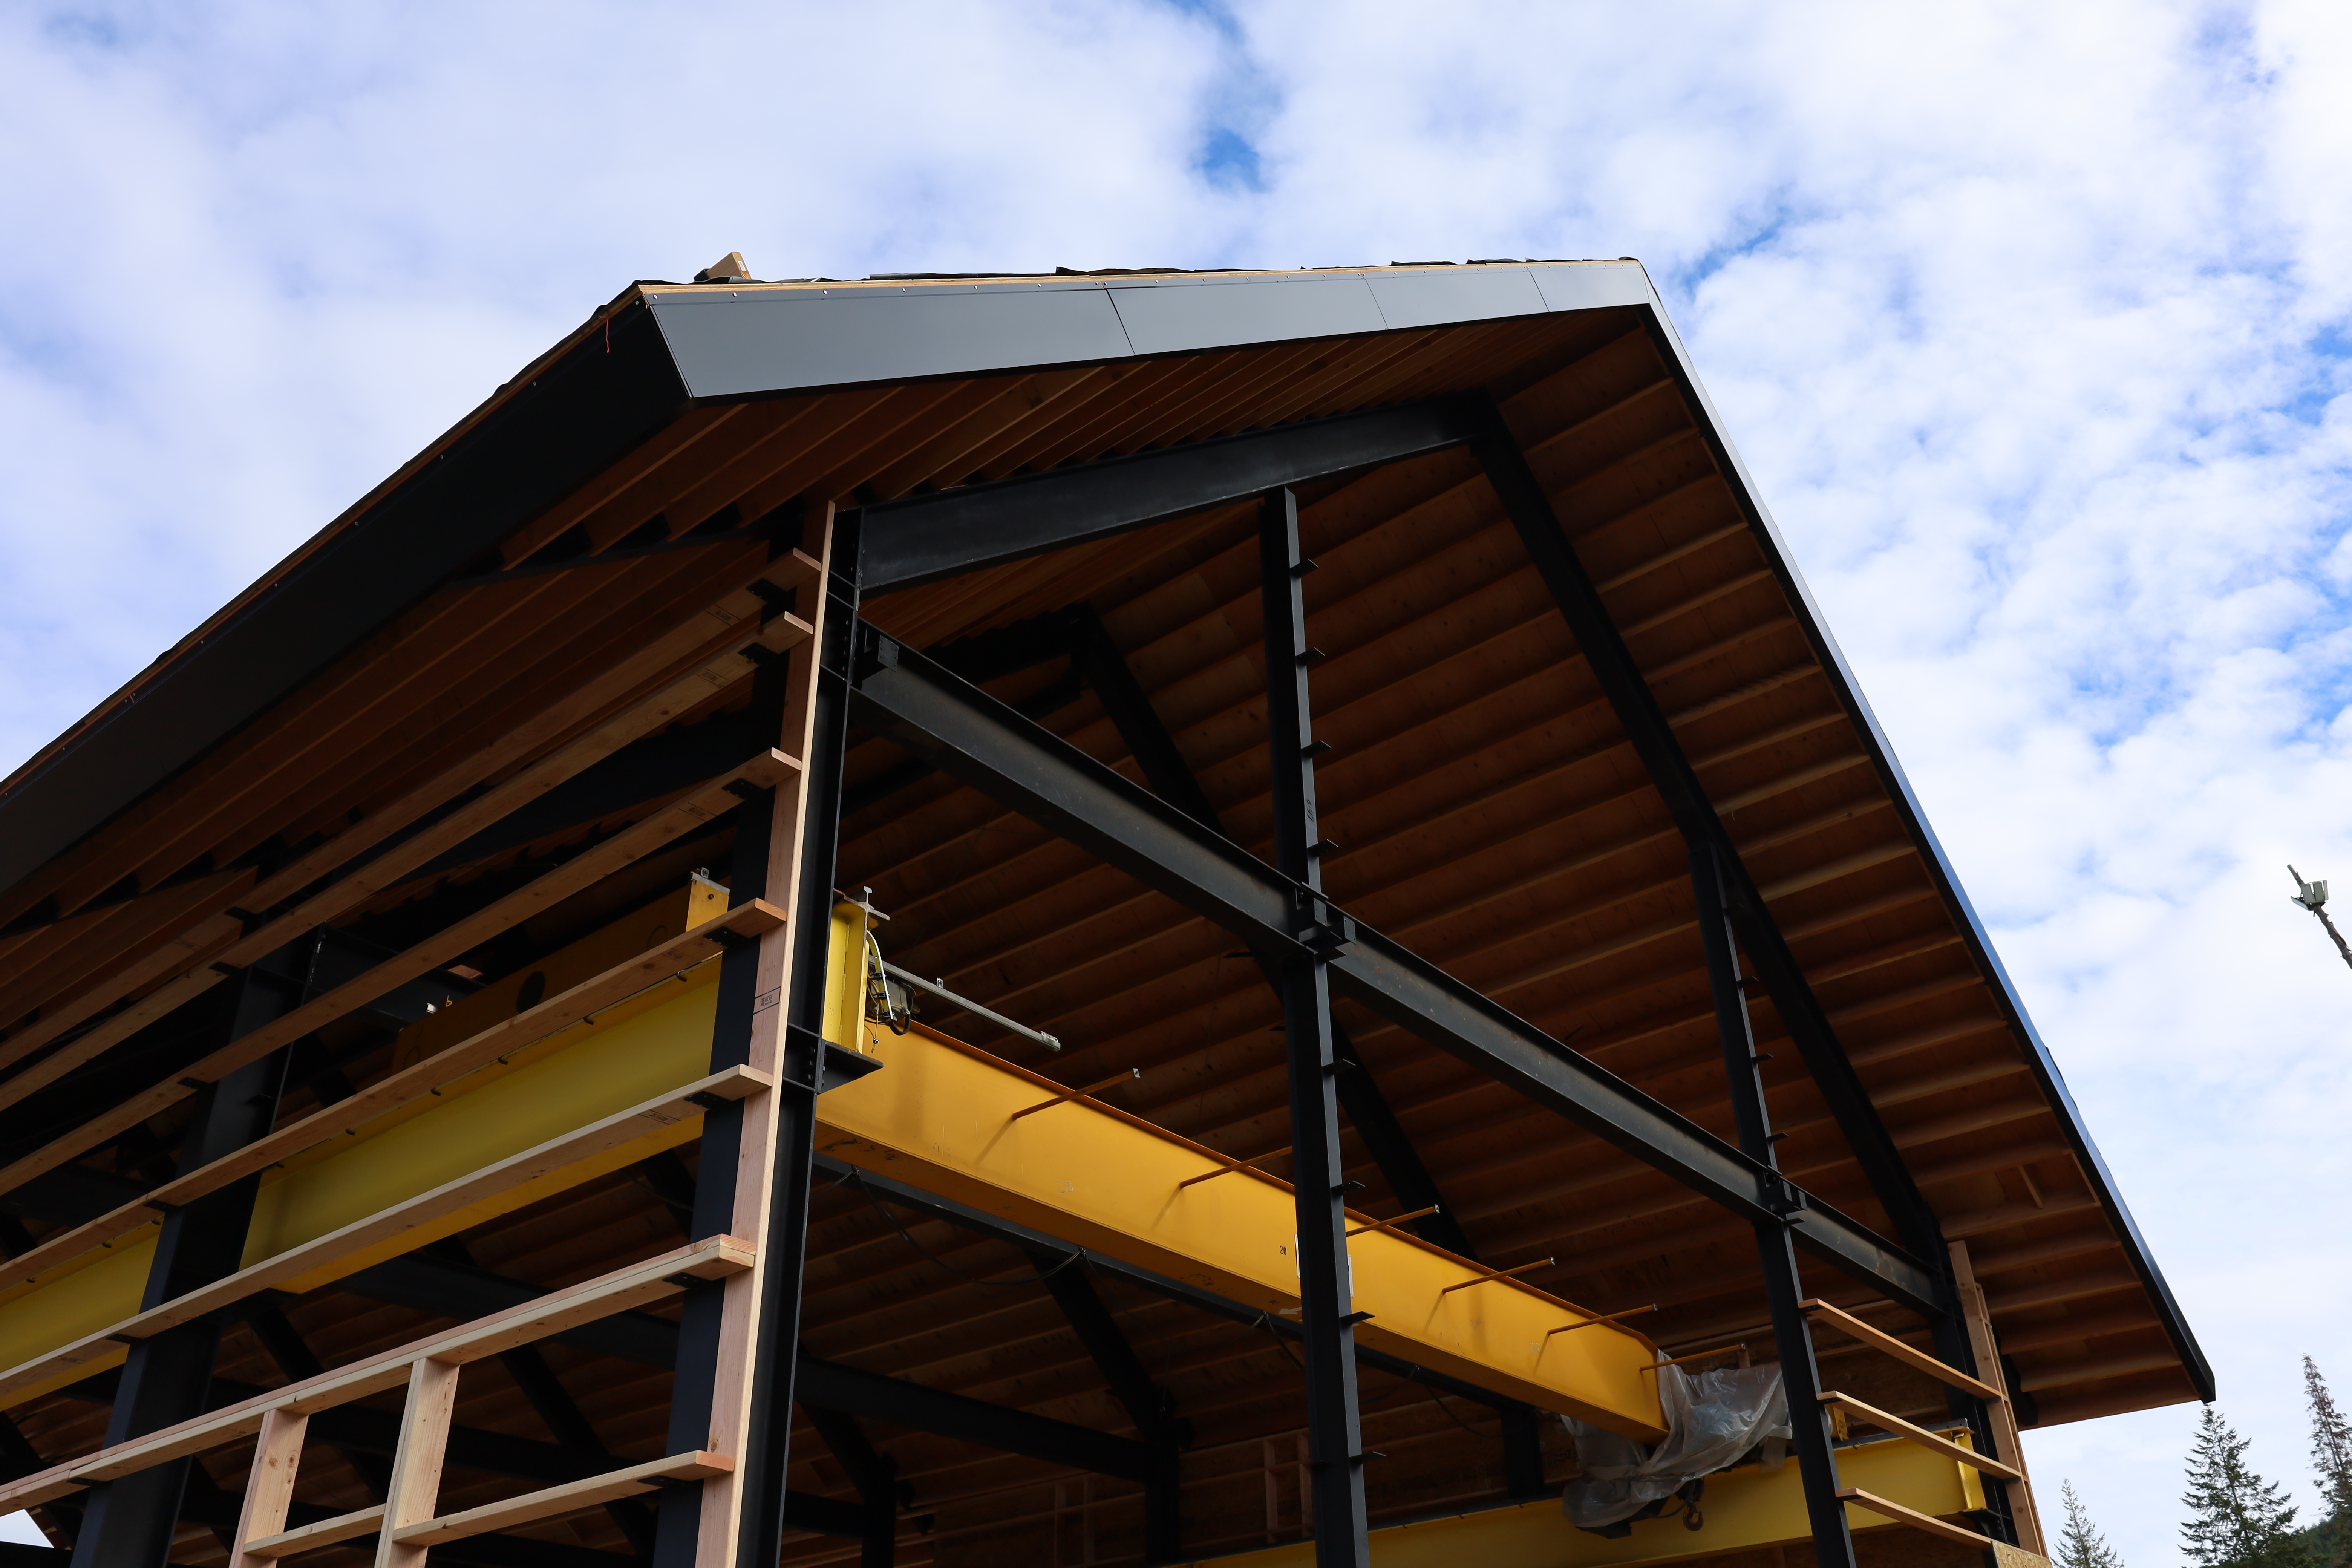
We chose a black aluminum cladding to cover the wood fascia boards around the perimeter of the roof. This way we won’t have to paint the fascia boards, and they will last much longer.
Sam designed the profile of the cladding, and a sheet metal company in the Midwest custom made them per Sam’s drawings. We want to avoid any exposed wood, so we are sealing the roof overhangs entirely with metal. An aluminum drip edge will go over the top corner of the roof, slightly overlapping the fascia cladding. Metal soffit panels will lock into the bottom of the fascia cladding, under the overhang.


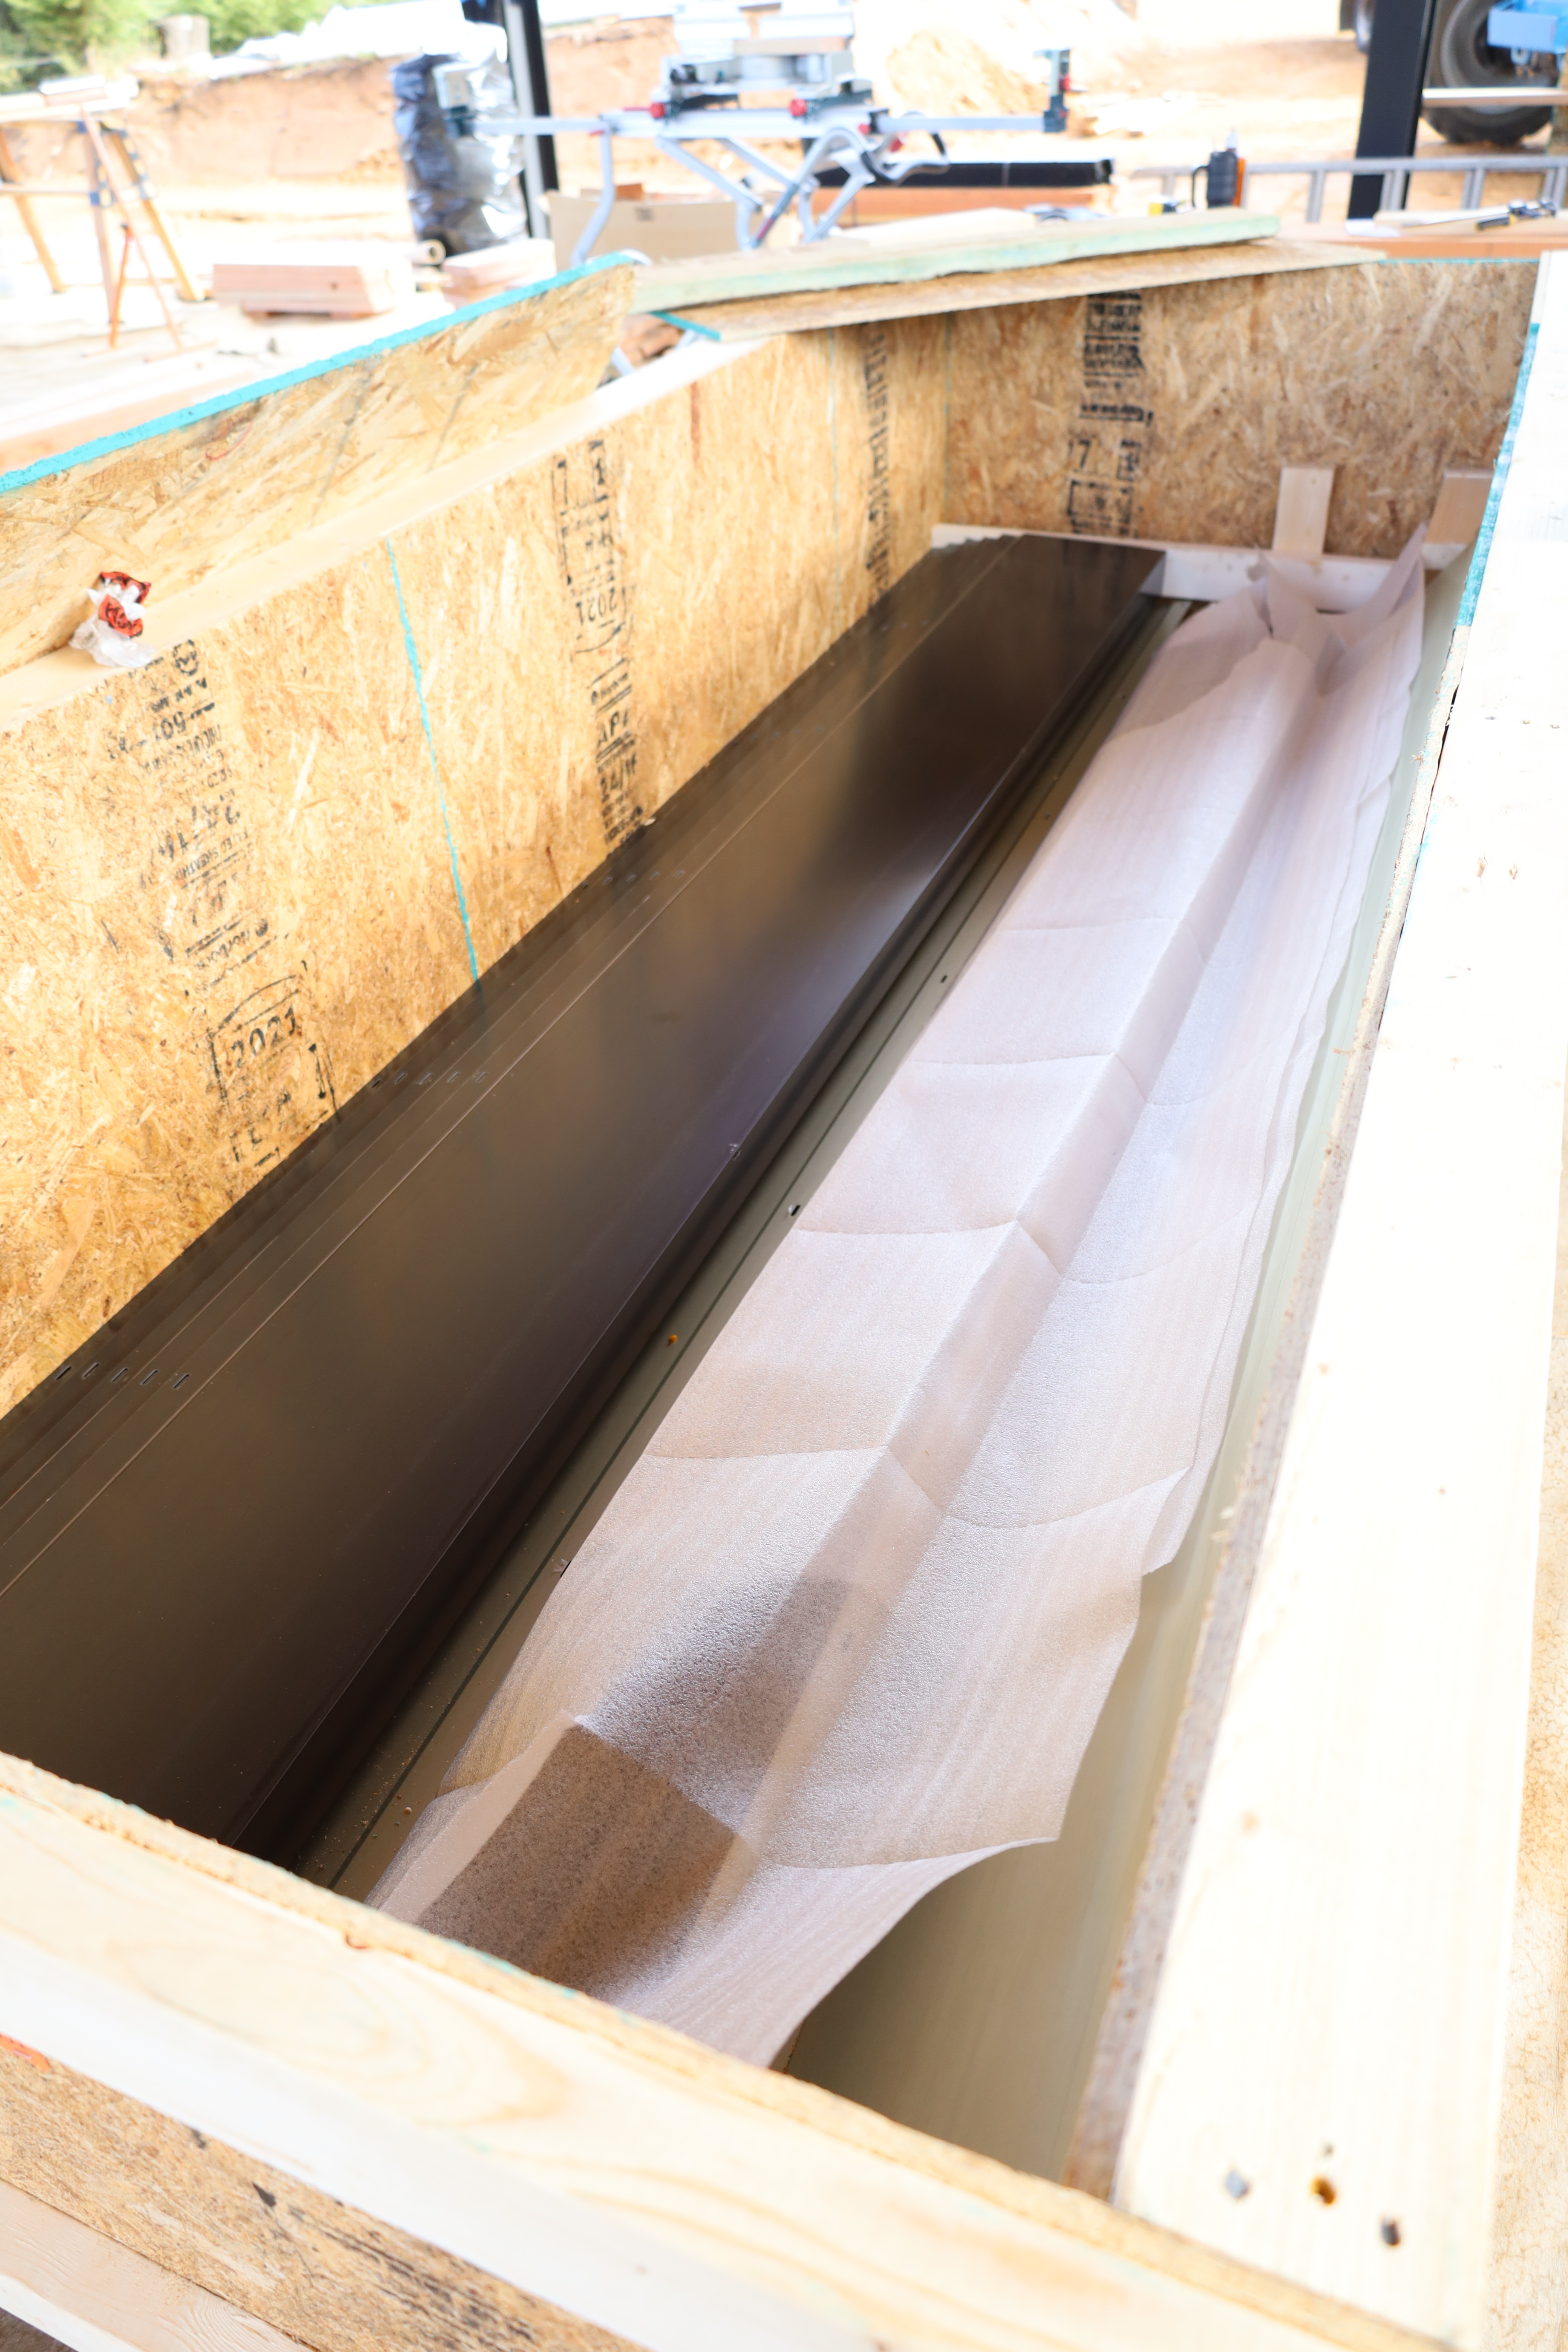
The cladding arrived in this giant box! Someone did a terrific job packing it. Nothing was dented or scratched.


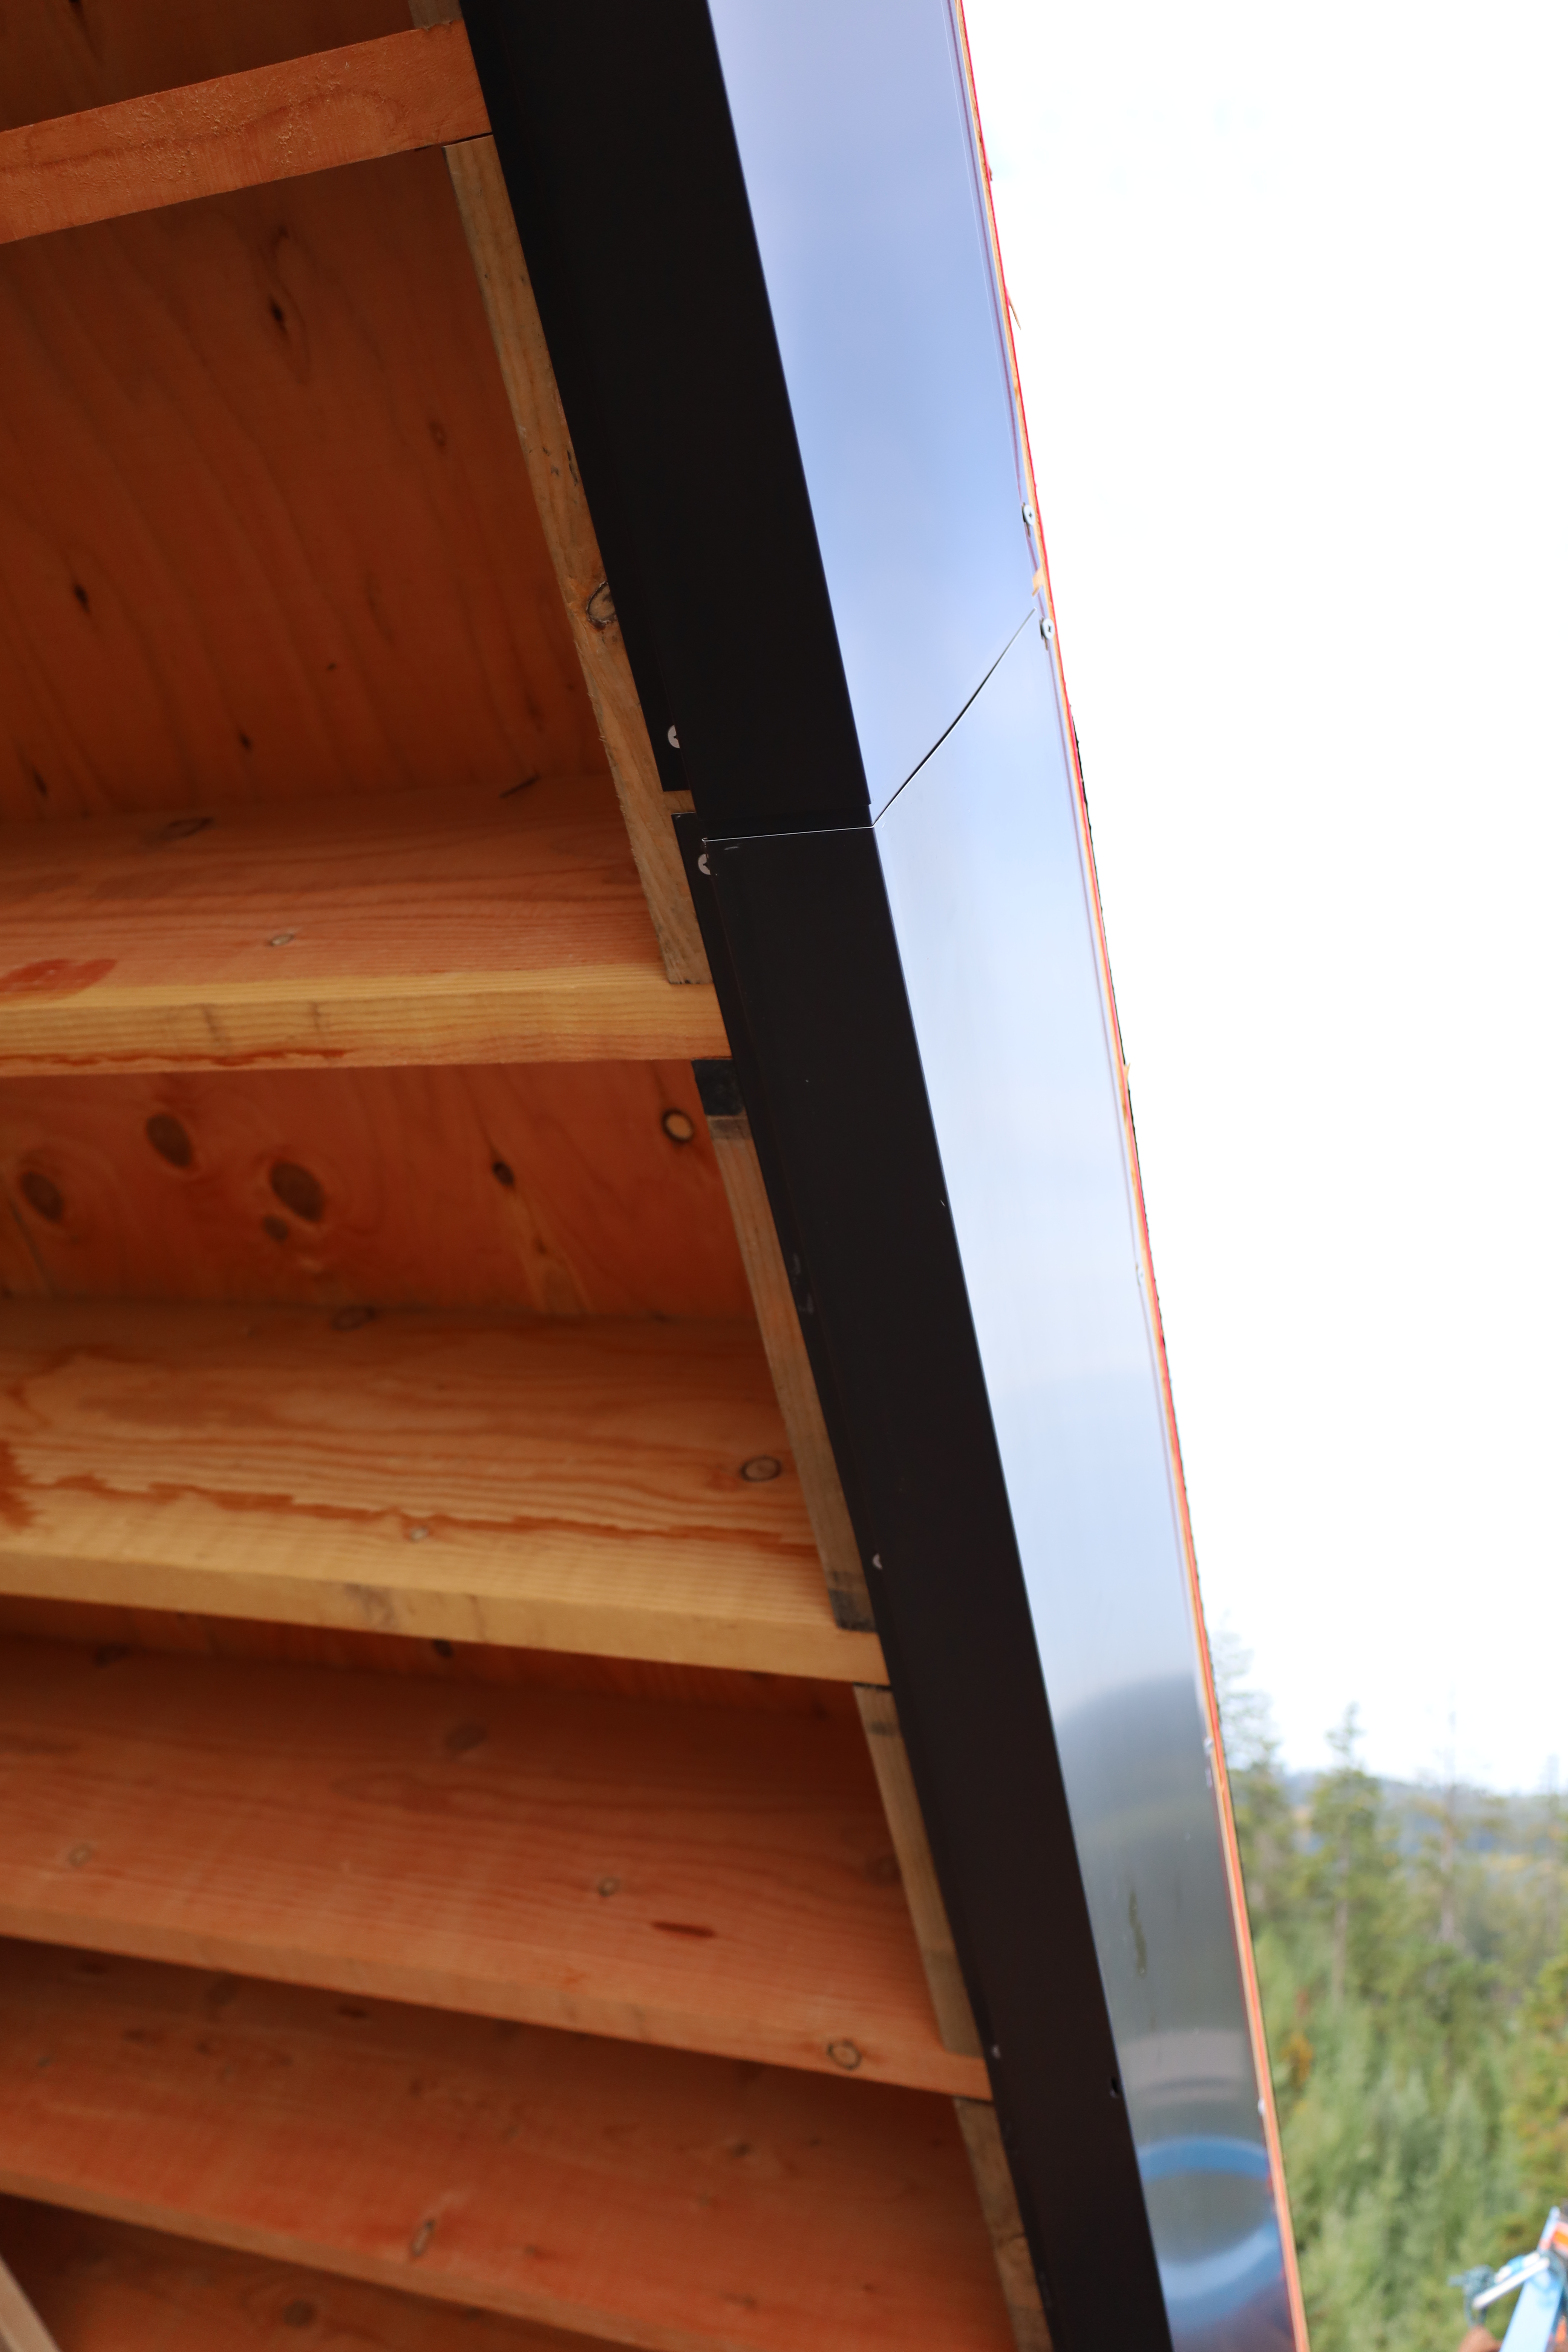
Installing the cladding over the long sides of the building was fairly simple. We nailed 2×4’s to the underside of the roof to create a surface to screw the metal to. Since none of the wood boards were straight, we set a straight line with a string as a guide.

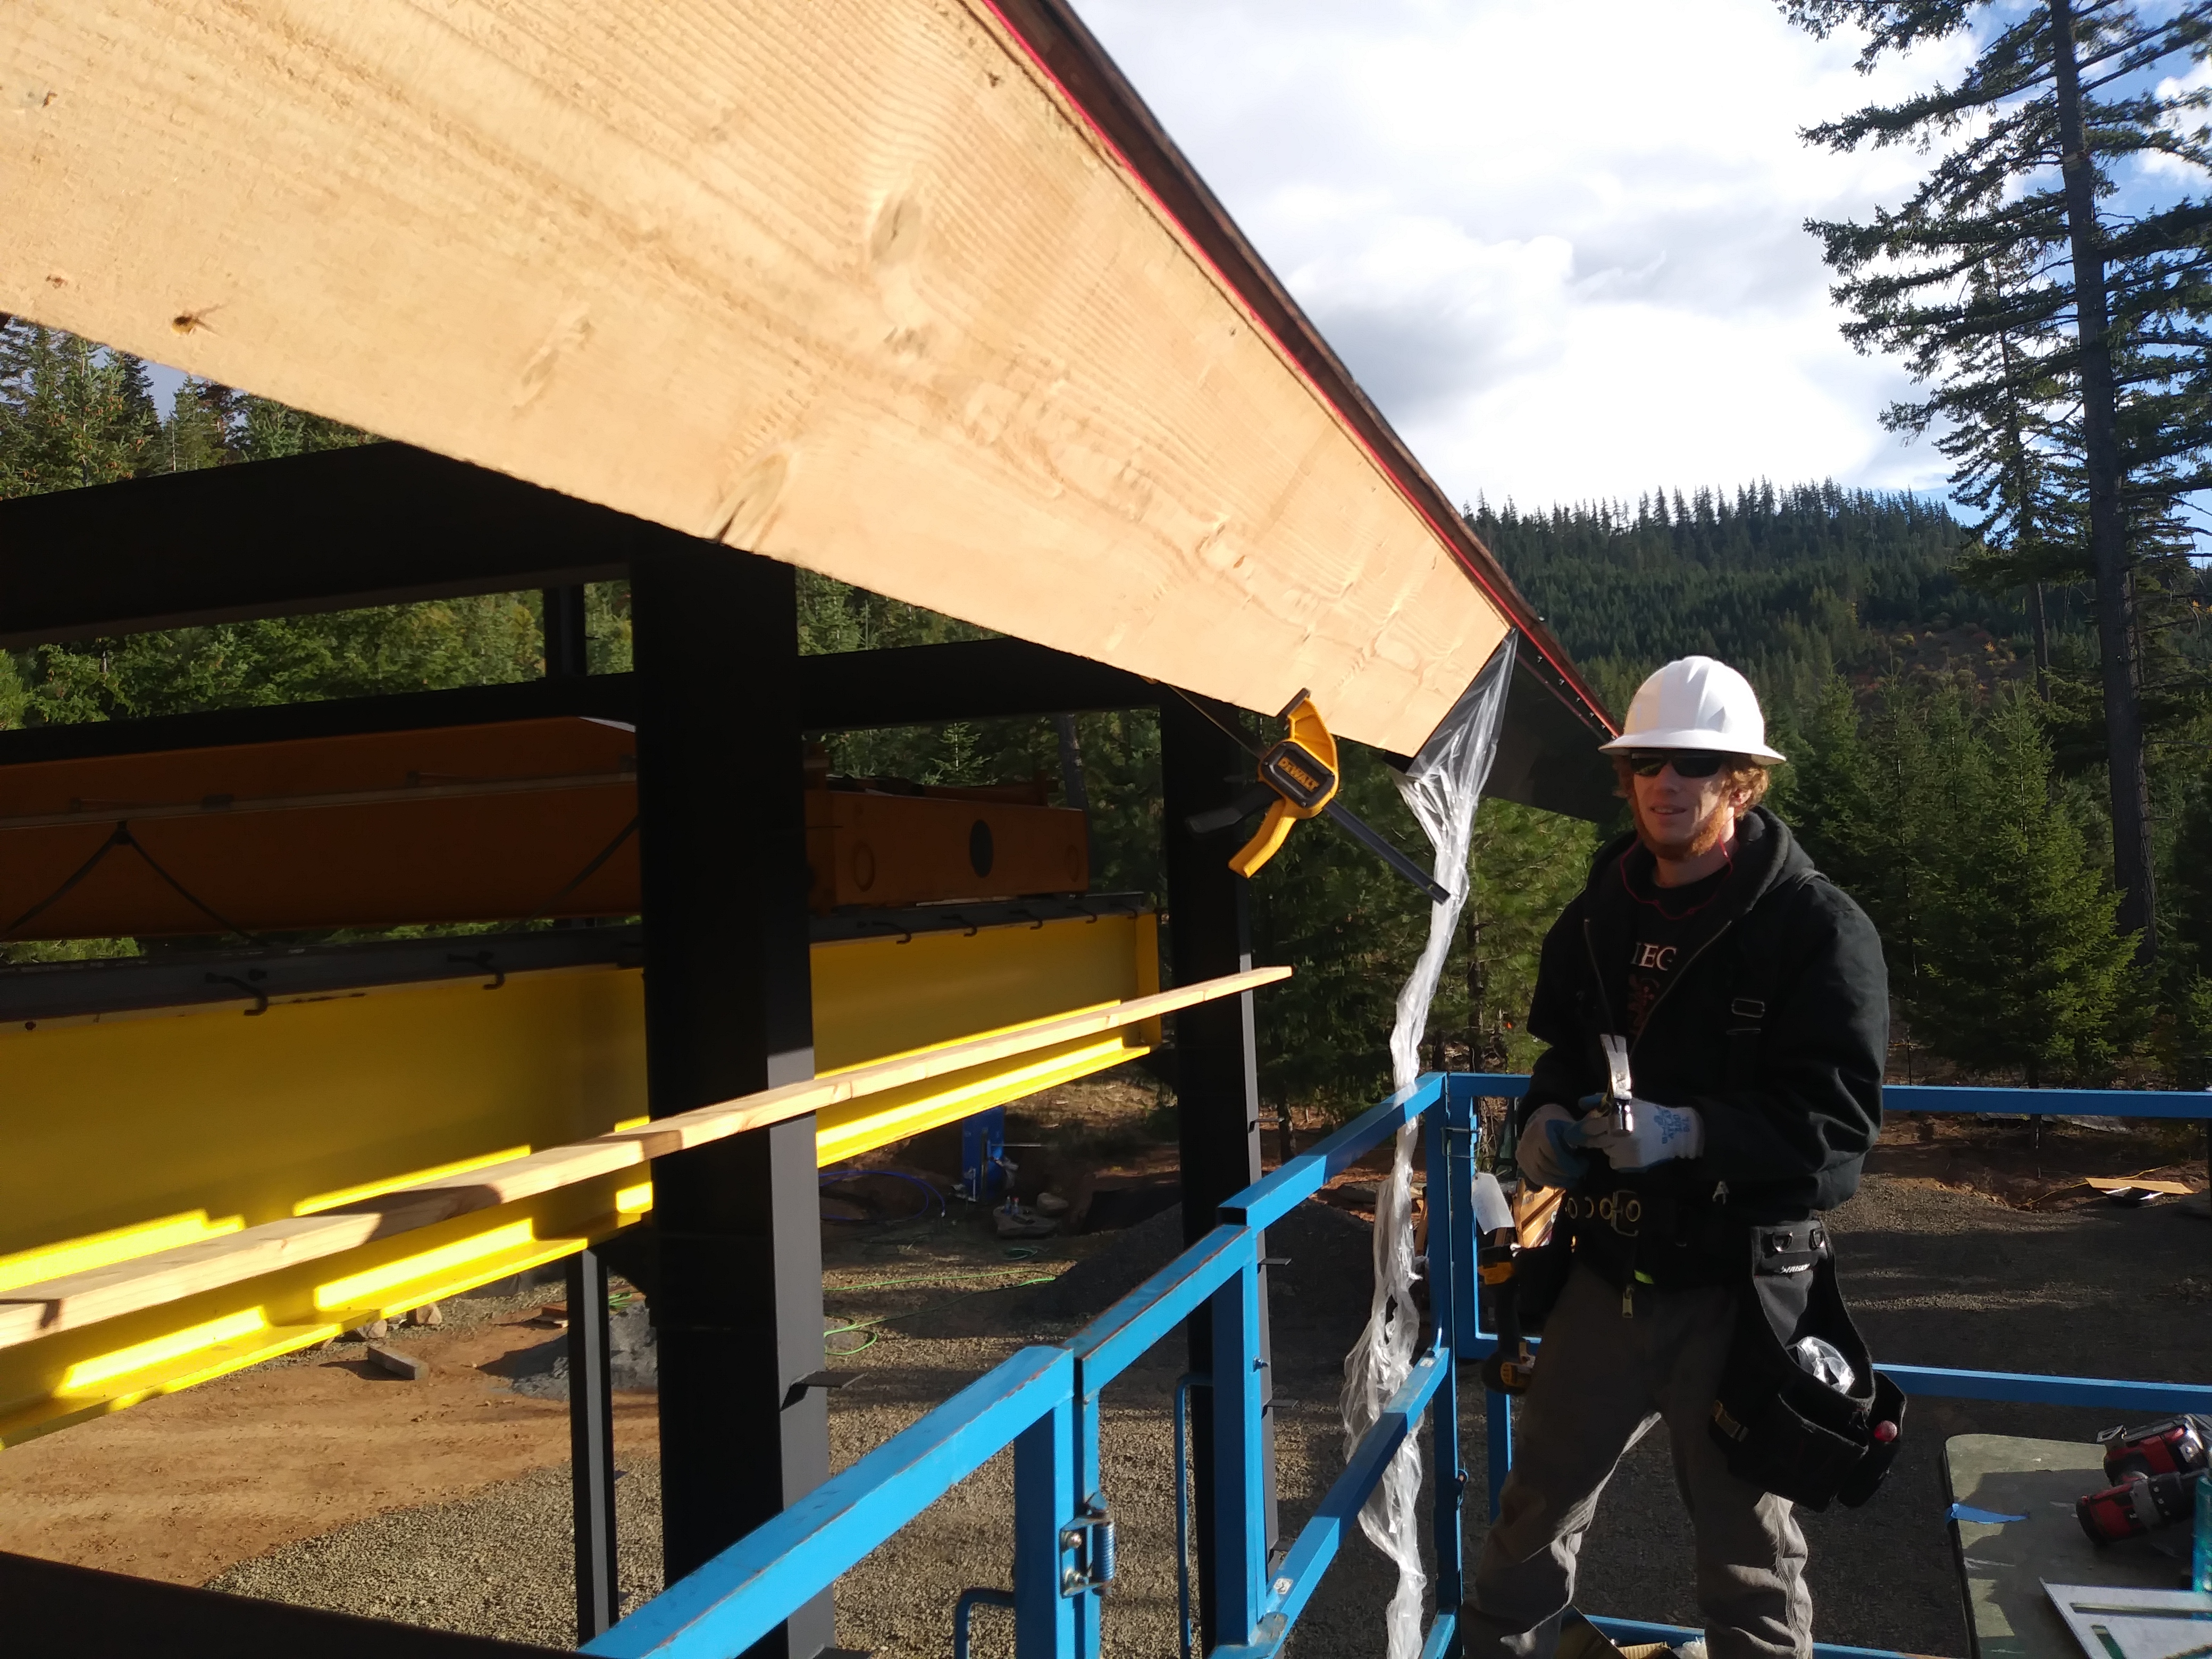
Then, we started putting the fascia cladding on.
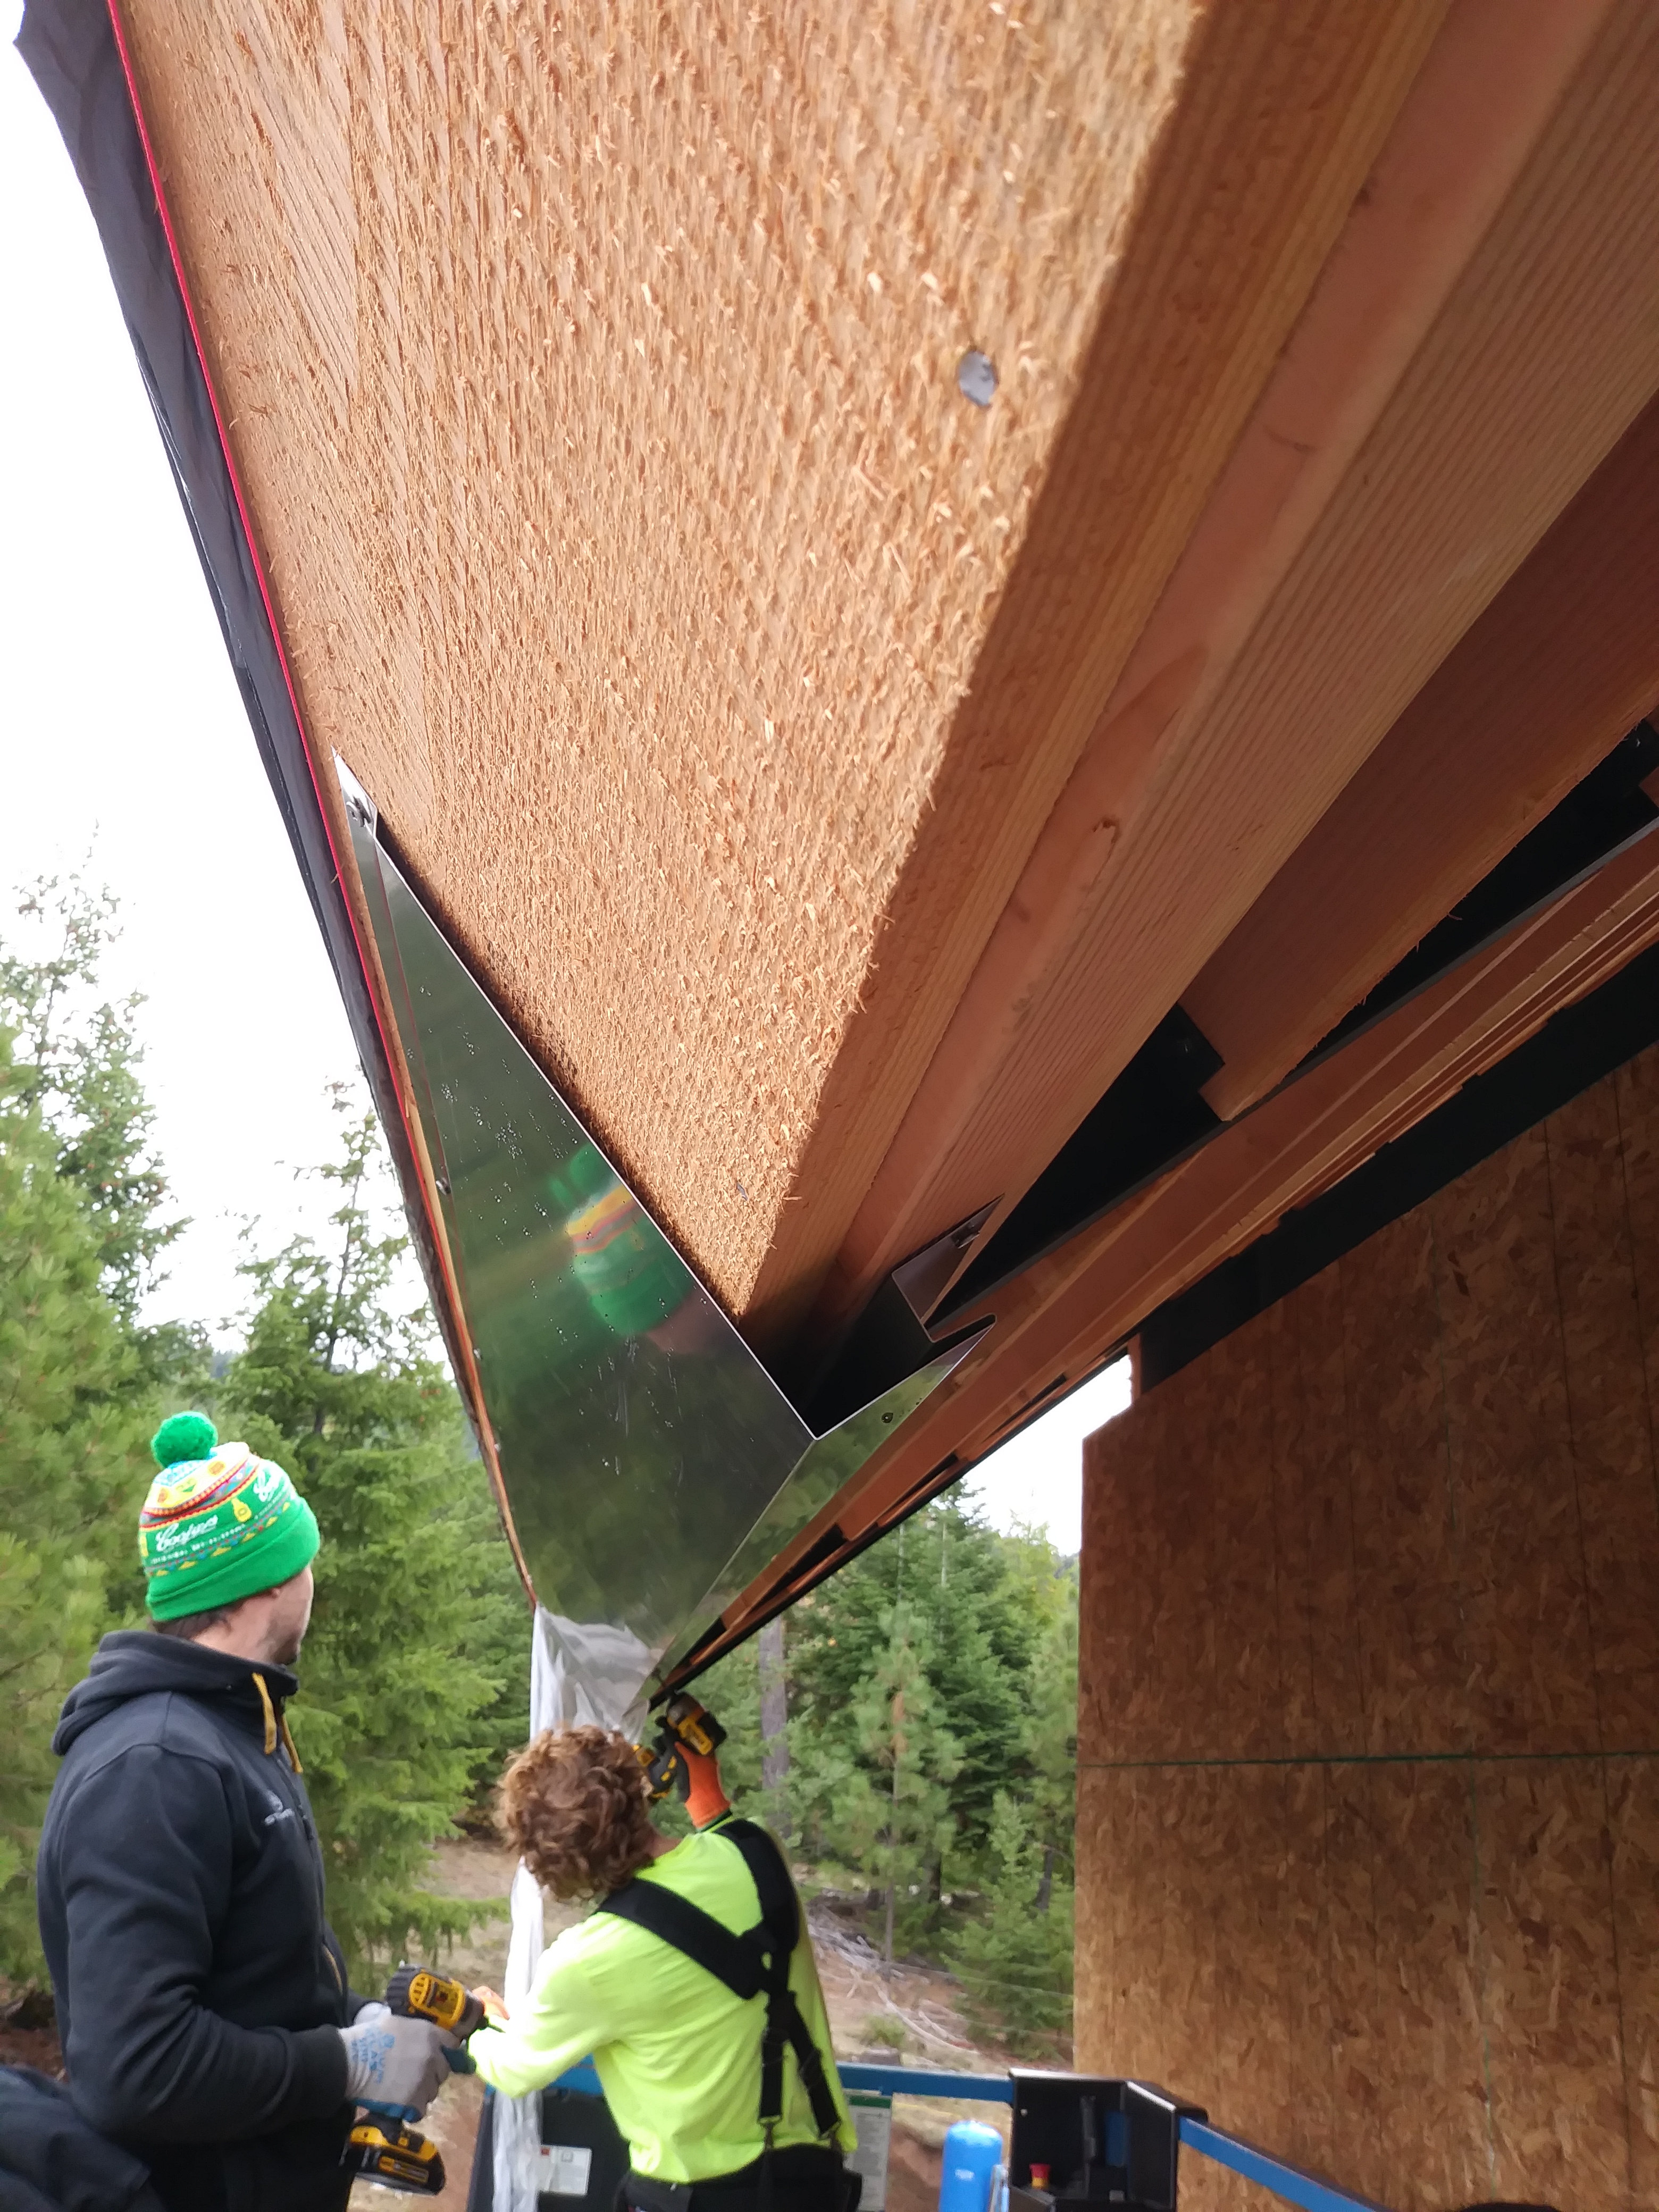


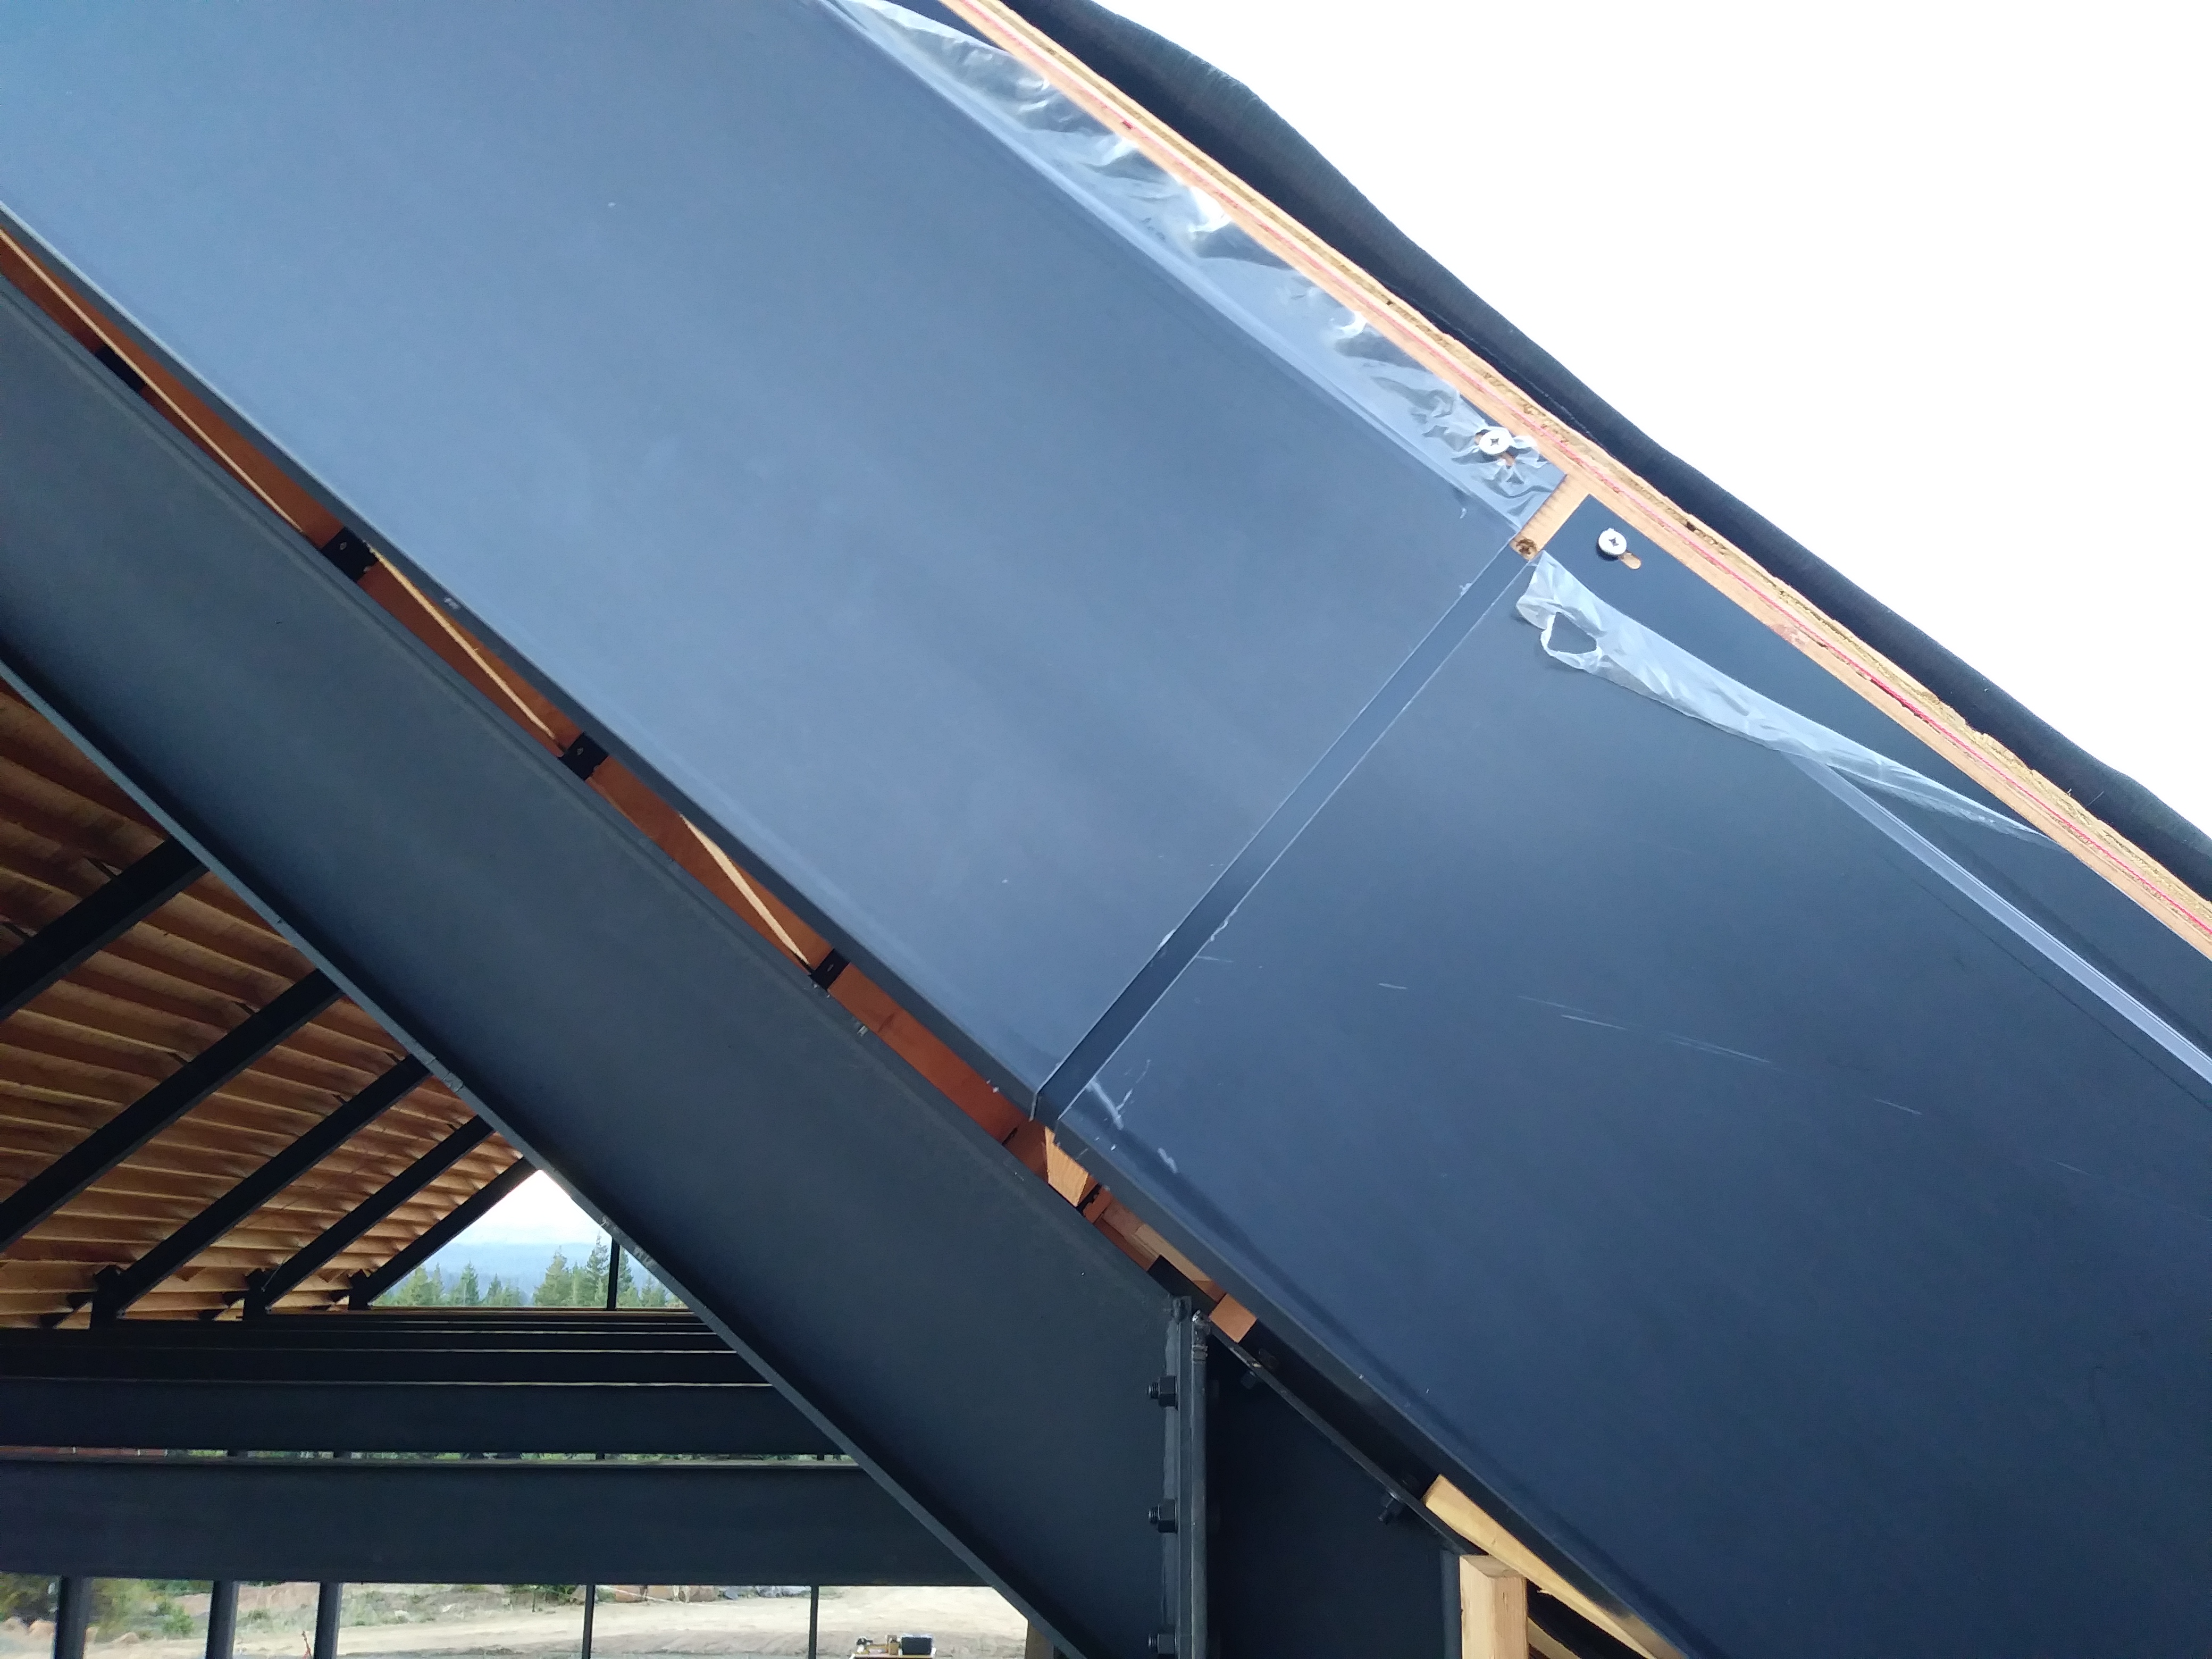
Metal expands in the heat, so we left a gap between pieces. A small splice piece sits behind the gaps, so the seams are less noticeable.
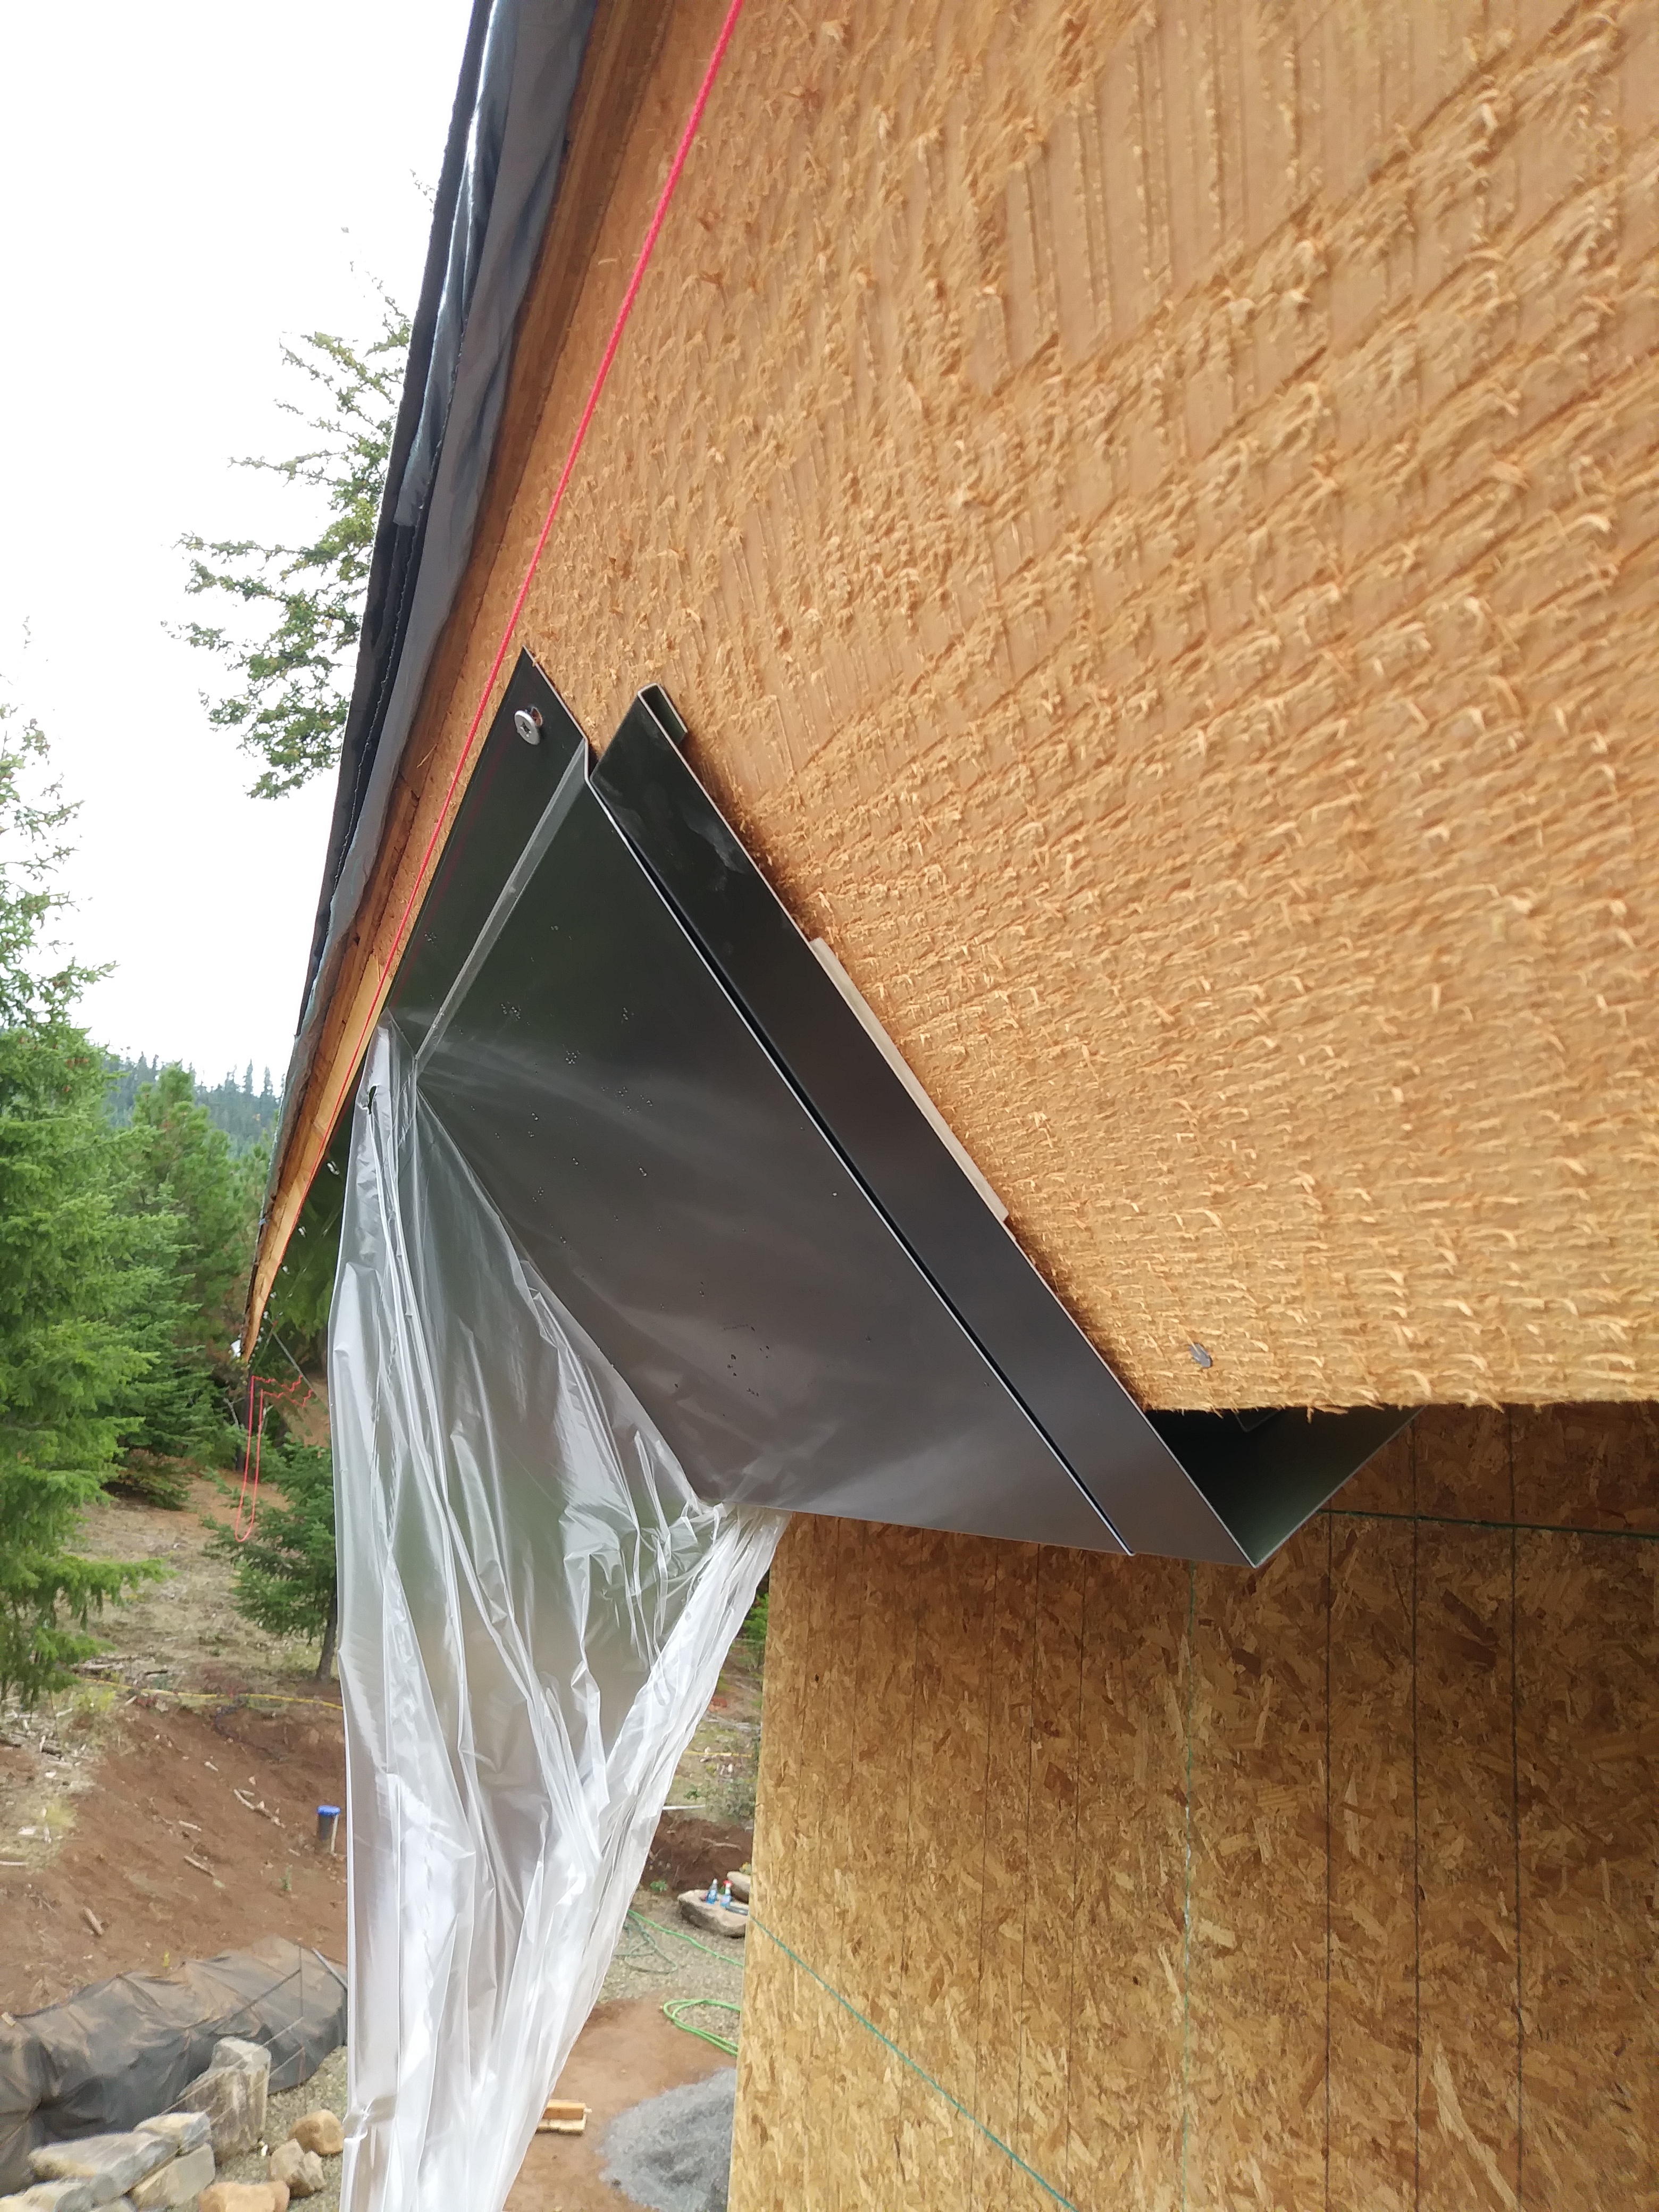

We worked our way down to the corner.

Then, we worked on the short sides of the building. We started at the peak and cut pieces of sheet metal to form a nice point.
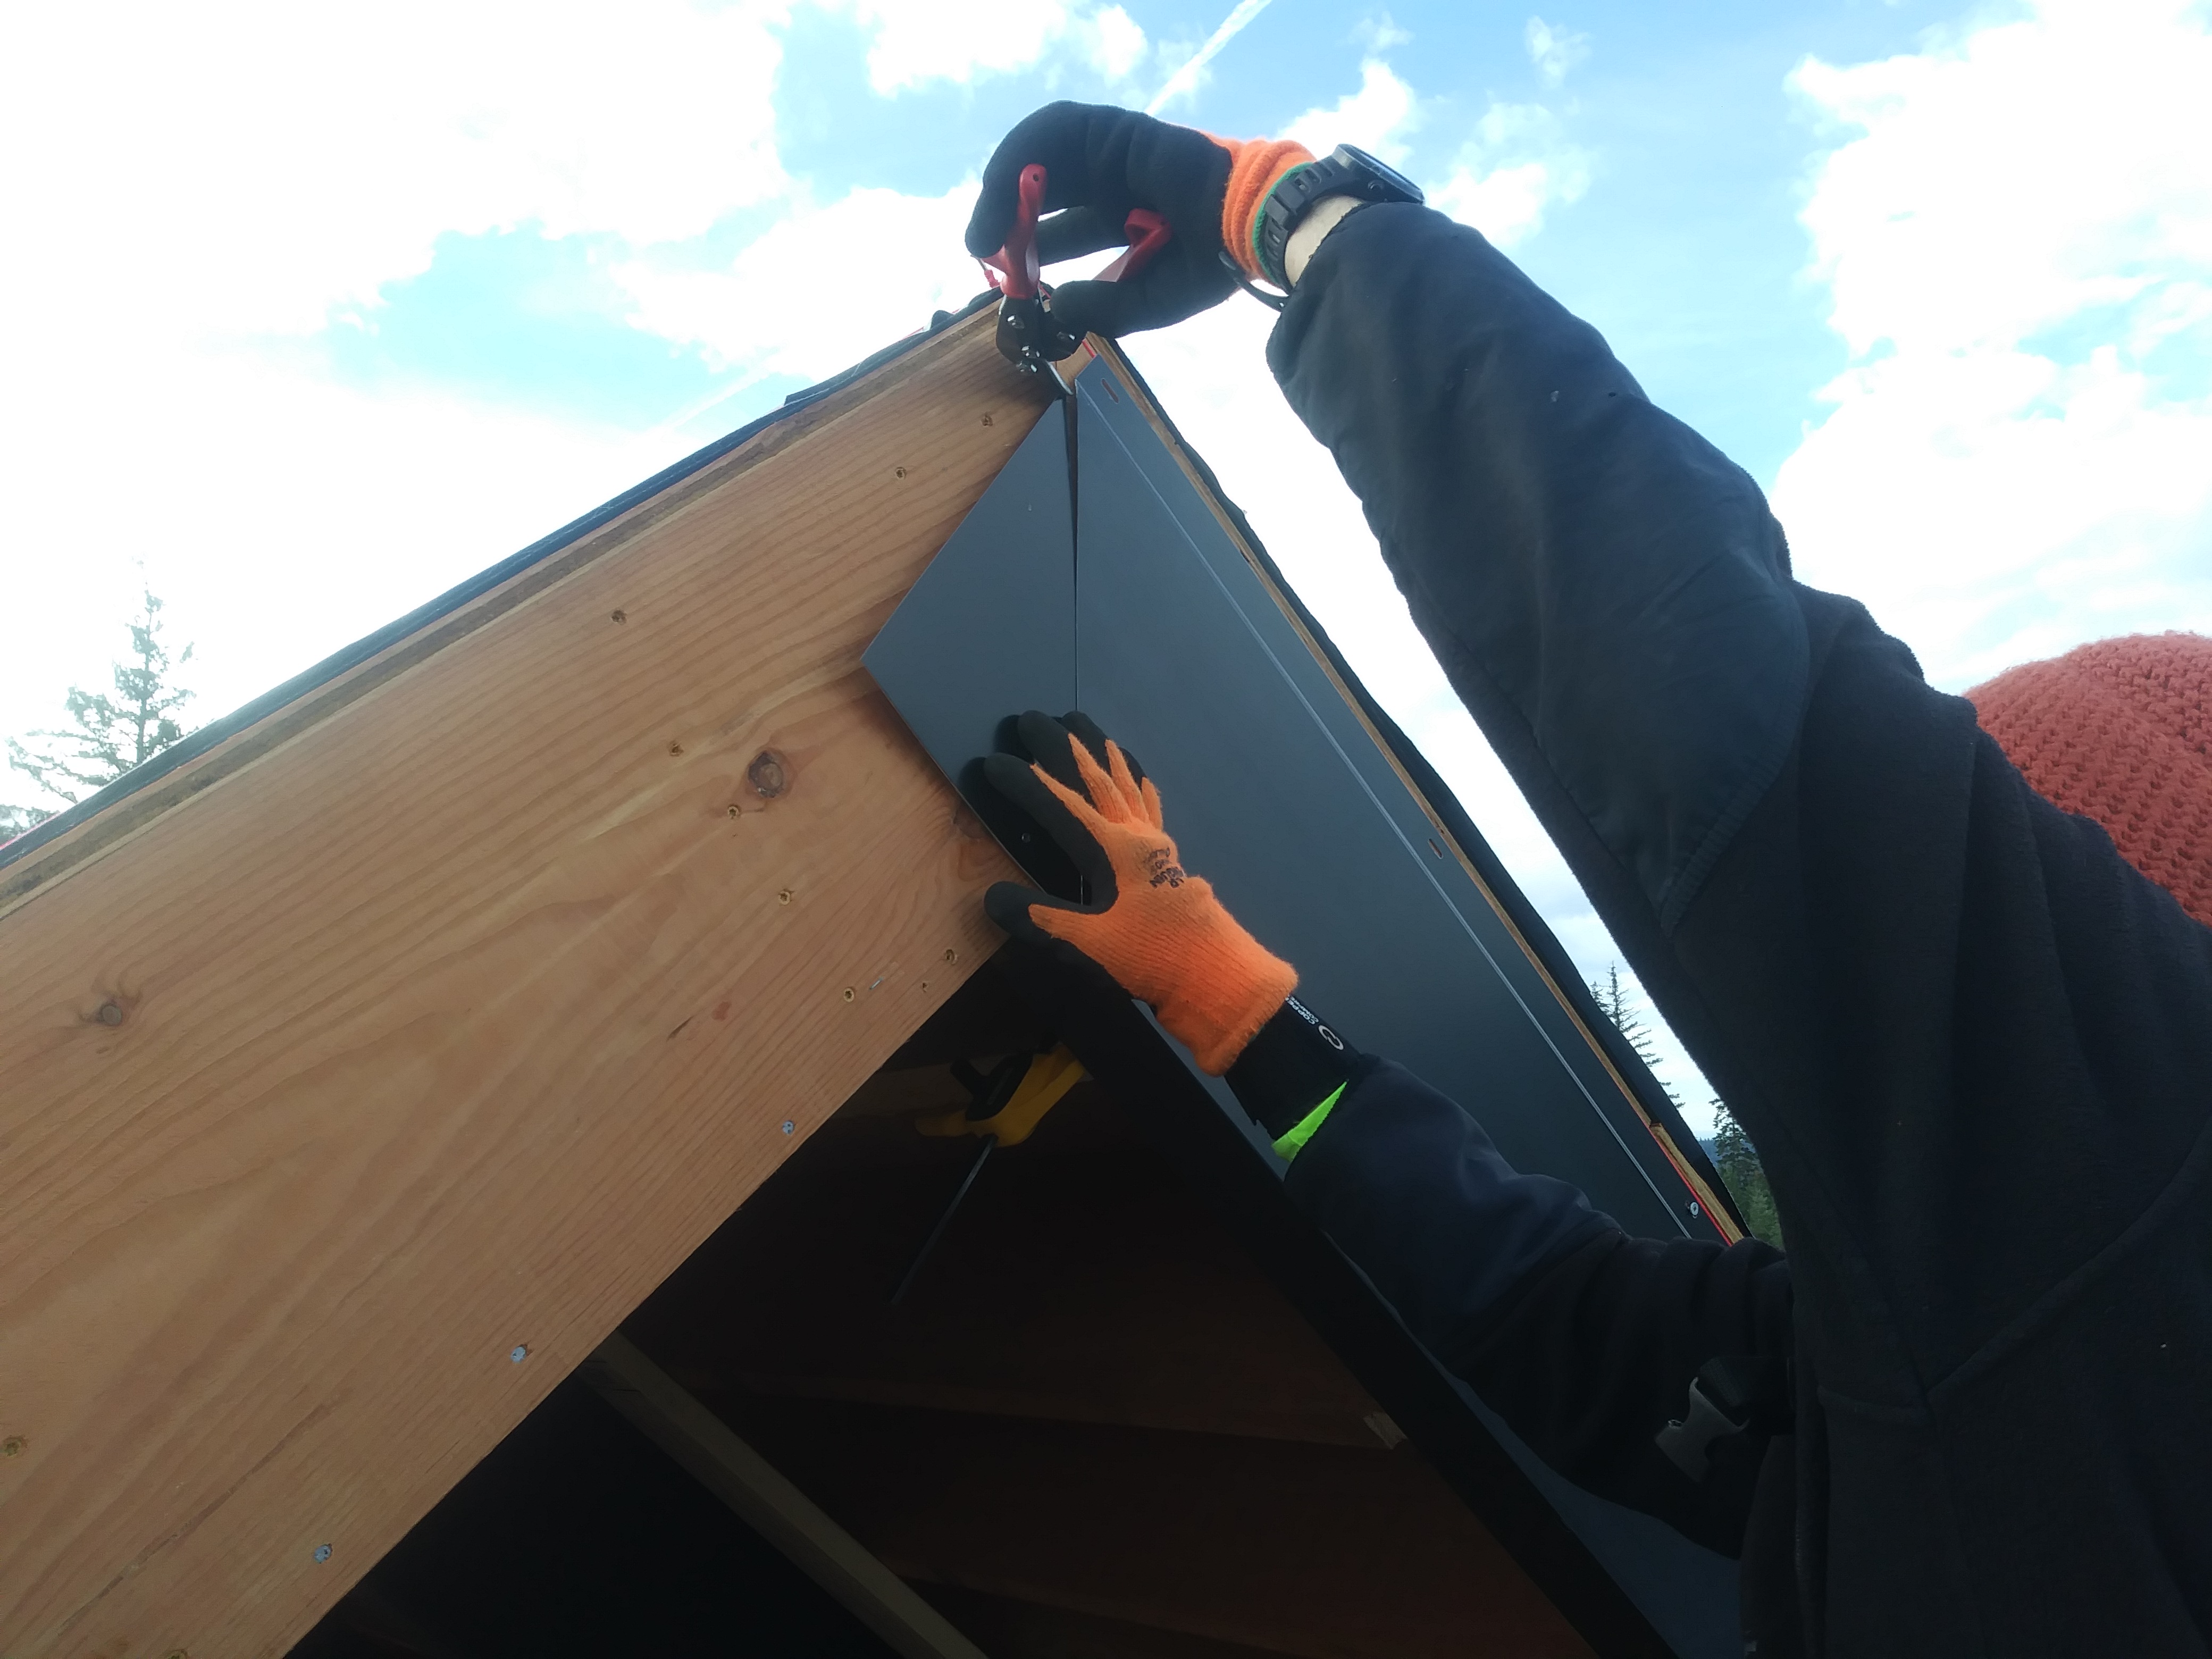
After that, we worked our way down each side. These ends of the roof were more complicated. Instead of putting up long 2×4’s behind the overhang, we had to cut about 100 small pieces to fit perfectly in each gap. There were many iterations of measuring, cutting, and fitting the boards.

The corners were tricky and required some fancy cutting. Luckily Sam already had a large collection of sheet metal snippers.
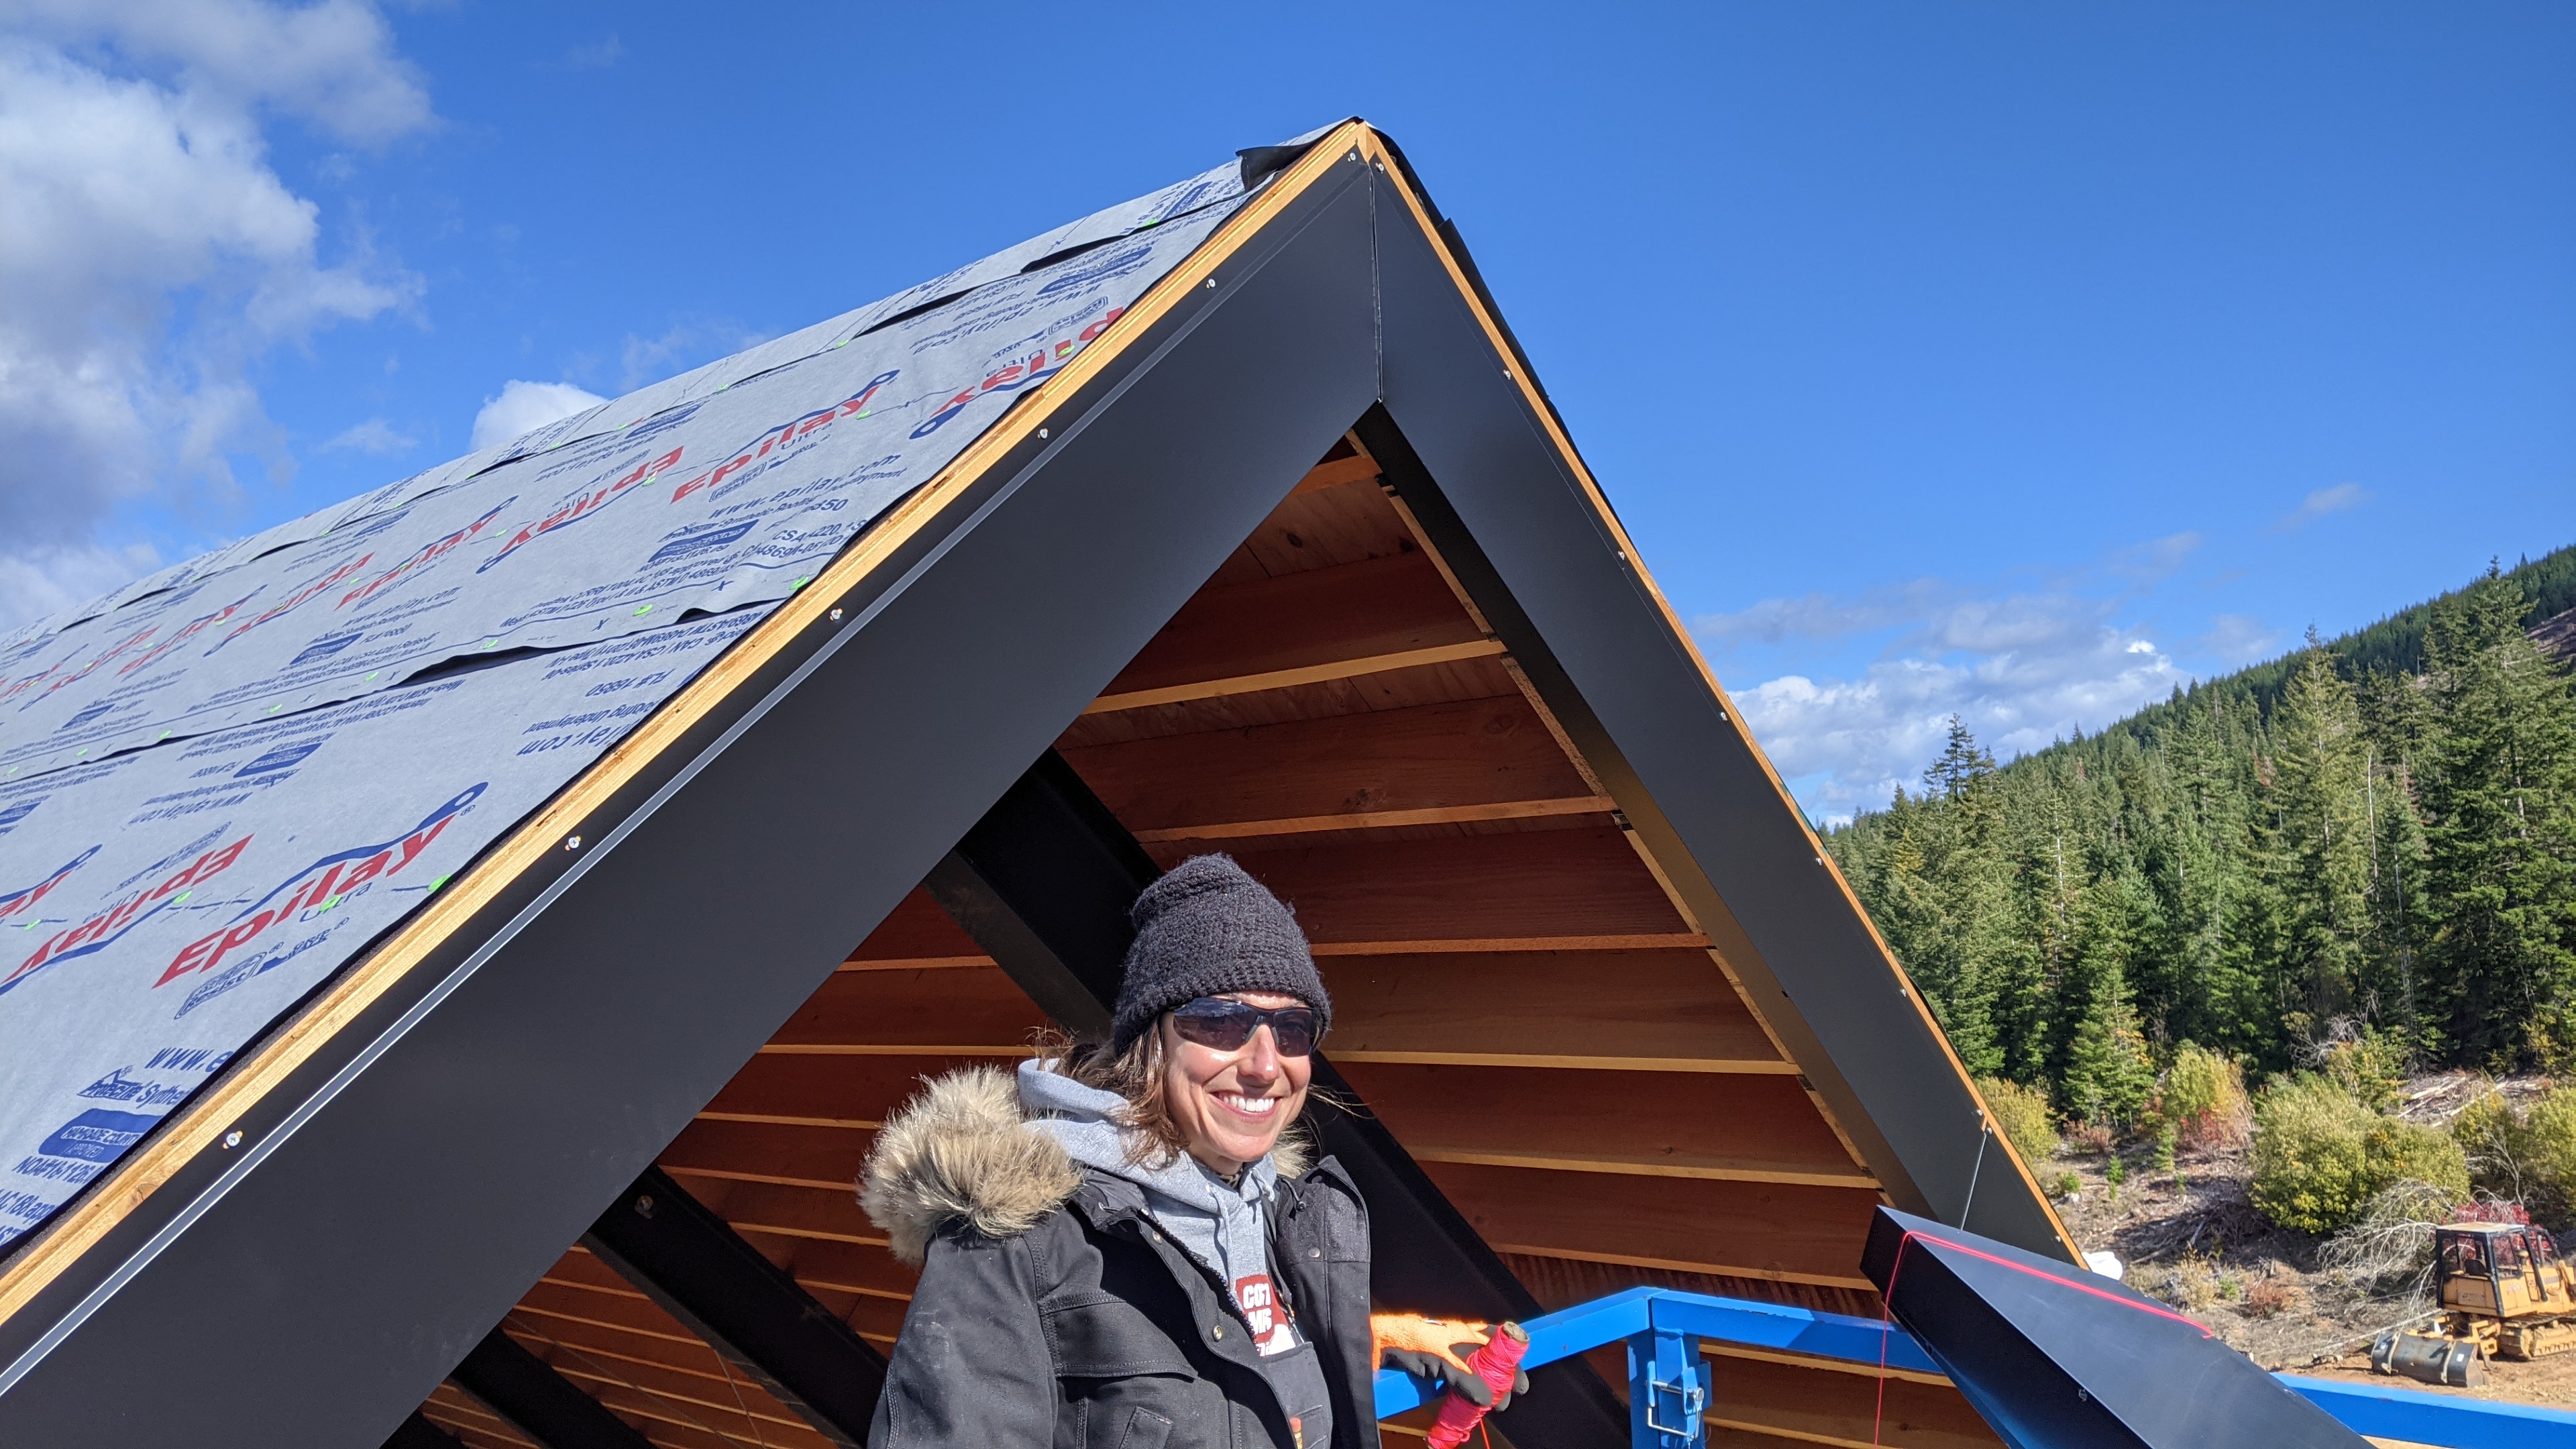
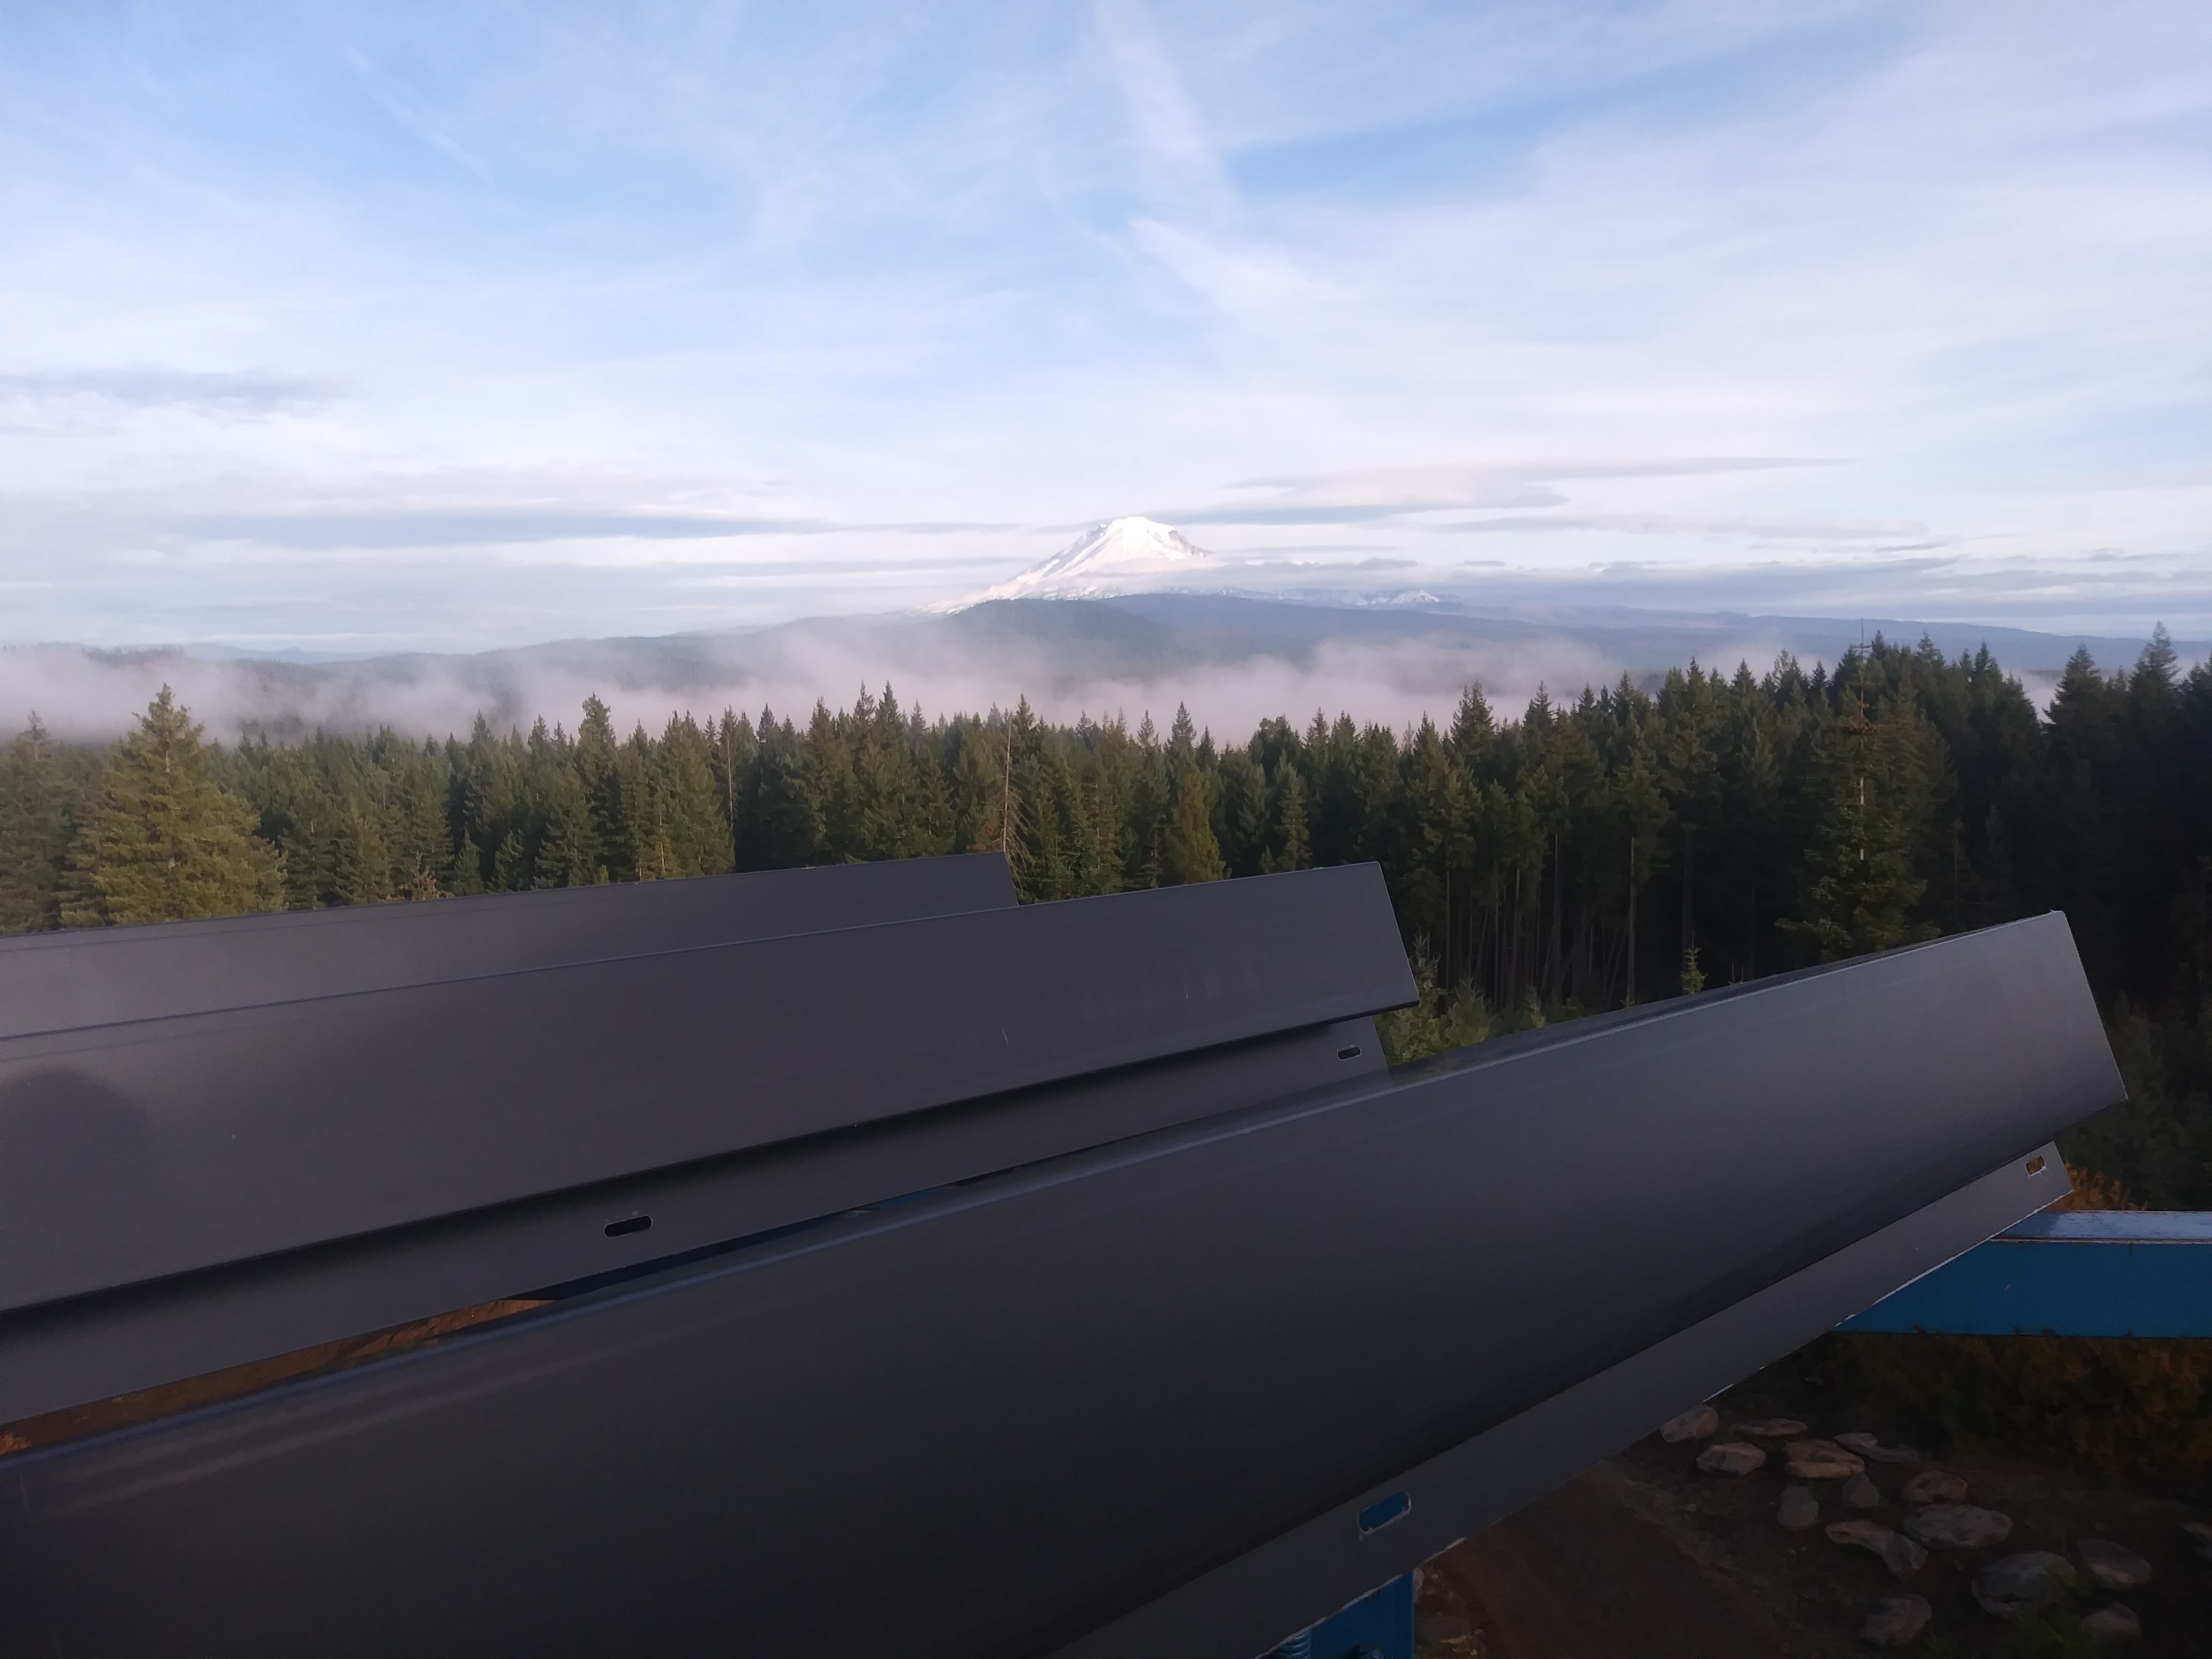
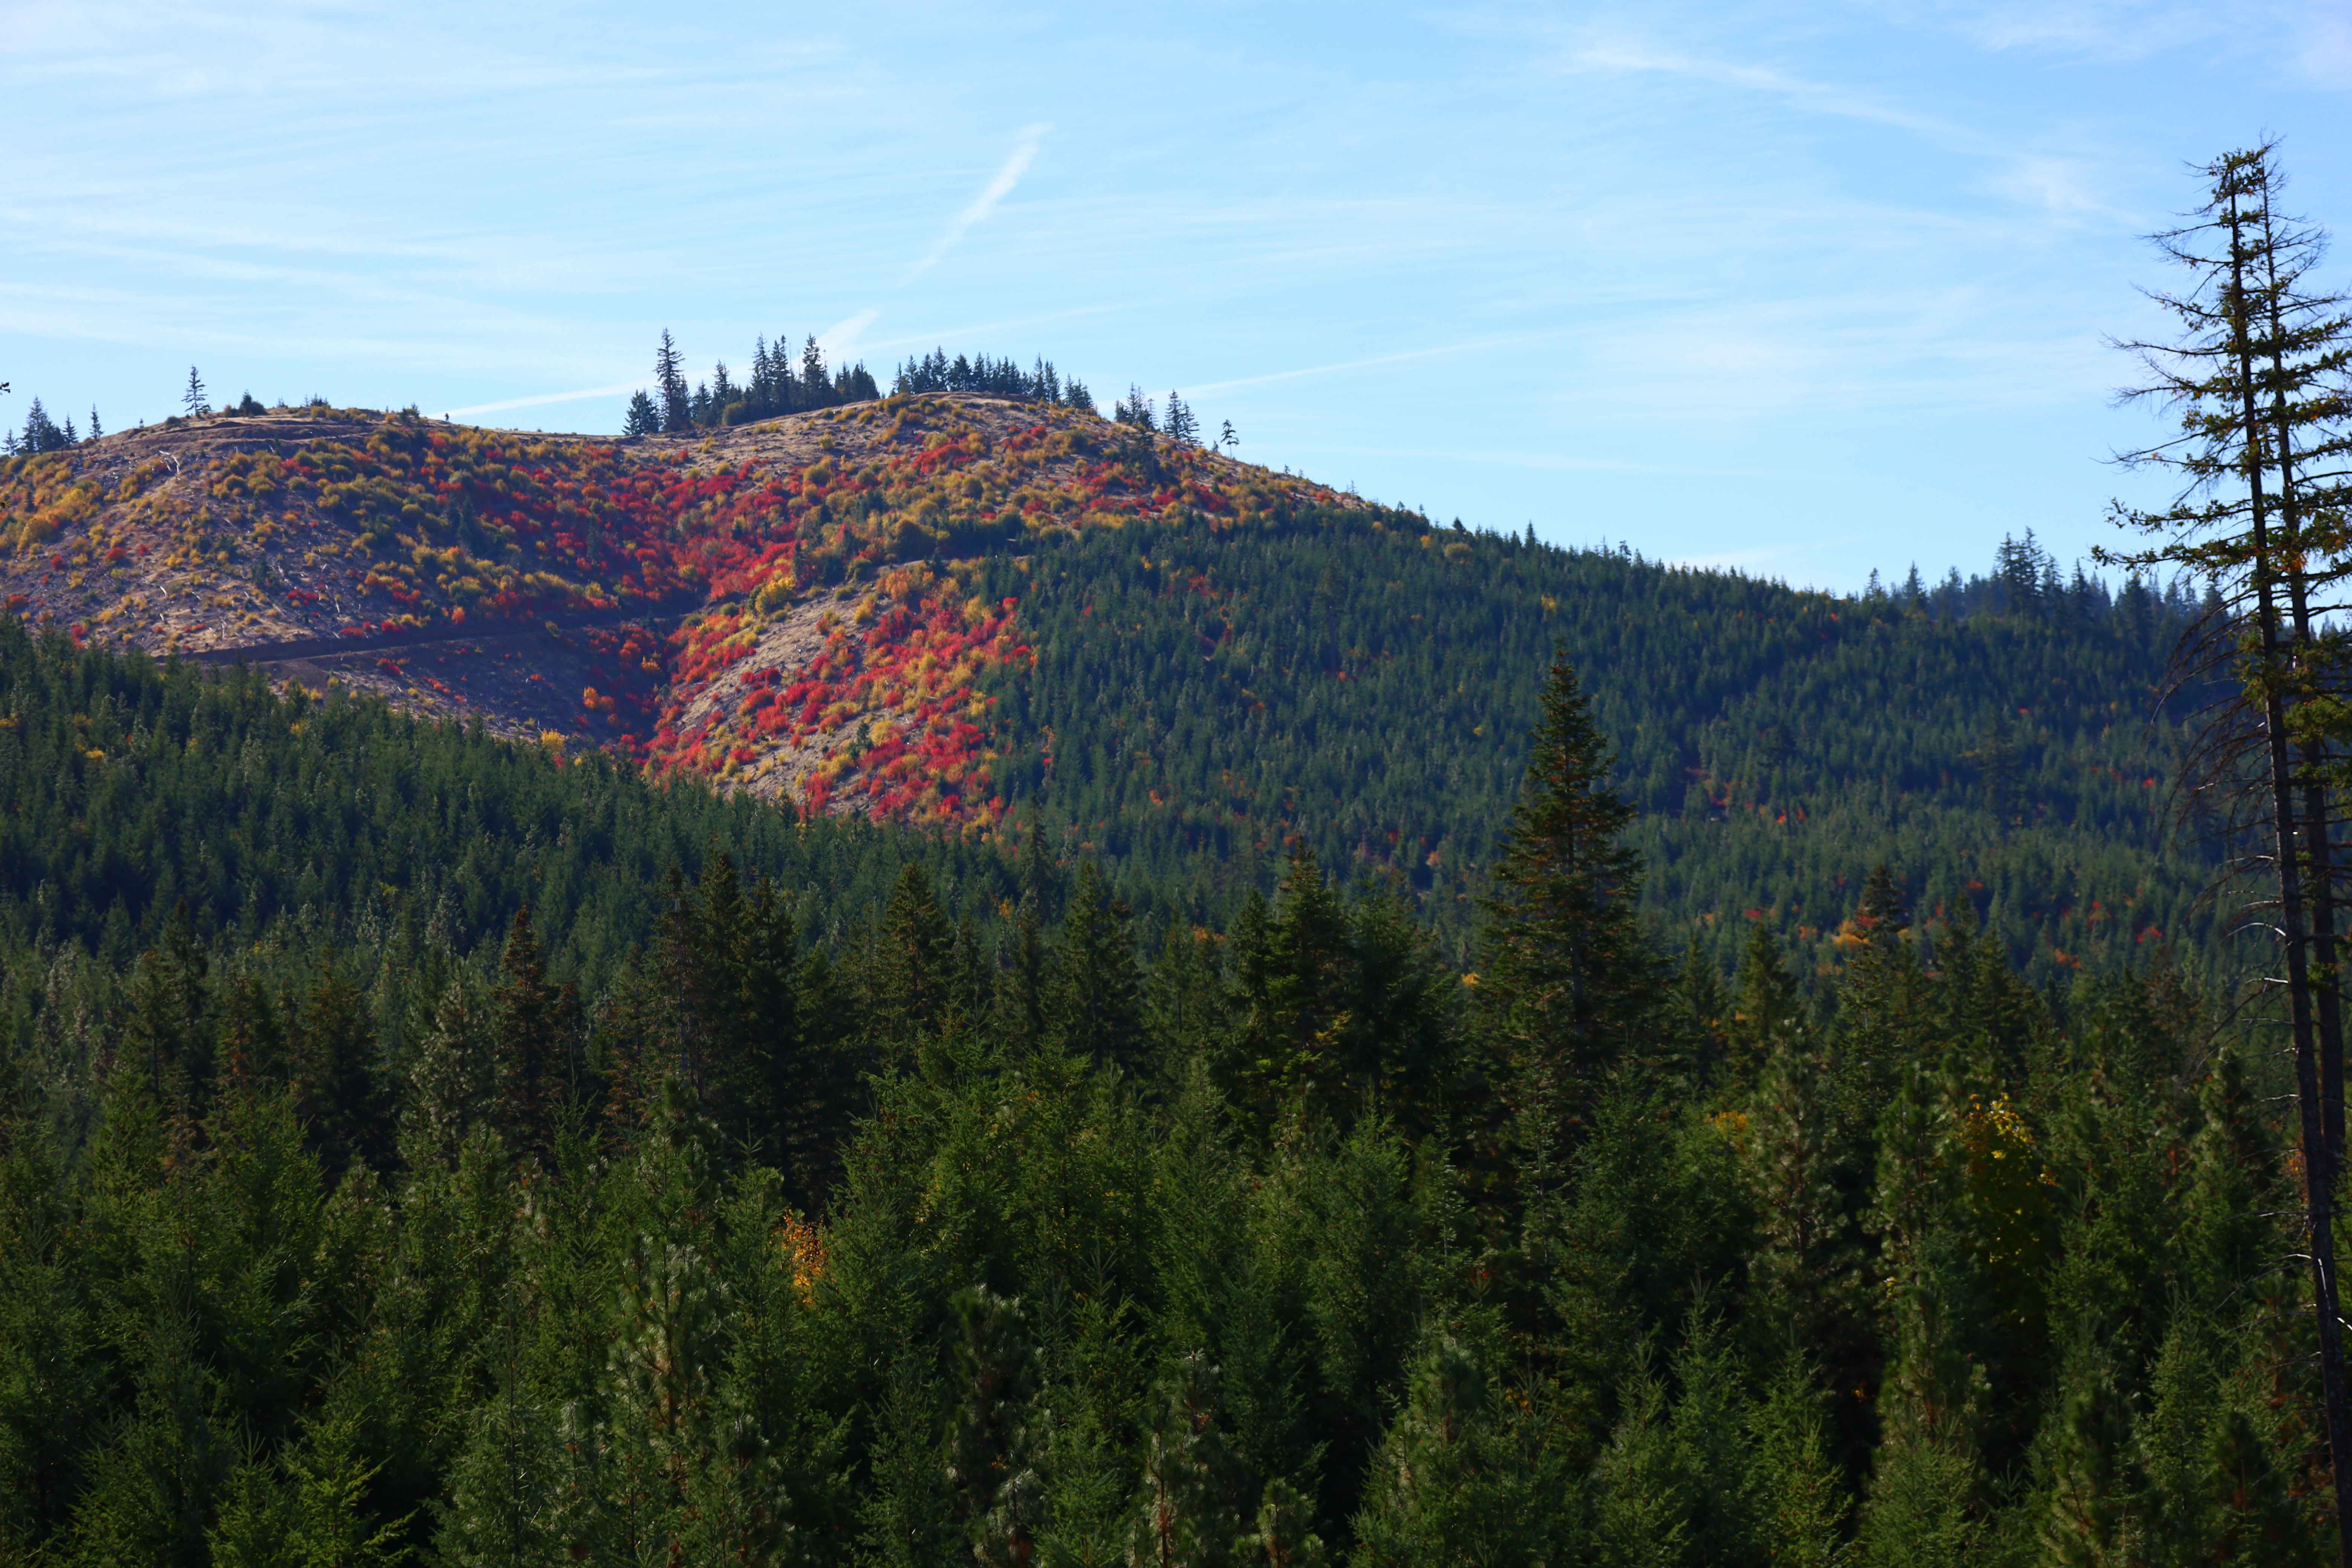
Despite the cold breeze, Fall is a great time of year for aerial work. The views were spectacular. The maple shrubs are changing color, and it looked like someone painted the nearby hills.
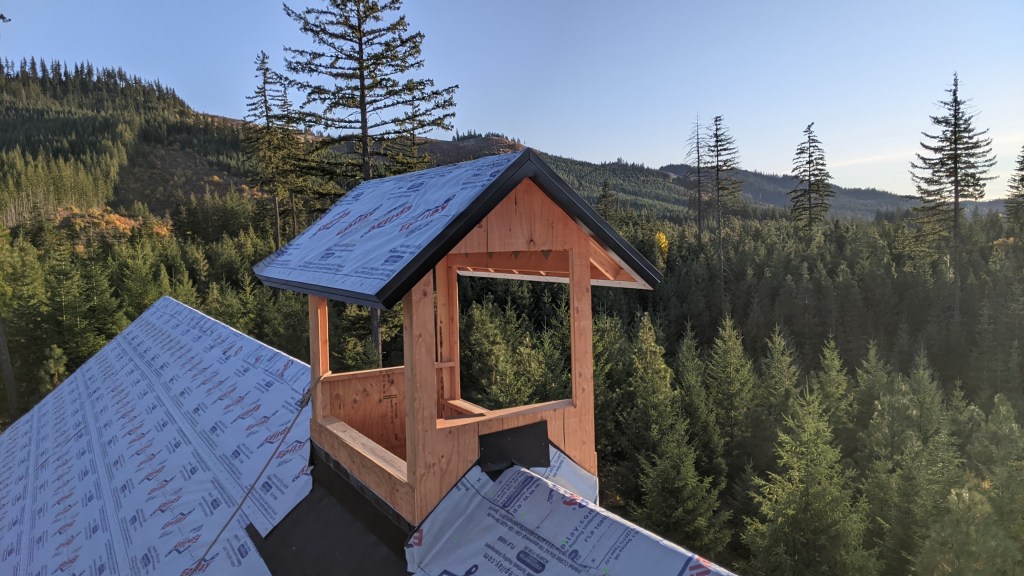
Before we knew it, we had made it around the whole roof! But… there was still the cupola roof. We (Sam) trimmed it in a similar black sheet metal.
There were a few remaining items to tackle before the shingles go on. We poked a few holes in the roof for vents and a larger hole for the chimney.
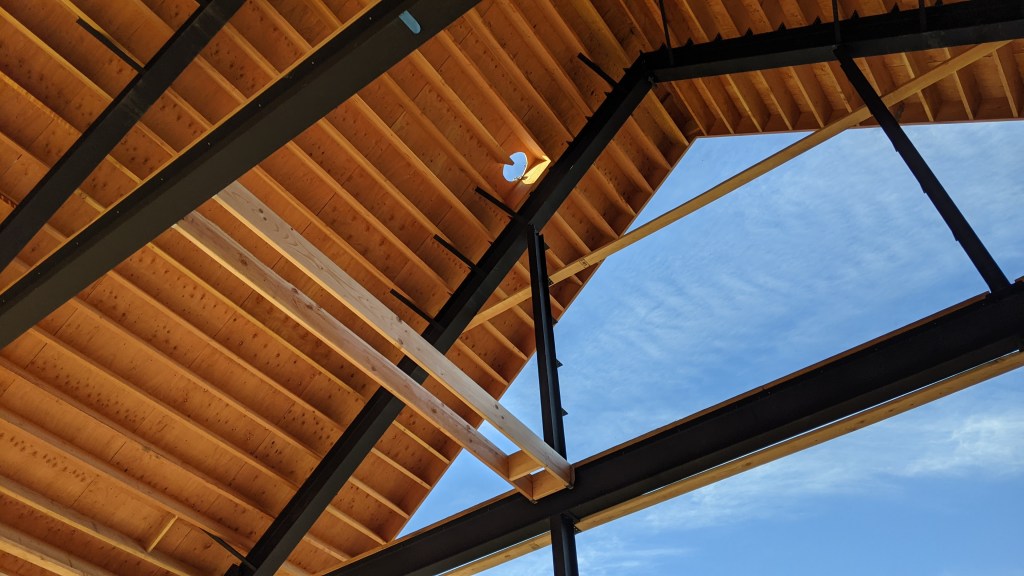
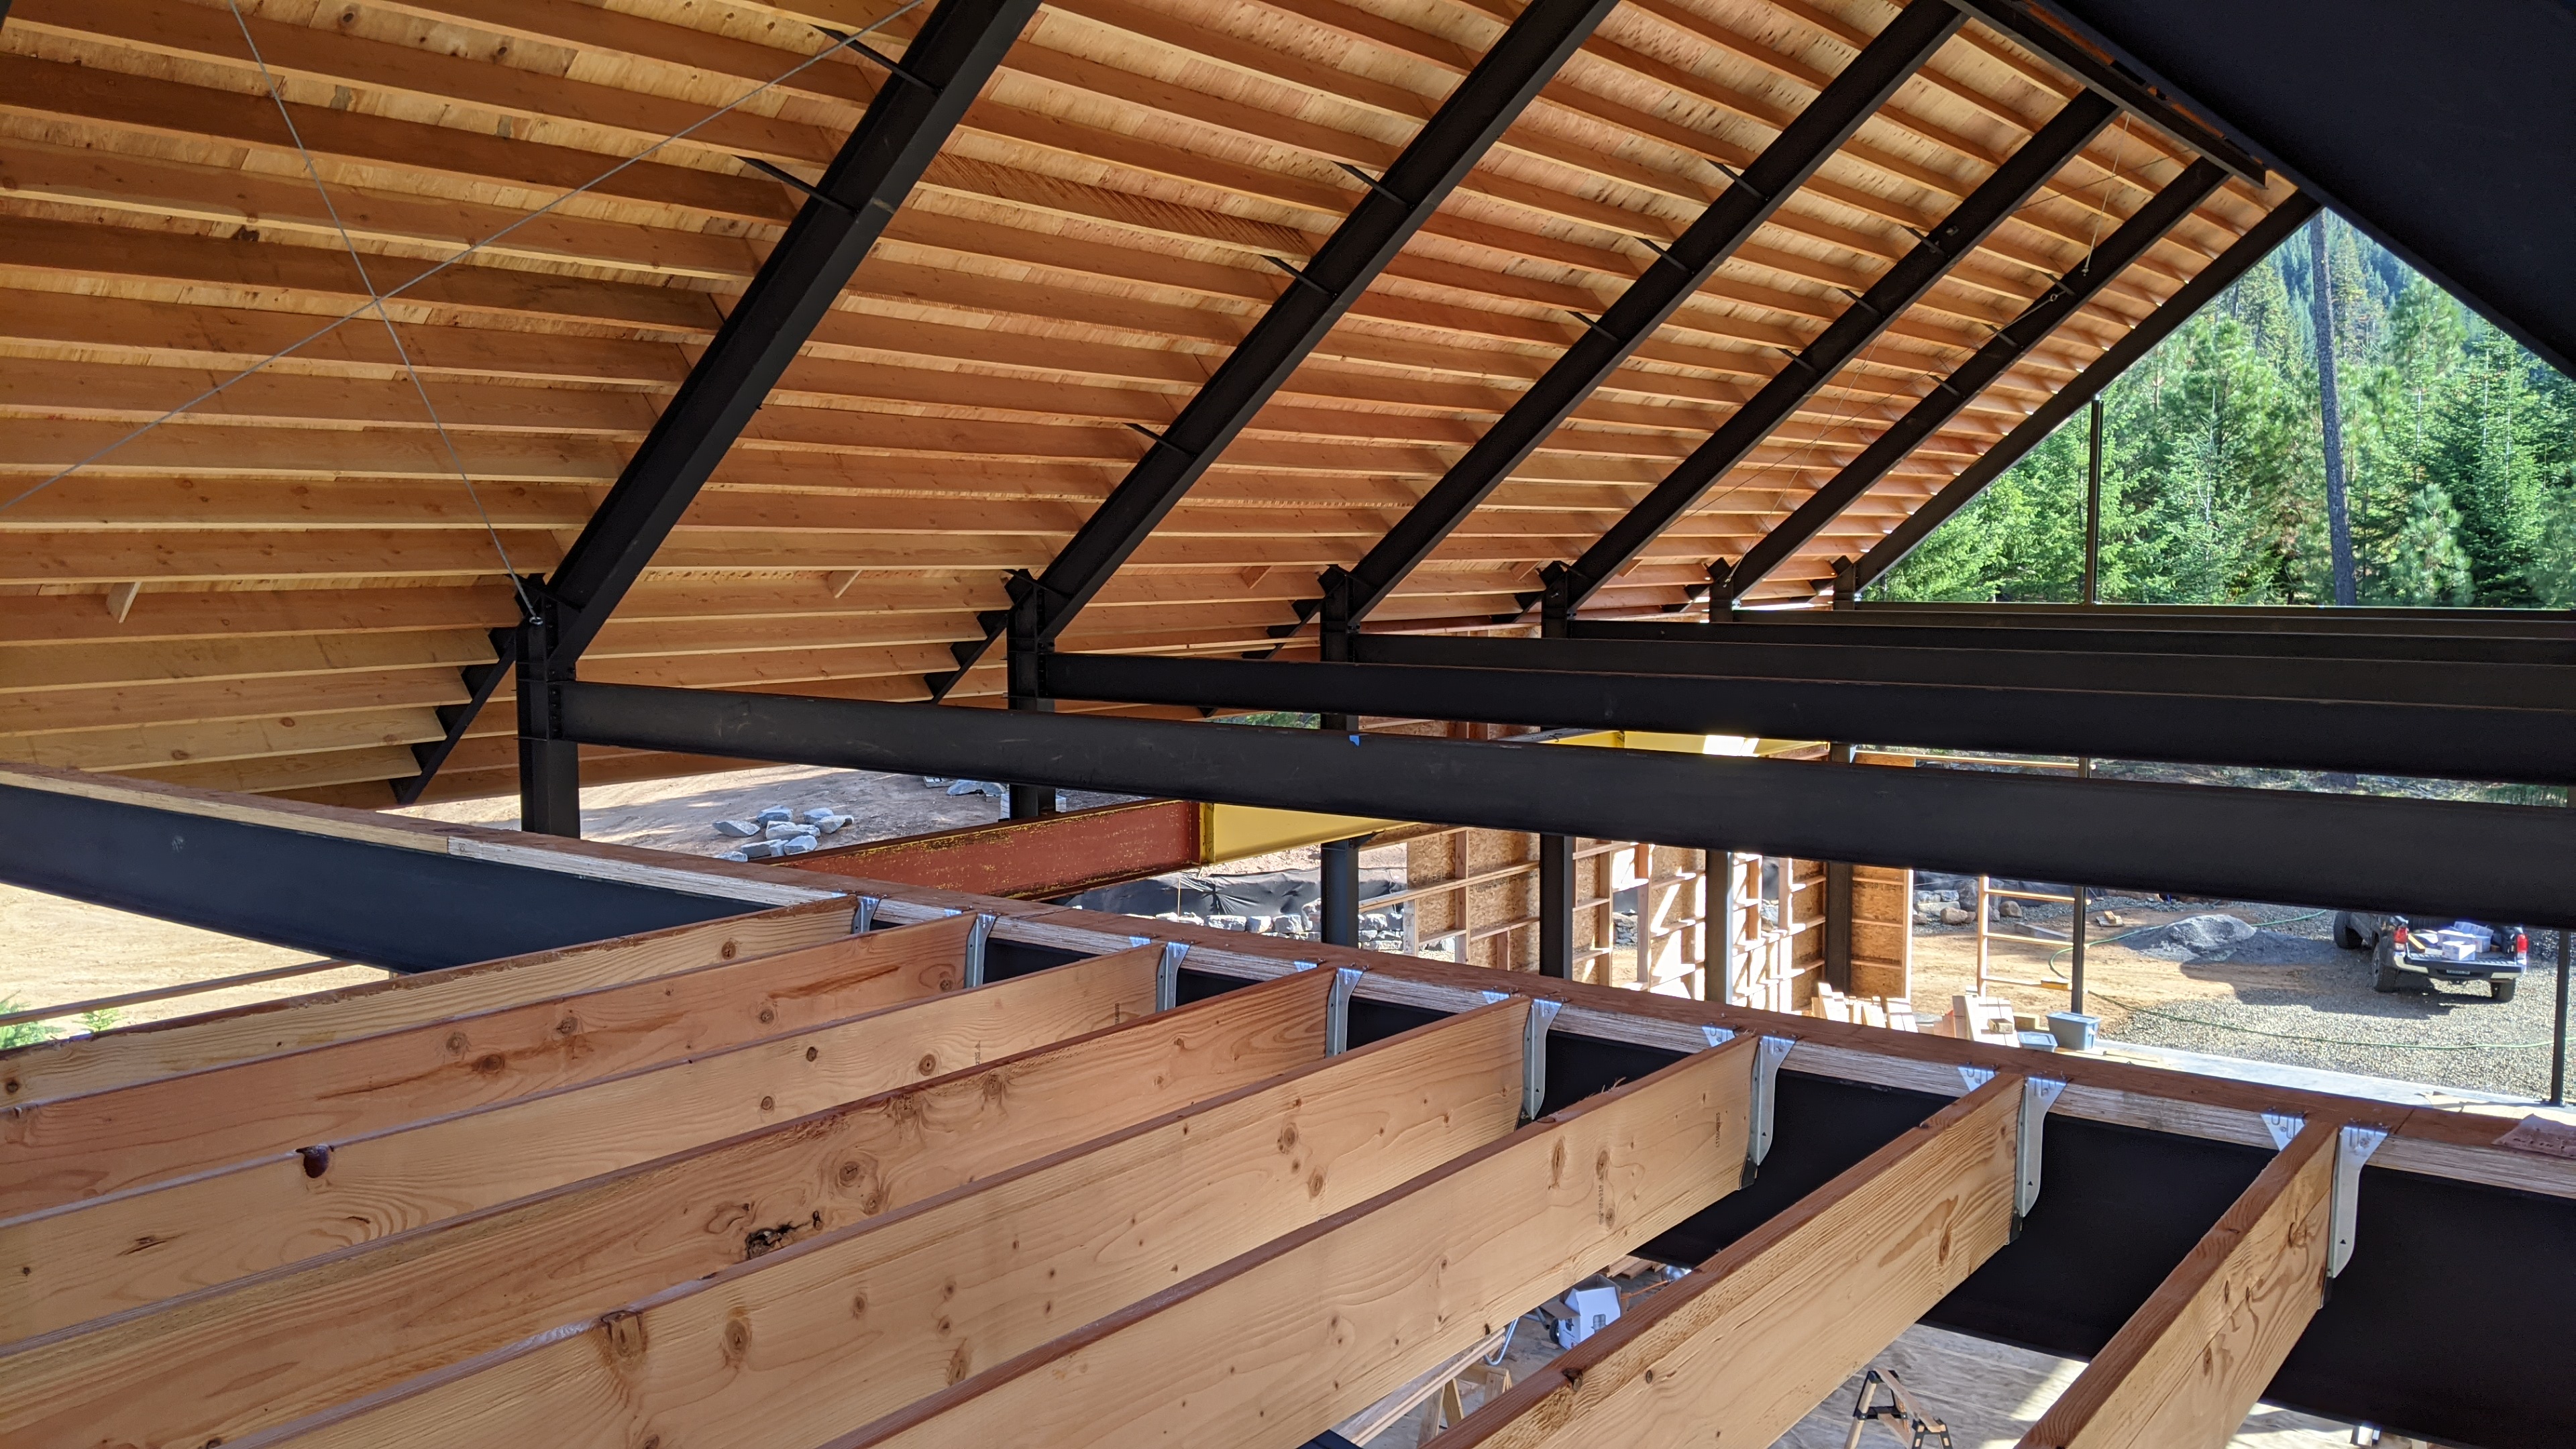
The chimney is supported by a bracket in the ceiling/attic floor, so we installed a few floor joists first.


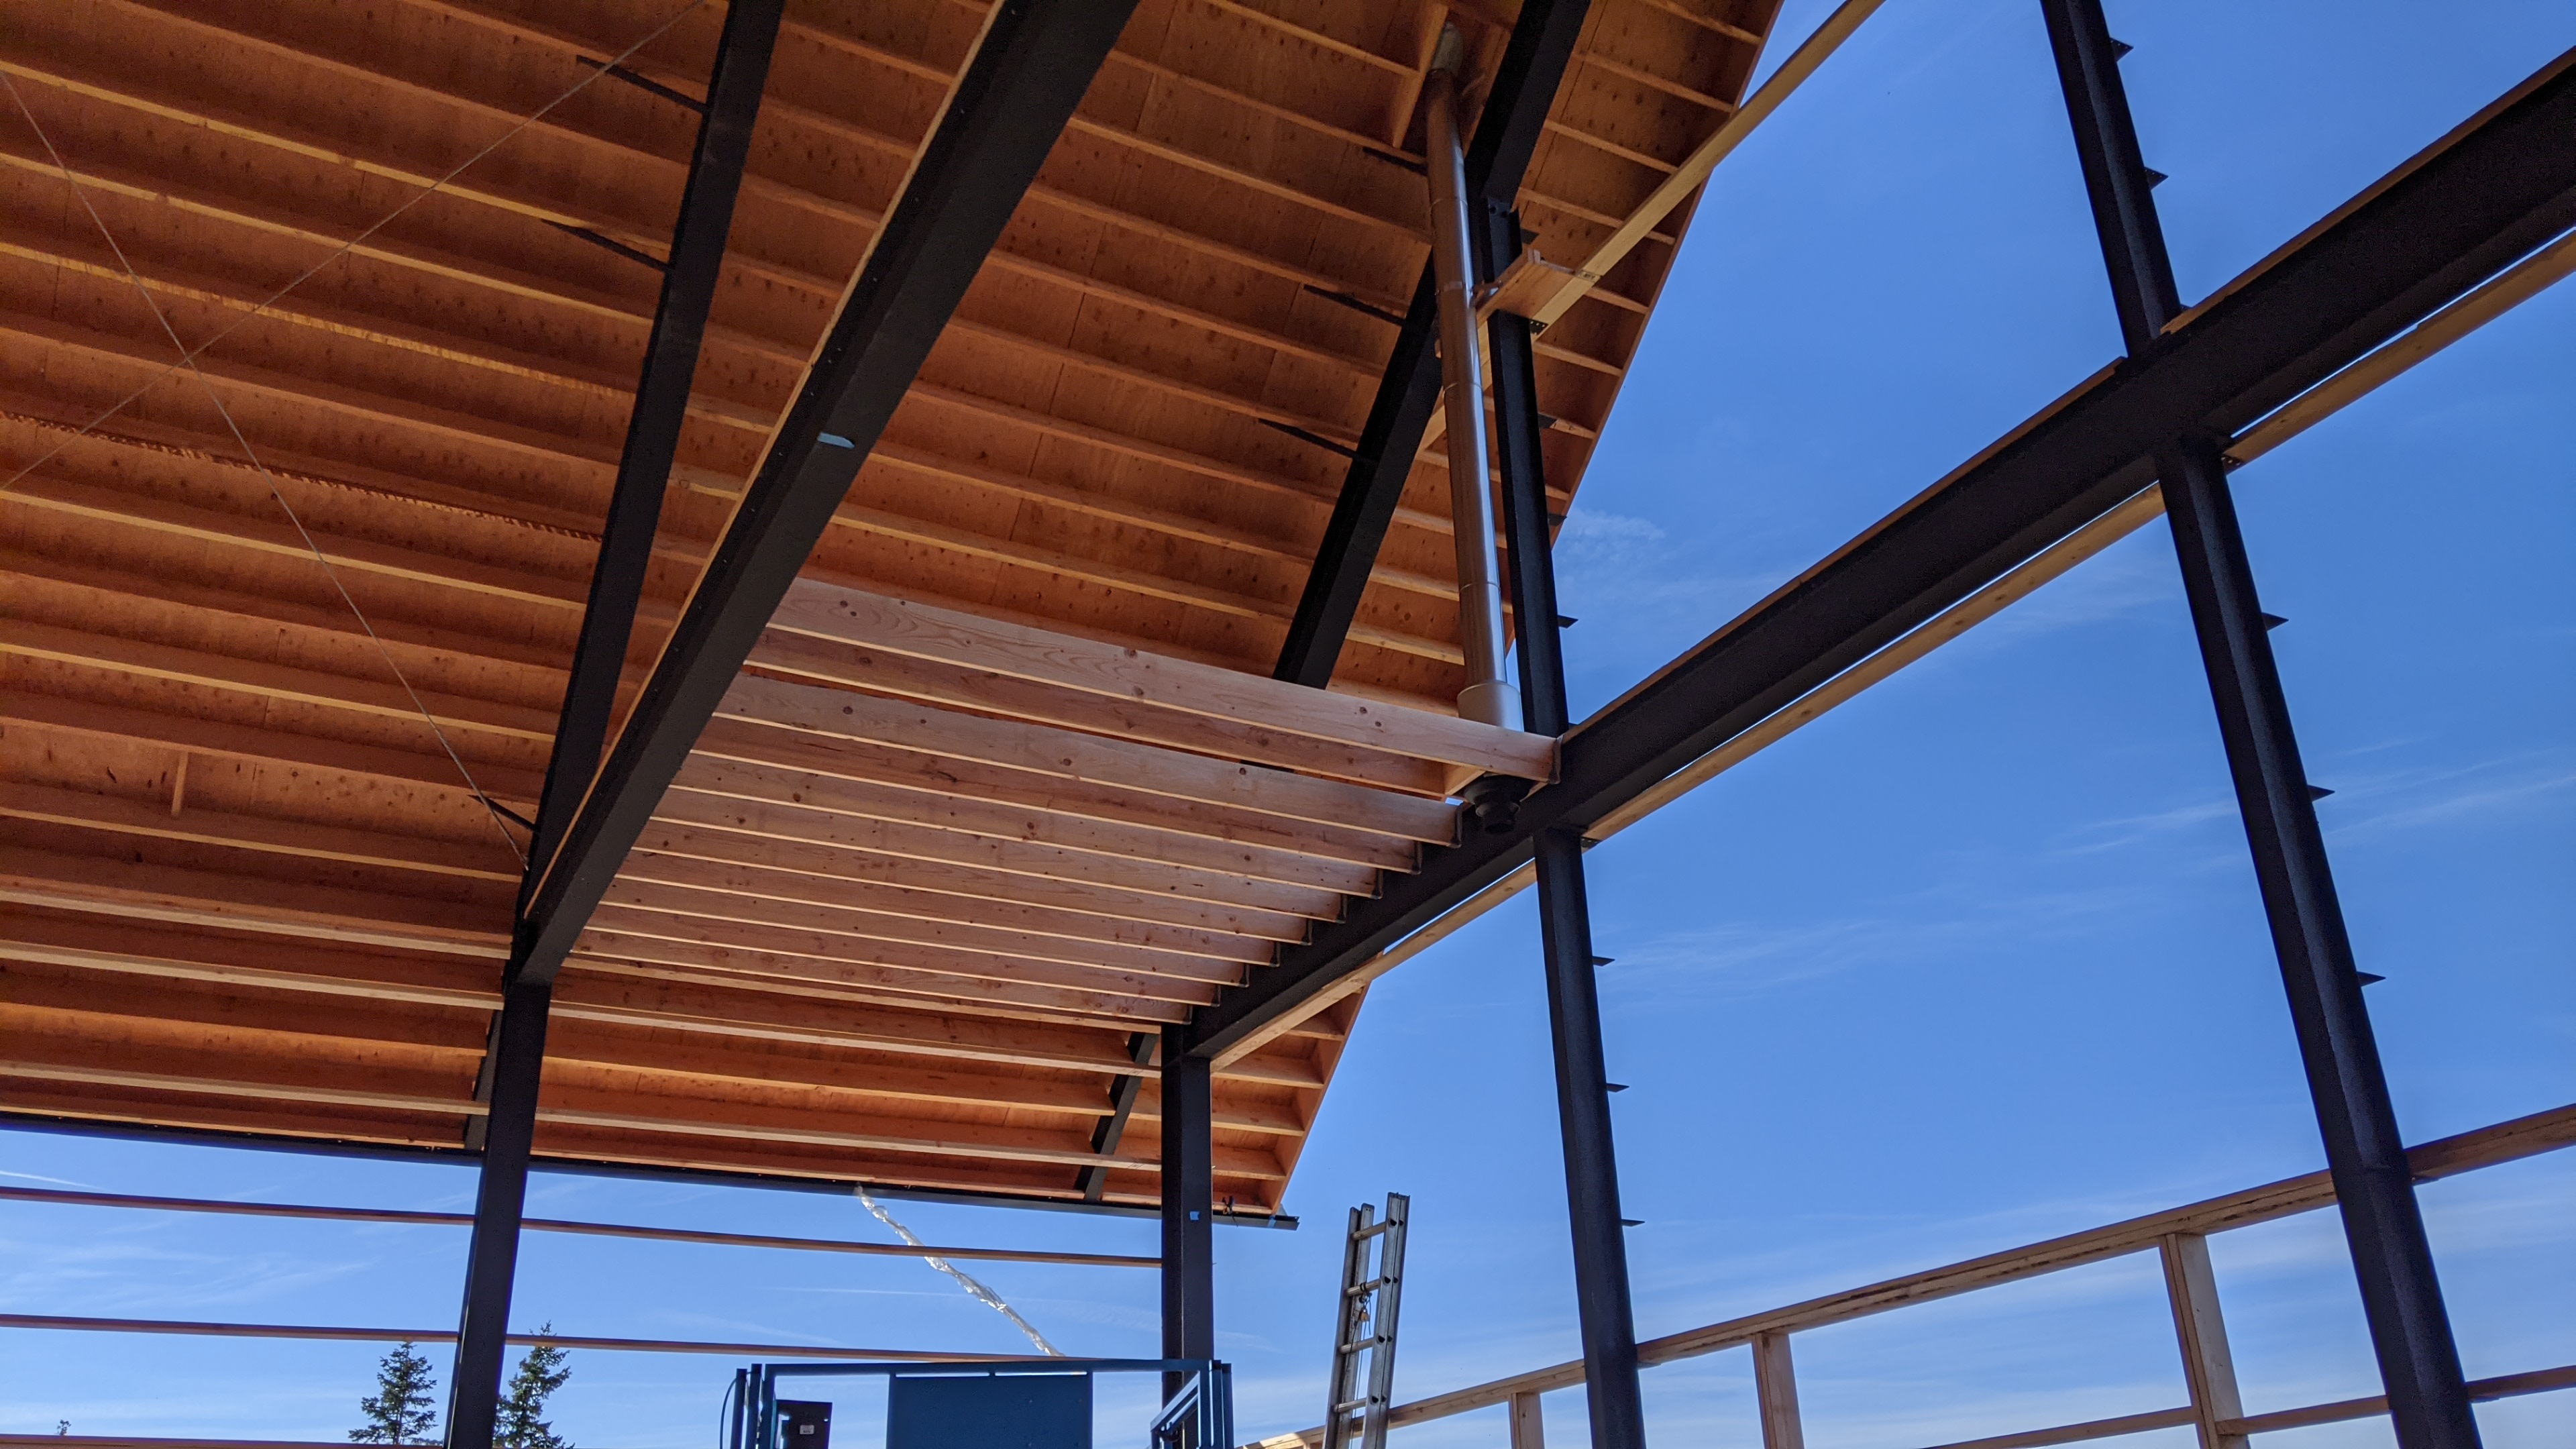
Sam worked on most of this by himself. I came over to check on his progress, and he already had most of the chimney up!
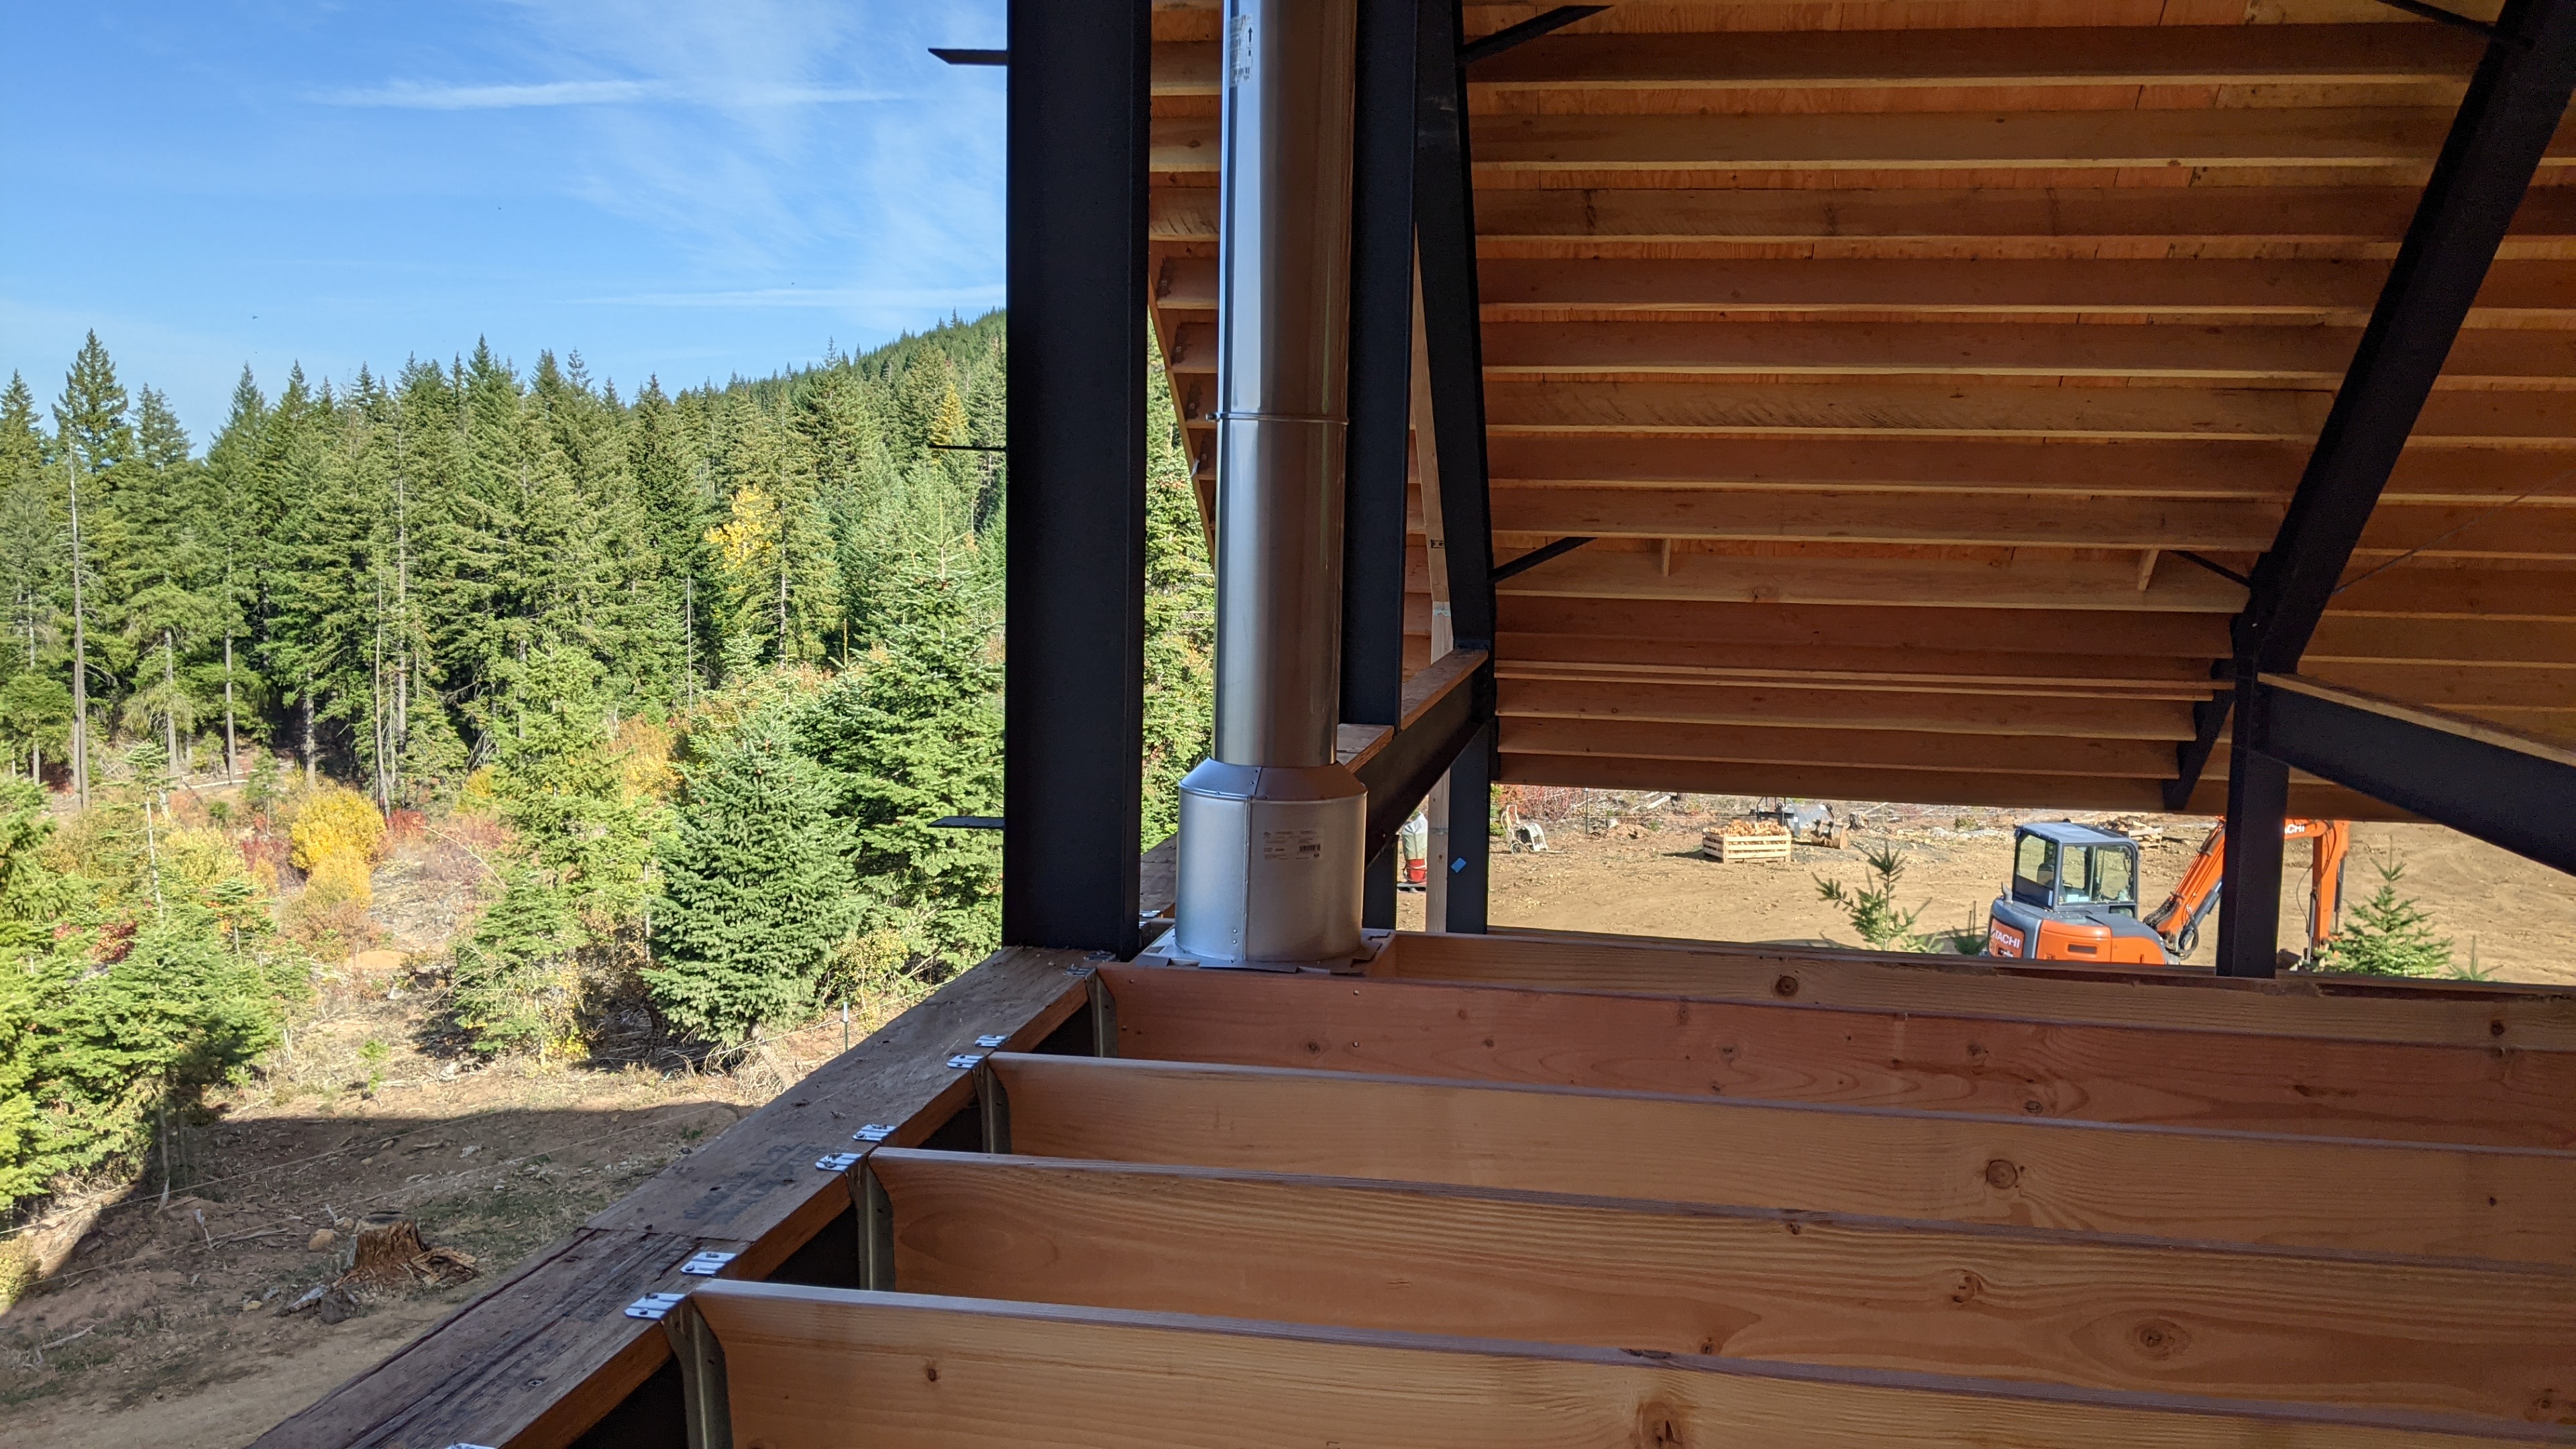
We are ready for the roofers!
