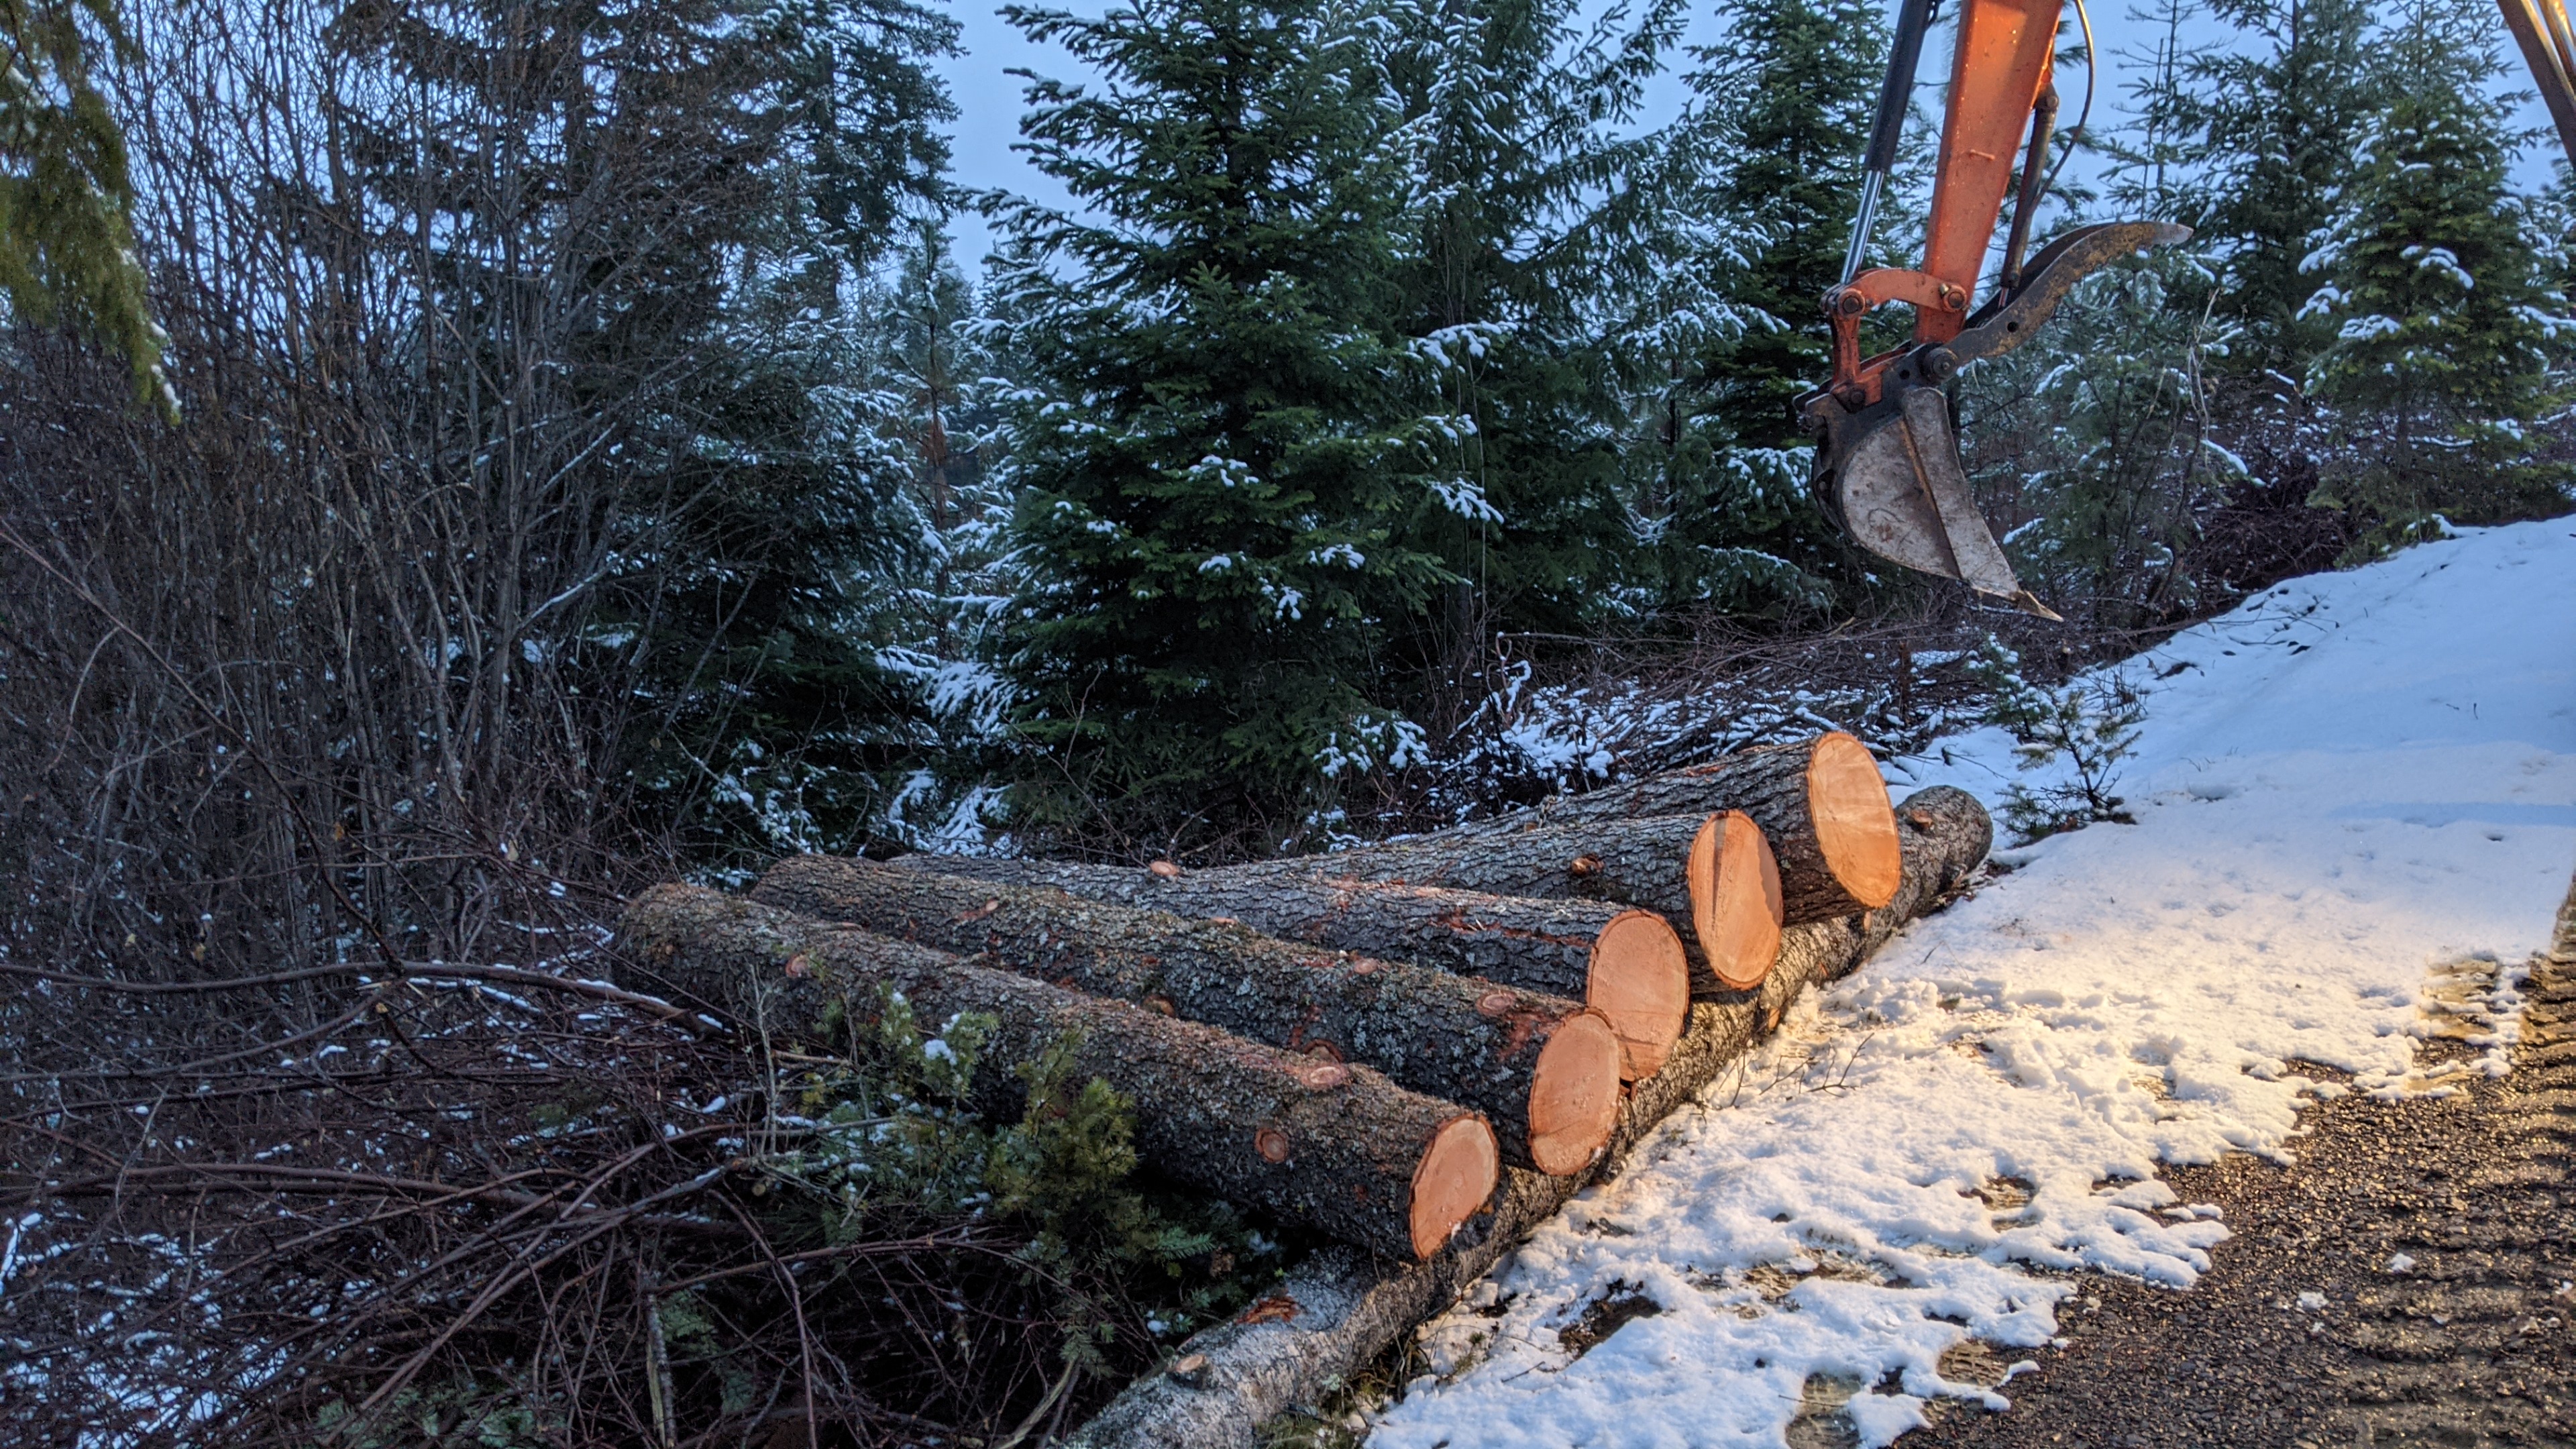
It all started about a year ago when one of our large Douglas Fir trees died. We were concerned it would become a safety hazard if left standing much longer, so Sam decided to cut it down.

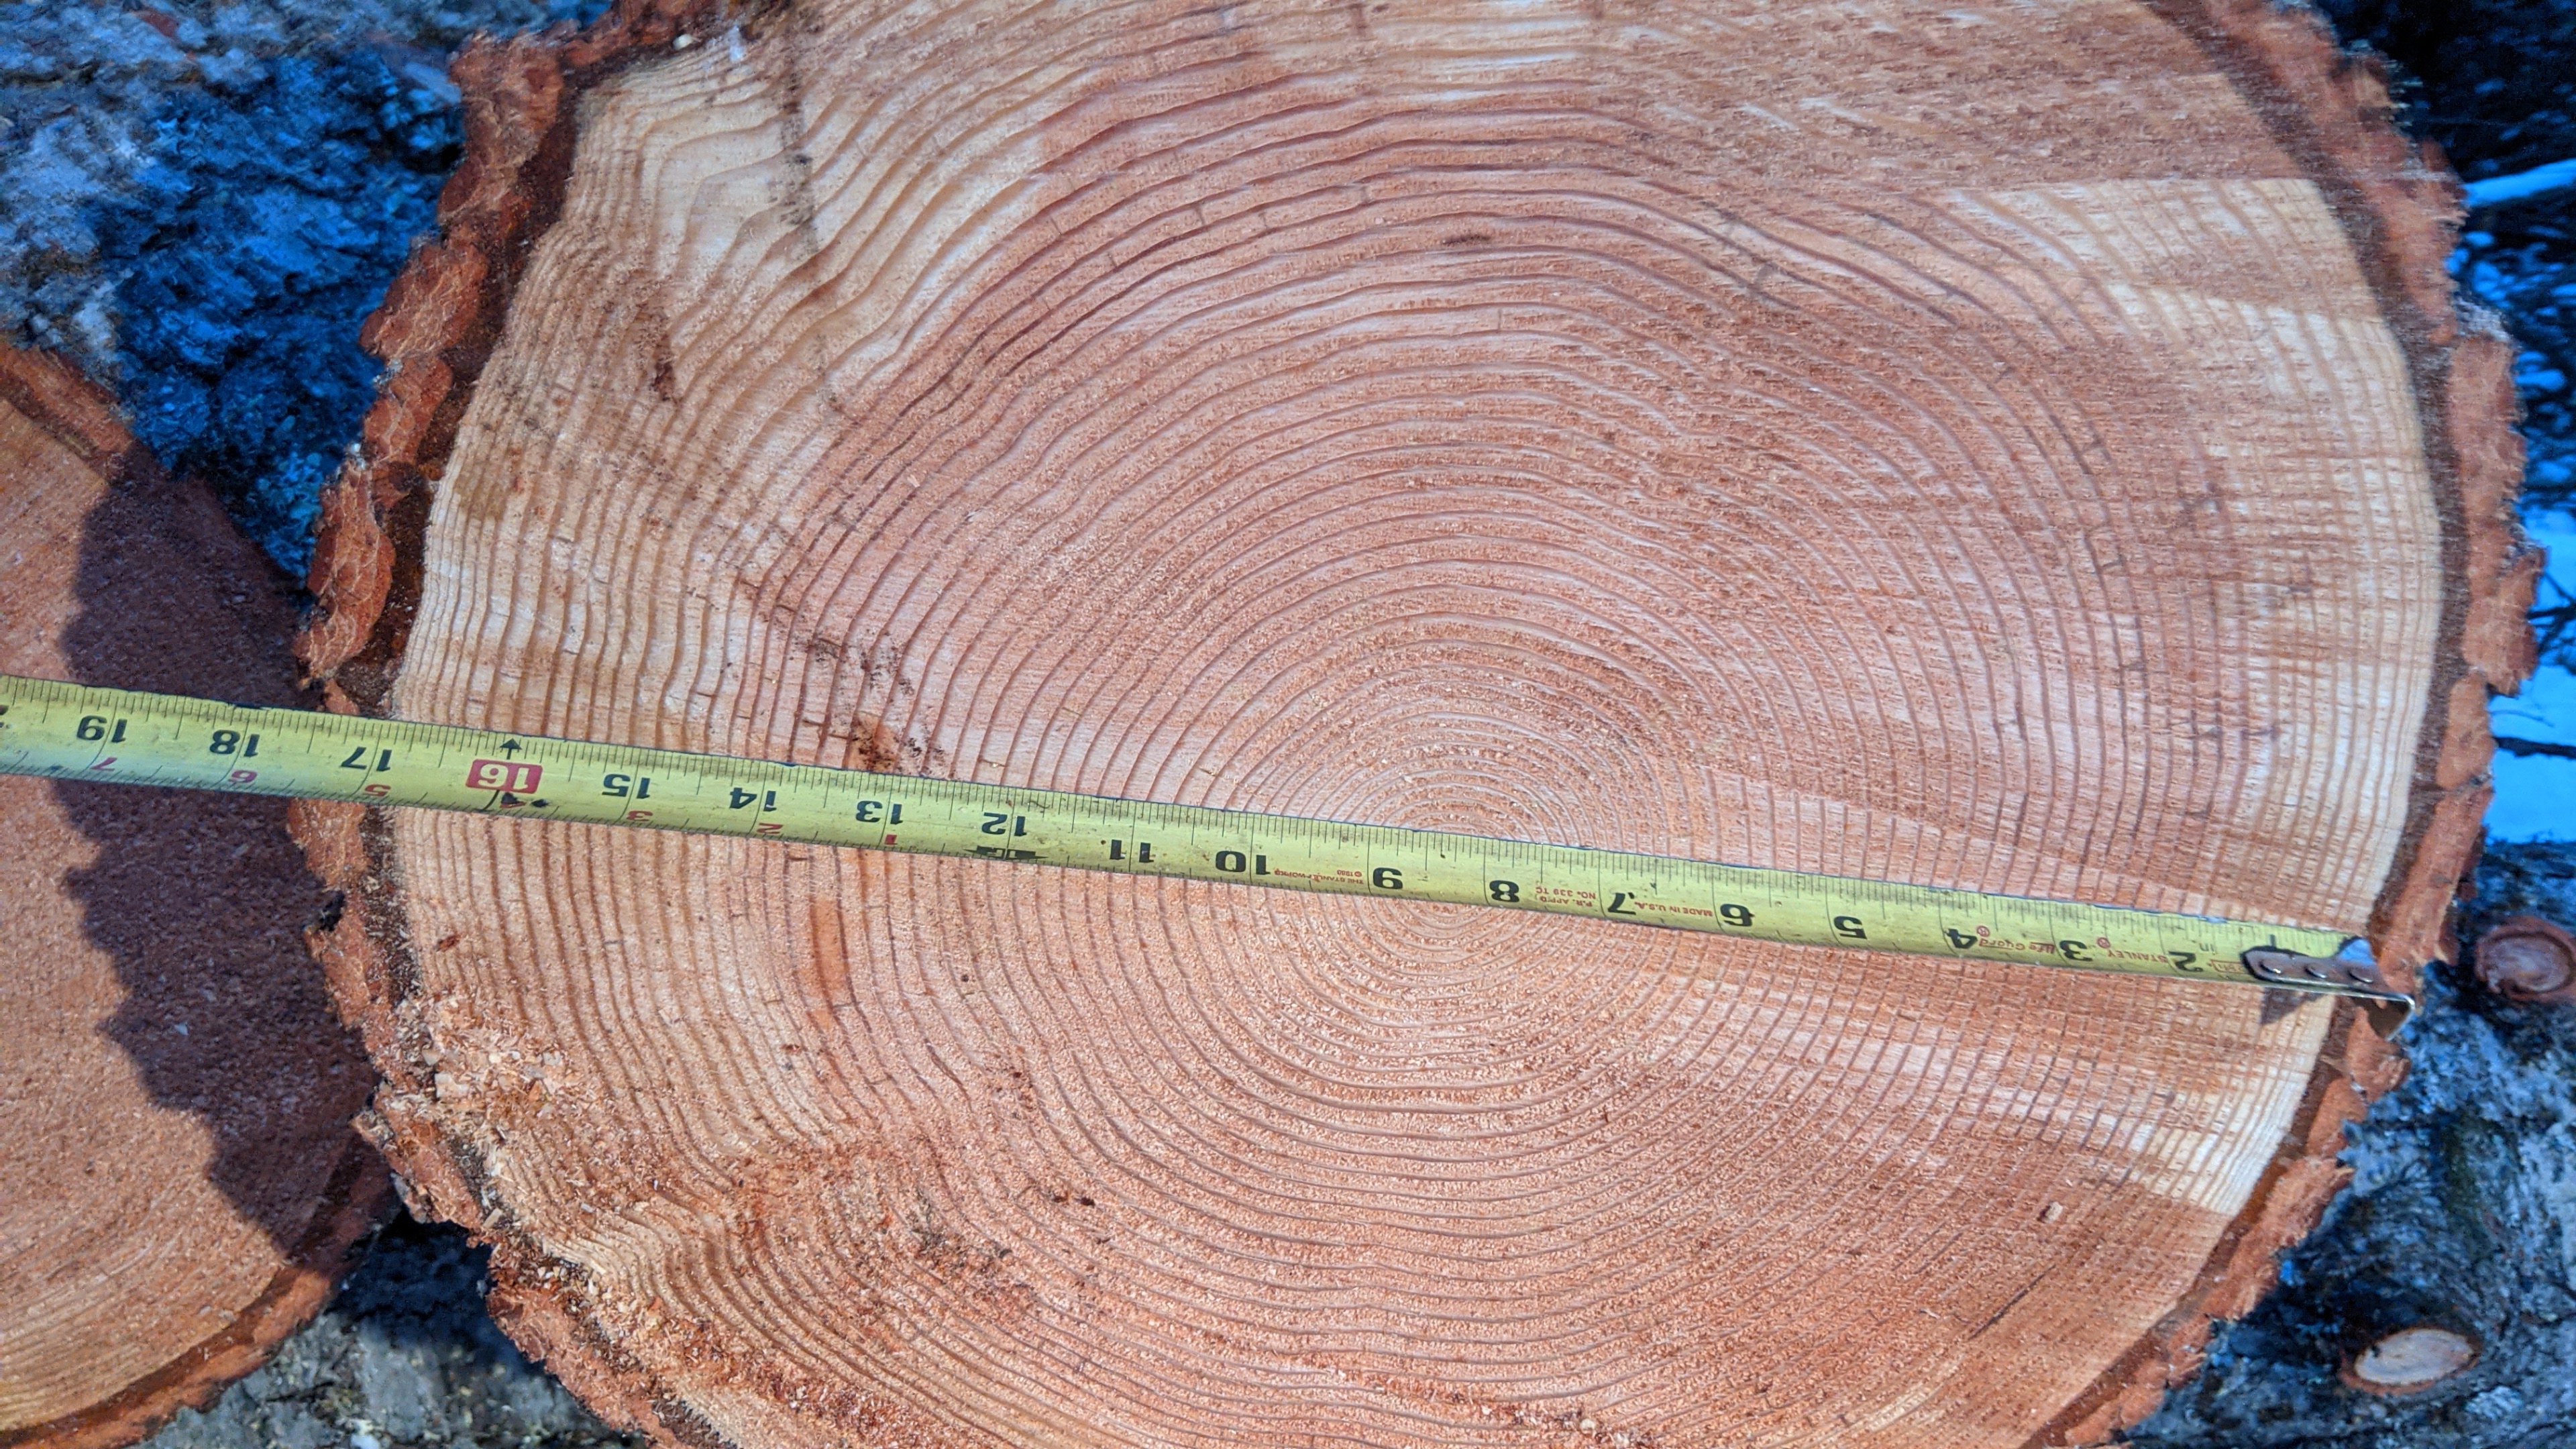
The tree was near the road, making it was easier to fell and haul out. It was one of the larger trees on our property, and we thought it would be neat if we could use the wood somewhere in our building. After much consideration, we decided to make stair treads out of it.
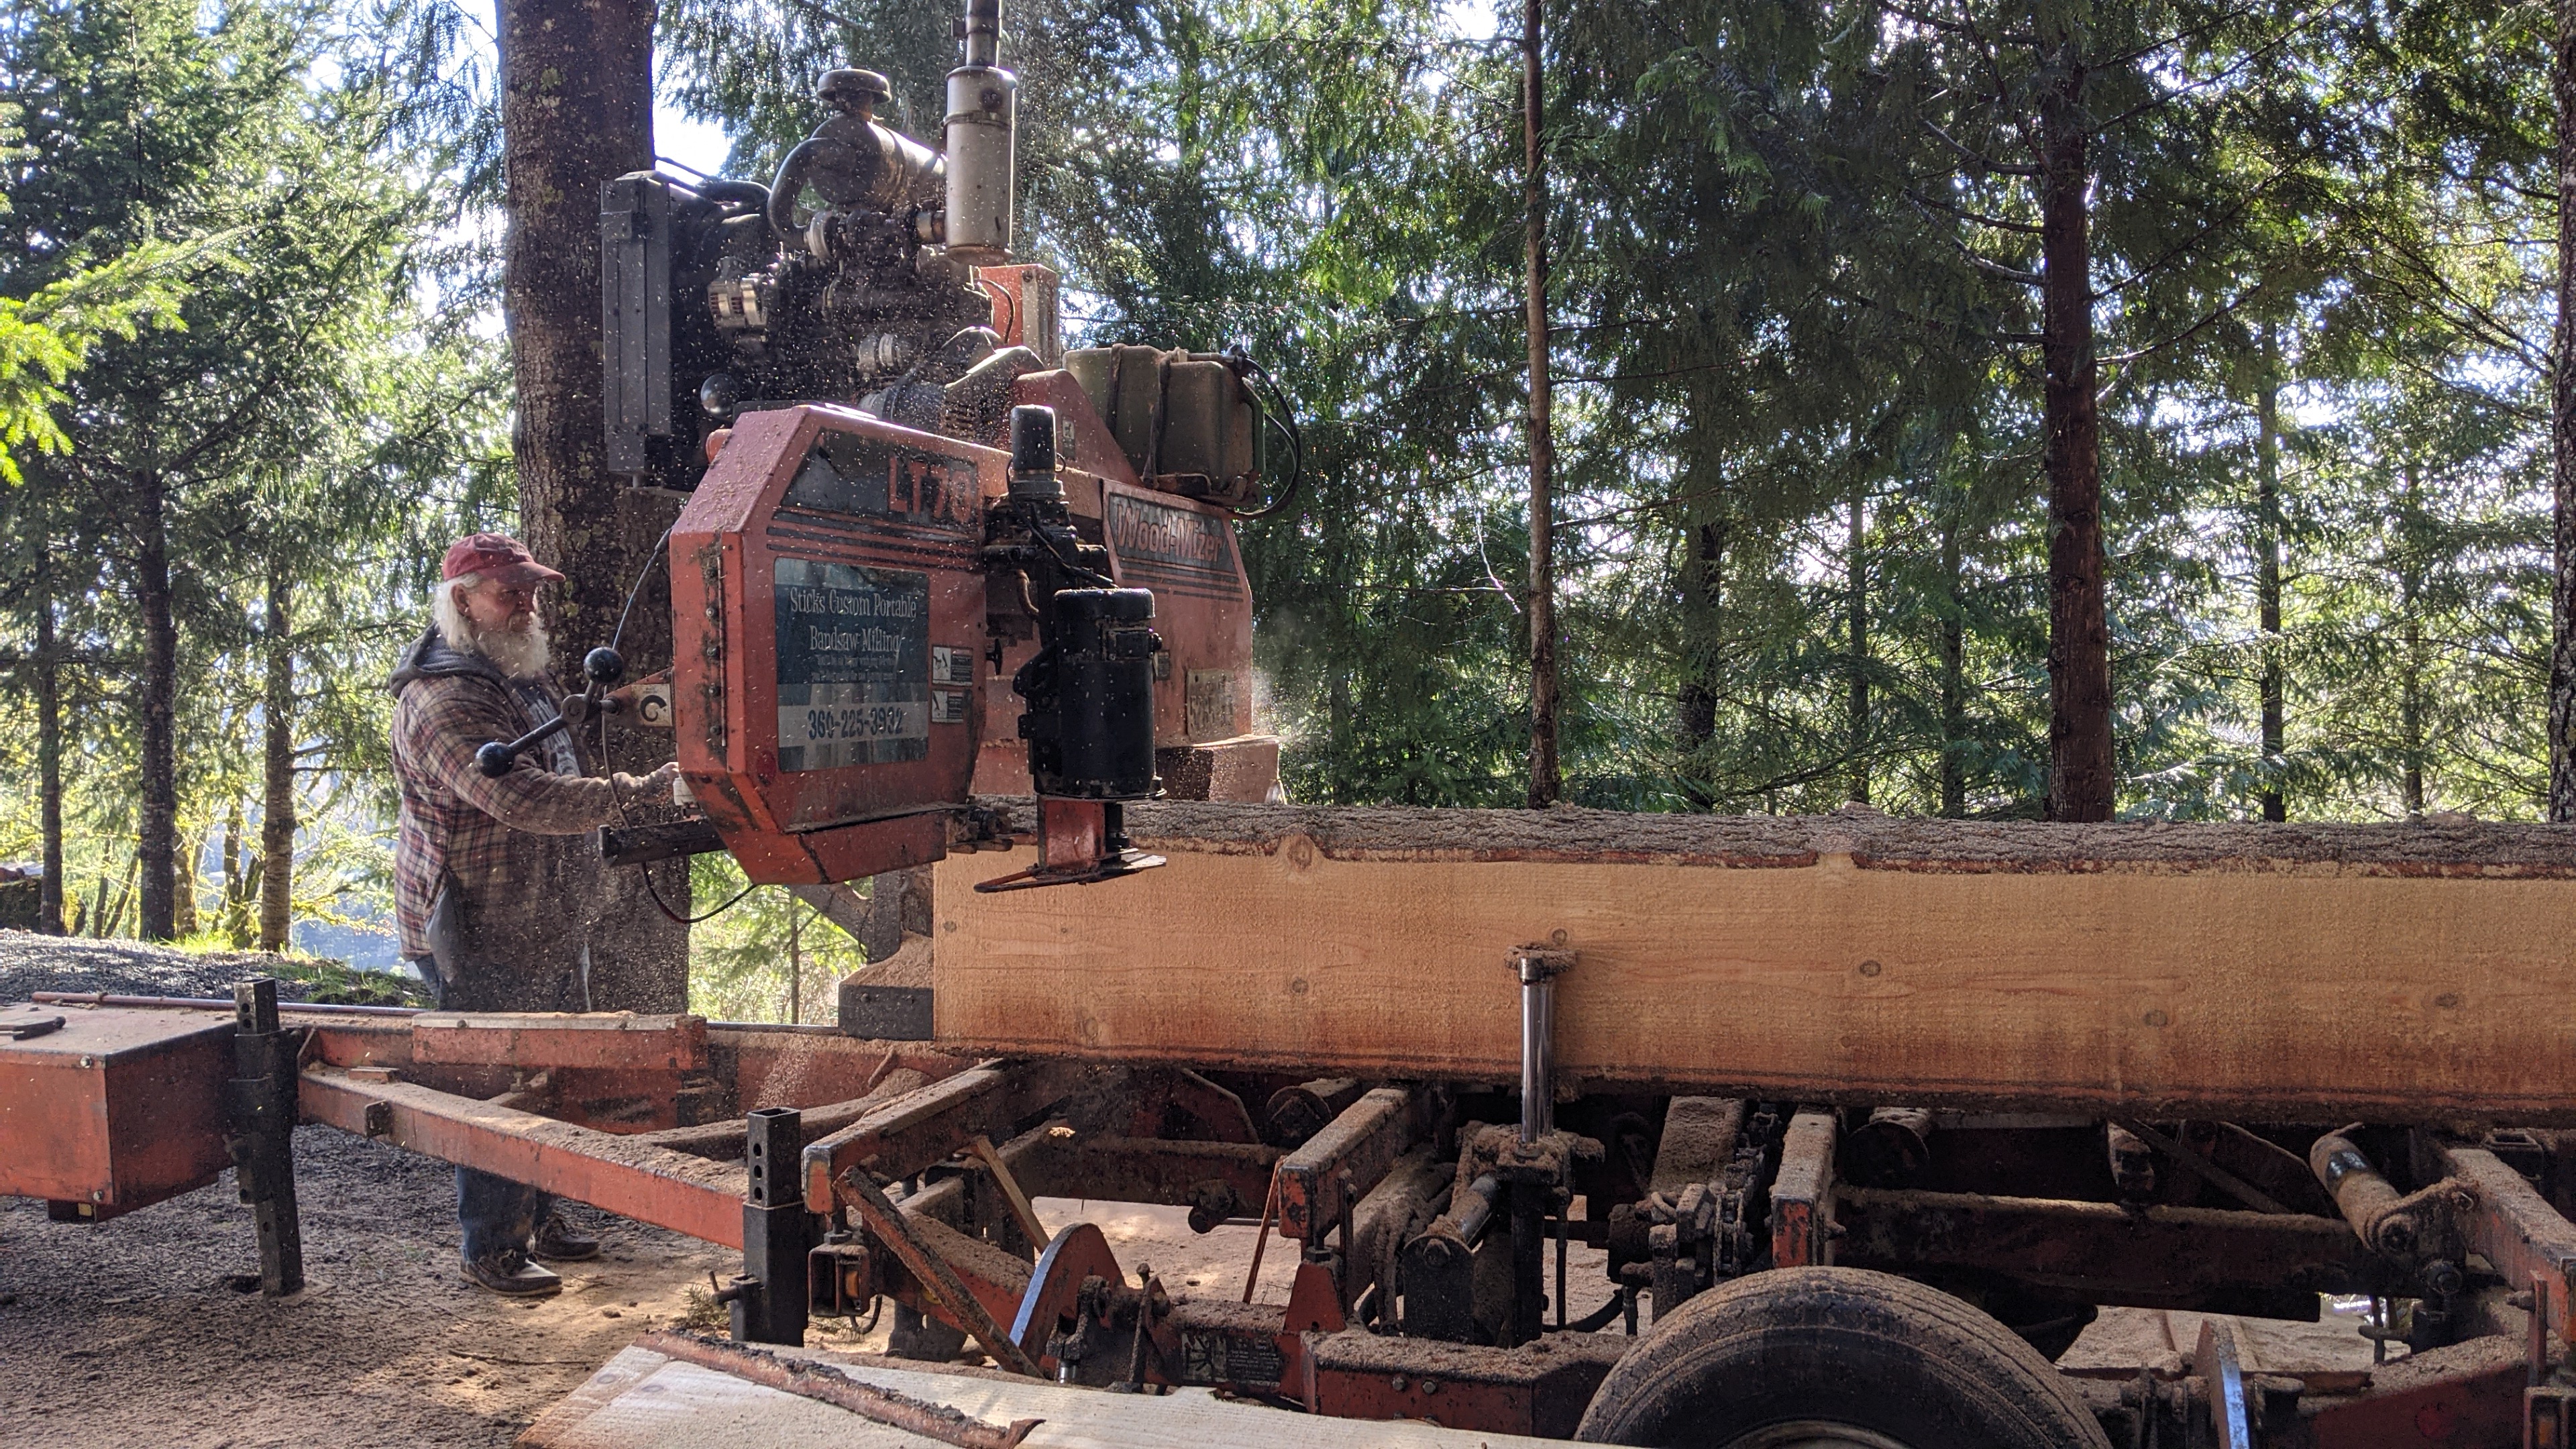
At this point, we were unaware of Fred’s sawmill nearby, so we took the logs to a sawmill near Vancouver, WA. The sawmill was actually portable, but the transportation cost was too high to saw up only one tree. This guy was a real character but clearly experienced at running a sawmill. He calculated the most efficient way to slice up the logs, and we loaded the slabs back into the truck.


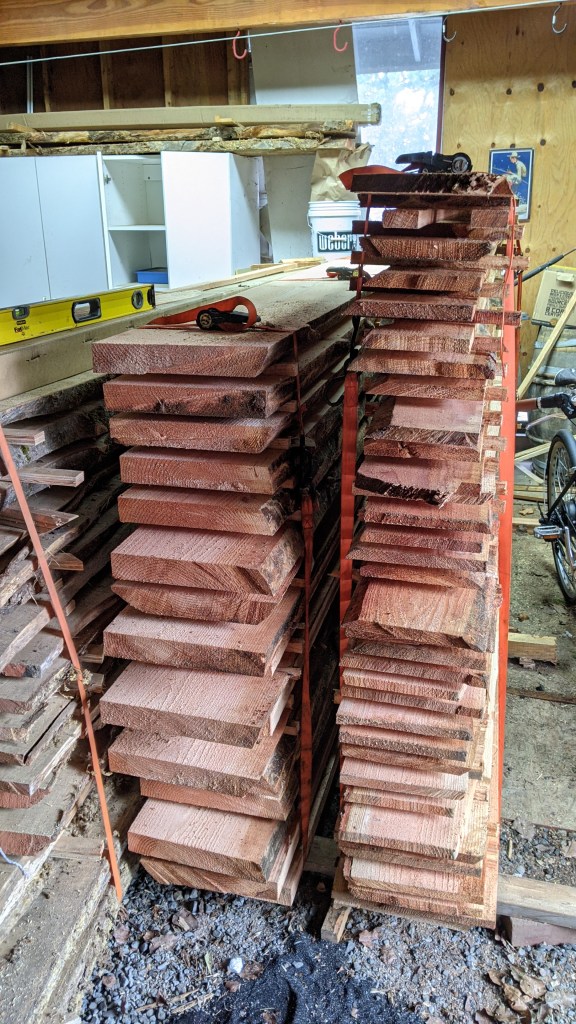
The slabs of wood have been drying out in our garage for a year now.
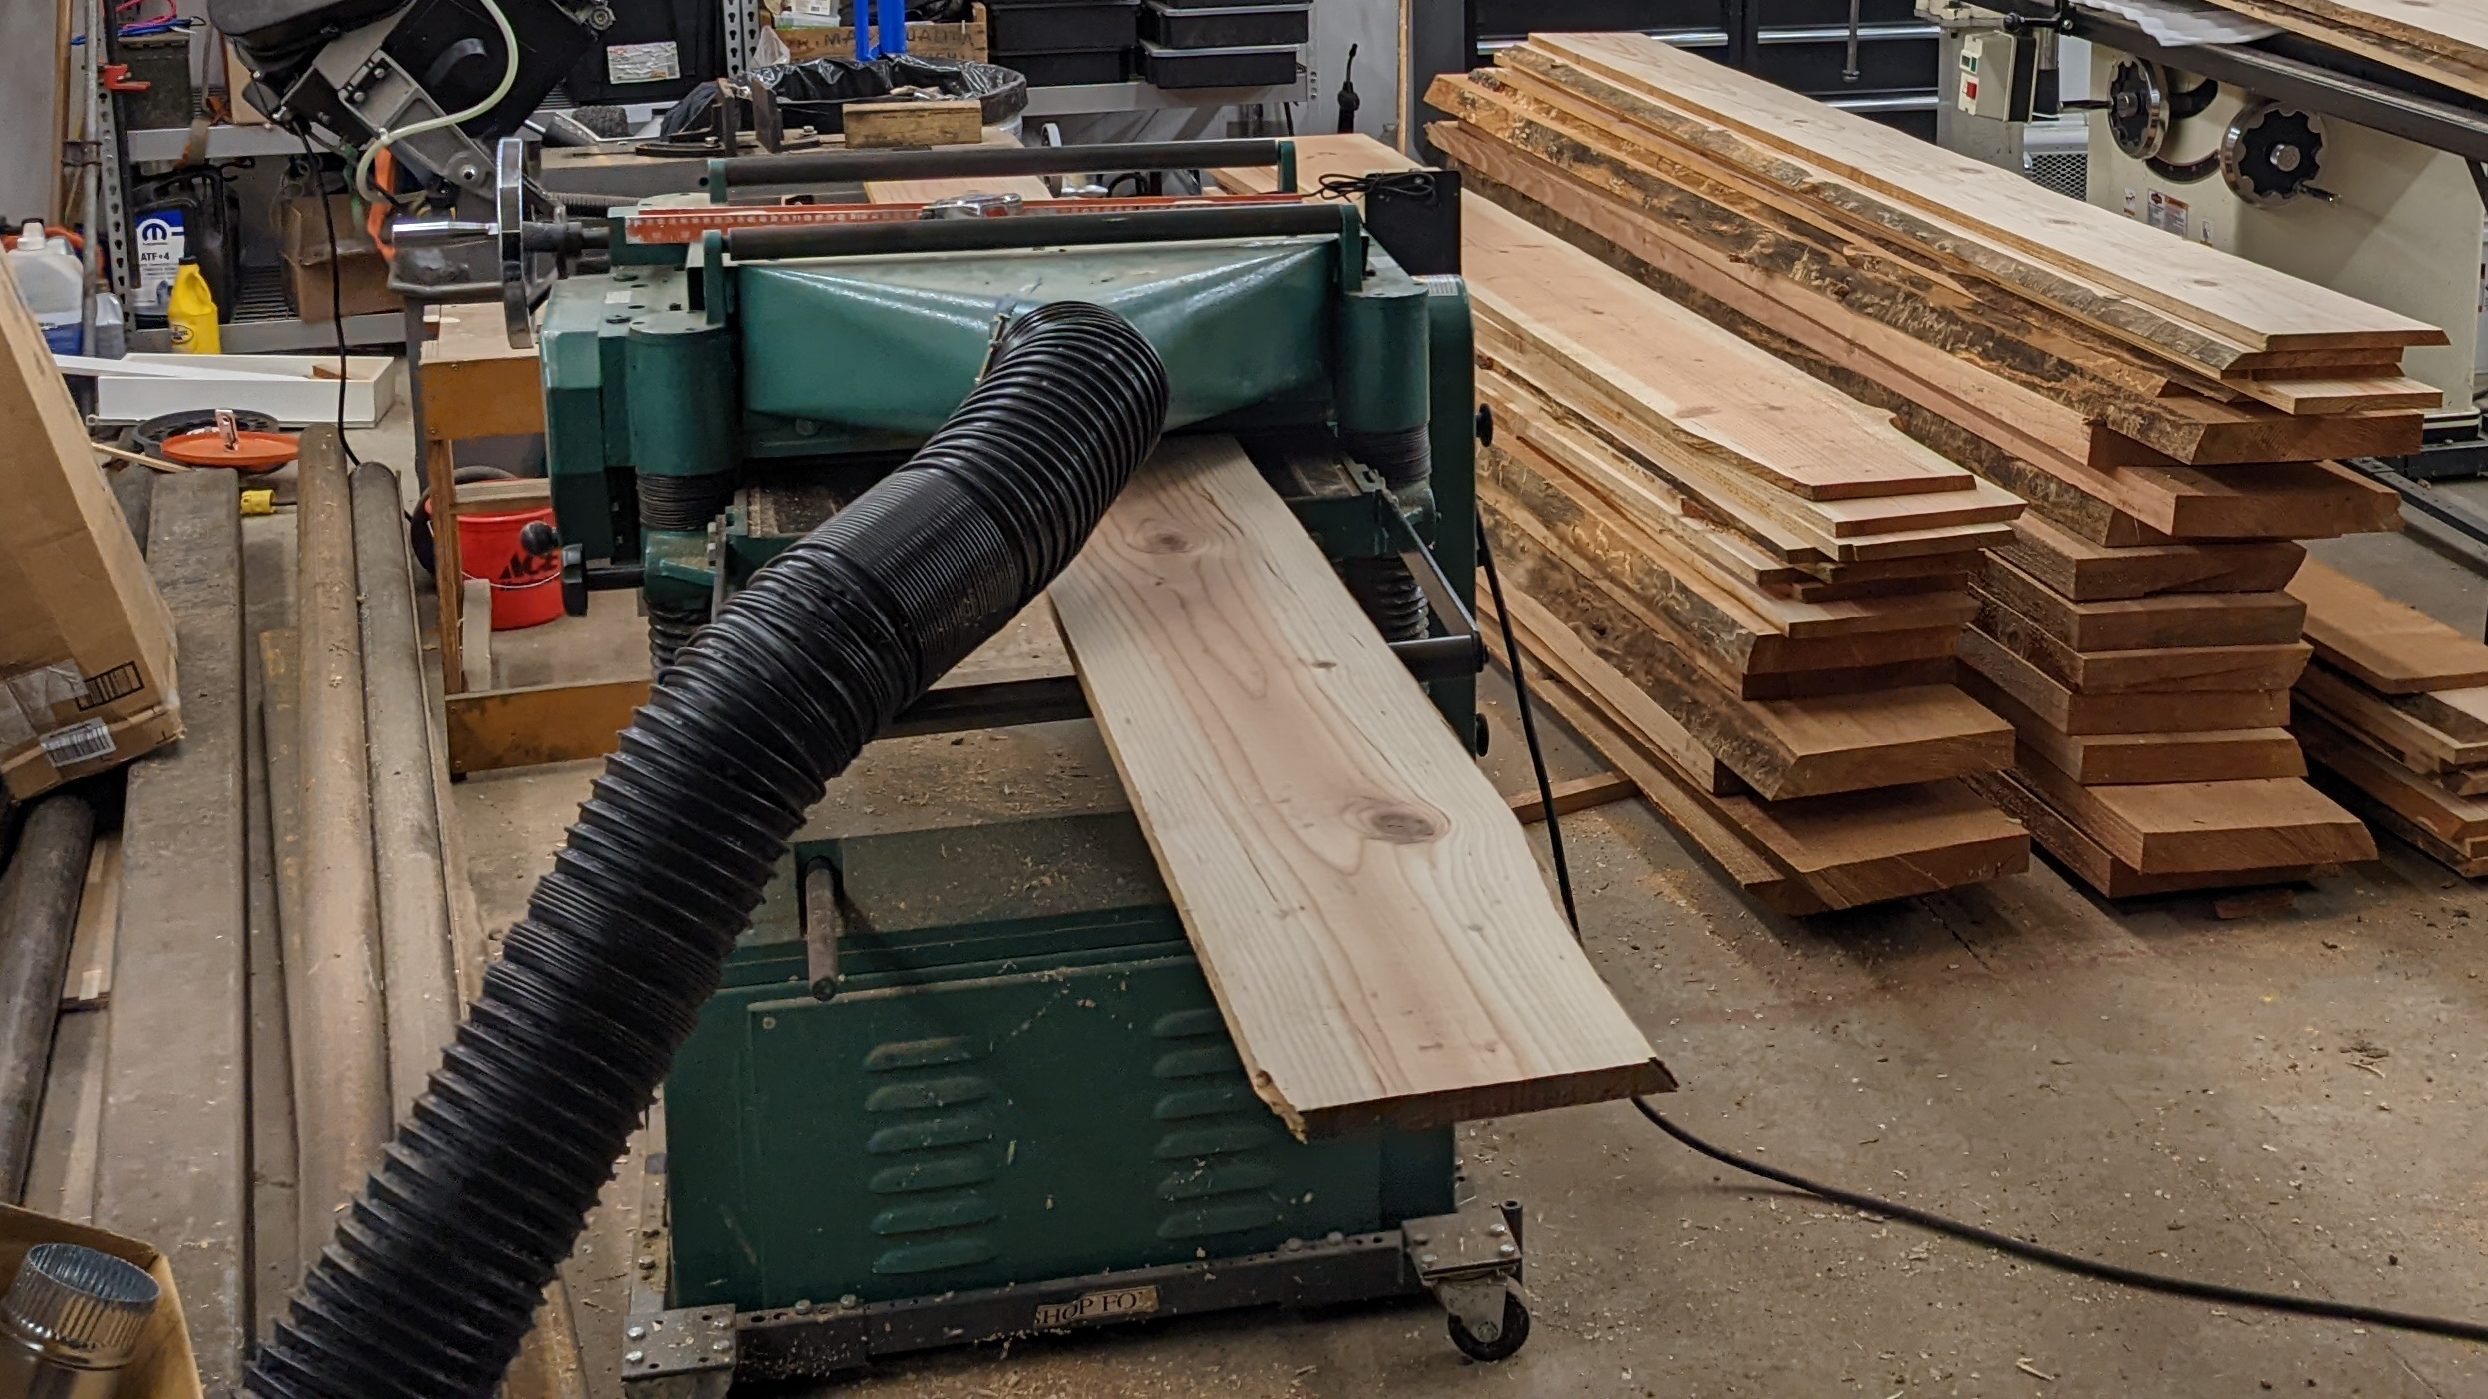
At last, we were ready to use the wood! Sam and John ran the slabs through a planer to get them flat.

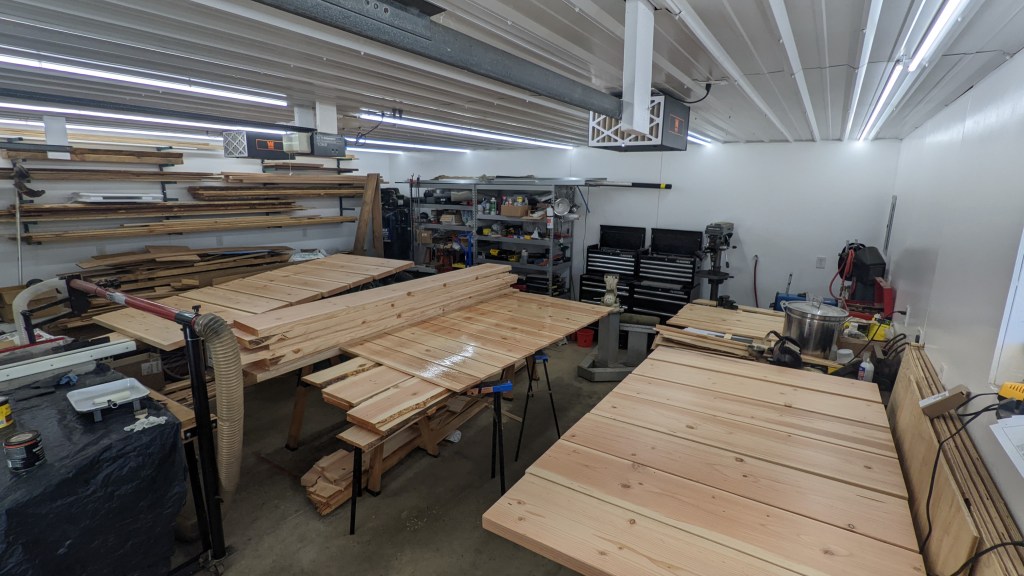
They cut the long slabs into 45″ stair treads and squared them up. Sam beveled the nose edge of the treads and sanded them before applying a clear sealant. The sealant prevents moisture absorption, minimizing warp. After the sealant, the treads were coated with a clear finisher to add durability.

Similarly, we made risers. The main difference is that the risers aren’t as thick as the treads. Also, the risers don’t need the finishing coat since they don’t get stepped on.

The garage looked like a stair manufacturing plant.
Simultaneous, we worked on the skirt boards (the decorative boards that run along the sides) and the stringers (the long supports under the stairs). The stringers were also Douglas Fir, but the wood came from Fred when he cut hundreds of 2x12s for our roof.
The skirt boards got a similar treatment to the other parts – planing, squaring up, sanding, clear coat.
This post wouldn’t be complete without the mention of a new tool. Let me introduce the Festool sander!

It’s a great sander, and its built-in dust collector is fantastic! (I took off my dust mask shortly after this photo was taken after confirming its performance.) It even came with free t-shirts, which Sam and I will both be wearing when we go out tonight.
Since the stringers will not be visible, they didn’t need any finishing treatment. However, they still required a lot of work. After careful measuring and studying the hundreds of rules in the code book (who knew there were so many rules for stairs?!), Sam designed the layout of the stairs.

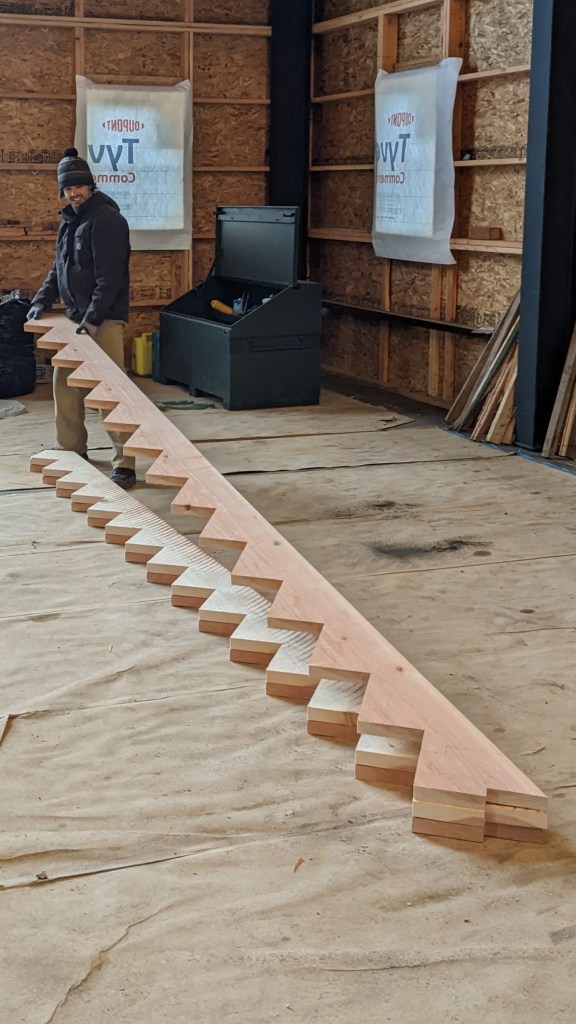
He gave me his drawings, and I drew the stringer pattern on the 2×12 boards. For the repeatable part of the pattern, I made a template with a speed square and these “squi jigs”. Look them up if you’re a wood worker or ever need to make stairs. They are really nifty.

John helped me cut the zig-zag pattern out of the heavy board, and then we repeated the process for two more stringers.
We drilled pocket holes in the stringers to make for easy assembly. I had never drilled a pocket hole before but I’ve assembled a lot of IKEA furniture in my lifetime, so I was quite familiar with them. Sam of course already had a pocket hole jig for drilling these holes, which was super fun and easy to use.


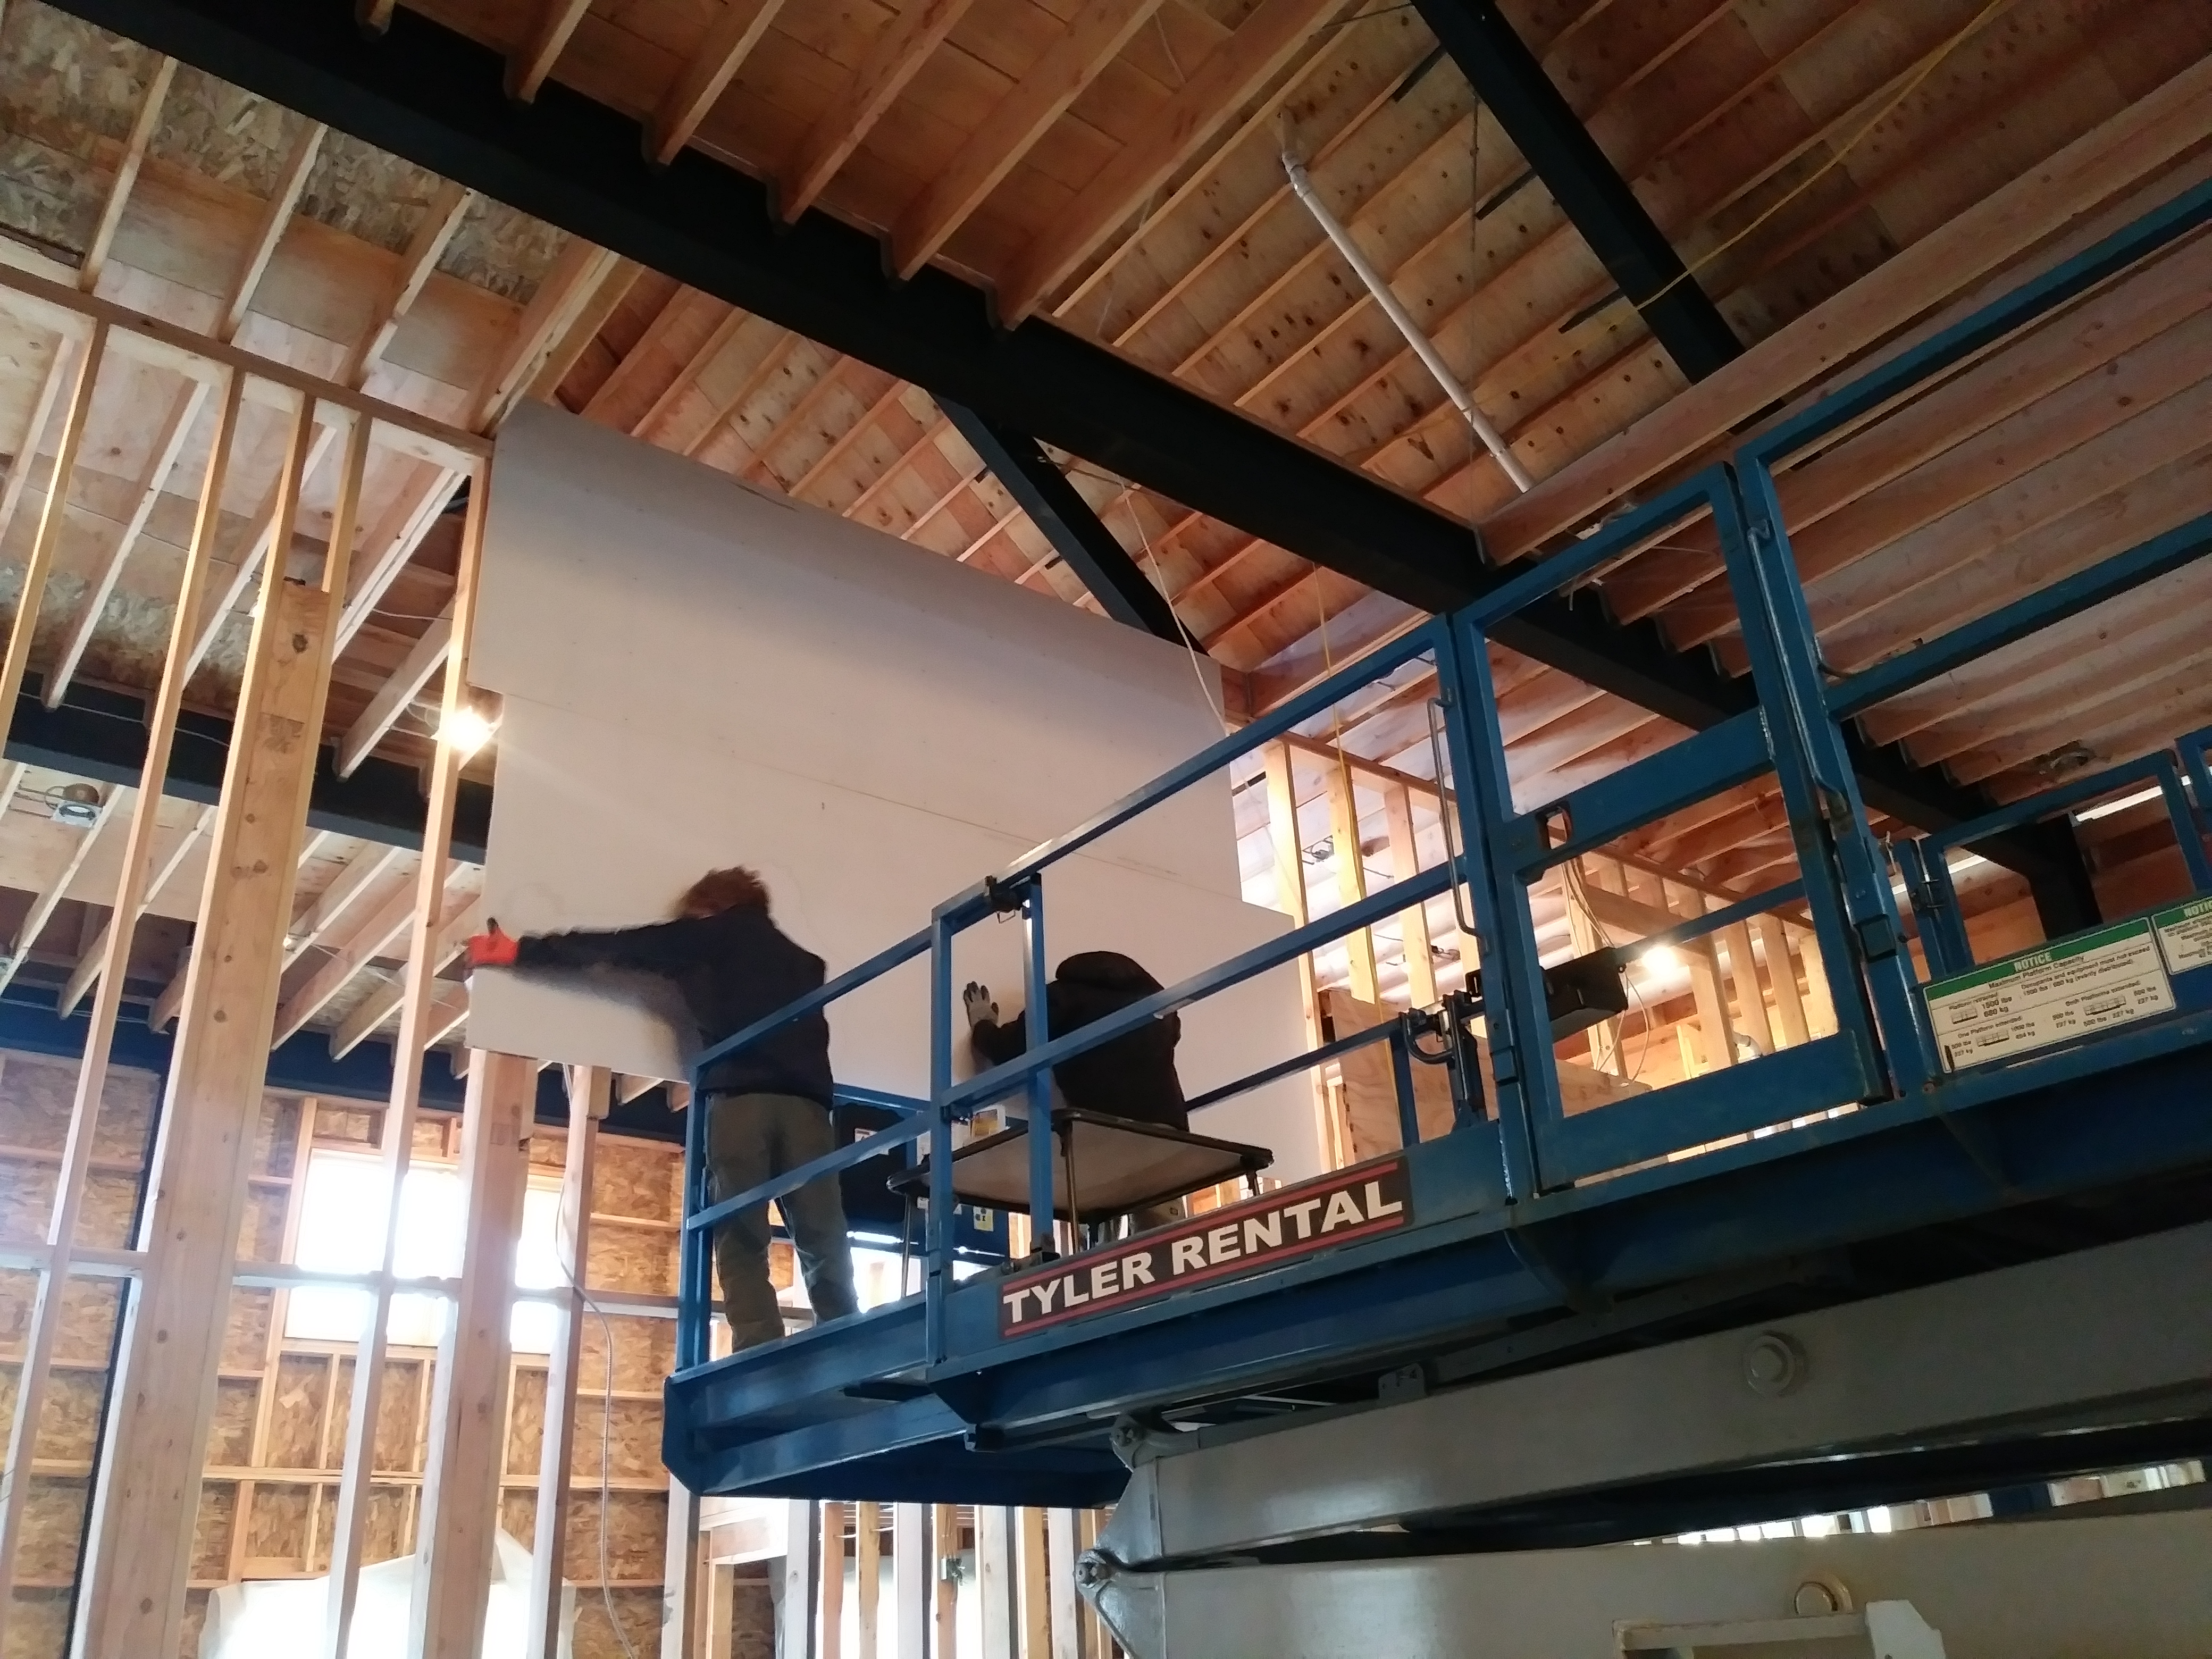
We were almost ready to assemble the stairs, but first, we had to put up a few sheets of drywall that go behind the stairs. Luckily, John has secret plastering skills and completed the section of drywall in no time!

We do a lot of things backwards, so why do the stairs differently? We started with the second flight of stairs, which lead from the second story landing to the attic.
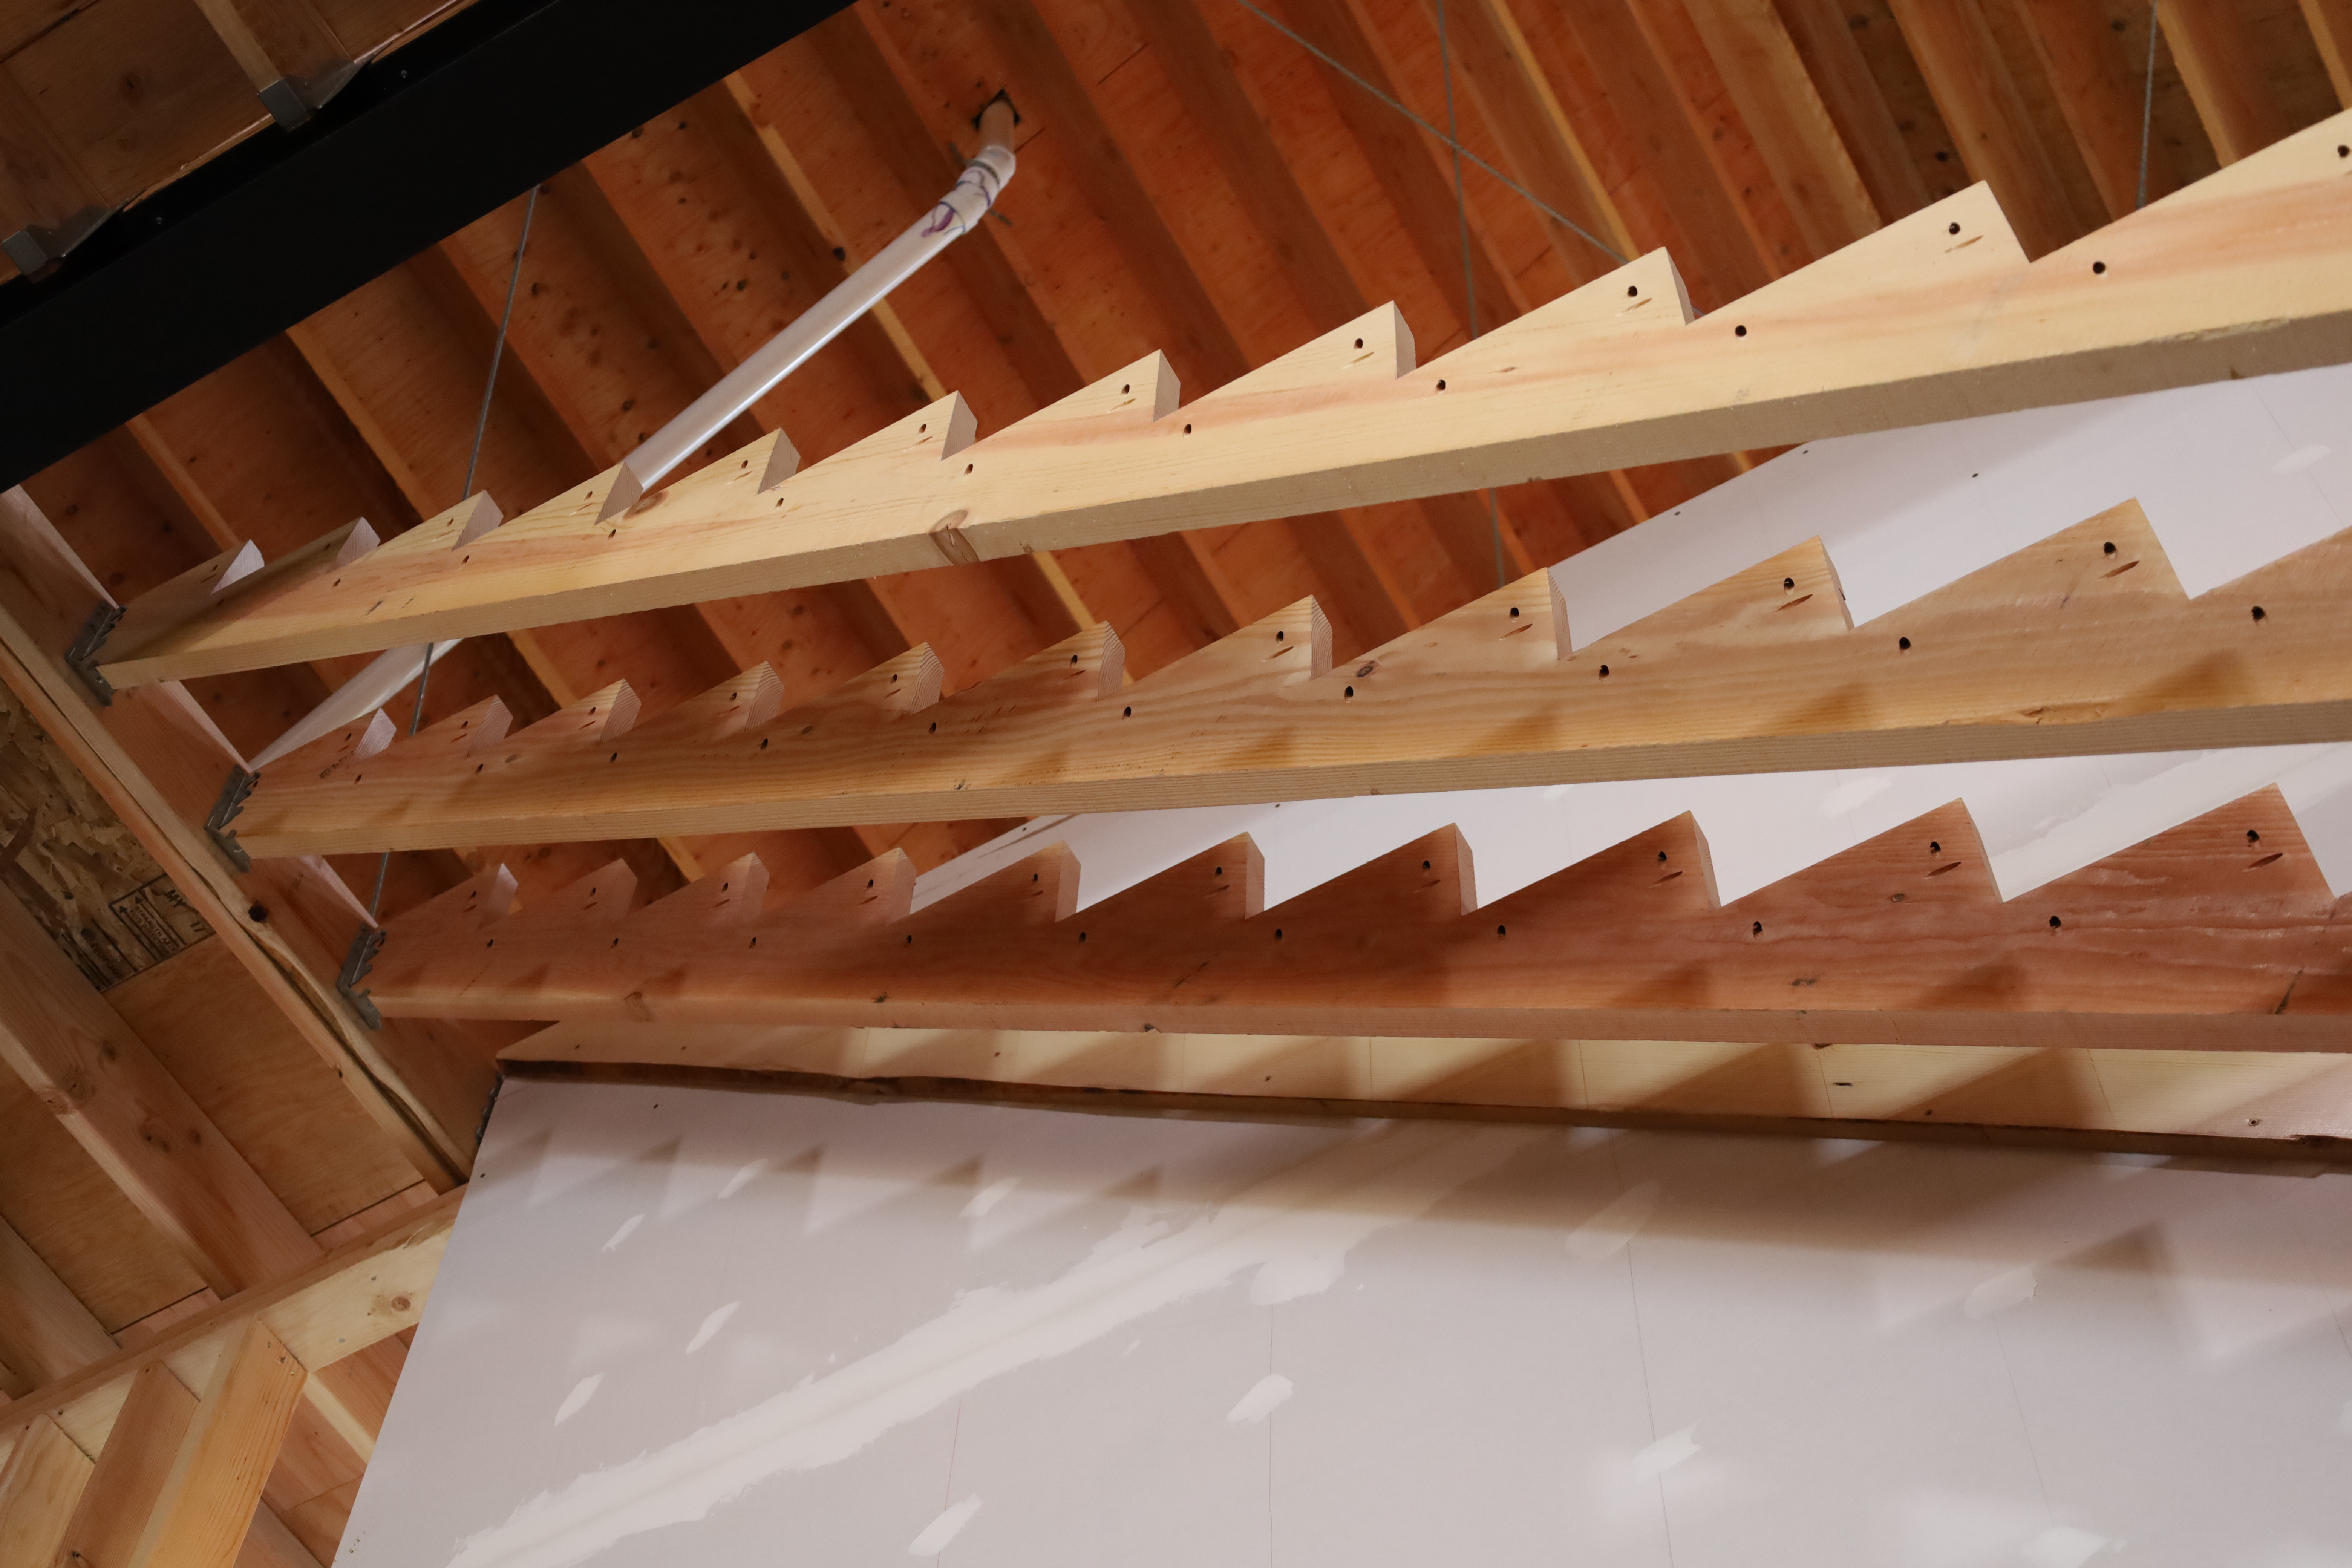
We put the skirt board against the drywall first, followed by the three stringers.

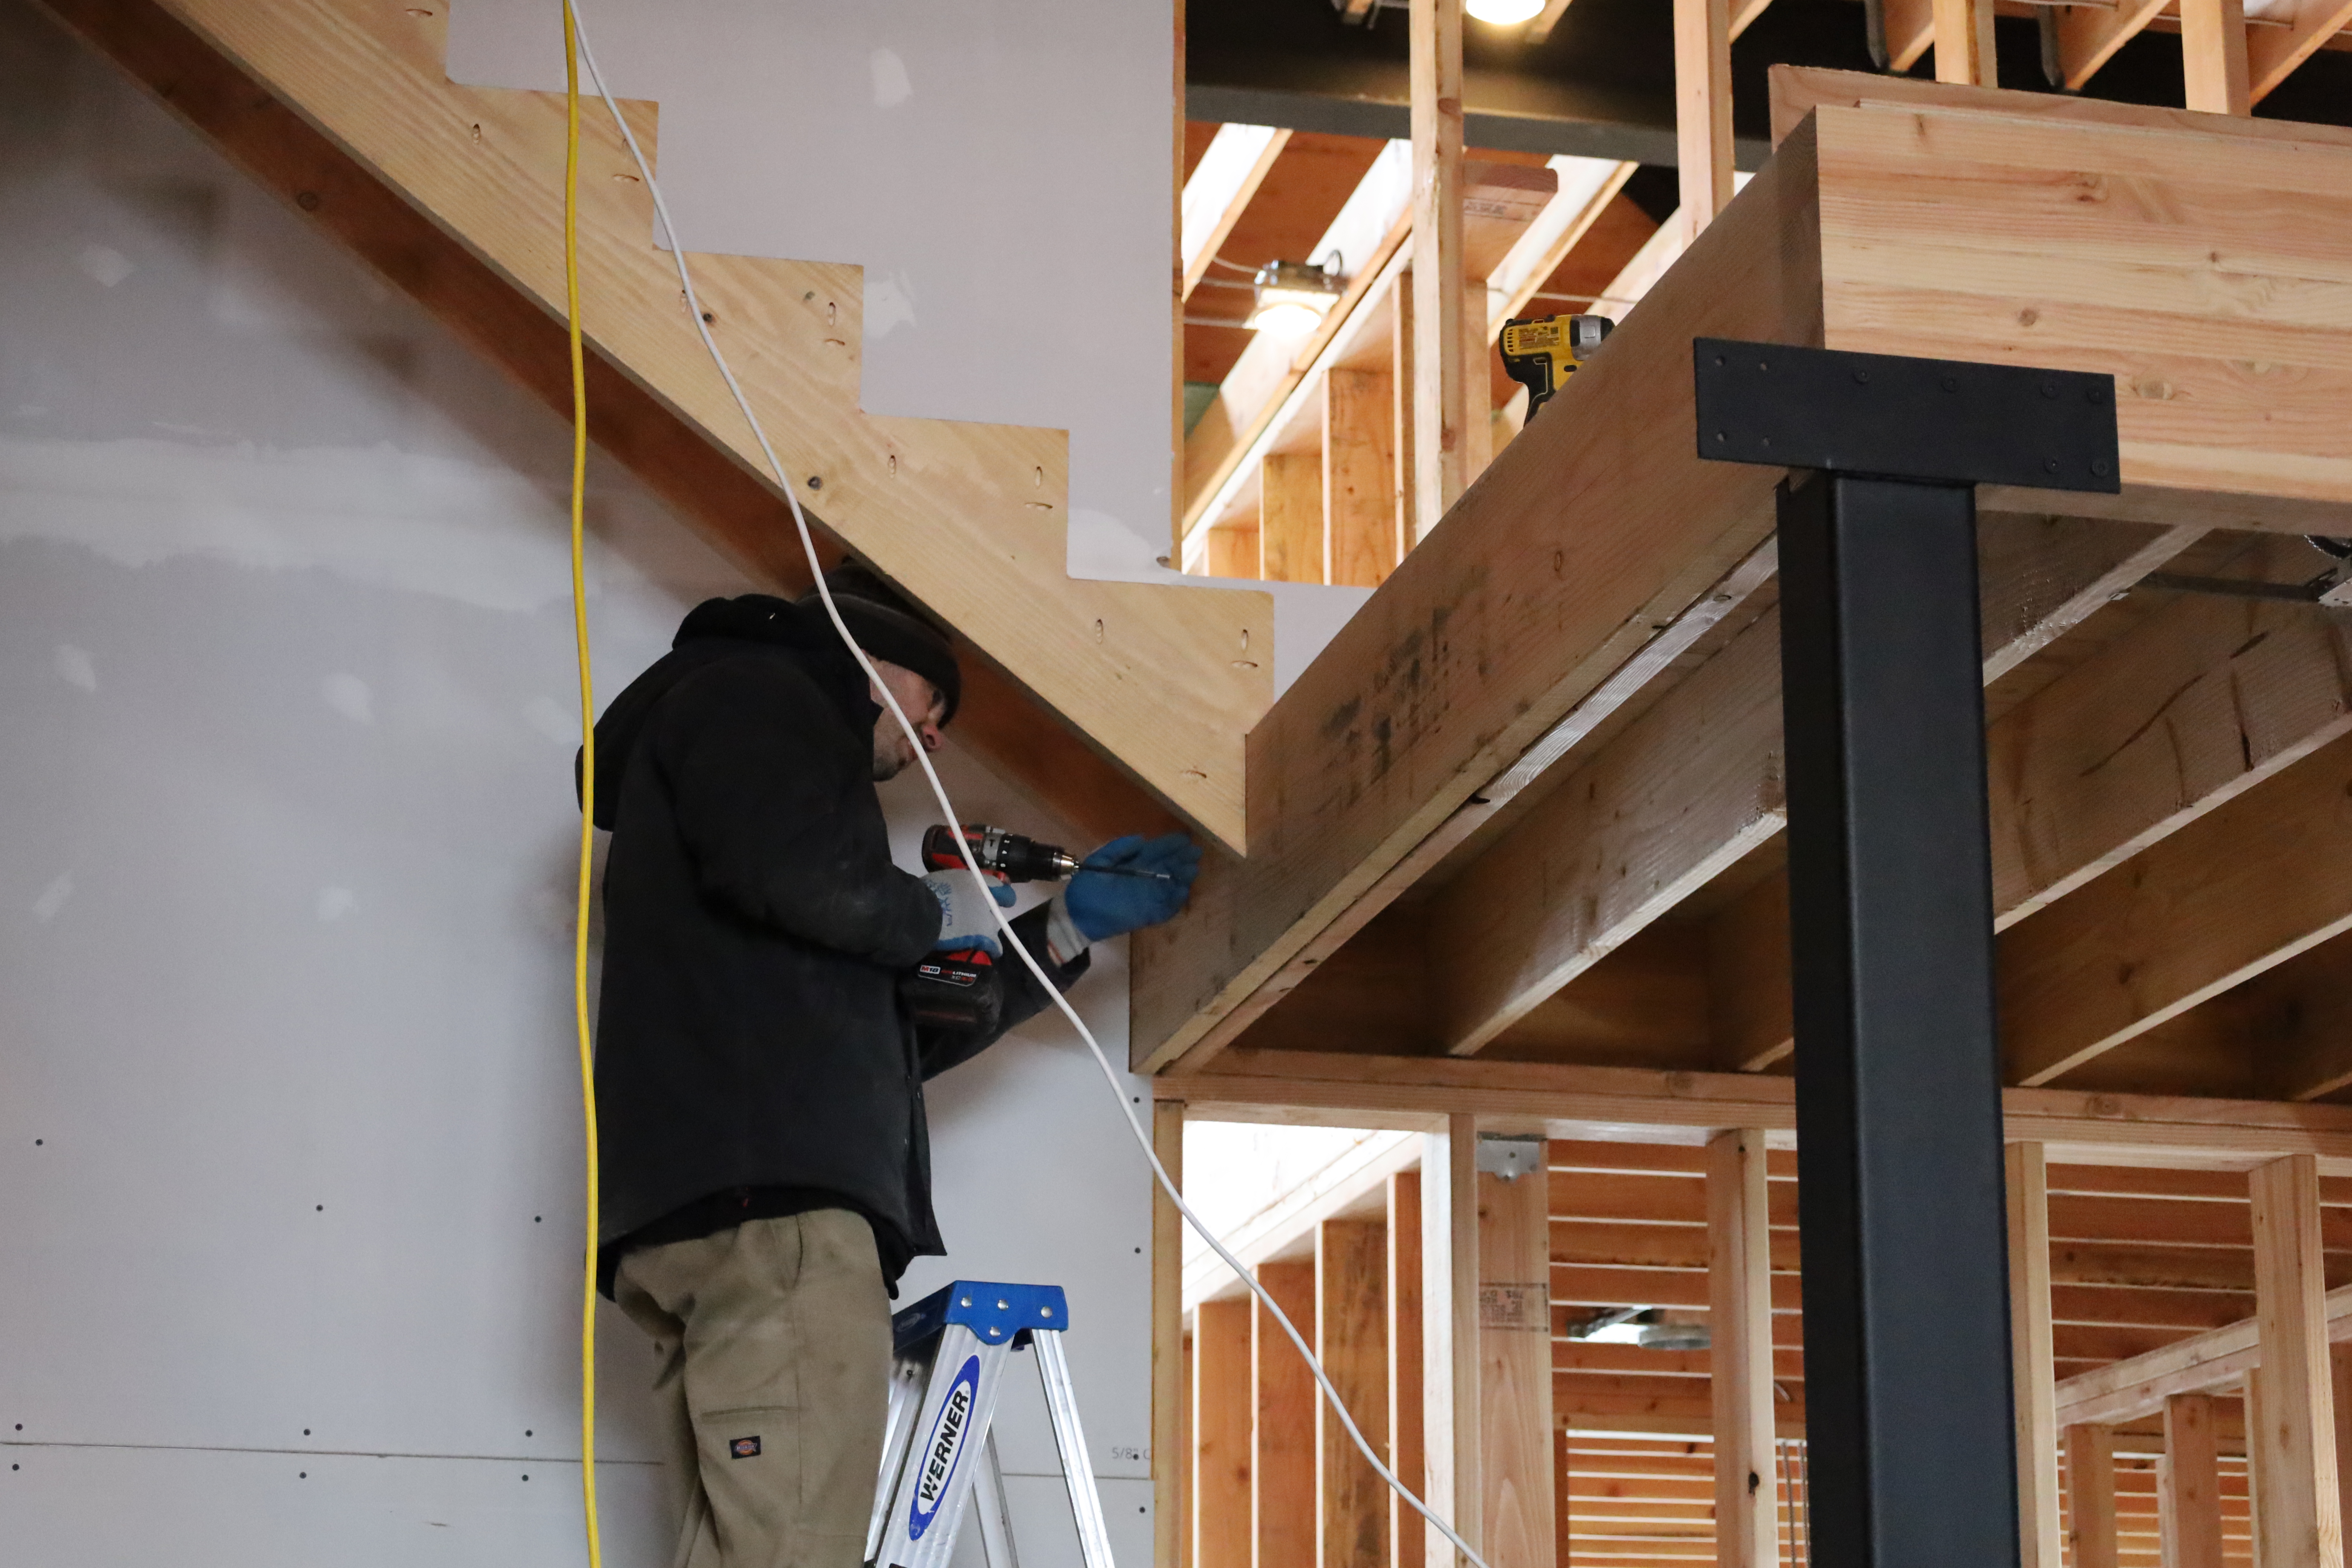
Sam fastened the tops of the stringers with brackets. John screwed the bases to the landing.


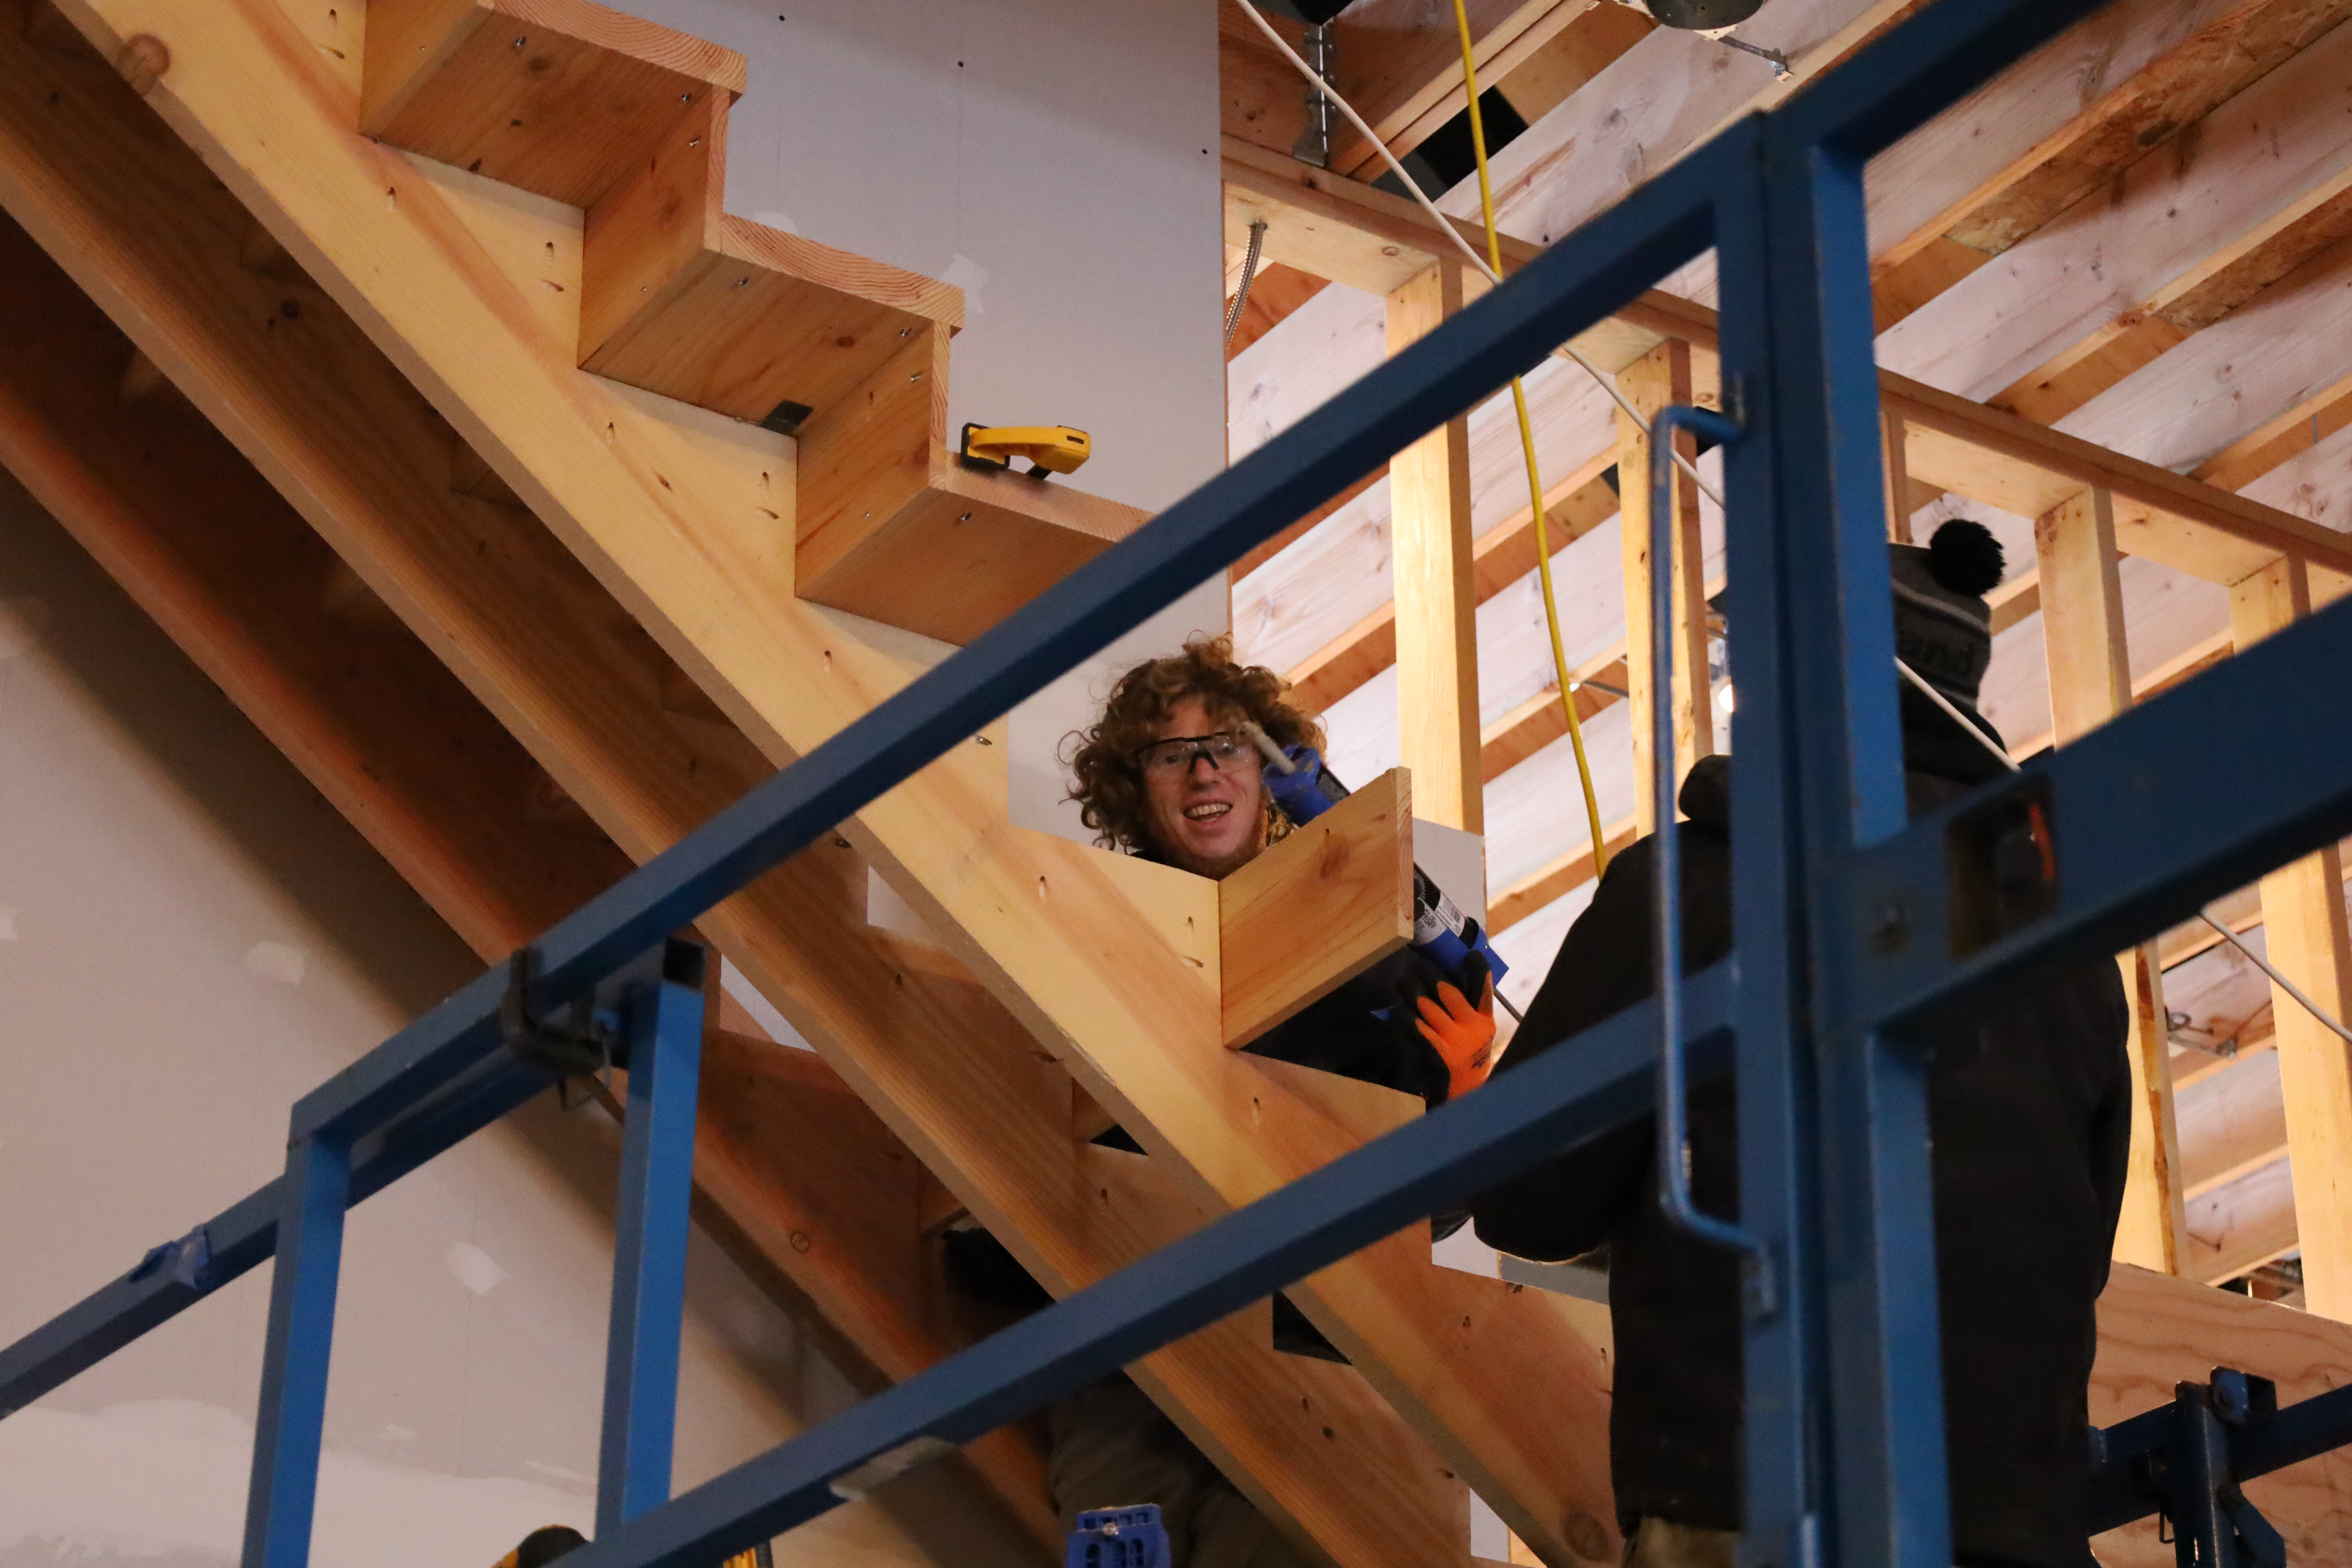
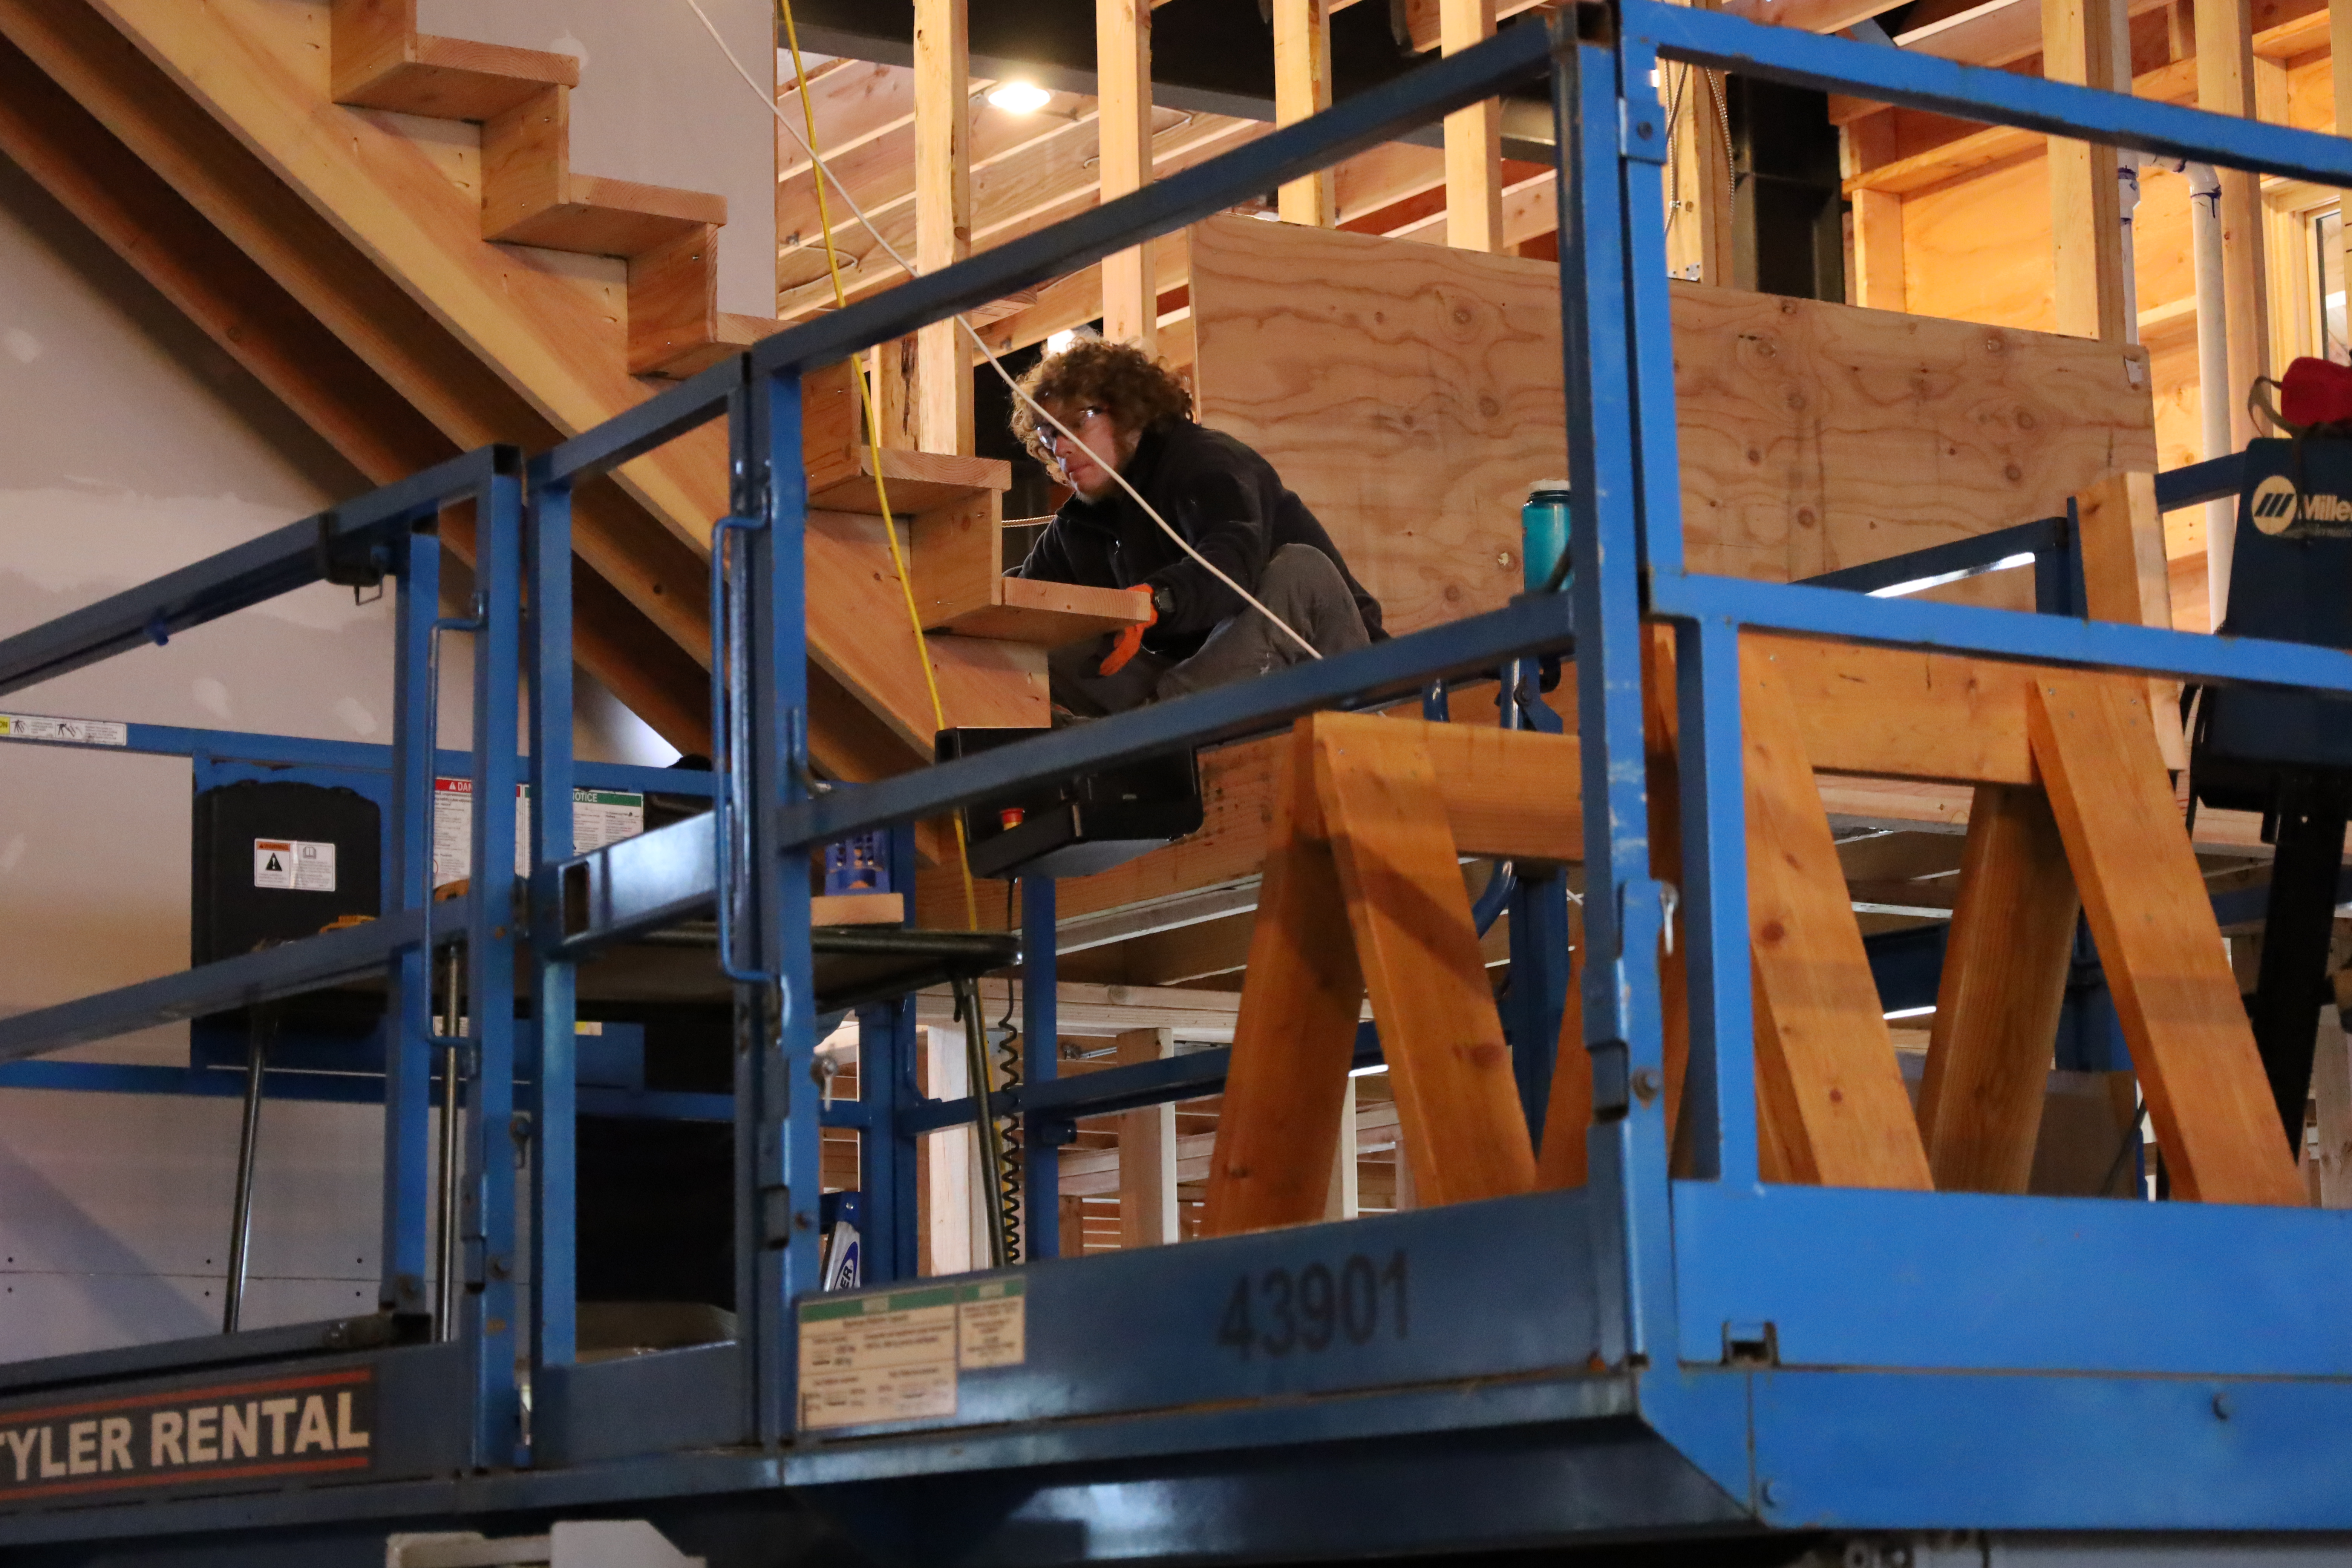
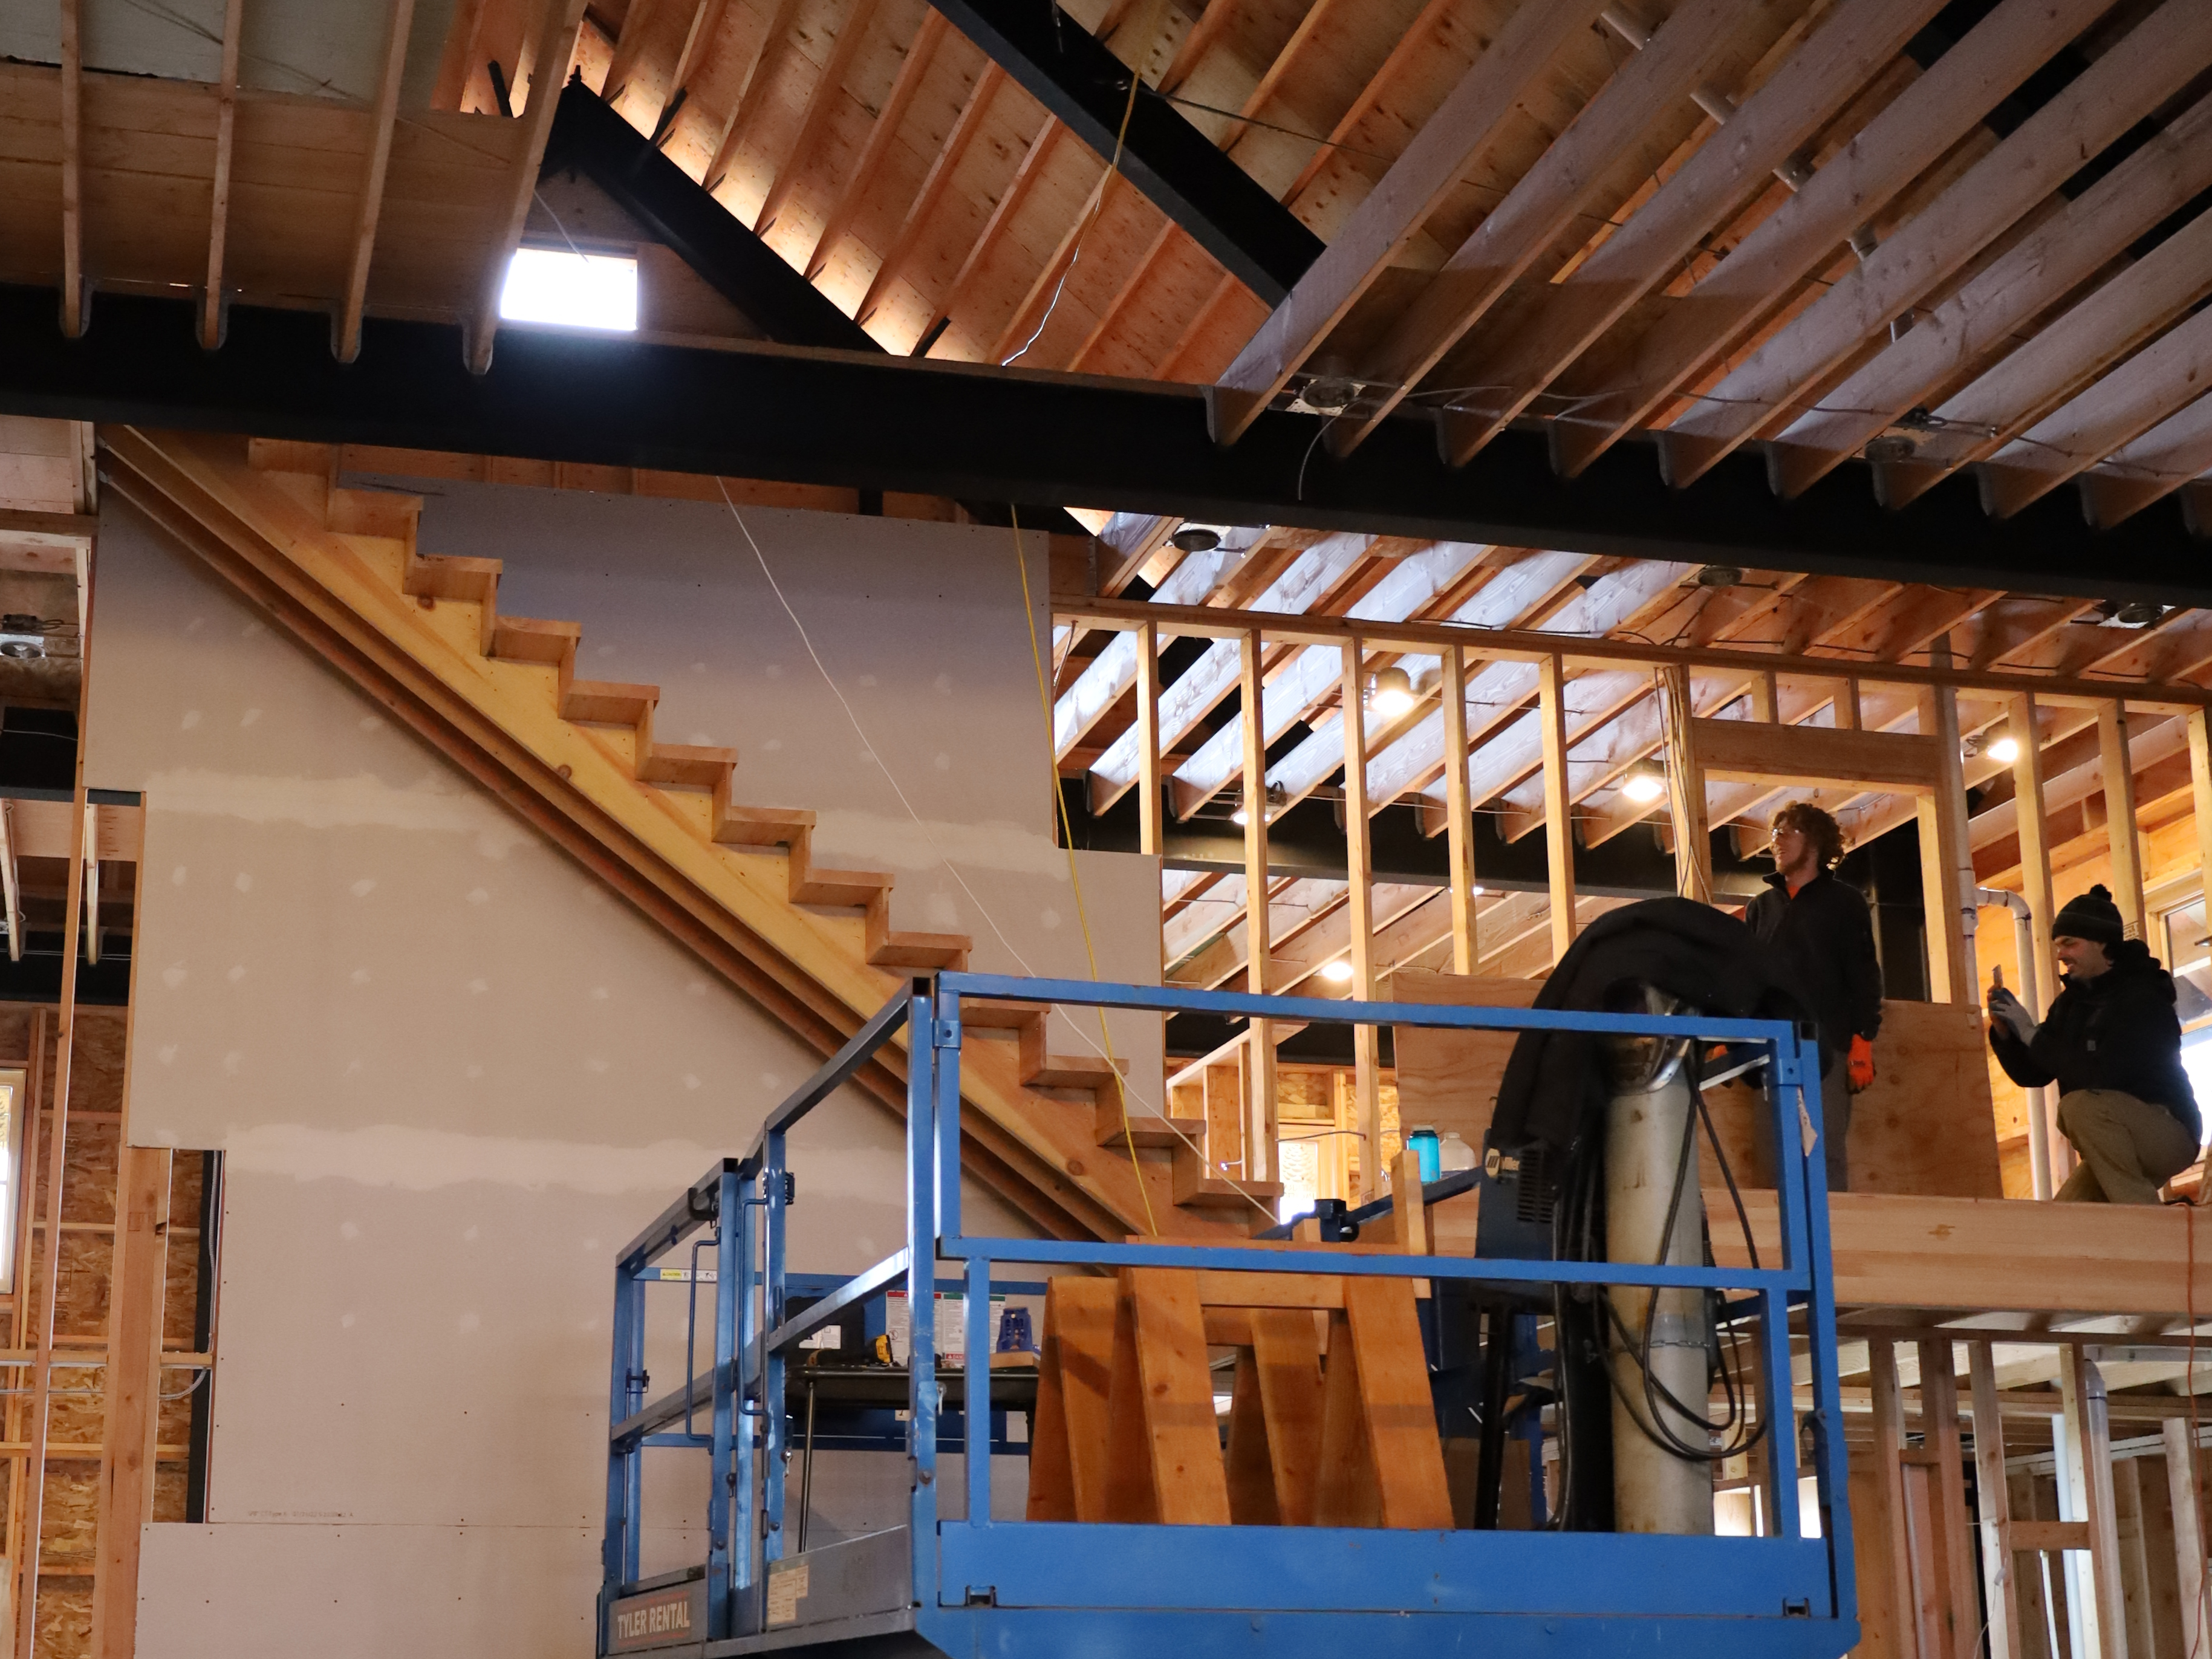
Sticking to the theme of working backwards, Sam and John set the top riser and tread first and worked their way down. I wouldn’t recommend this method without a scissor lift.


Sam glued the treads and risers. John put screws in through the pocket holes underneath the stairs. None of the fasteners will be visible.


After a few hours, they made it to the bottom.

Sam and John stopped to admire their work before the final step.

The final step was not actually a step… it was the other skirt board!
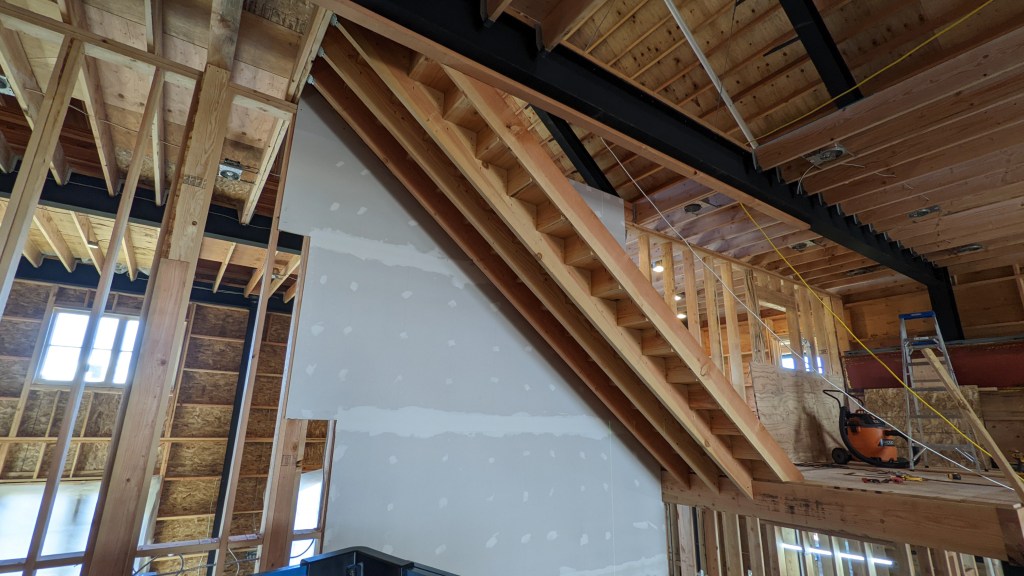
Now we are stair masters! We might have the fanciest attic stairs in the West!


One thought on “A Step Above”