Although our air conditioning and heating systems are ductless, many other things require ducts.
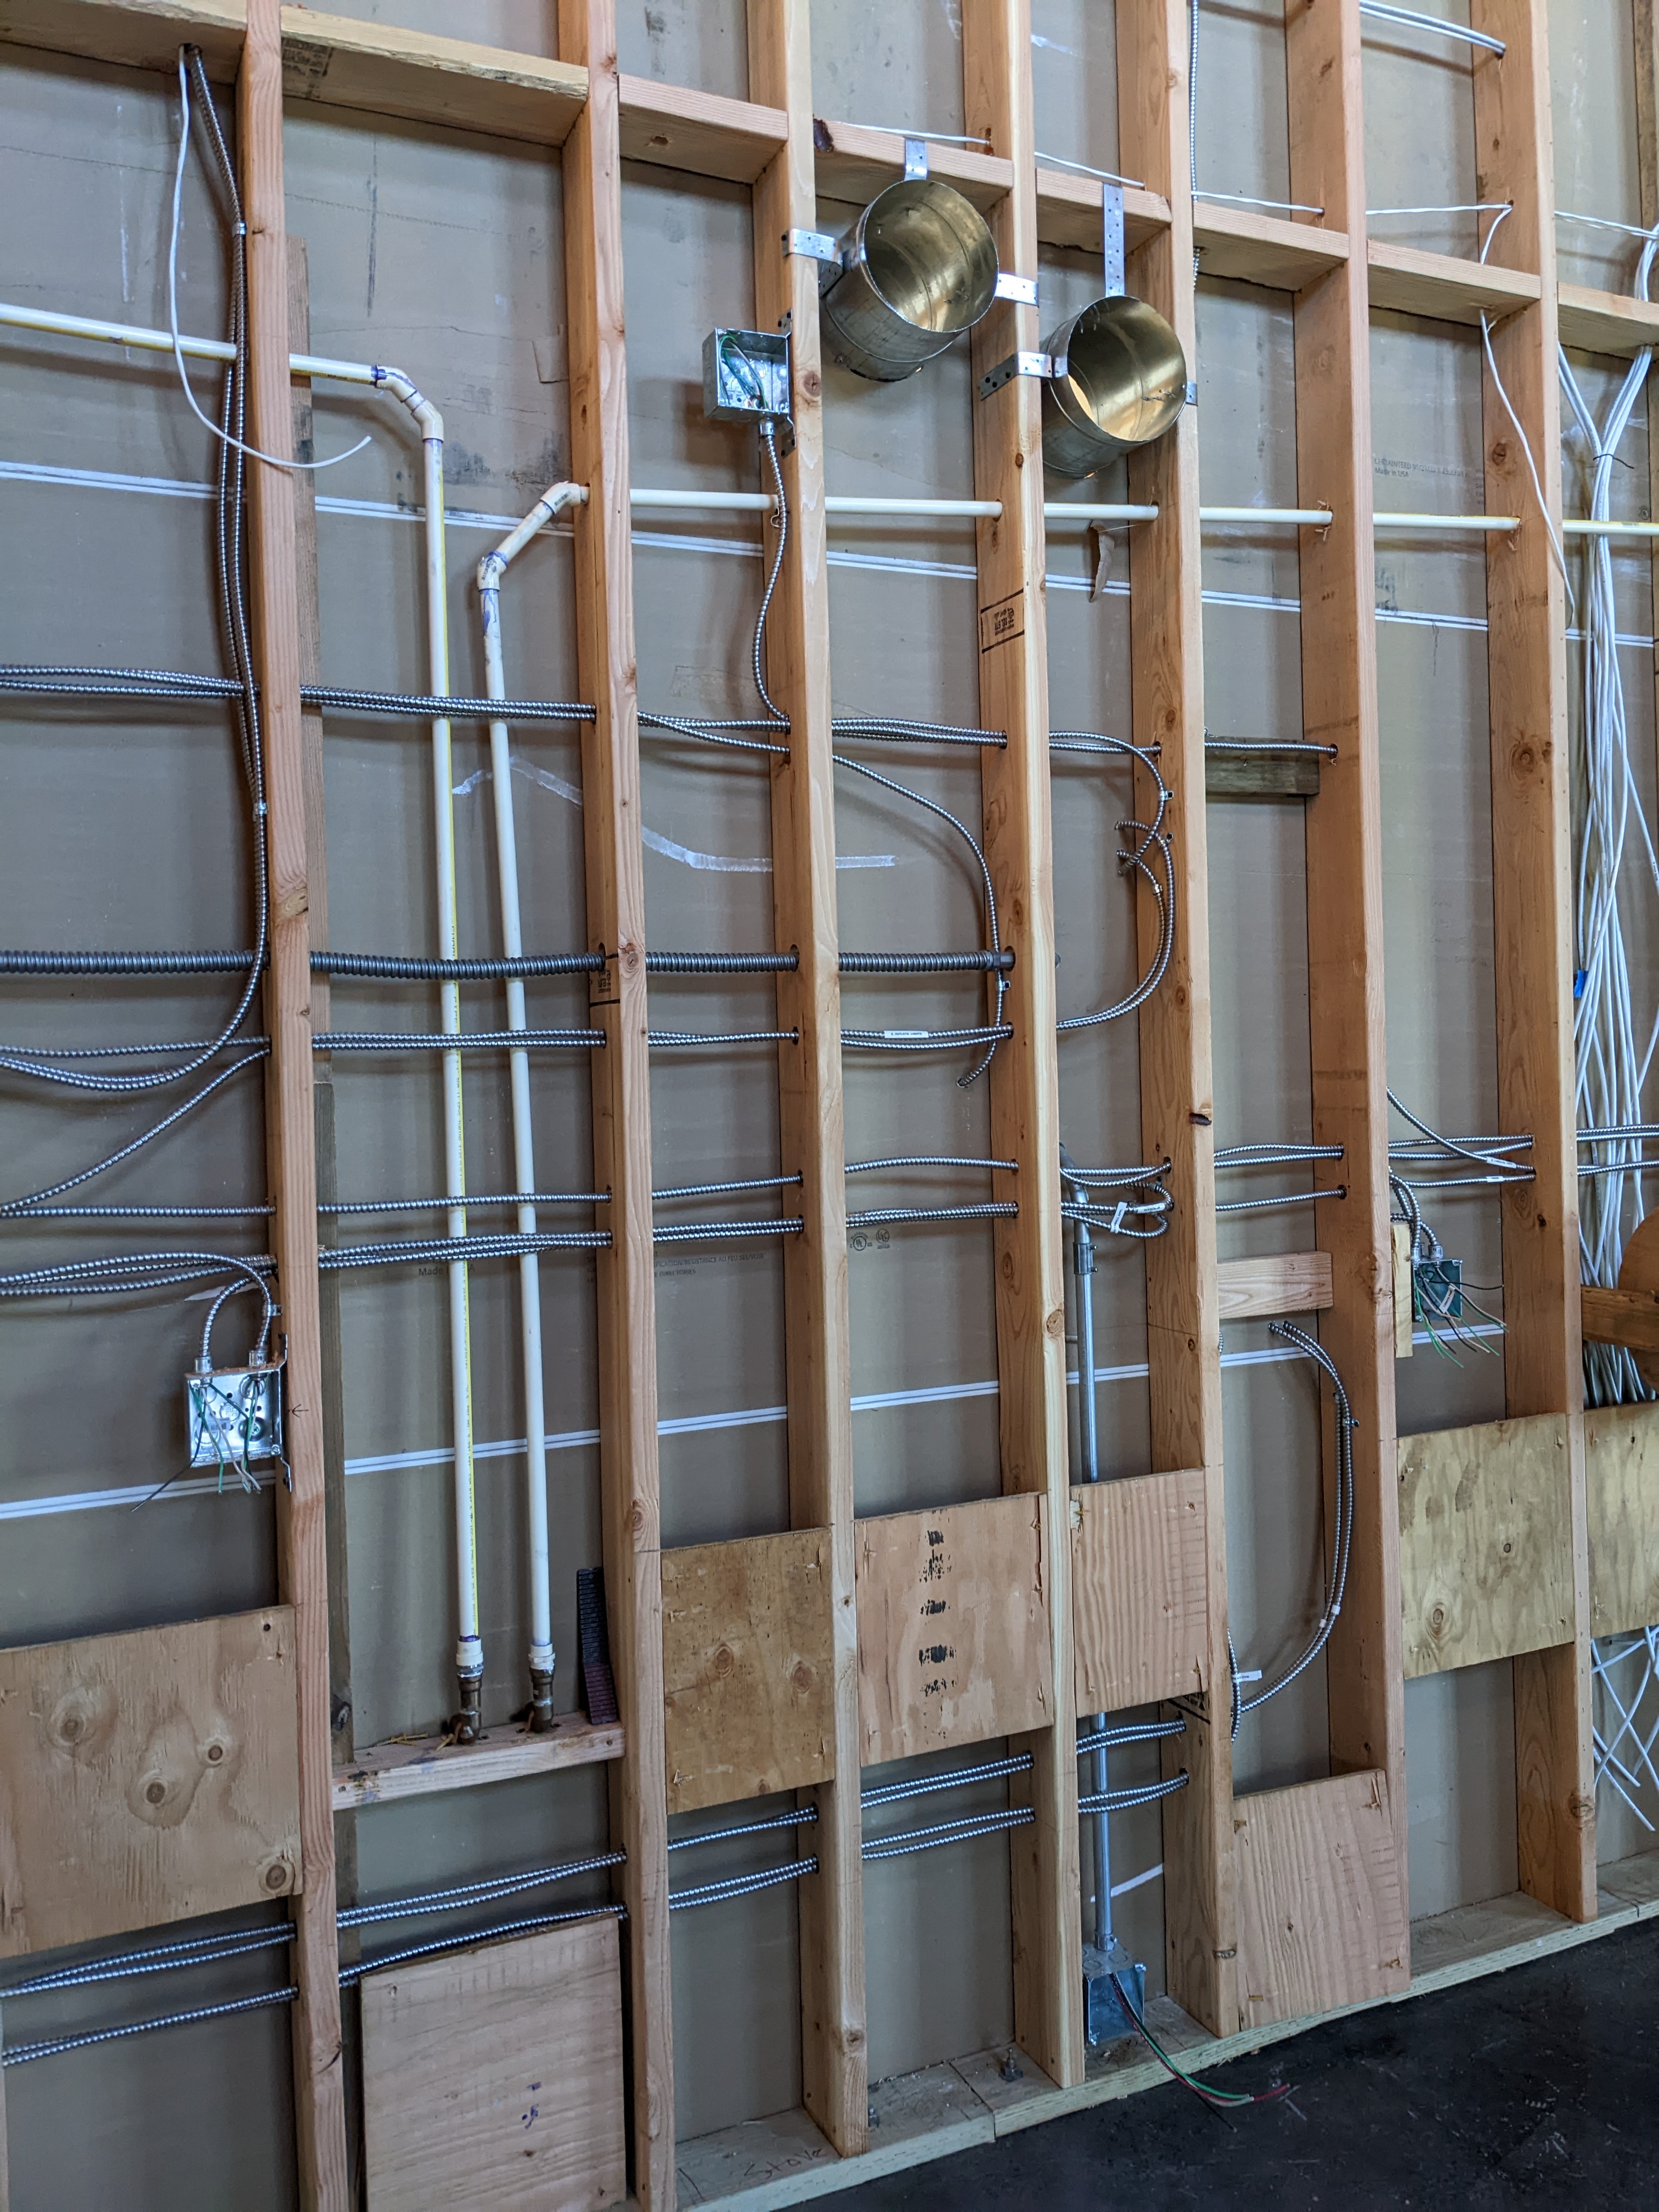
The simplest ducts were for the bathroom fans. We have one in the master bathroom and one in the shop bath. A 4 inch pvc duct in the ceiling, leads humid (or stinky) air outside through a vent on the exterior wall. Both bathrooms border exterior walls, so the ducts are short and follow a straight path. (The fan is the black box in the photo below.)
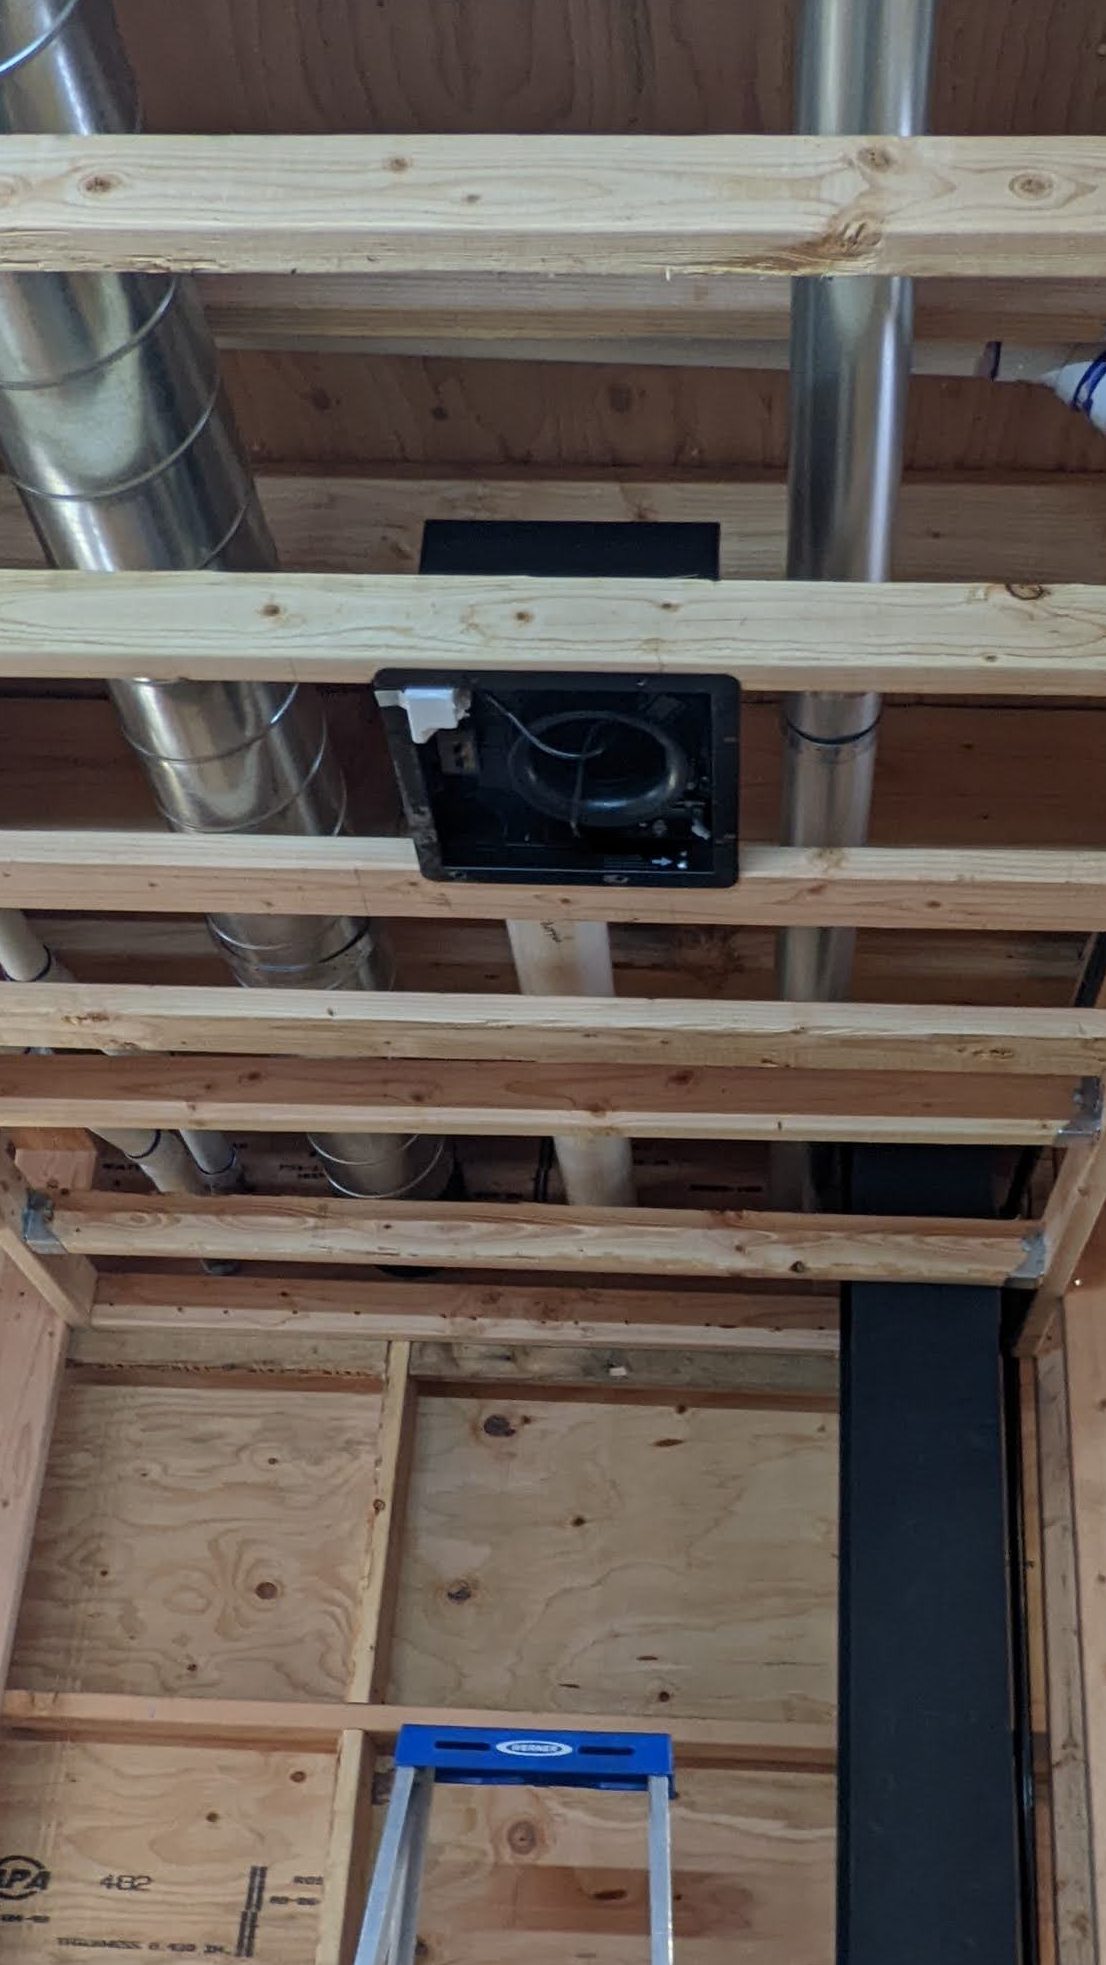
Next up, we have the dryer vent. It also uses a 4 inch duct, but it is metal since the air is hot. It runs parallel to the bathroom fan duct- on the right in the photo above.
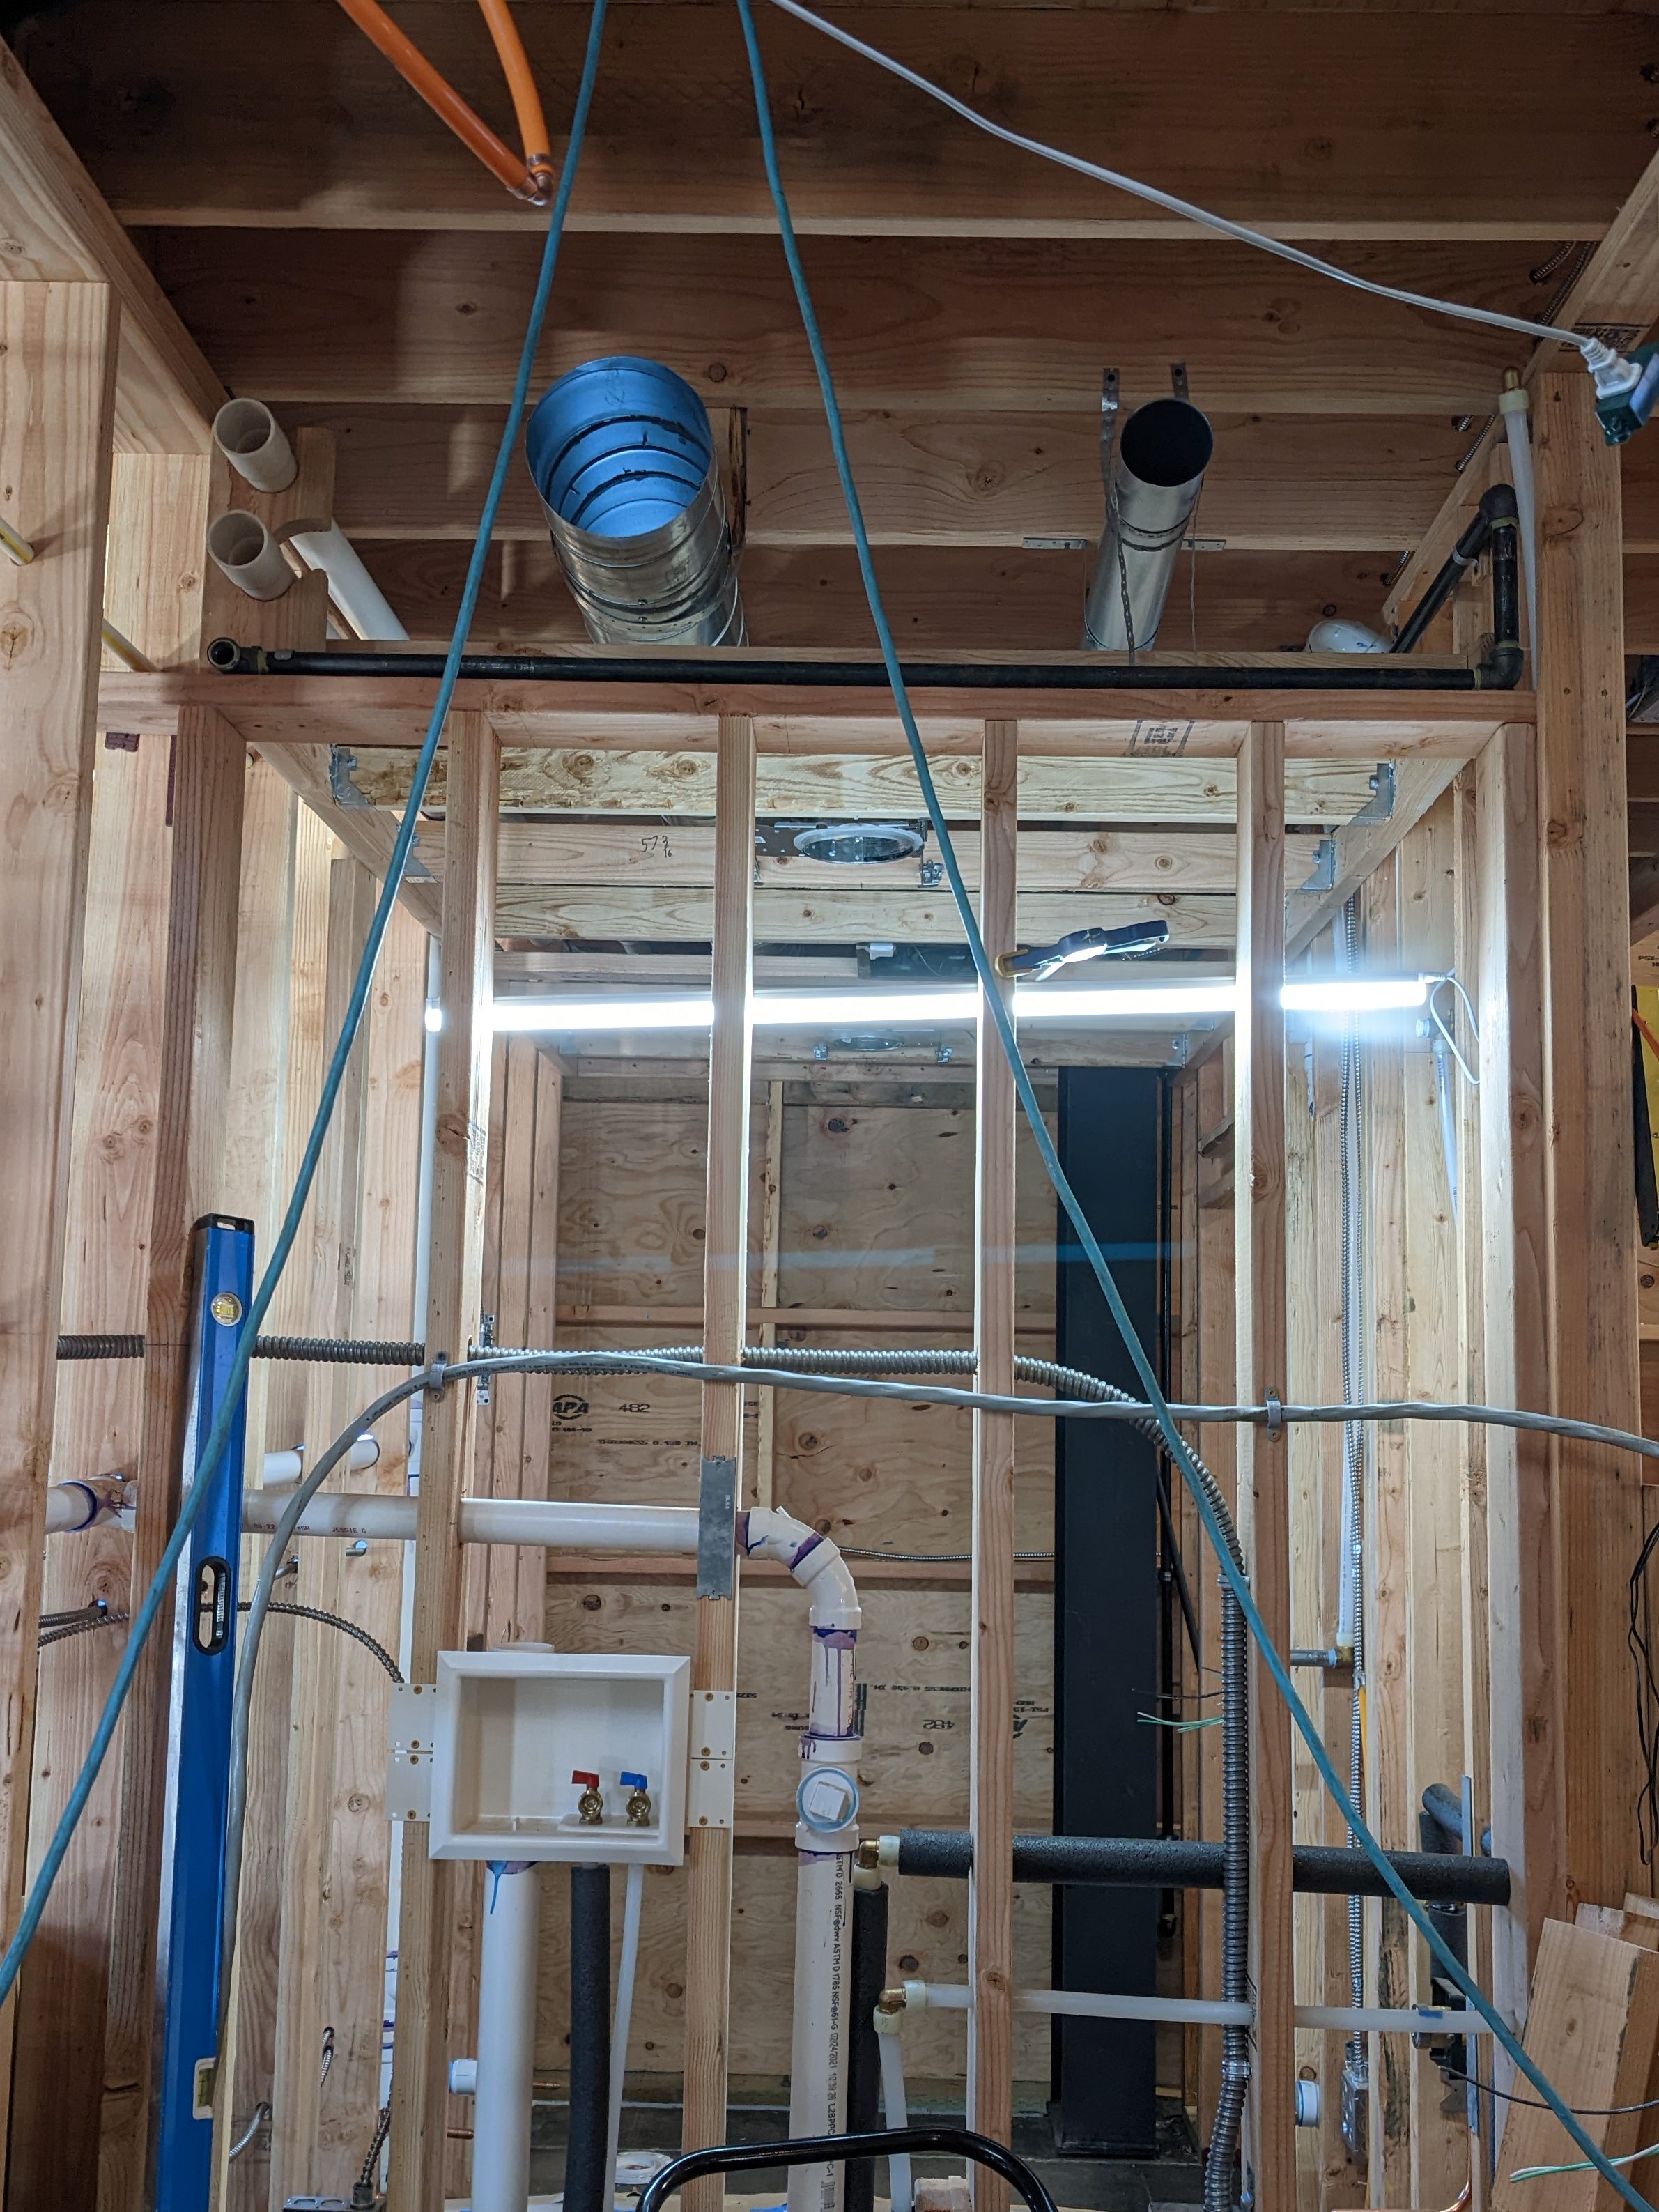
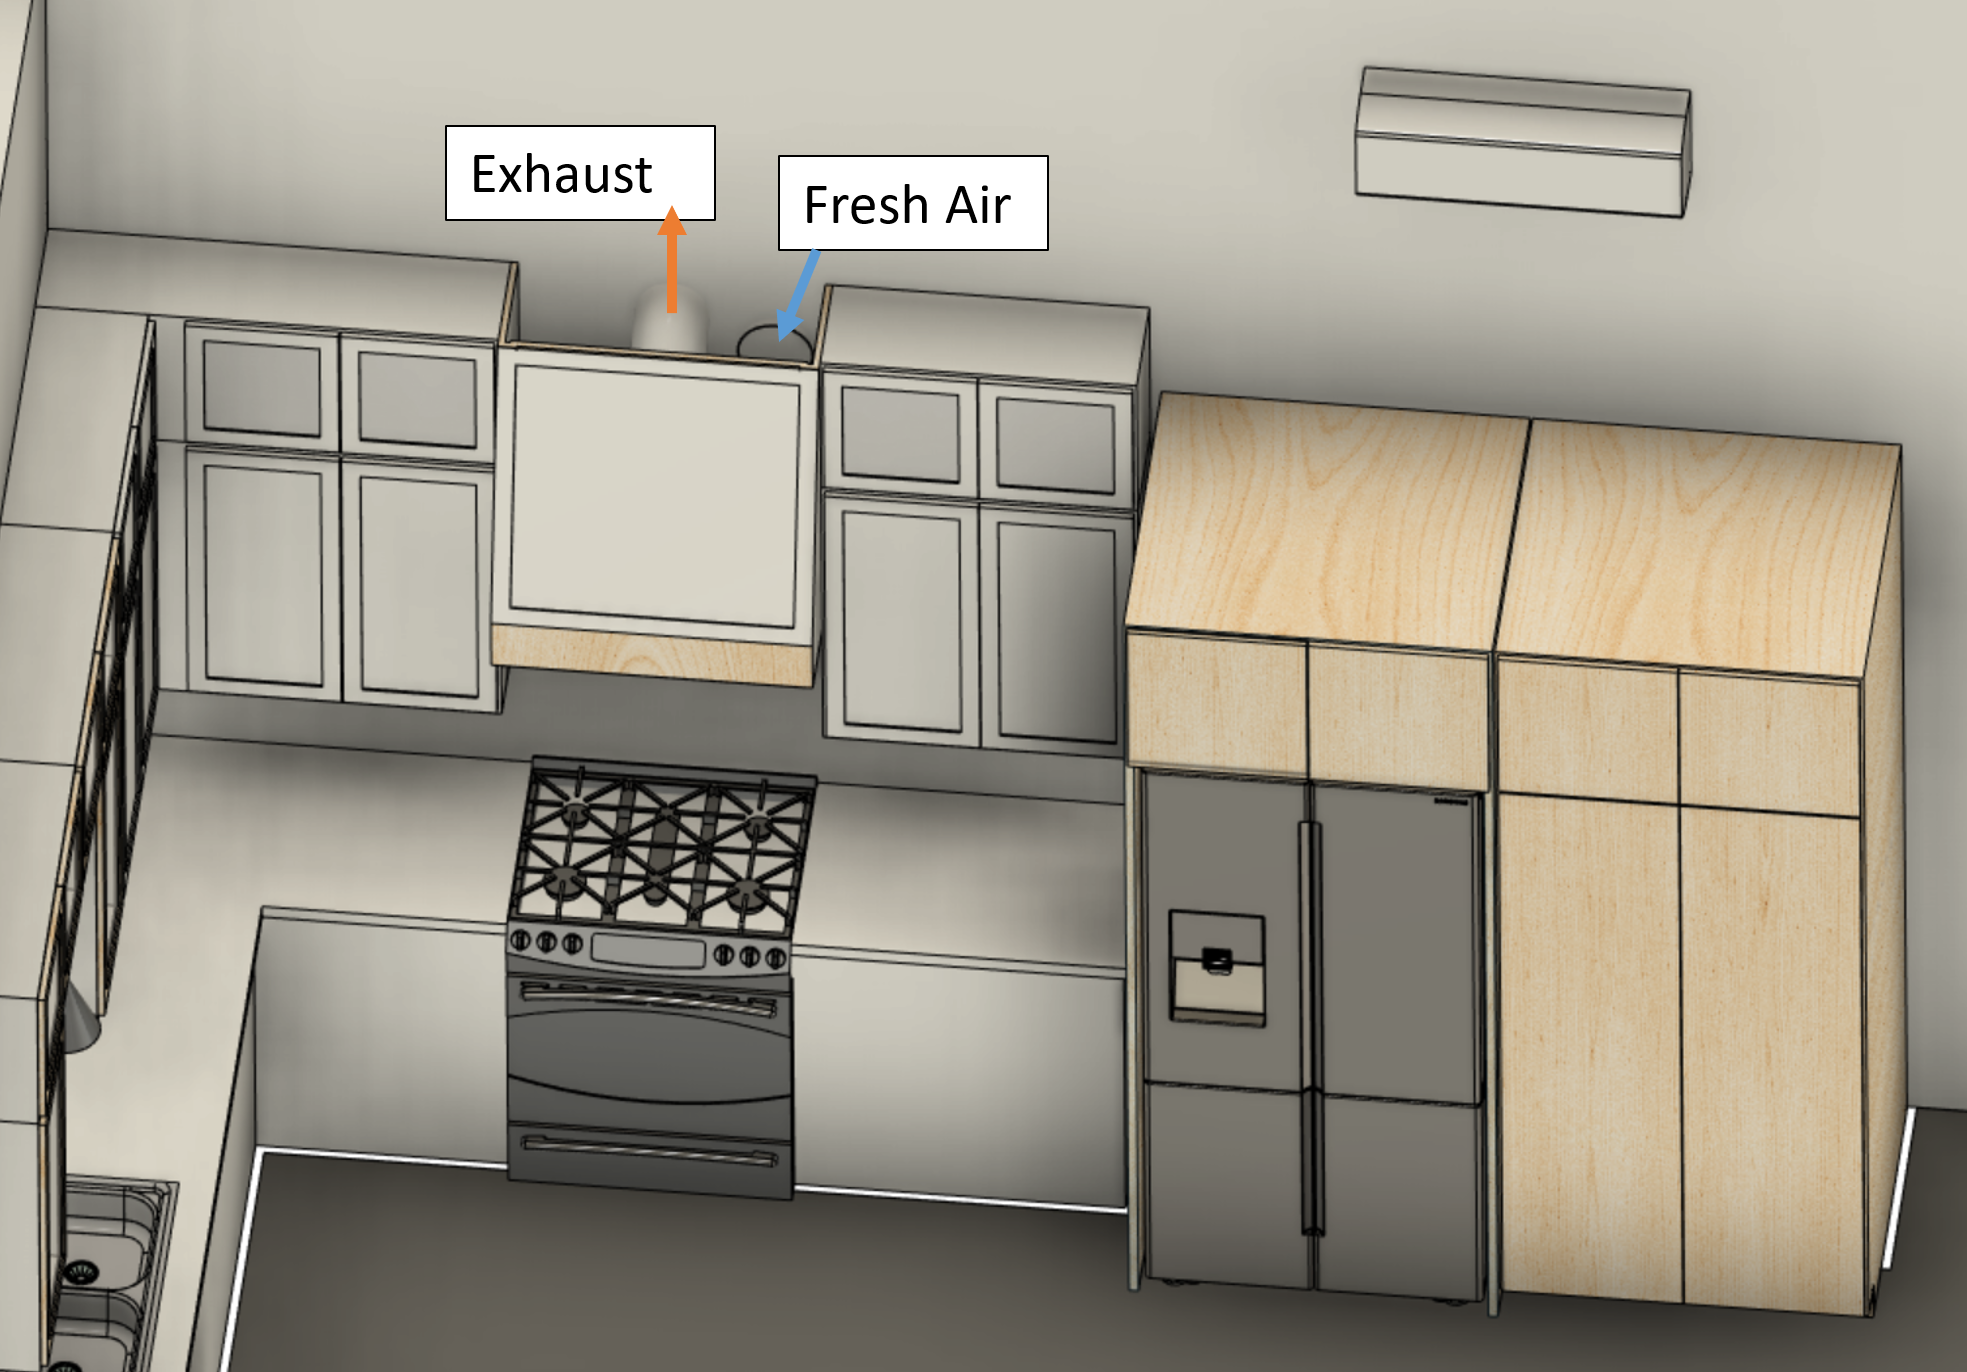
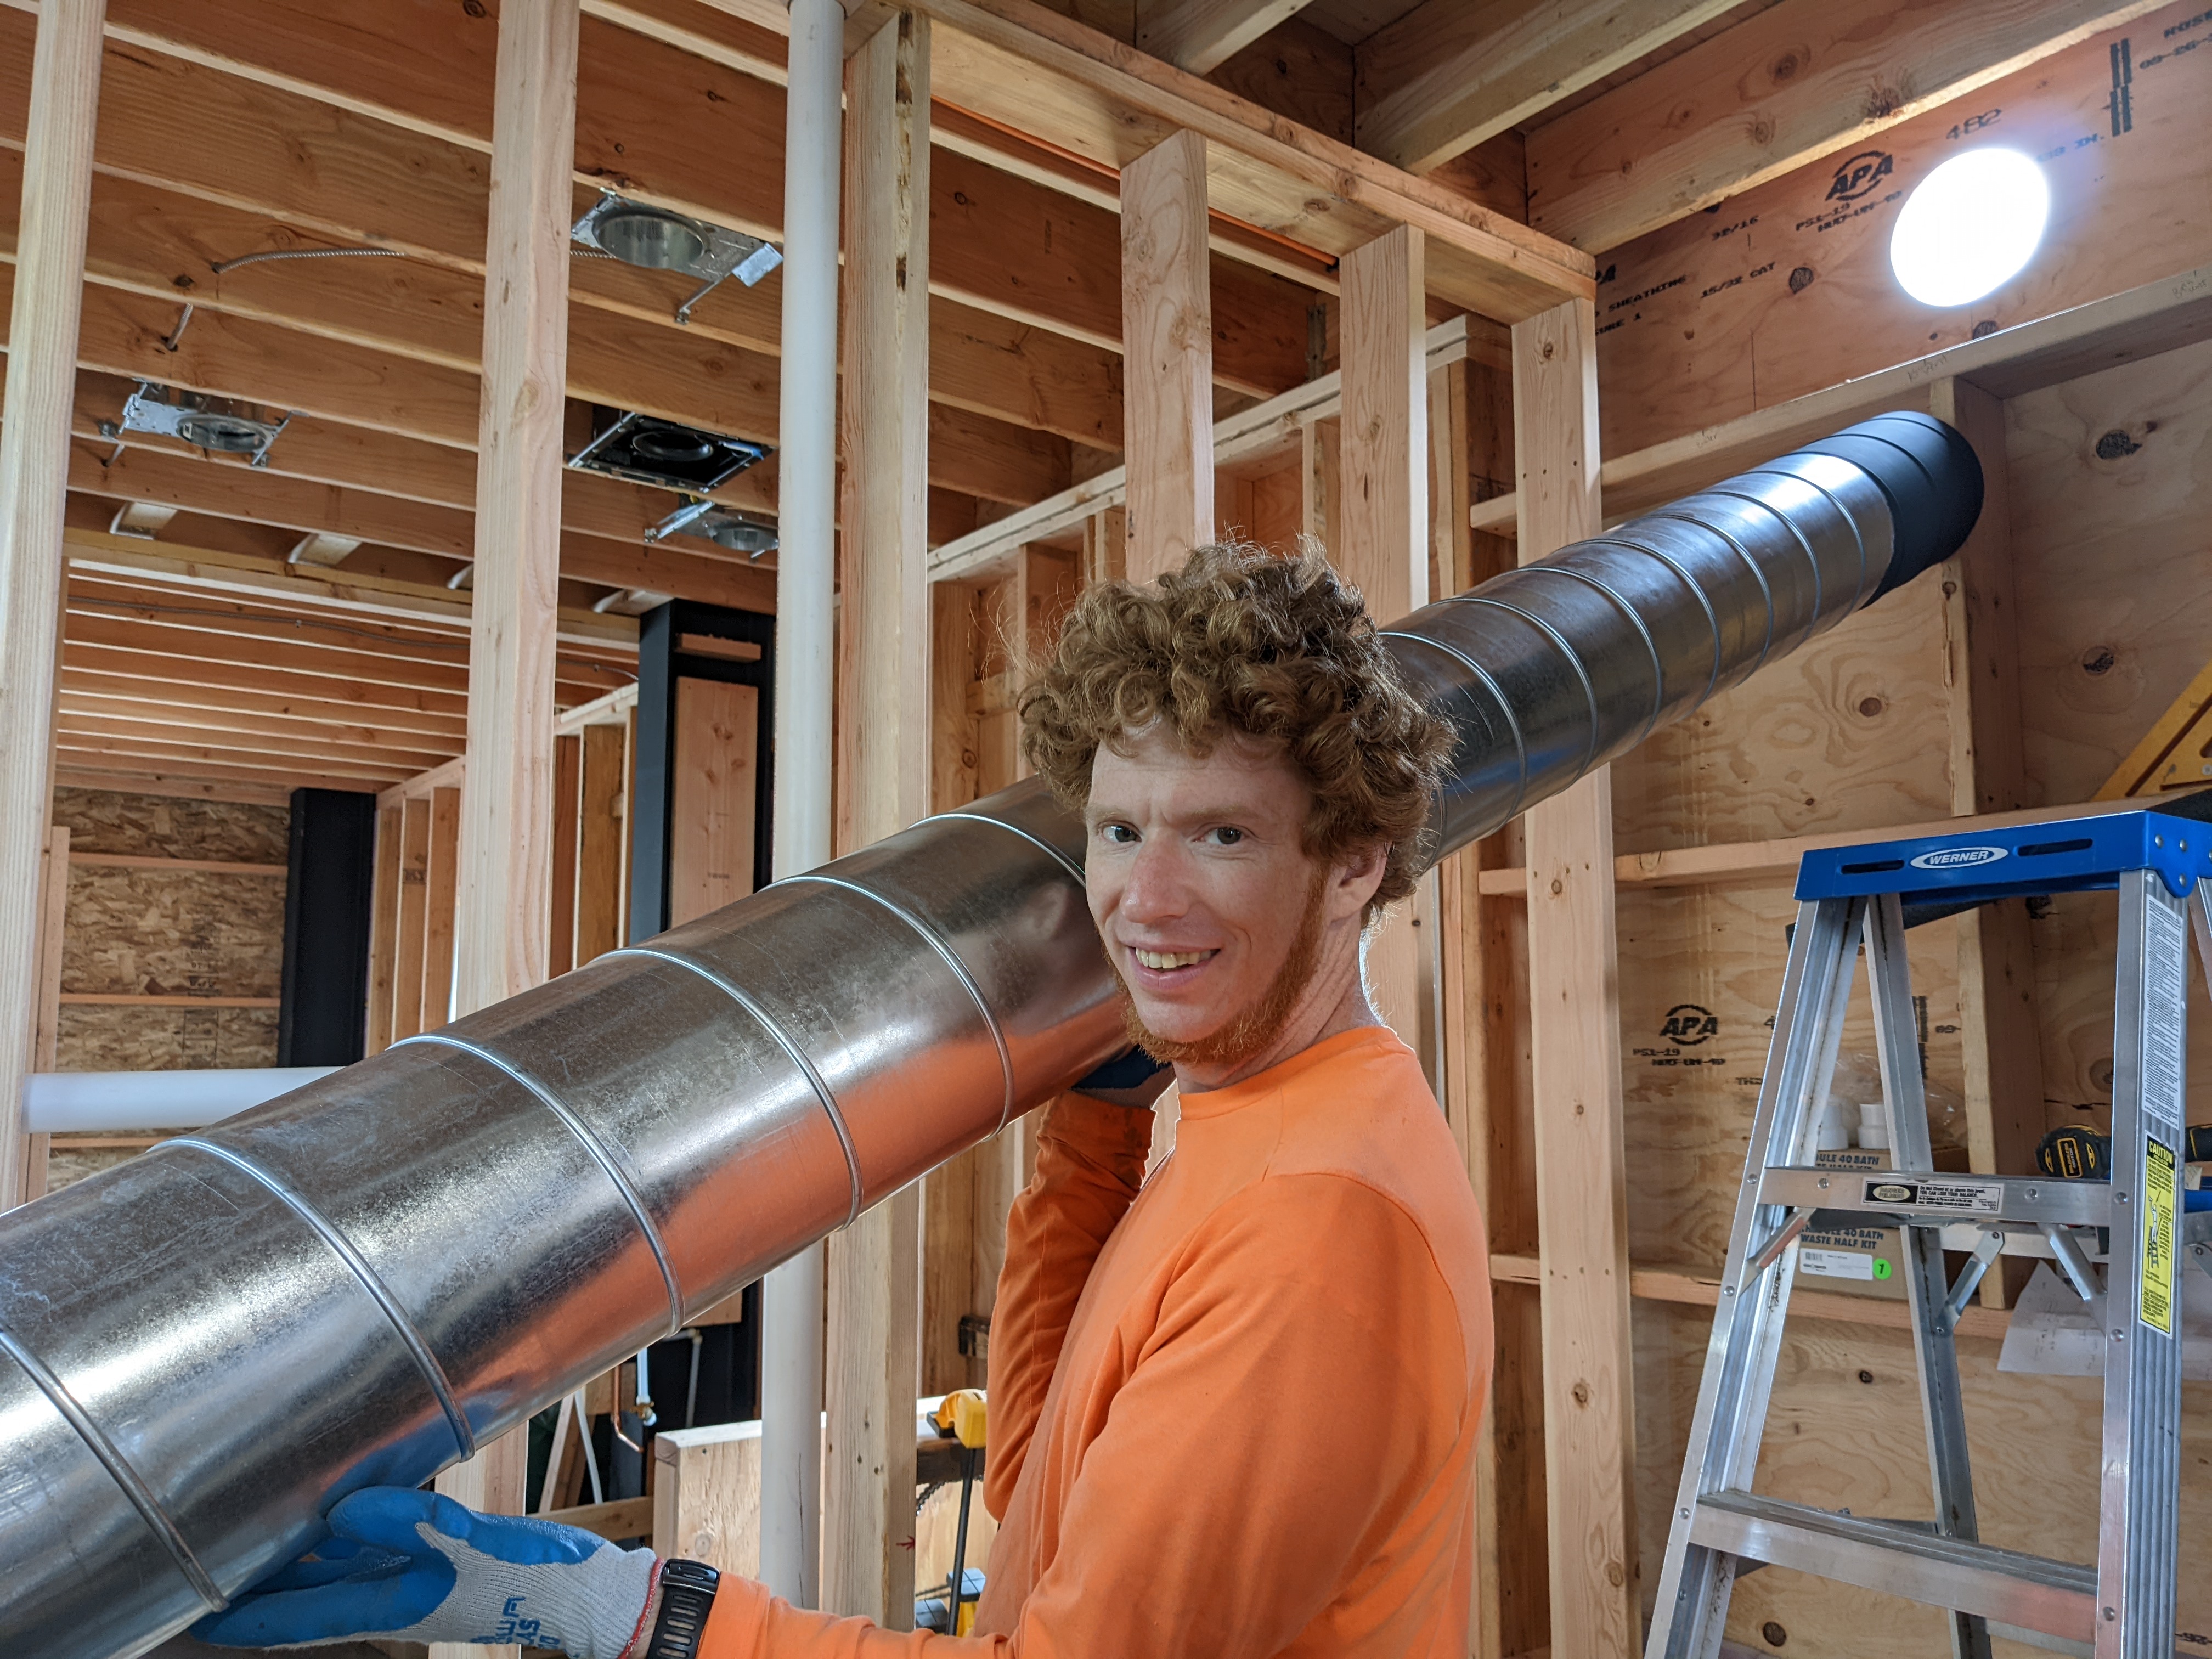
The largest duct is the exhaust duct for the range hood in the kitchen. It was also a little more complicated since it had to travel through more walls and make more turns to get outside.
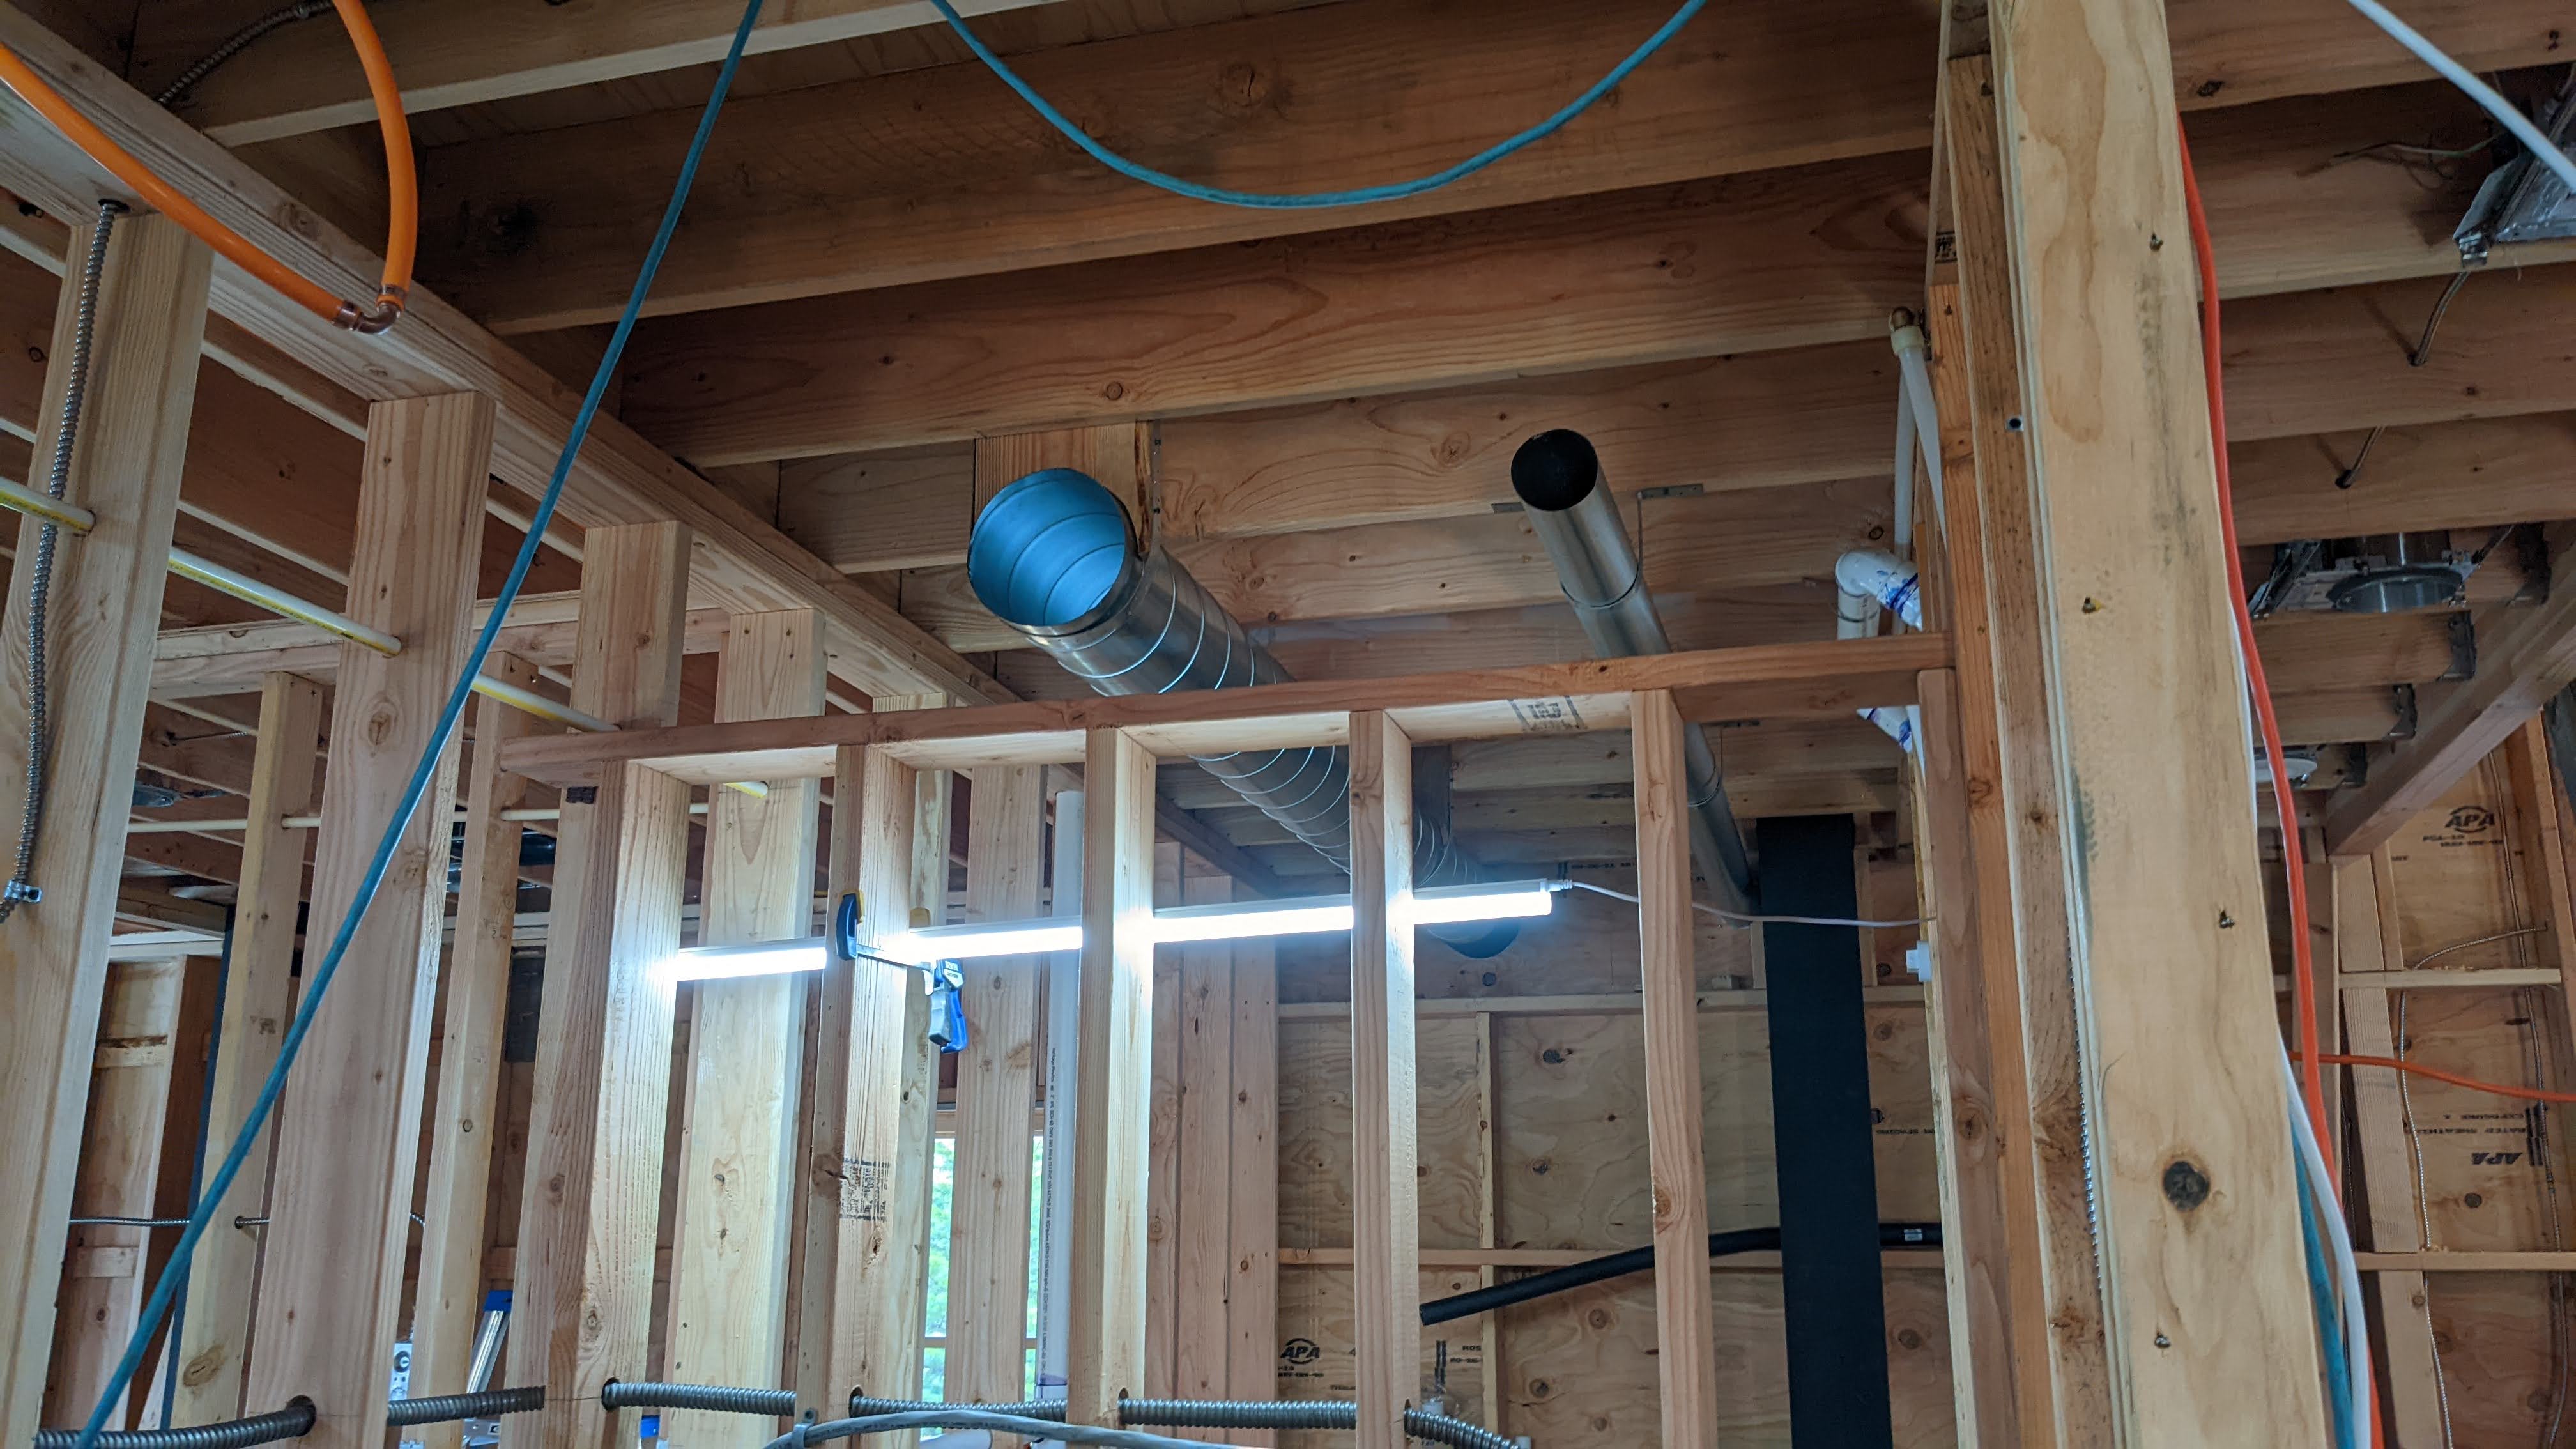
To hide this 8 inch beast, we built a dropped ceiling in the shop bathroom. Some other ducts and plumbing pipes share the concealed cavity between the dropped ceiling and the second story floor.
We used metal strapping to hold up the smaller ducts.
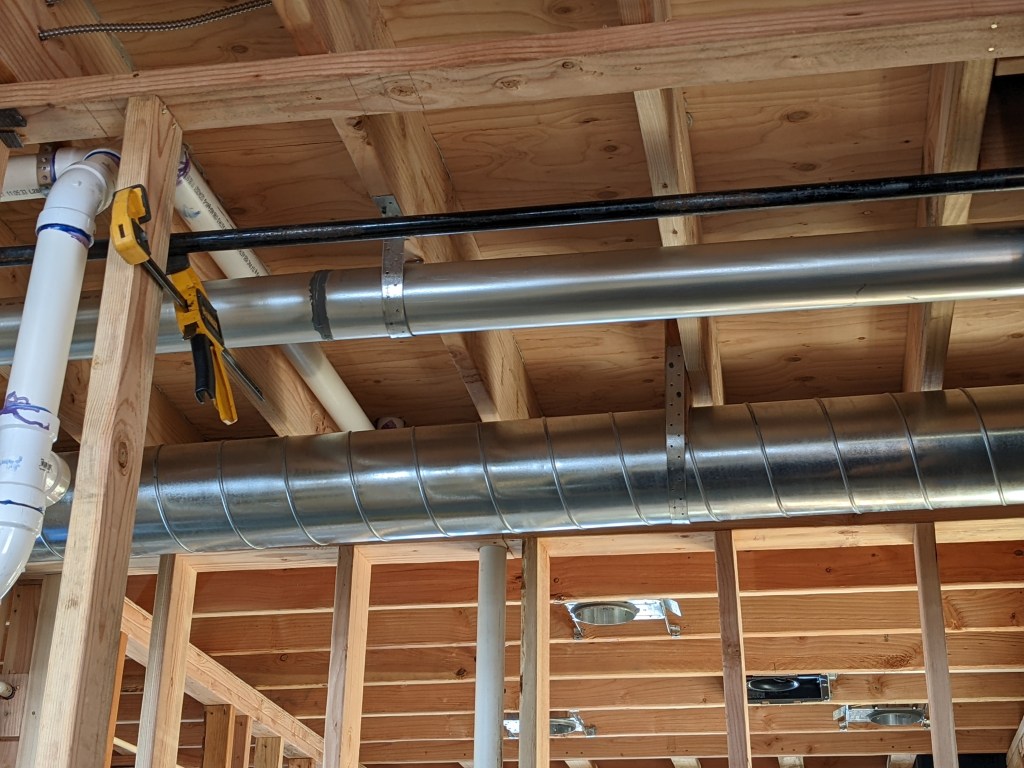
We built wooden supports to hold the larger duct in place.
The fun doesn’t end there. Many of you probably aren’t familiar with the new building code requirements for intake air and venting. I certainly wasn’t keeping up with that sort of news. When things like the kitchen or bathroom fans run, the lost air in the room needs to be replaced to maintain the indoor air pressure. In the good old days, outside air made its way in through little leaks around doors, windows, vents, etc, and no additional action was required. The new code requires doors and windows to be 100% sealed (for energy efficieny), making it necessary to install a fancy air intake system.
The county leaves it up to the homeowner to design their air intake system. Sam racked his brain trying to come up with a simple design and control system. In our case, there will be another large hole in the exterior wall (with a vent/screen cover of course). A motorized damper will open when the kitchen exhaust fan runs, letting outside air in, but will otherwise remain closed.
The outdoor air will travel in through a duct, passing through a filter. Then a fan will push the fresh air into the kitchen via another duct. The kitchen exhaust and fresh air ducts will be hidden in a cabinet.
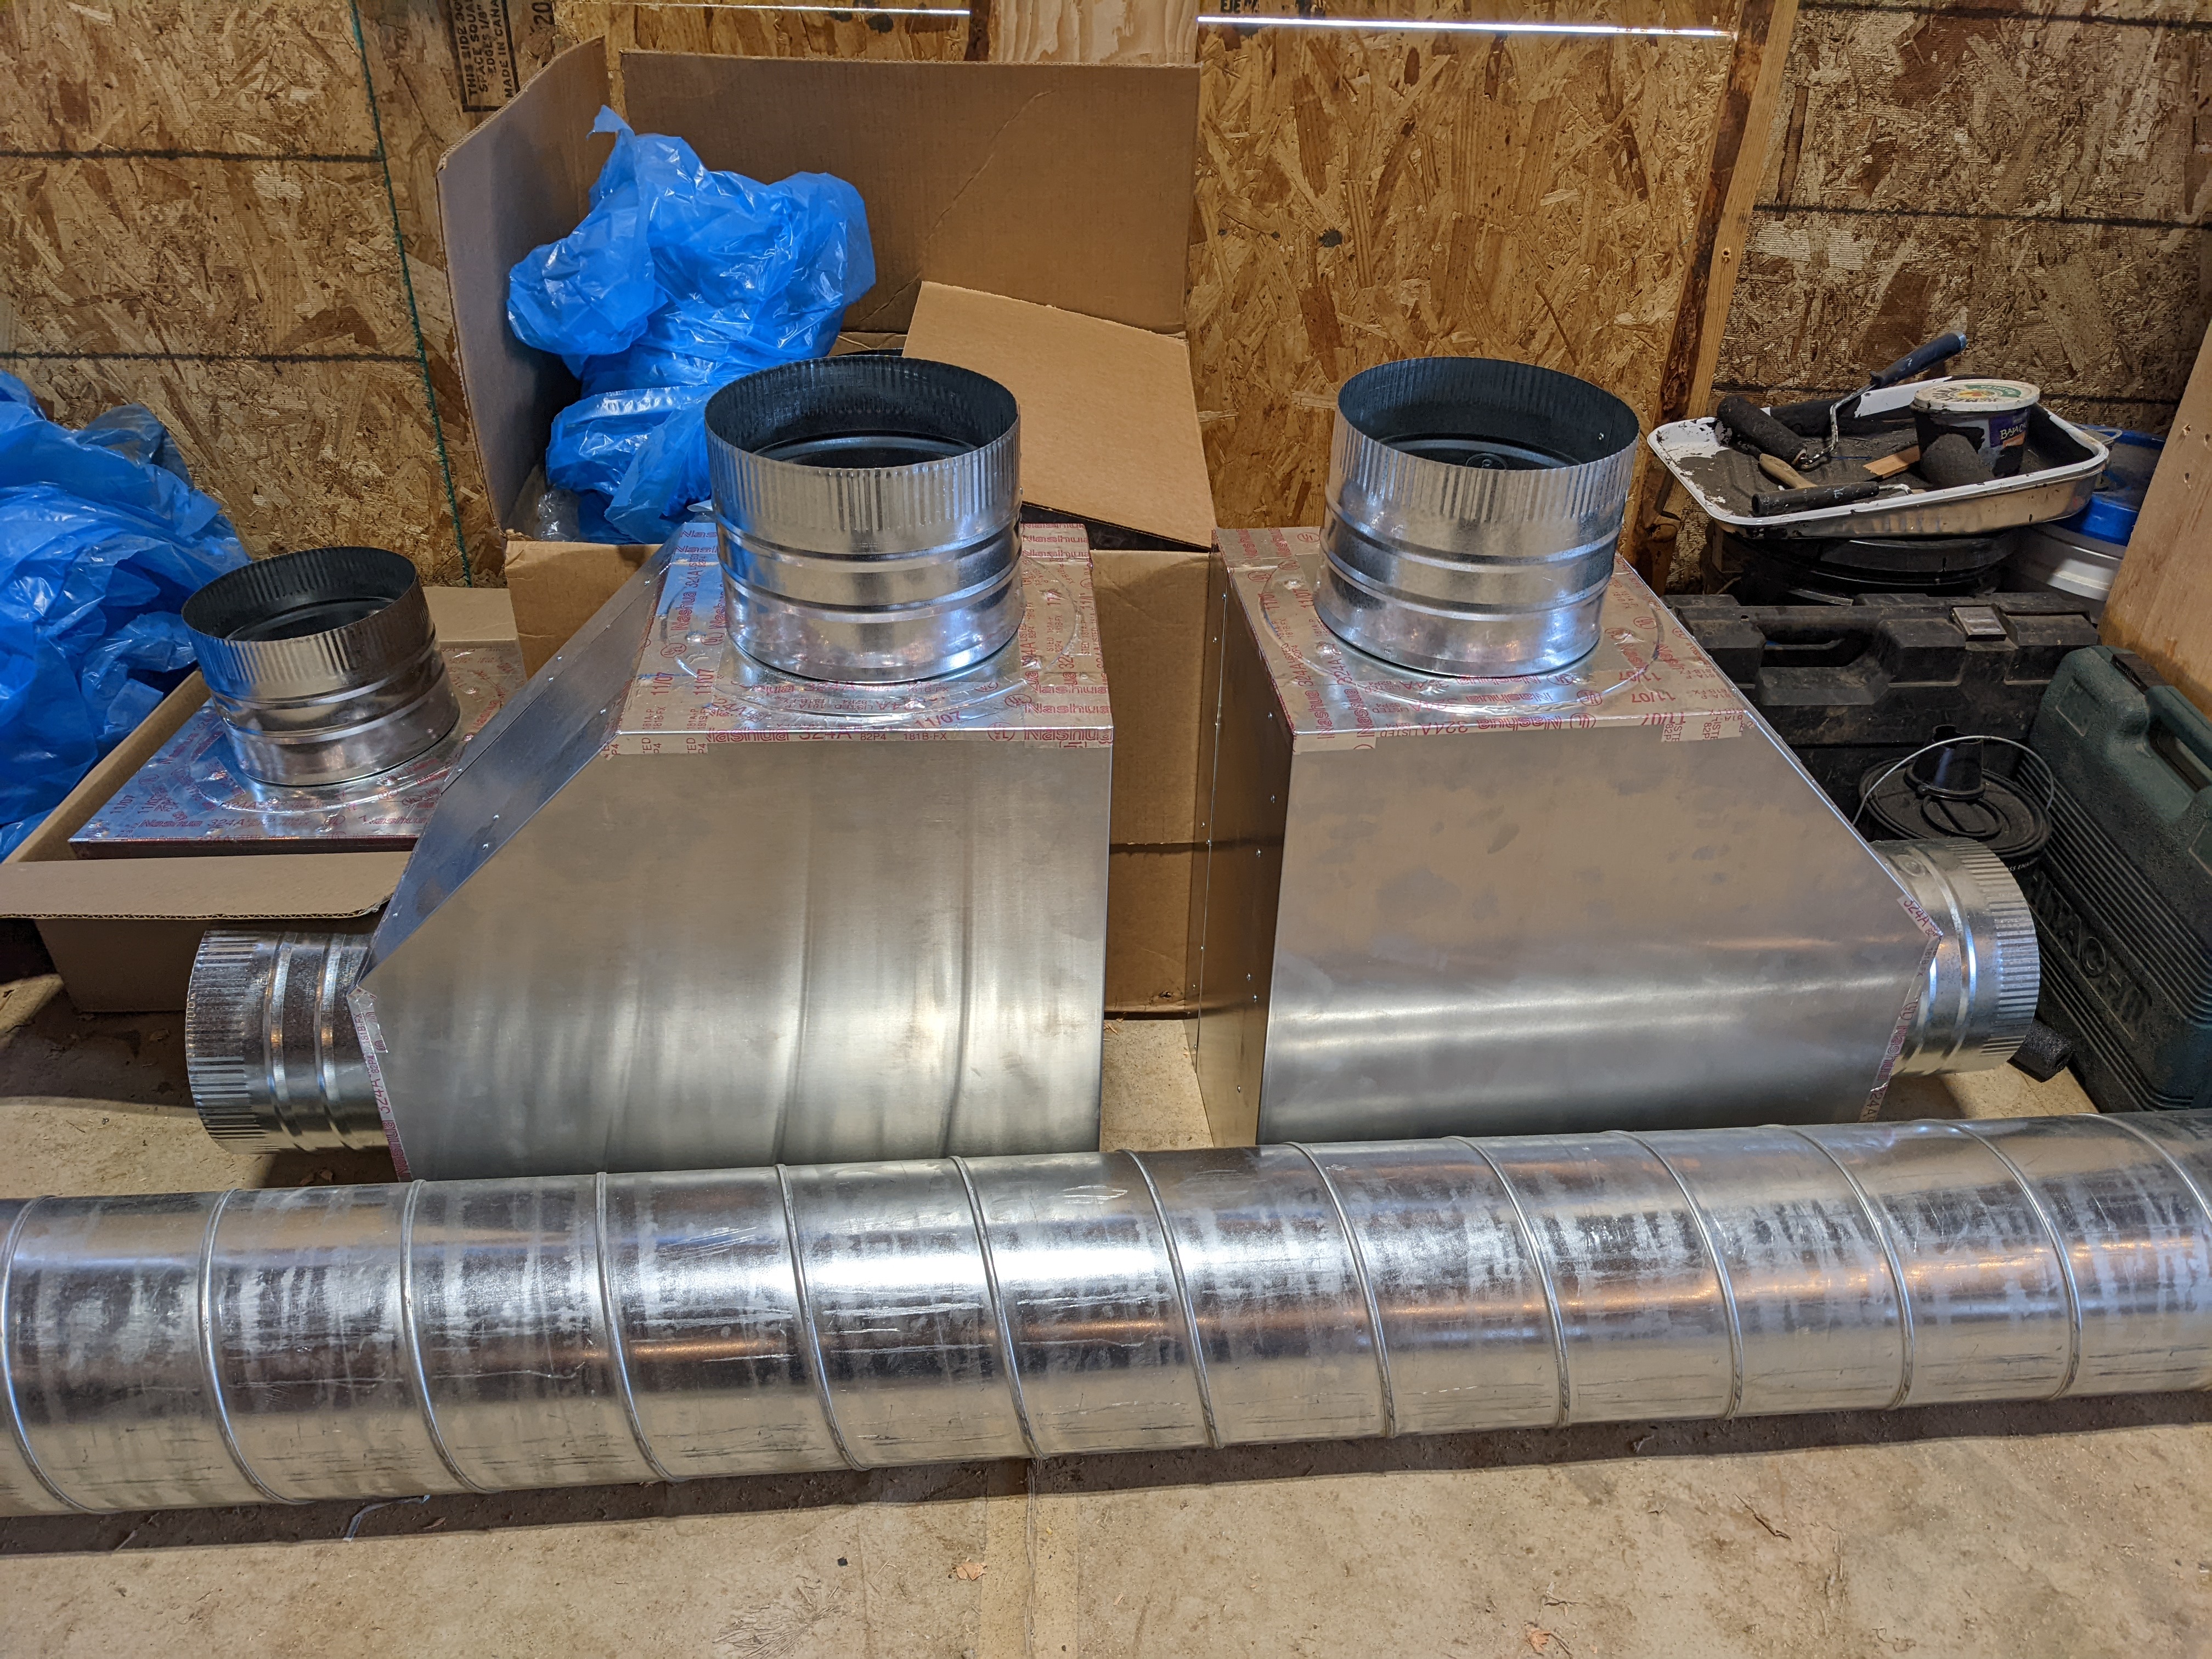
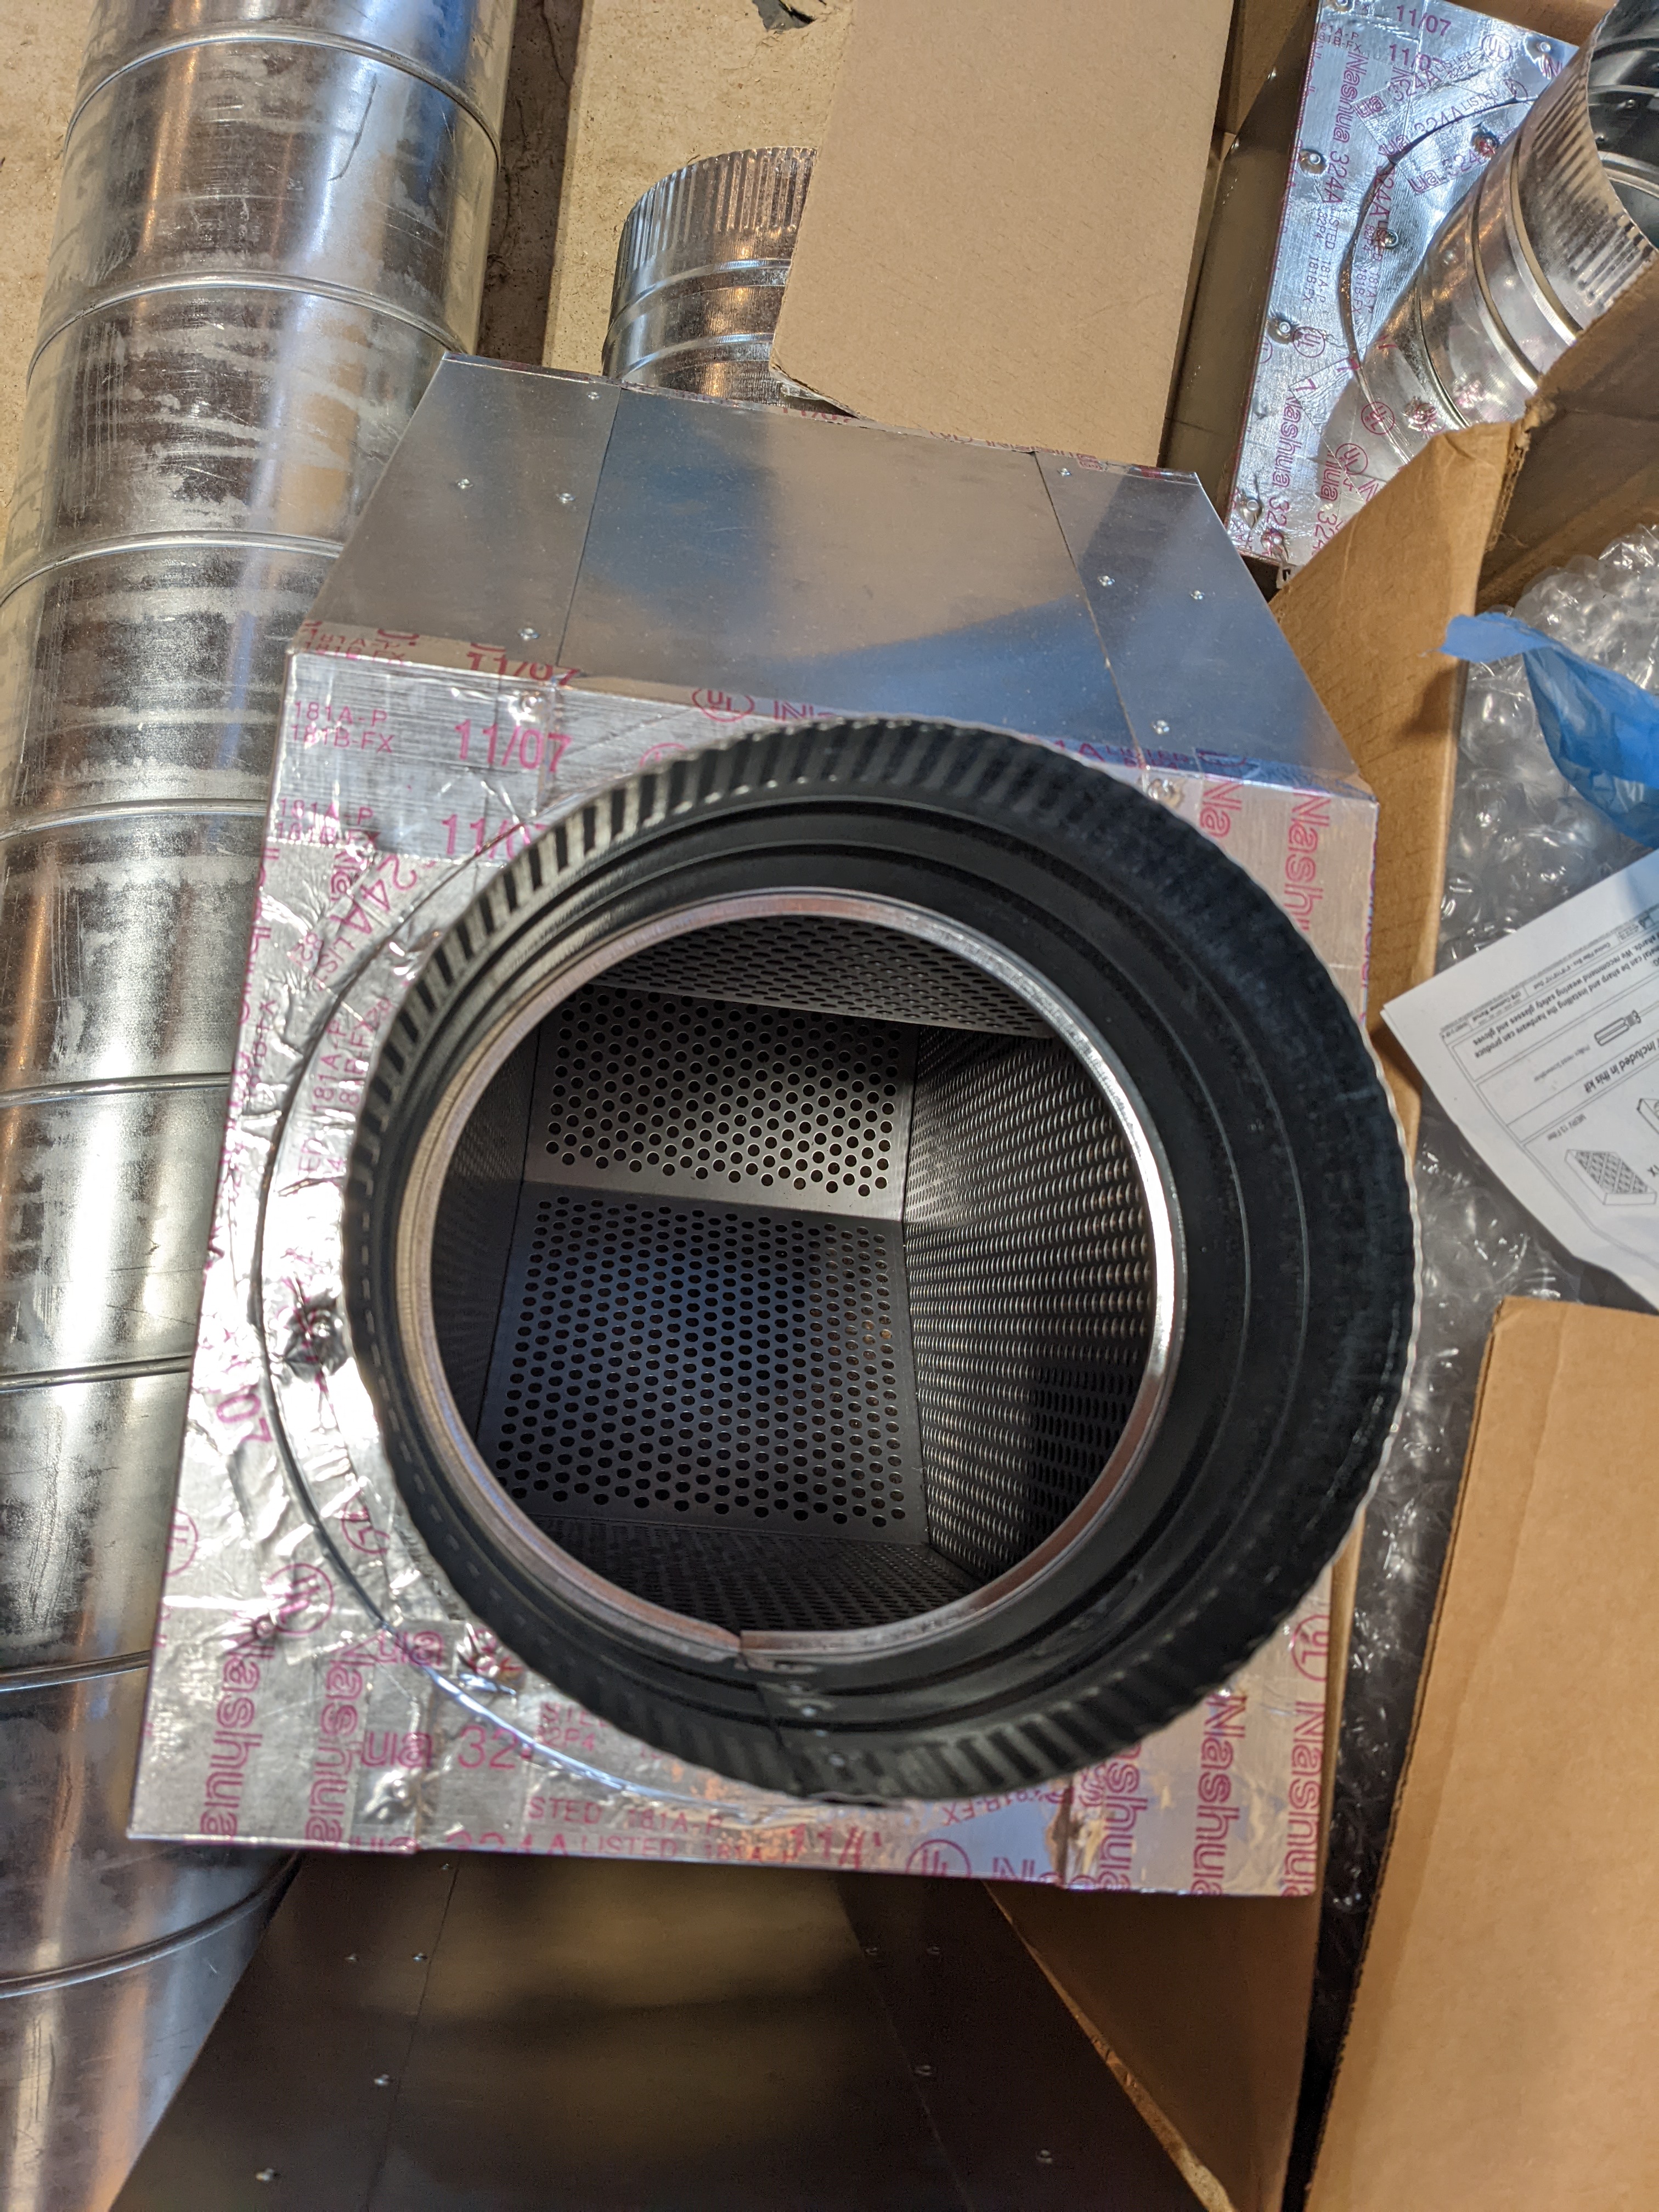
Larger ducts are typically noisy, so Sam found these noise reducing elbows to incorporate in our system. The fan lives somewhere between the two elbows, and the sound is contained between the elbows. They look neat inside. You can yell in one end, and the sound gets lost inside due to the holes and angles.
A big concern with our intake air system was what to do during fire season if the air quality becomes hazardous. We (Sam) designed an additional re-circulation system, which will allow us to close the outdoor air intake and draw air in from the living room instead. The living room air will pass through a very fine filter and return through the same kitchen duct.
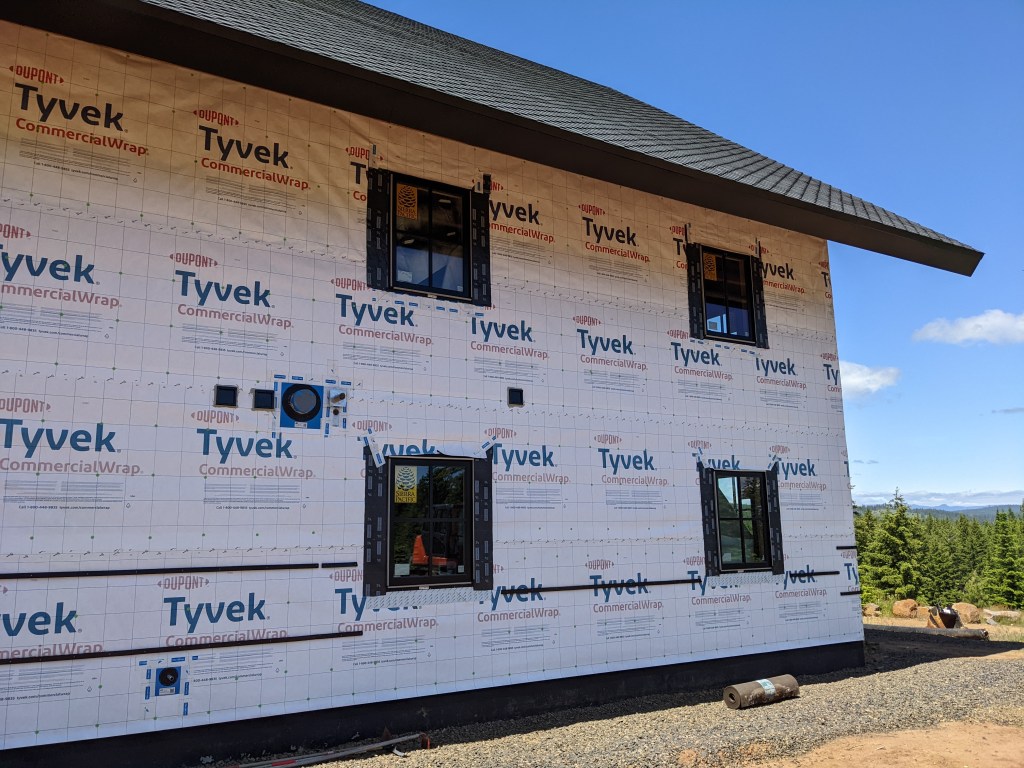
At this point you might be wondering if the outside of the building looks like swiss cheese. It doesn’t. I hid the chainsaws, so Sam had to use the small jigsaw. He cut perfectly round holes.
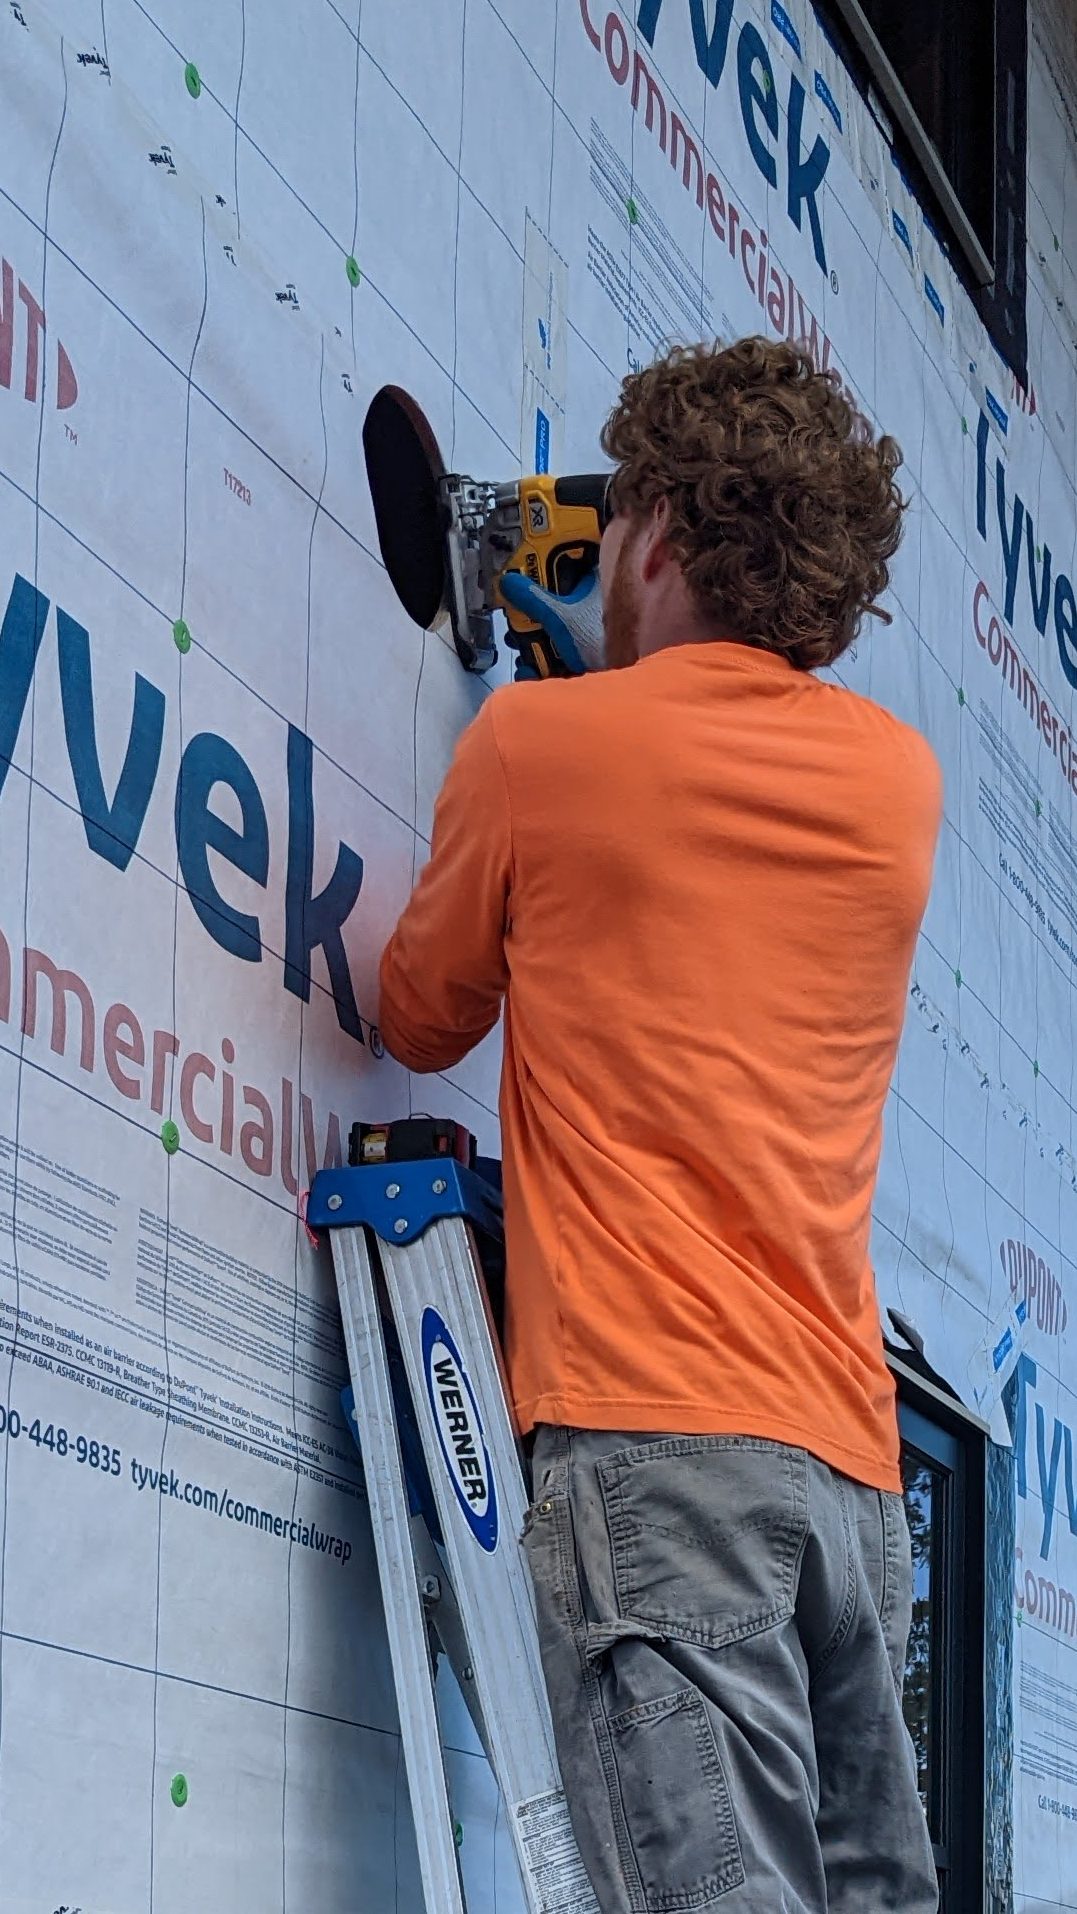
We installed little black “wall vents” (the square things below) where the 4 inch ducts exit the building. They have a magnetic door which stays sealed in a resting state and opens easily when the fan is running. I don’t imagine any bugs being able to sneak in. Unfortunately, the neat wall vents only came in a 4 inch size.
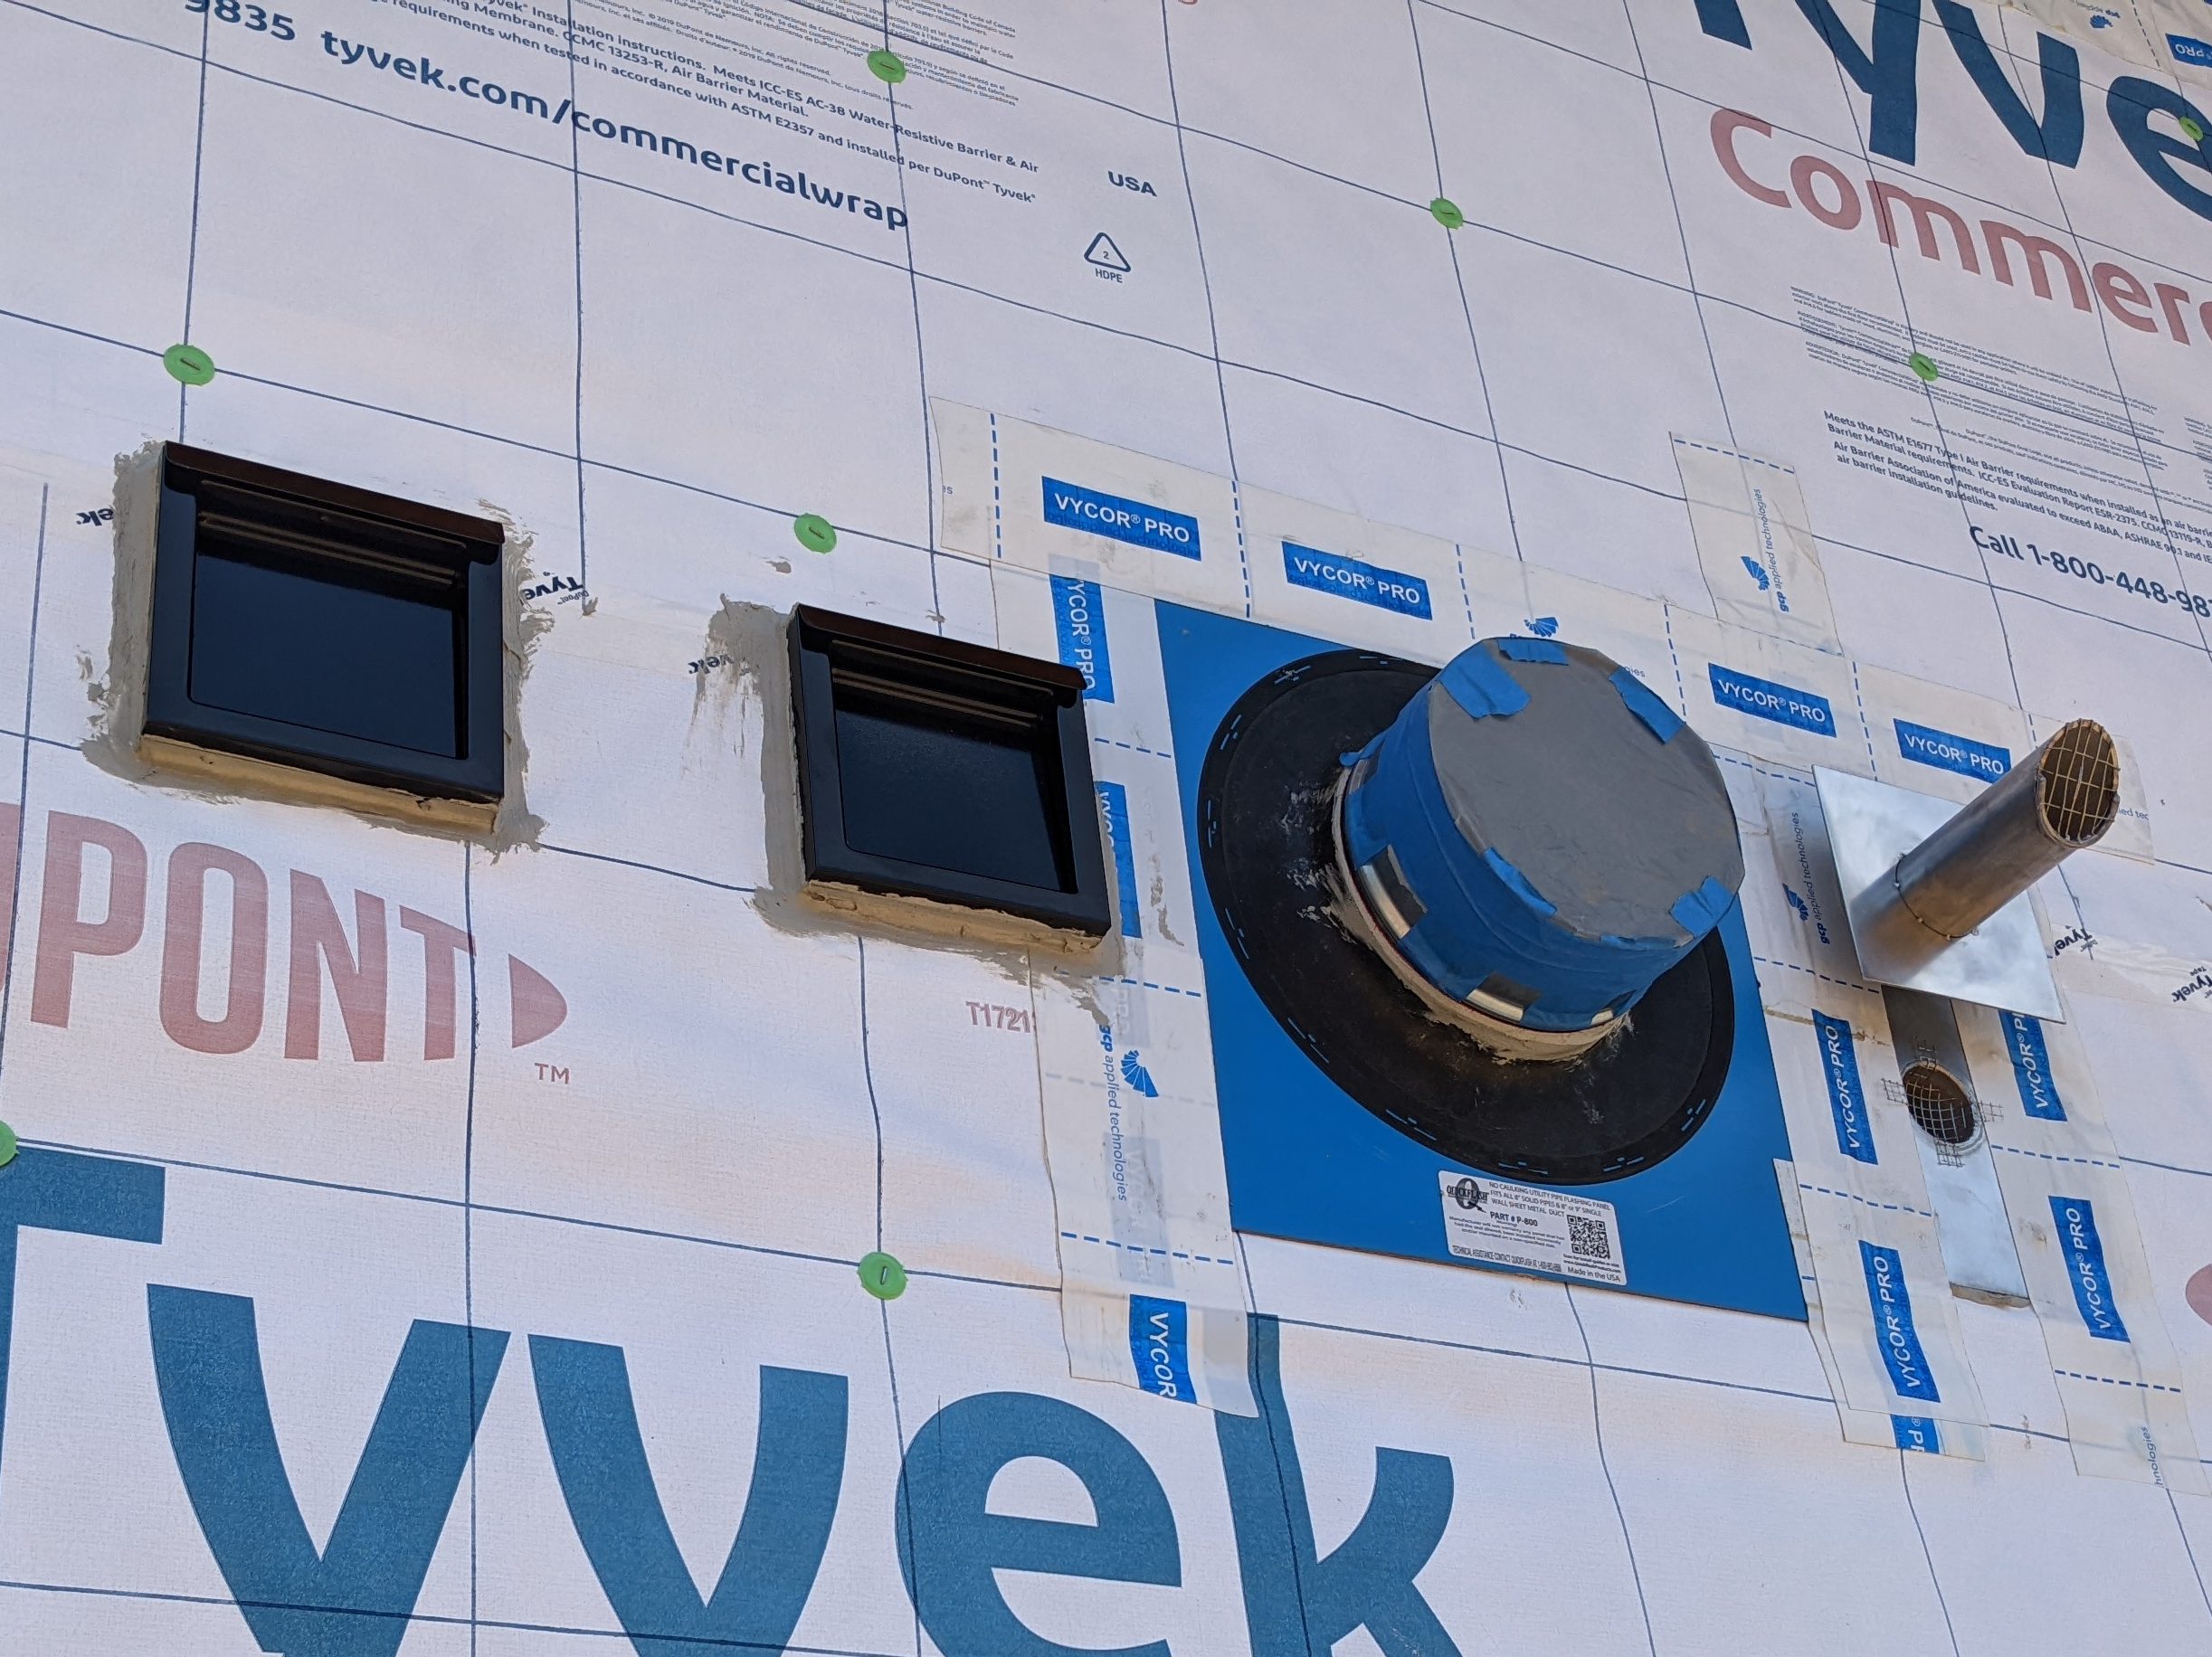
To seal around the larger ducts we used “quick flash”, which acts like a silicone turtleneck when a pipe gets pushed through.
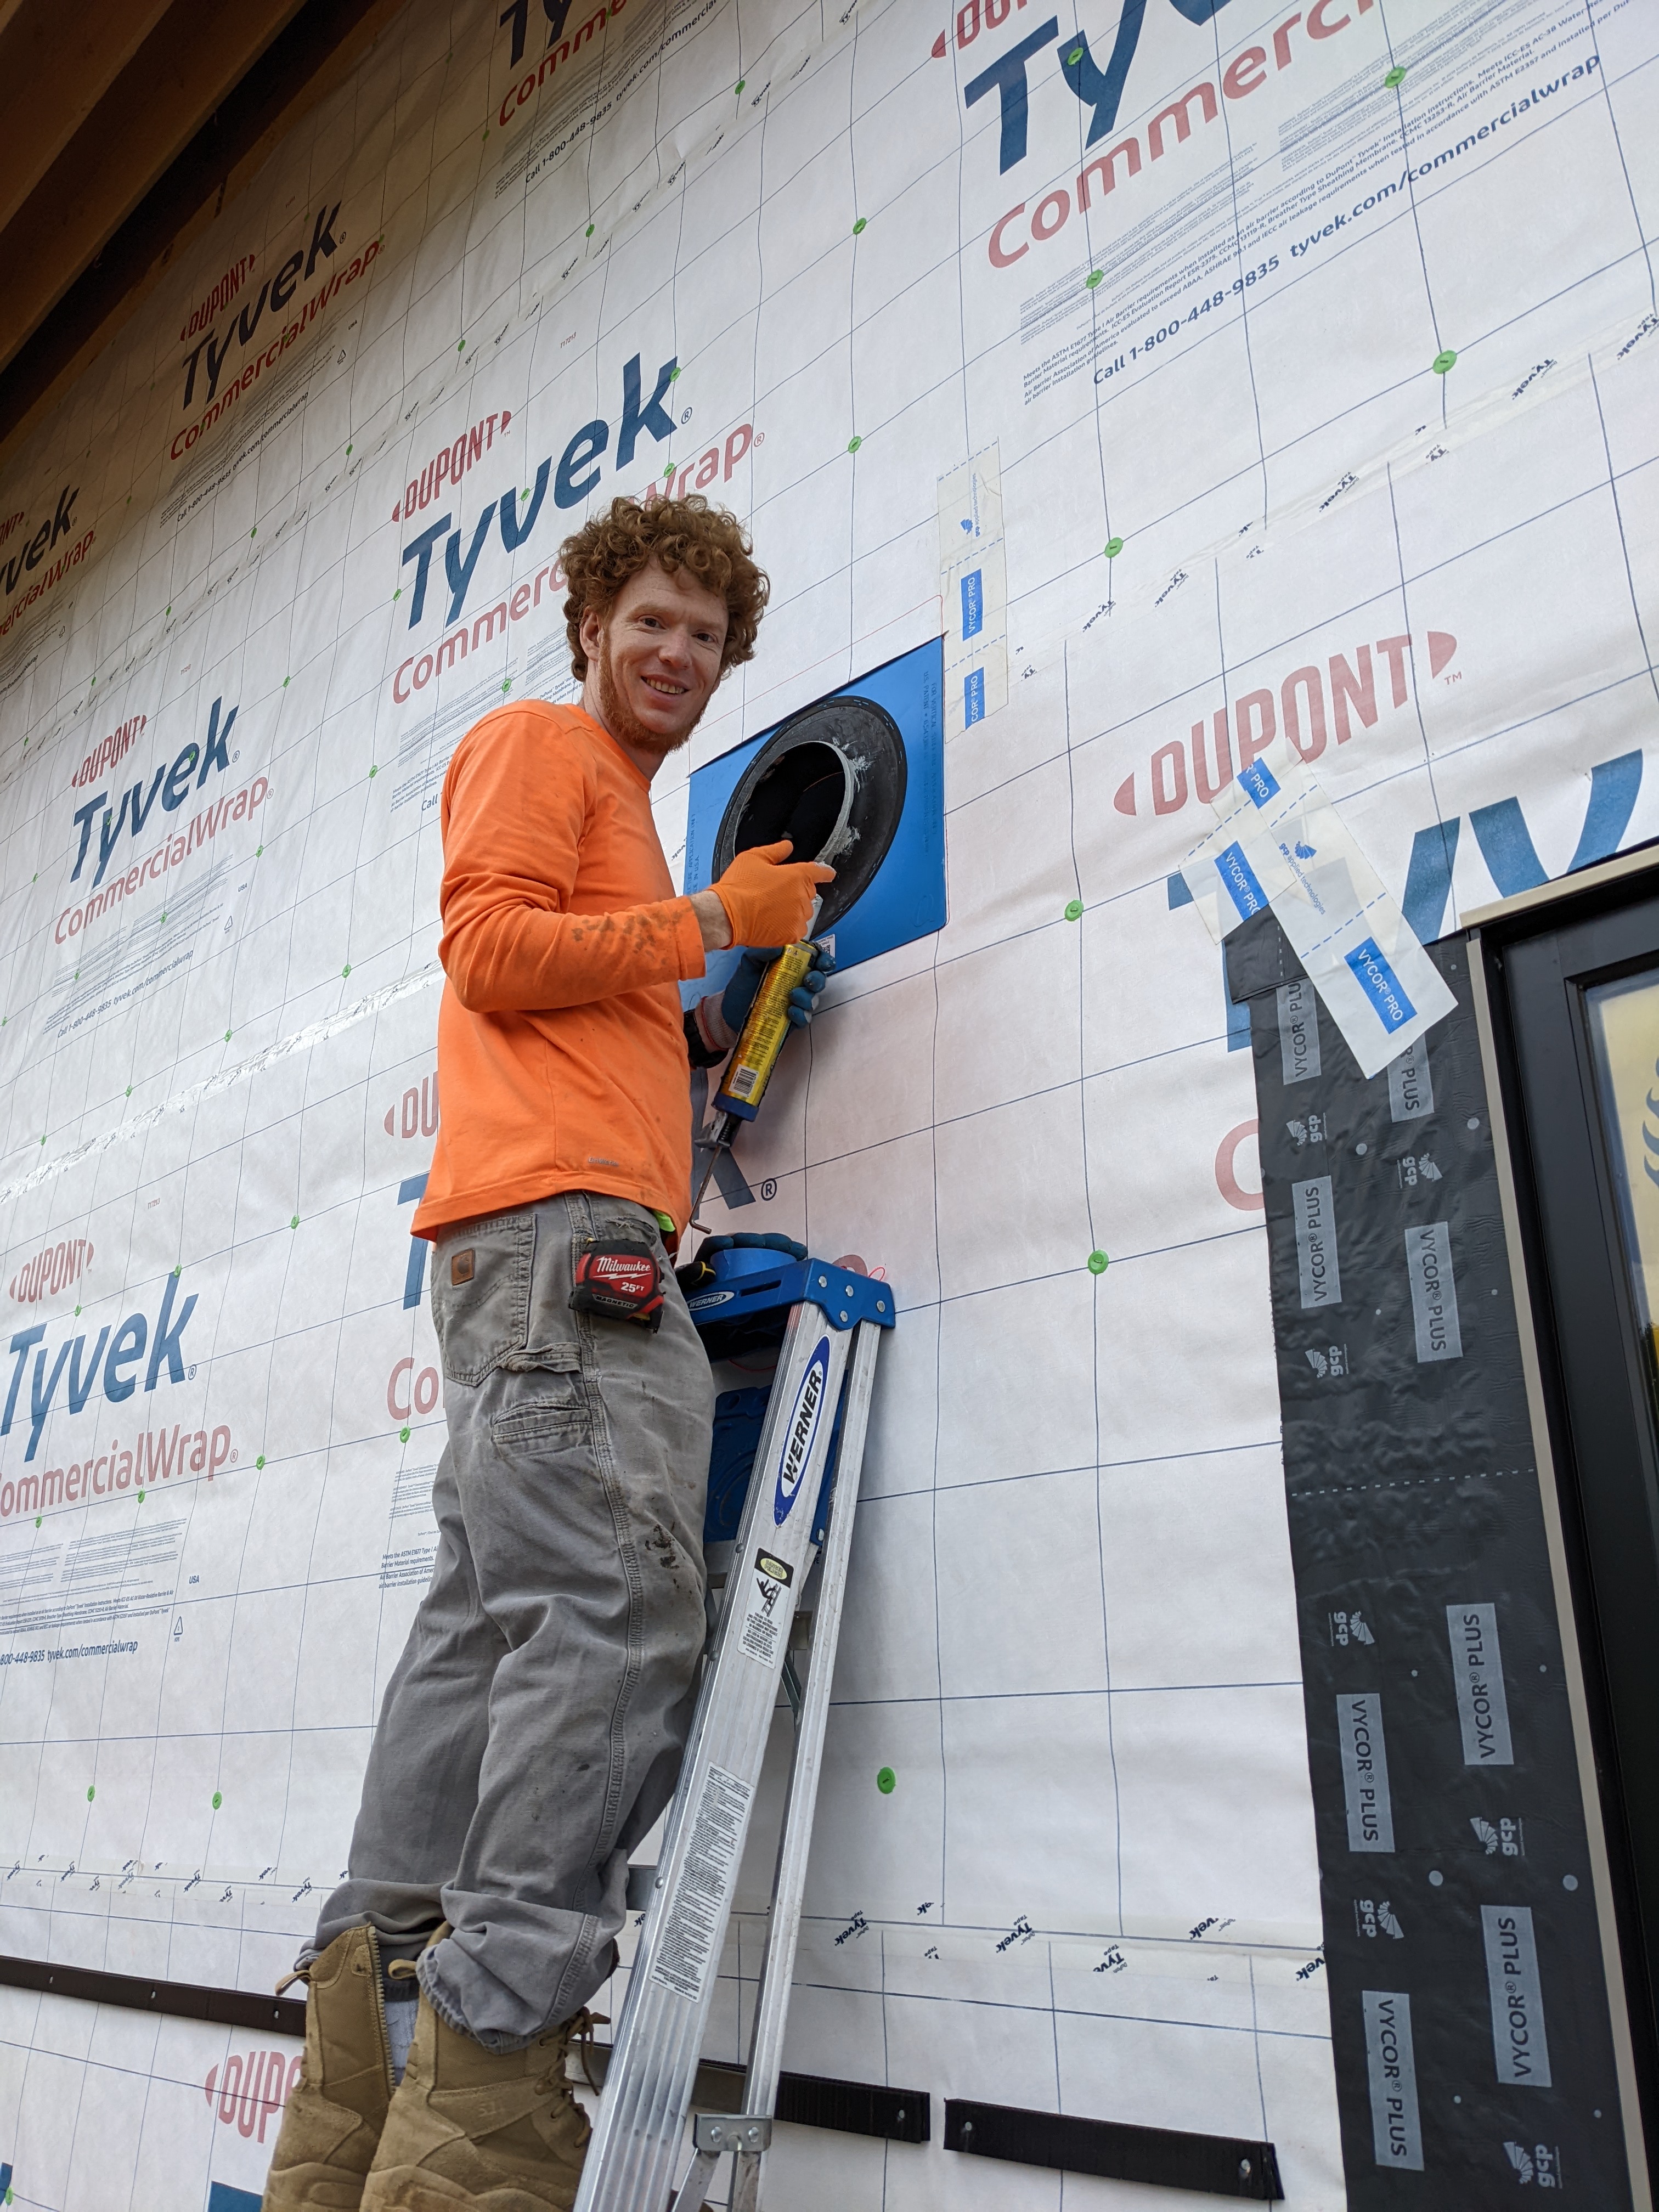
Sam sealed all of the orifices with caulk.
Was ducting everything it quacked up to be? We won’t know until months from now when everything is hooked up and the fans are operable.