We finally got around to building the main staircase which goes from the ground floor to the office. If you recall, we built the upper set of stairs last year, leading from the second story (office) up to the attic.
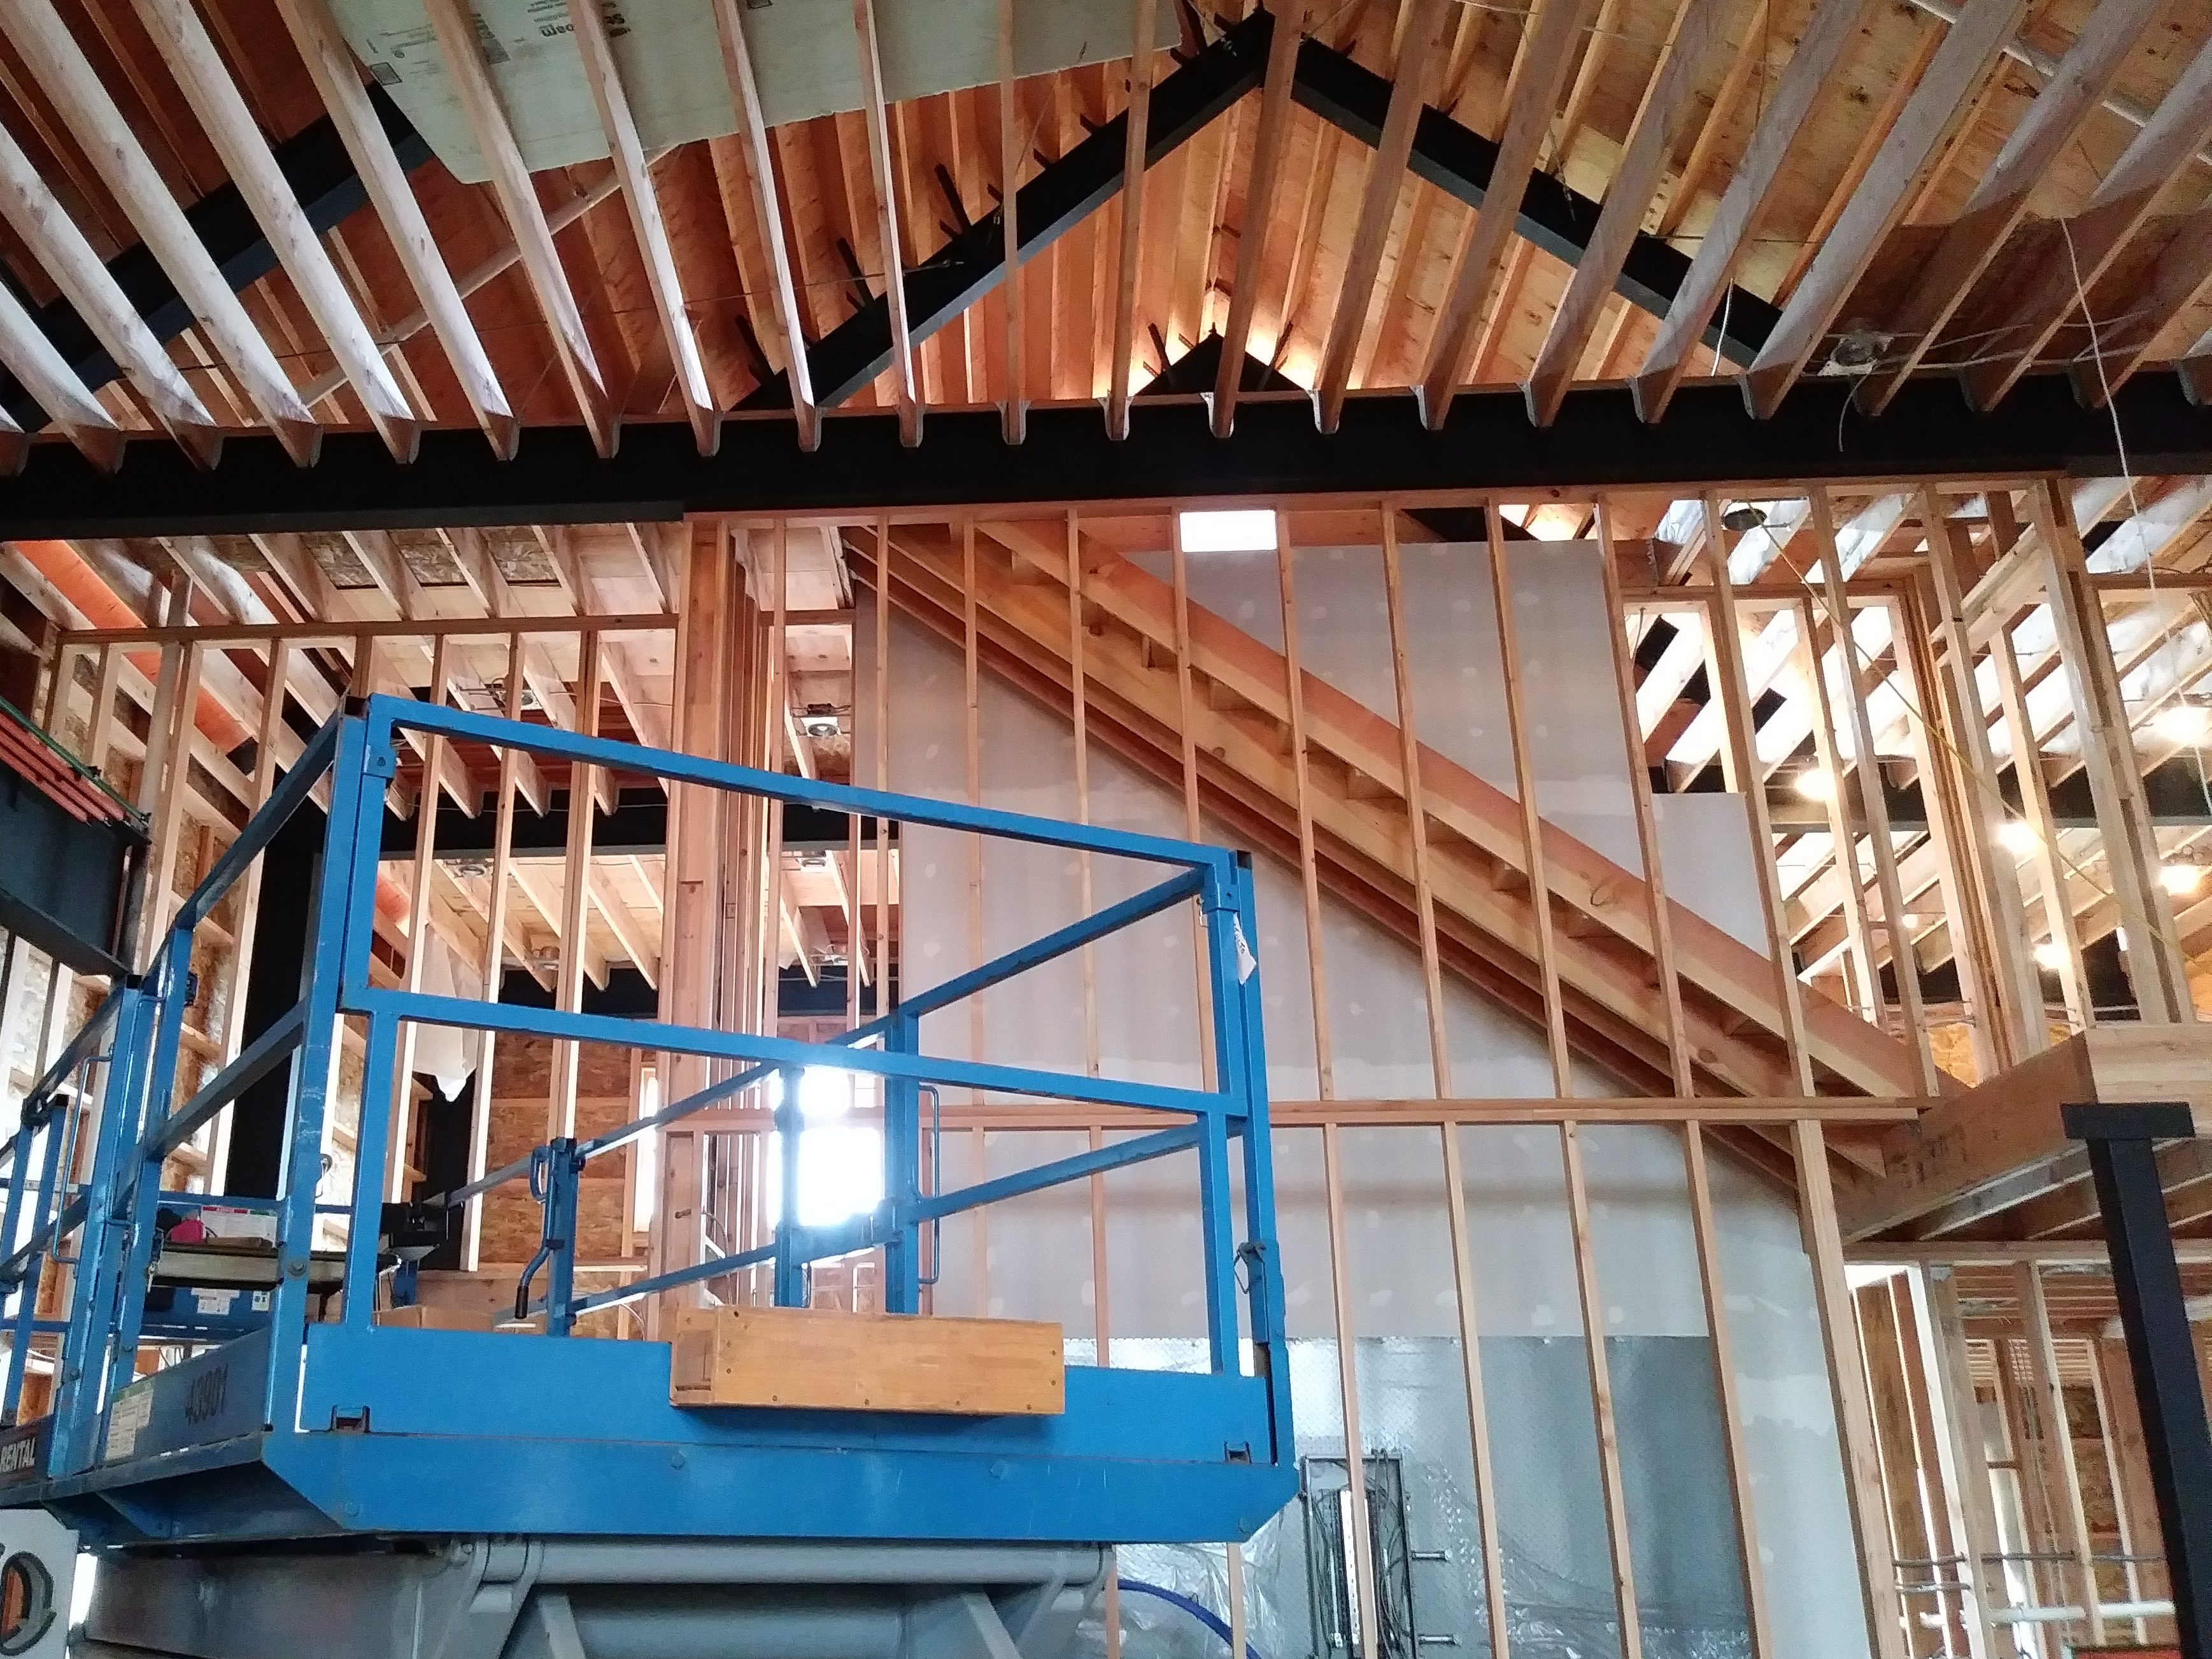
Since then, we have been using a scissor lift (and the cats a ladder) to access the office and attic.

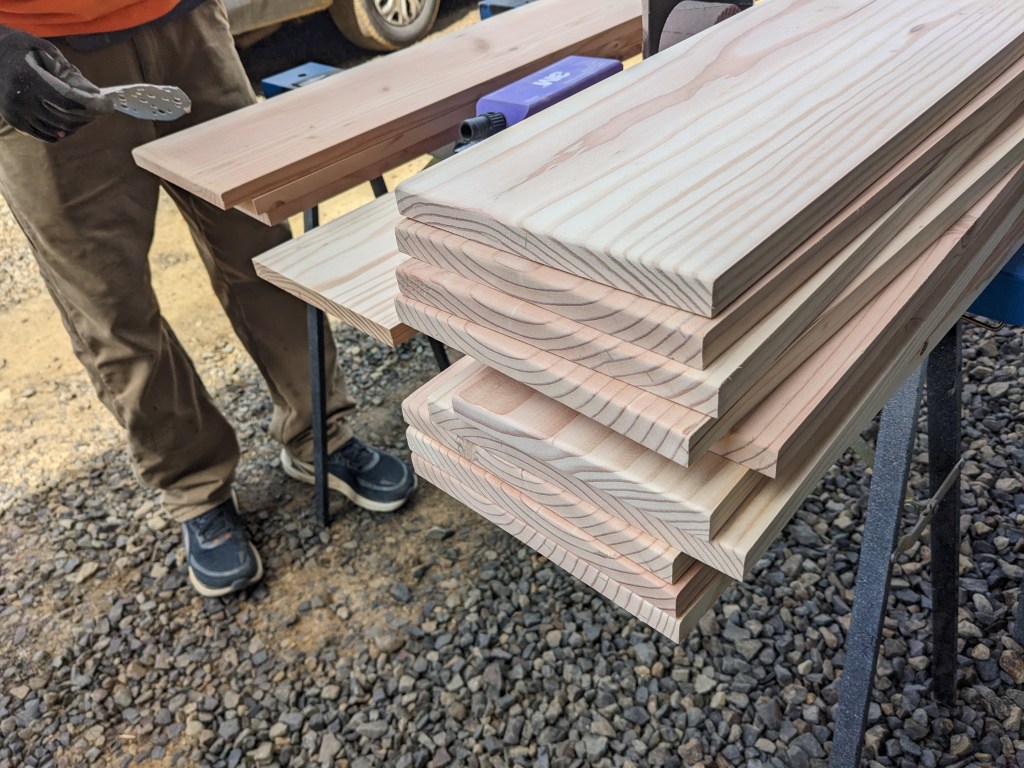
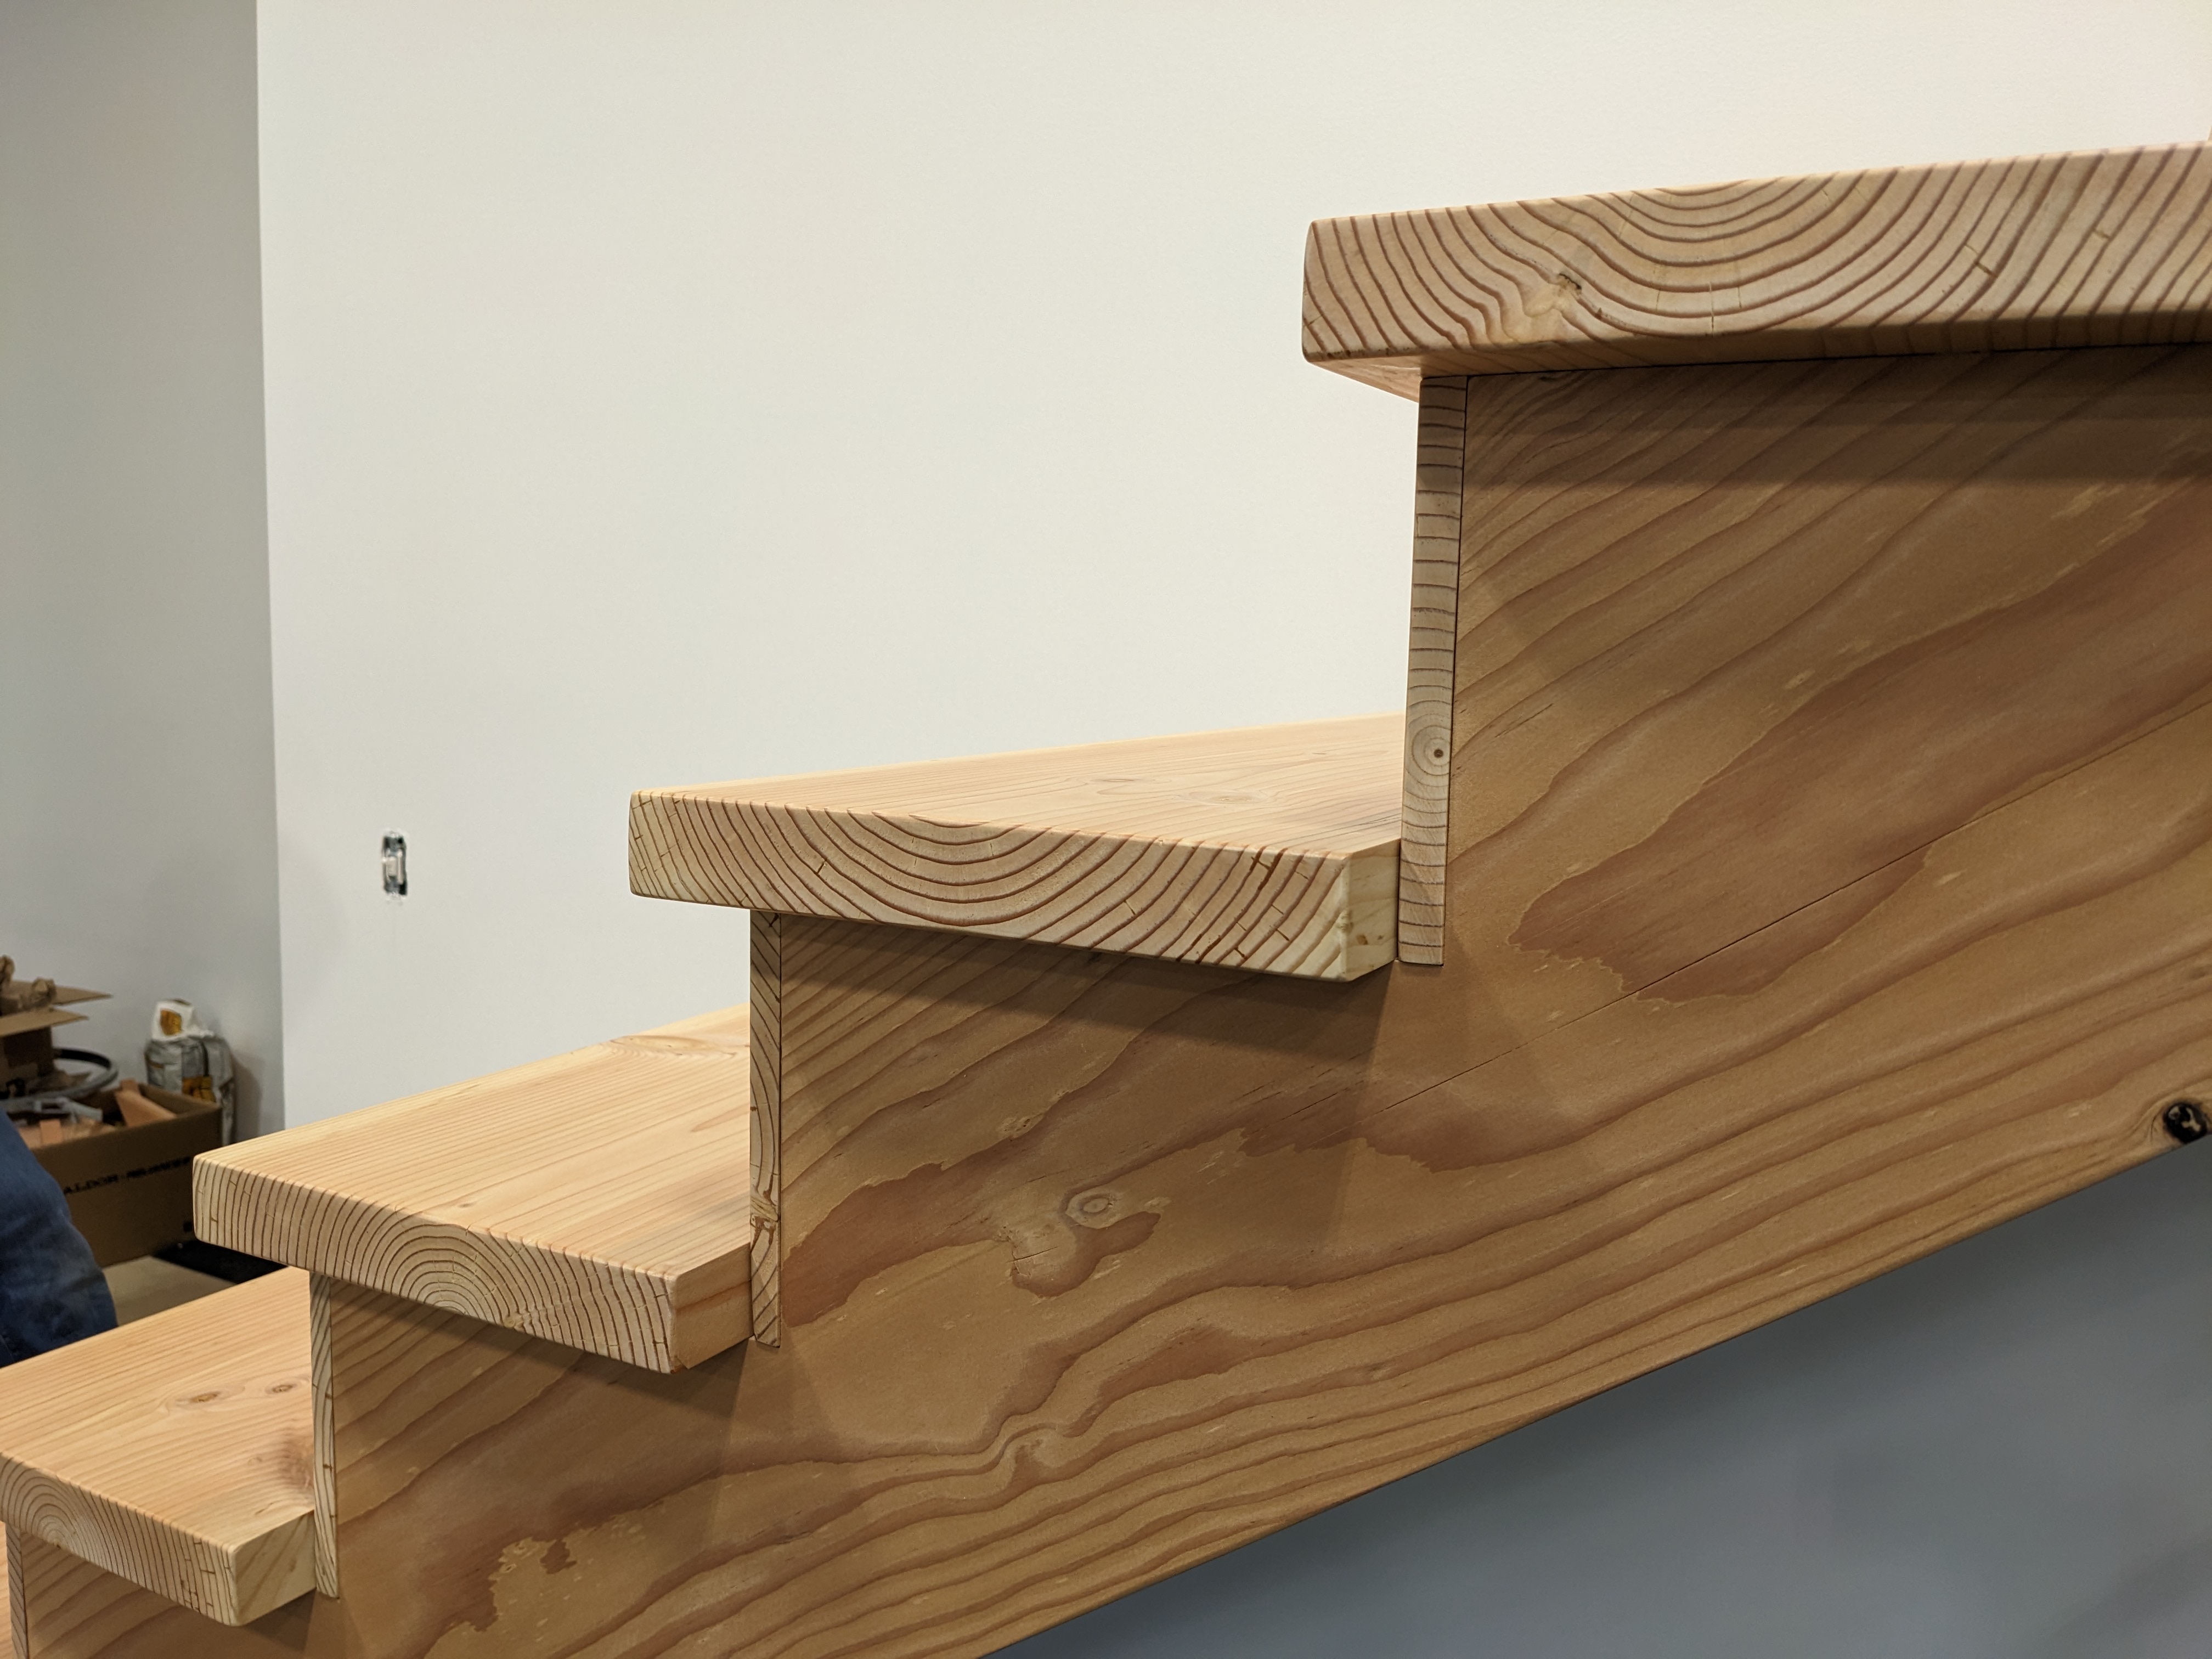
Our new set of stairs looks very similar to the attic stairs. In fact, the stair treads came from the same Douglas Fir tree. But, I assure you this blog post will be very different.
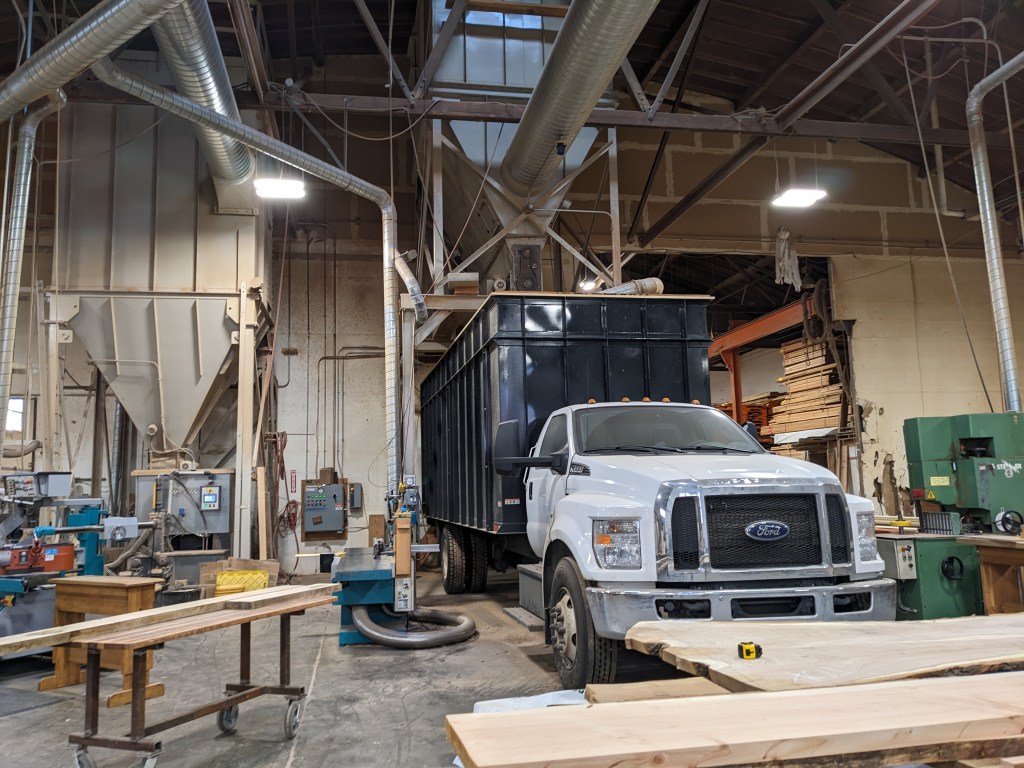
First of all, we saved a lot of prep work by taking our rough cut fir boards to “Creative Woodworking” in Portland.
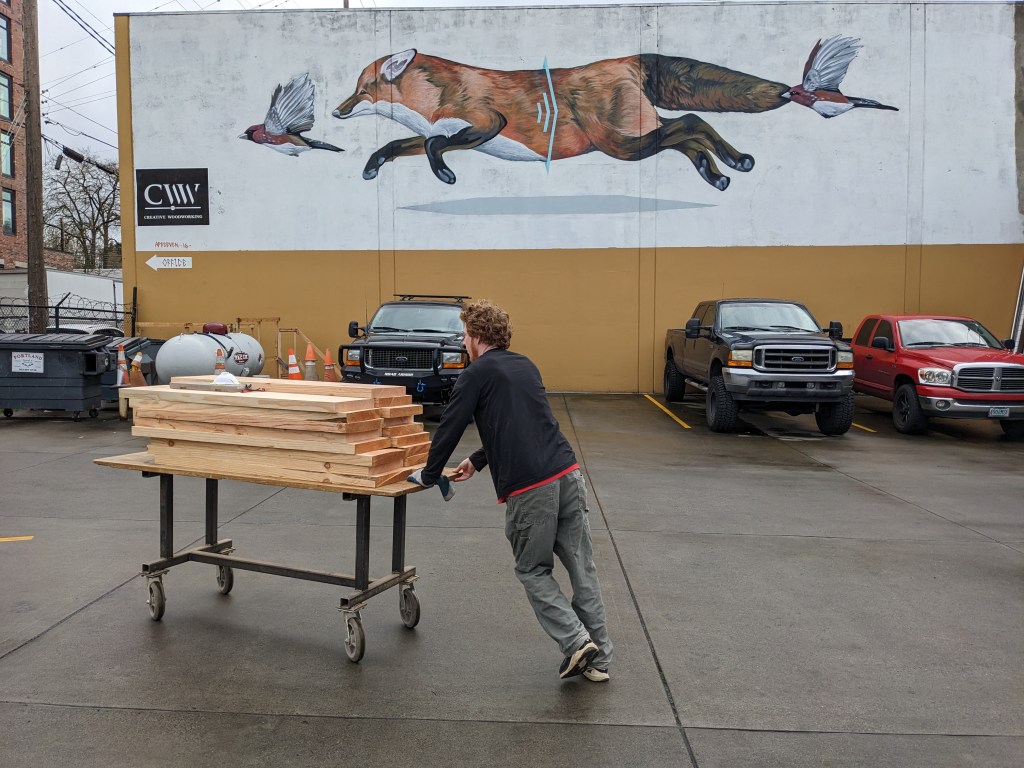
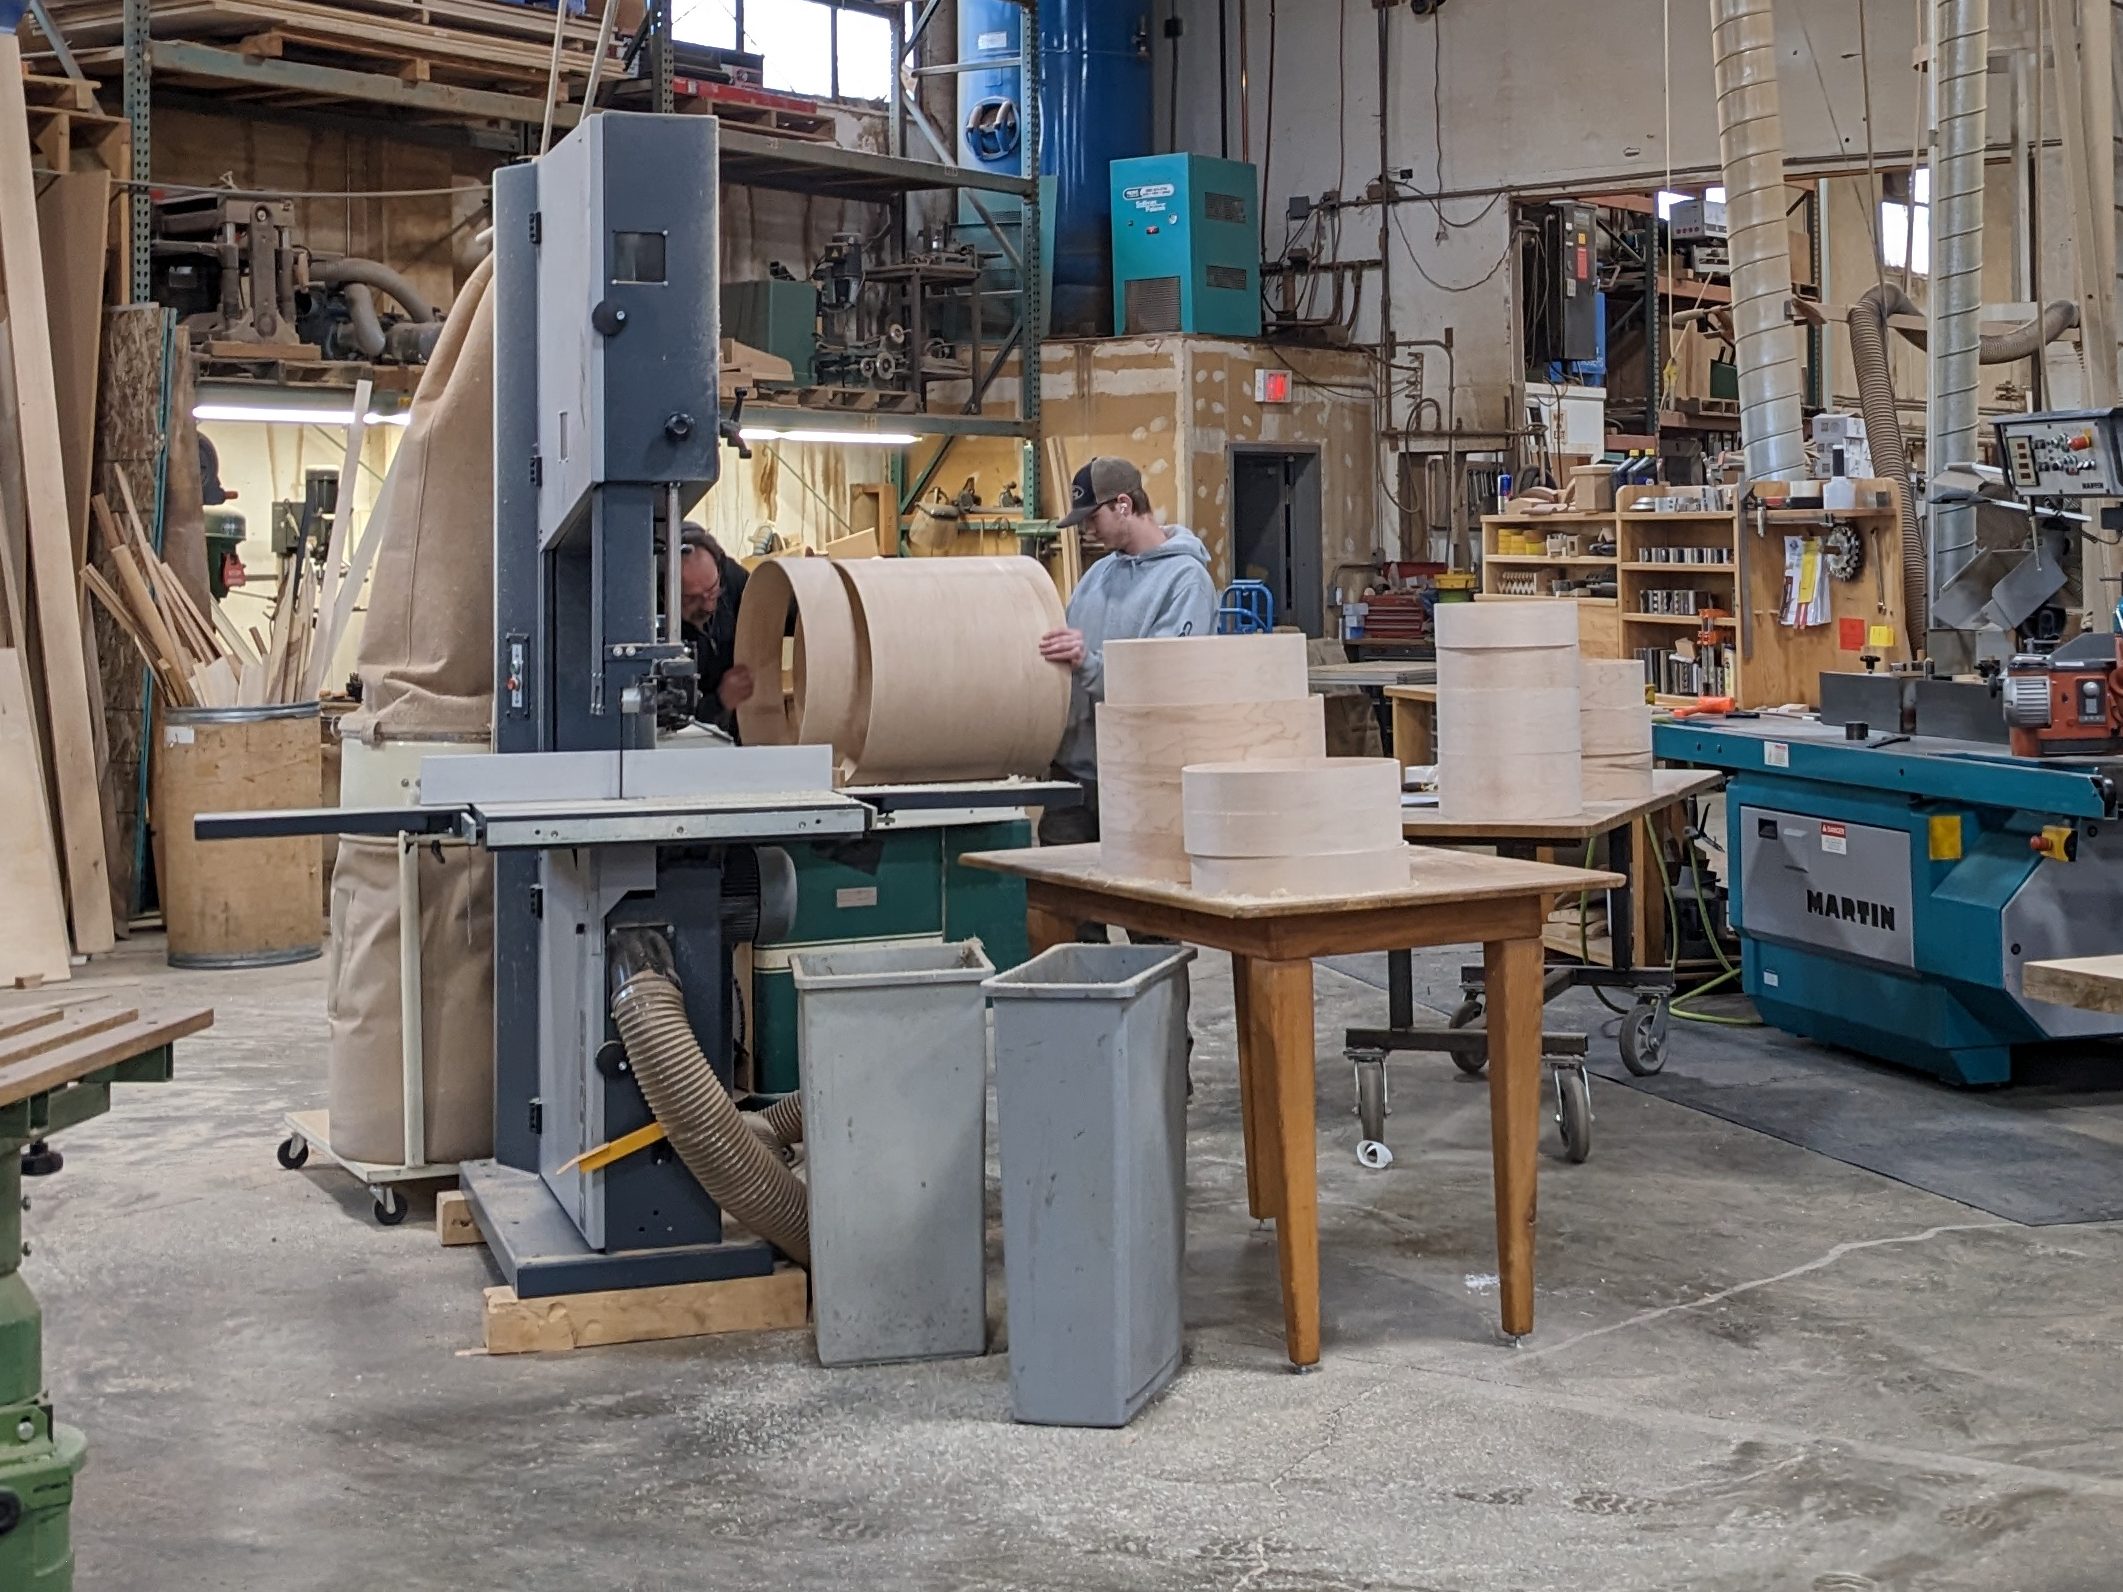
We could have used our own woodworking machines to square the boards and plane them, but we were curious about “Creative” and were hoping to save some time. They have an assortment of woodworking equipment and assign each customer a skilled employee to work with.
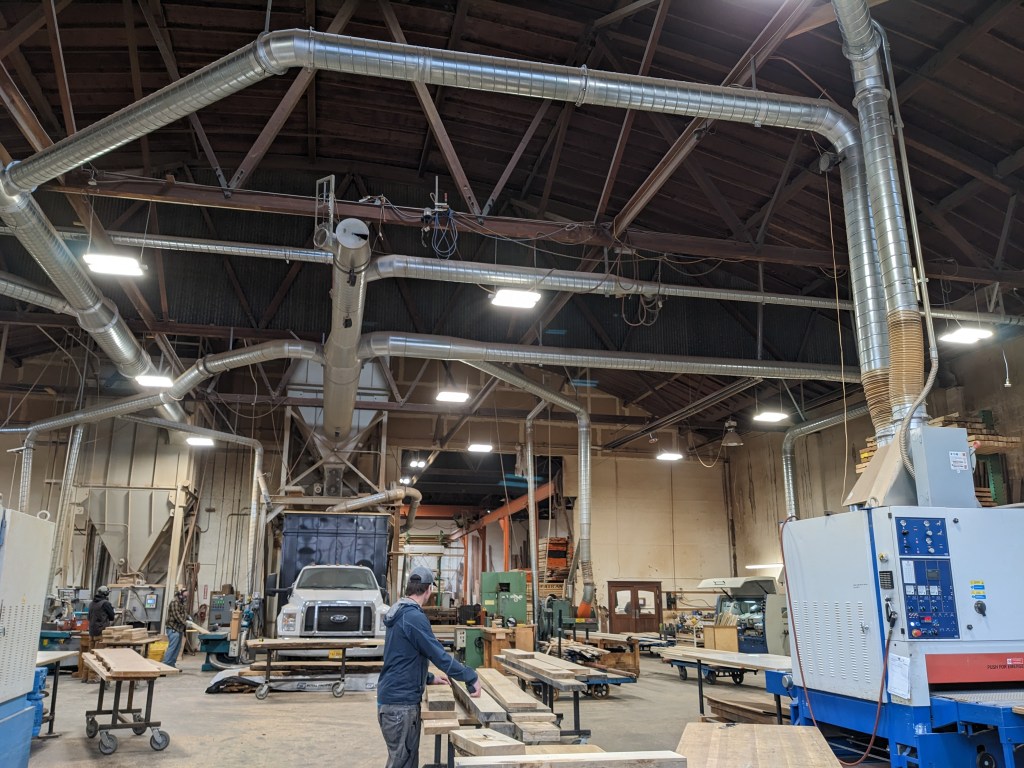
They have a 16″ wide jointer, whereas we only have a 6″ one. They also have a very fast and experienced employee operating the jointer. He processed all of our boards in minutes.


Next, we headed over to a planer/sander. The planer was nearly 4 feet wide and had a built-in belt sander. Once the board is planed, it continues through a belt sander, and comes out on the conveyor. Our helper ran the boards through the all-in-one machine about three times until both sides were smooth and flat.

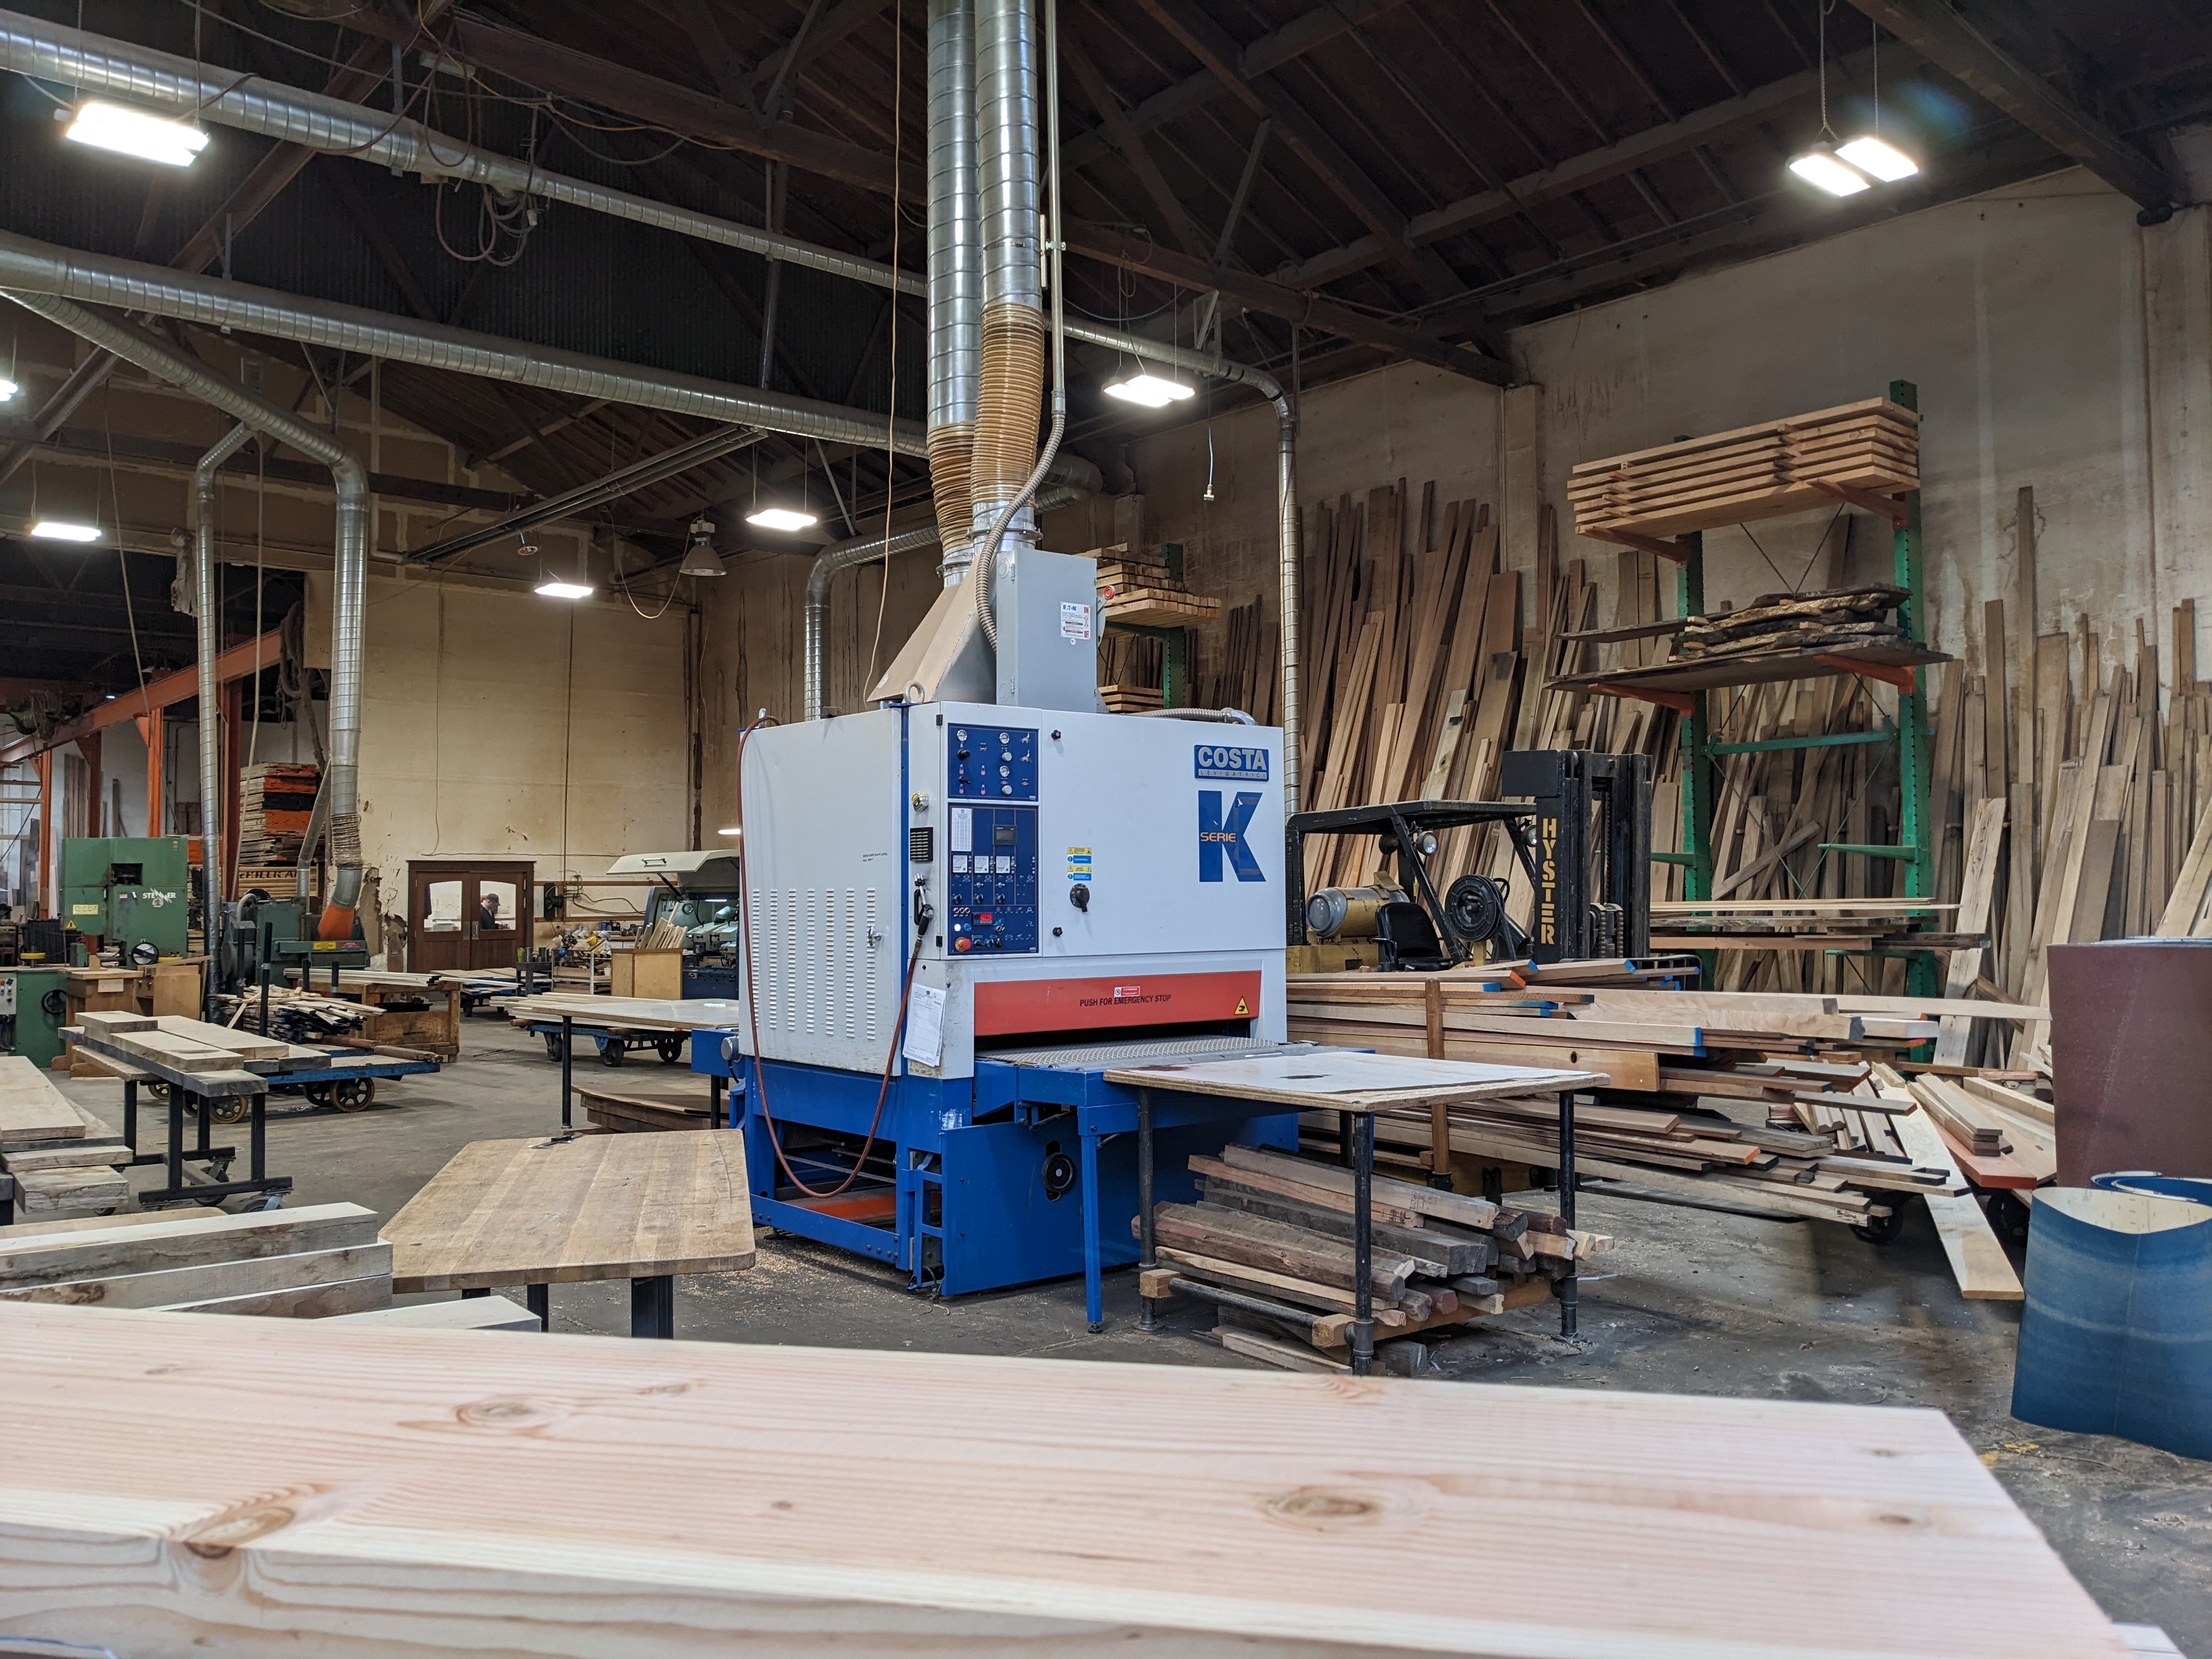

We were done in half an hour! It saved us a full day of work, plus their facility was neat to see. The dust collection system was most impressive. The saw dust goes straight into a giant dumpster on a truck. How cool is that?!
We saw some other people working on intruiging projects as well.
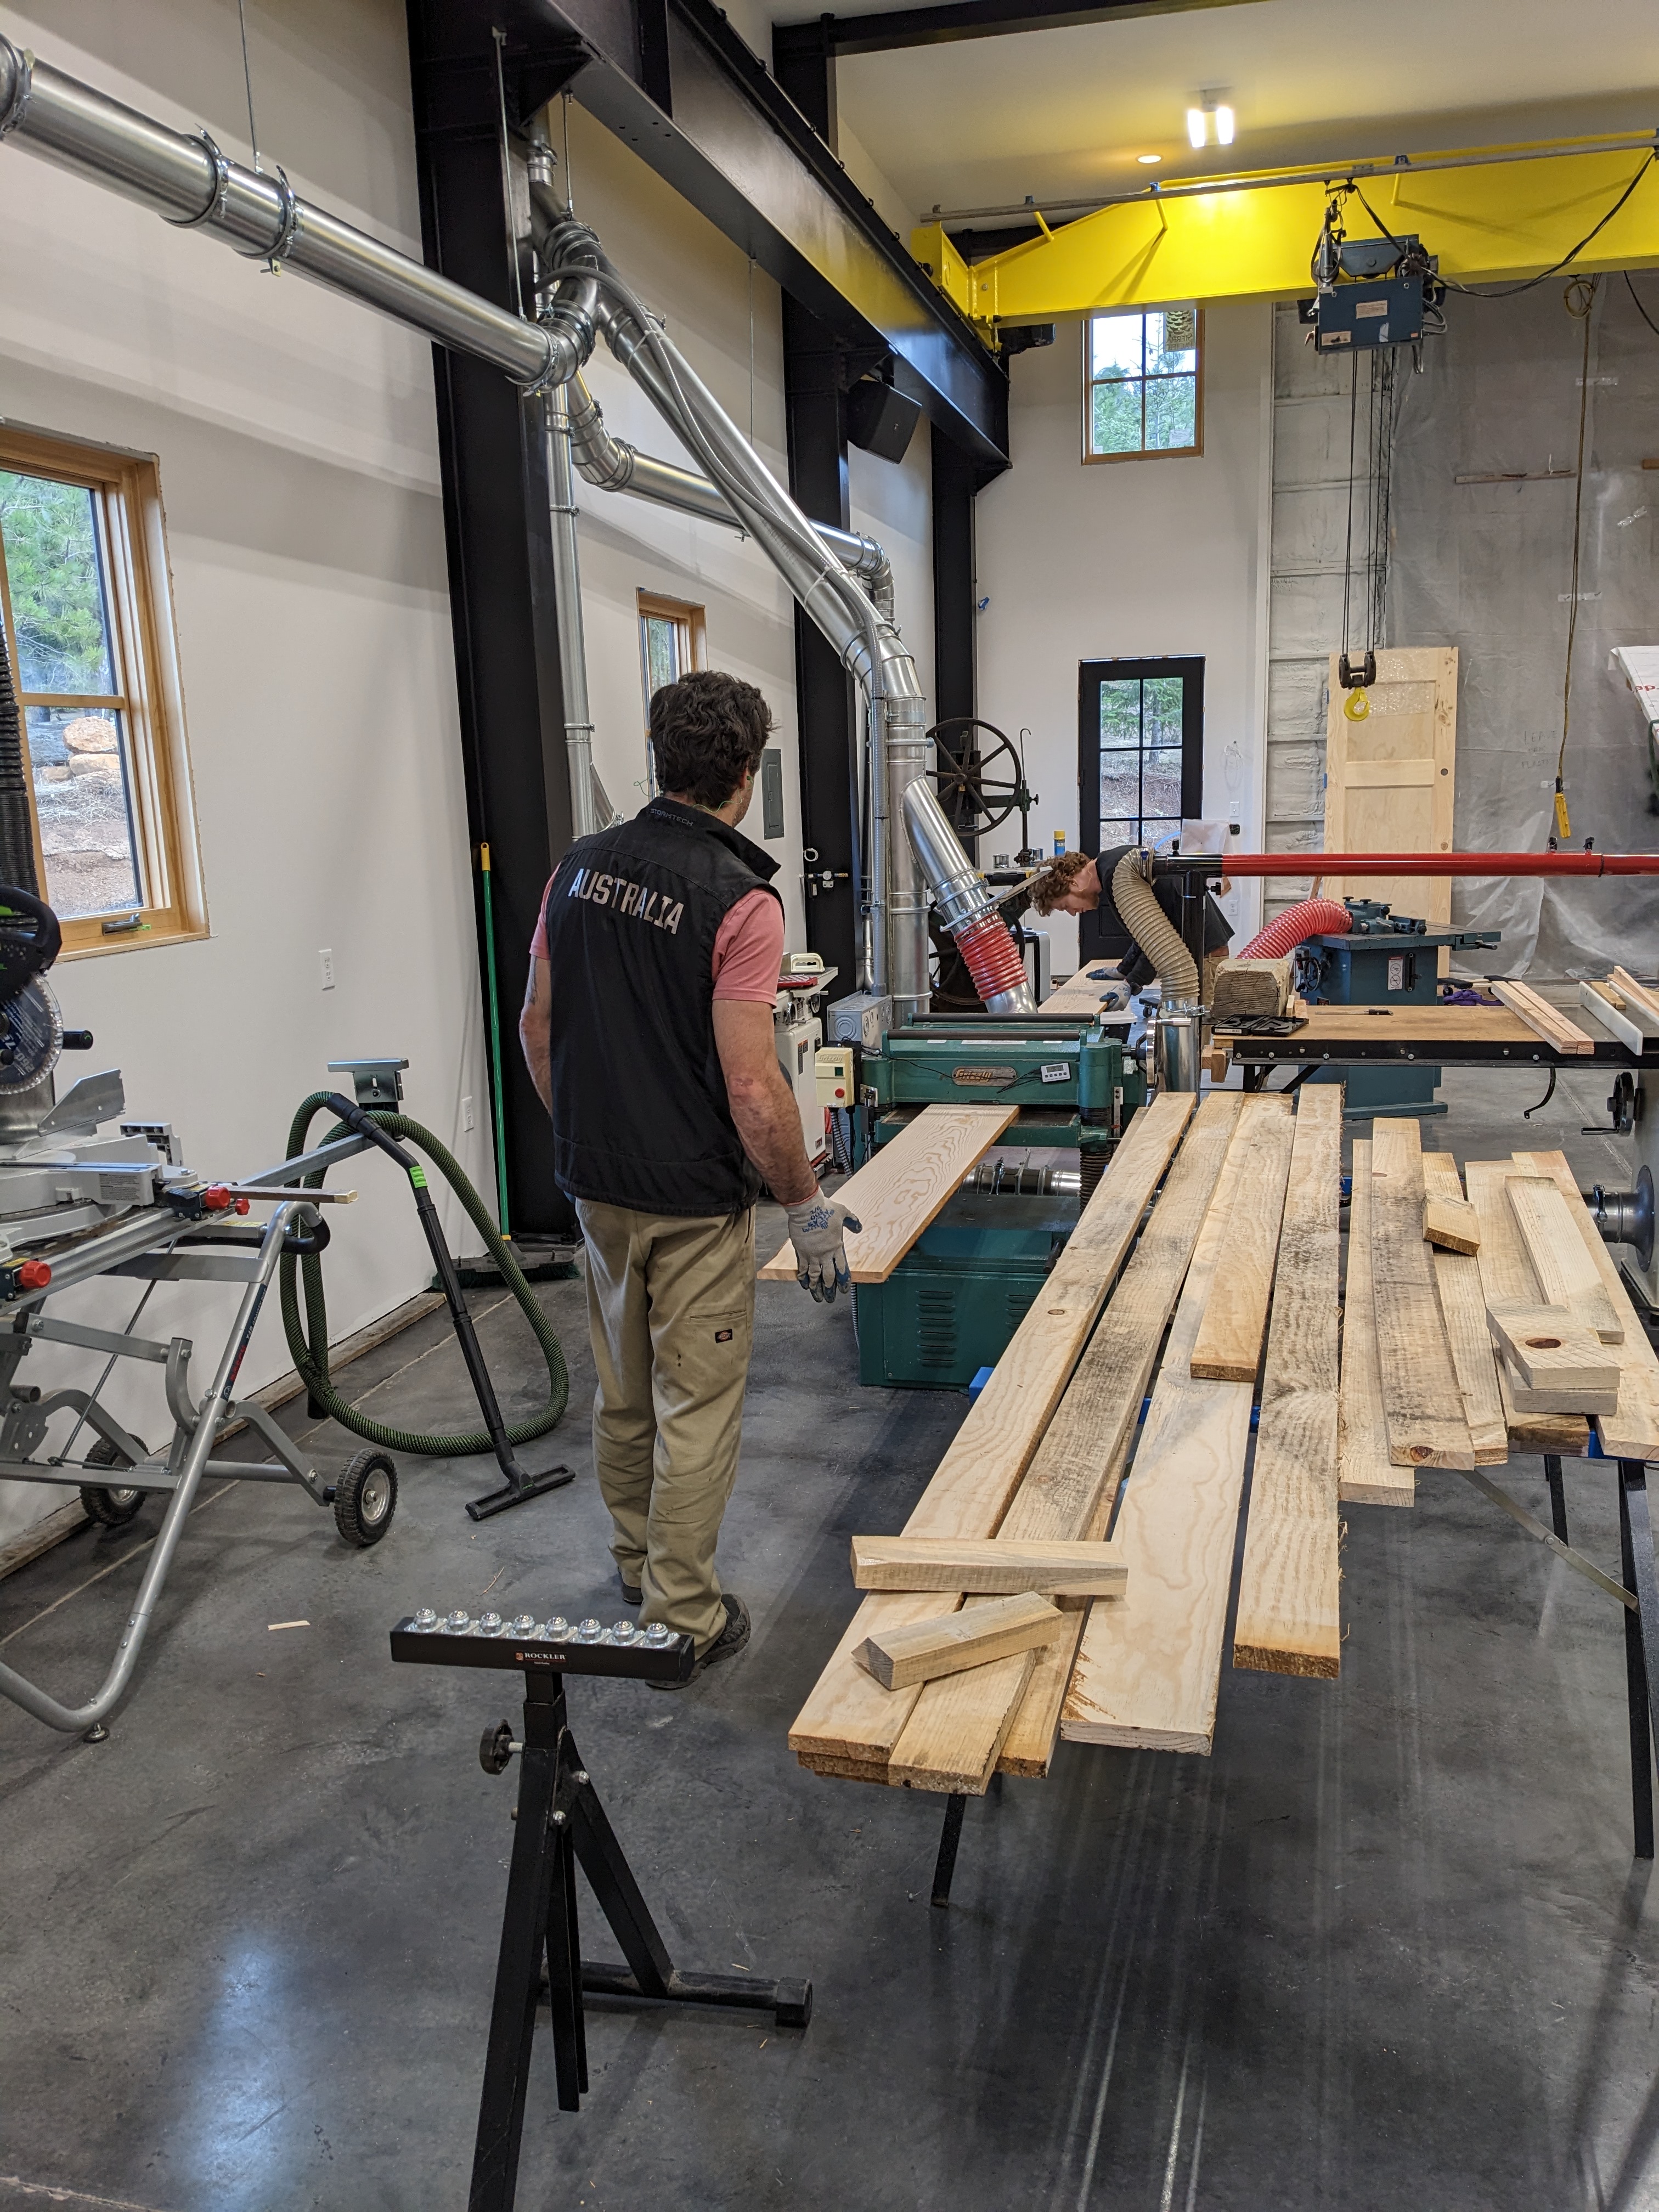
Another big difference in building these stairs was that our woodworking machines and dust collection system were set up. Cutting and planing the other stair parts in the shop was terrific. It was much easier than shuffling things around in our small garage and getting dust everywhere.
We used our new shaper to make a 1/8″ radius on the visible edges. (We did this by hand with sand paper on the initial set.)
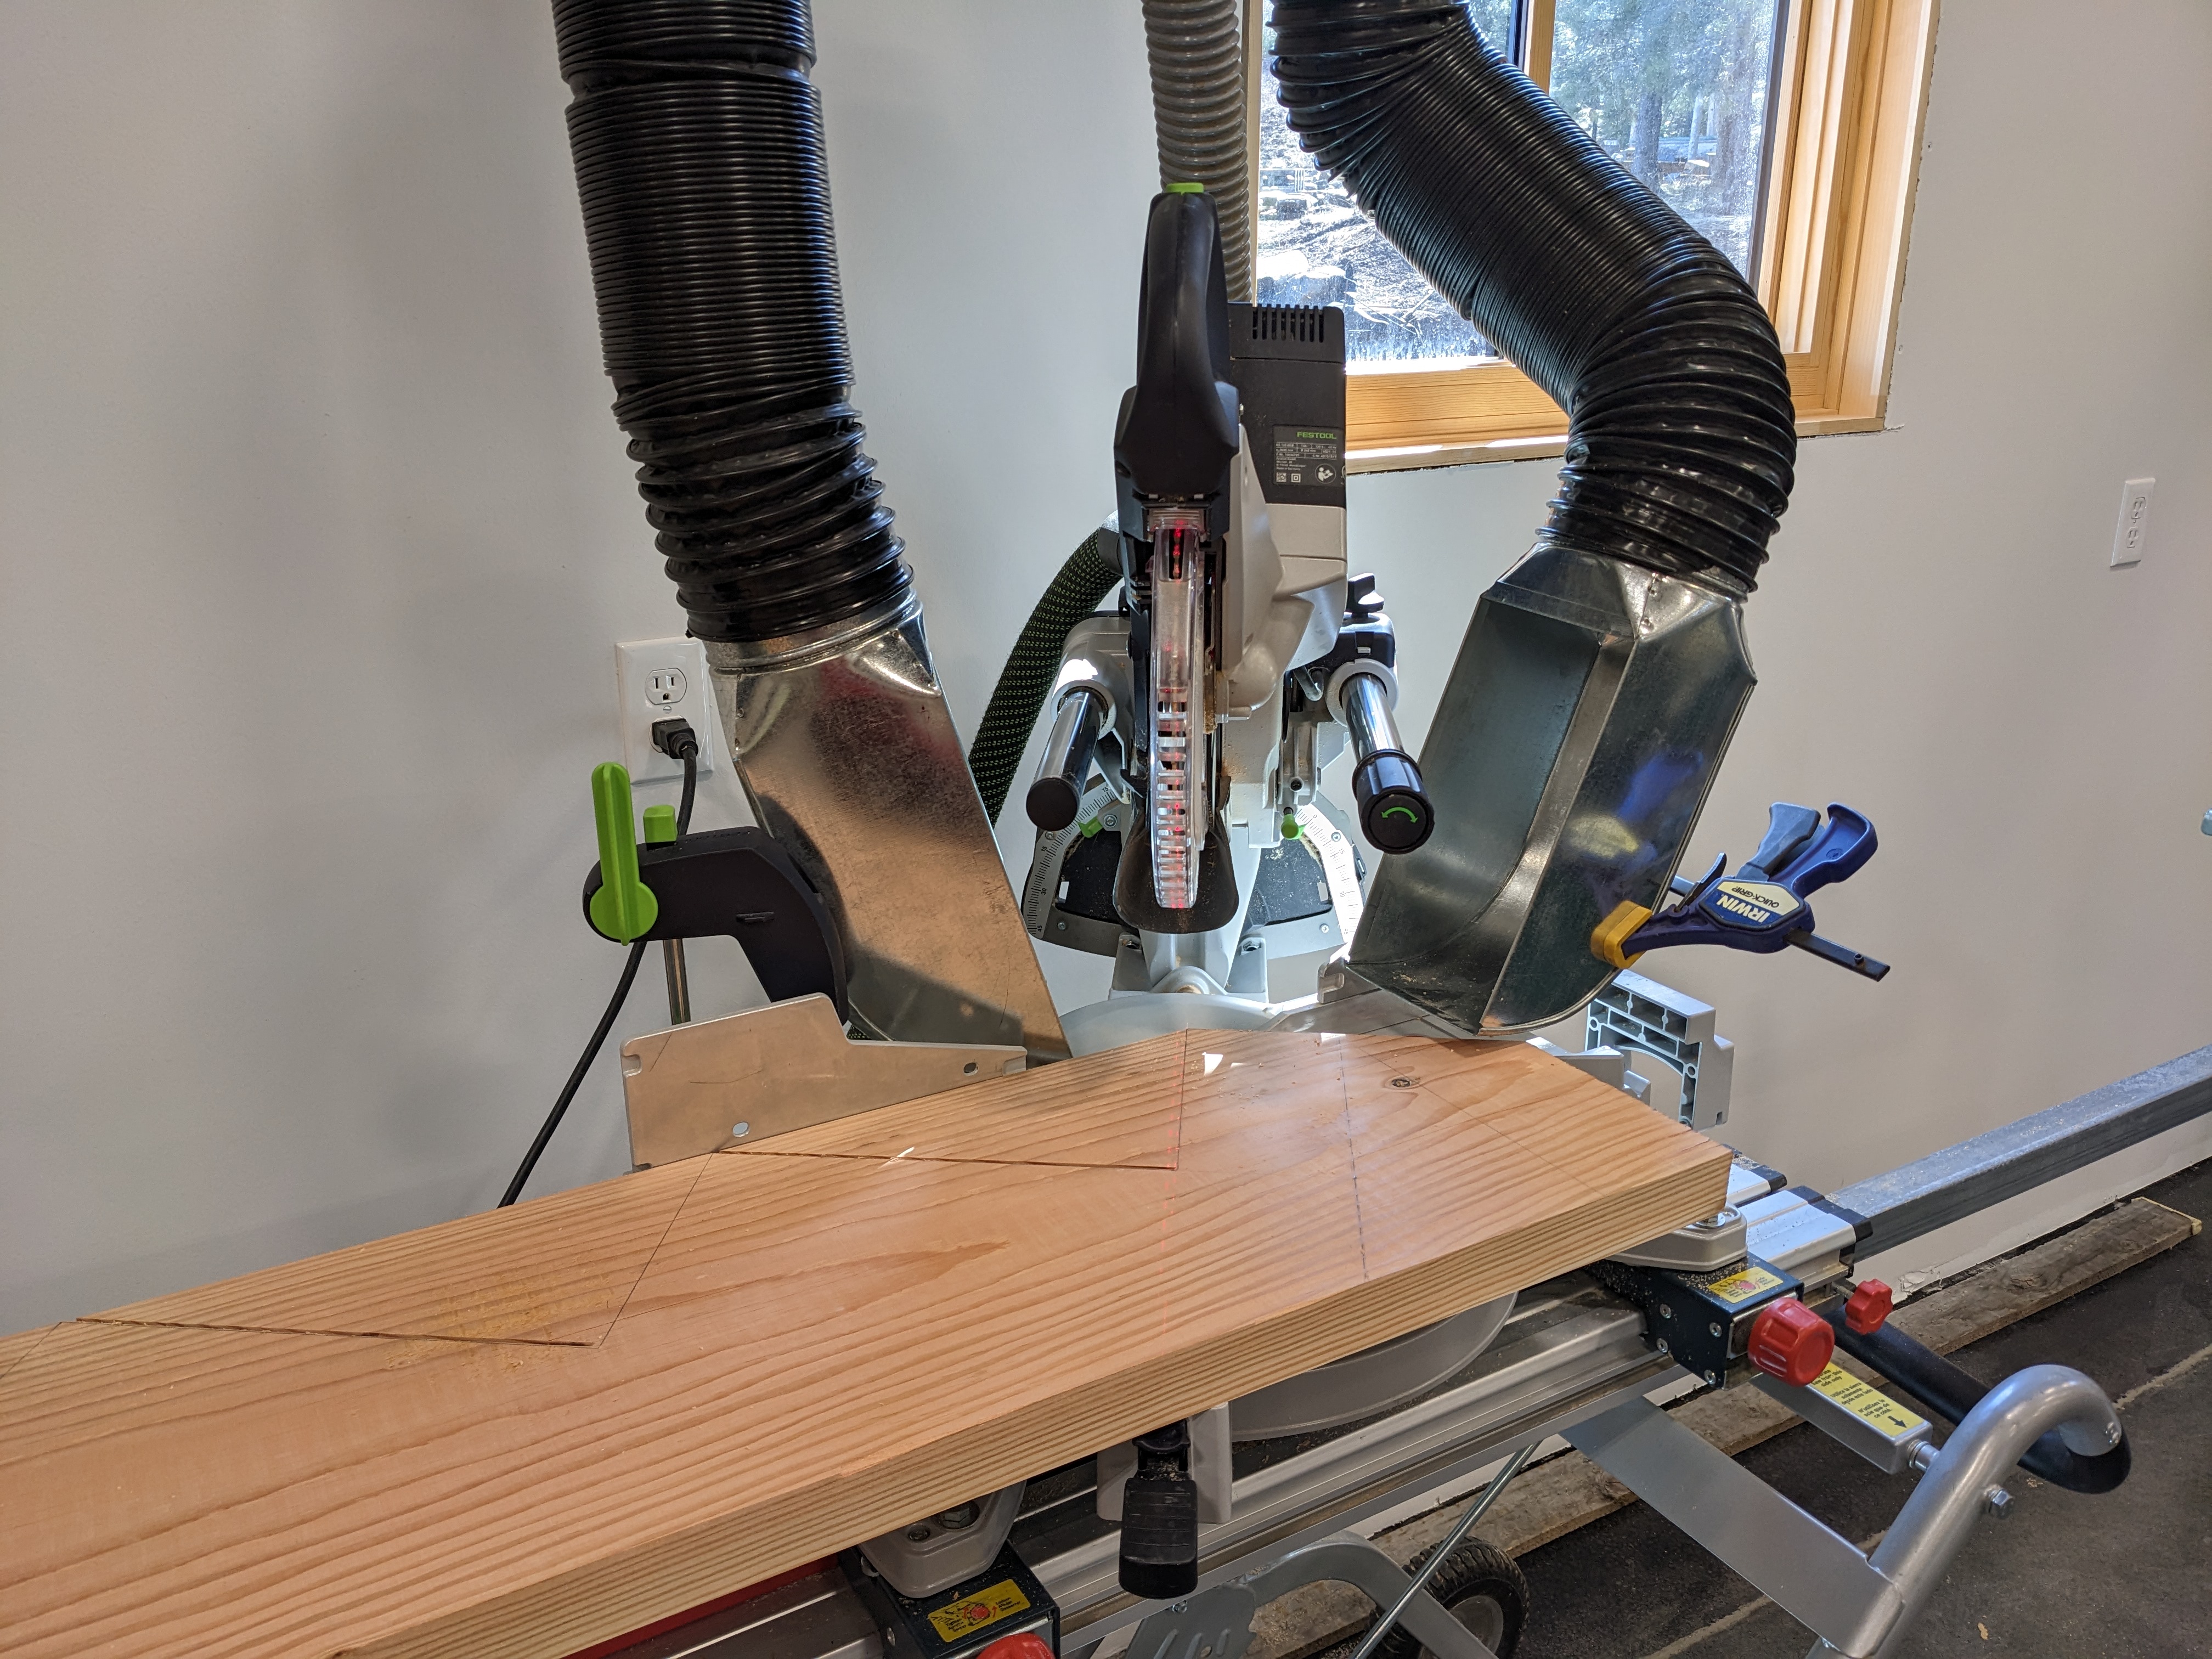
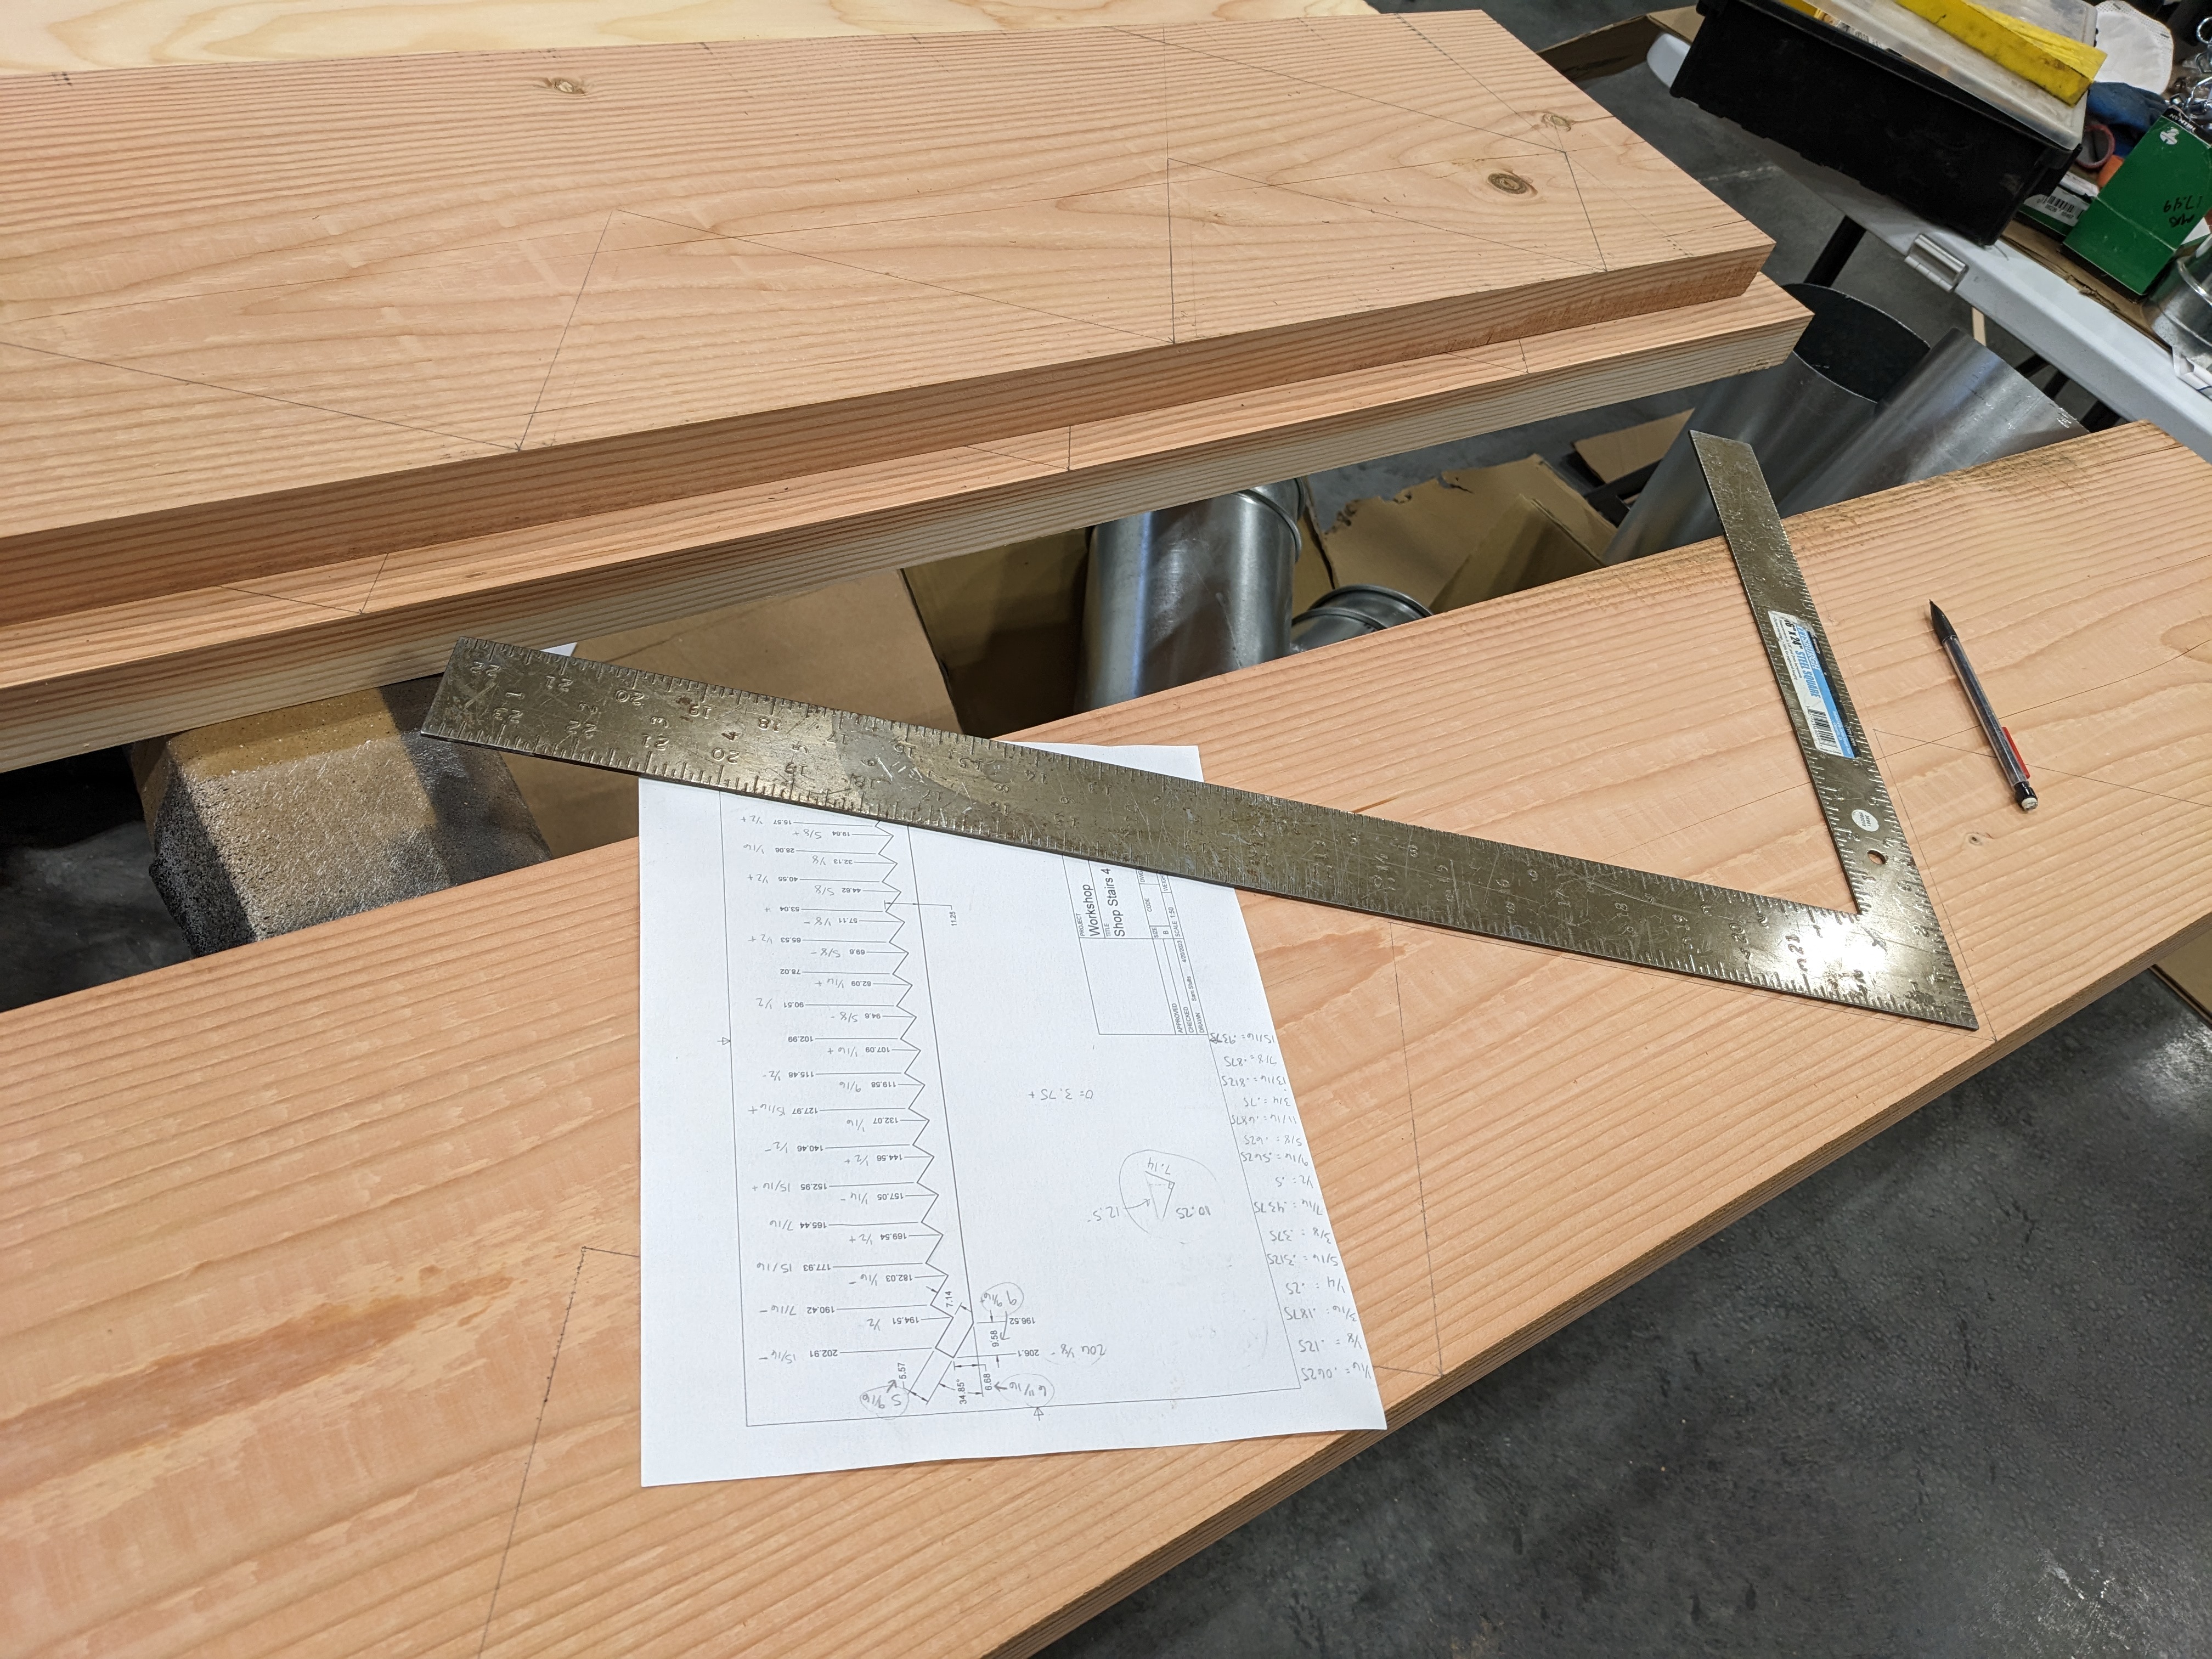
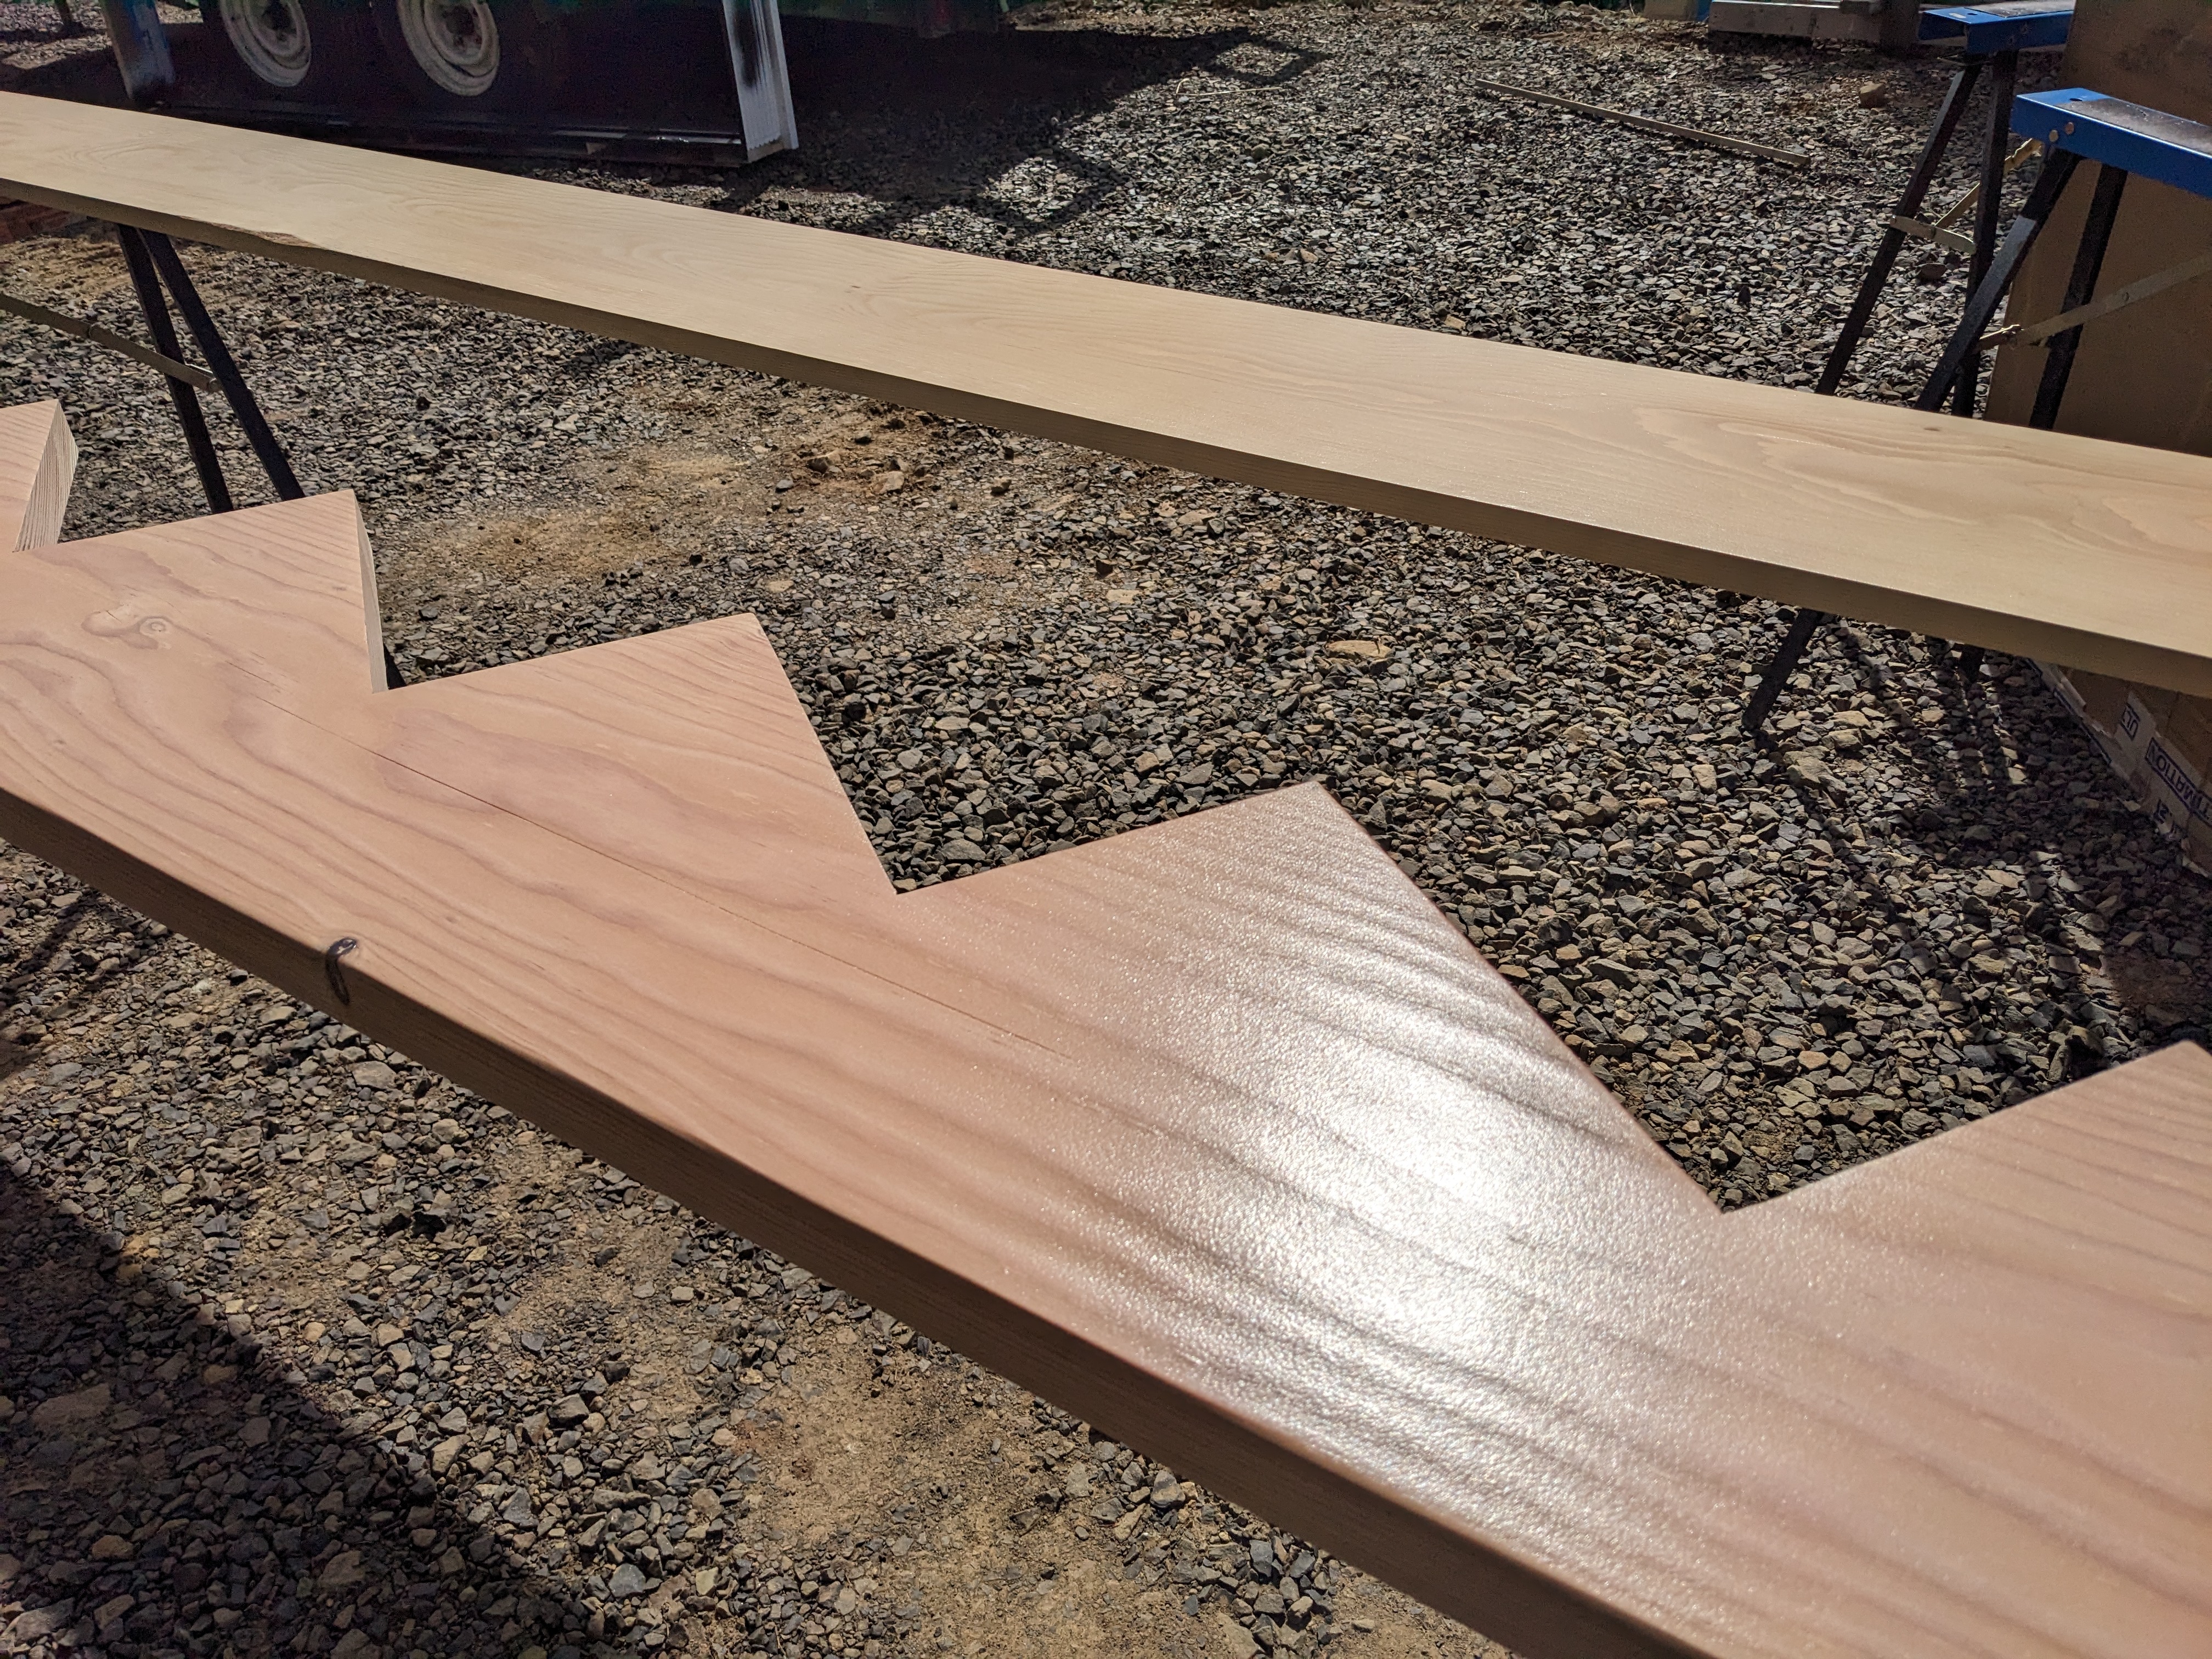
In addition to process improvements, we improved upon cutting accuracy. I measured and drew the zig zag pattern on each stringer rather than tracing the pattern. This led to a nicely matched set for the treads to lay across.

And for the biggest game changer…
We had Steve to help.

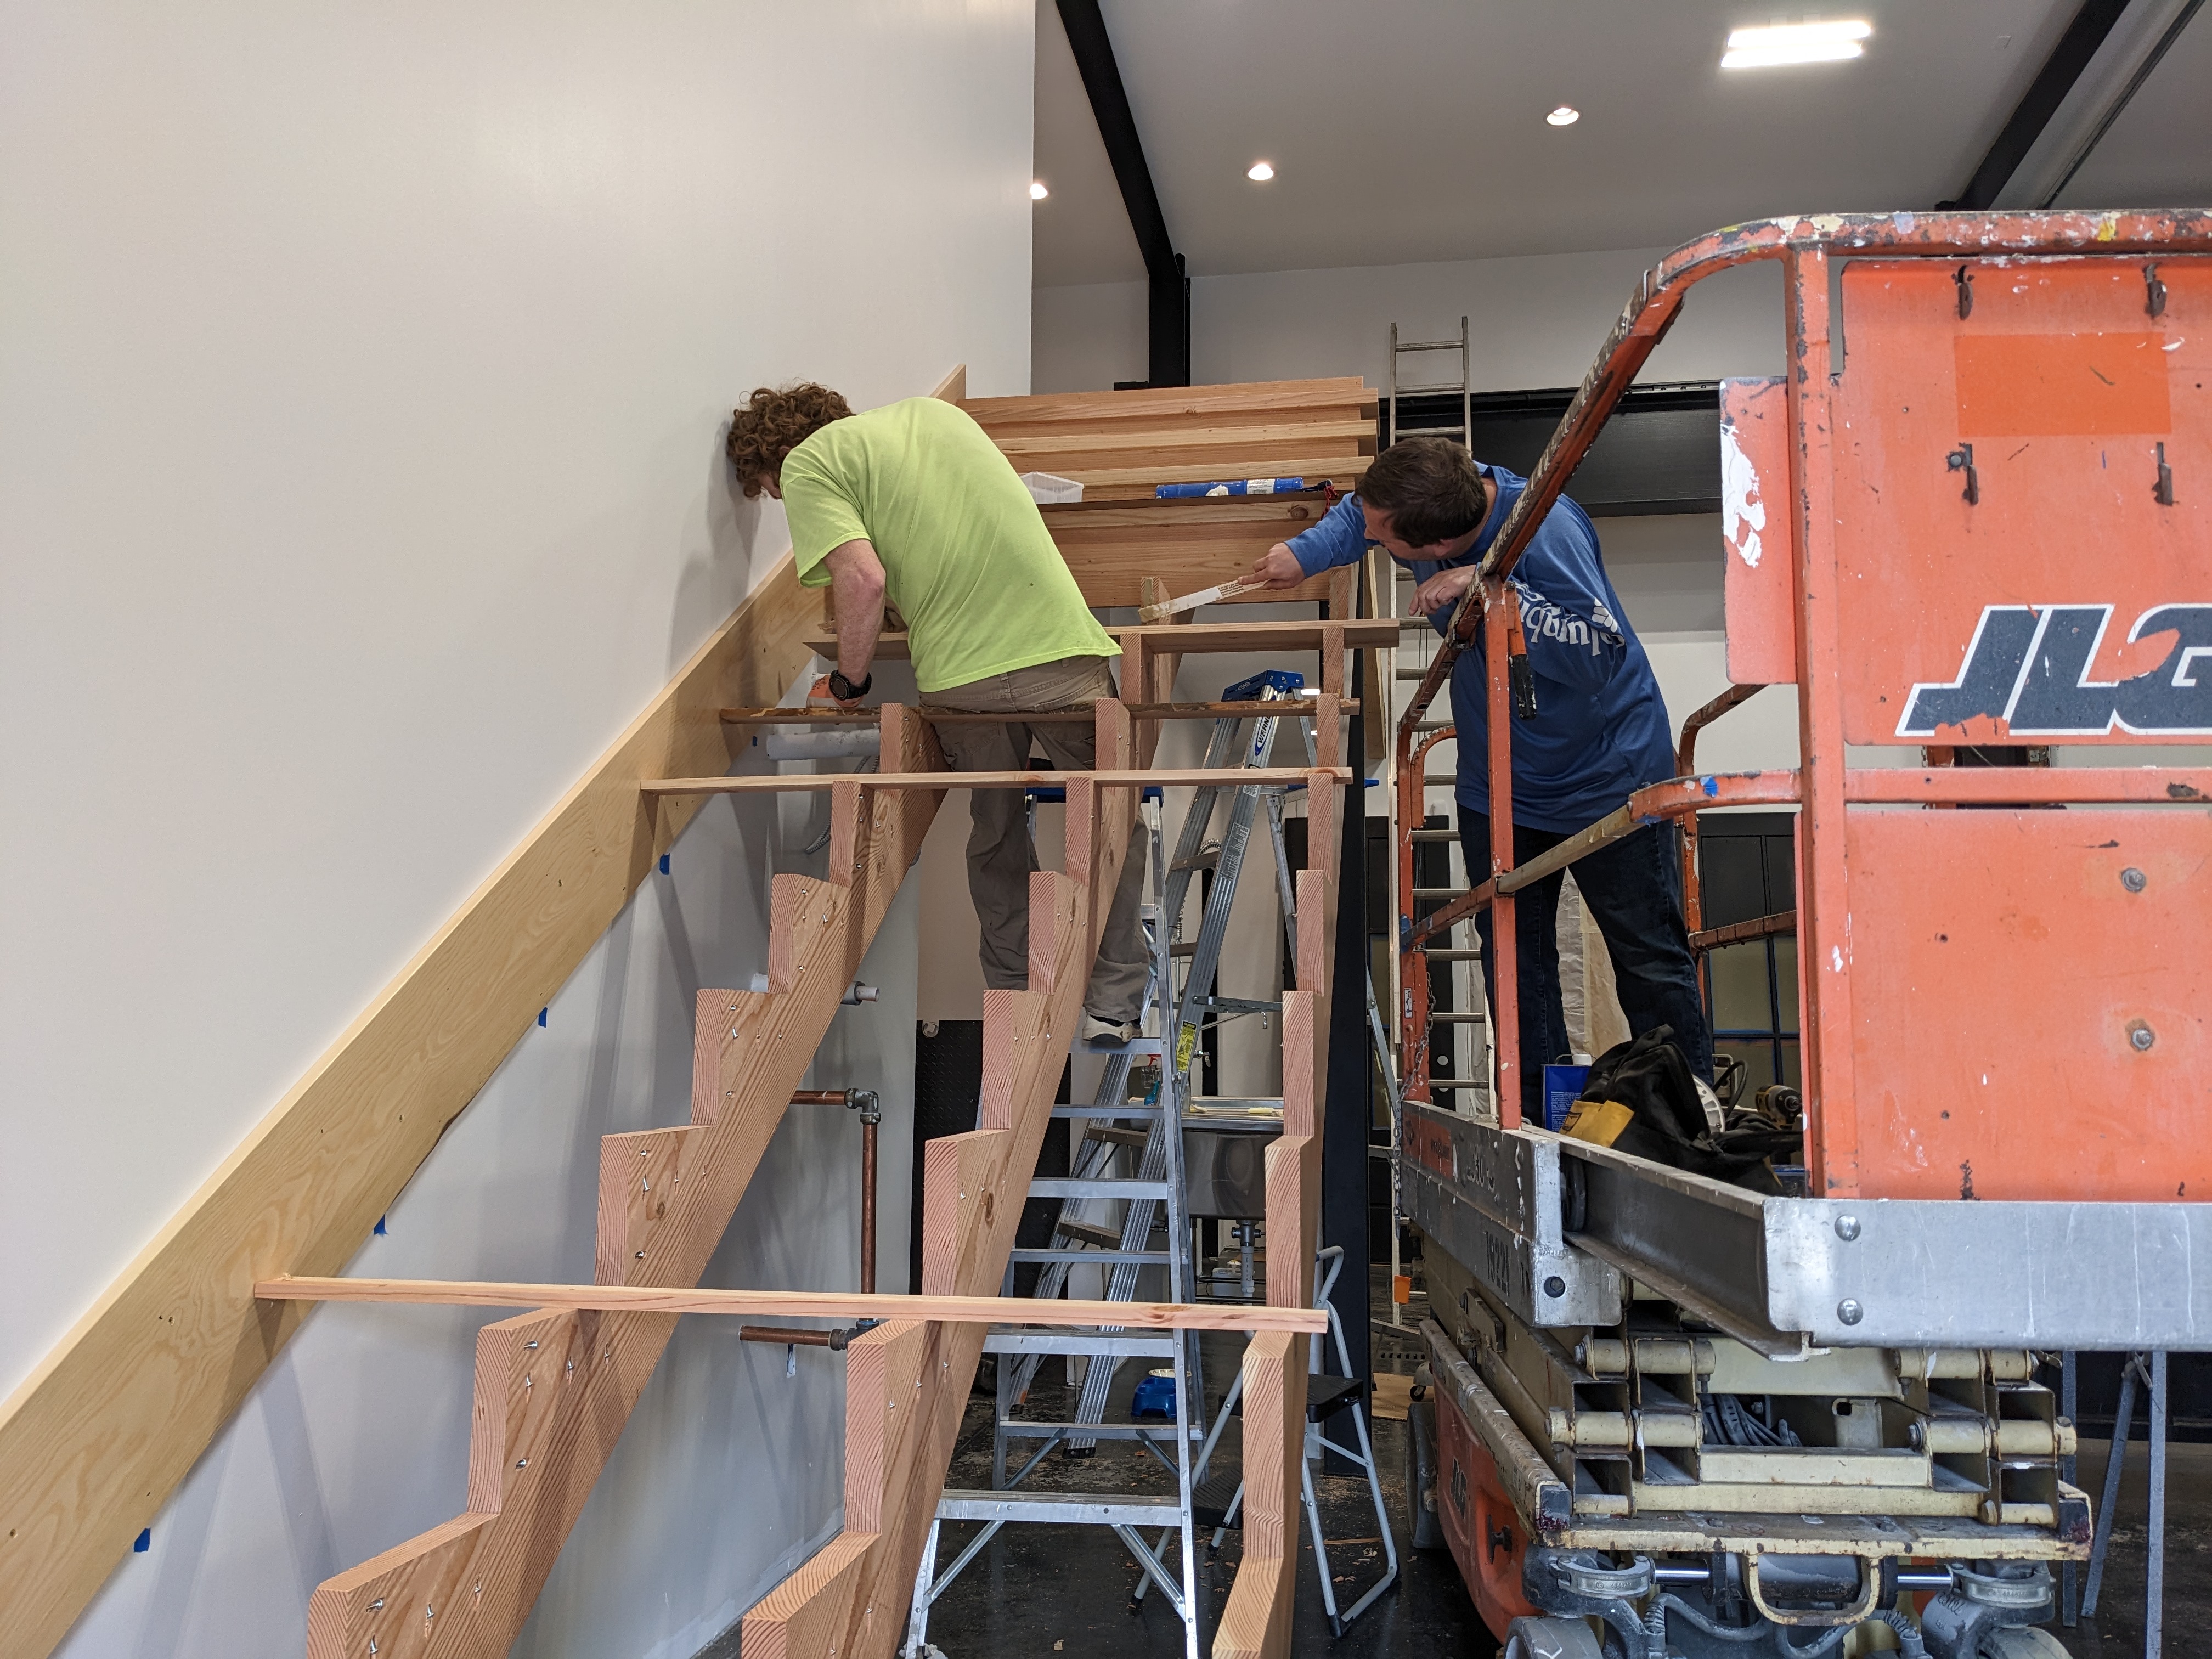
He helped us sand and seal everything. This was a multi-day process, since we had to apply several clear coats to all sides. We painted everything outside, brought everything in at night, took everything out to sand the following day, and then repeated all of this. The treads are heavier than they look. Luckily, Steve doesn’t tire easily.


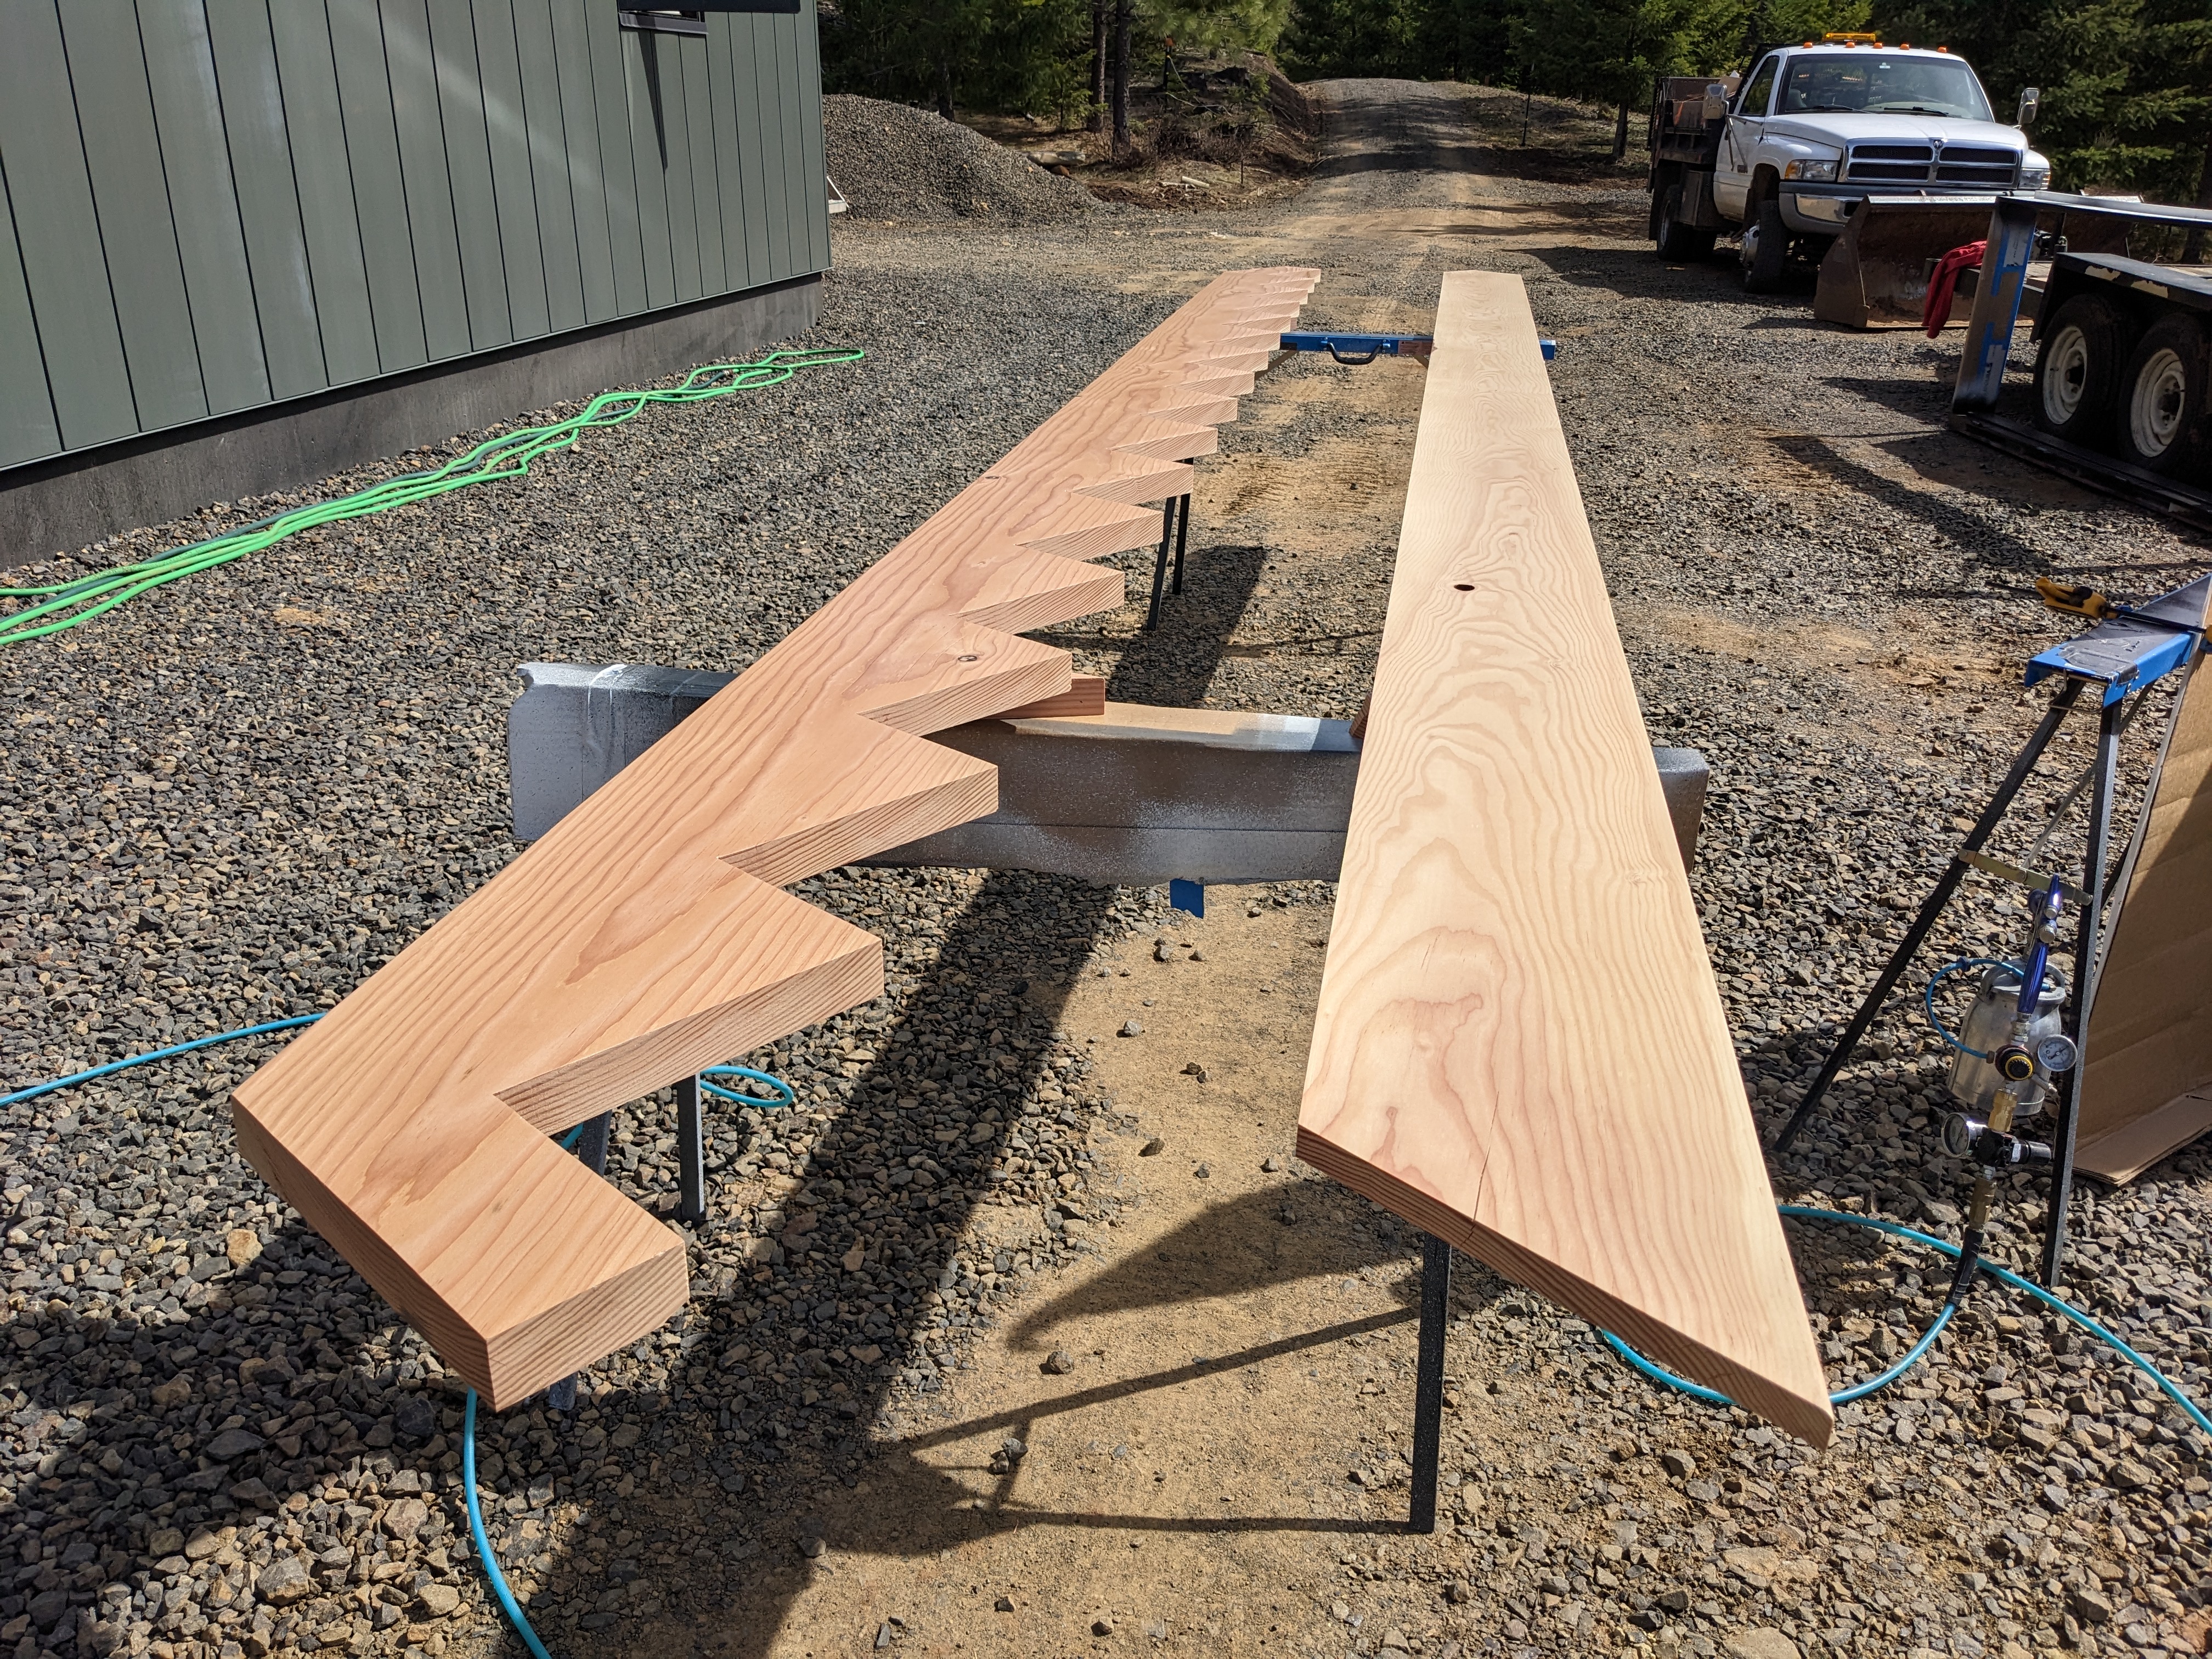
Sam sprayed a clear coat on the long stringers and skirt board.

Steve and I used a roller on the treads and risers. The bugs were as excited by the warm spring weather as we were, and we had to filter them out of the paint multiple times.
Then we left warm, sunny Washington to attend a wedding in freezing Southern California. The wedding was on Catalina Island and was quite beautiful and a ton of fun.


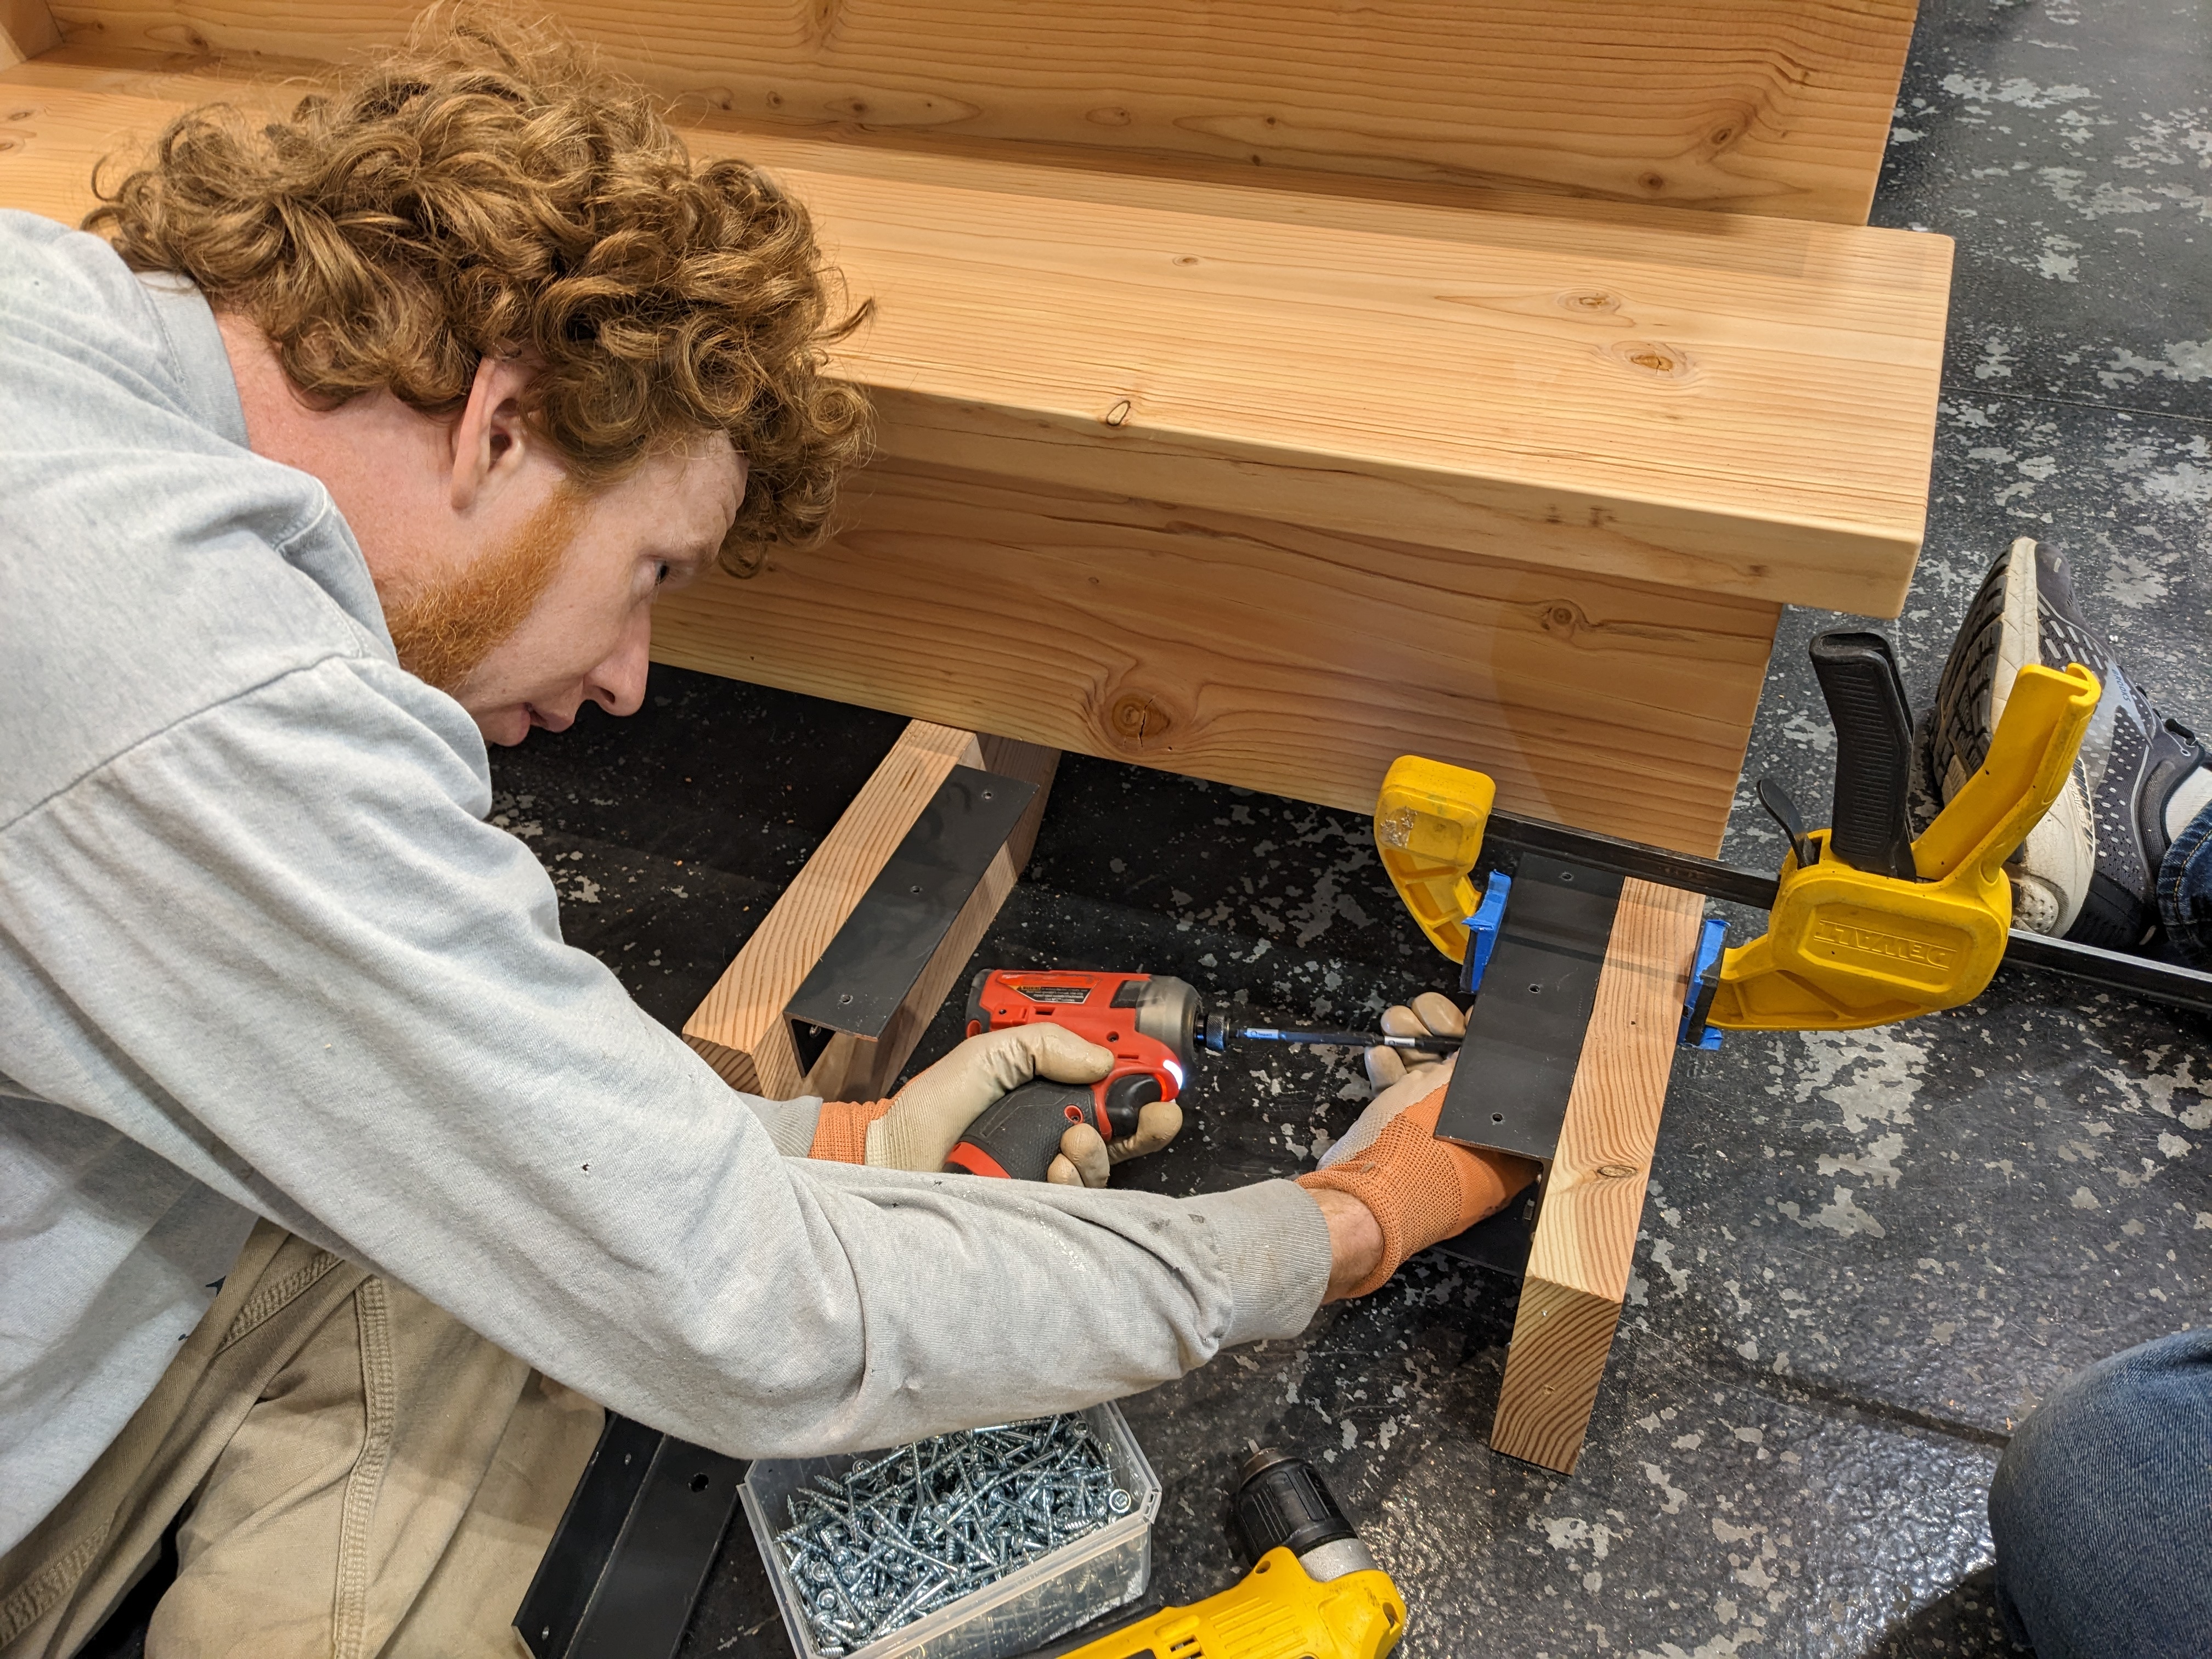
After an extravagant weekend of partying and sailing, we returned and began the big assembly. We drilled pocket holes in the back of the boards. They are only slightly visible from the underside of the stairs.
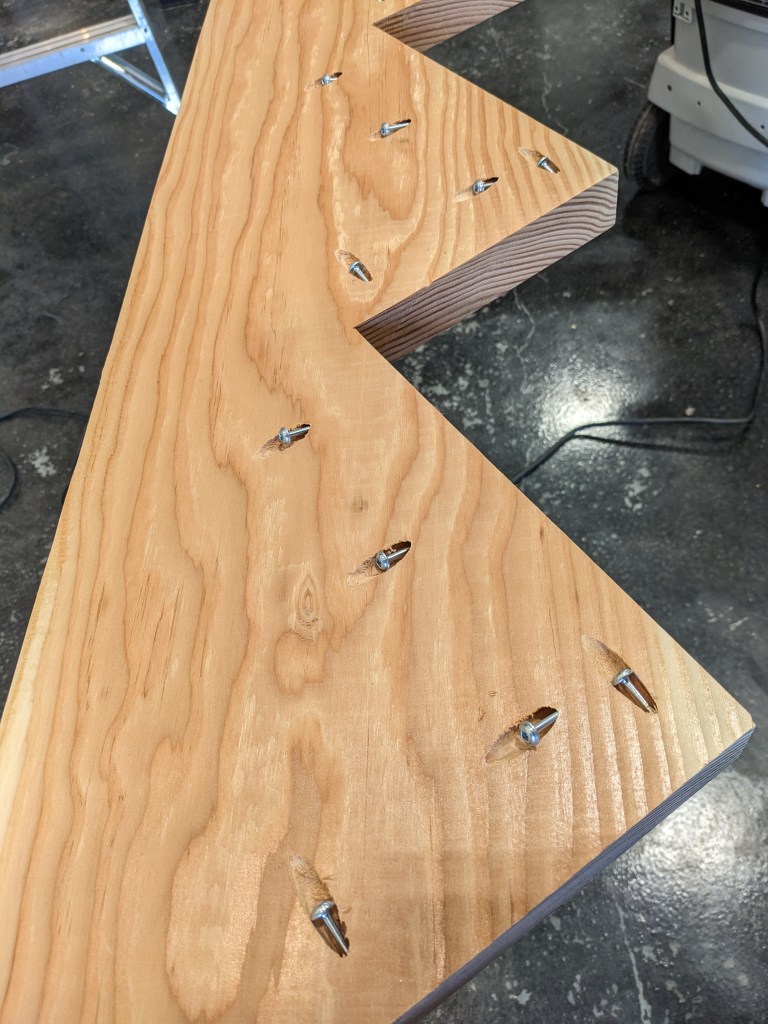
We started with the skirt board and stringers.


Then, Sam and Steve assembled the stairs from the top down while Smokey supervised.
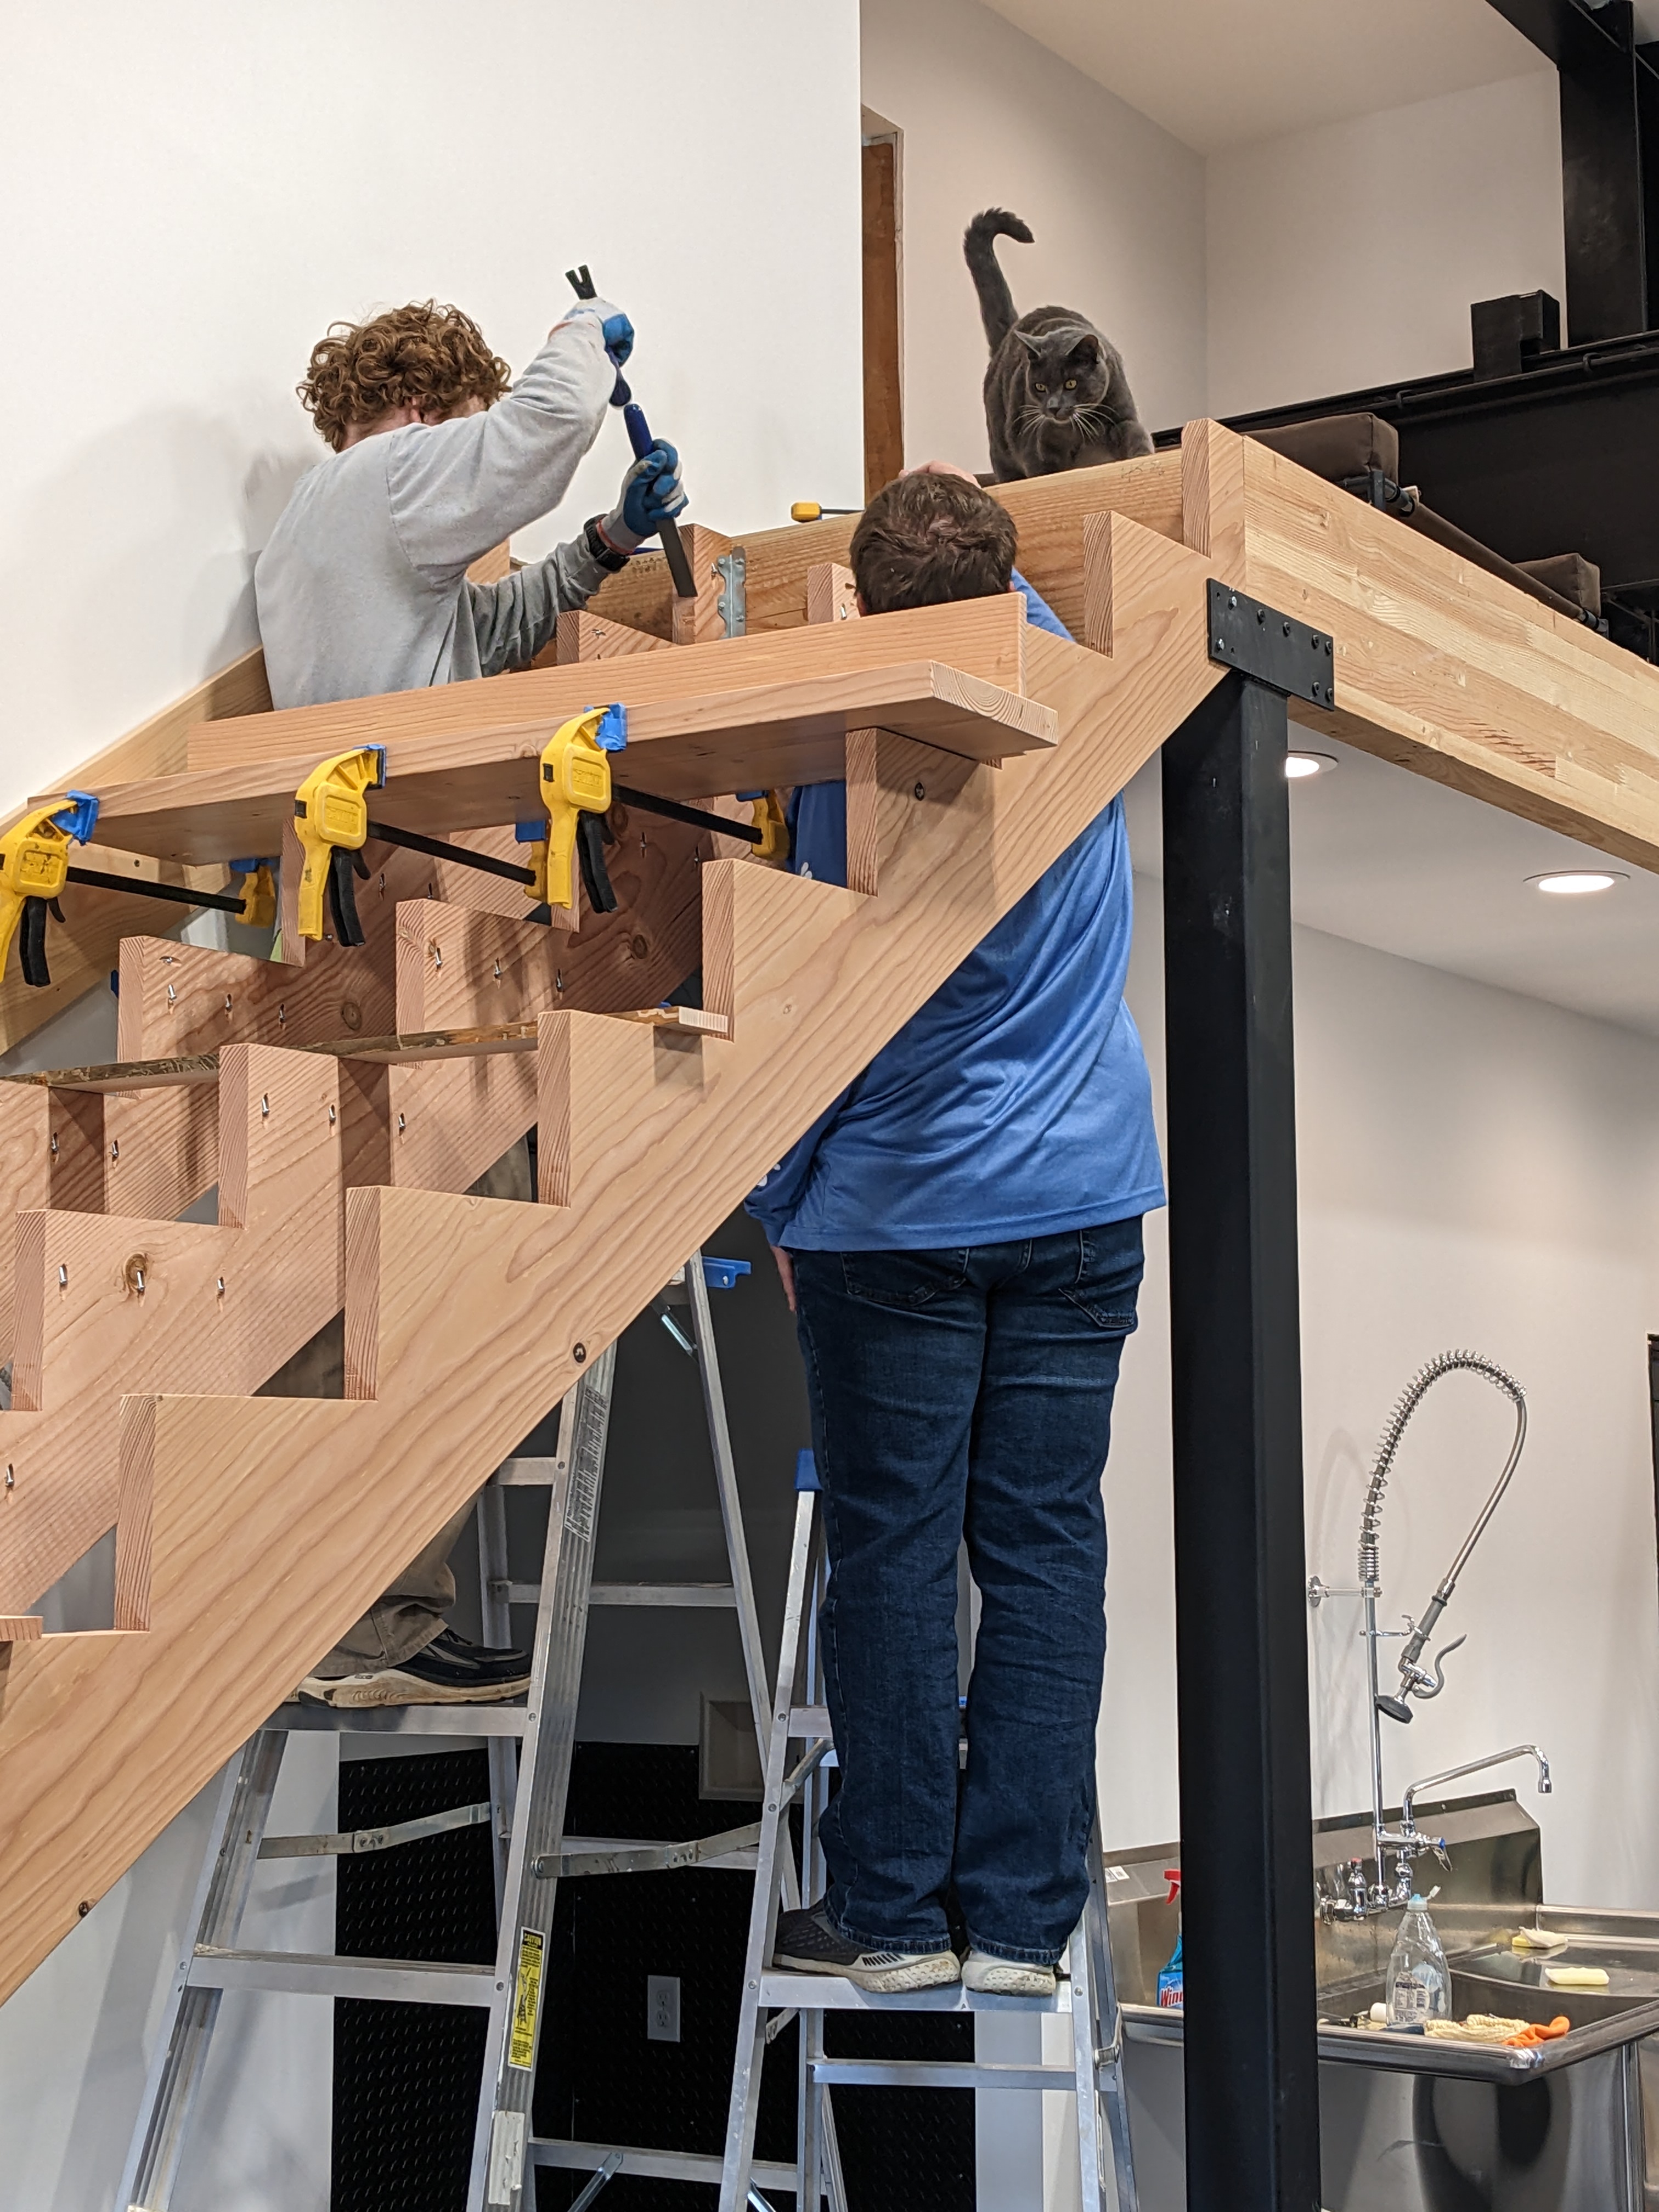

Steve and Sam applied a thick batter of glue before clamping and screwing the parts together.

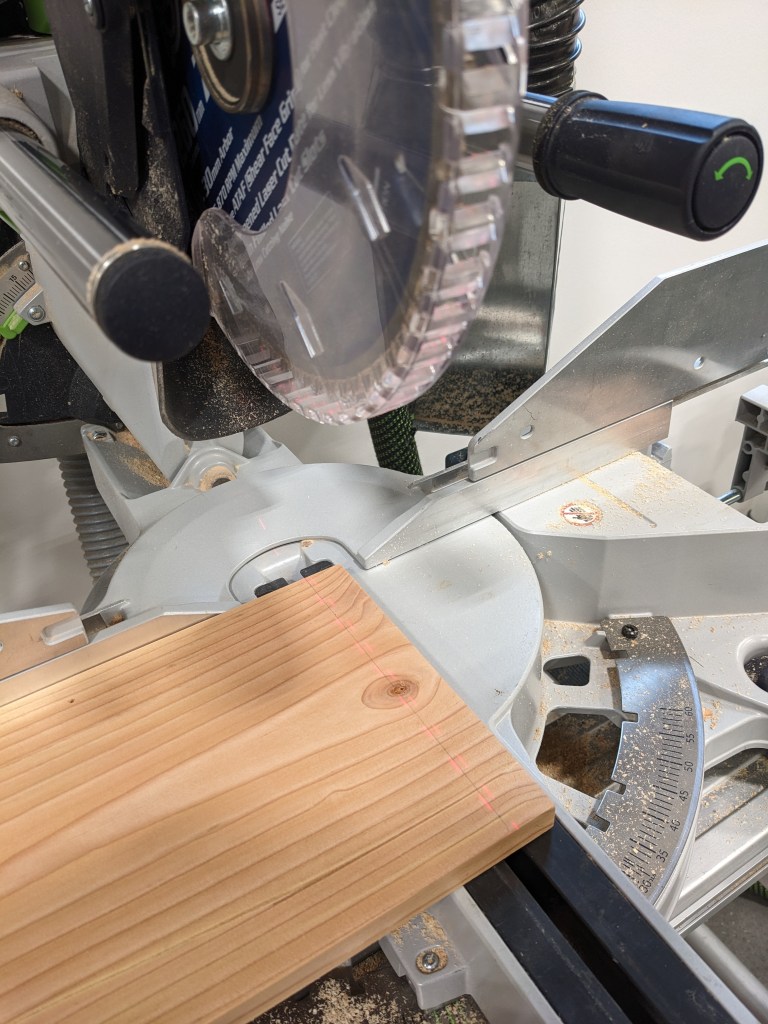
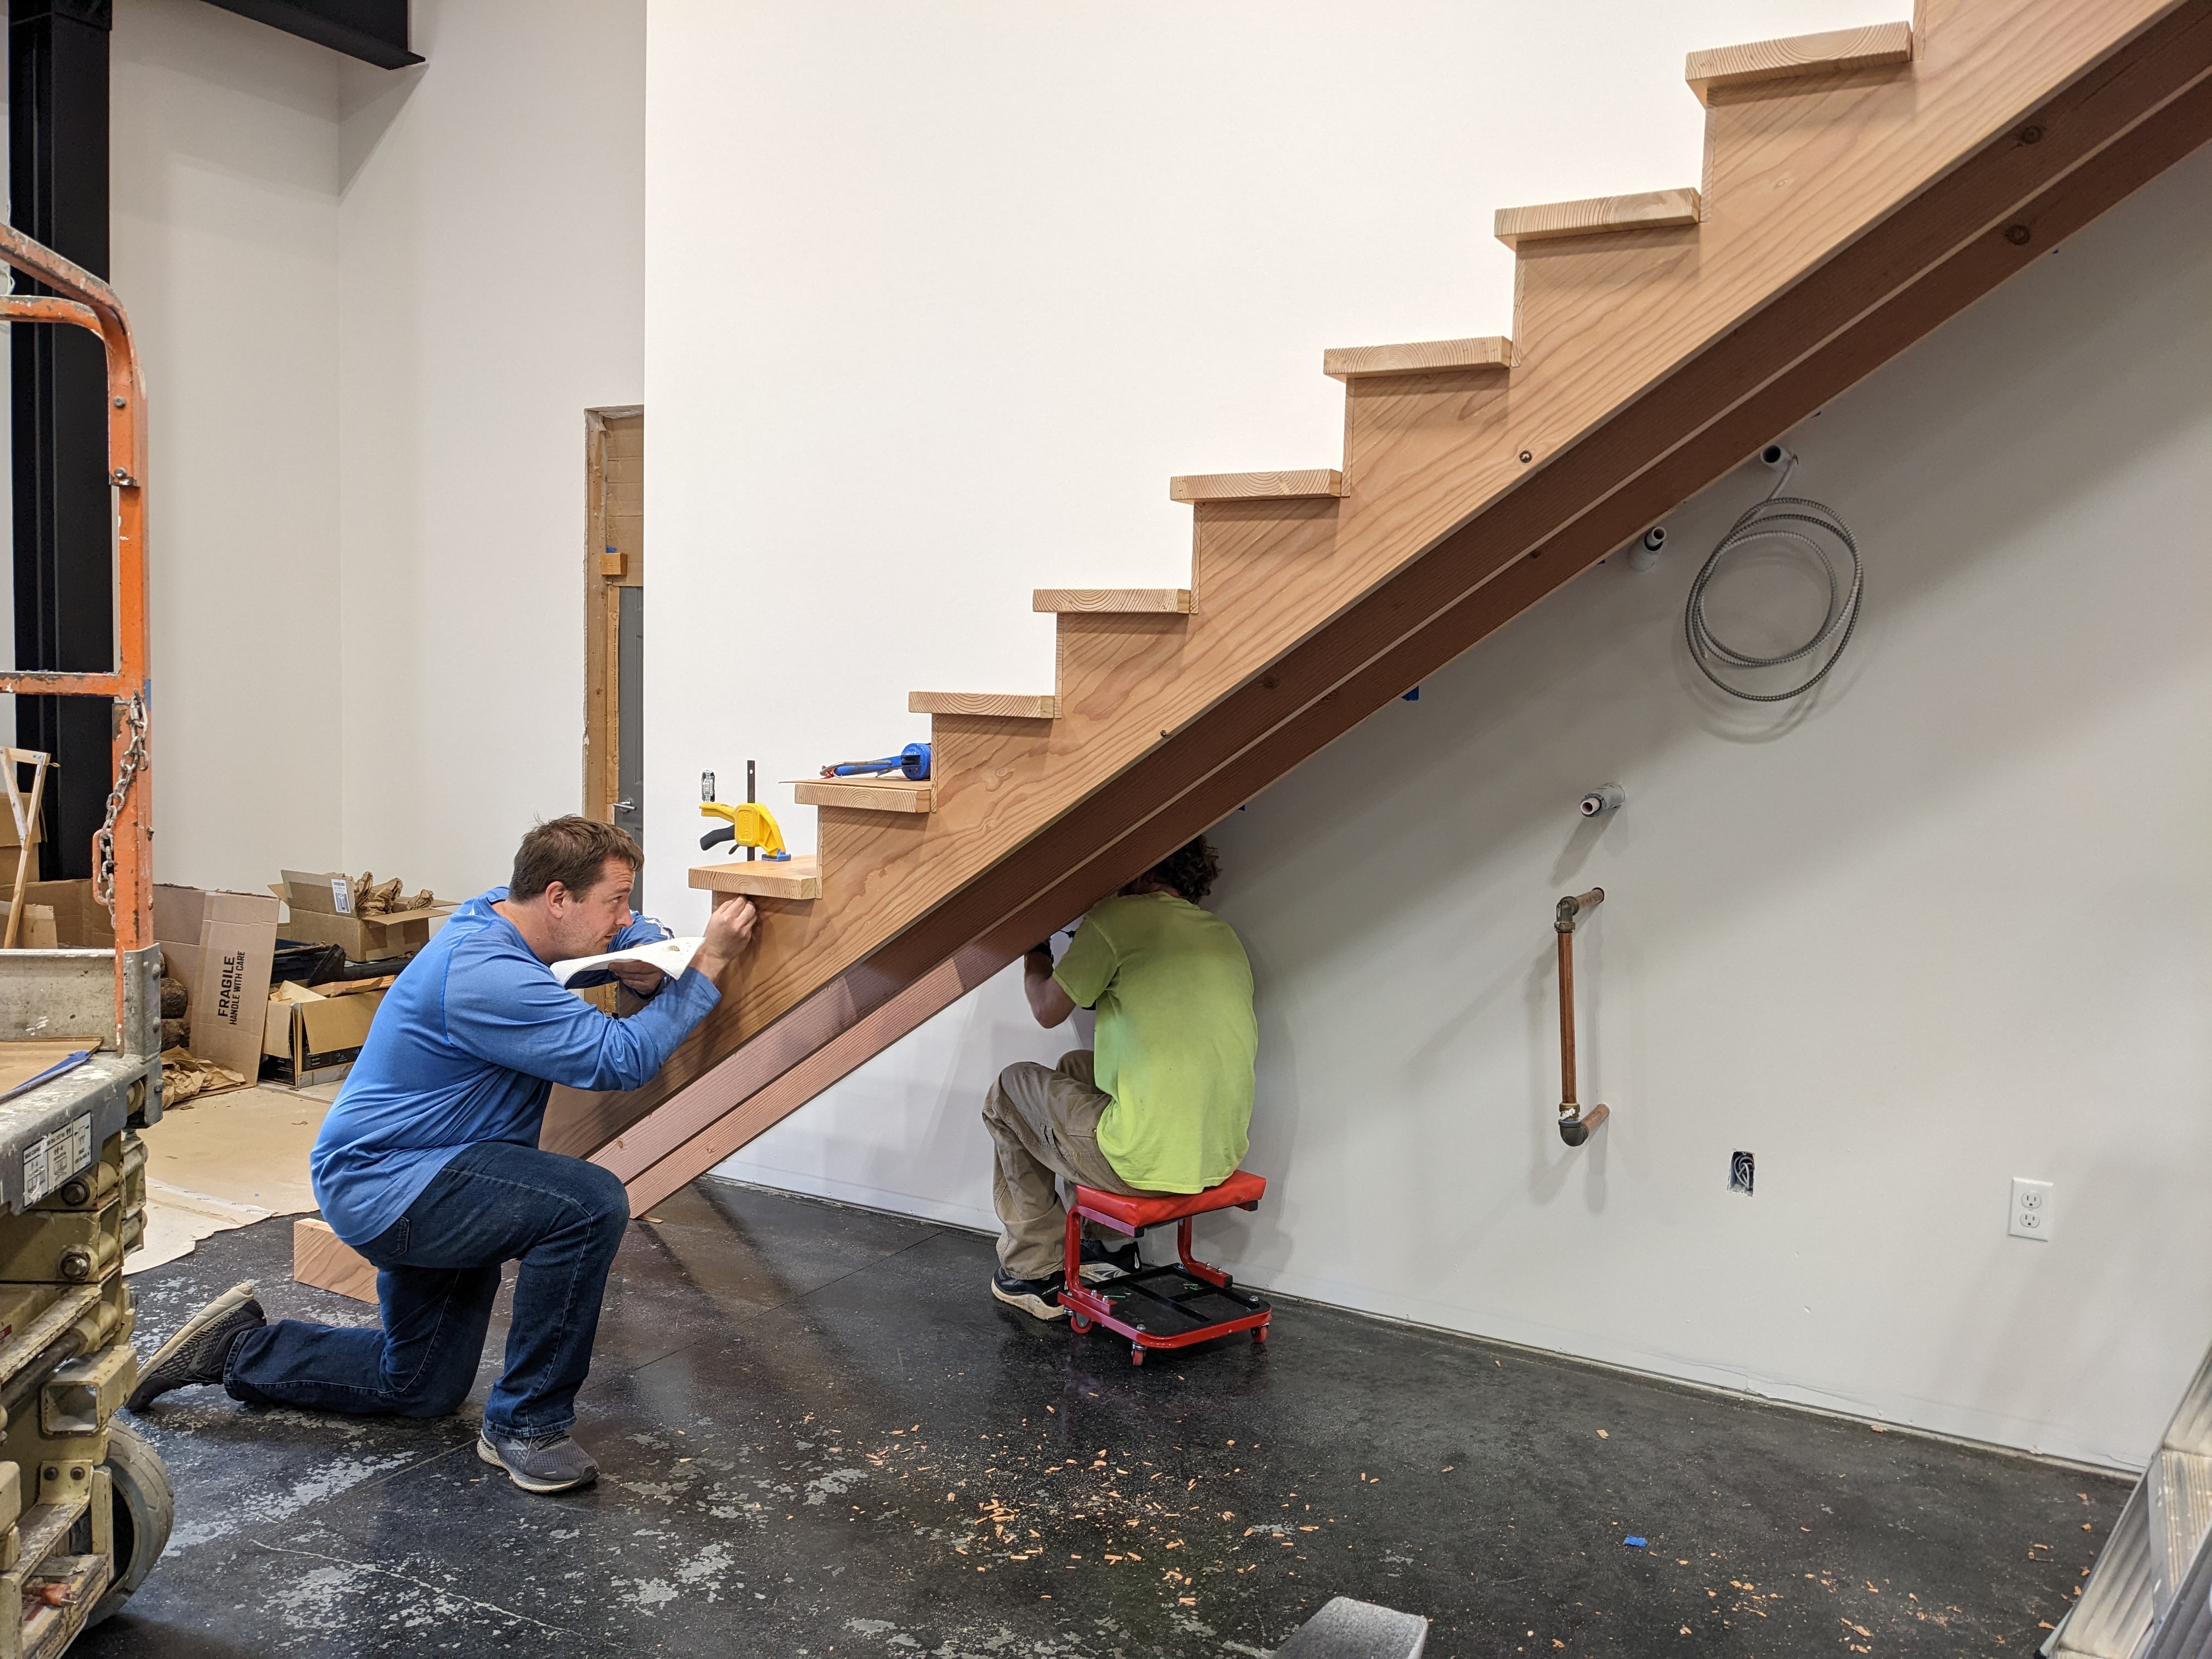
Since the wall isn’t perfectly flat, we cut the “wall side” of each tread. Sam and Steve took measurements, and I trimmed the boards at slight angles so they would be flush against the skirt board.
Sam also used a chisel in a few spots in order for the treads to sit flat.

Things got a little tight towards the bottom.

And the final piece!

The assembly took less than two days. They are sturdy and look great.

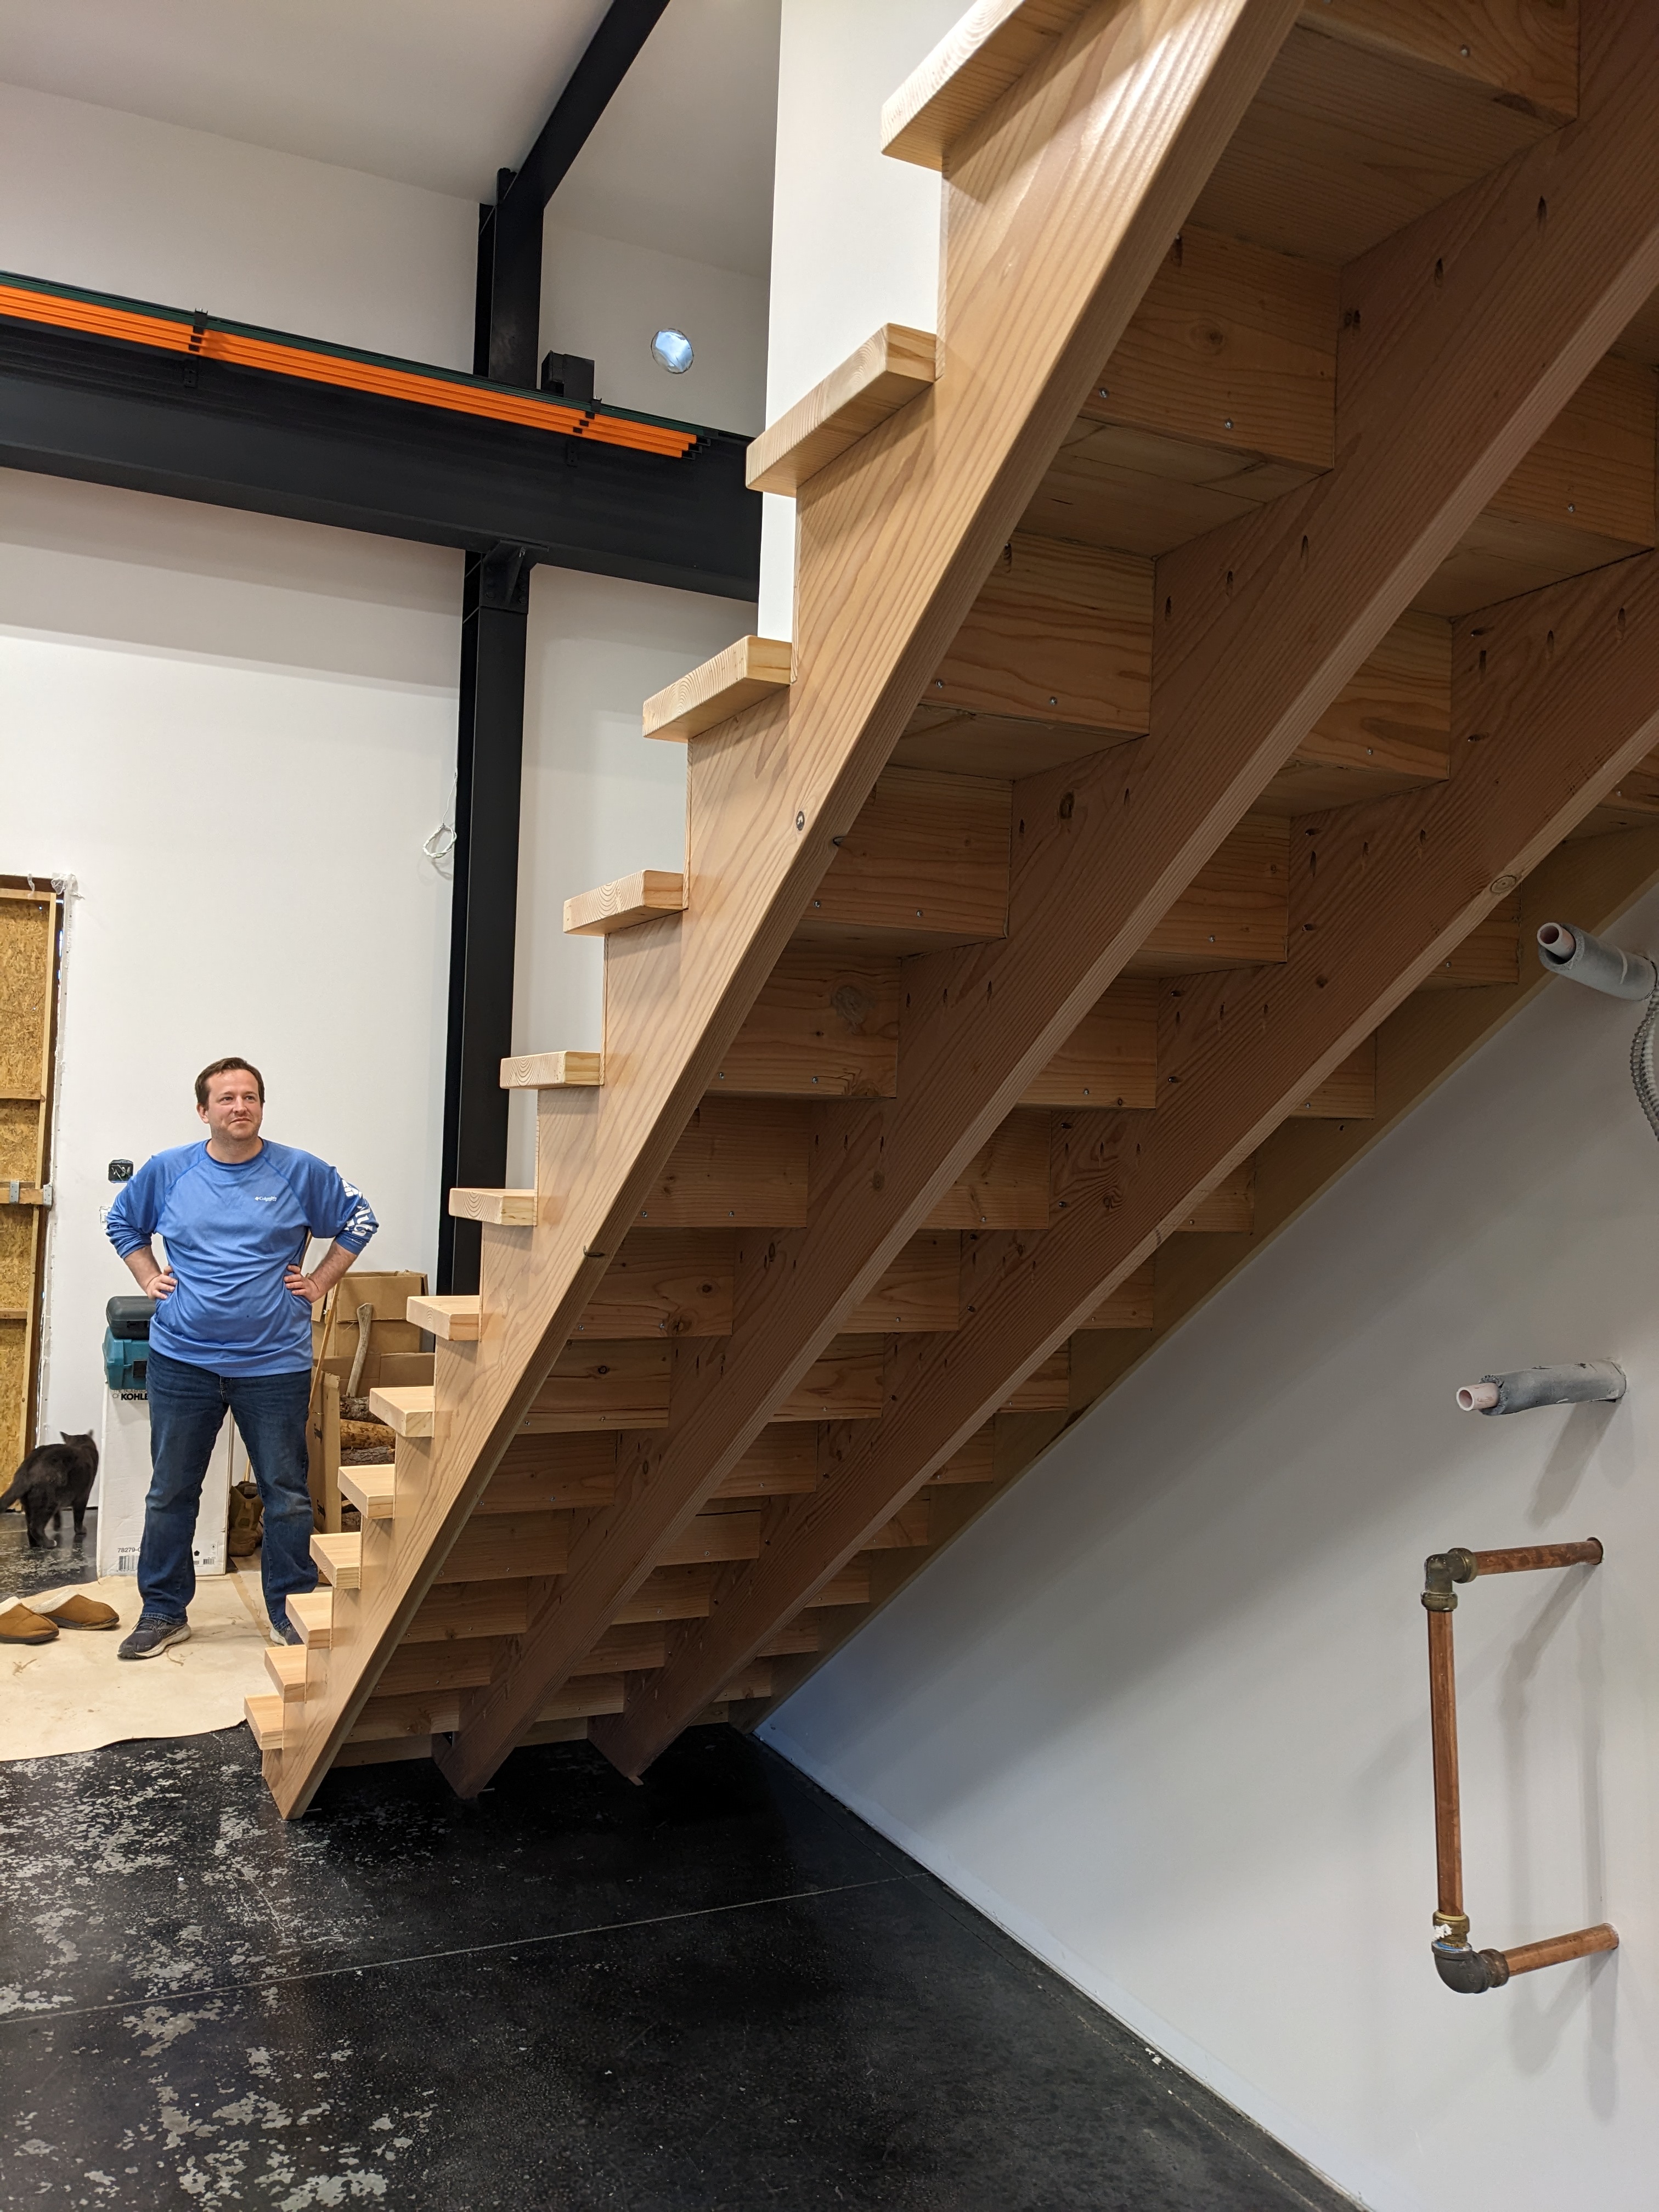

Actually, the biggest improvements were due to lessons learned from our first attempt at building stairs. Although a bit inconvenient, I’m glad we started with the attic stairs. The build quality is much better on the main staircase. One might say it is a step above the attic staircase.
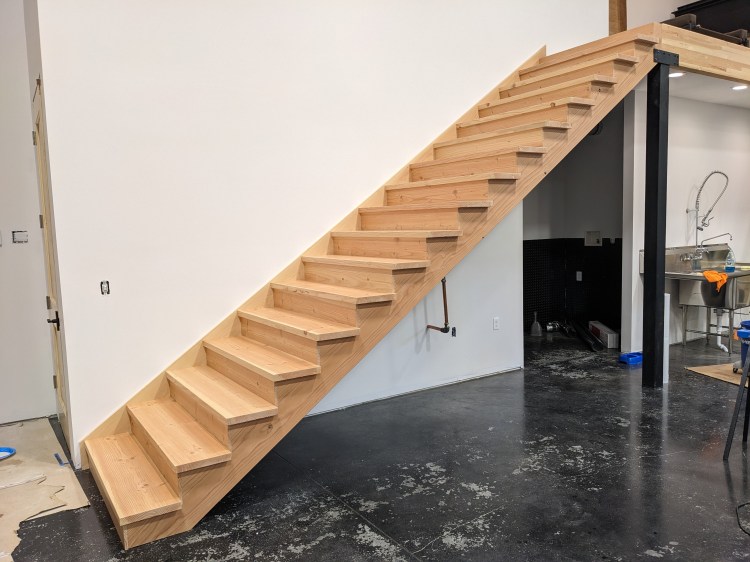
It’s great to have stairs, though Buster still prefers the ladder. Ta-daa!

(Yes, we still need a railing.)

really beautiful!! Great job!
LikeLike