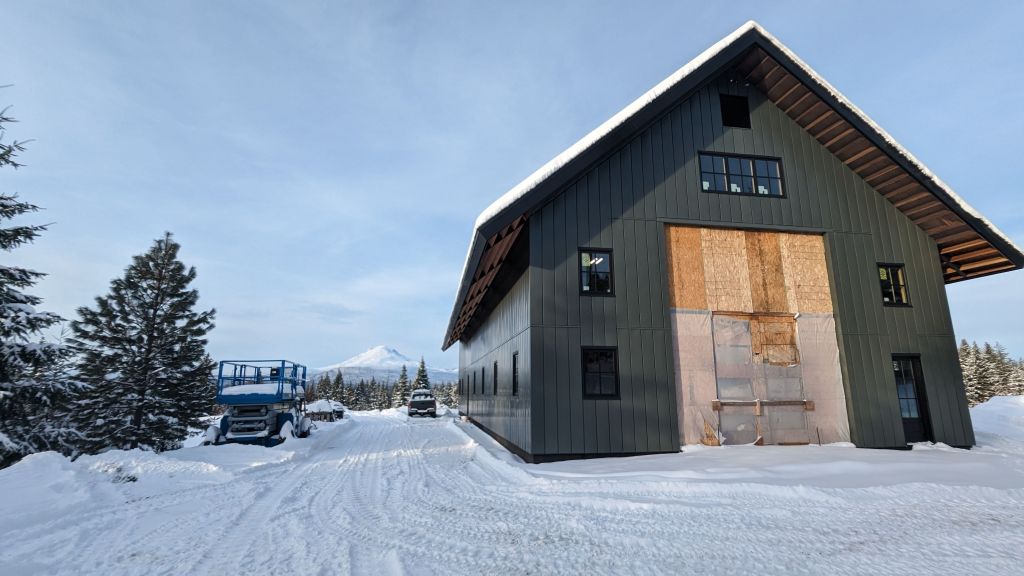
We’ve grown accustomed to the 330 sq-ft eyesore. It wasn’t until winter approached that we were reminded of the giant hole in the wall. The plastic rustled in the wind, spooking our cats on blustery nights, and the cold air seeped in, driving up our heating bill. It was time to build a door!
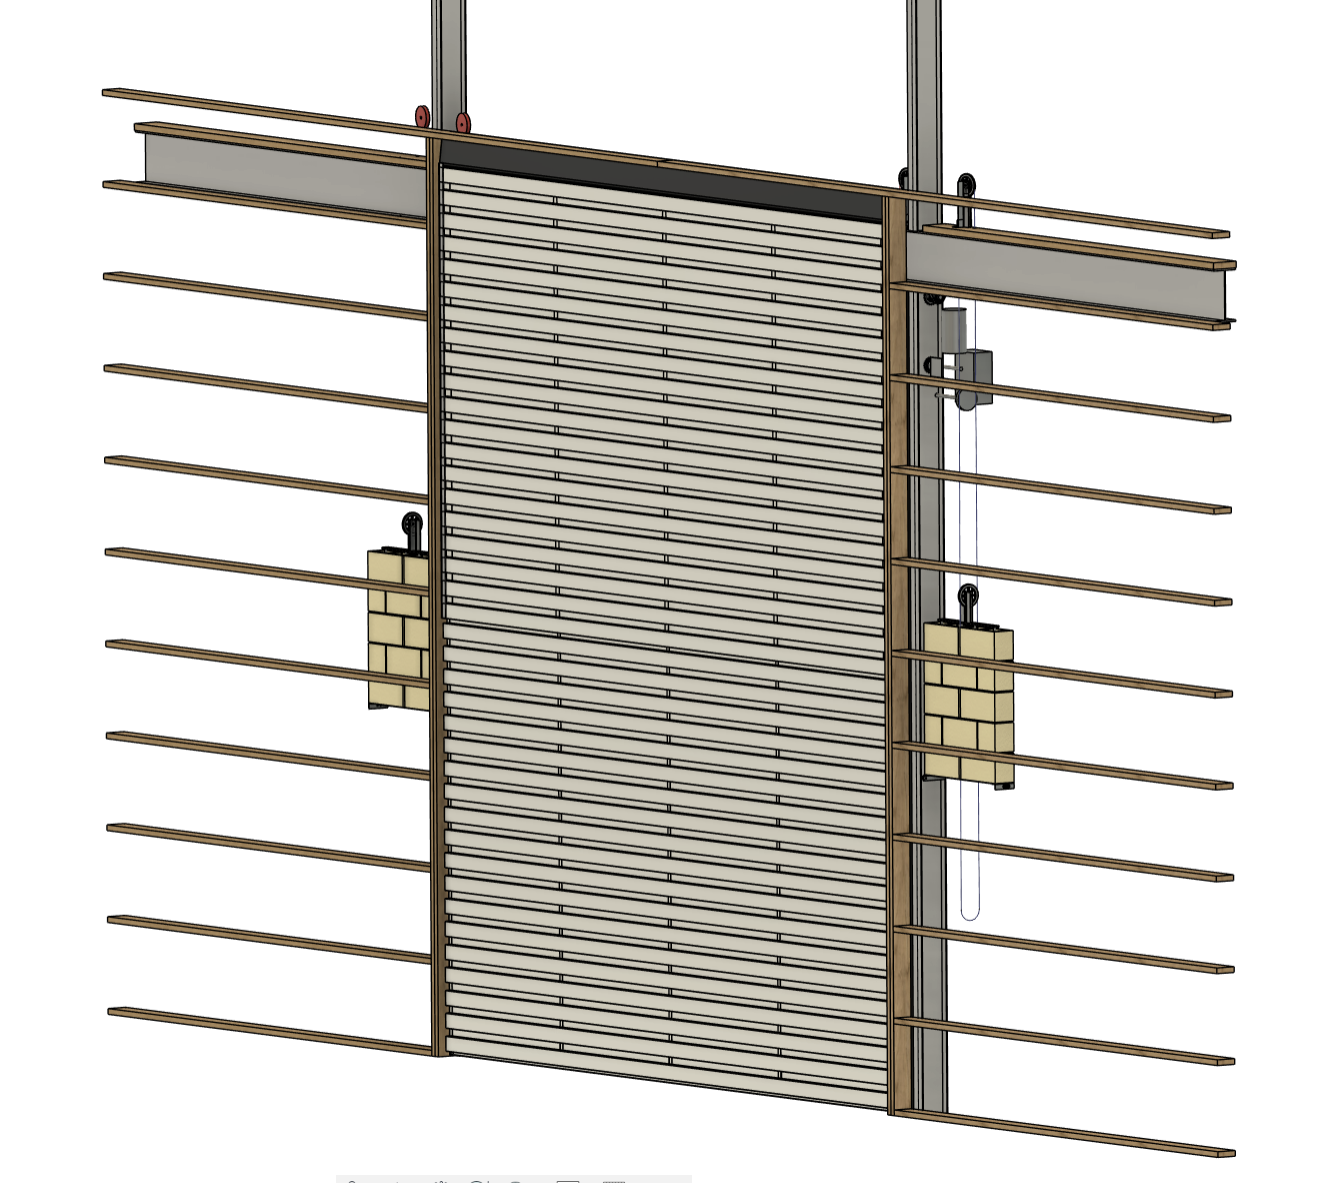
Sam buckled down and finished designing the shop door. It is a bifold style door, composed of two halves that fold outward as it opens. It is similar to some airplane hangar doors.

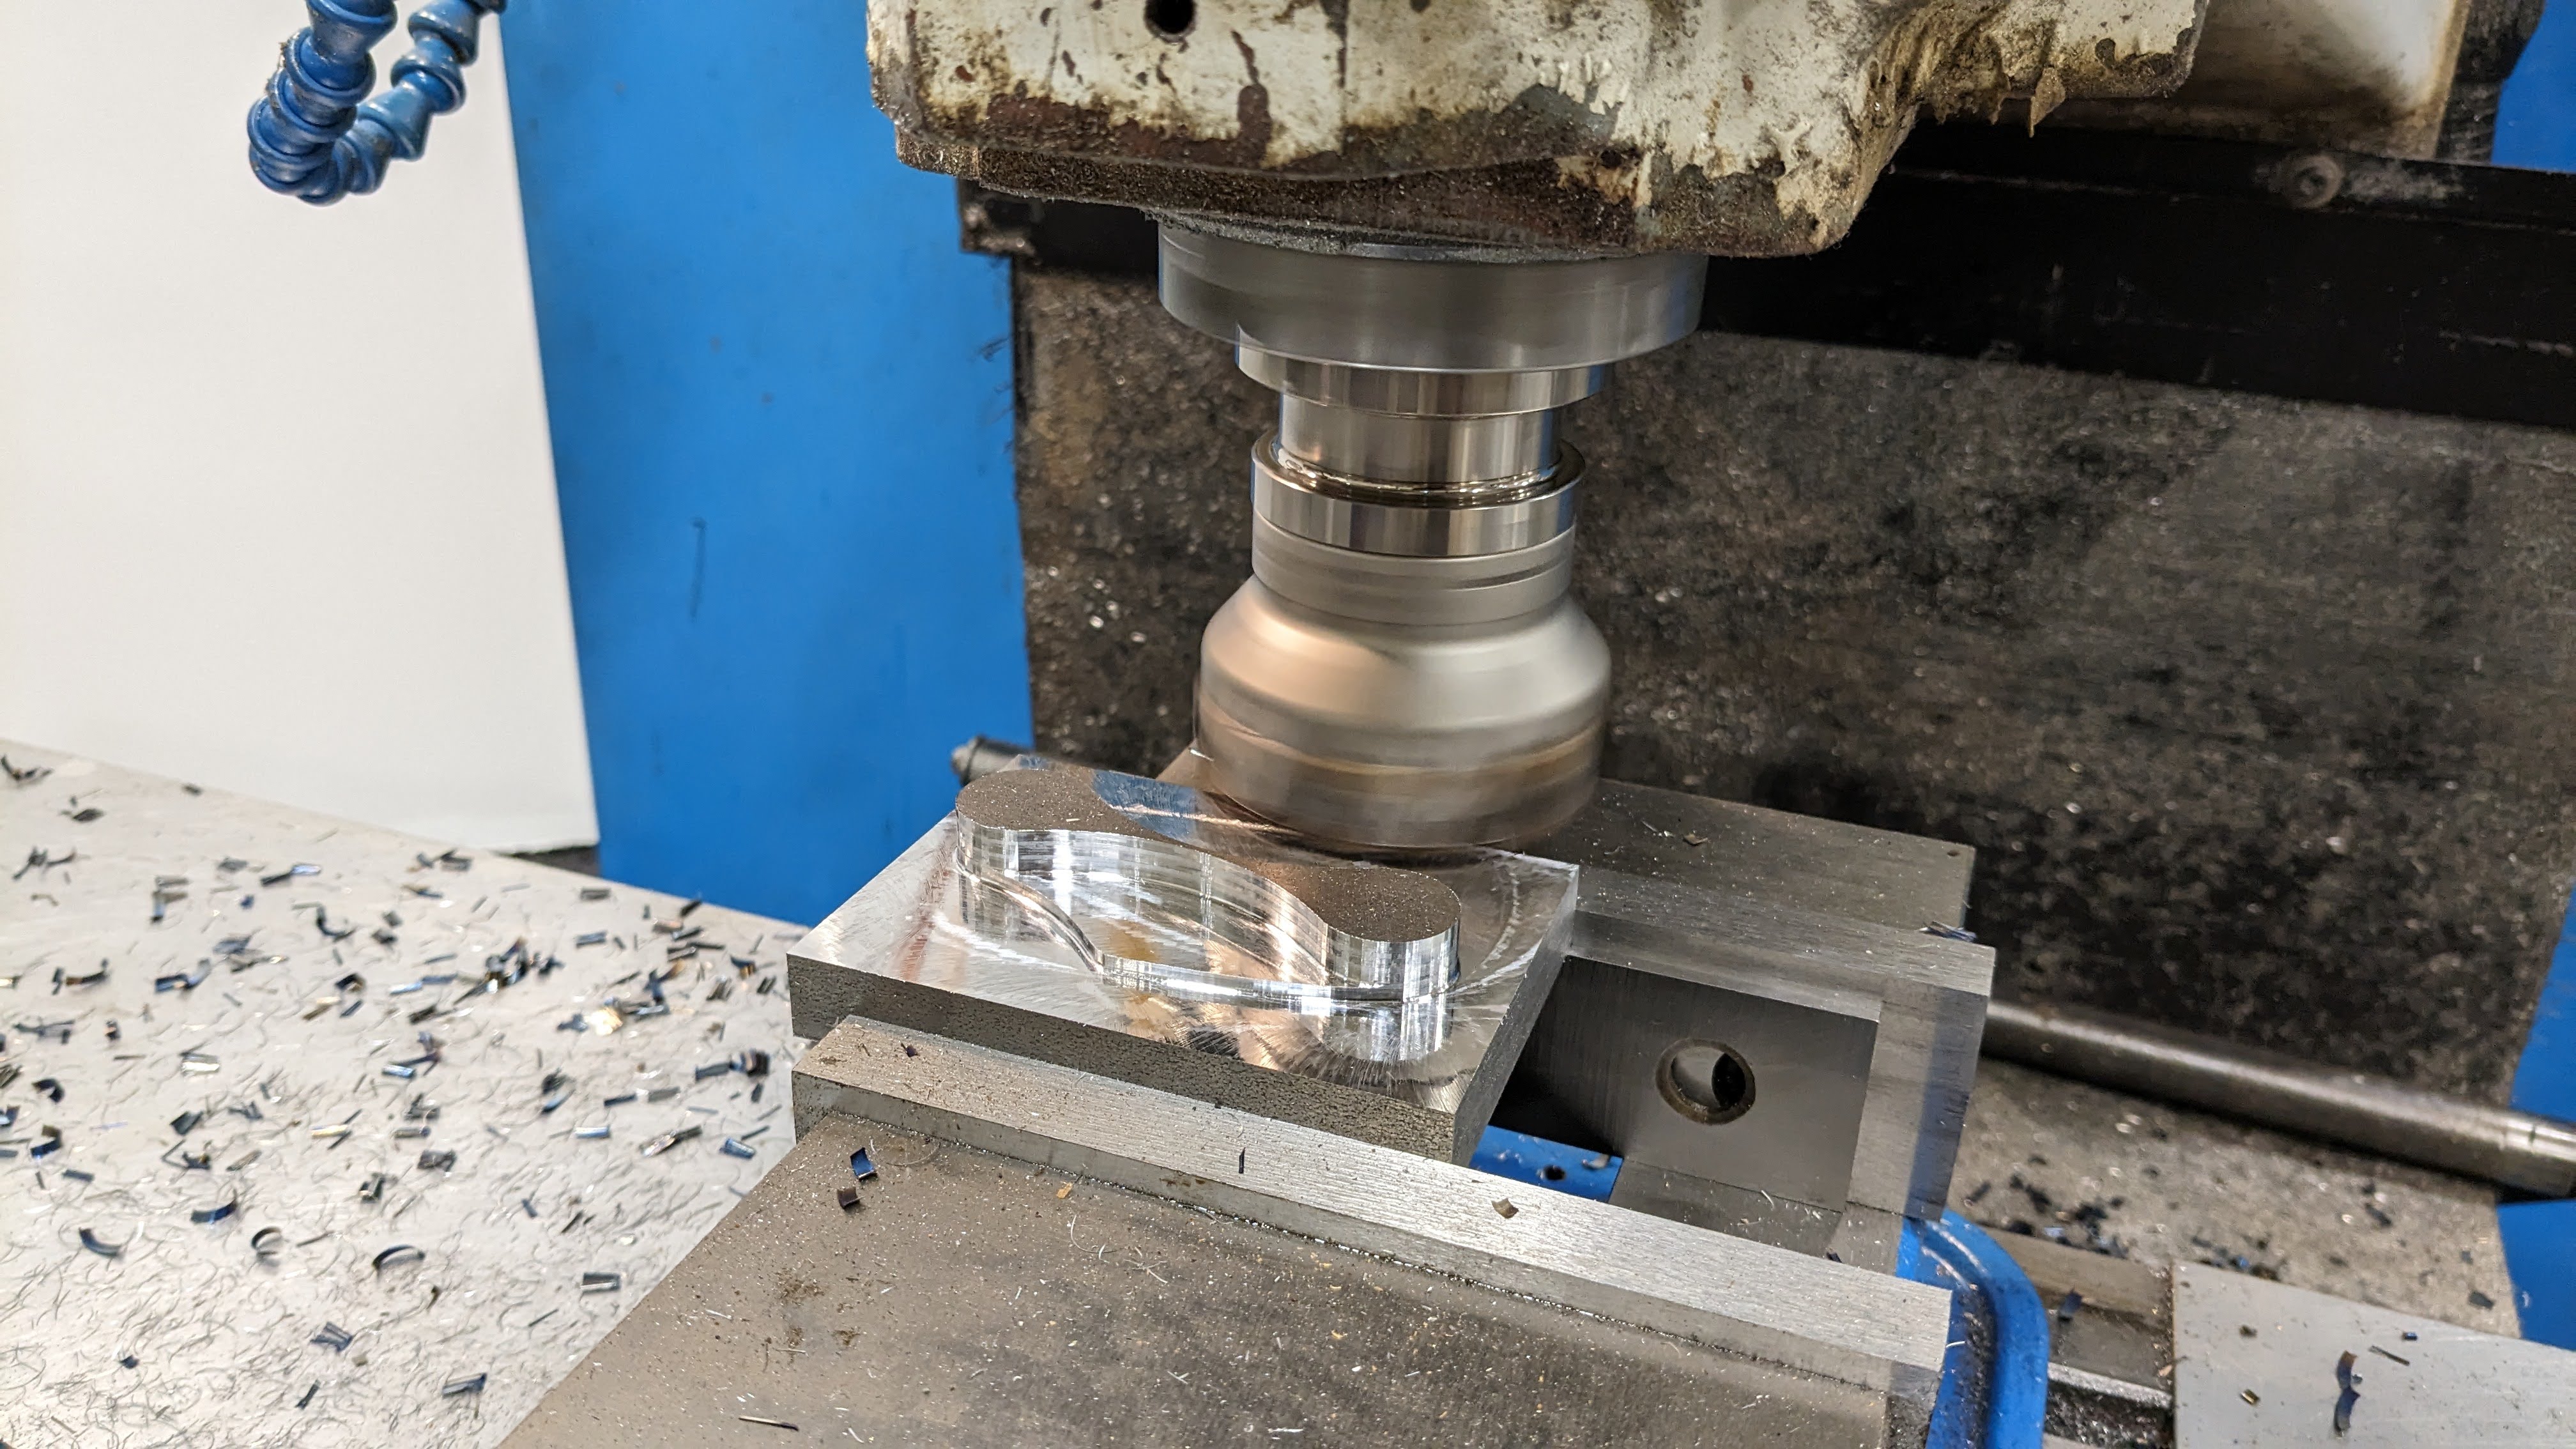
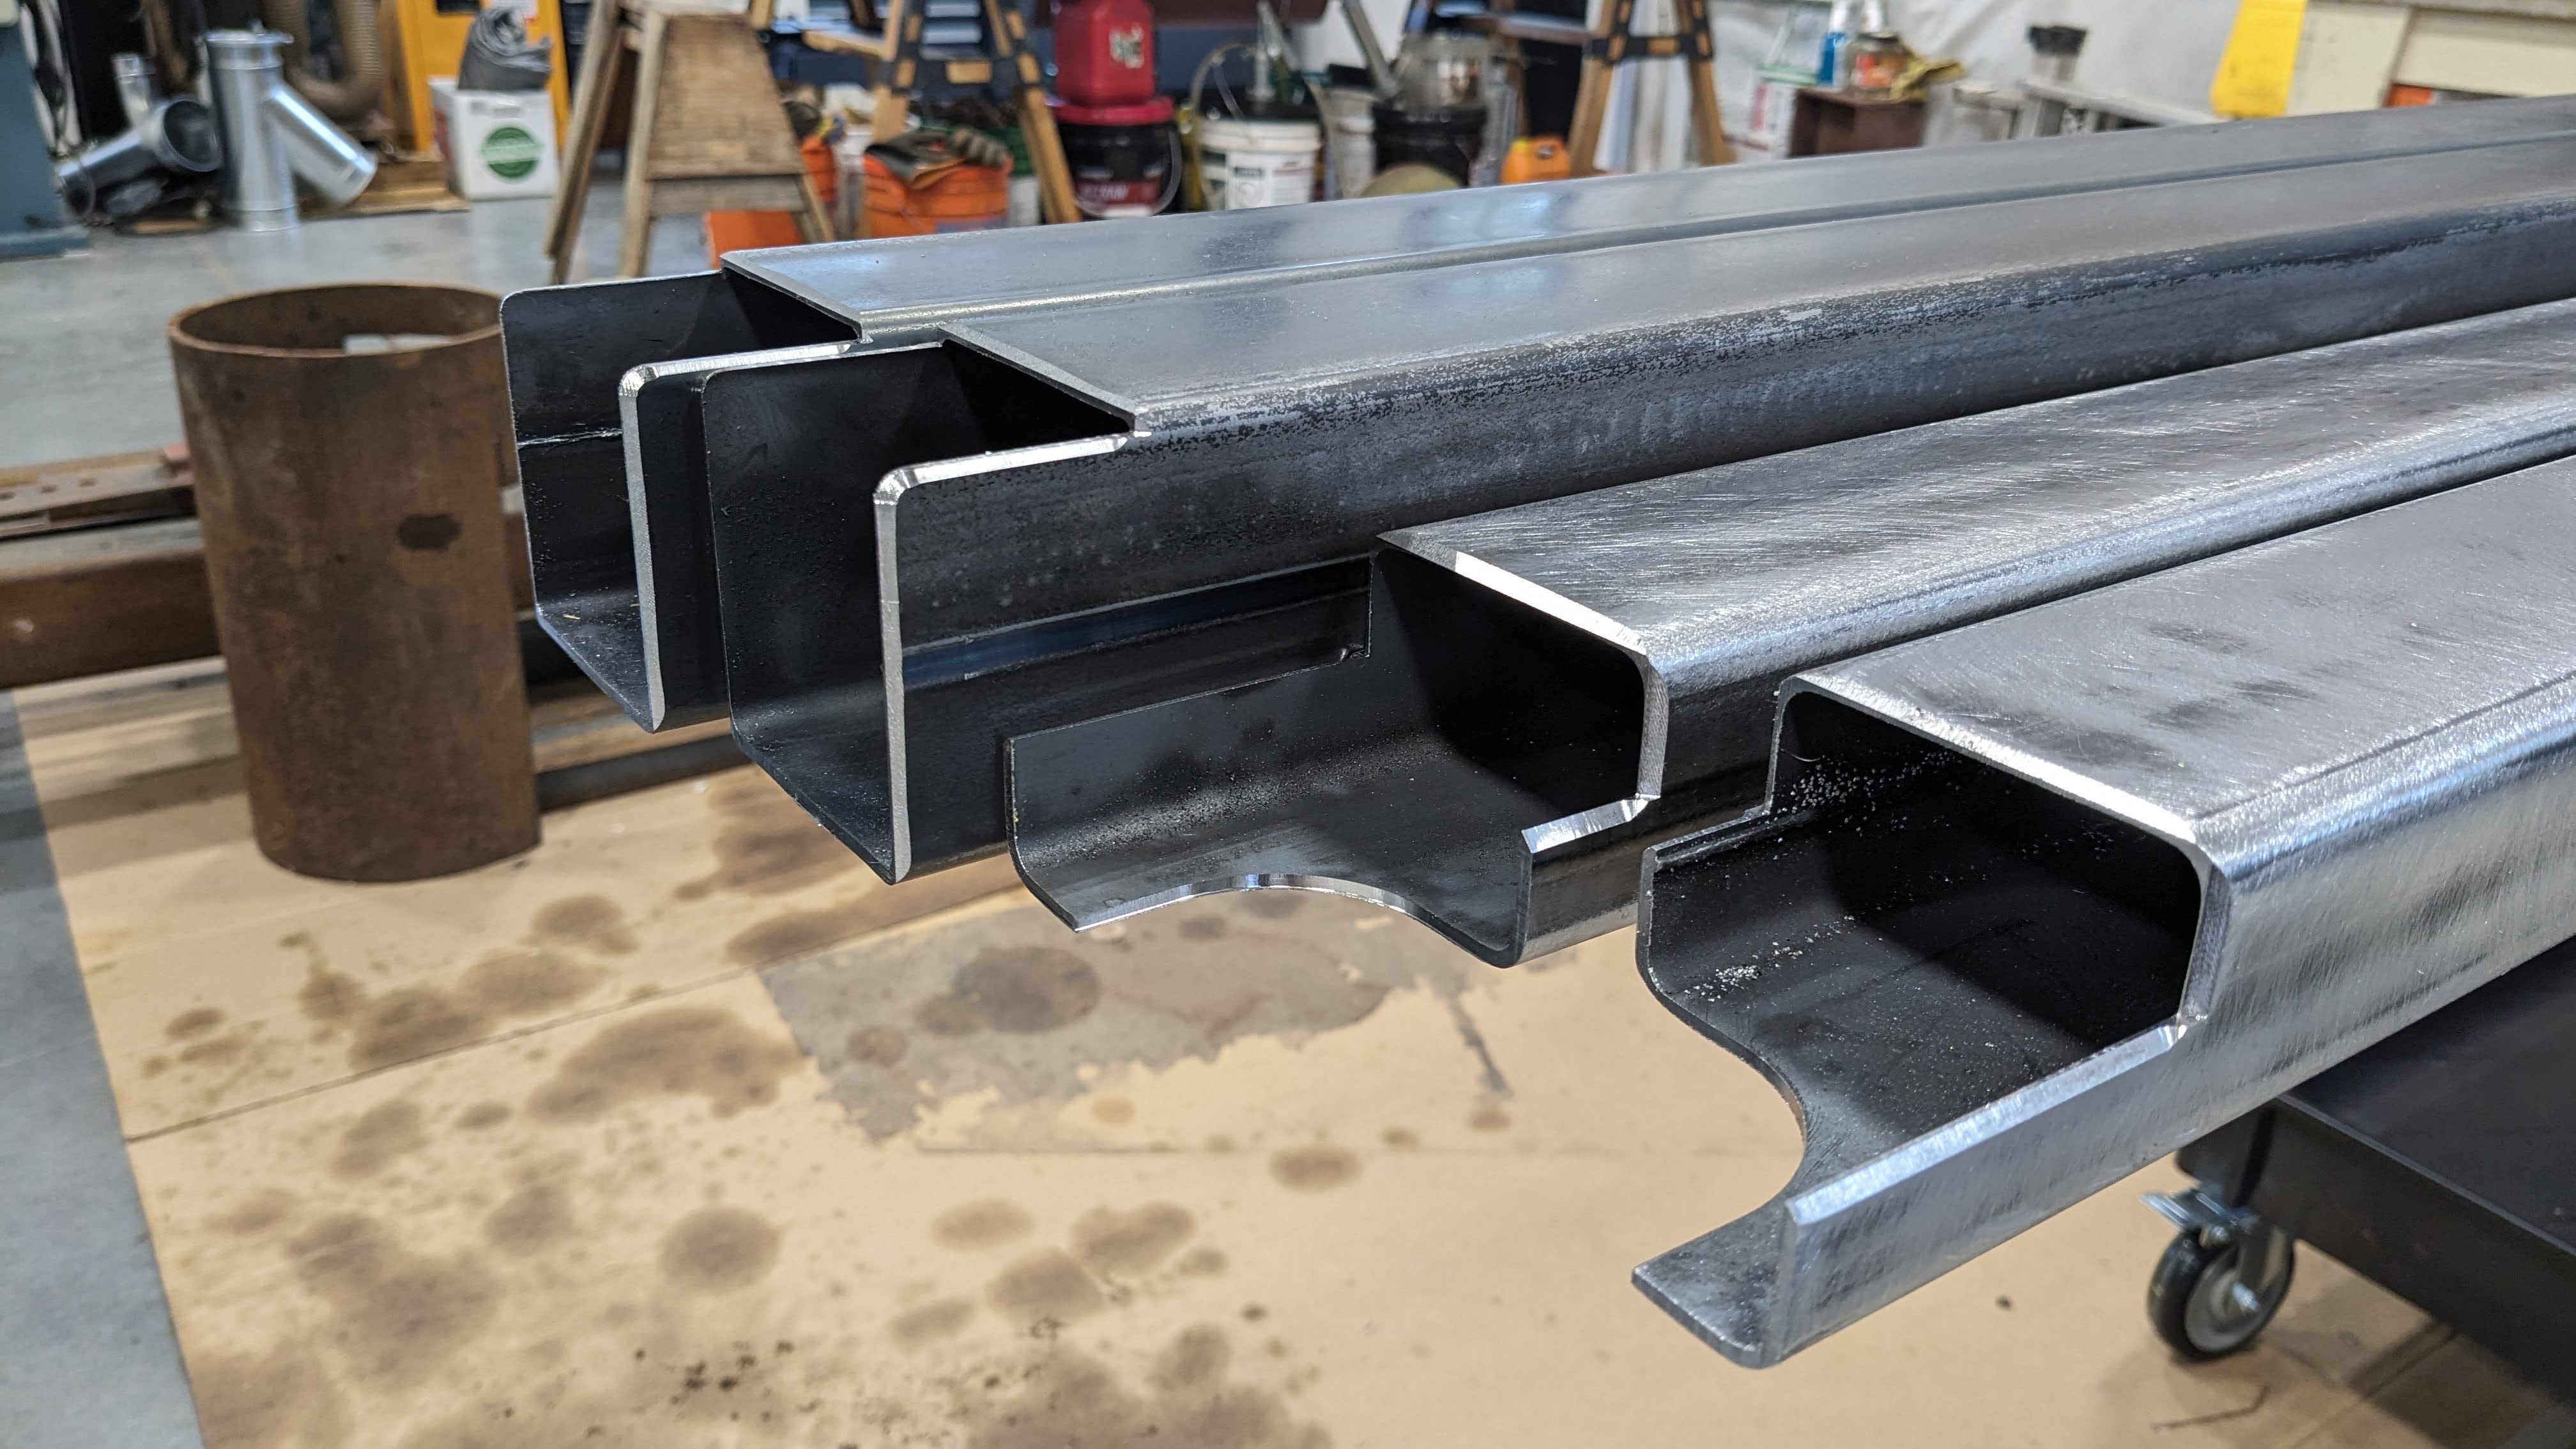
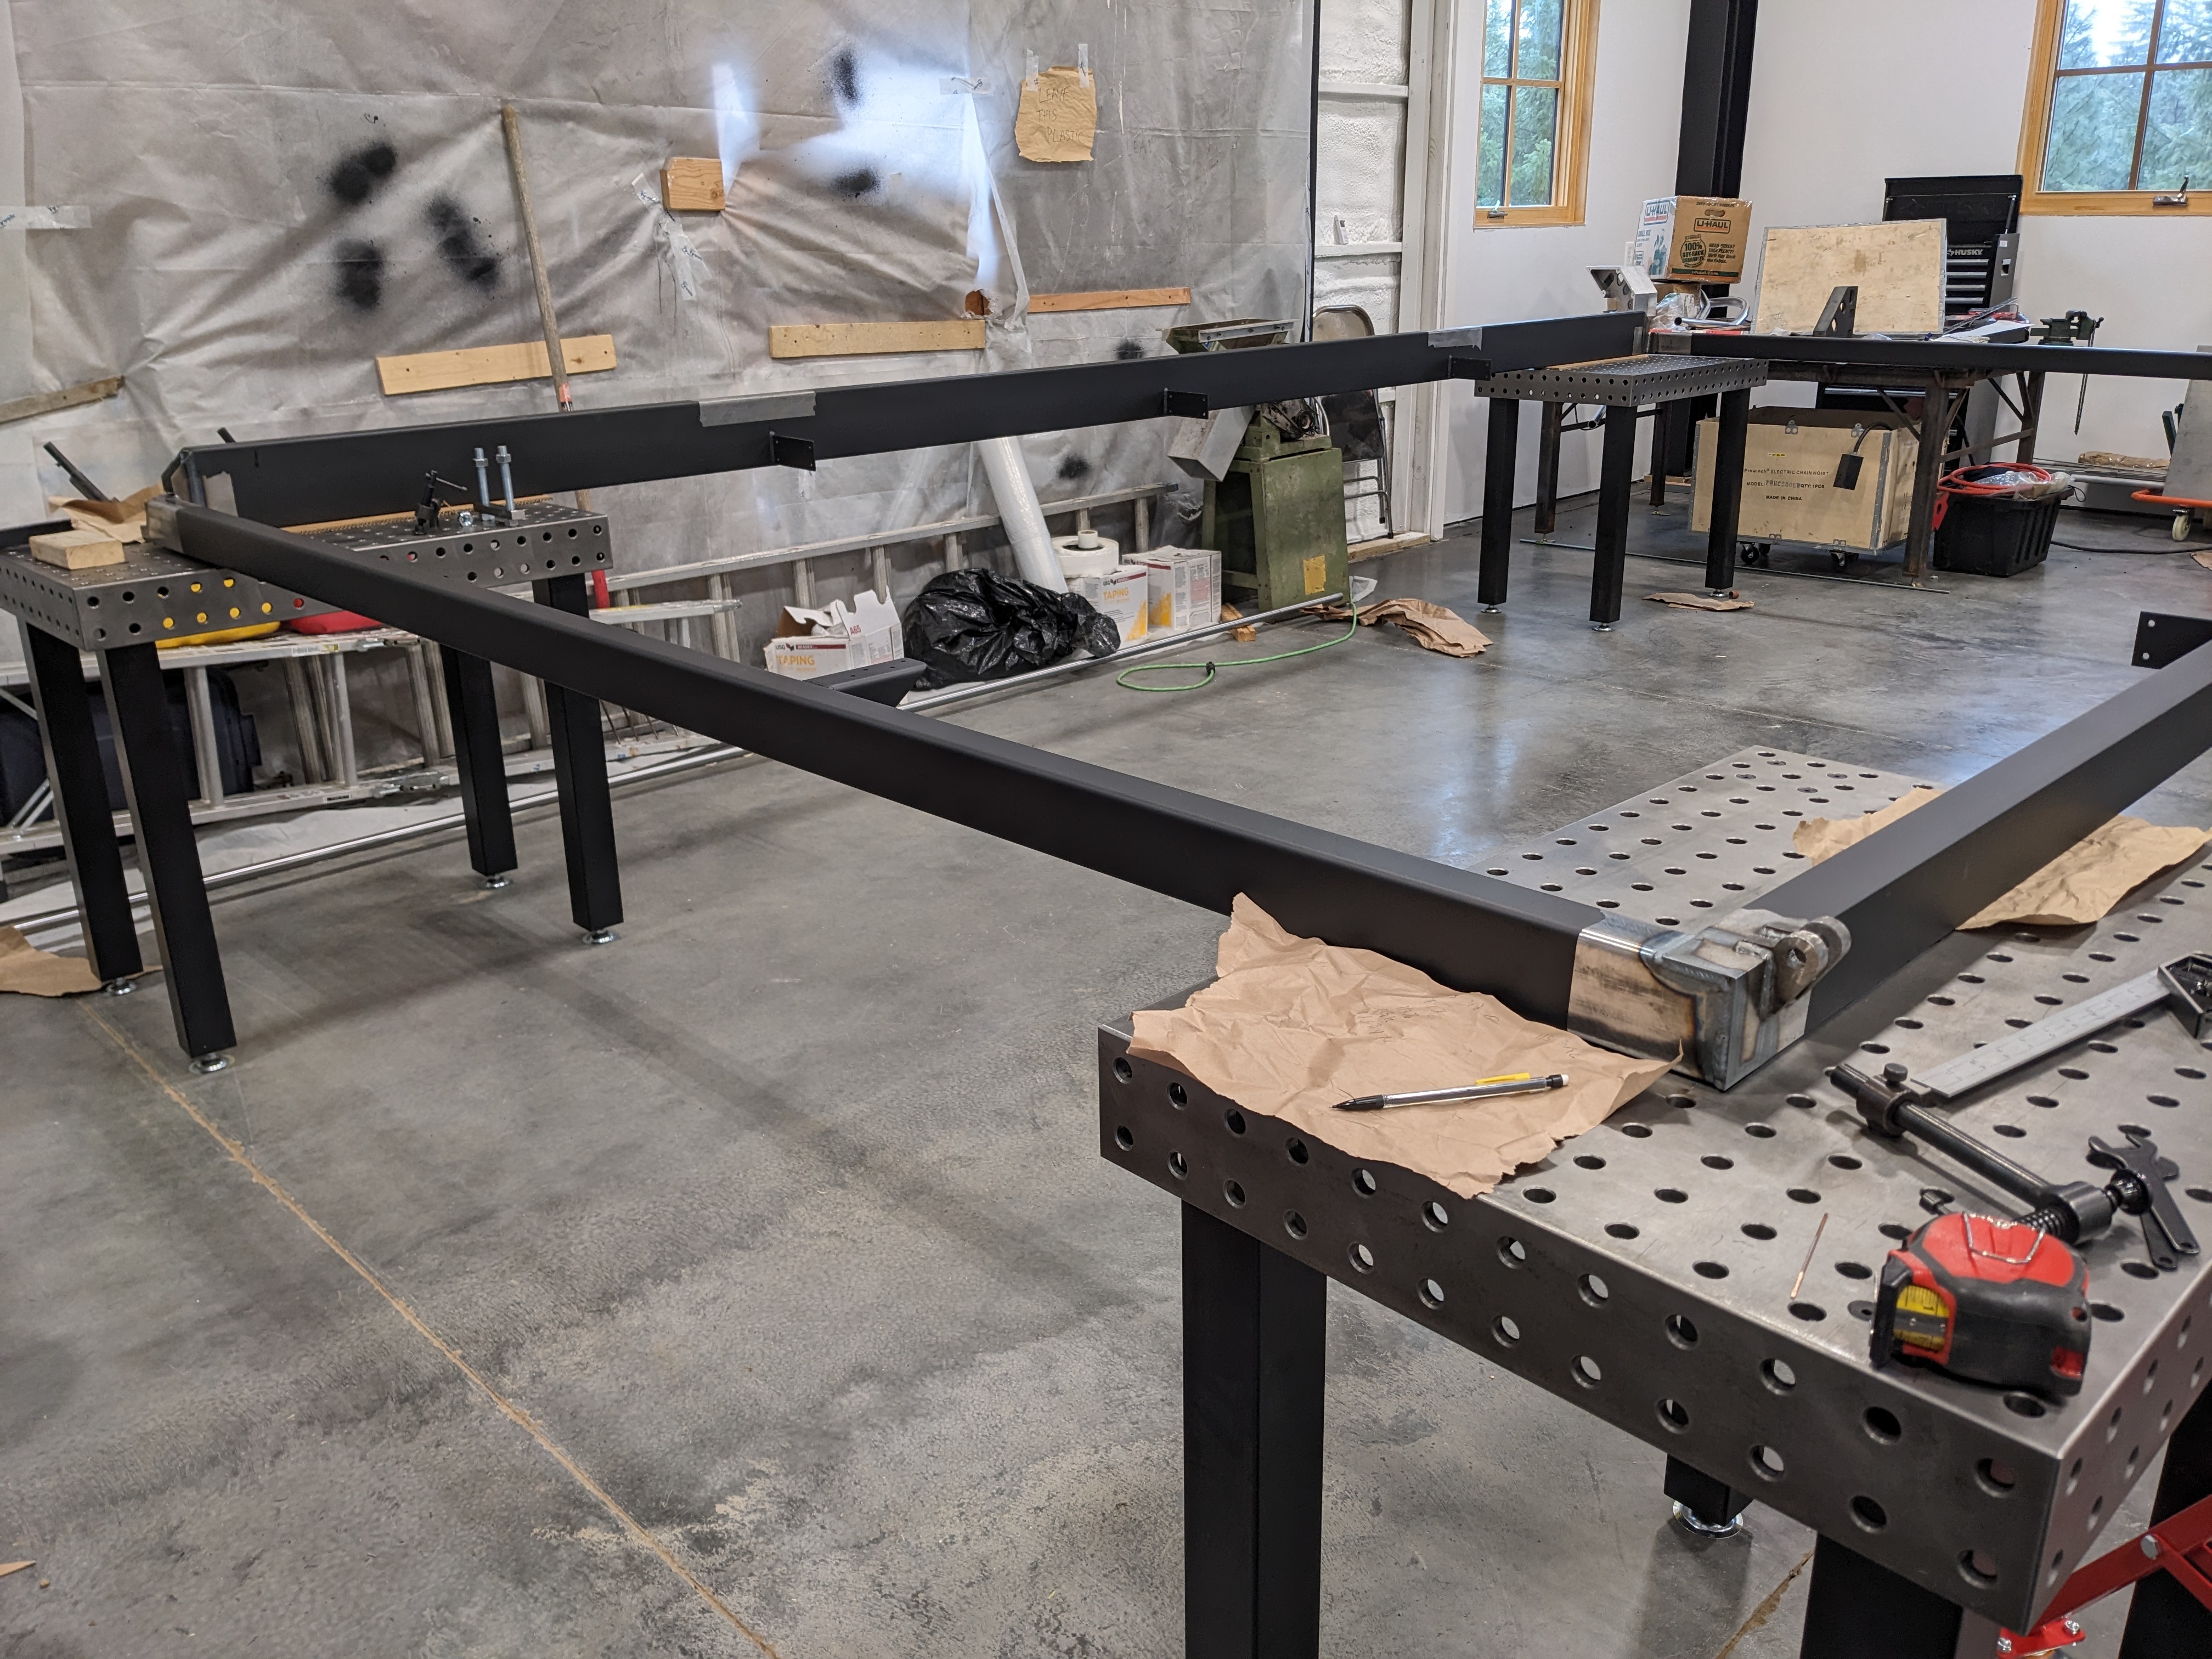
By the time we converged on a final design and ordered the materials, winter was in full form. Sam began fabricating the steel frame for the lower half of the door. First, he had to get acquainted with our “new” CNC.

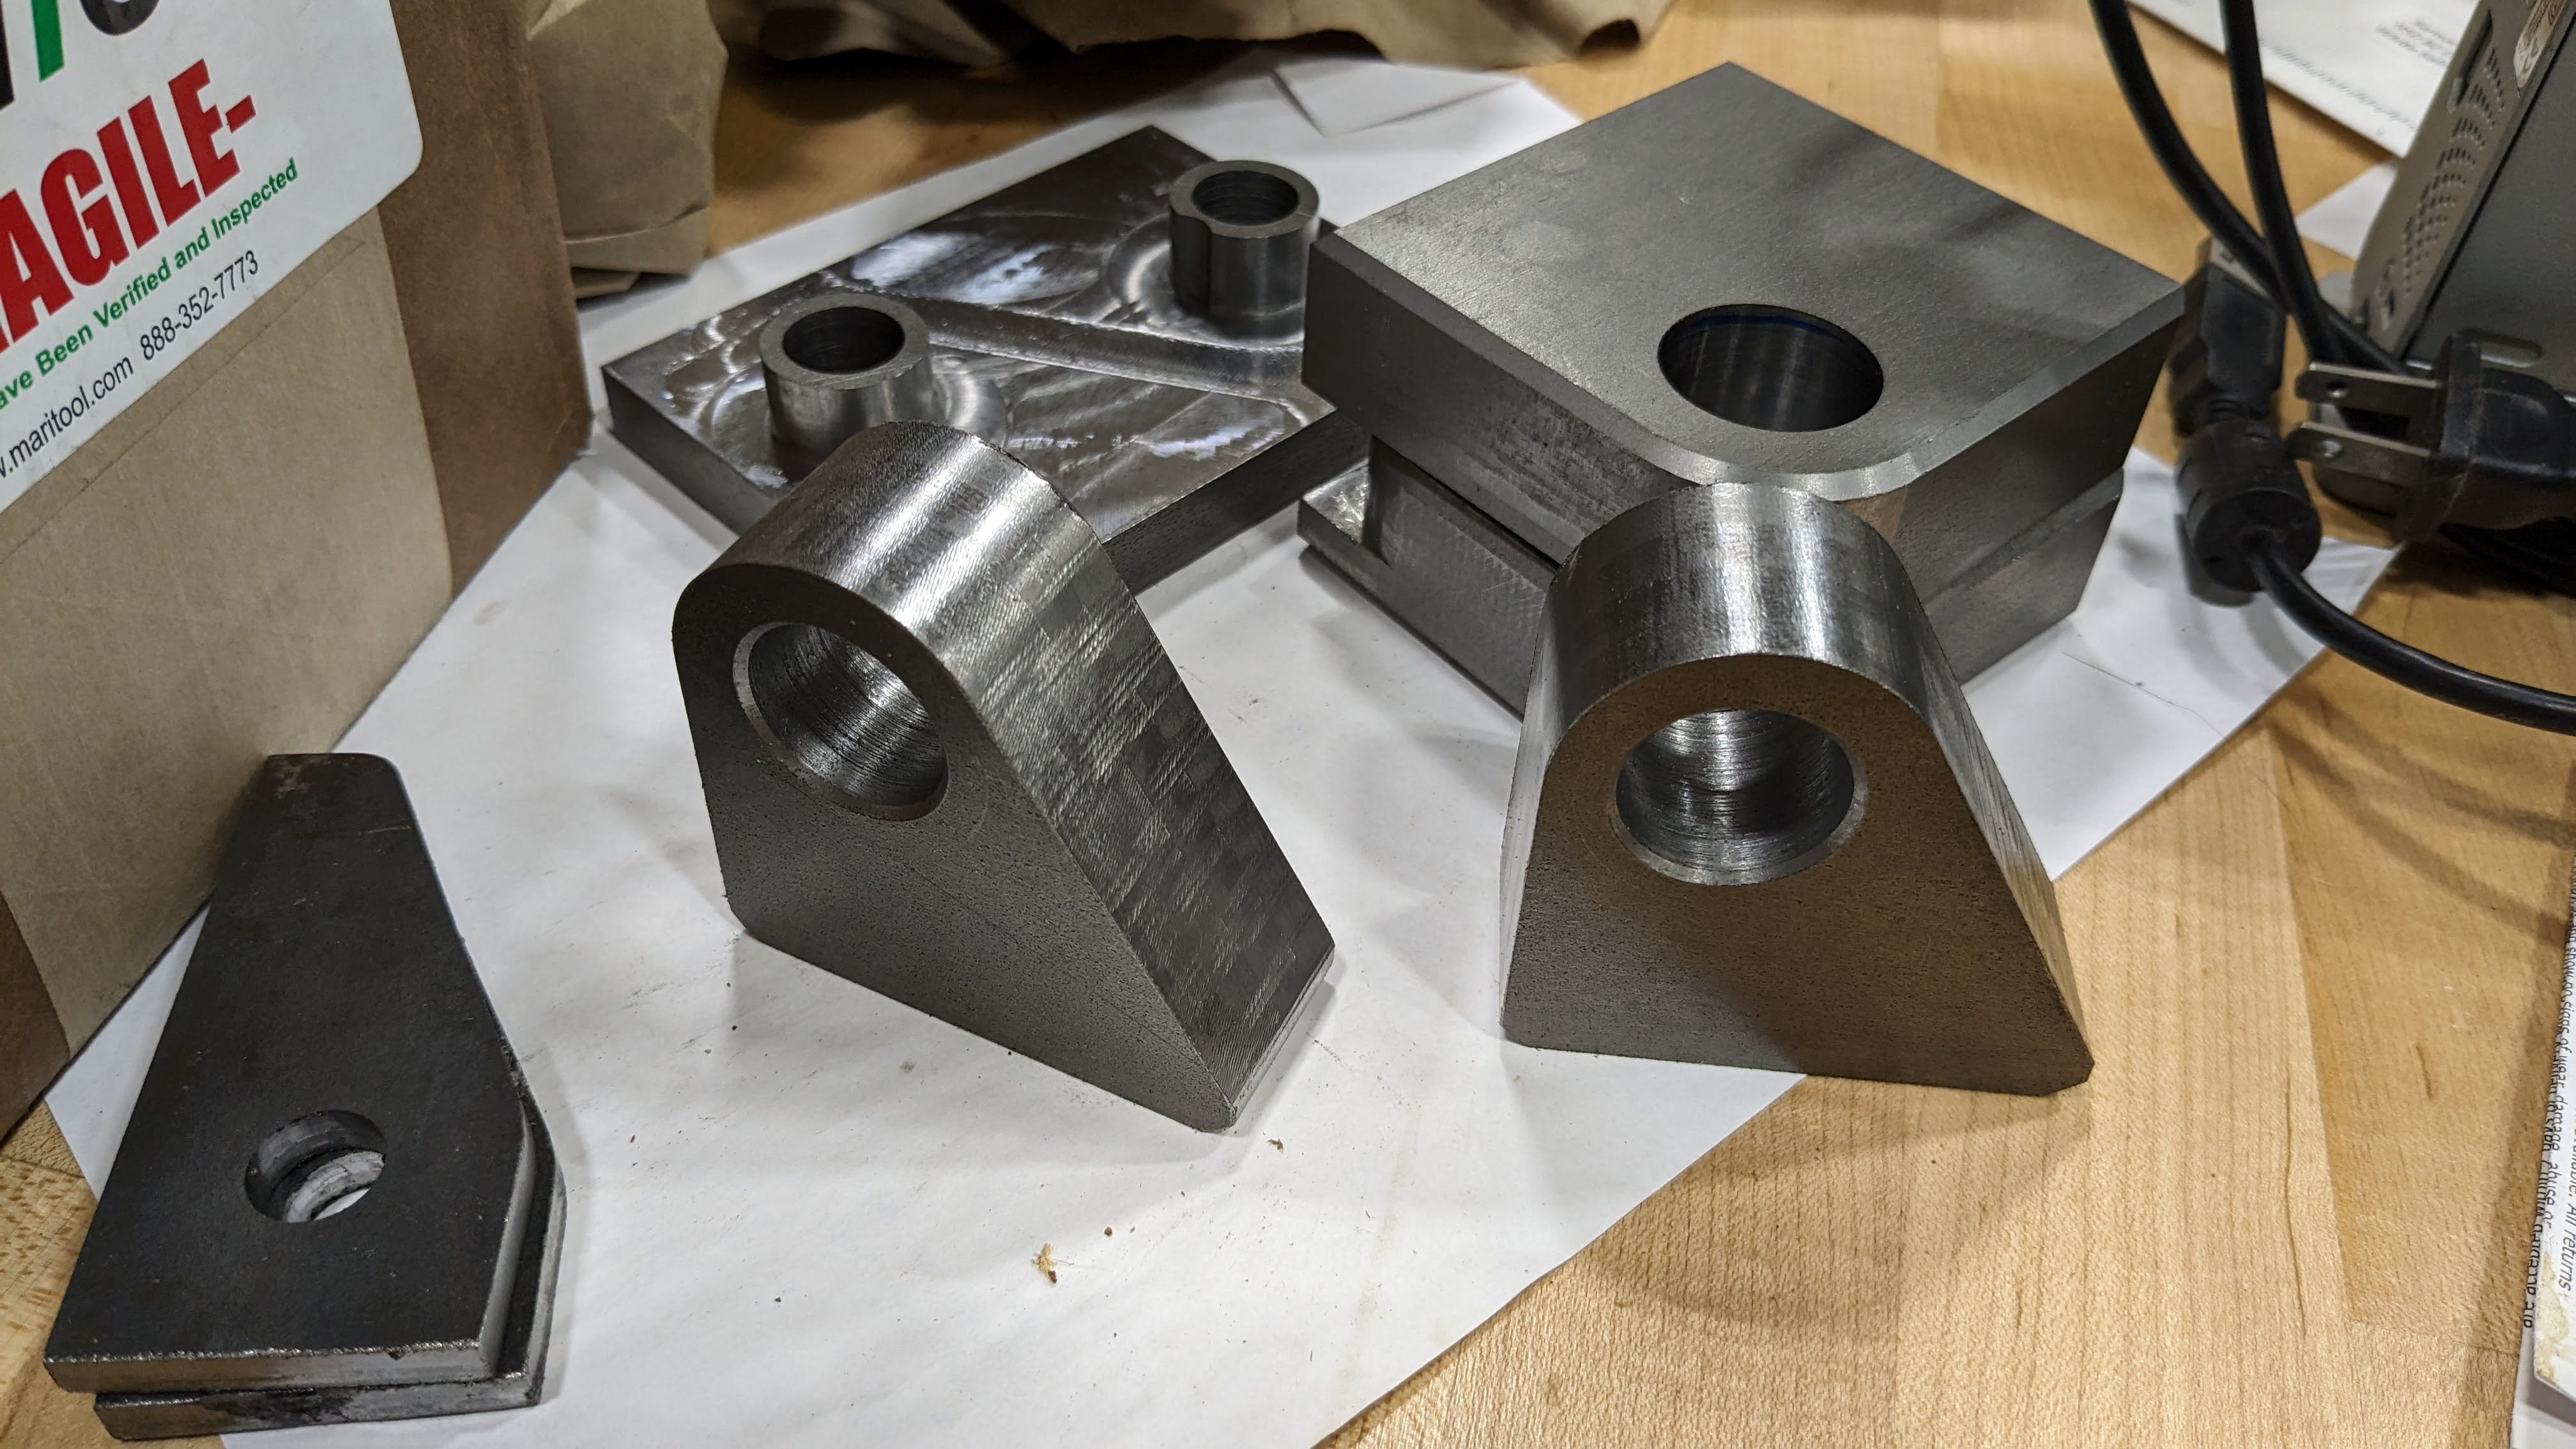
It didn’t take long. Sam successfully machined a number of parts in the time it took me to make a batch of cookies. He used a CAD program to import his designs.
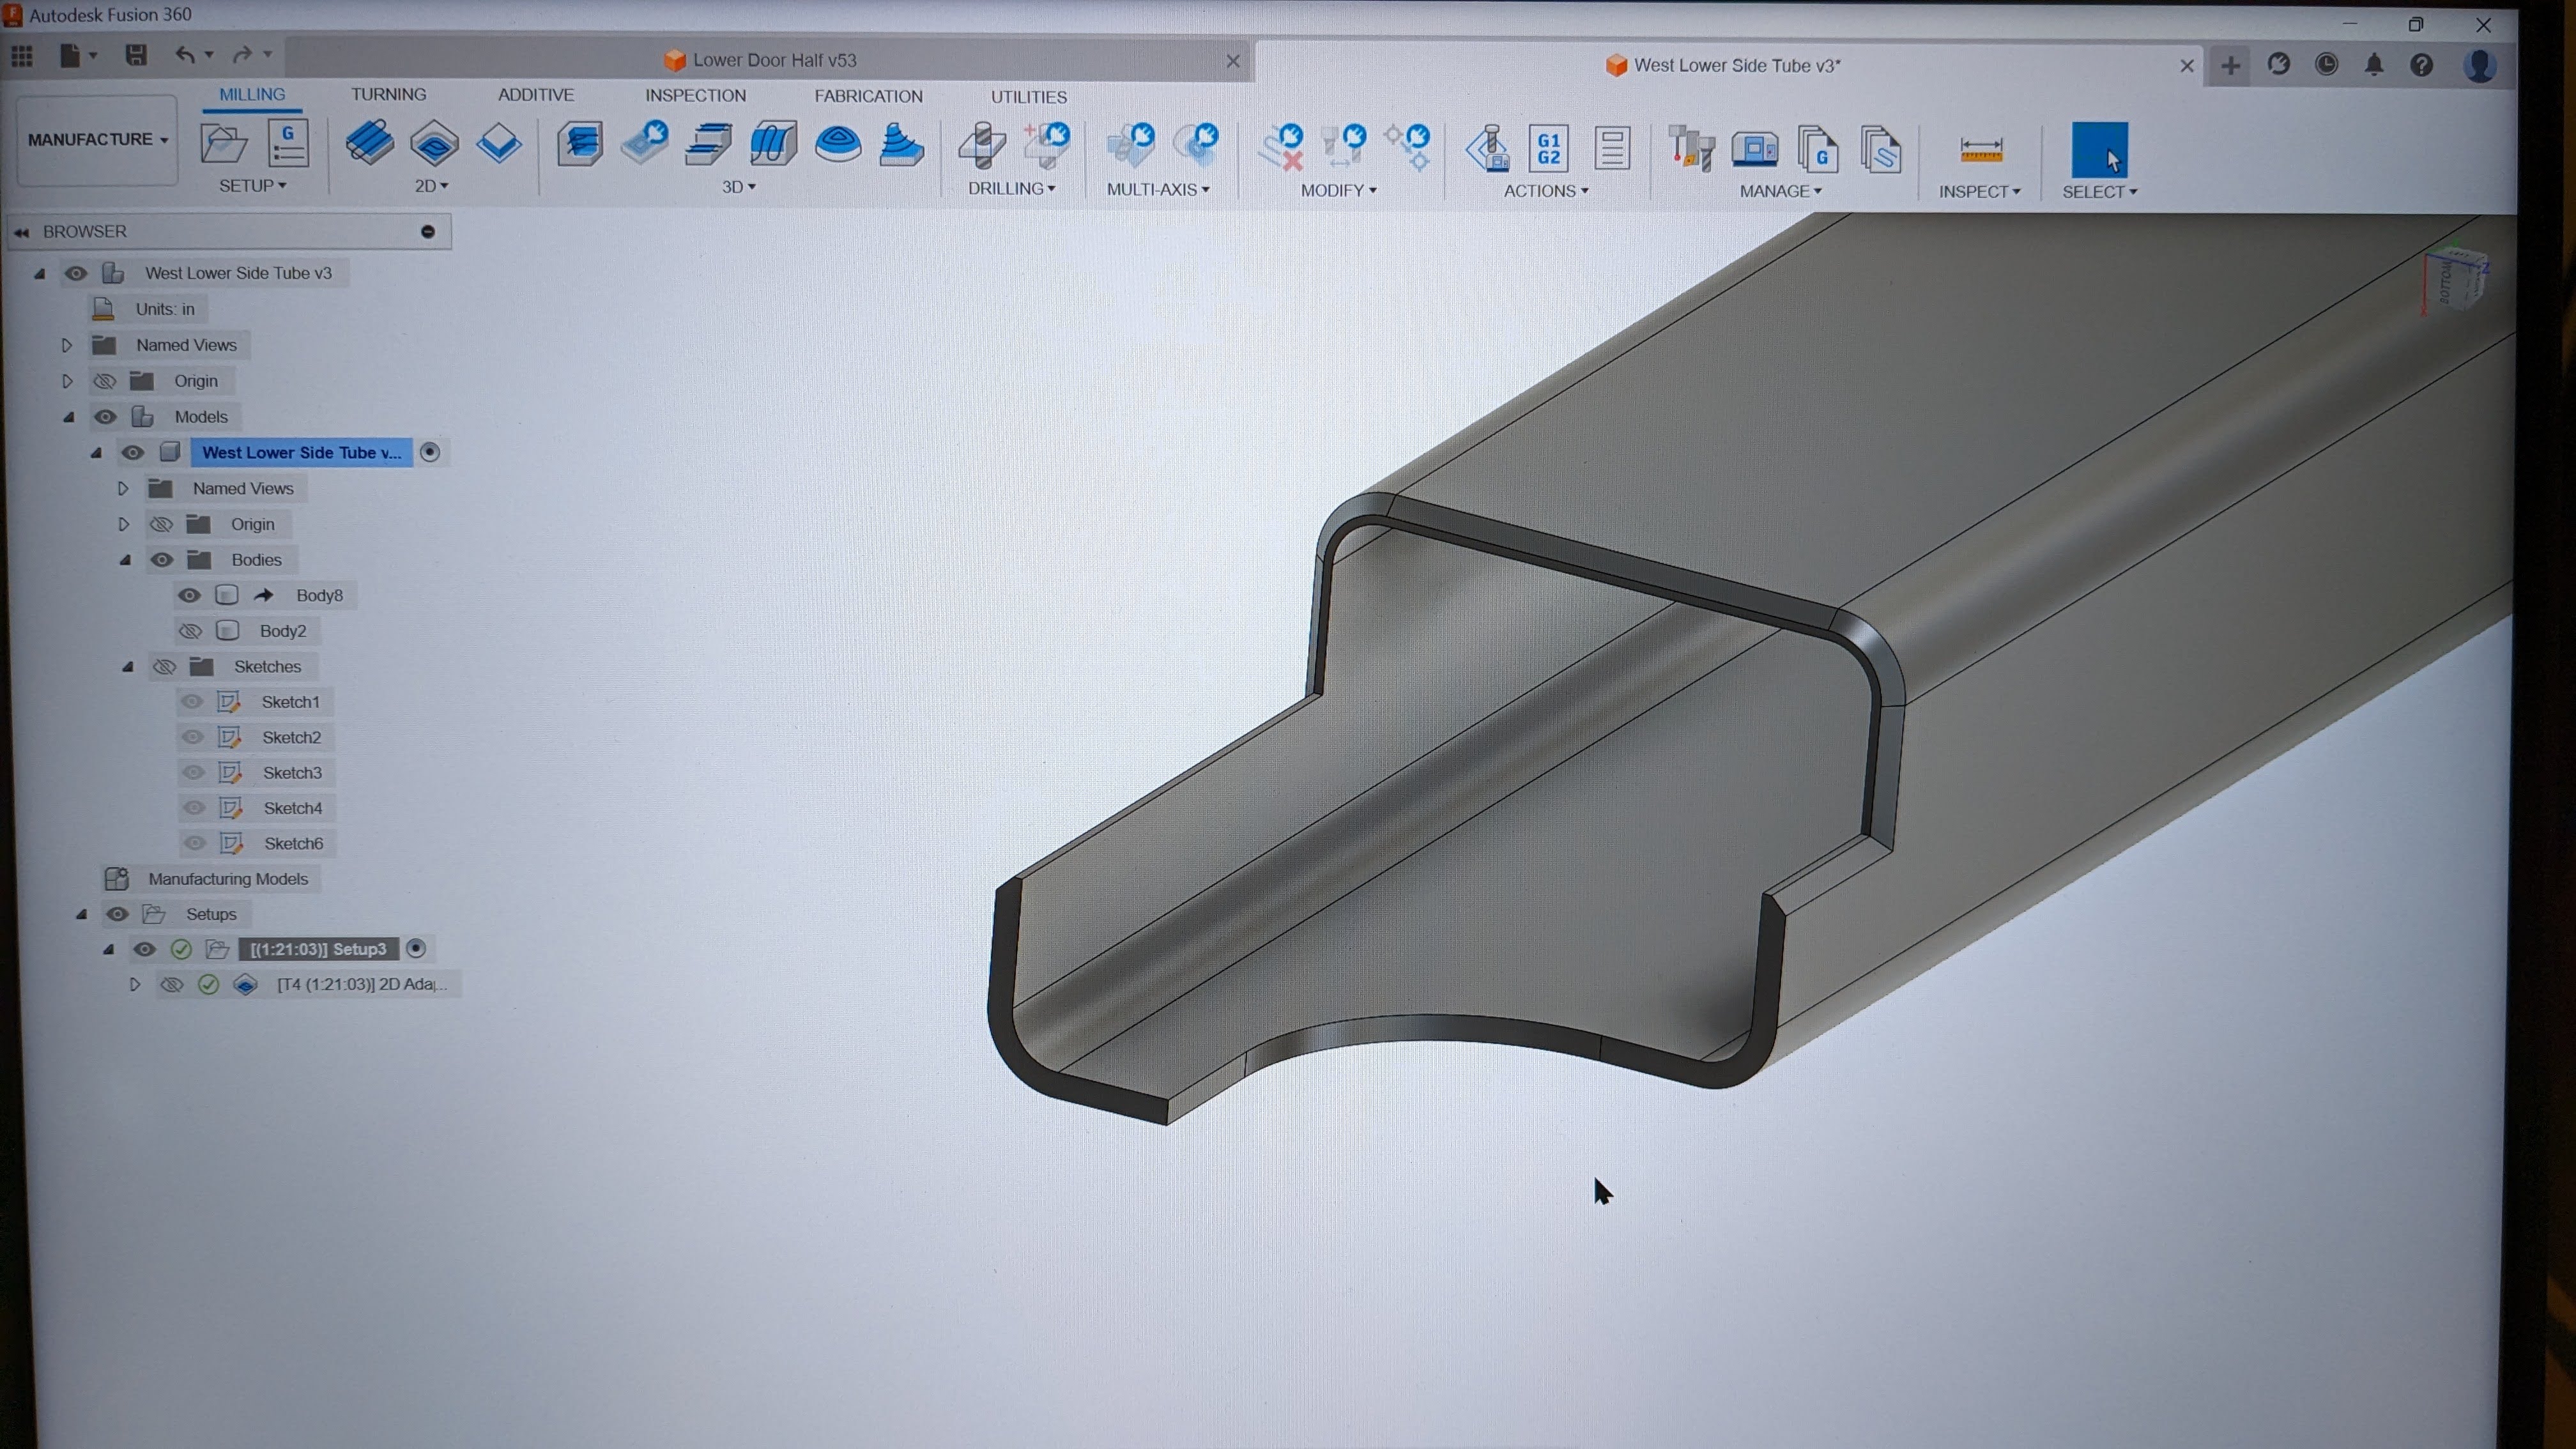
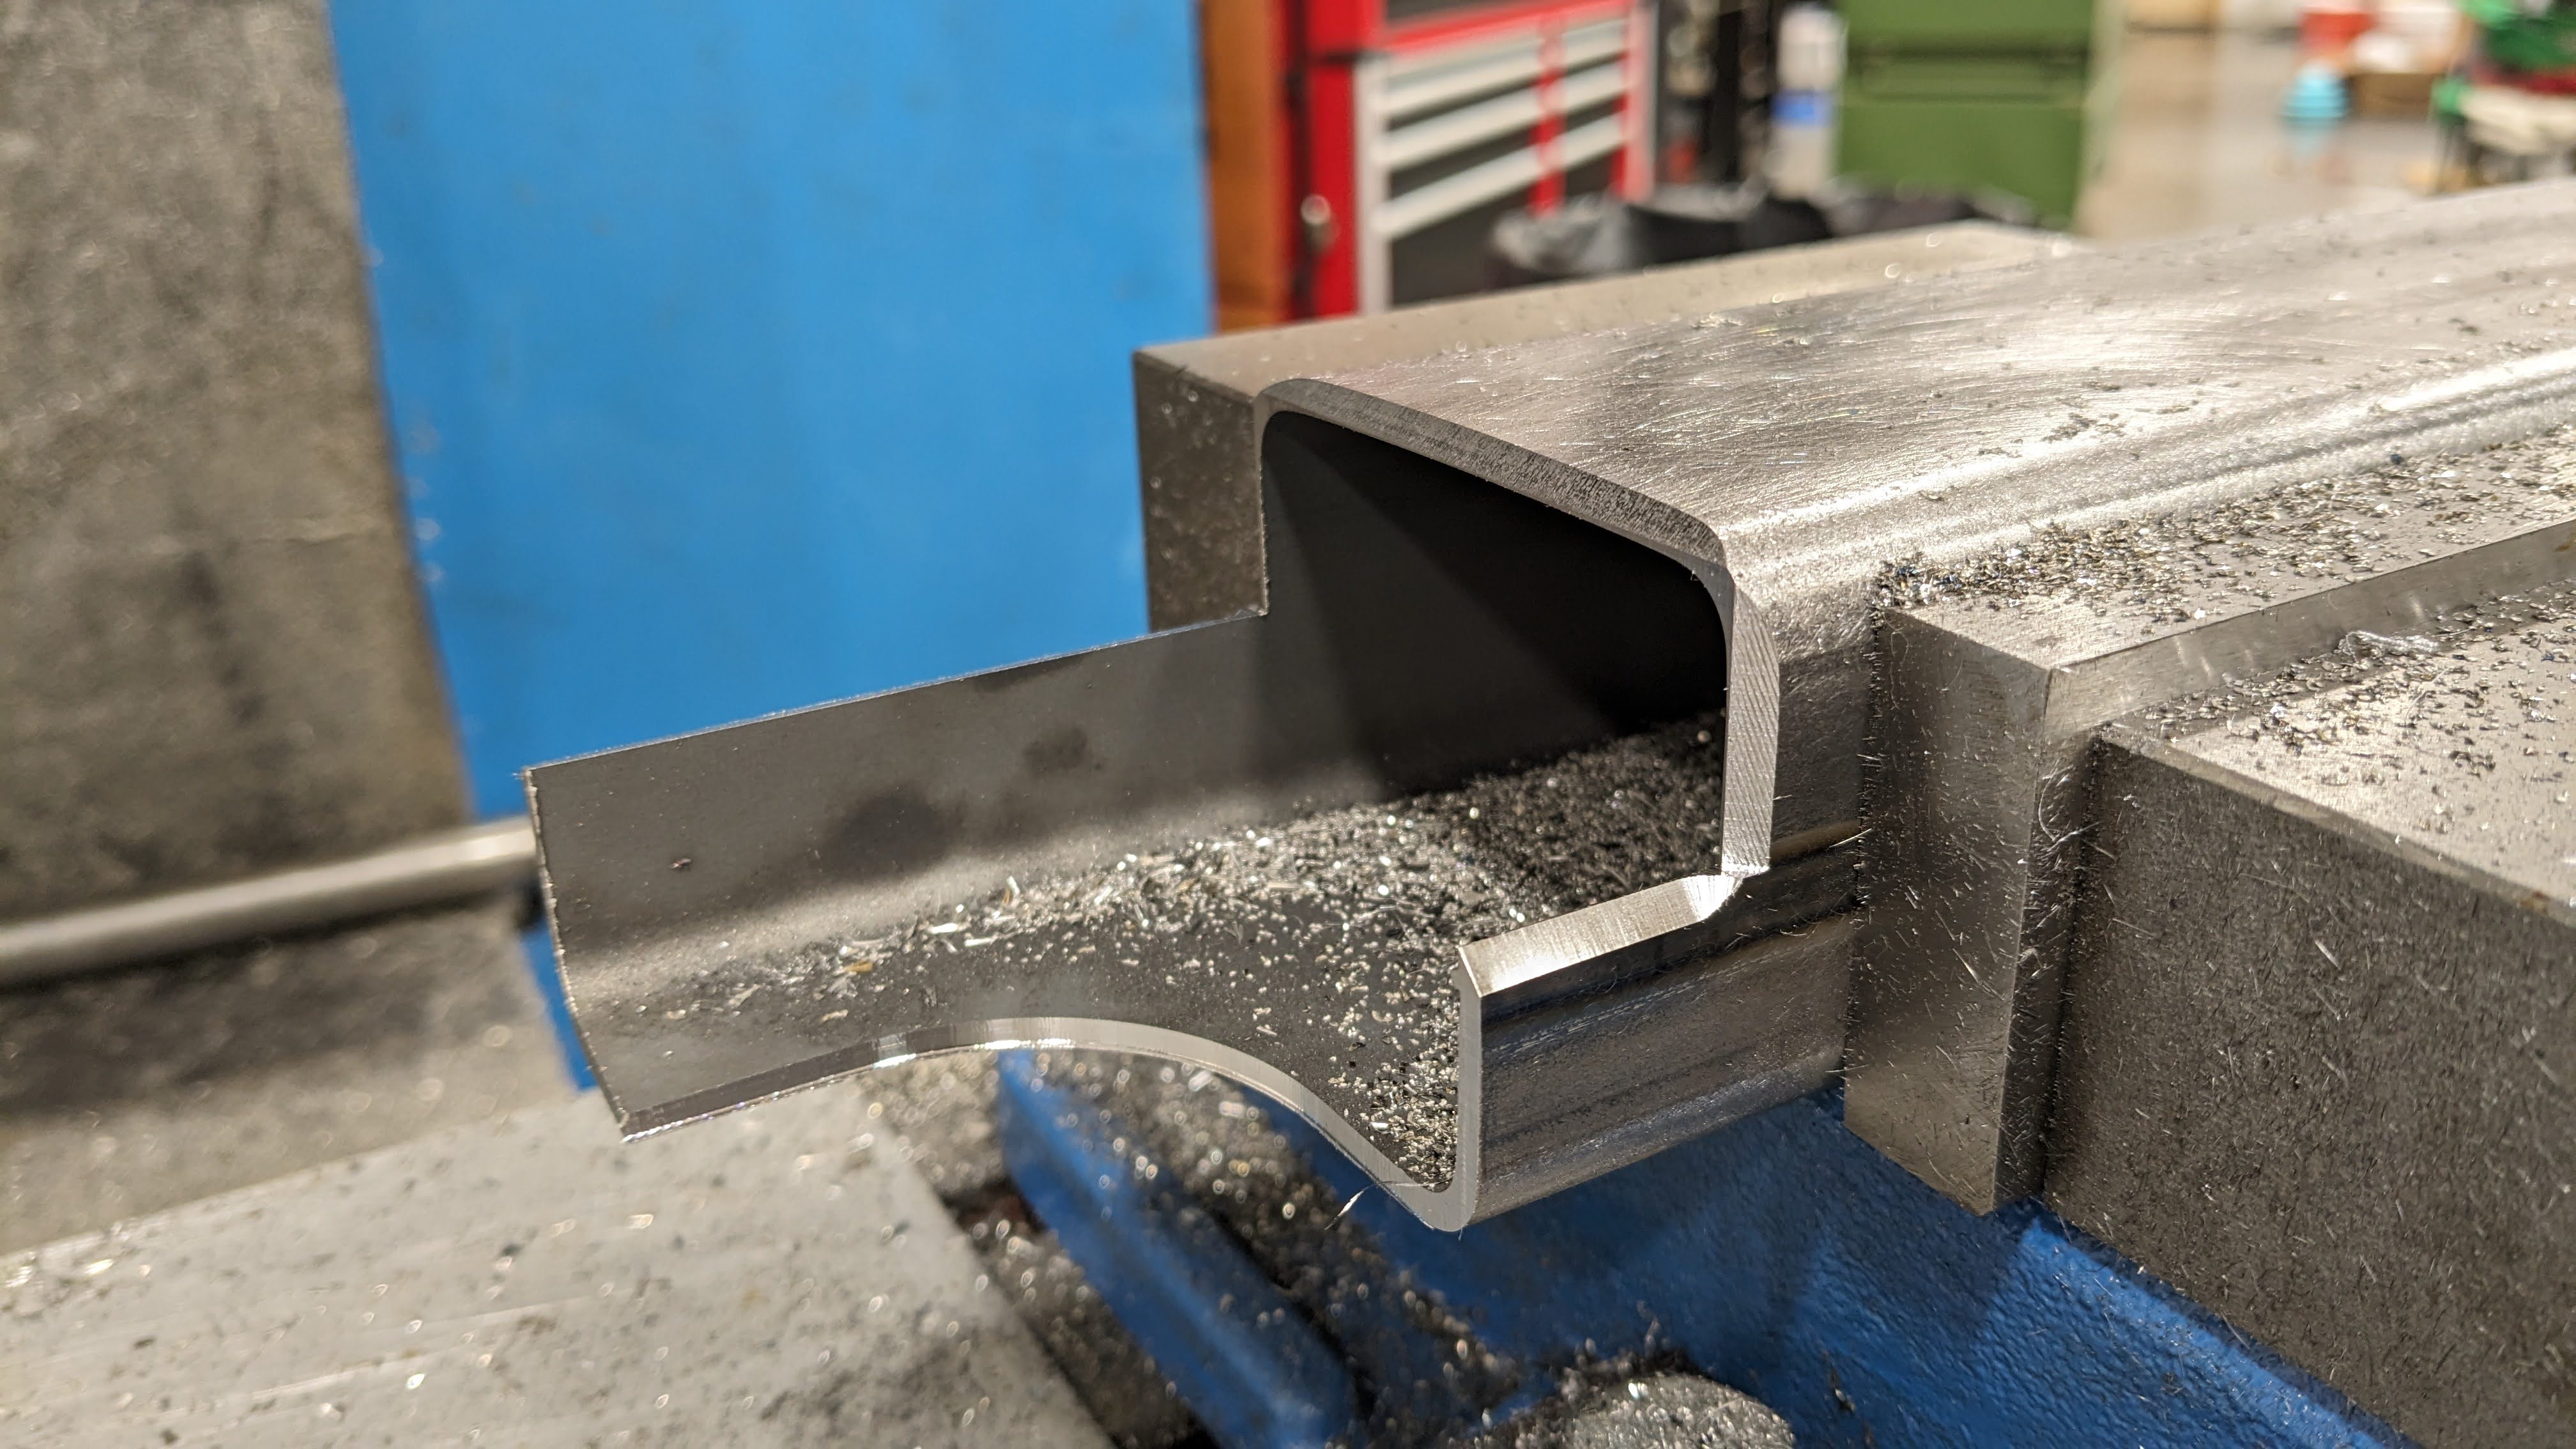
The ends of the long tubes had some complicated cut-outs and presented some chattering problems, but Sam figured it out.

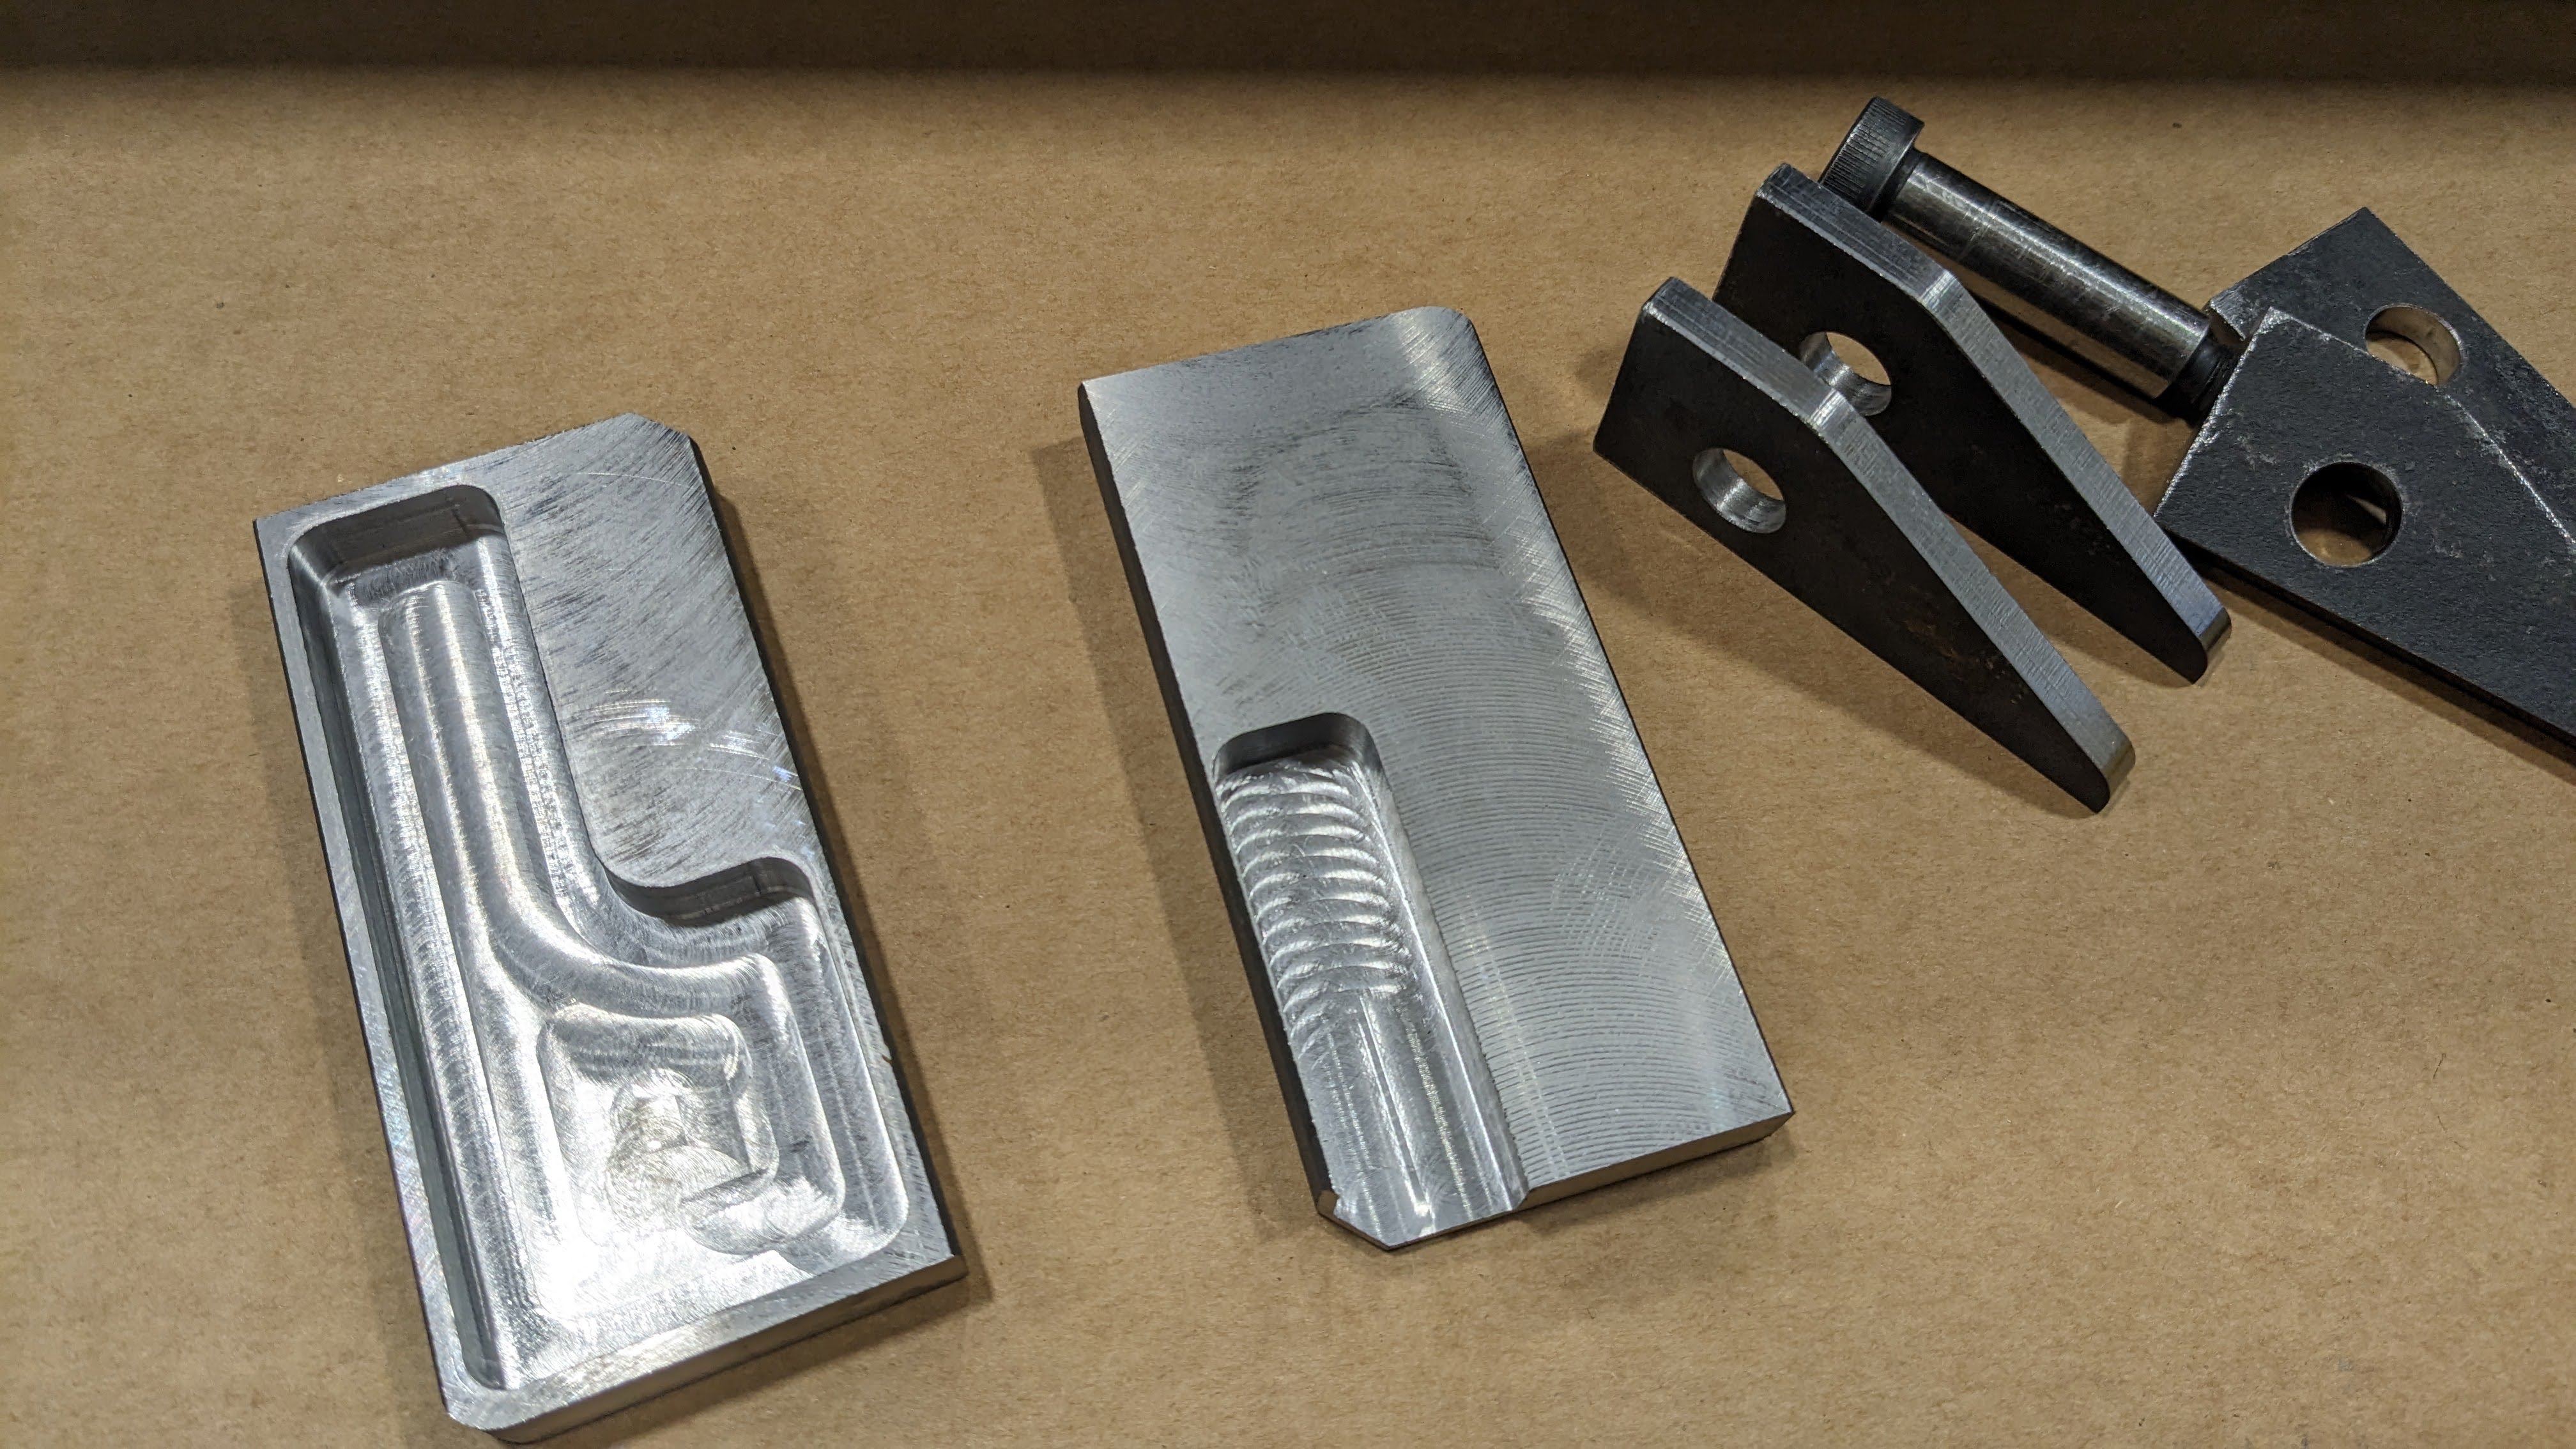
He machined an assortment of smaller parts too. I dappled in G-code for a few days and wrote some programs to drill holes.

The steel had to be sanded in preparation for welding and painting. Carlos helped with most of the sanding. This process took forever. (Sam has since purchased a sand blasting cabinet which we’ll use for the remainder of the project.)

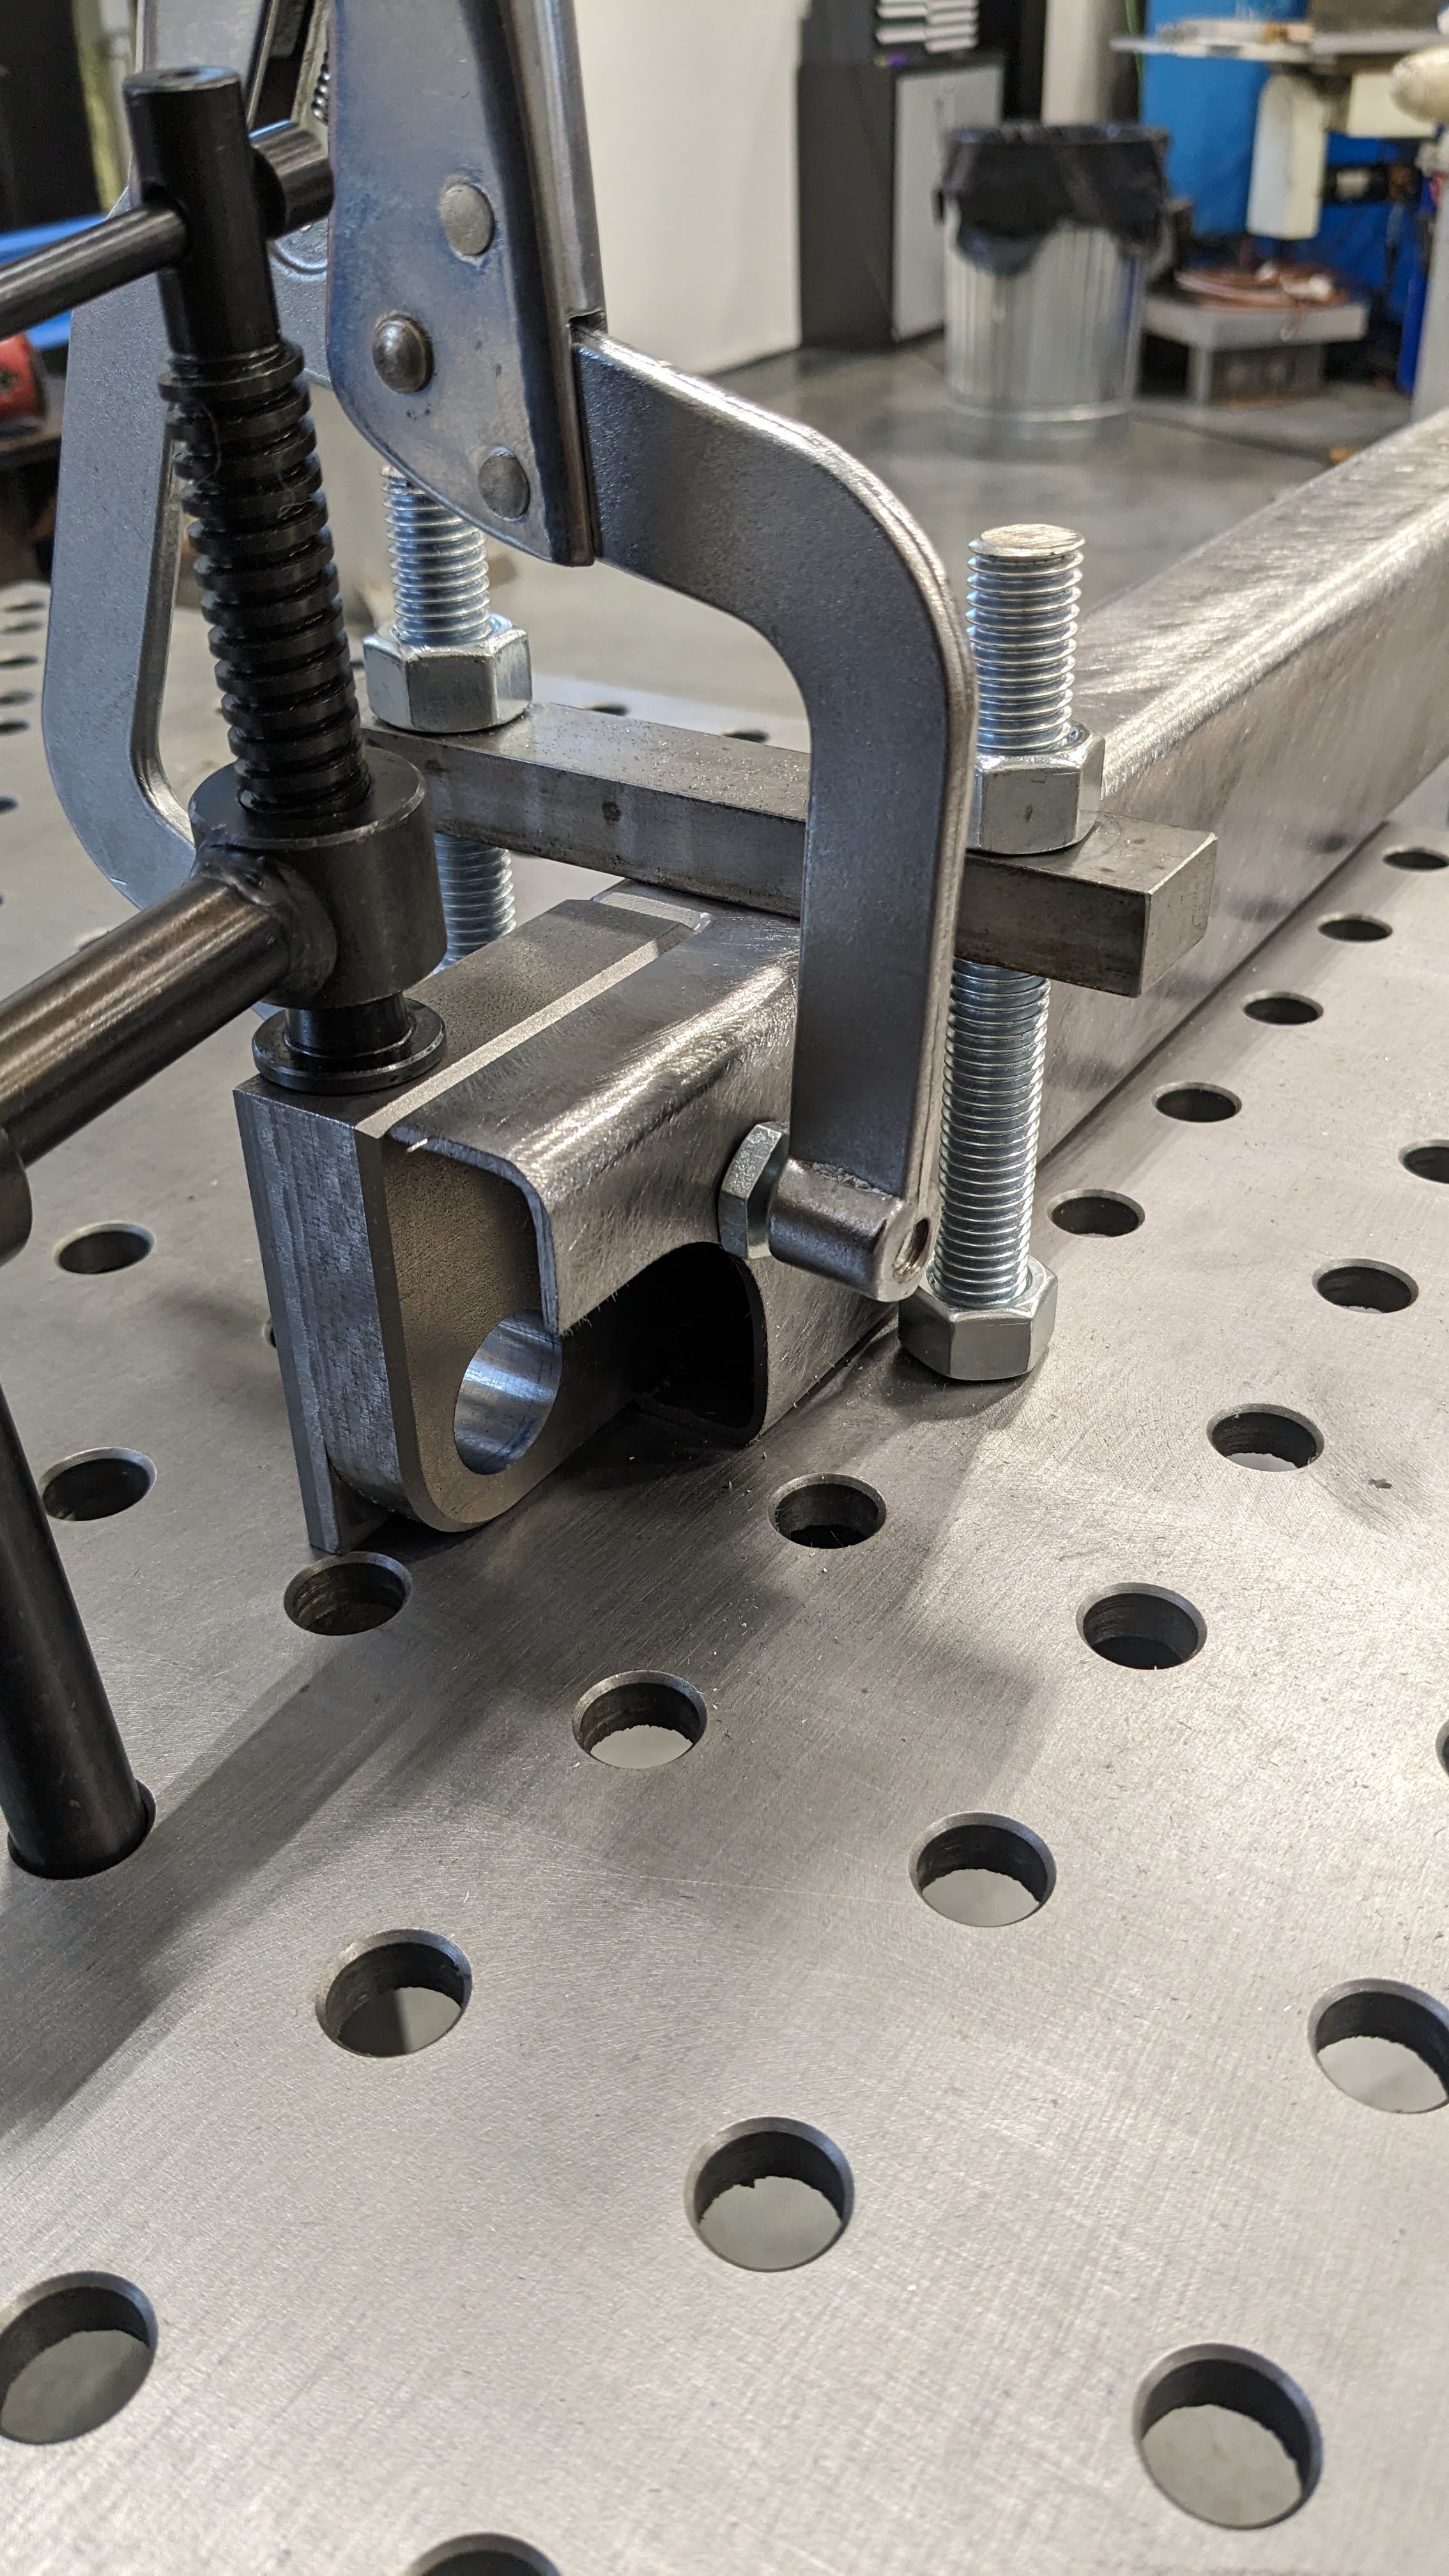
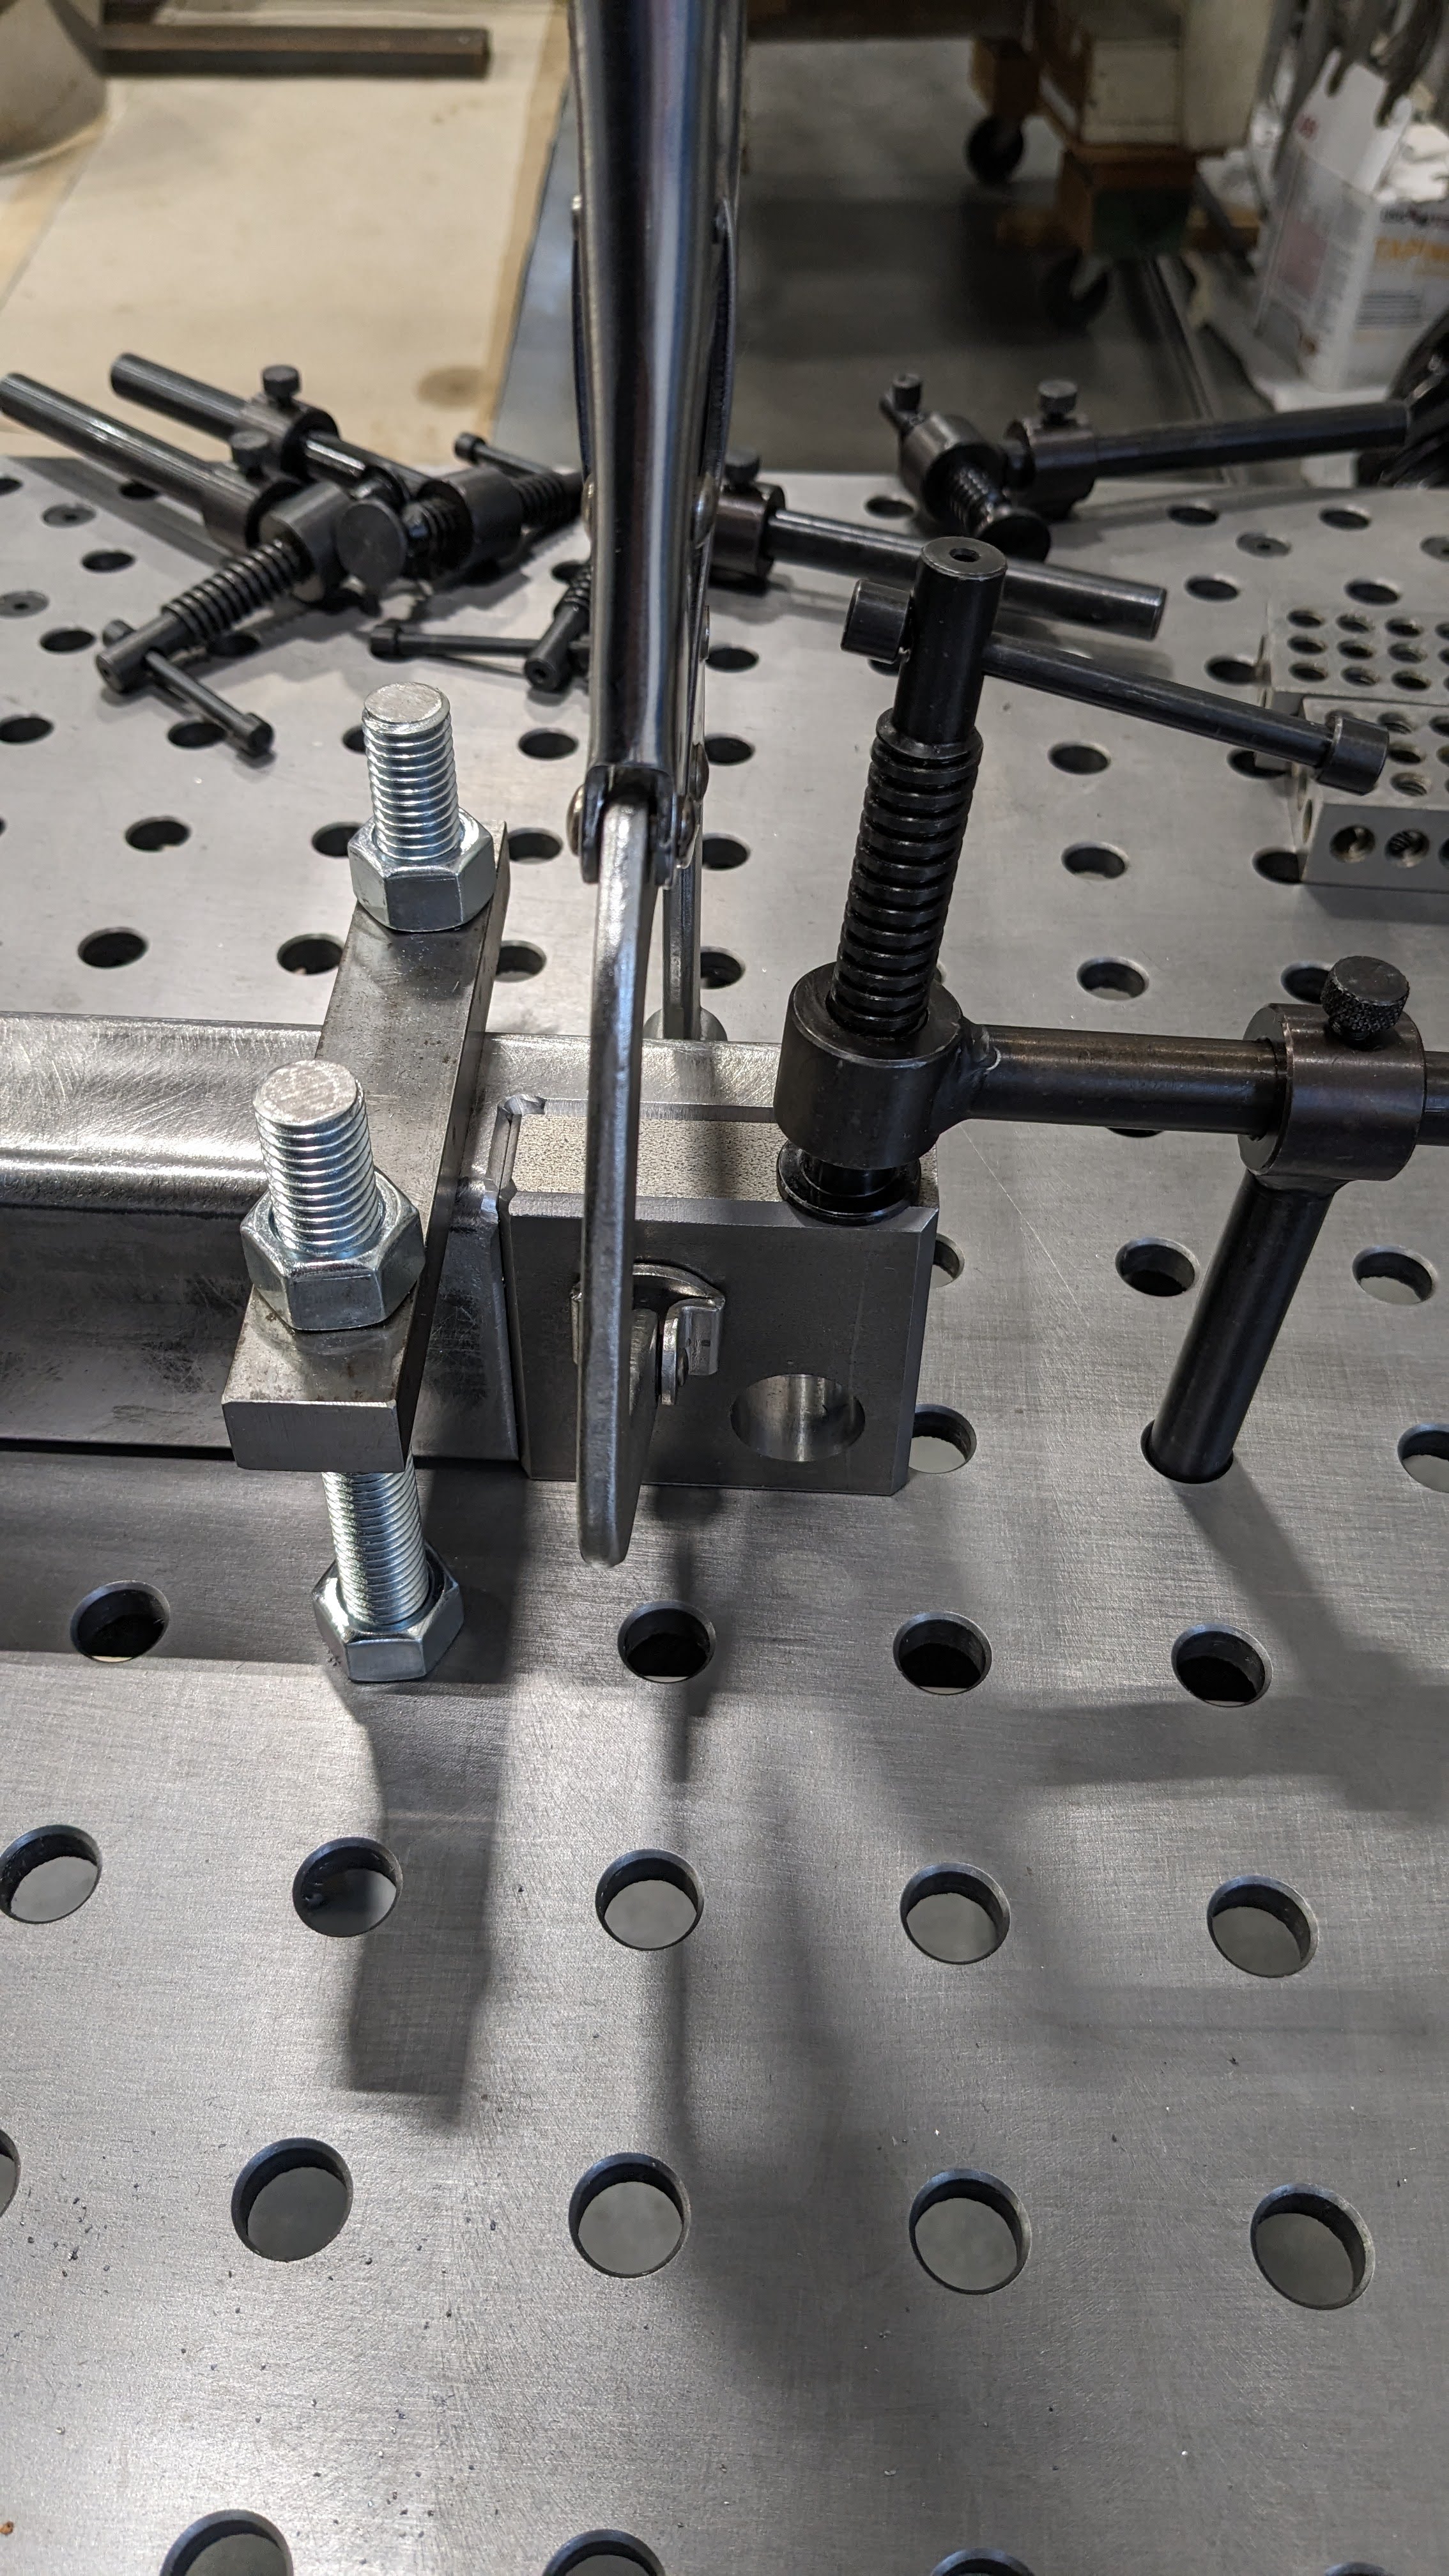
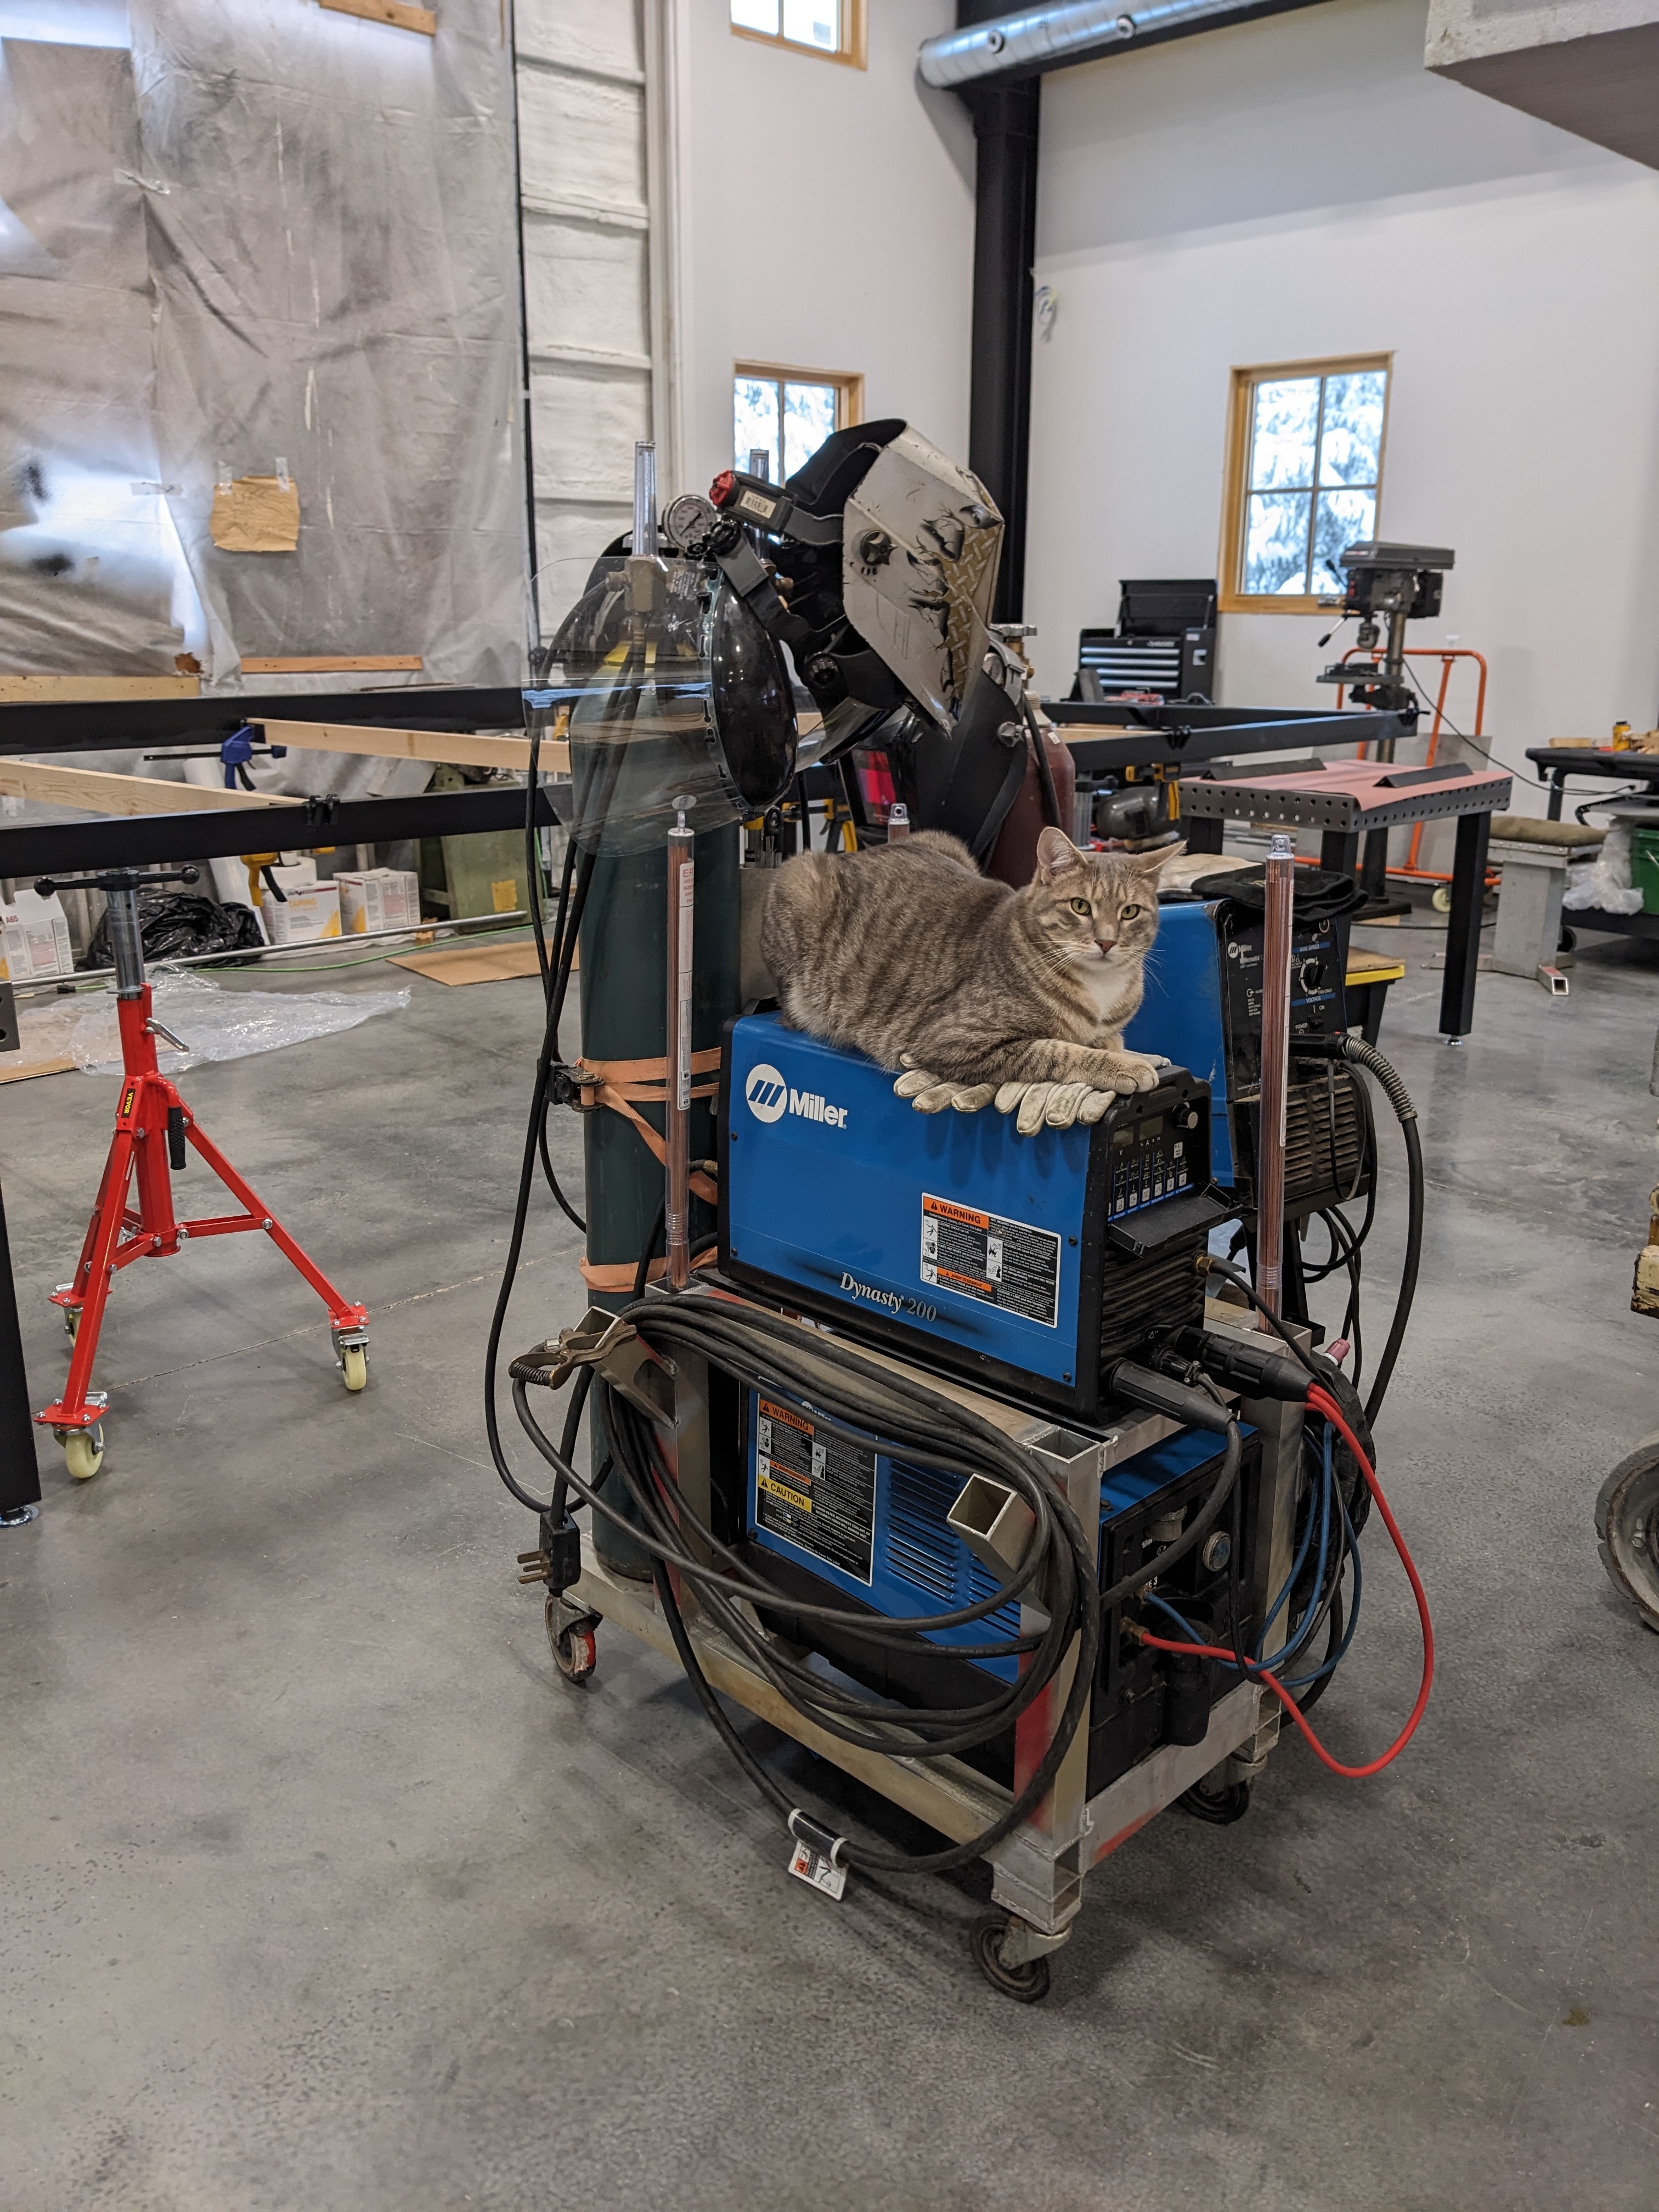
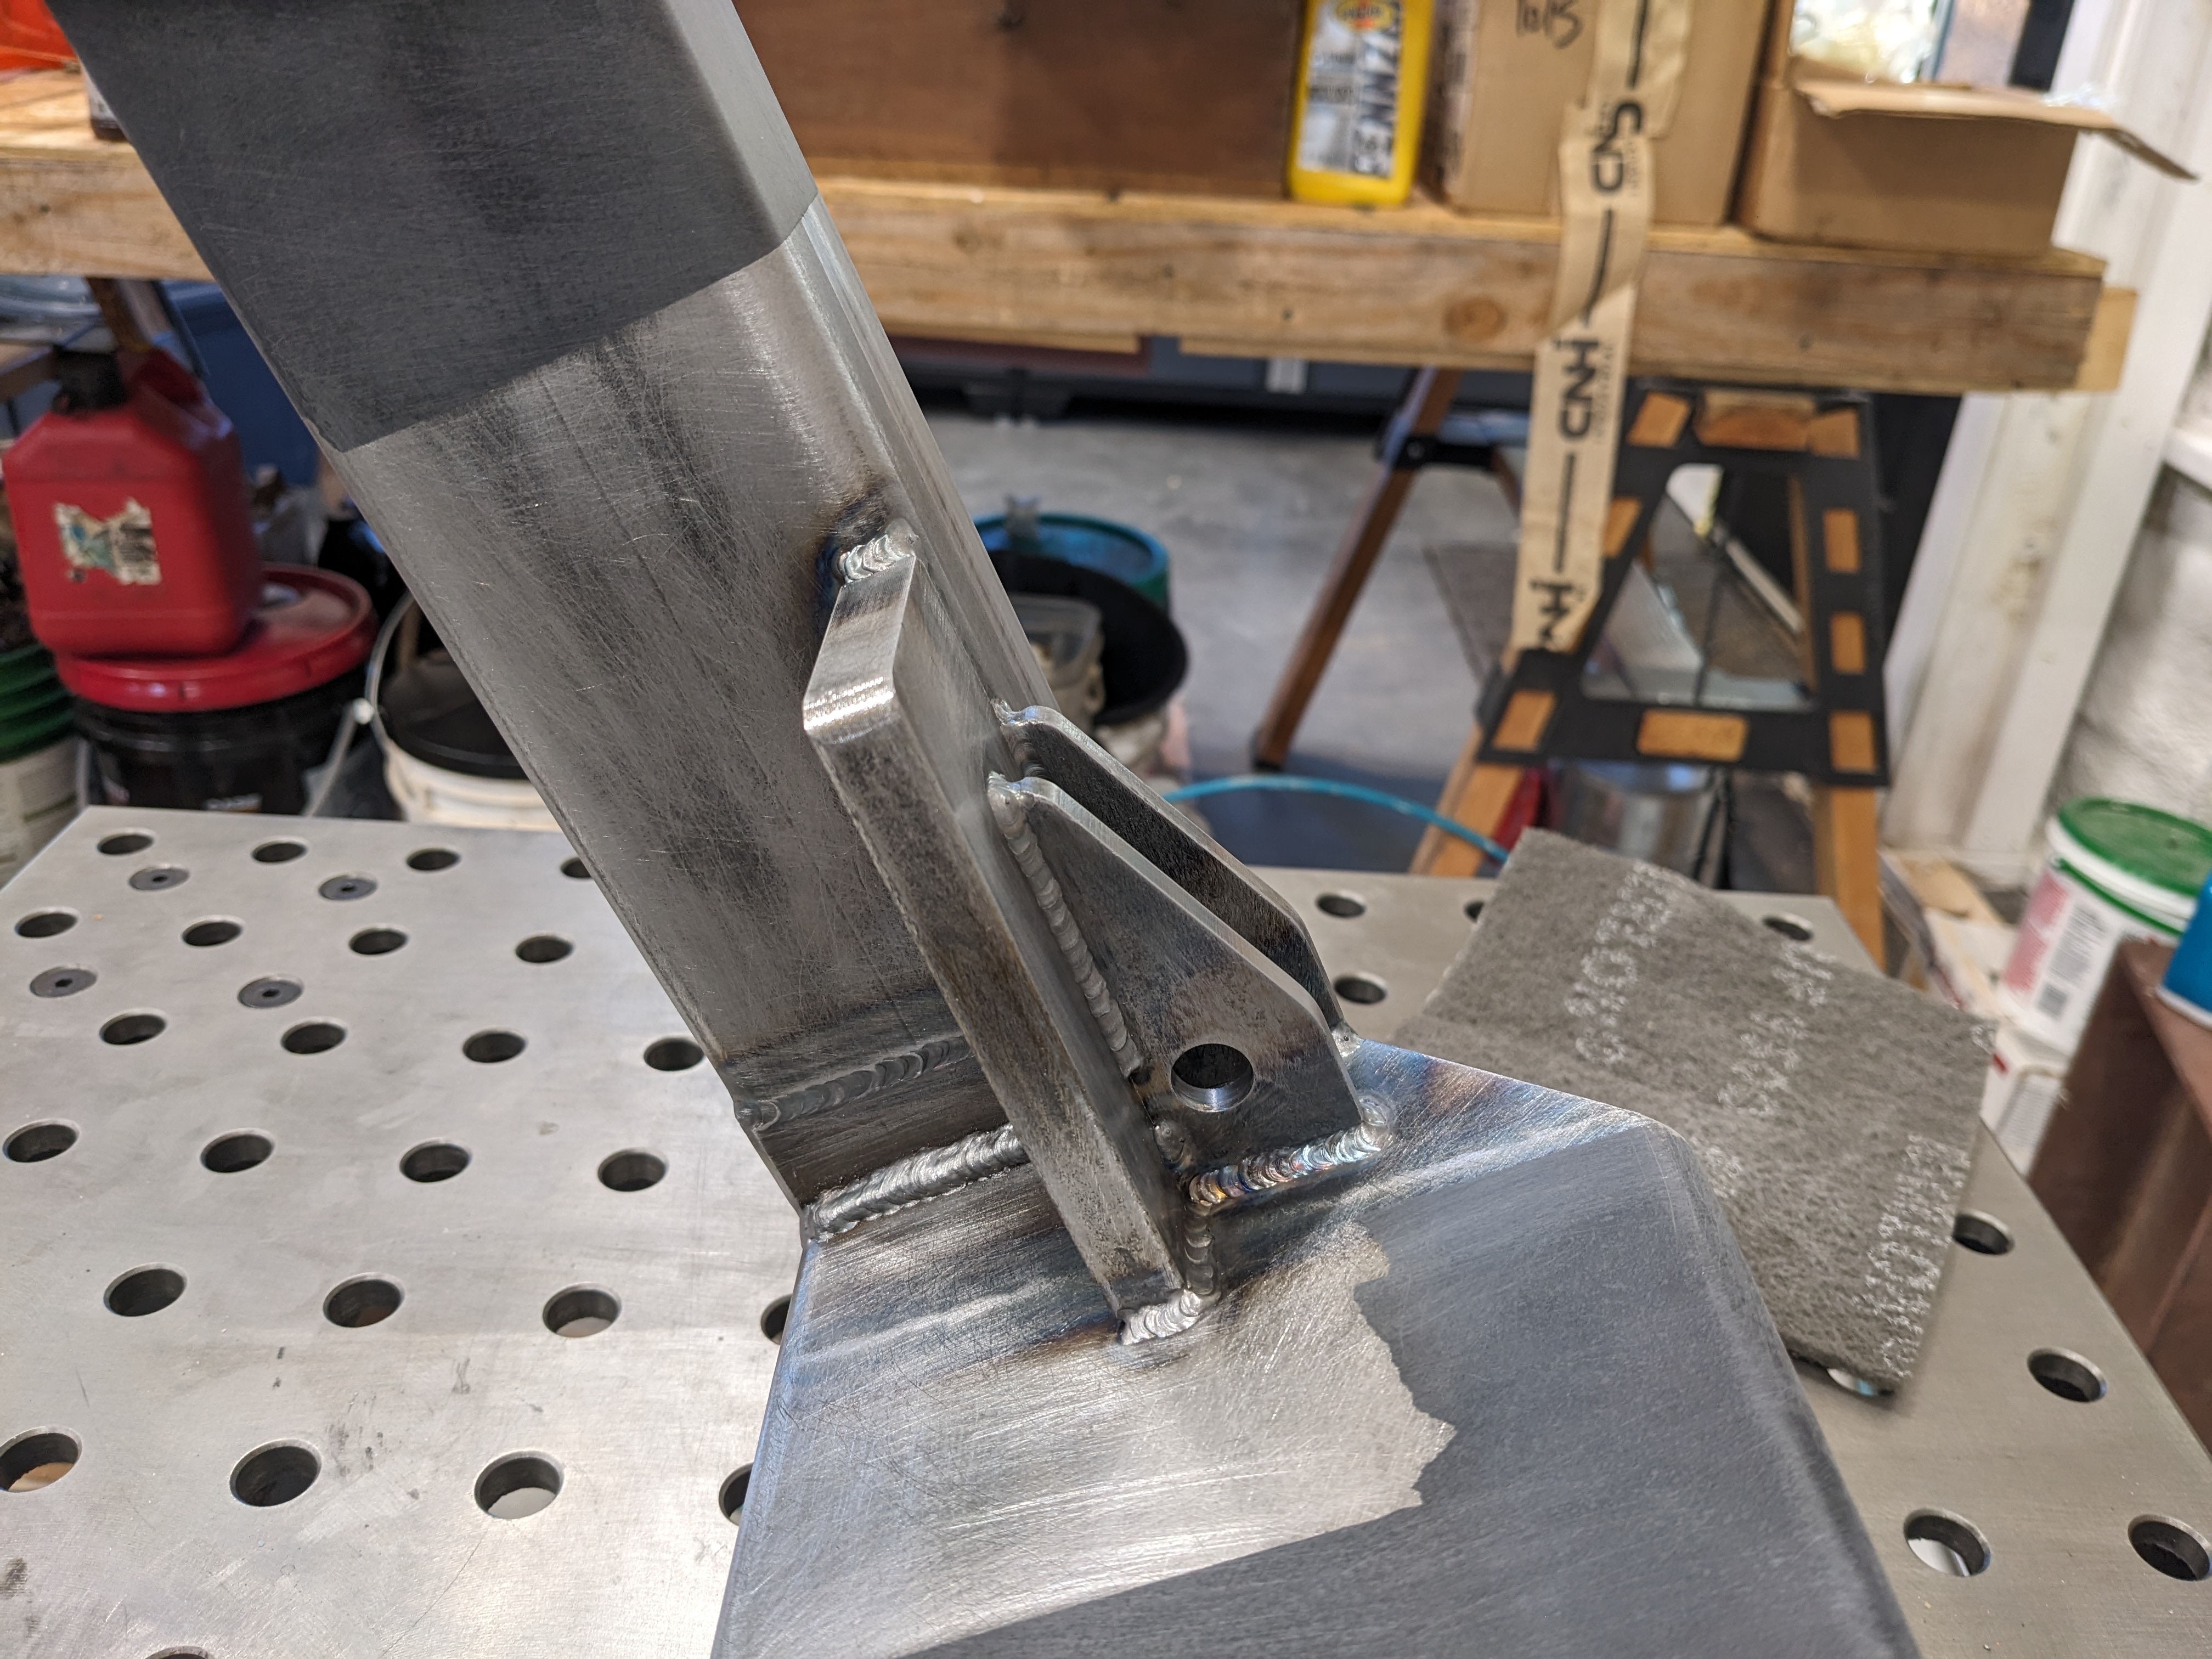
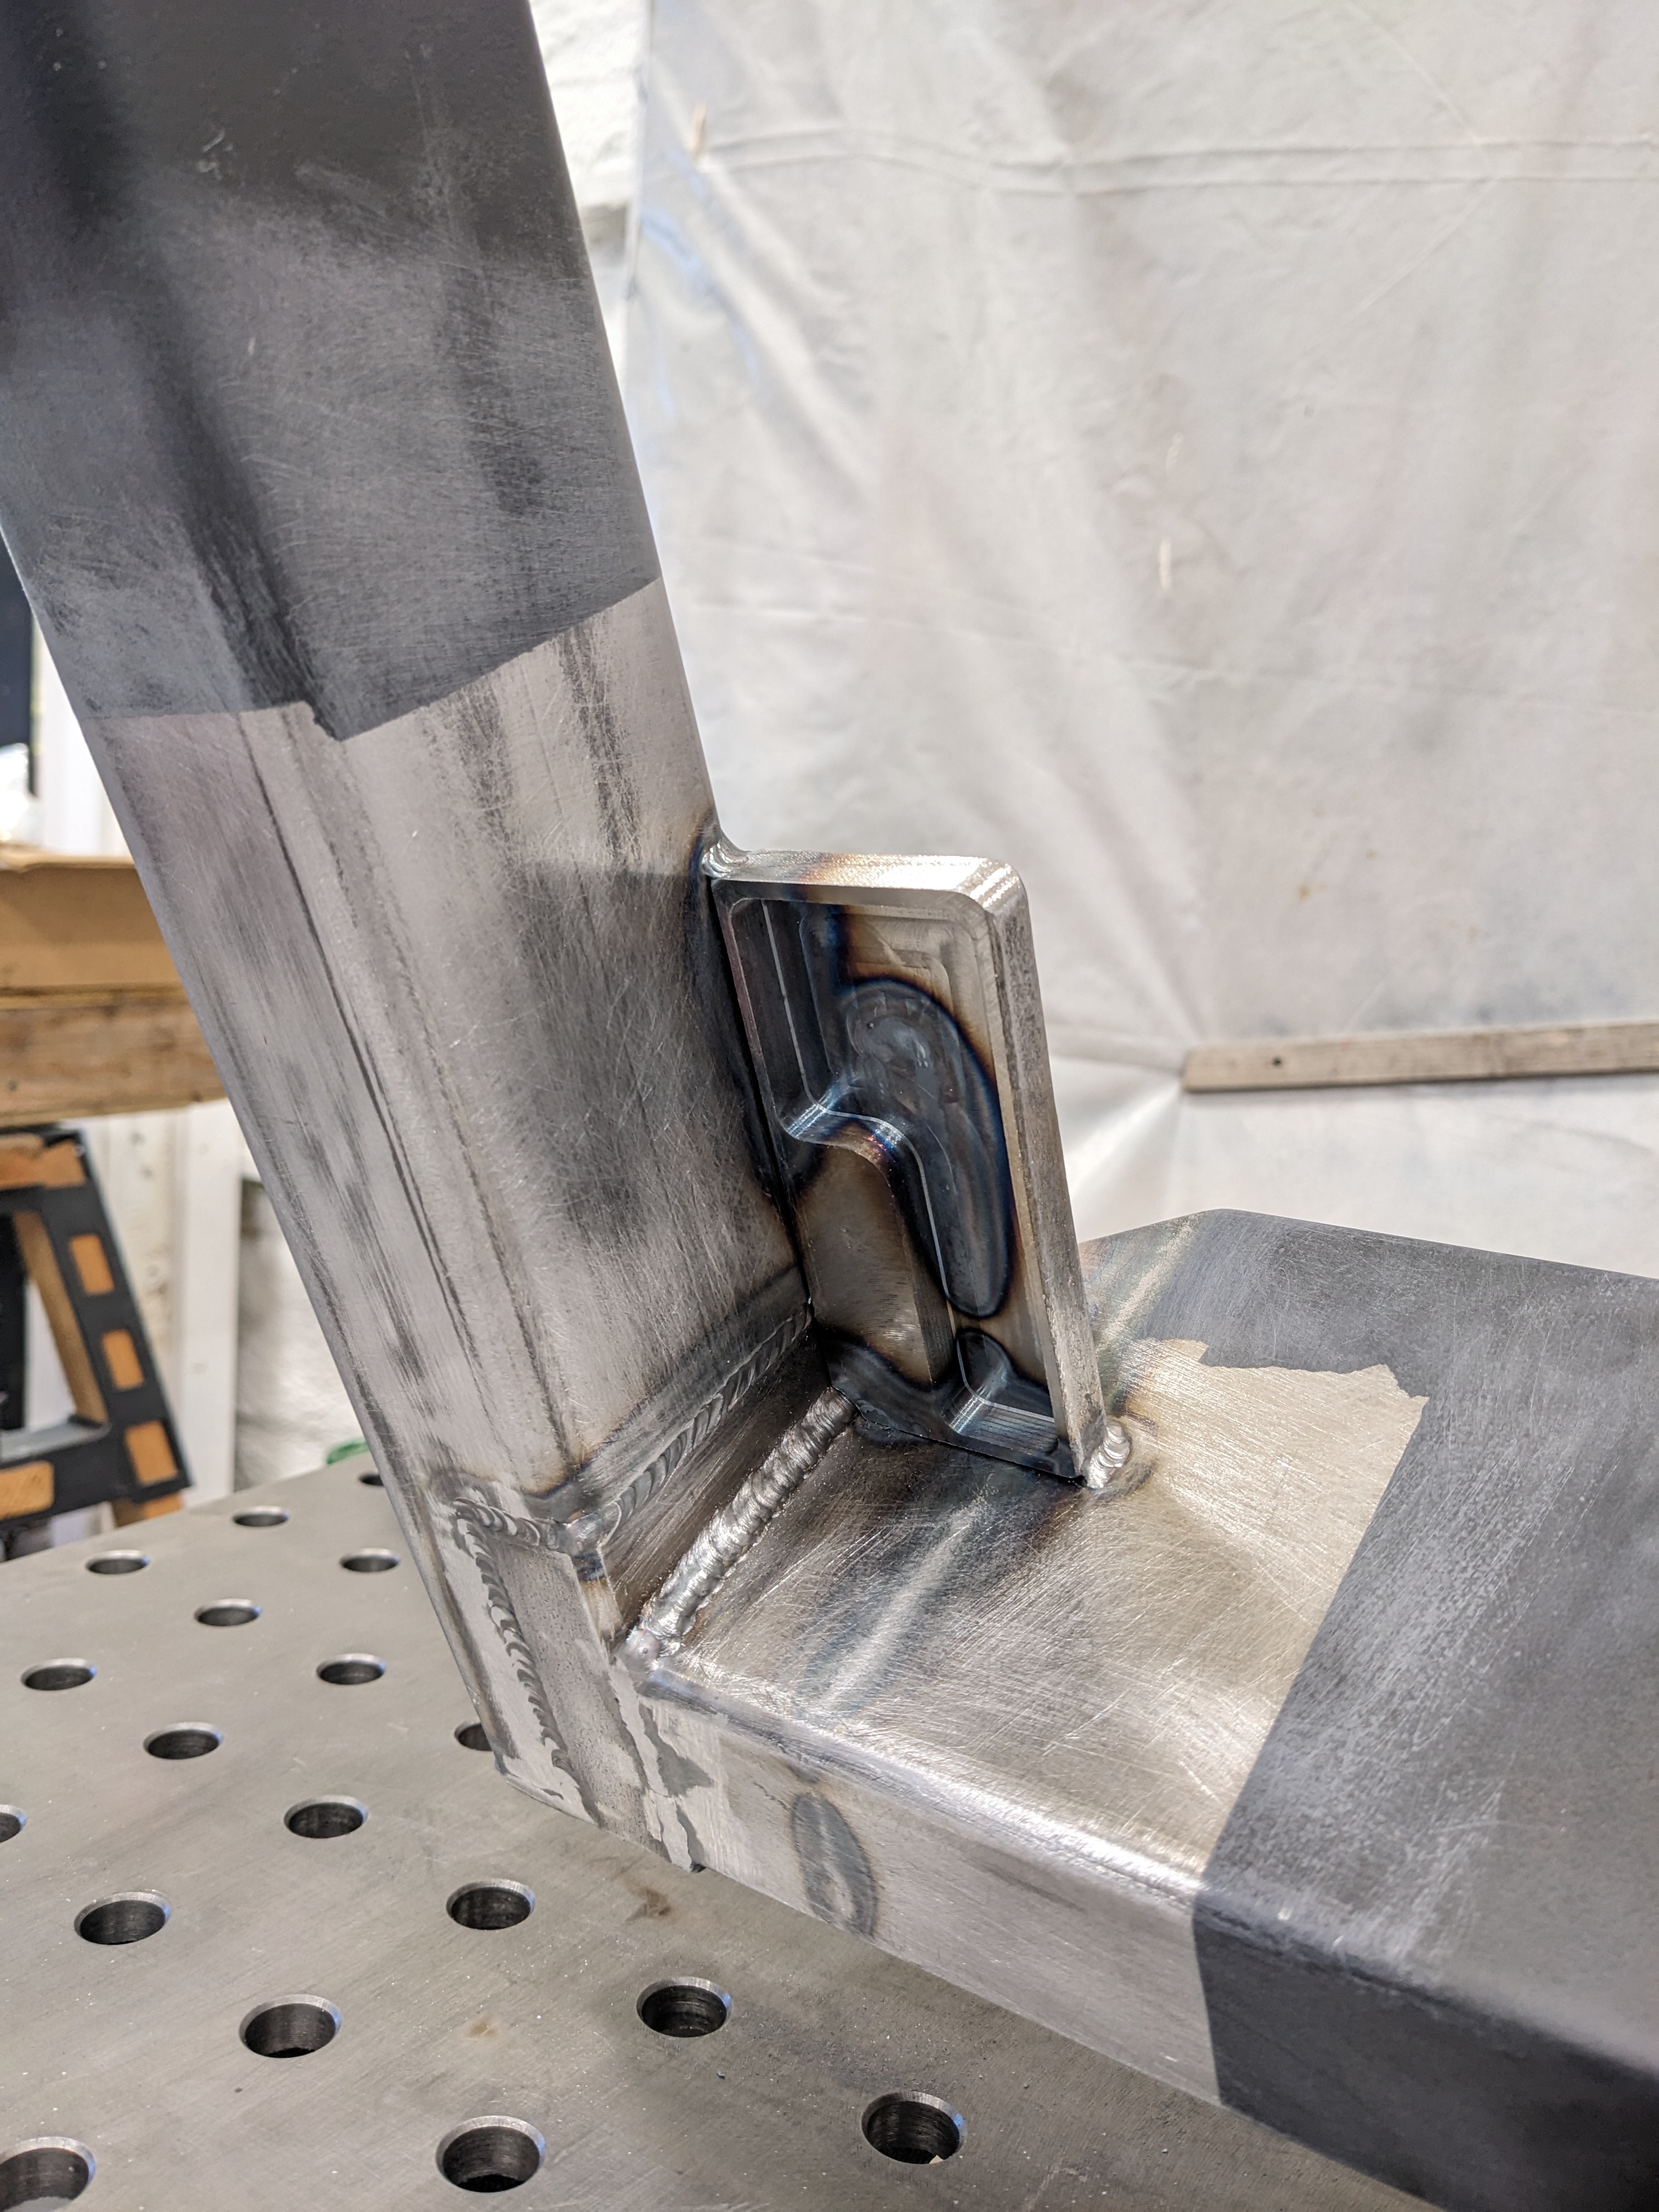
Sam welded some machined parts to the ends of the tubes. We set up some nifty welding tables you can clamp things too. We ended up getting four small tables to support each corner of the frame. Later, we can push the four tables together for a big level surface.
The tubes were ready for paint. Sam sprayed them with this scary metal primer.
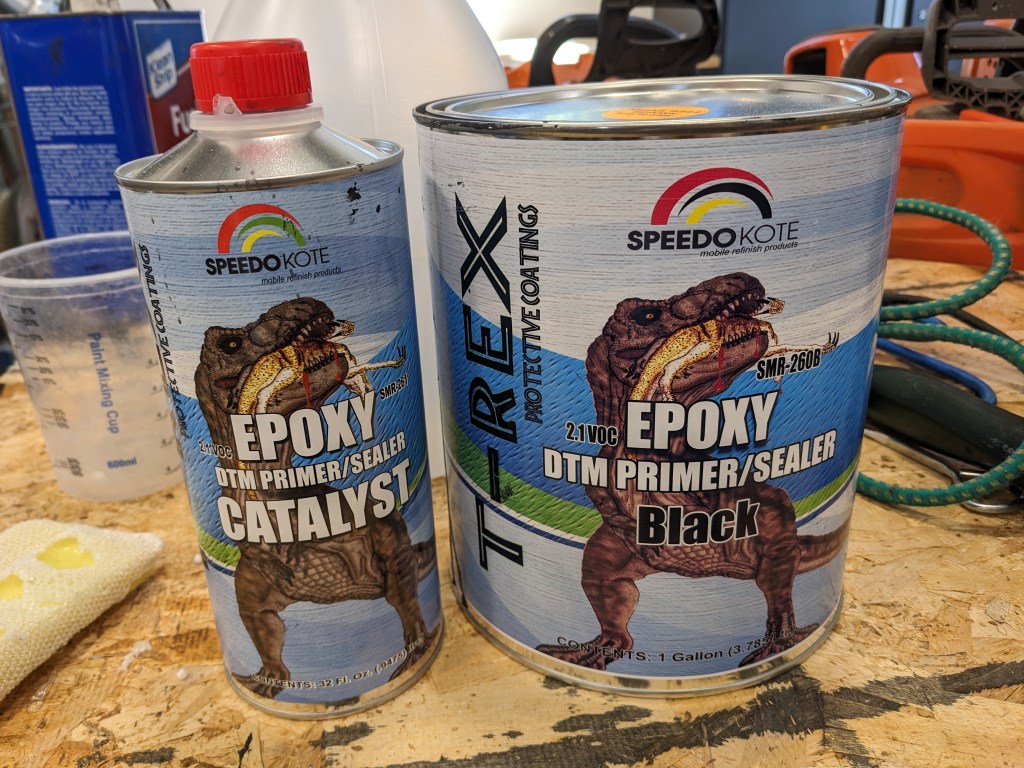
It was one of the least volatile options we could find, but the T-Rex can still eat a Solo cup in seconds. (Luckily we noticed before the entire cup was gone.) The primer dried beautifully, even in the cold.

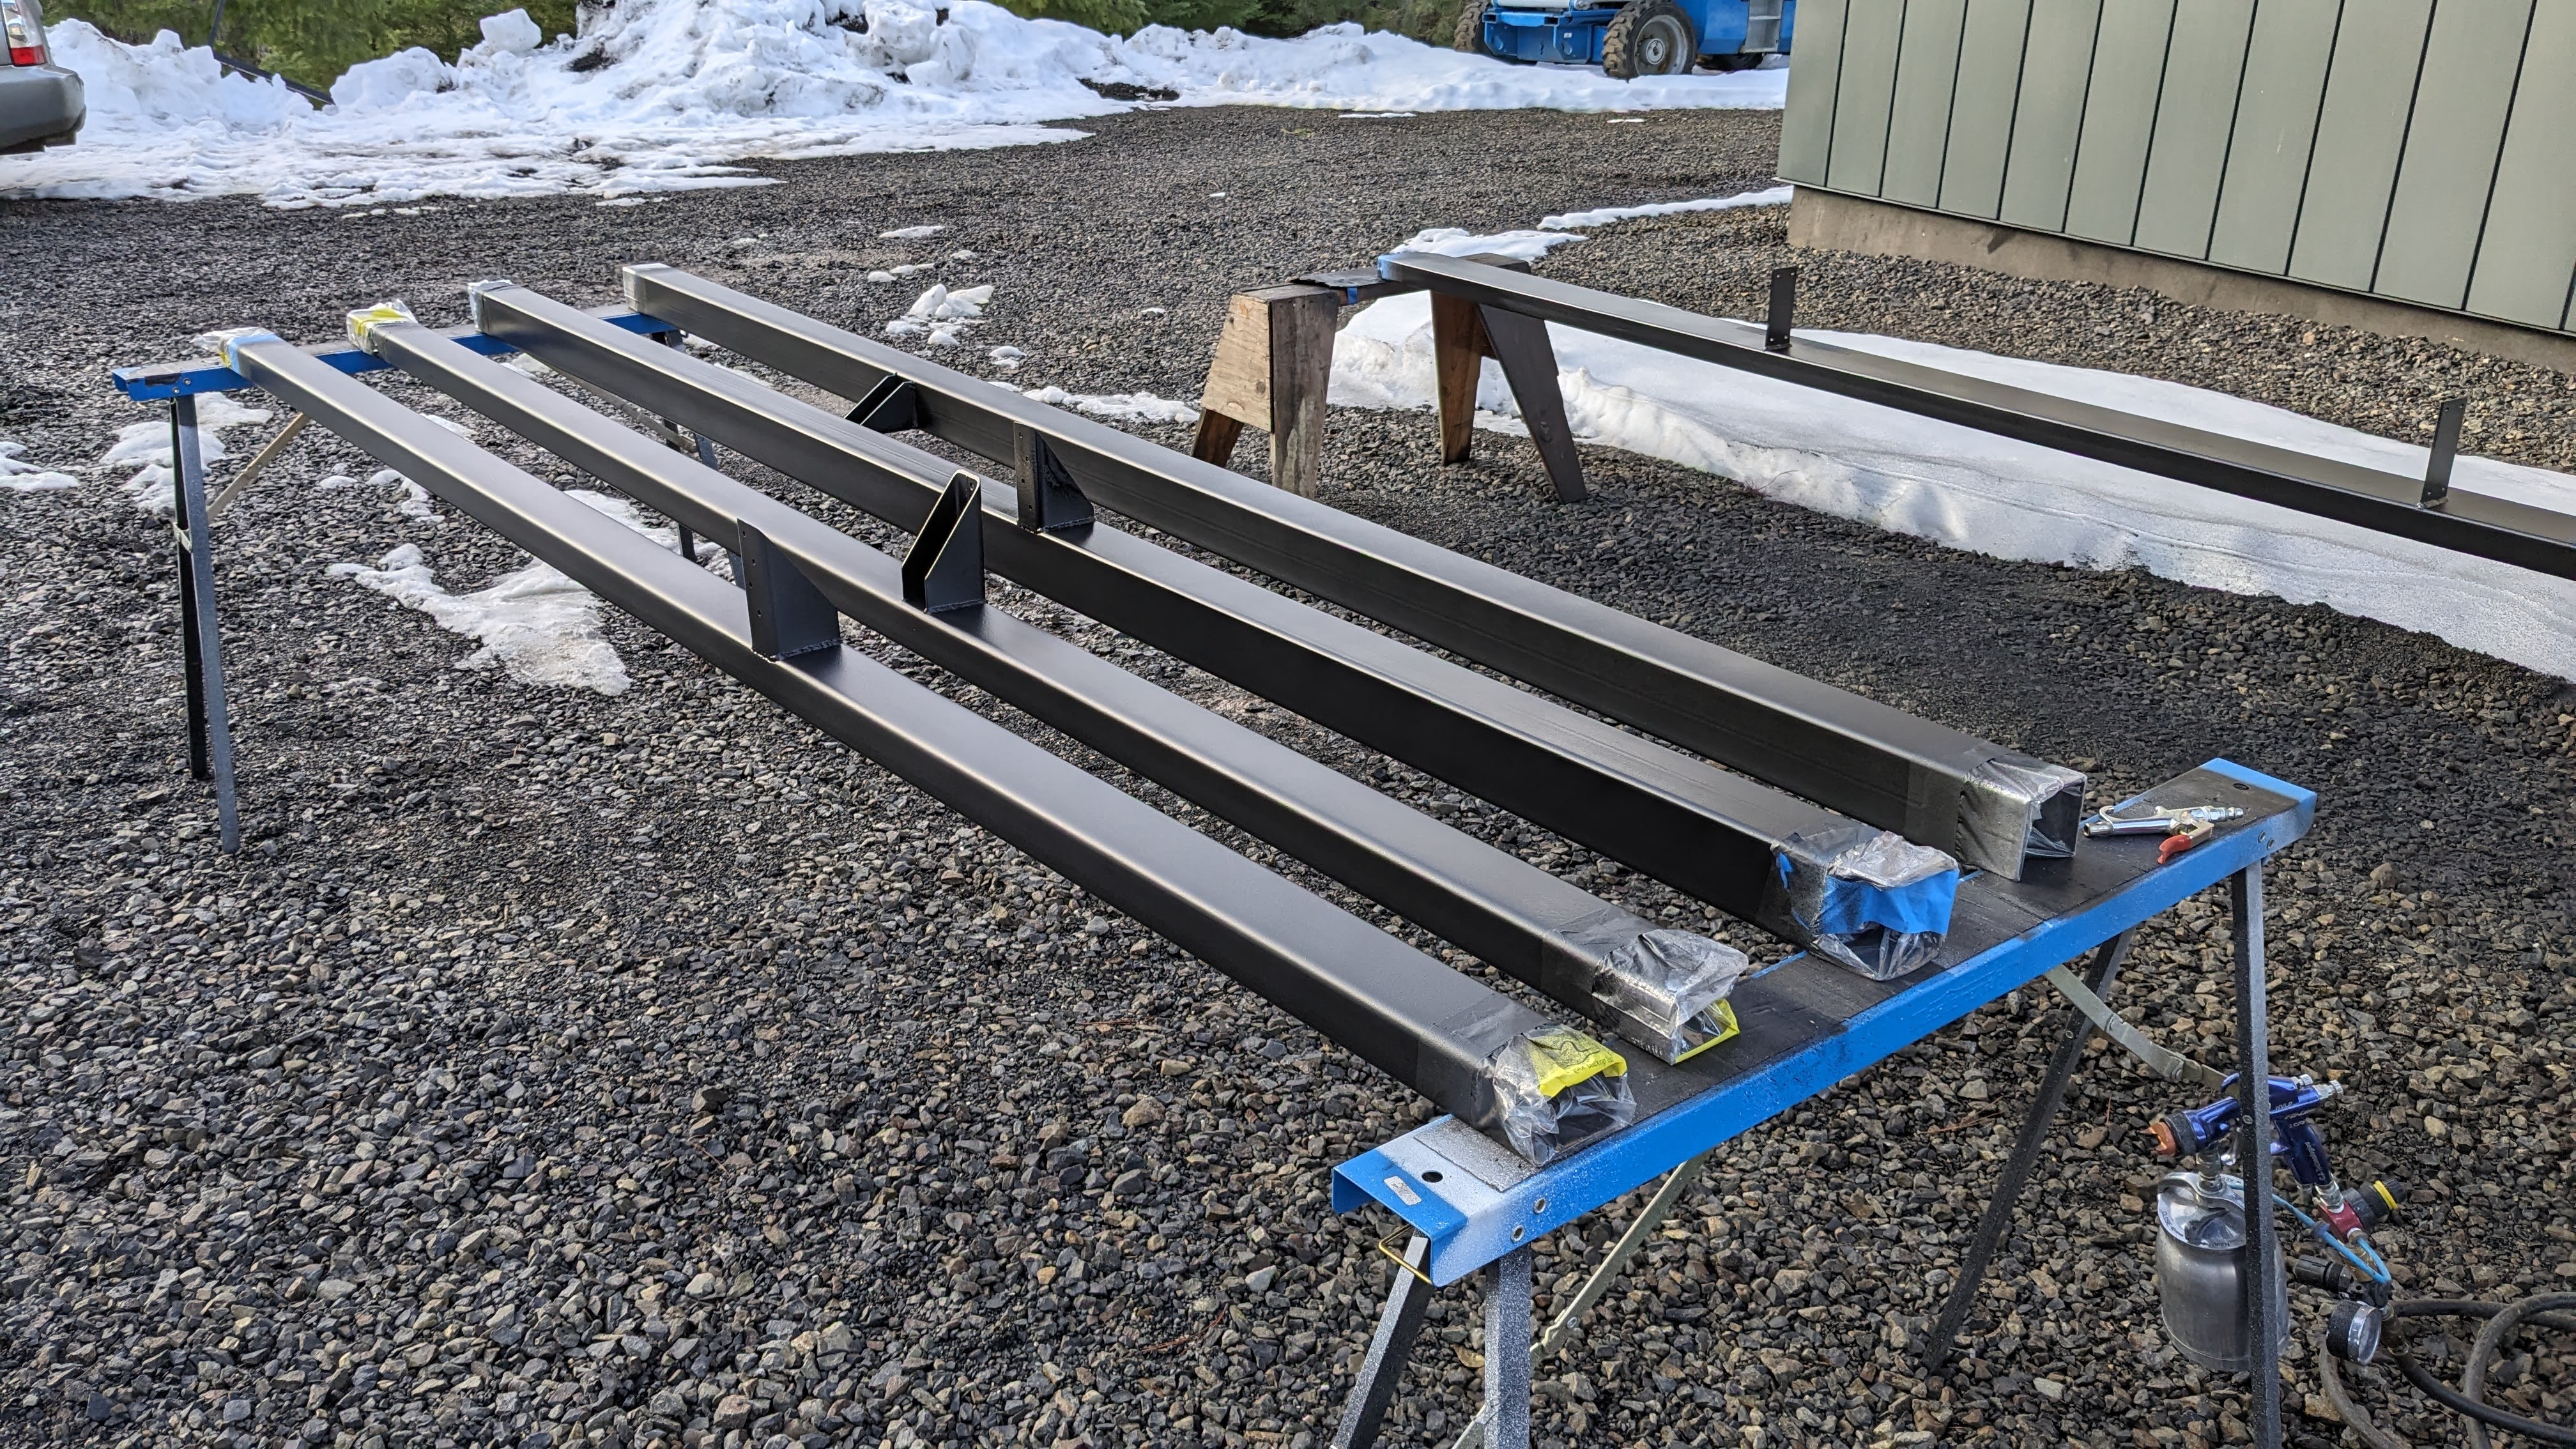
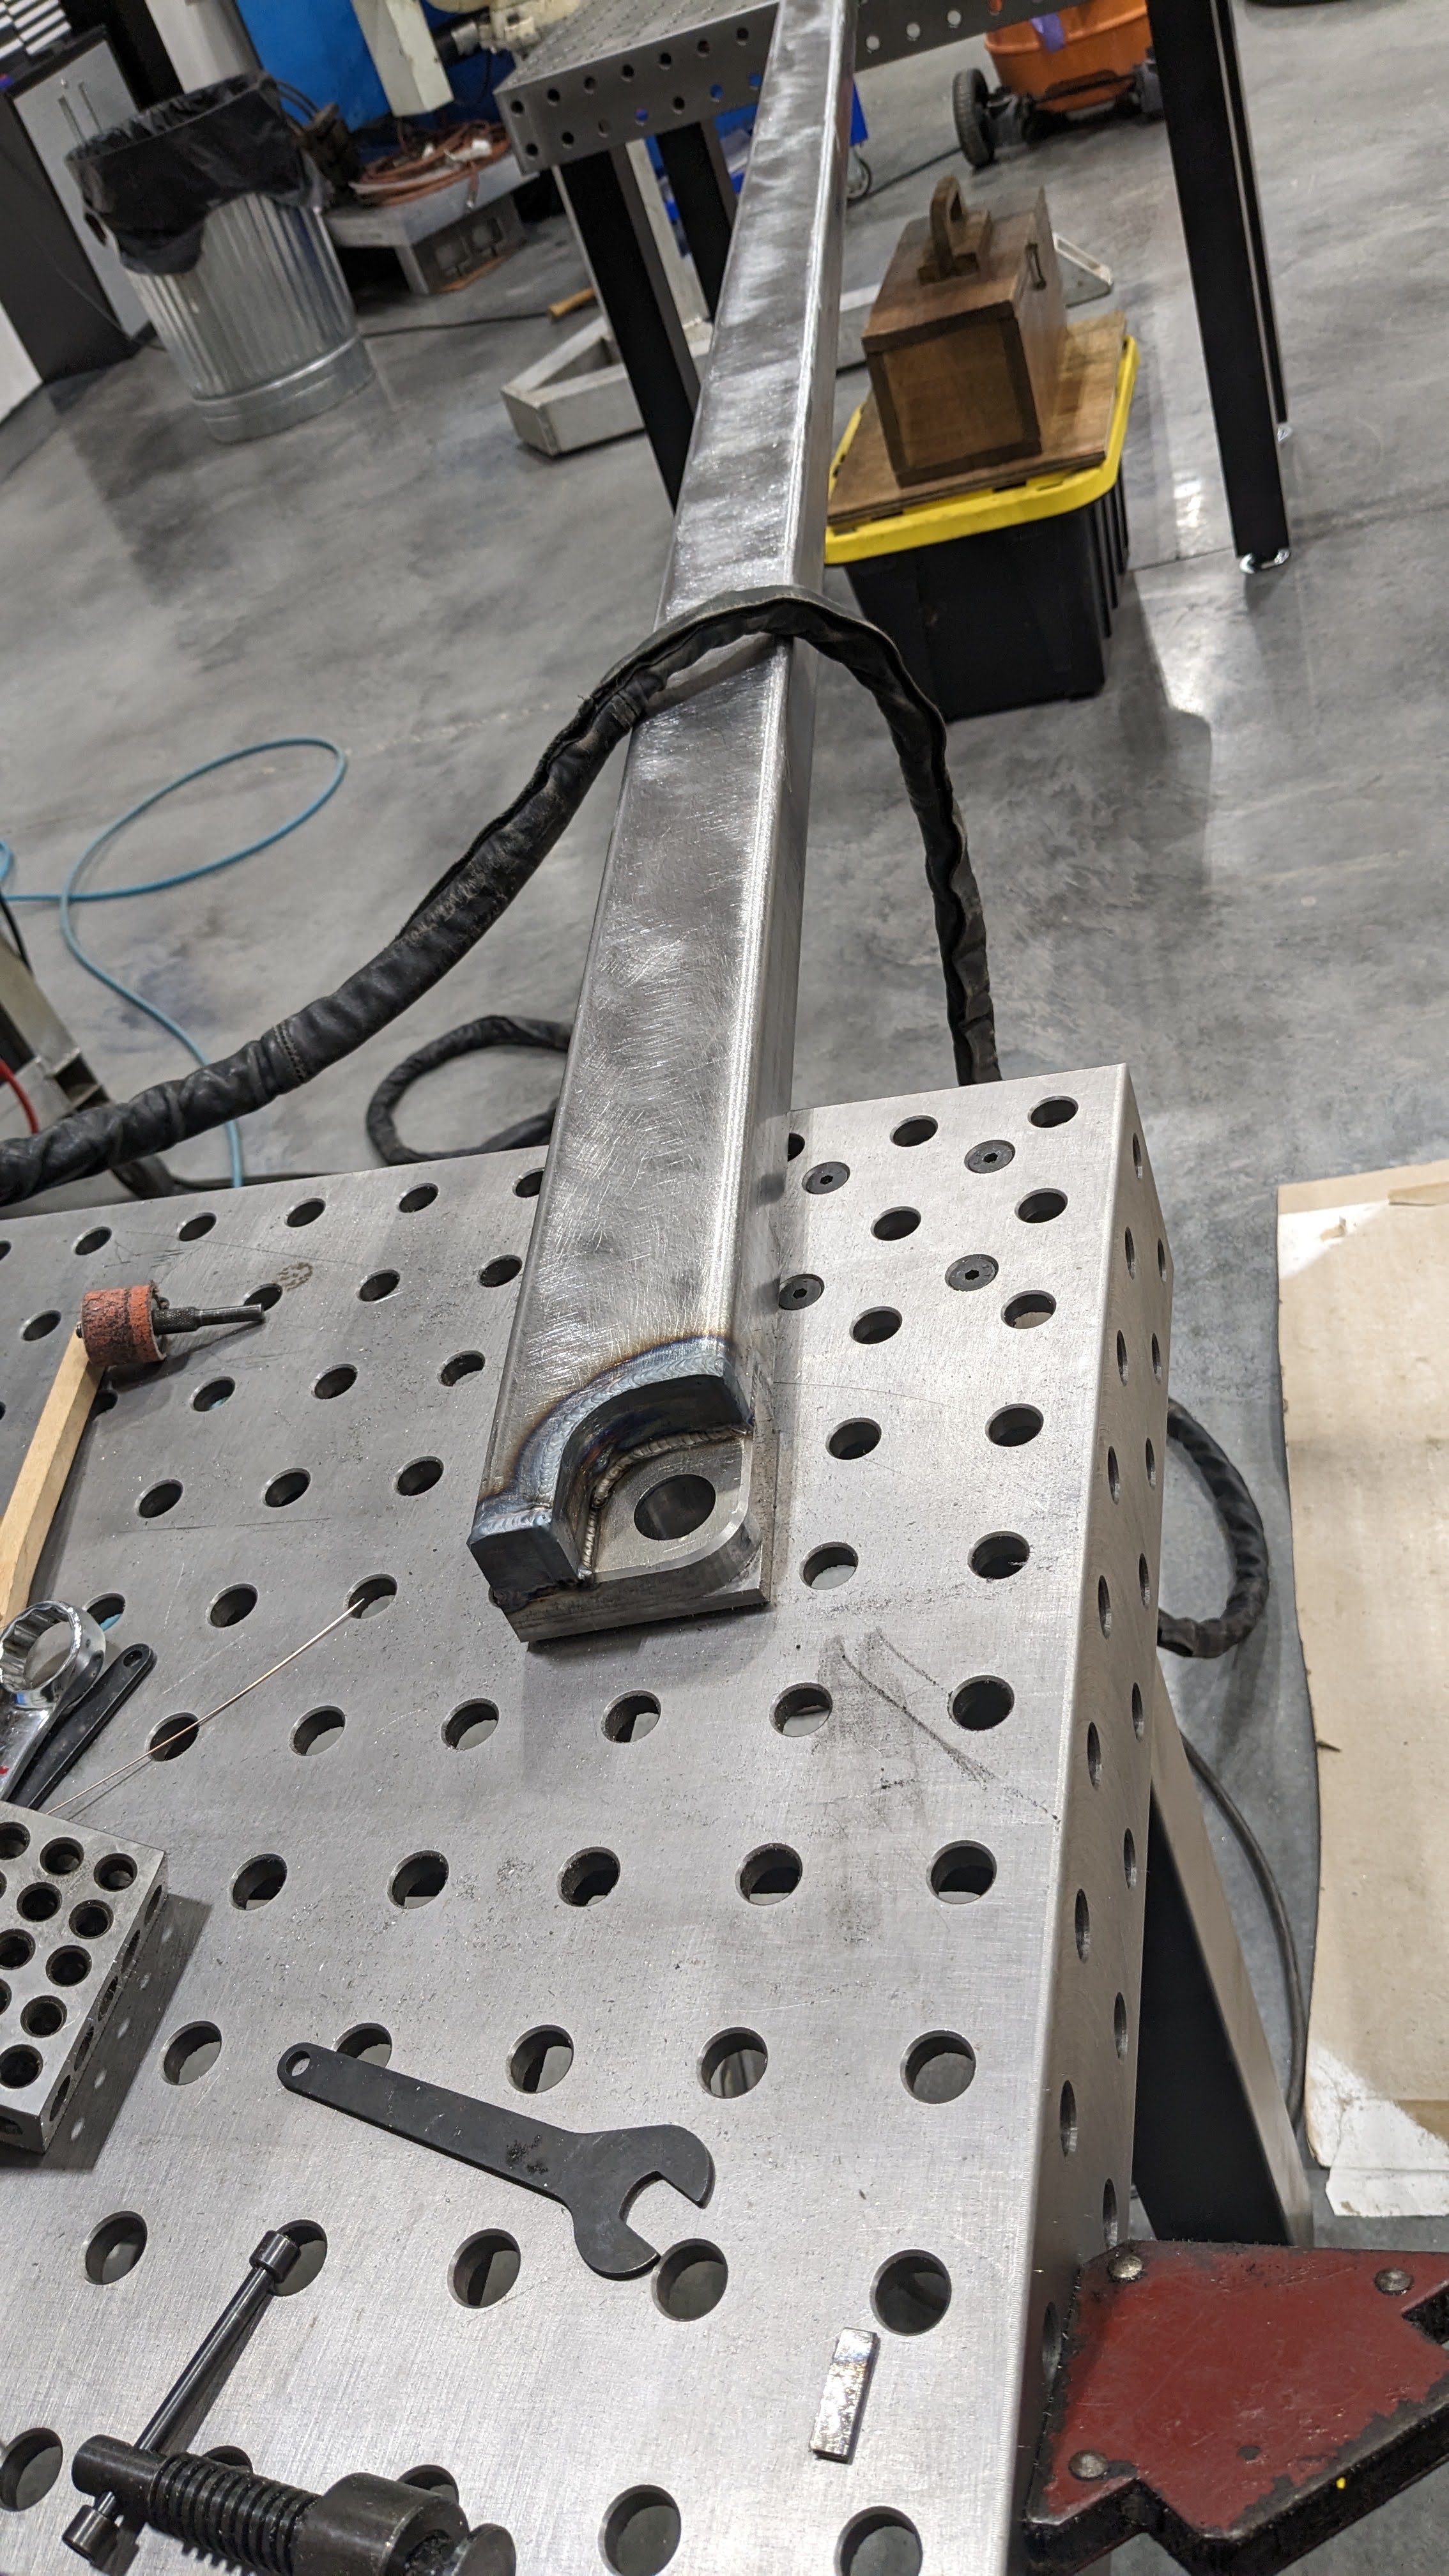
We finally had all the necessary parts to assemble frame. Time to weld!
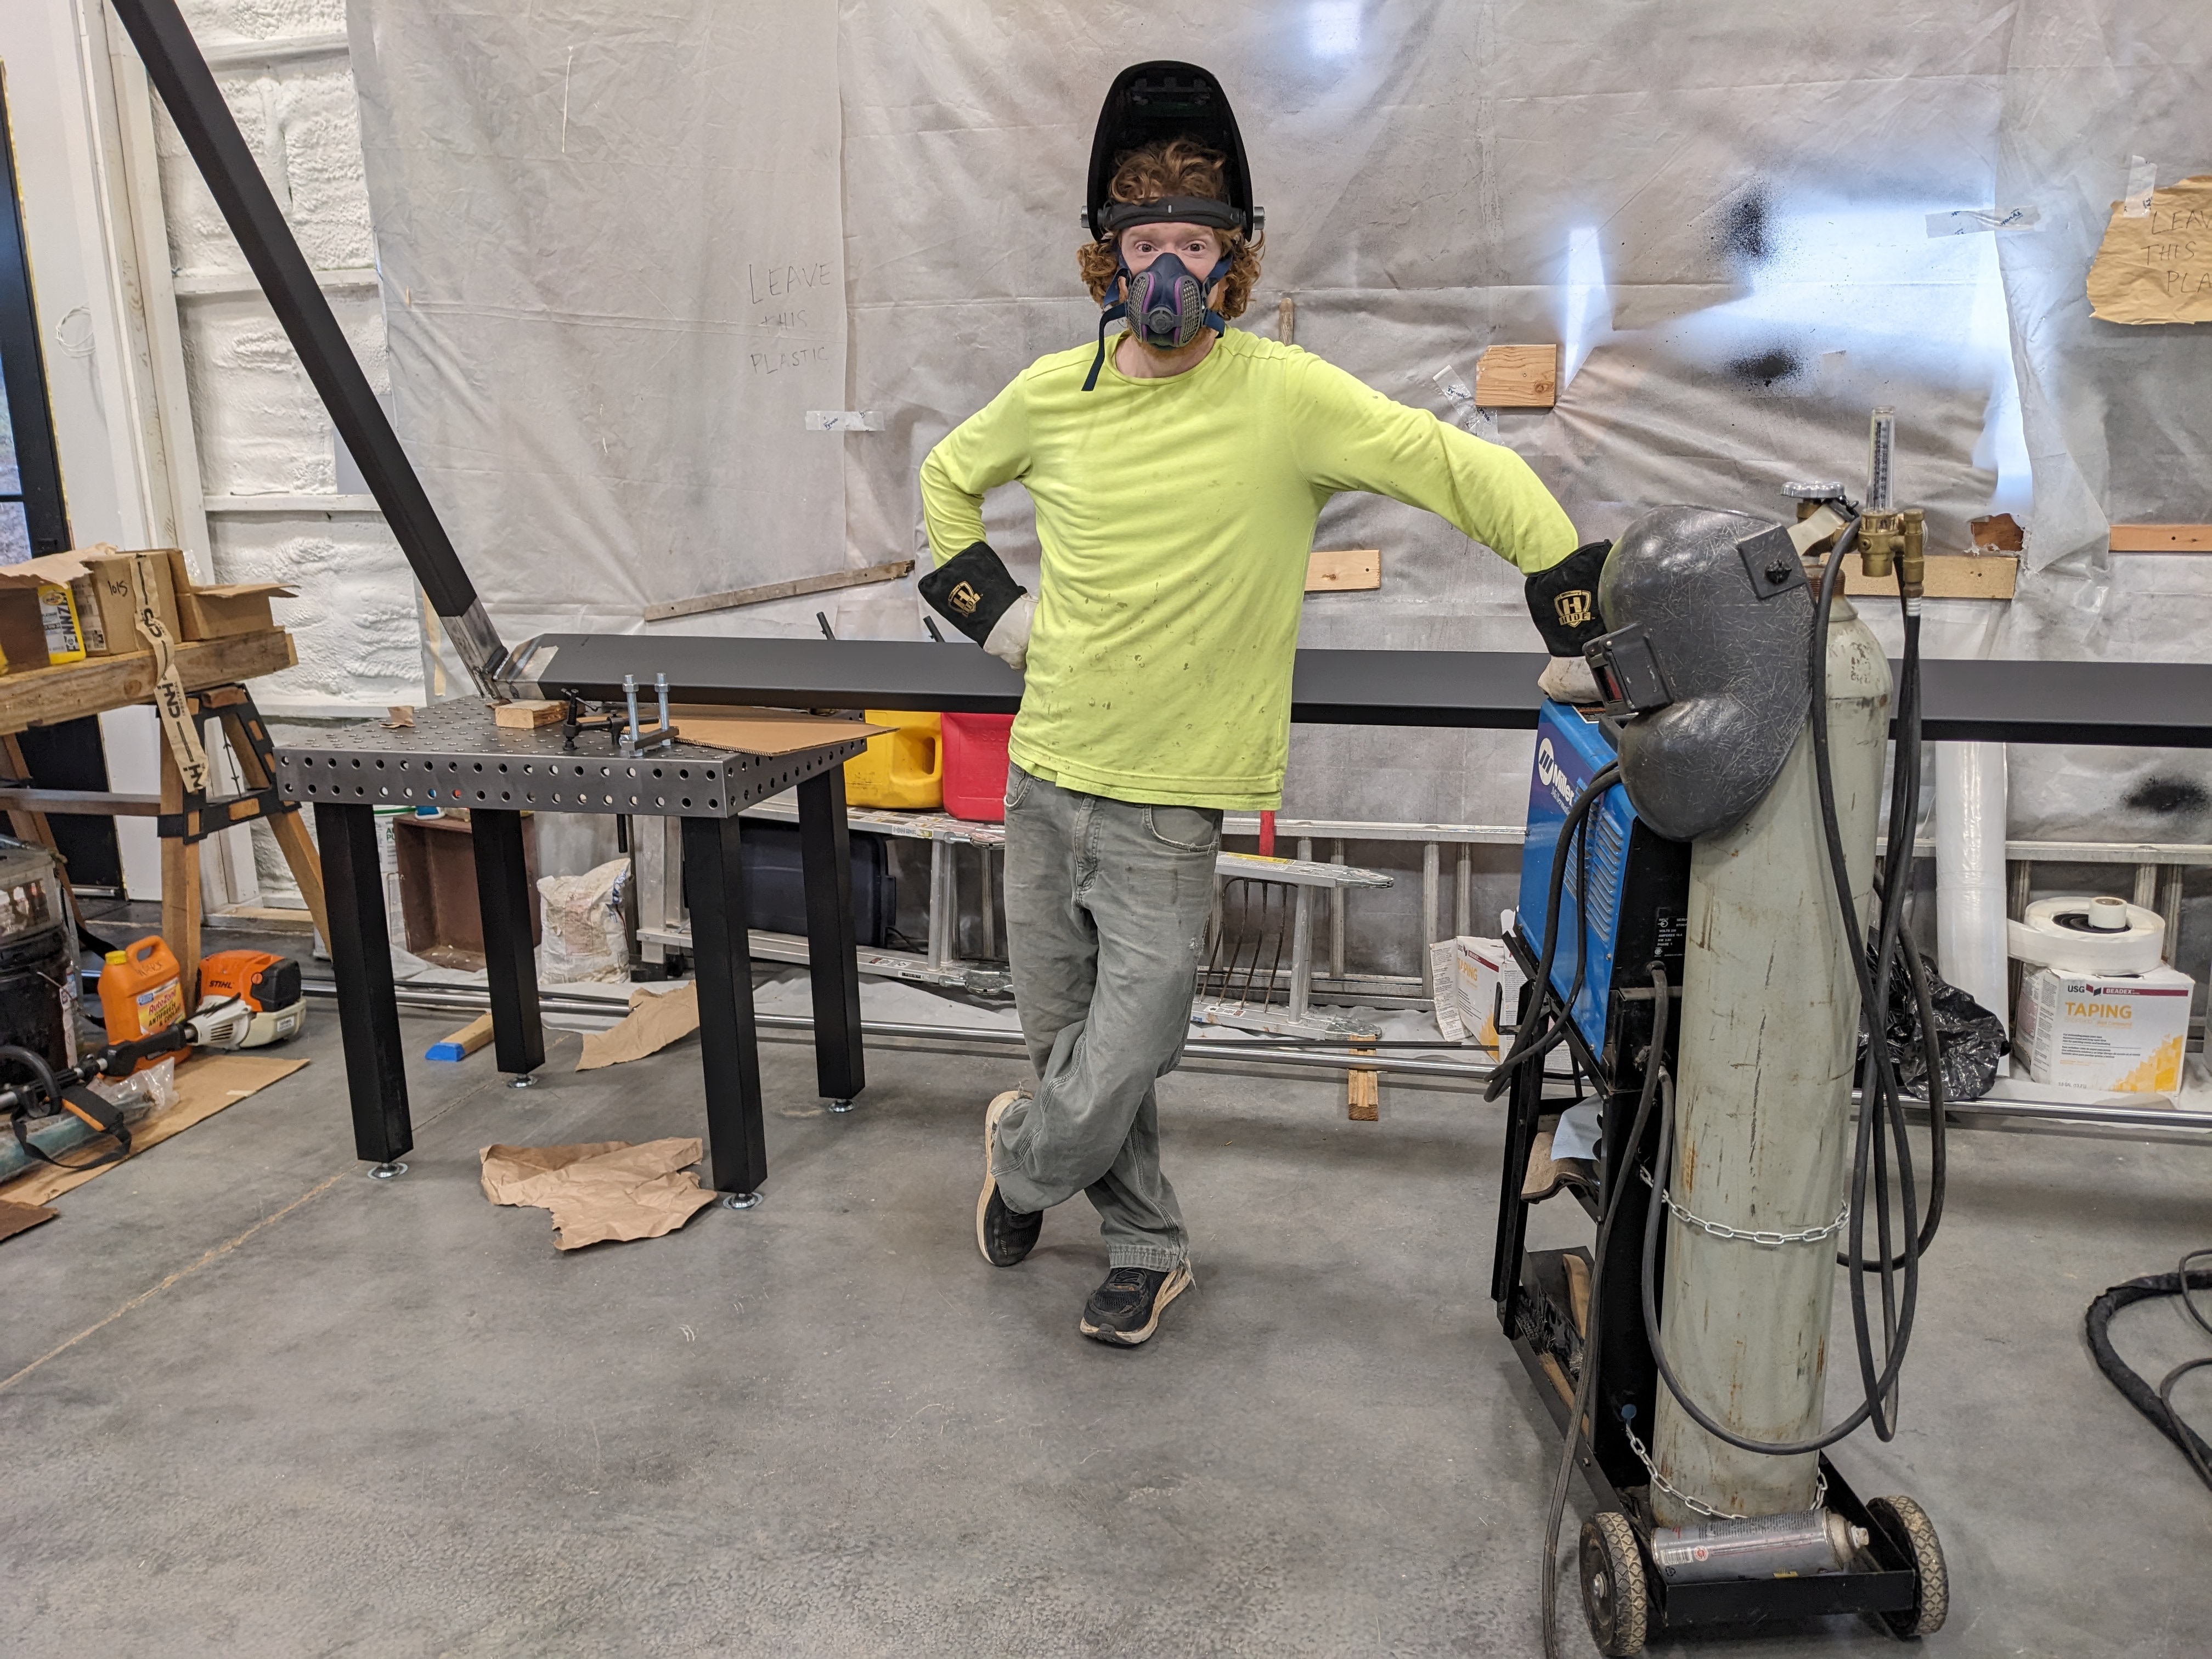
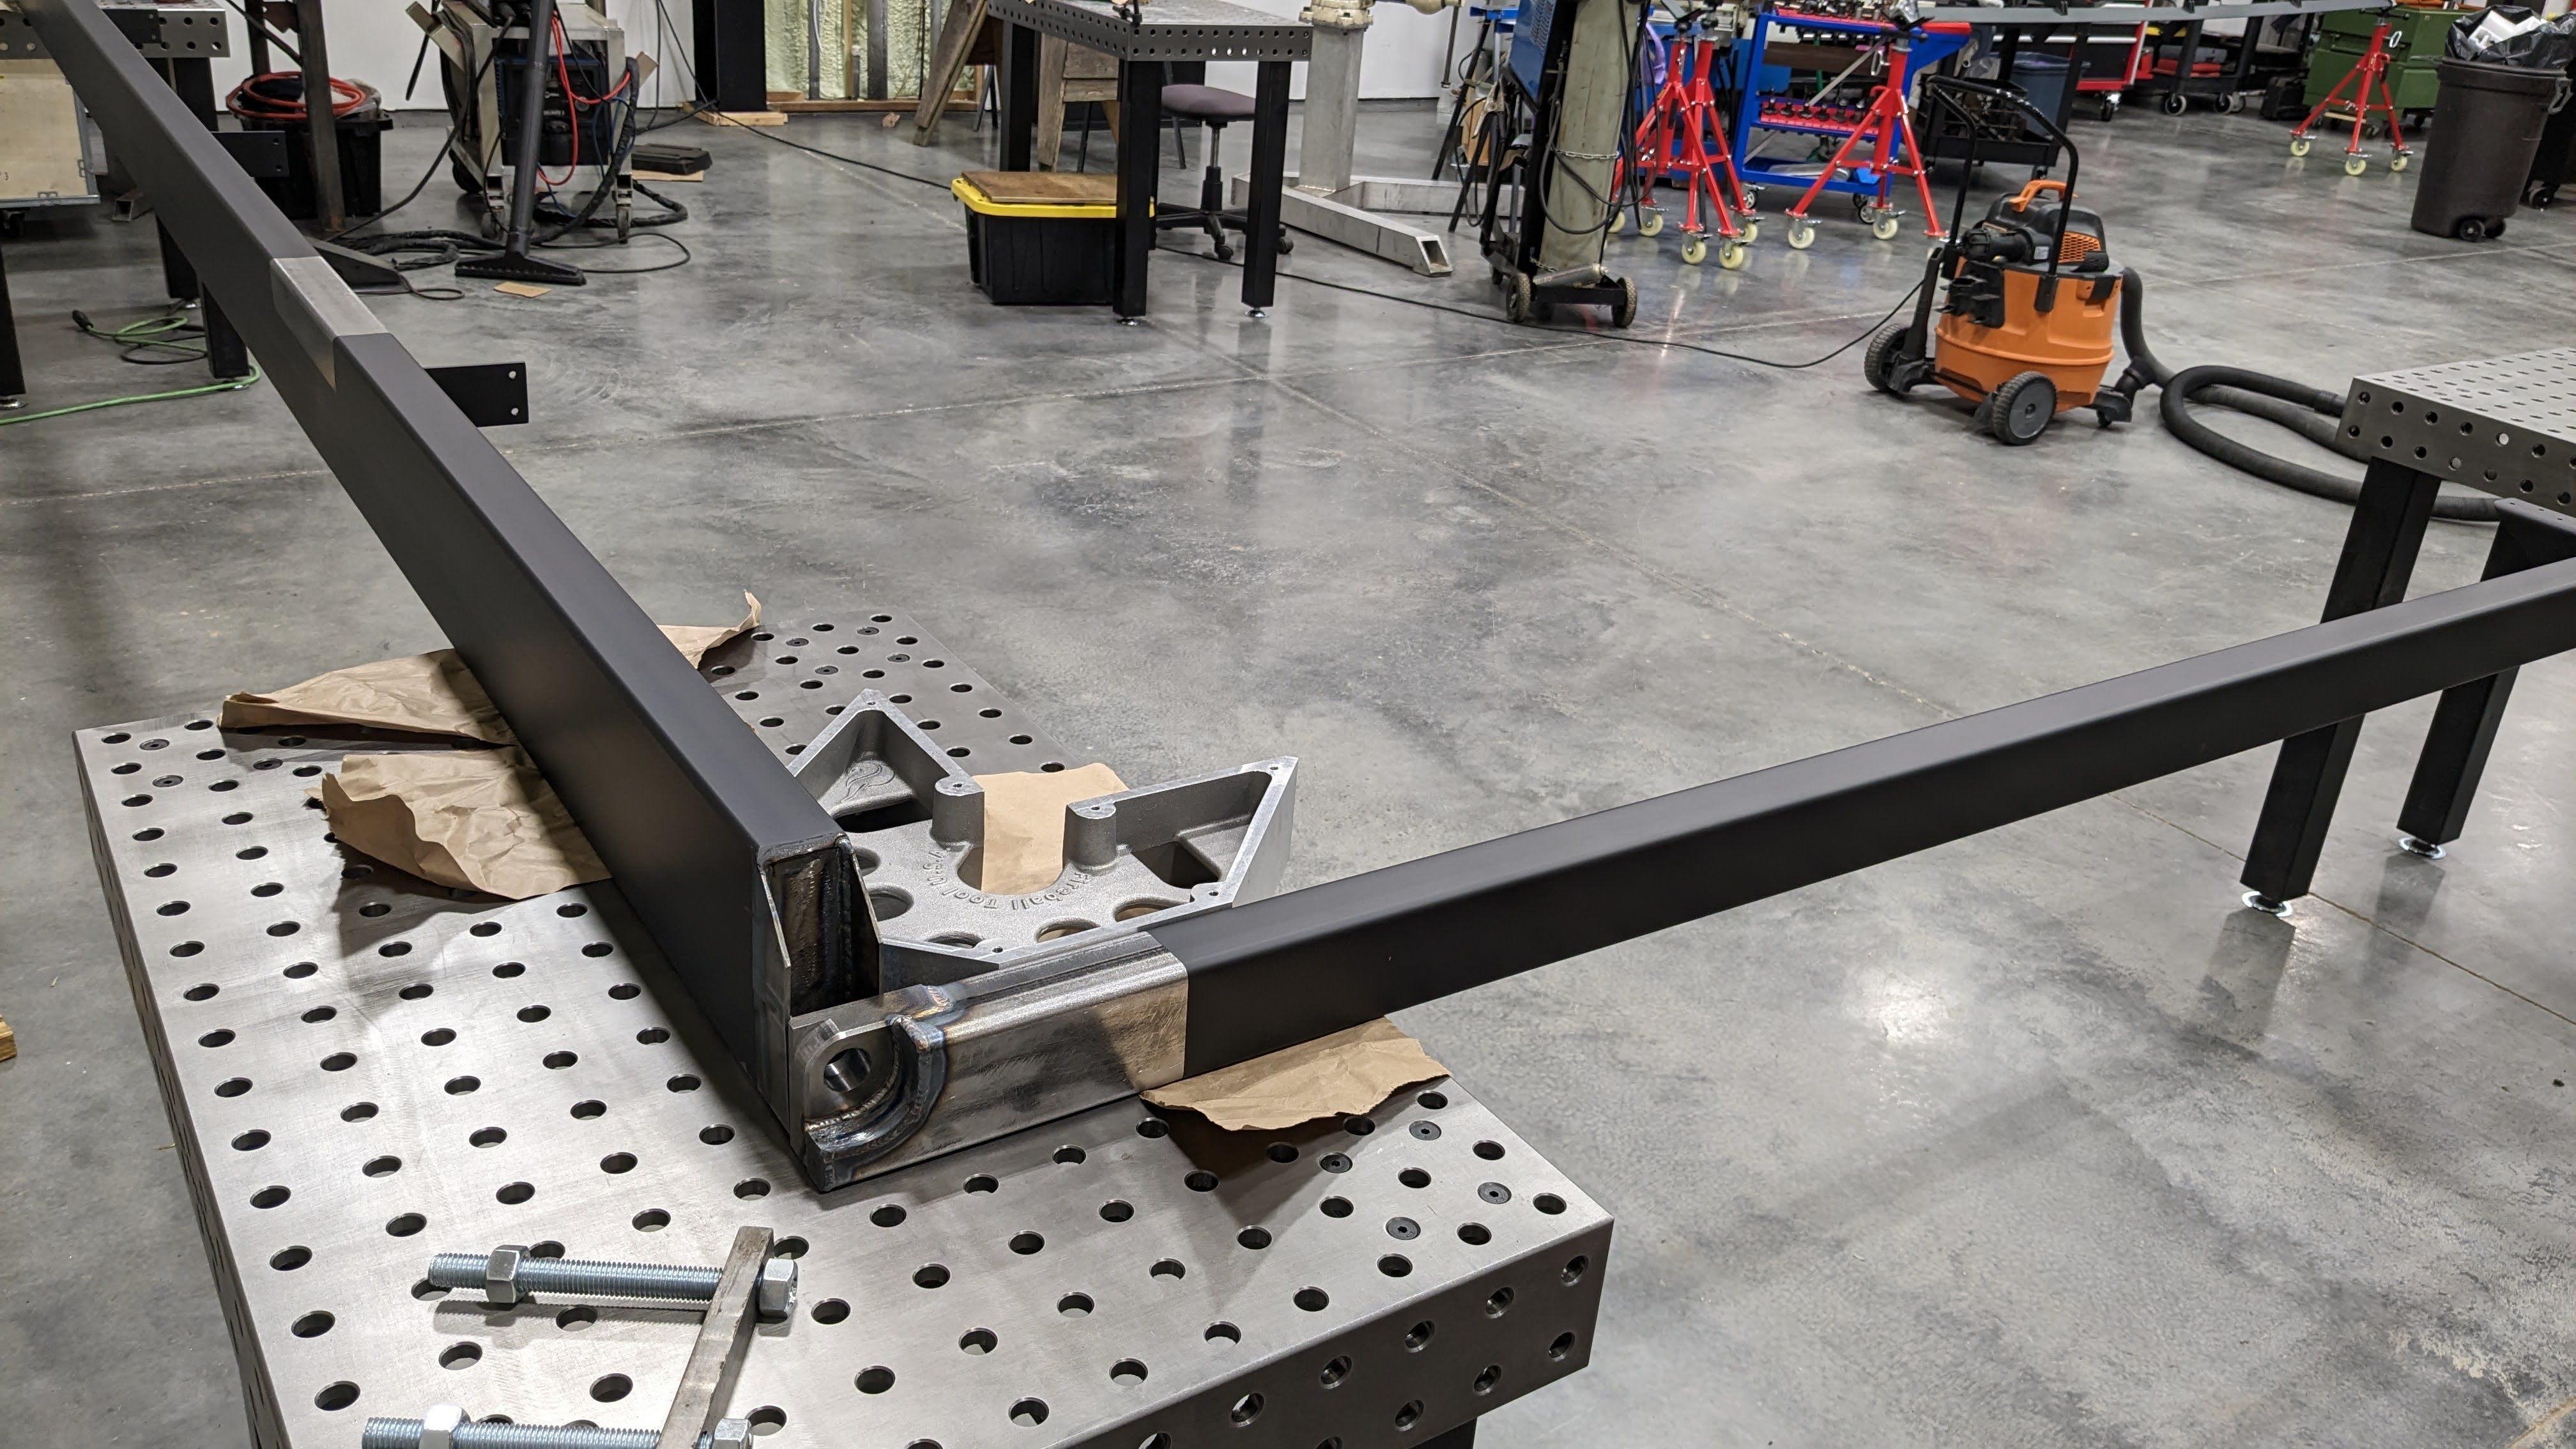
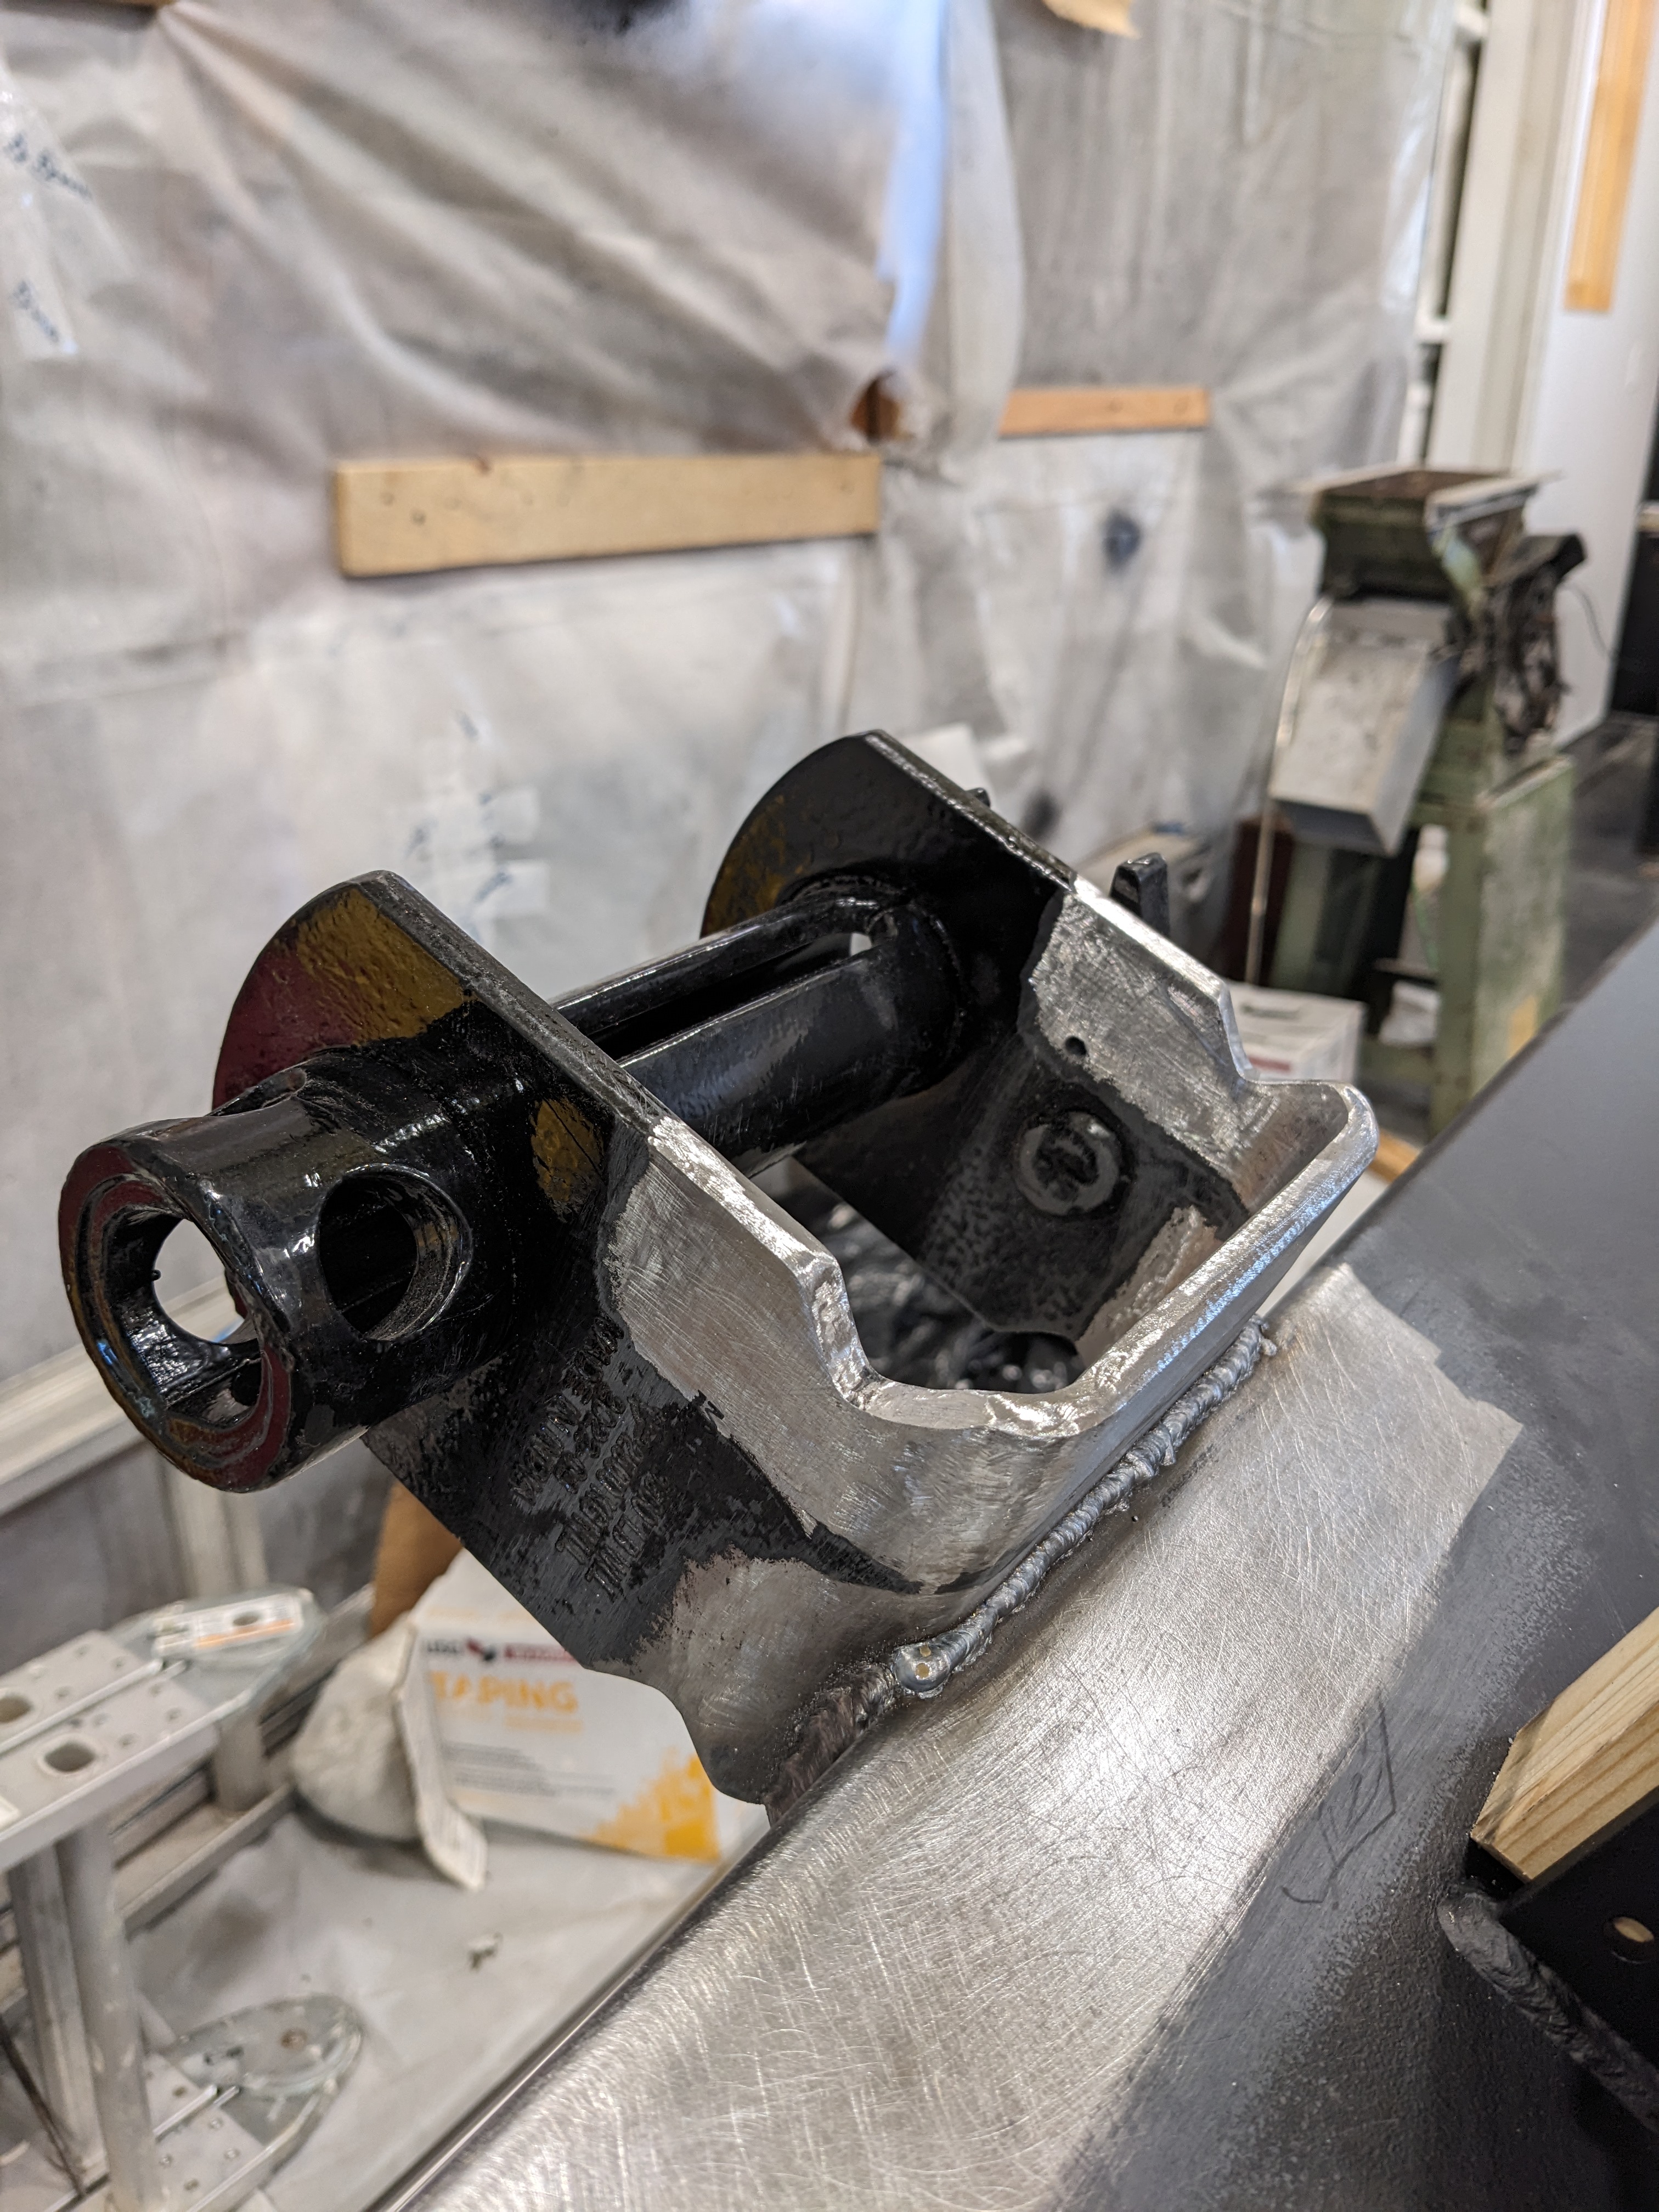
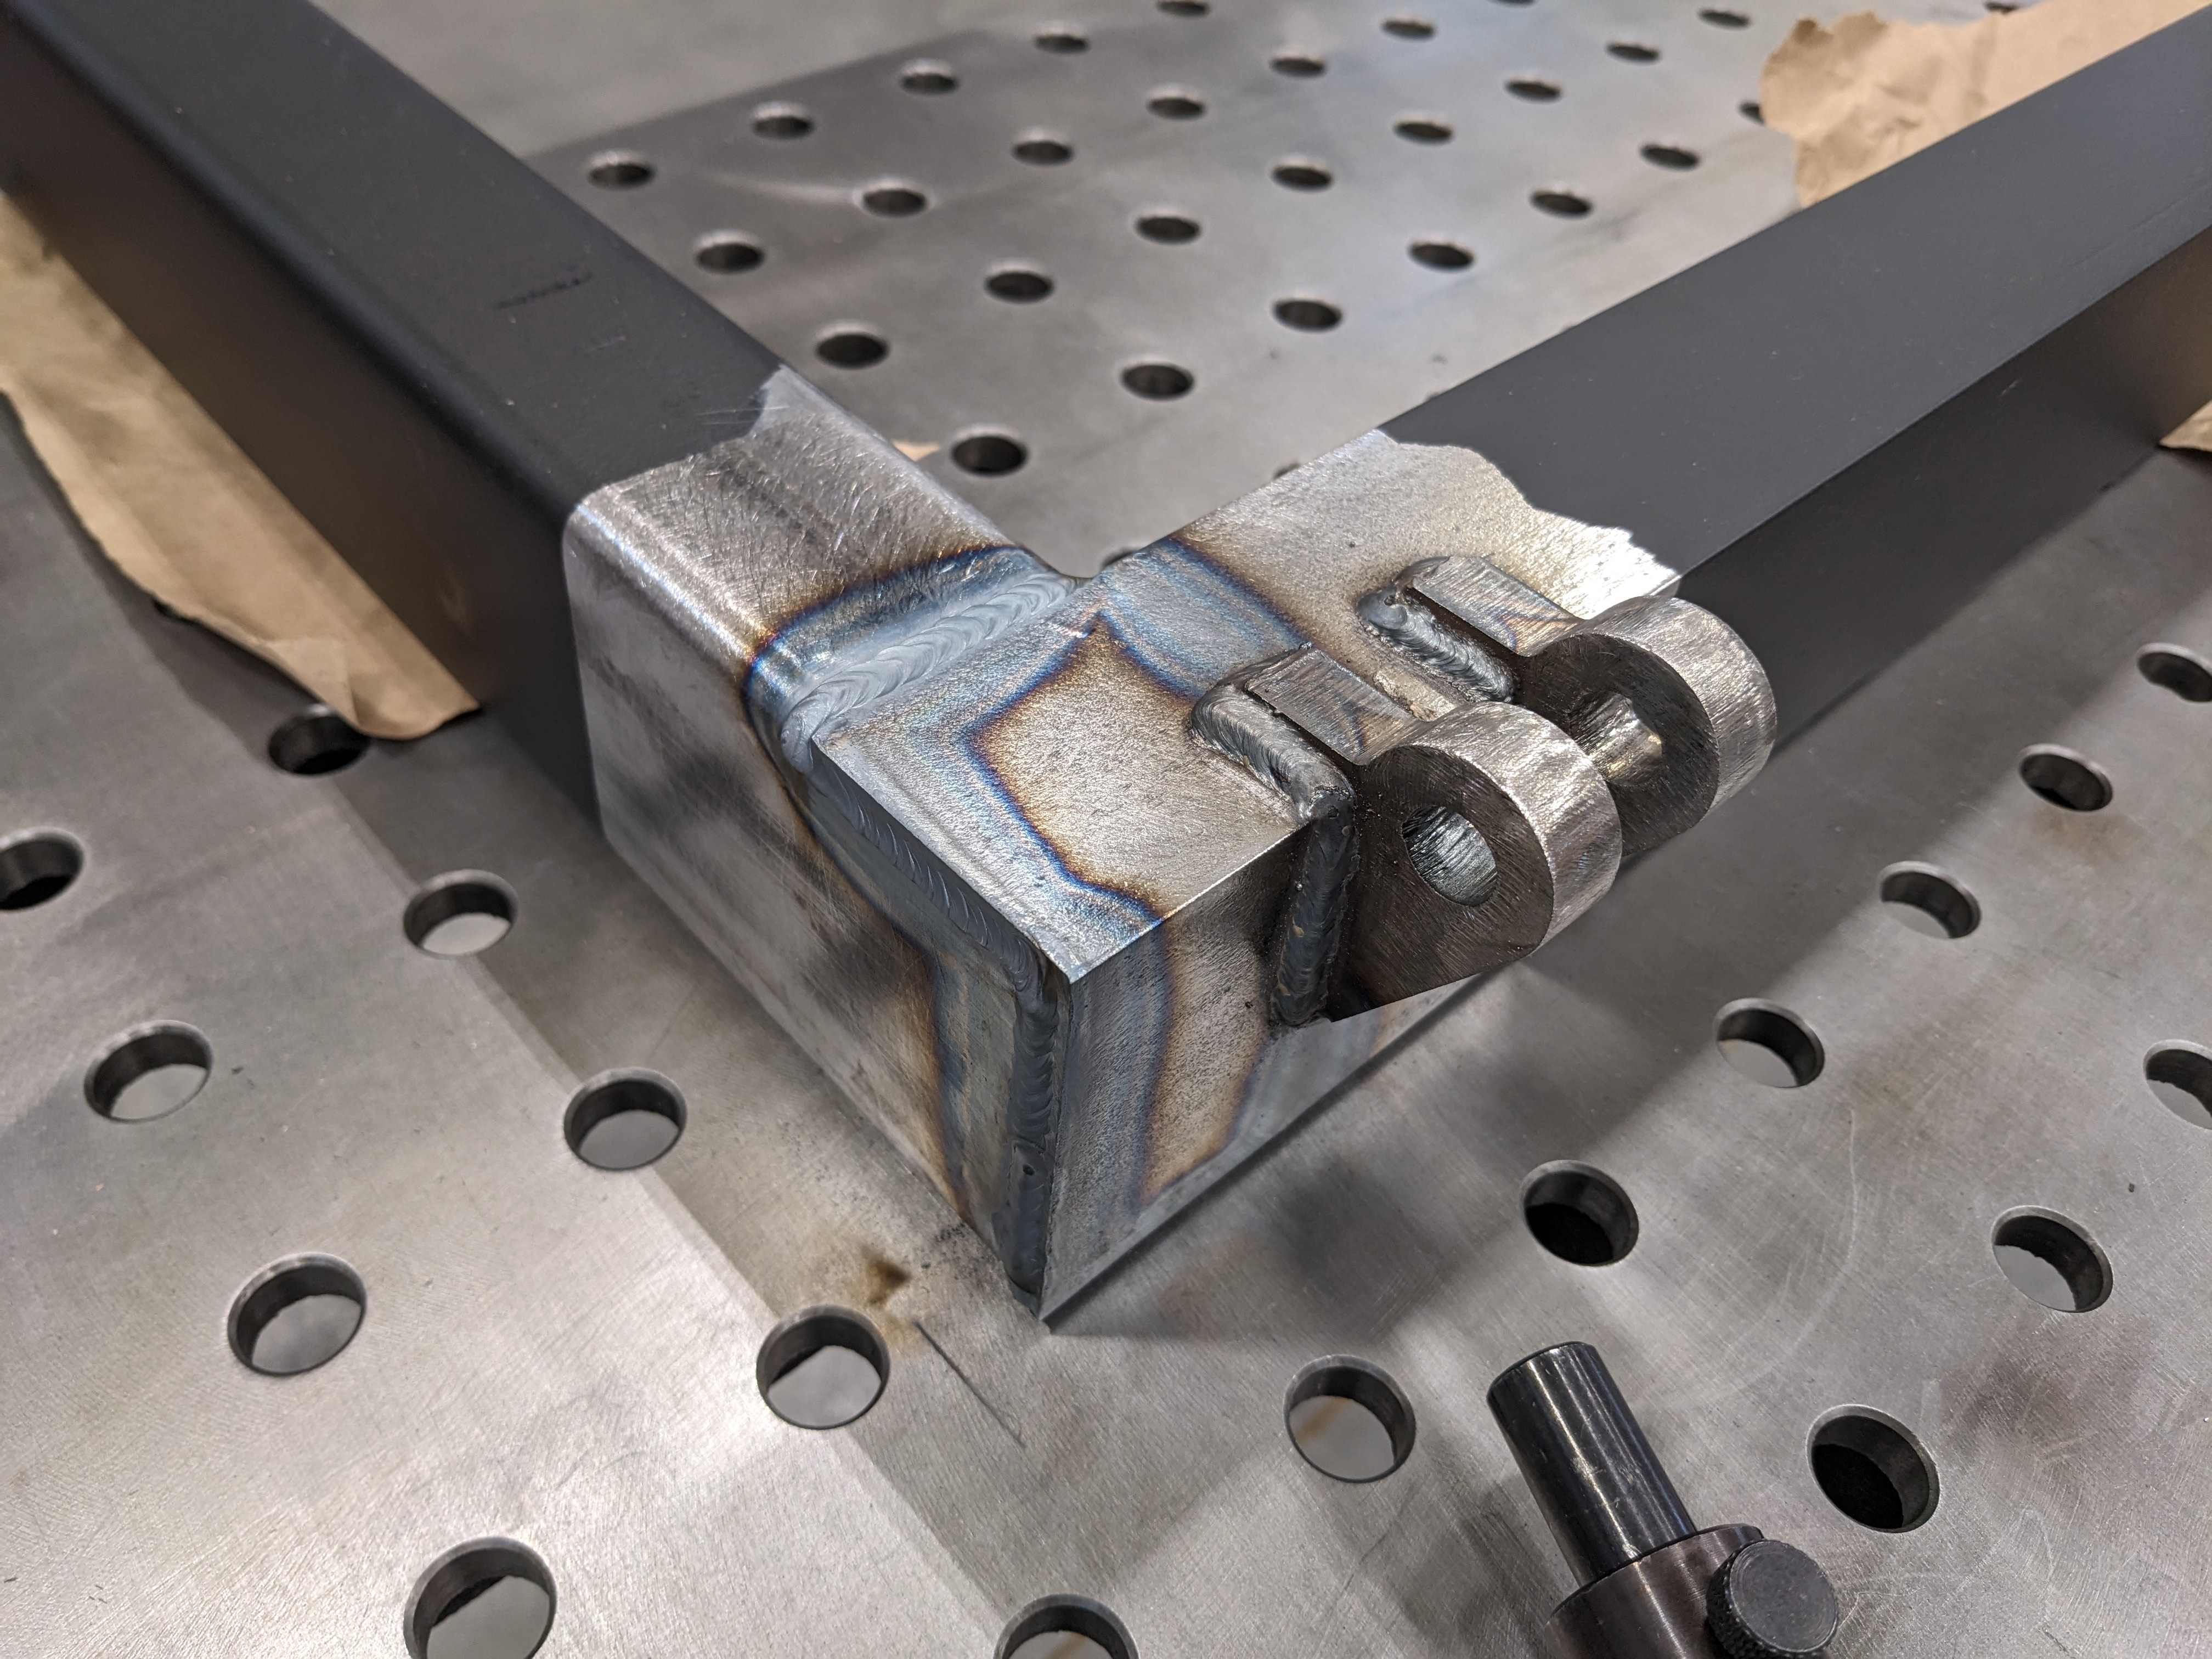
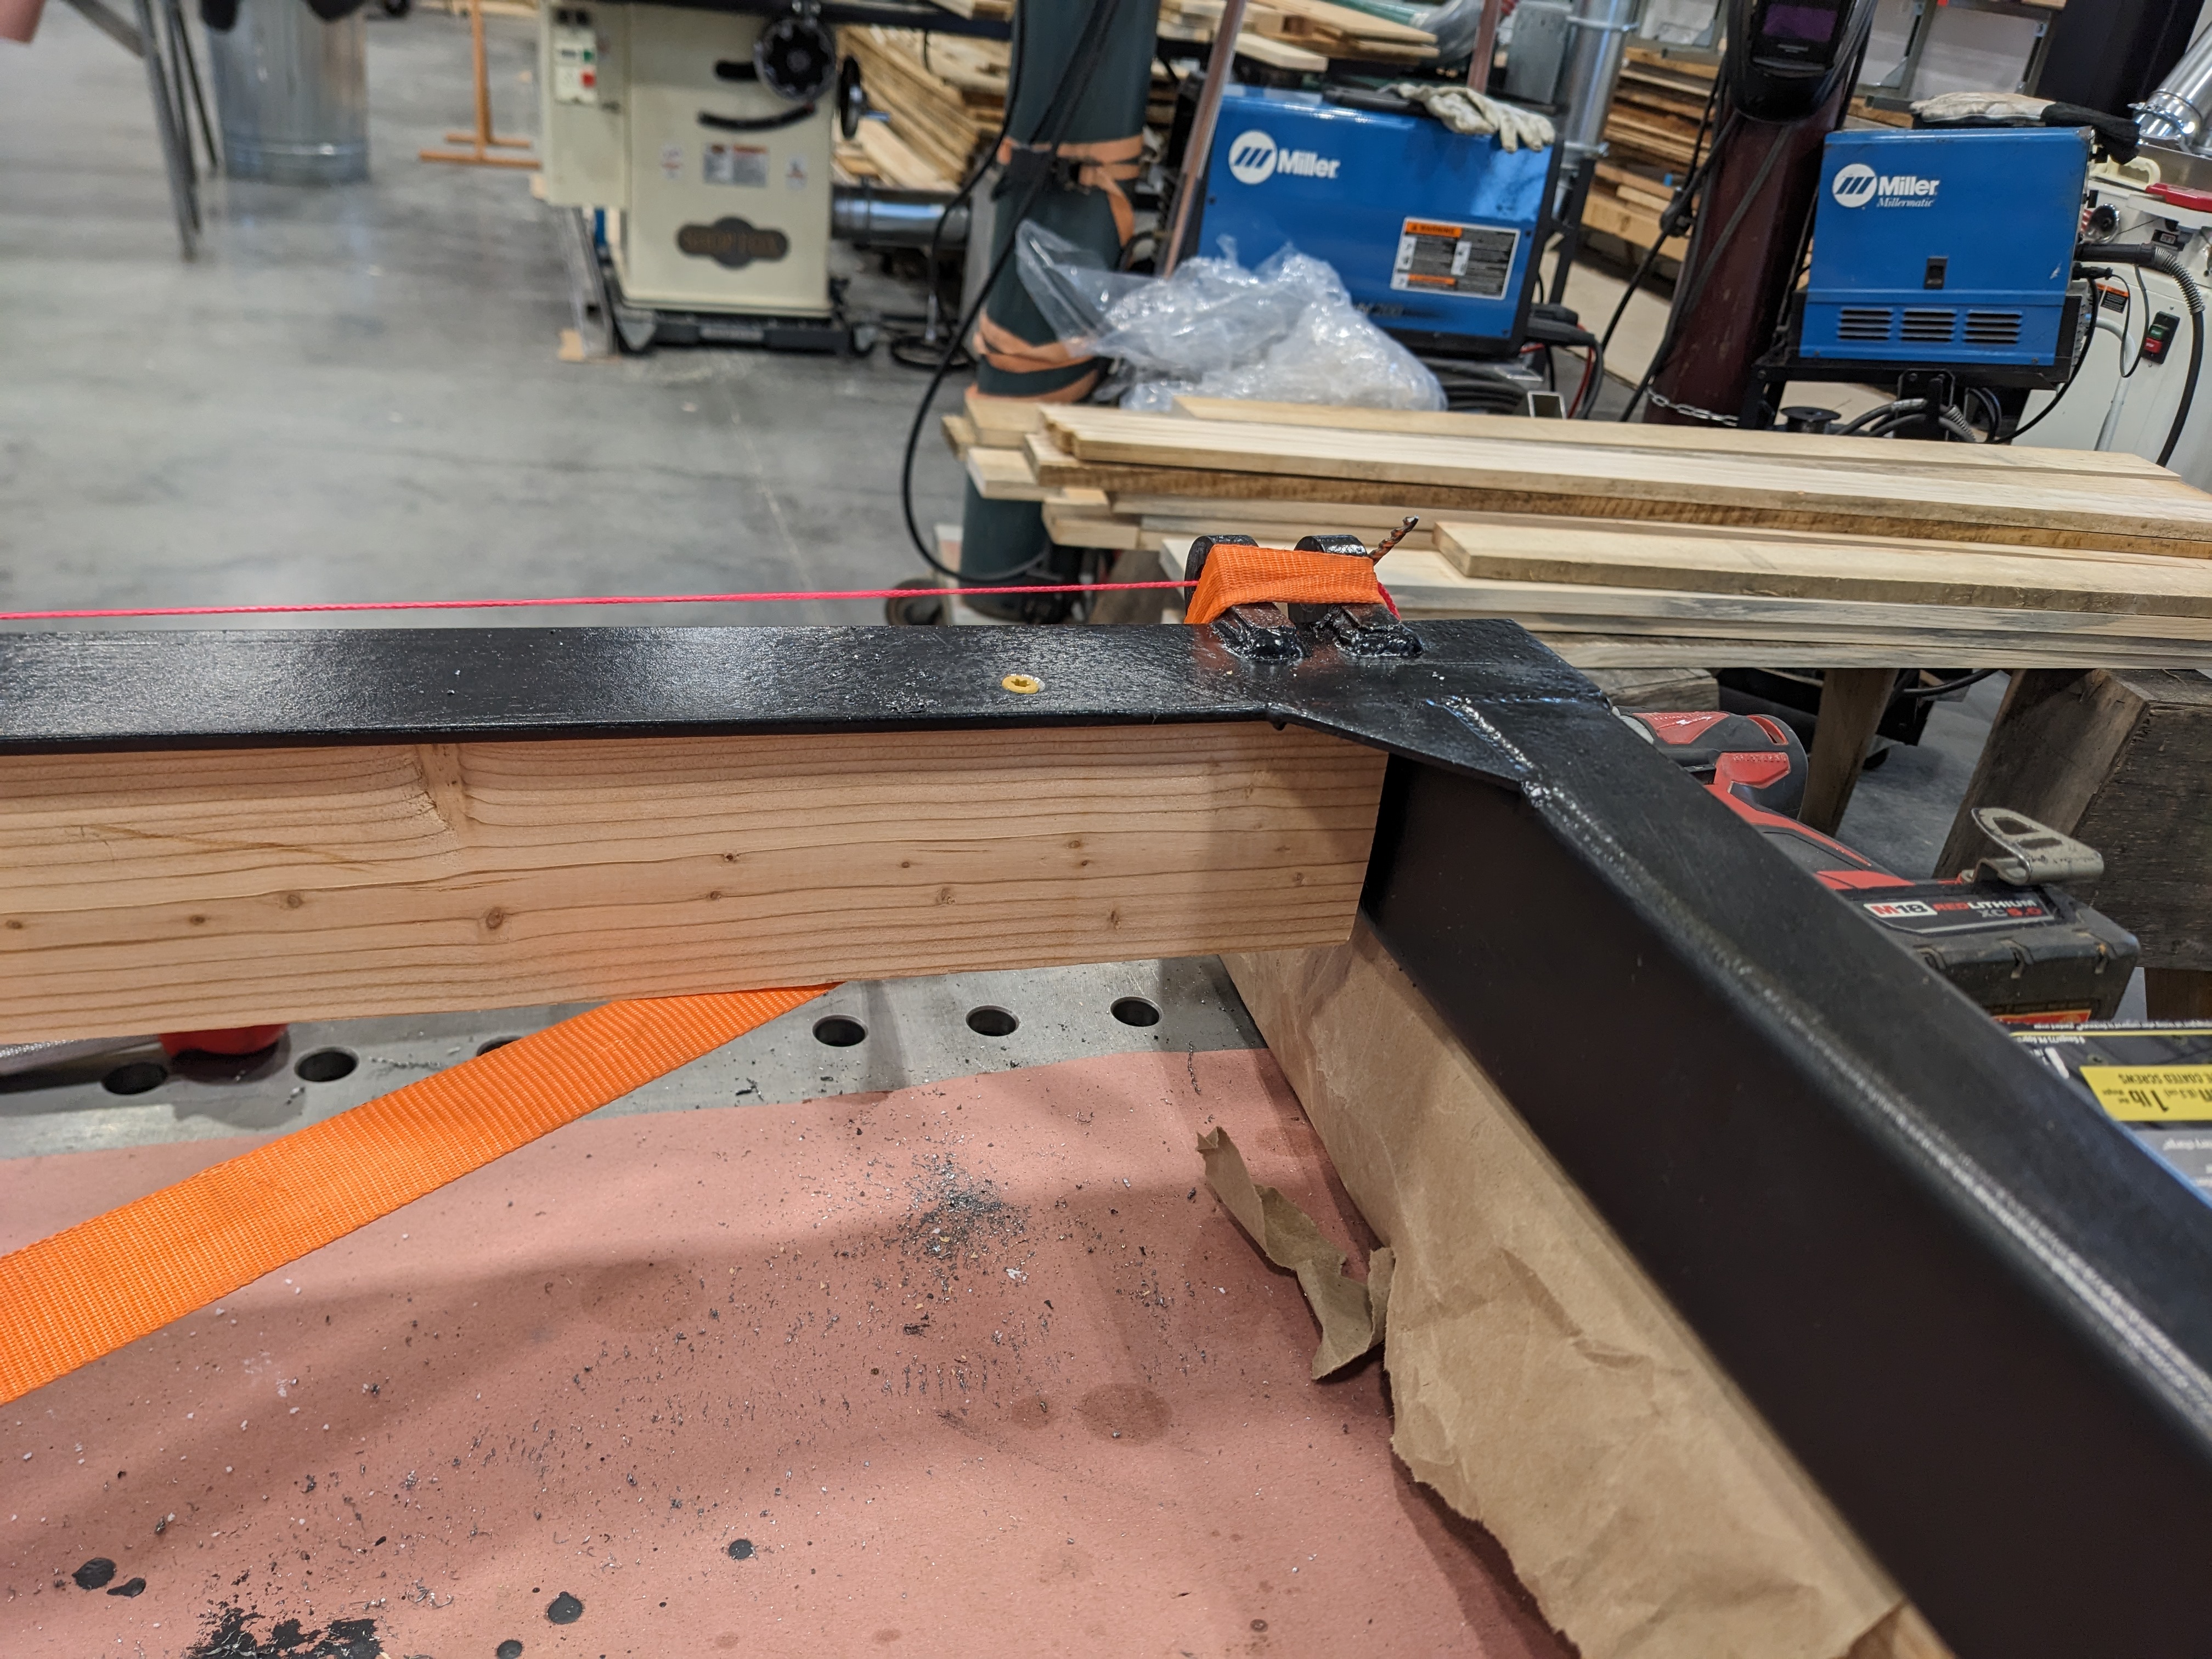
After a little more prep, Sam welded the four corners of the frame together and attached the lifting strap brackets. Sam hadn’t done much welding or metal-working over the last few years, so I was pretty impressed by all of this.

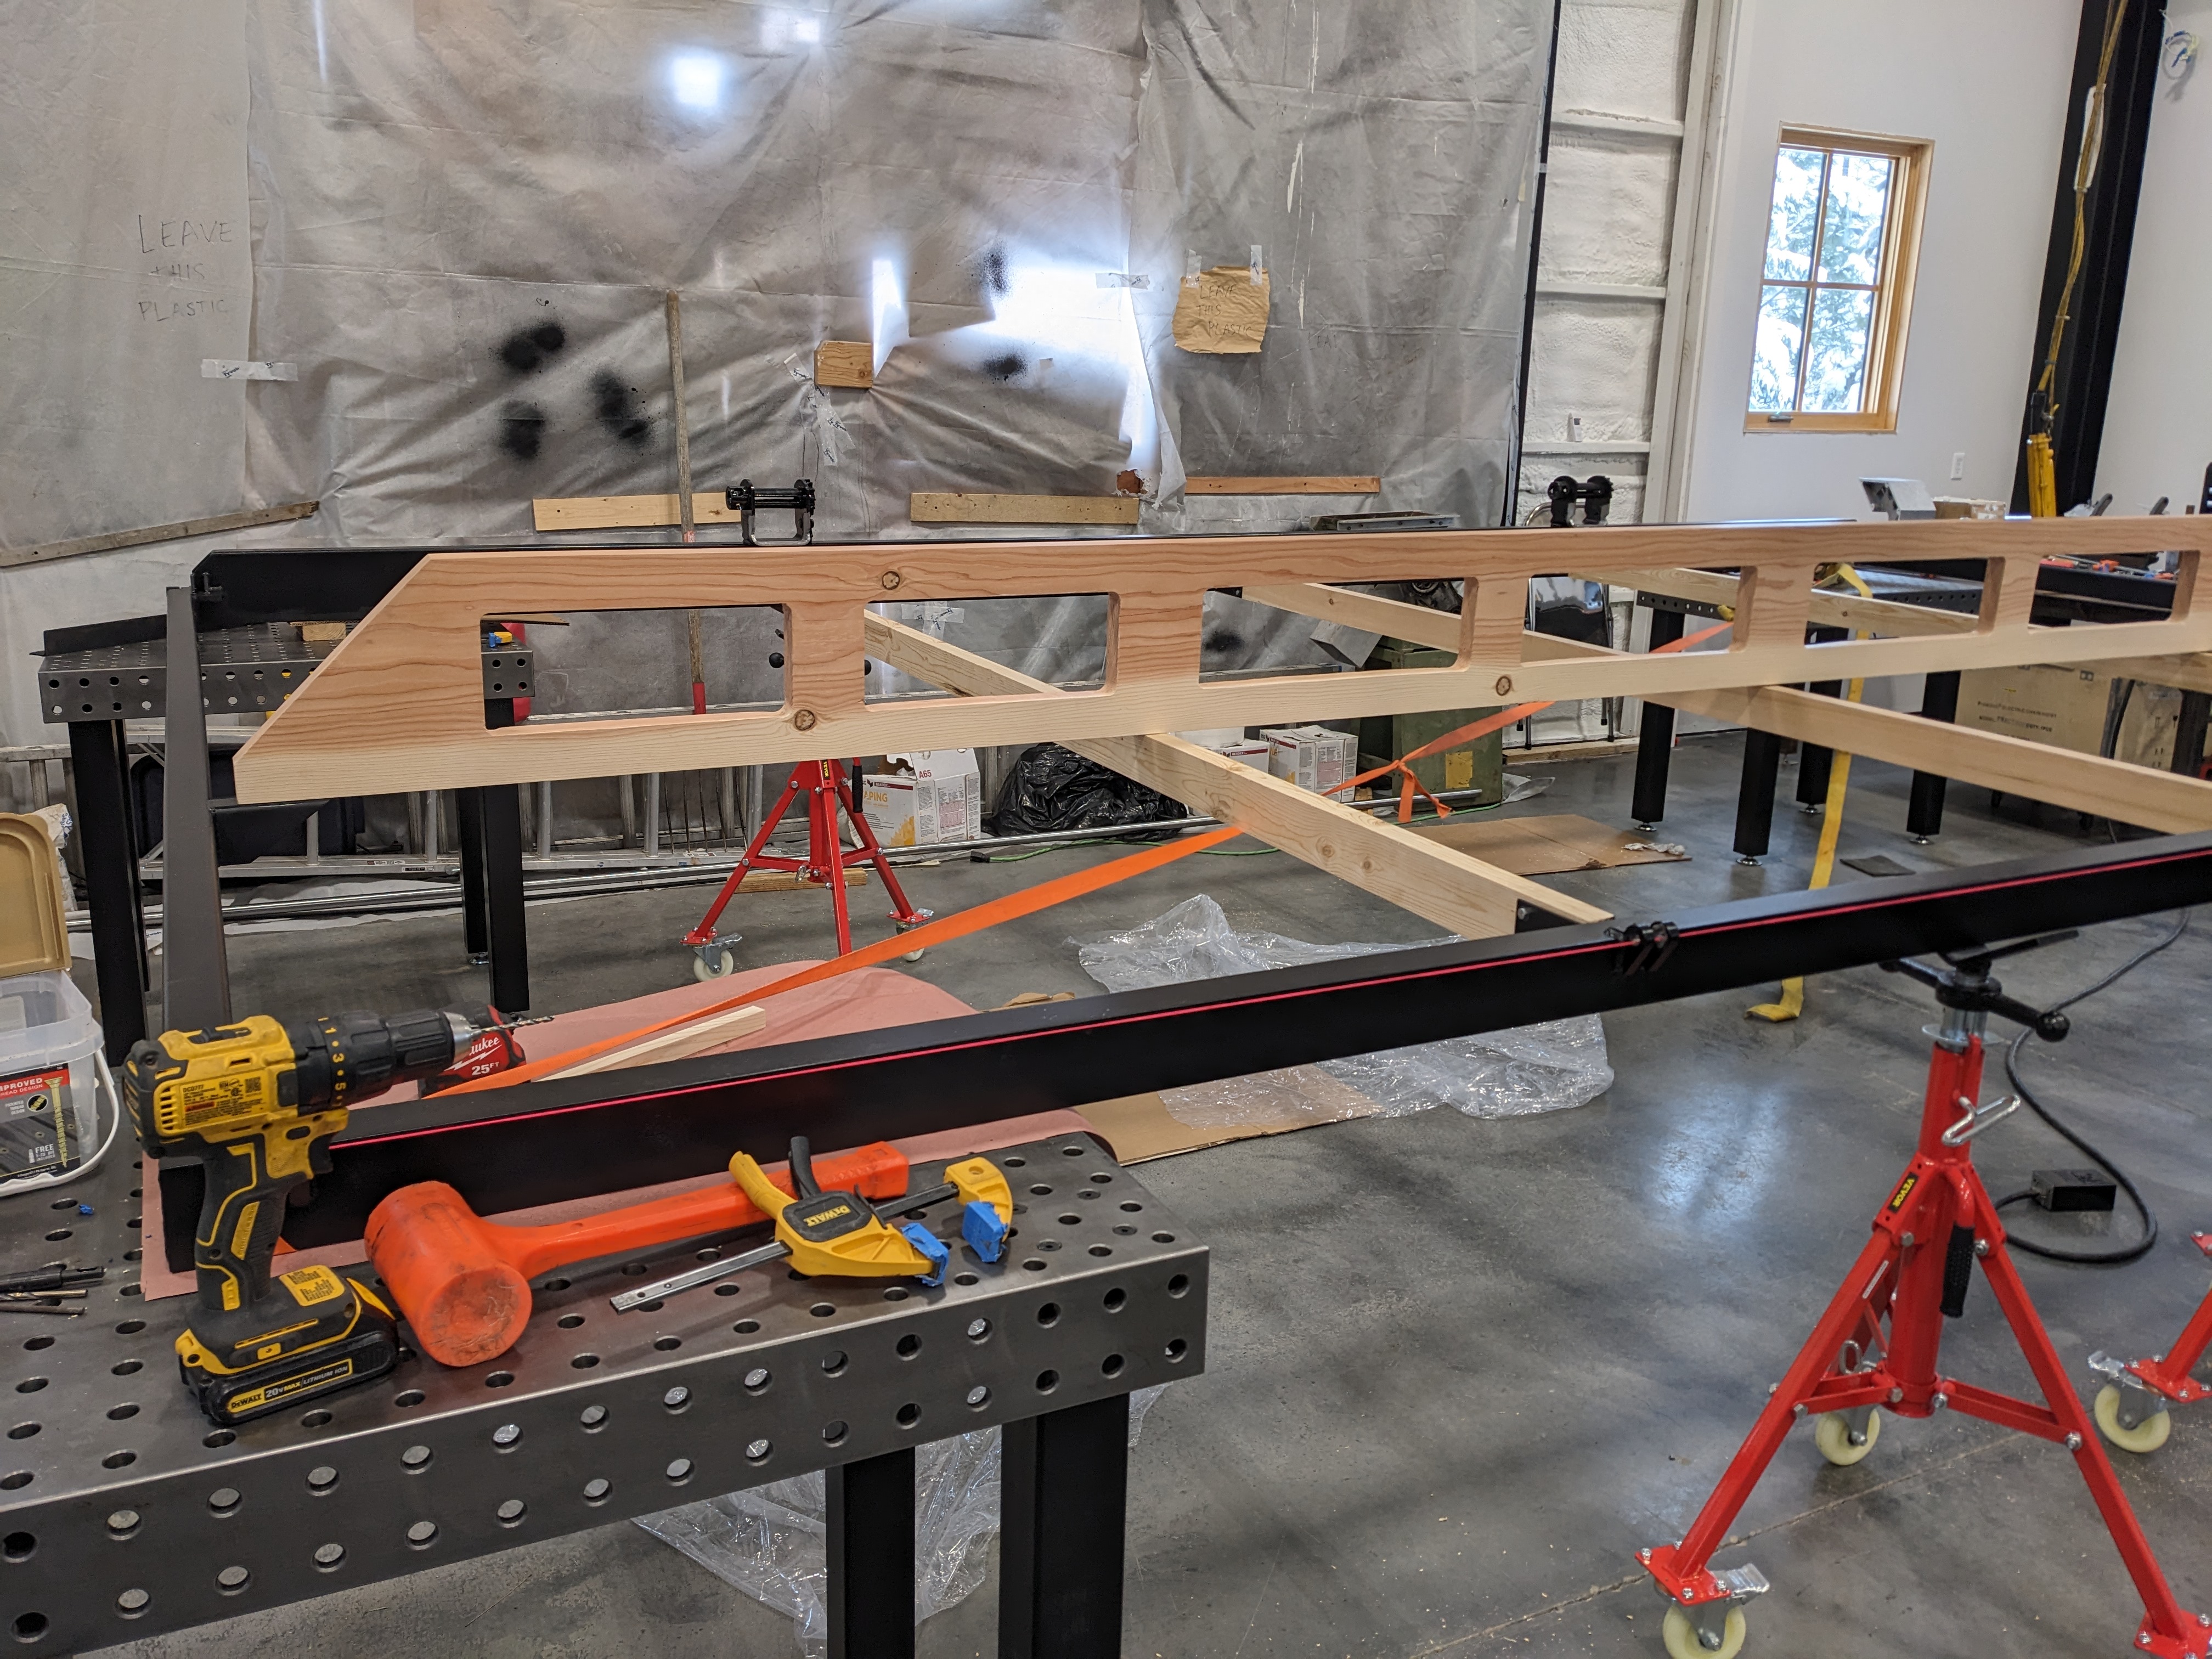
We hand painted the rest of the frame, as it was too big to take outside. Then we made a big stiffener out of a 2×12. We removed material with a jigsaw to reduce the weight. It looks real nice- too bad you won’t be able to see it in the door.
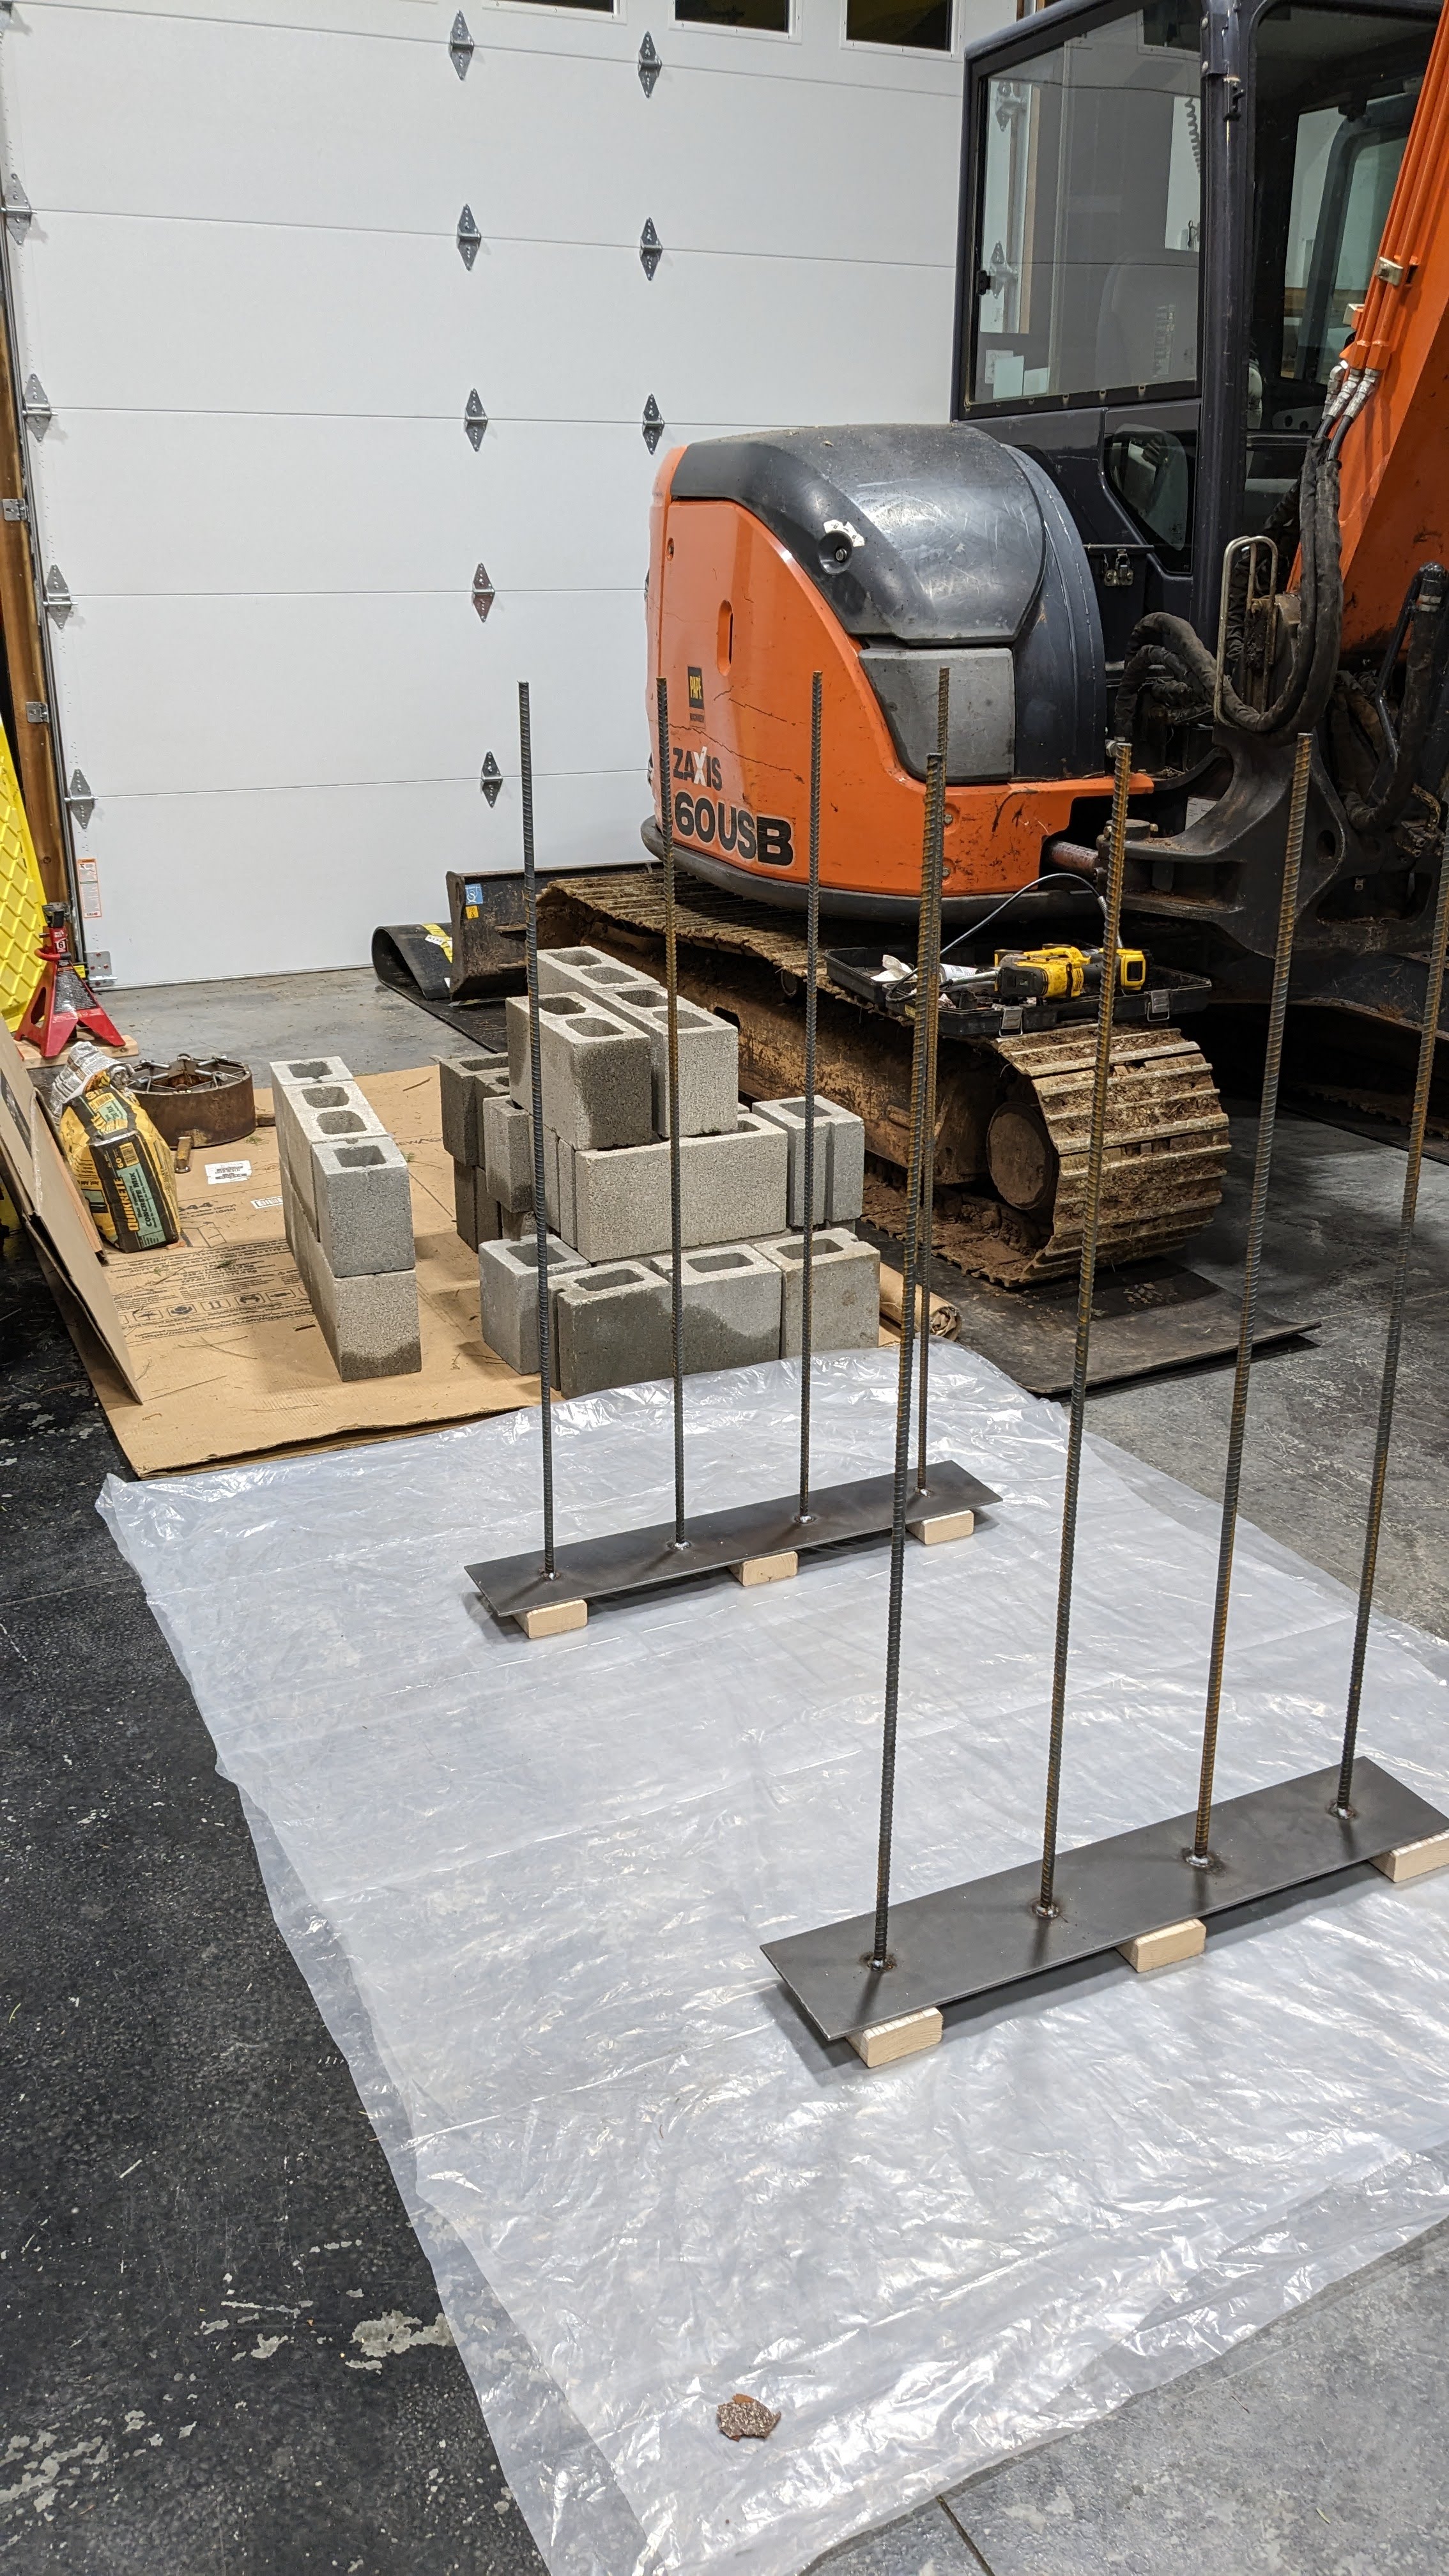
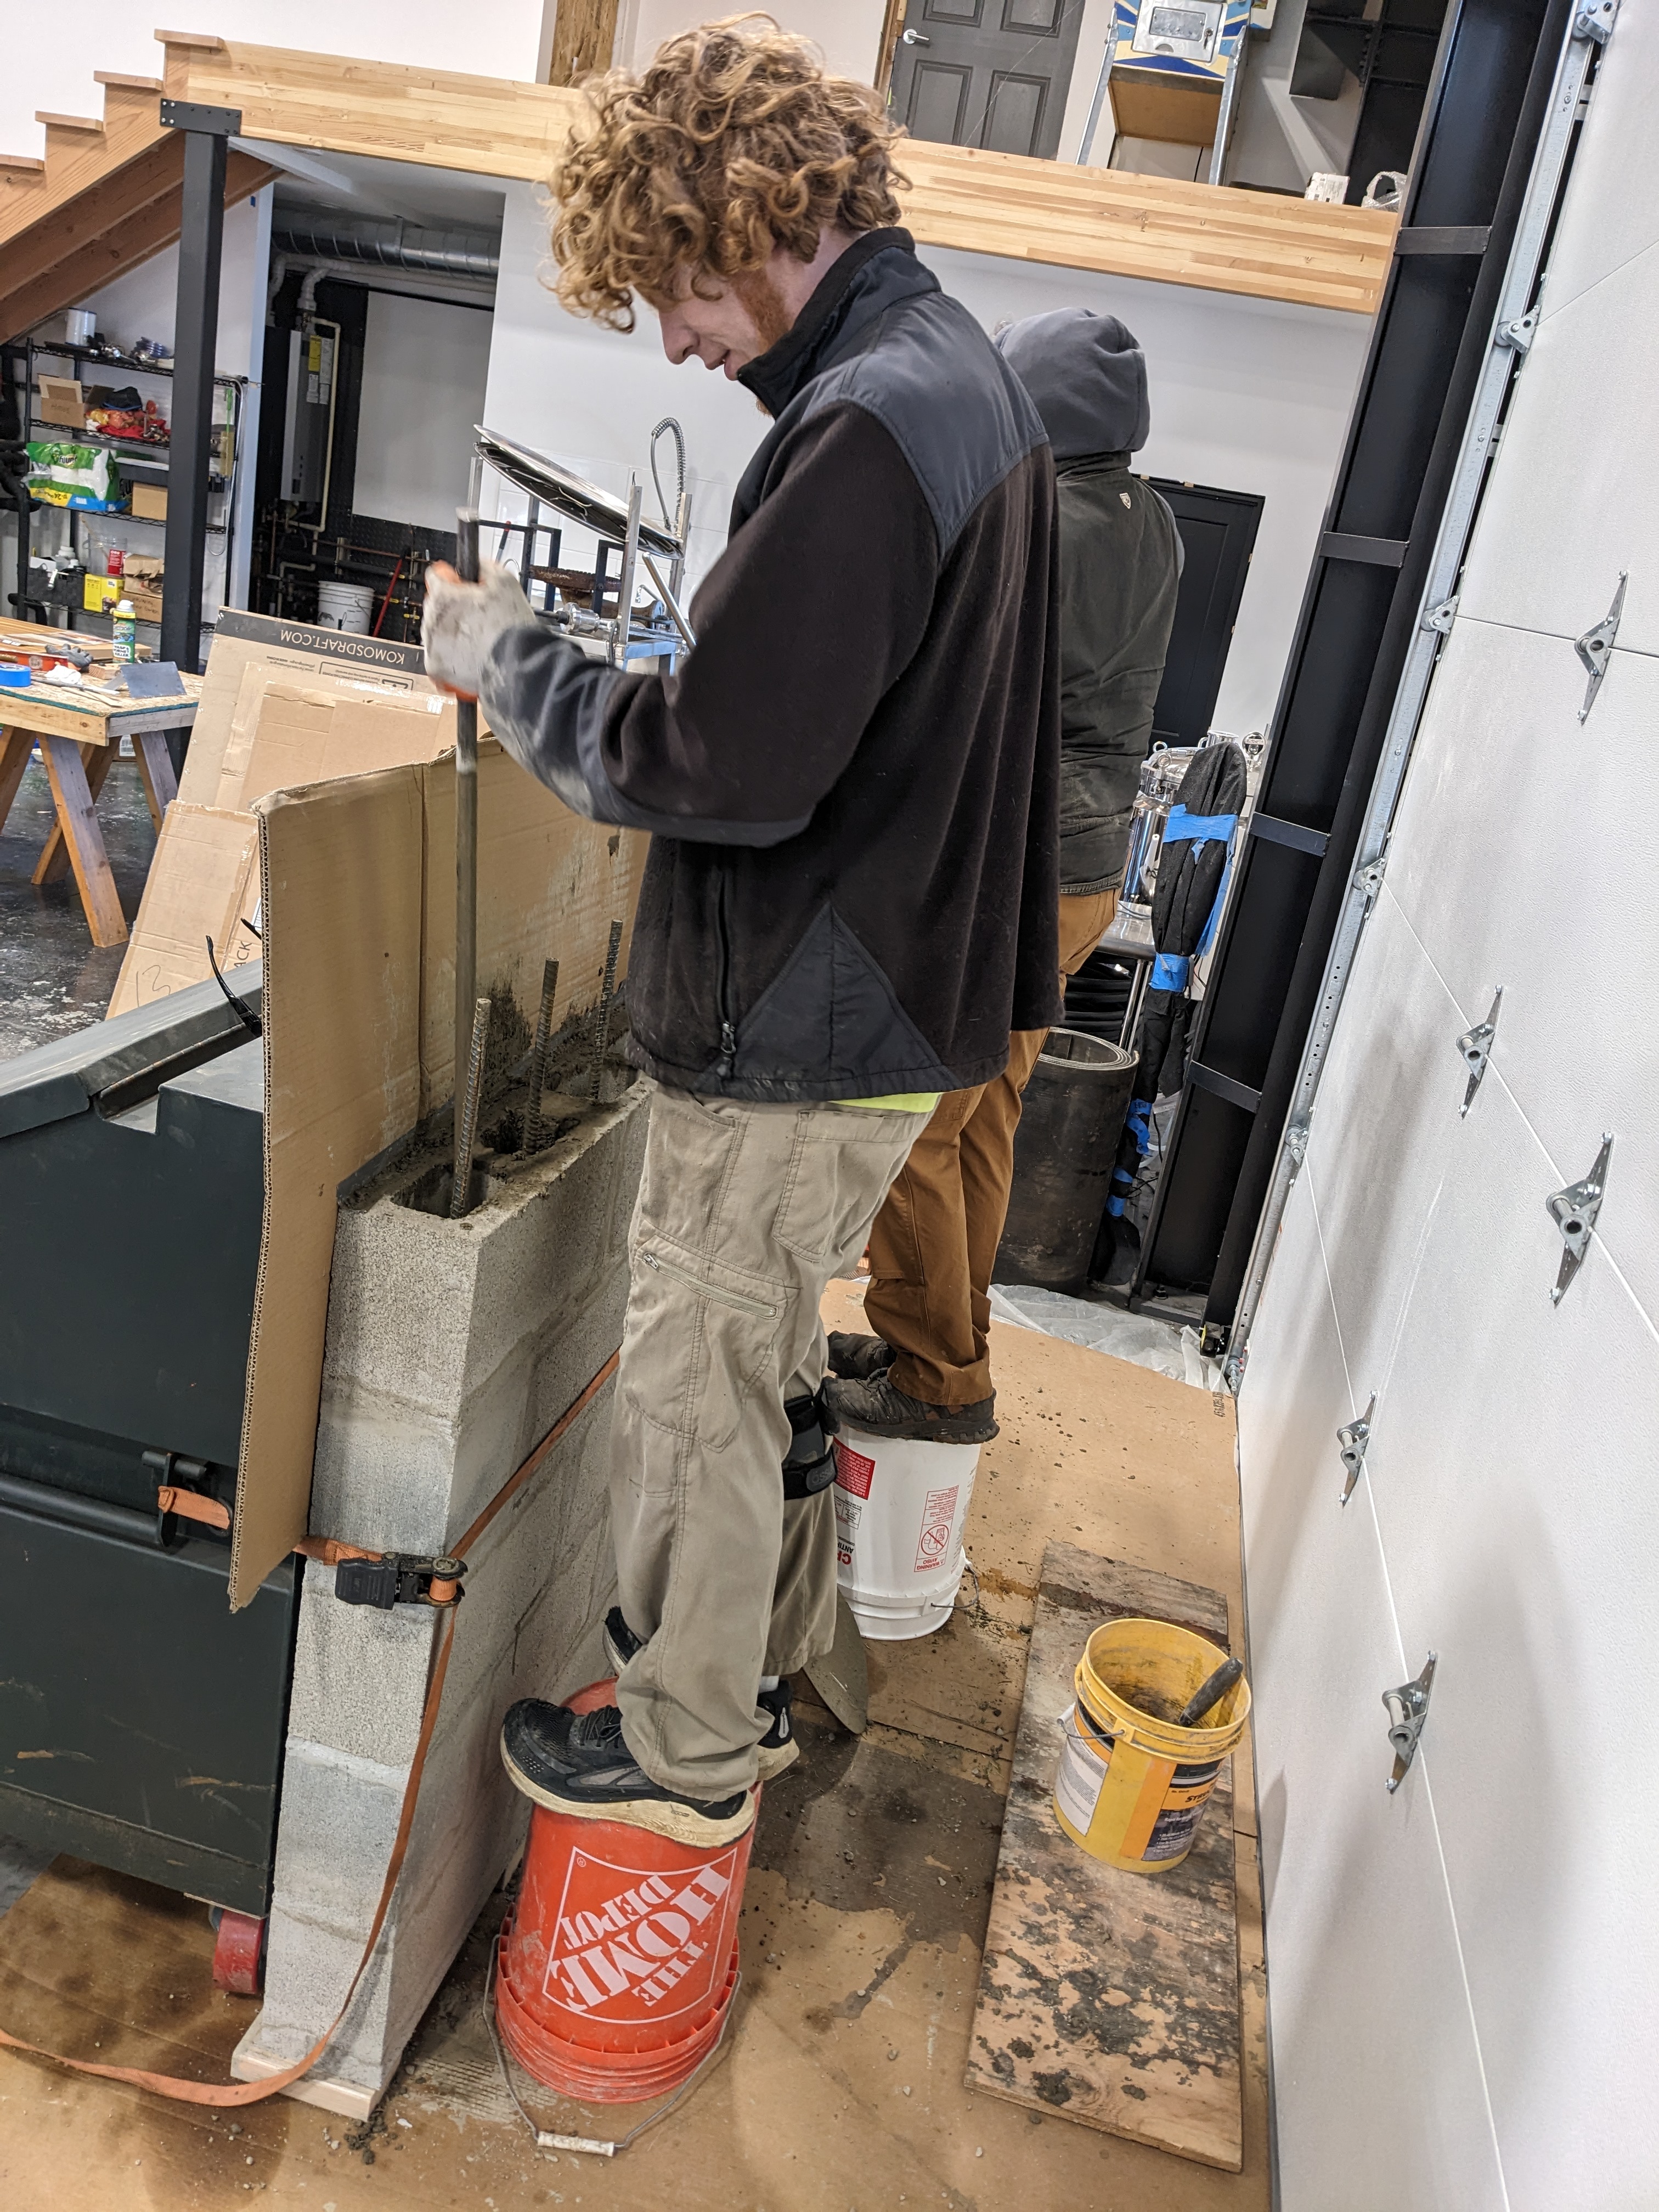
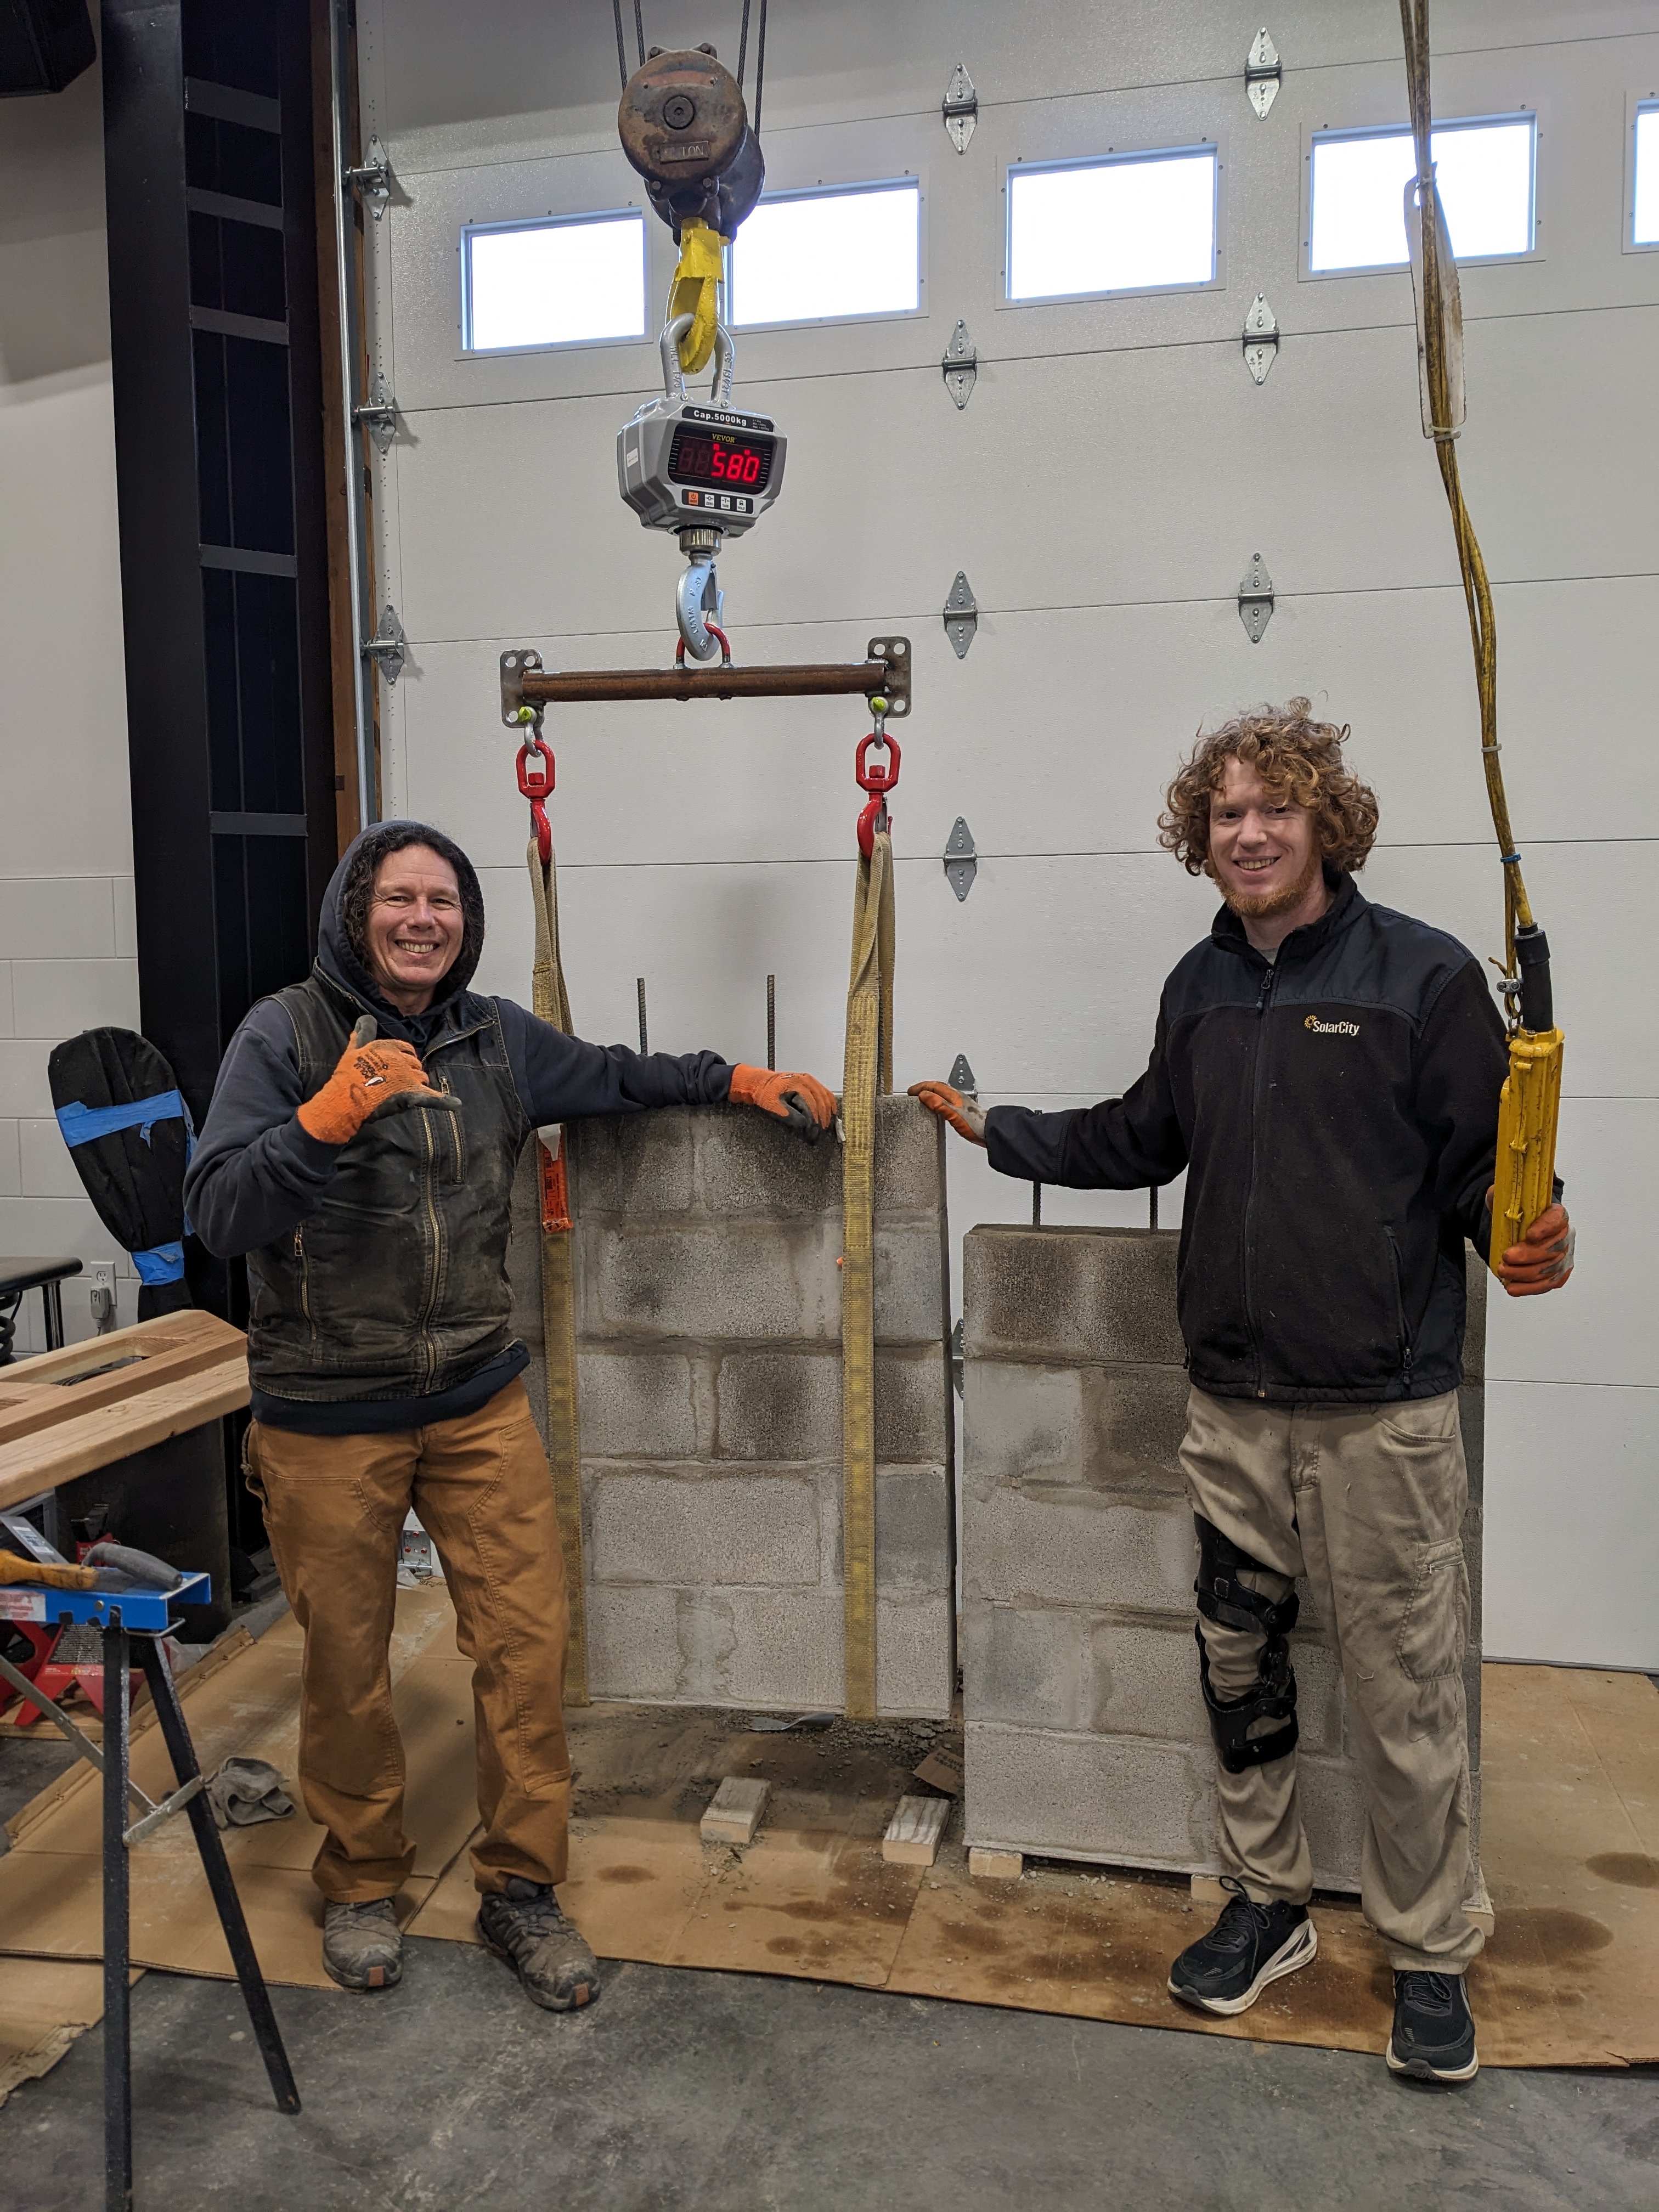
Speaking of weight… the door is going to be a heavy one. The whole thing should weigh around 1500 lbs! That could easily crush a cat or our frail boat, so Sam designed a counterweight system for safety. The counterweights will also take some load off the opener. The counterweights are nothing fancy- just some cinder blocks stacked up. Sam welded a base, and Carlos took on the masonry project. I took photos and kept Buster out of the wet mortar. We made one for each side of the door, each weighing in around 580 lbs.
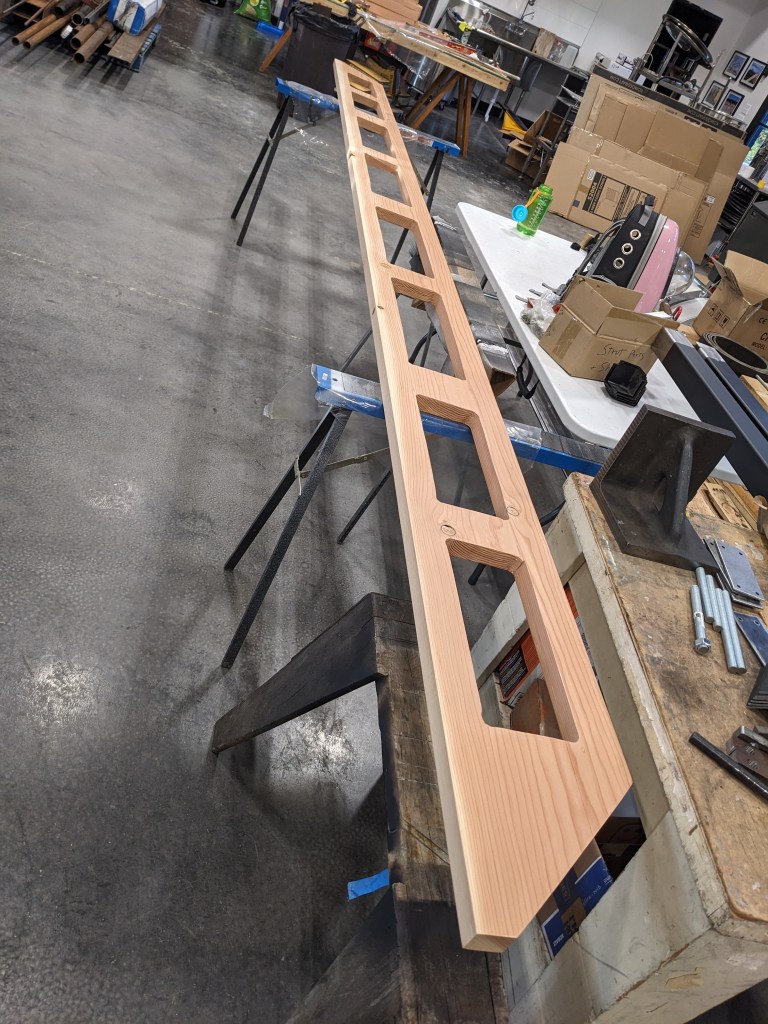
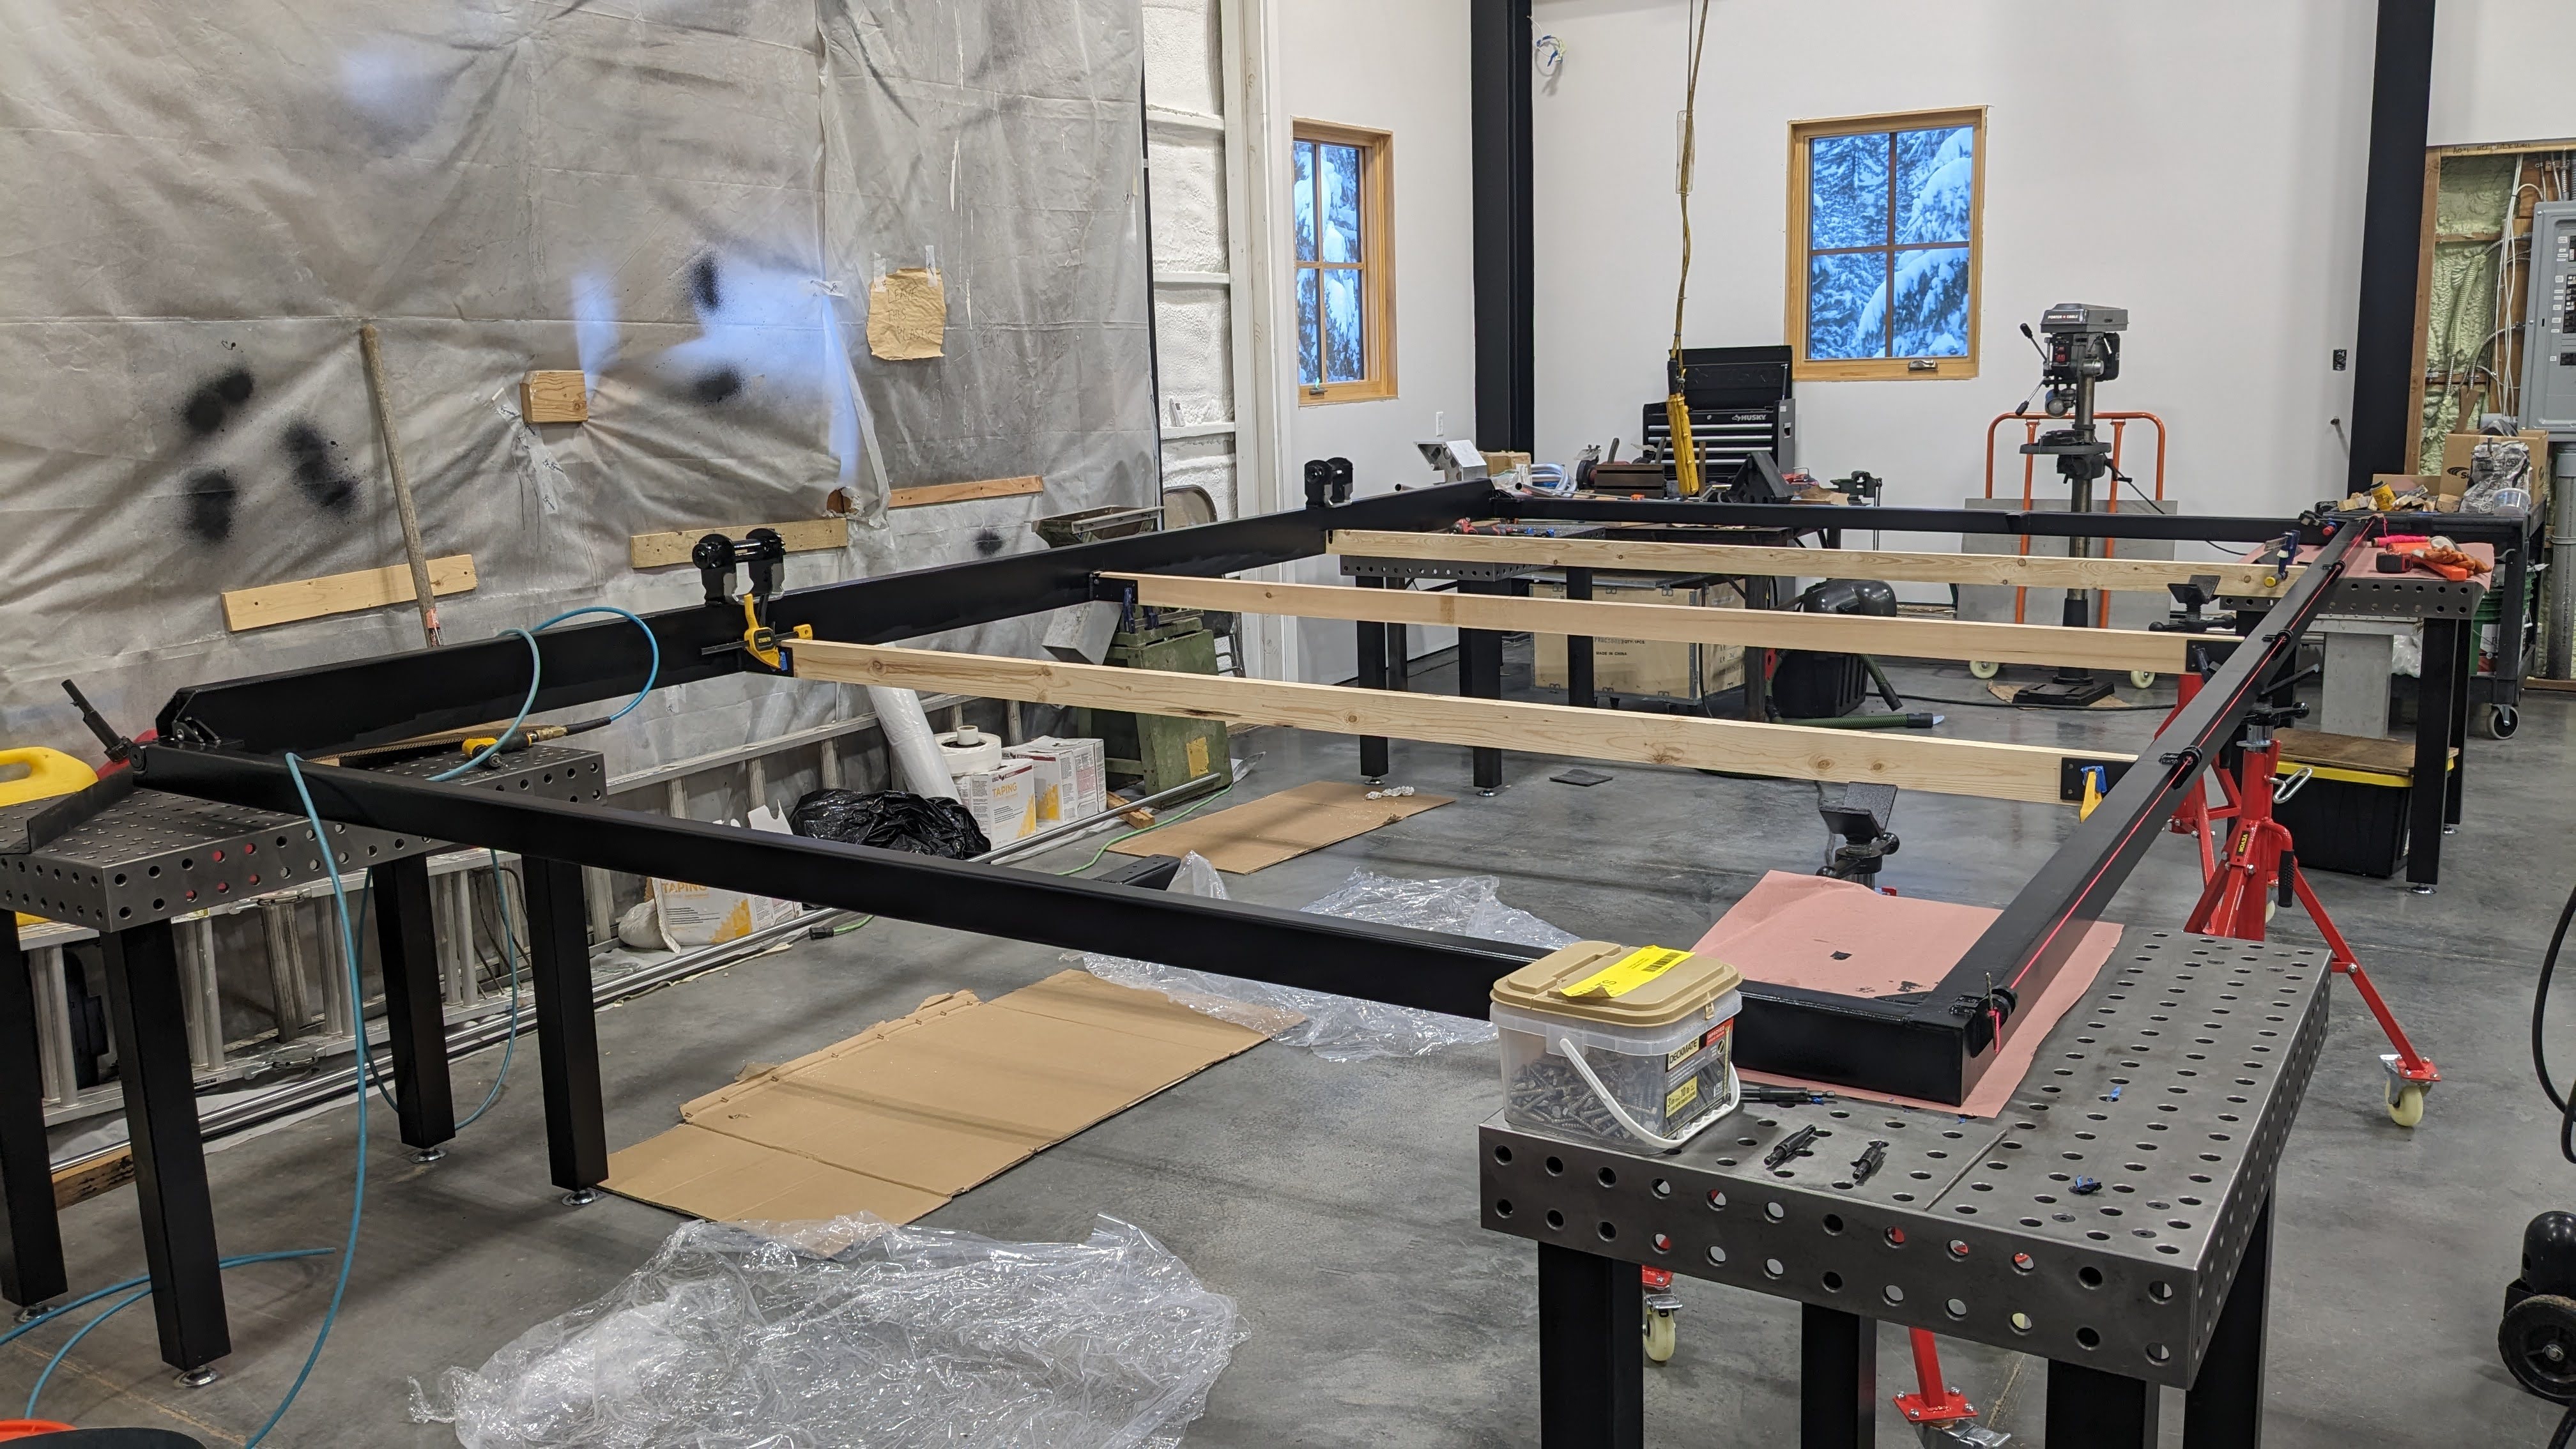
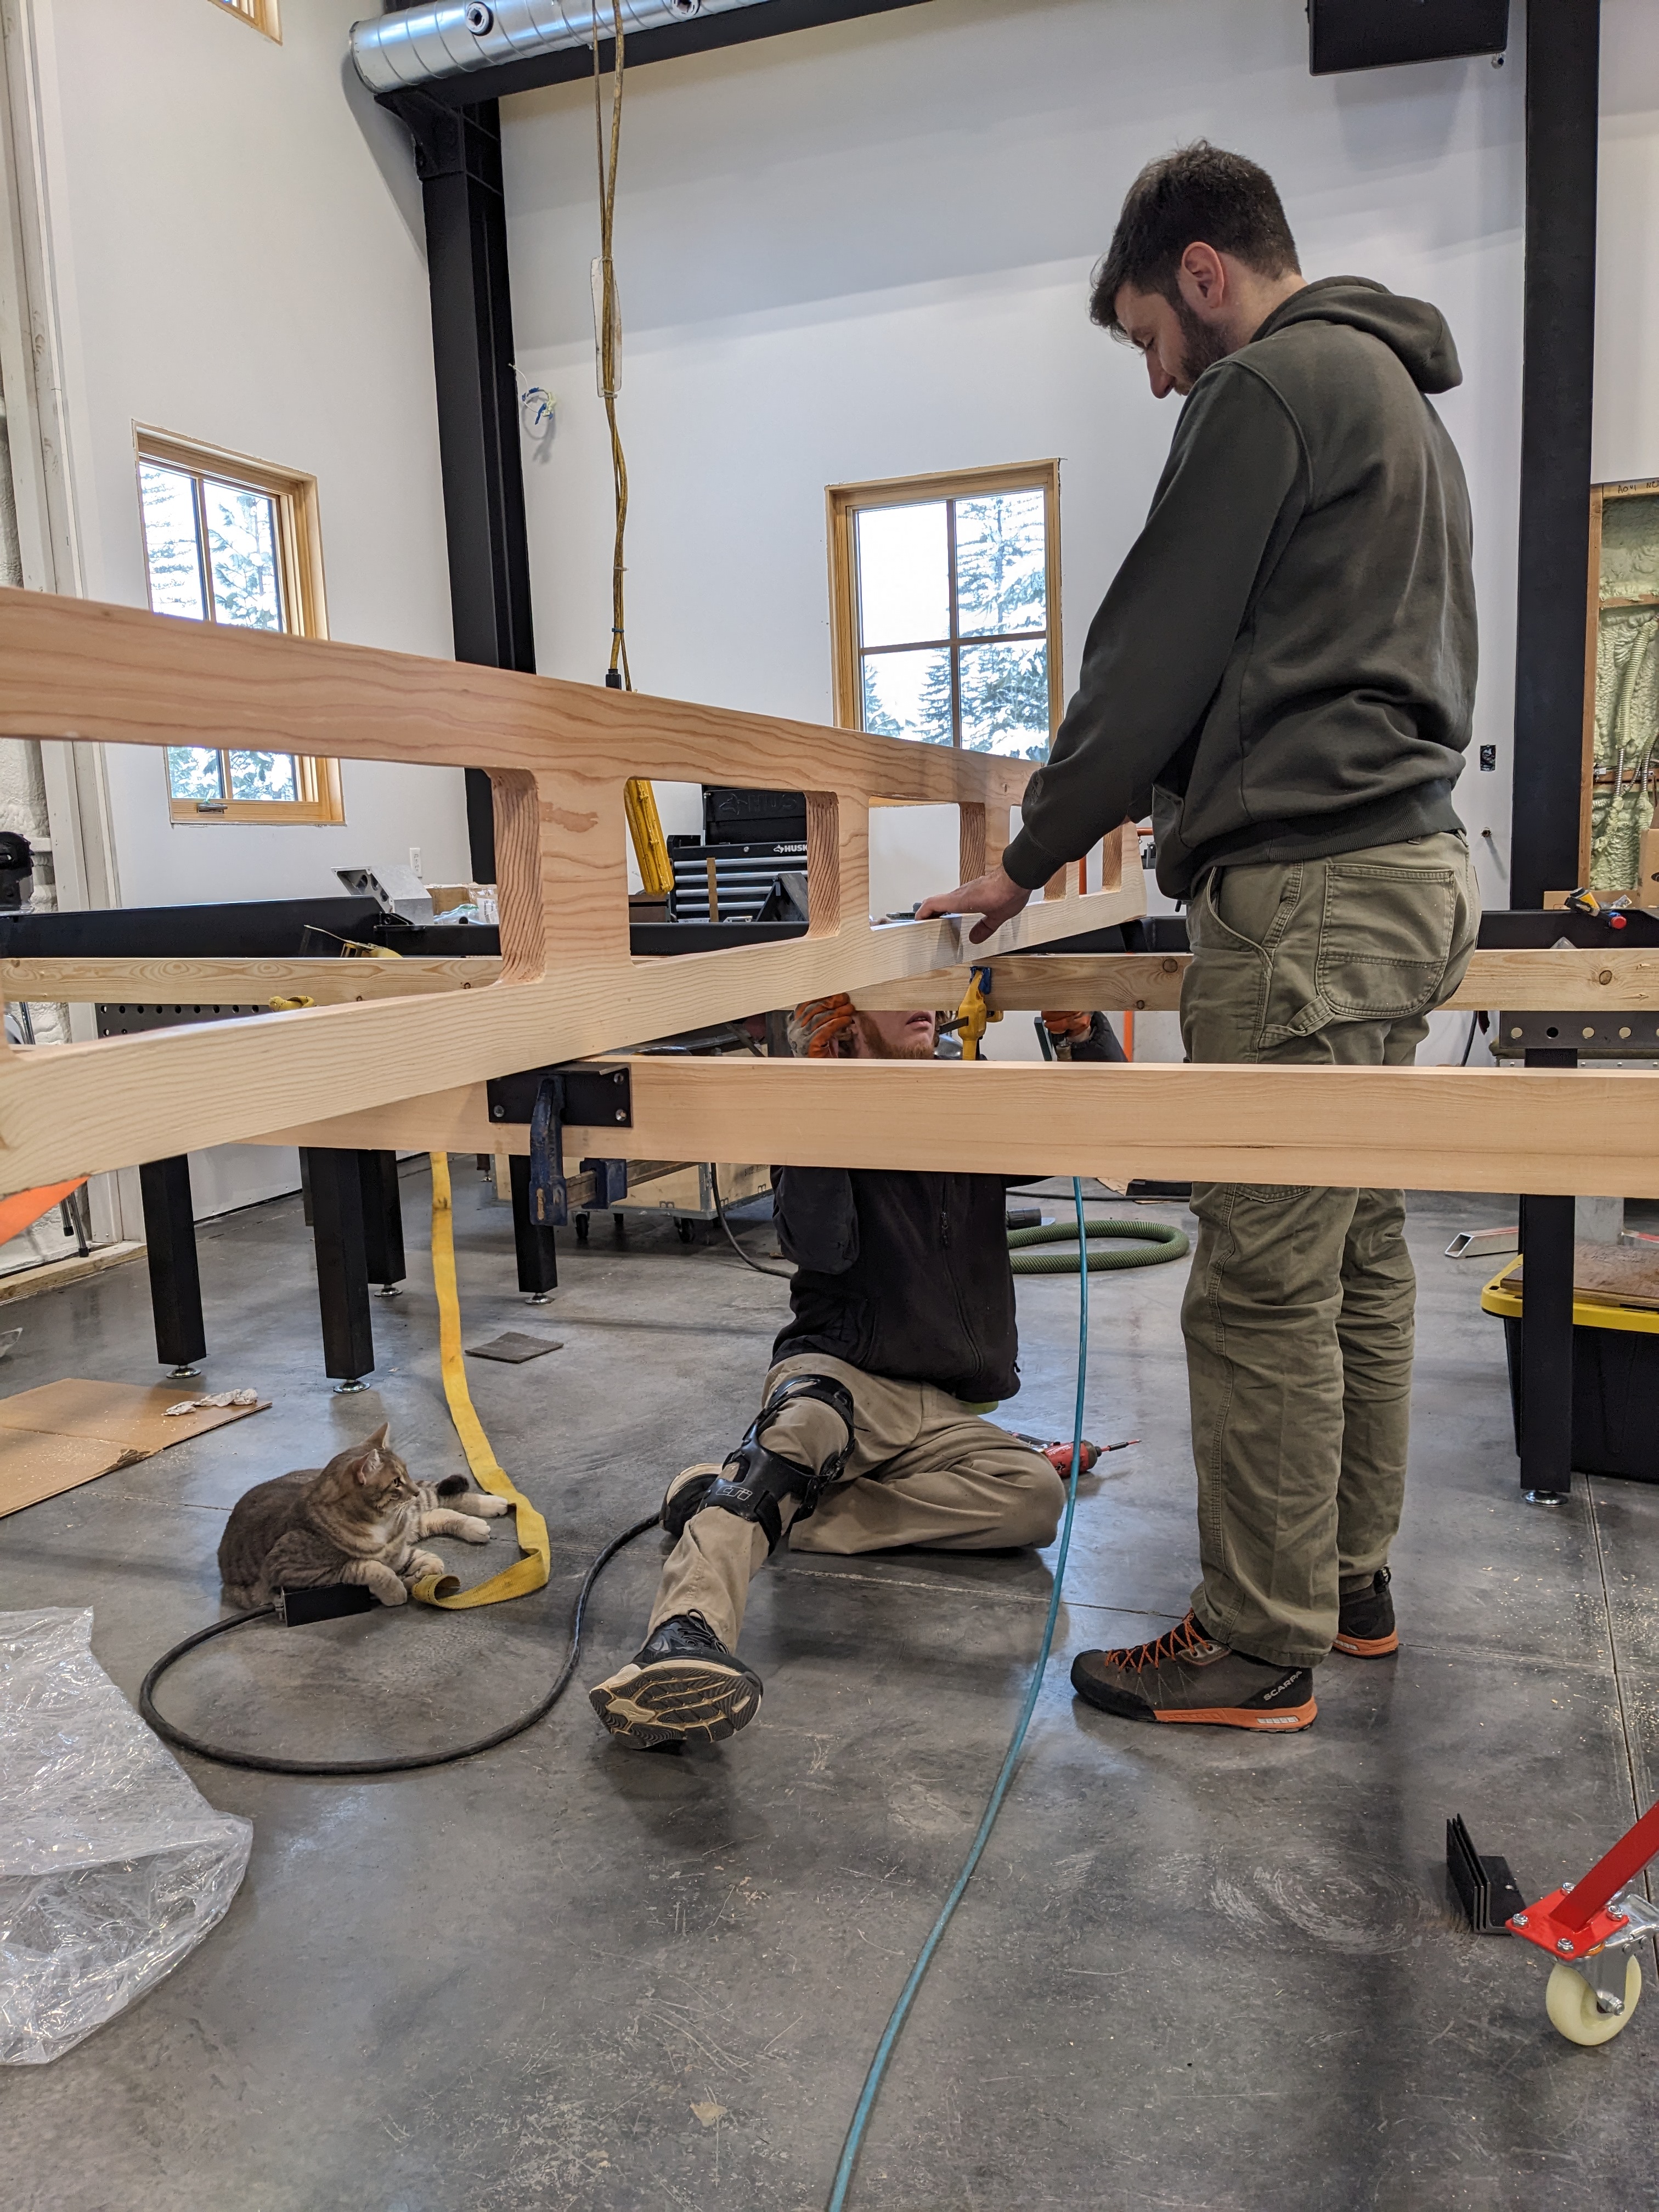
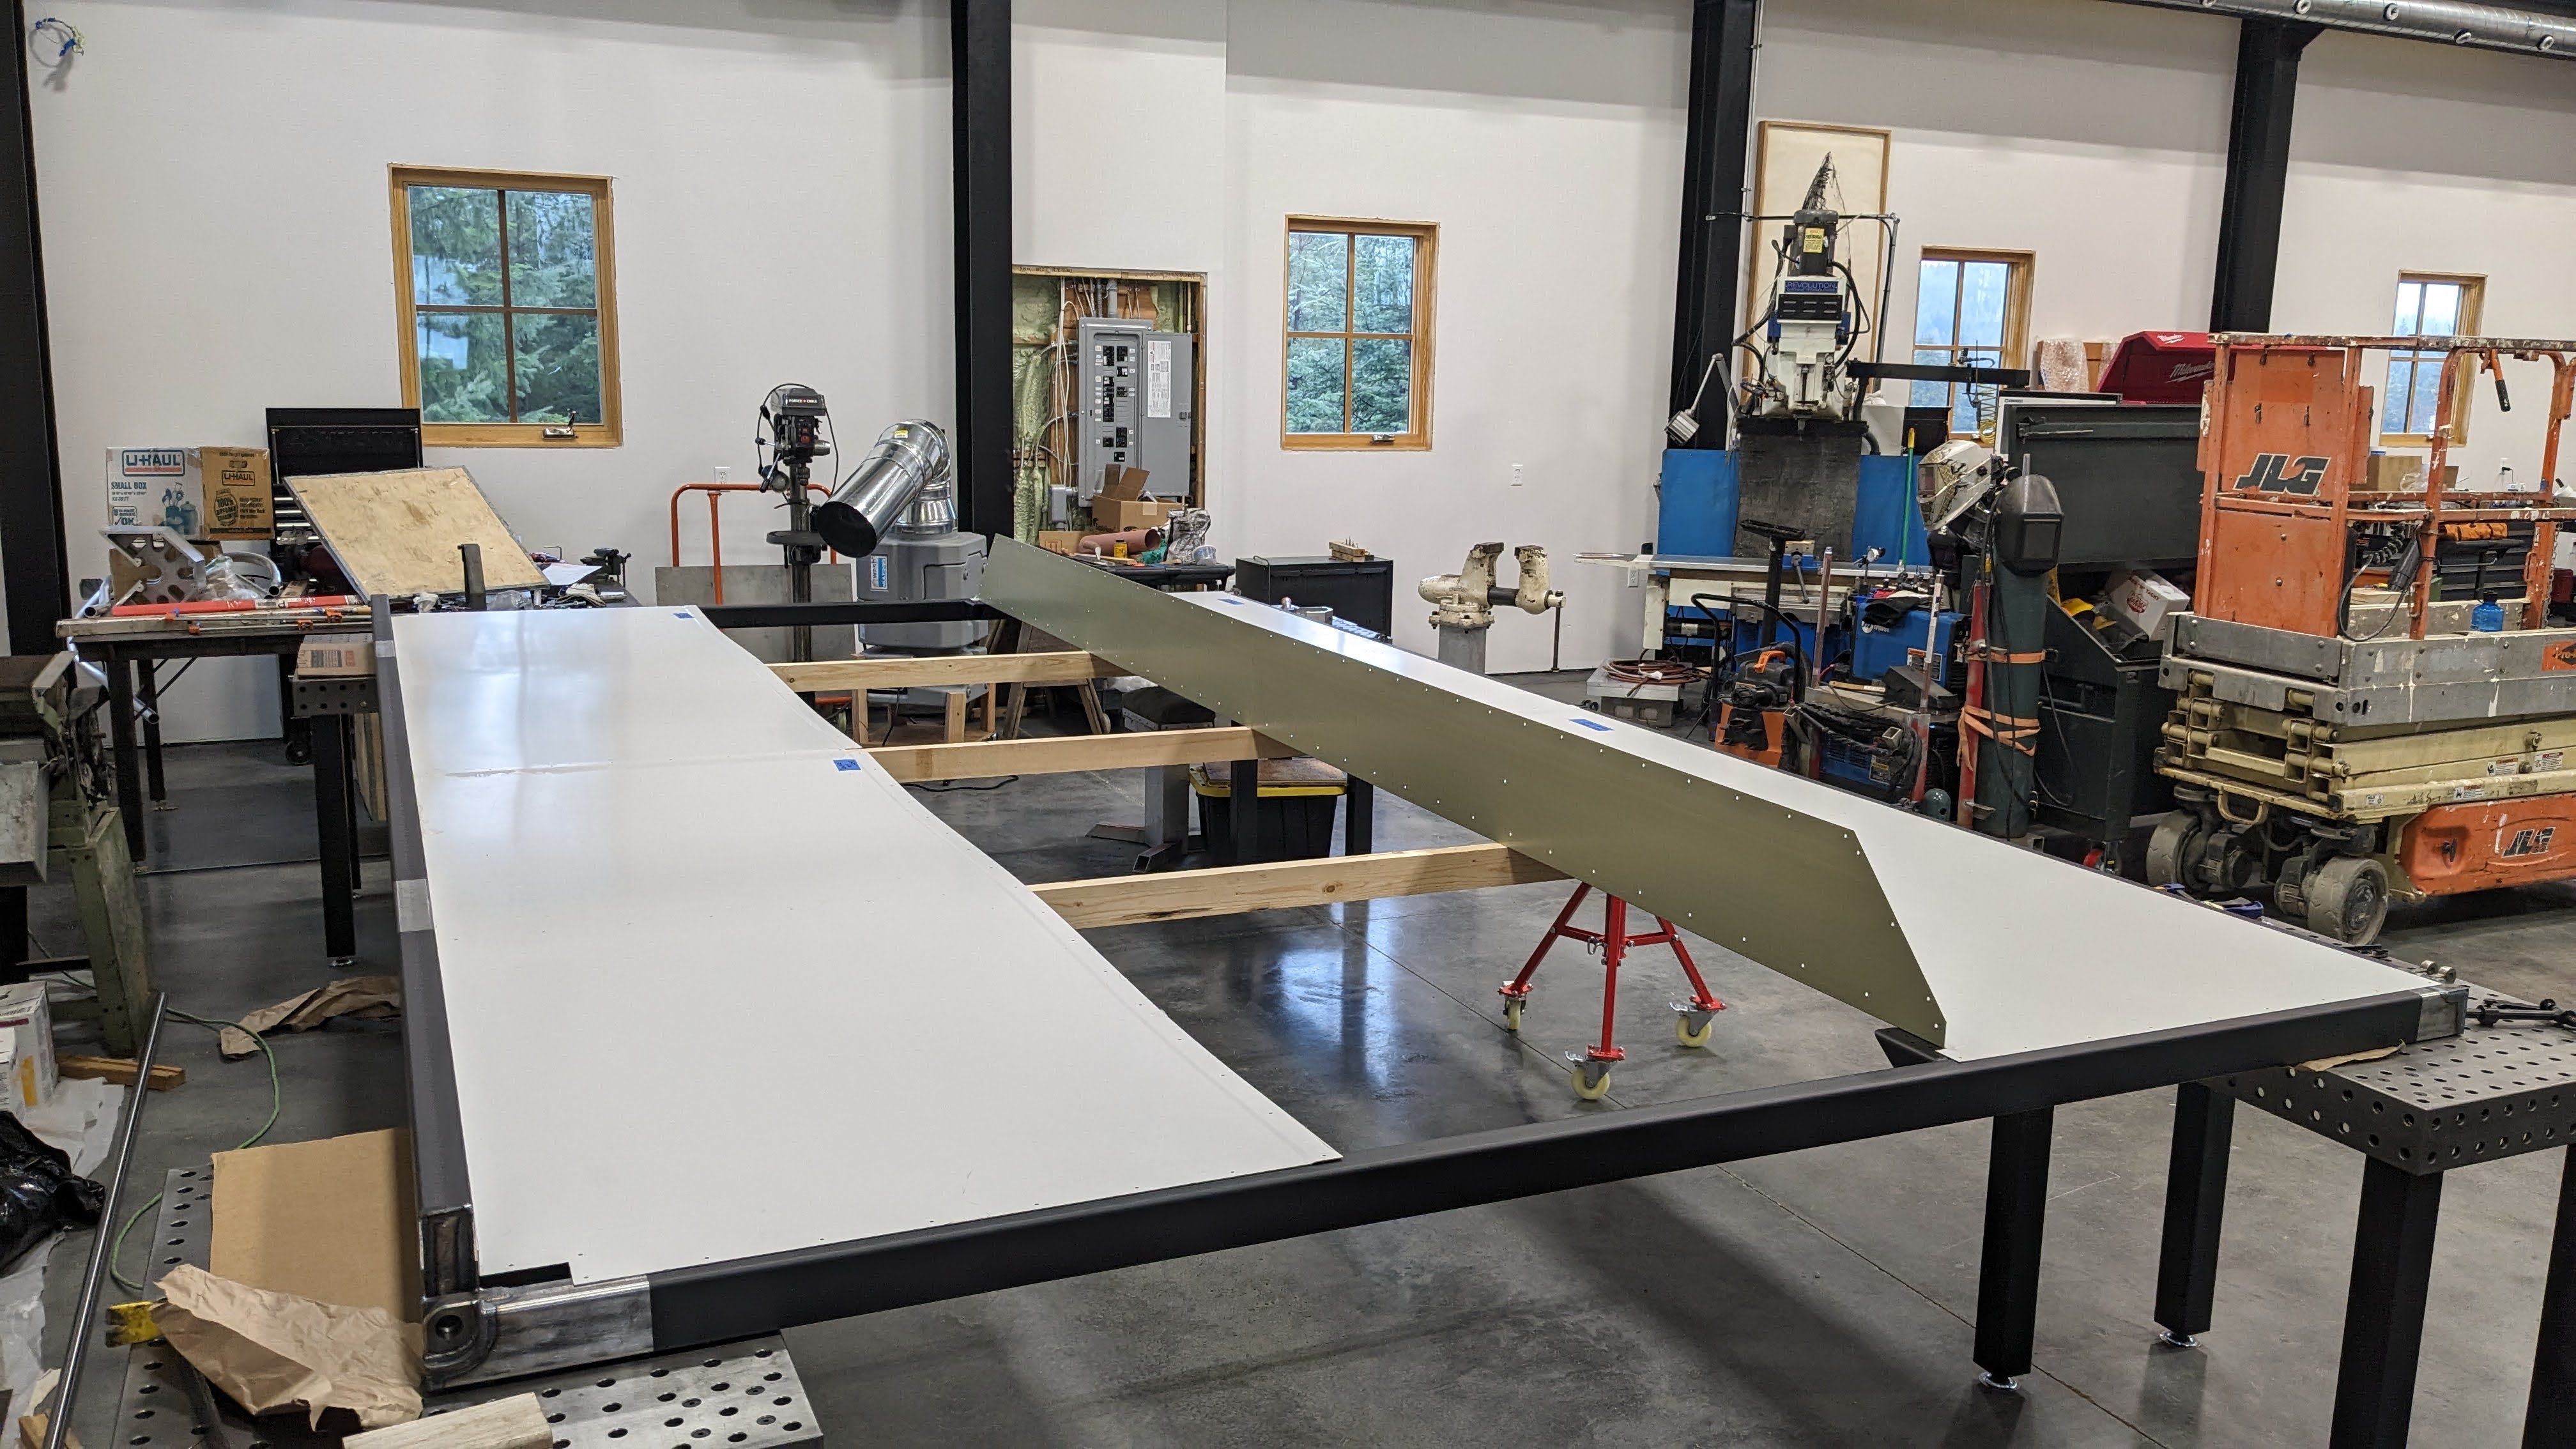
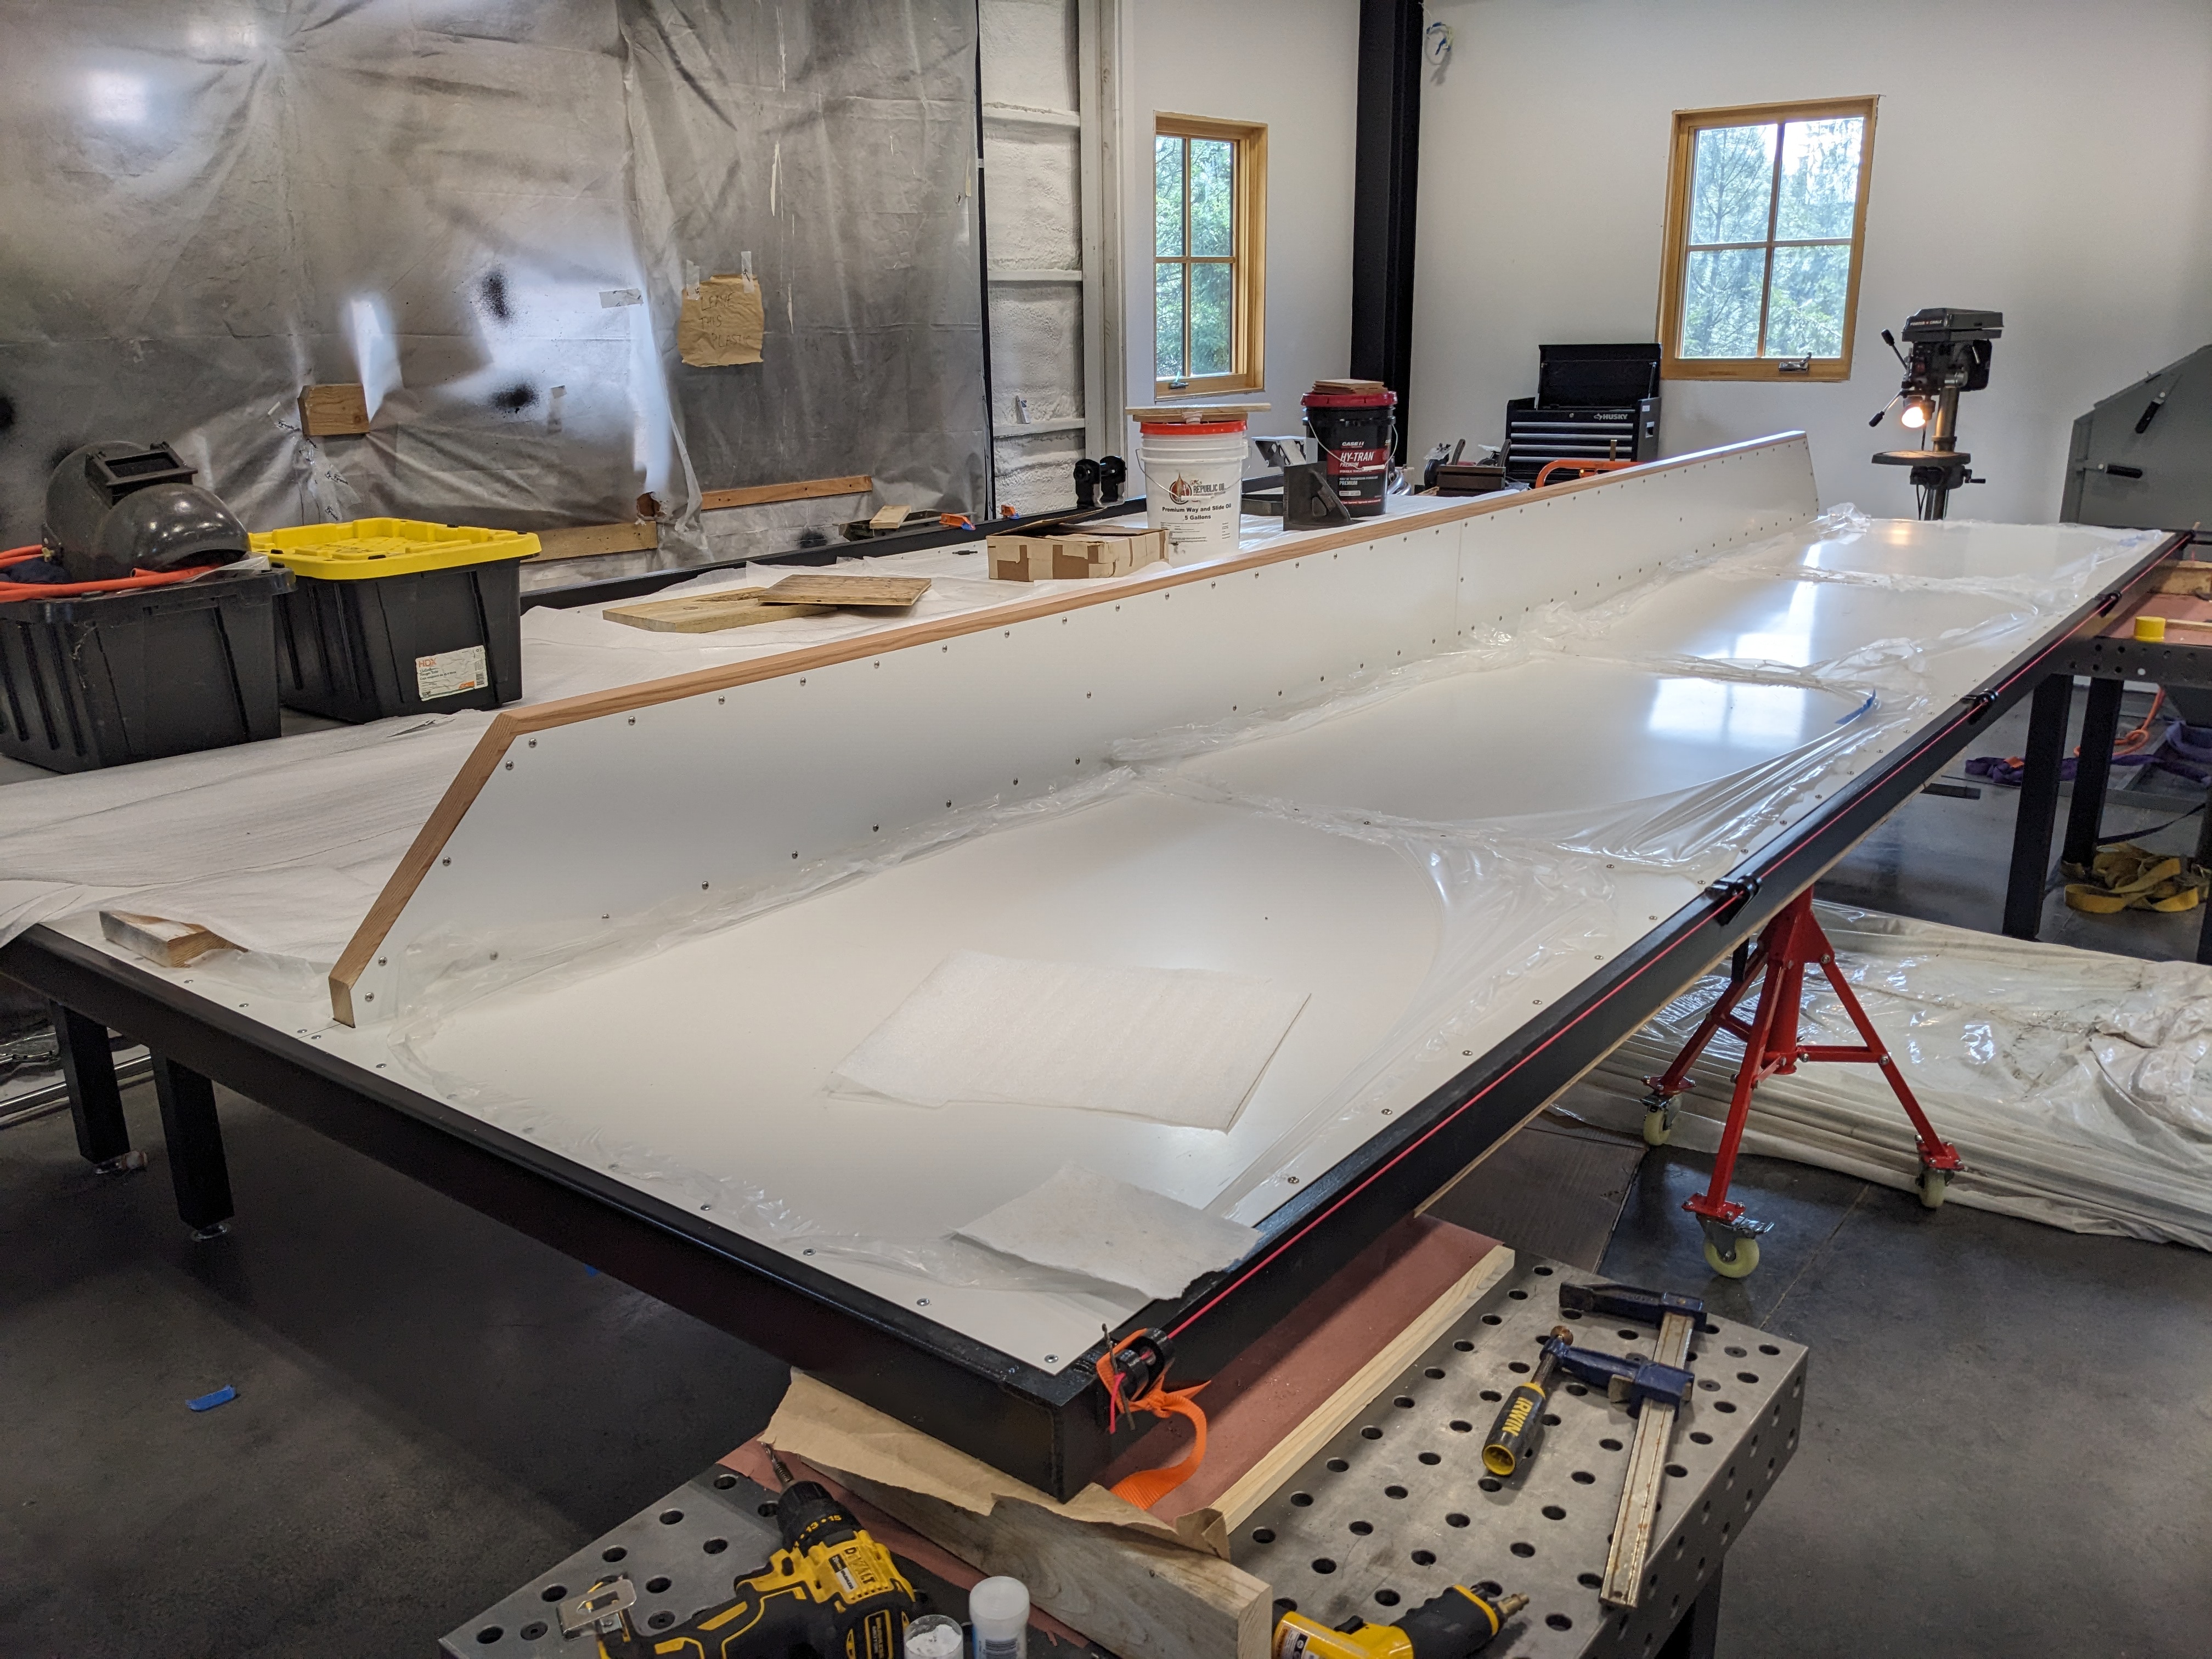
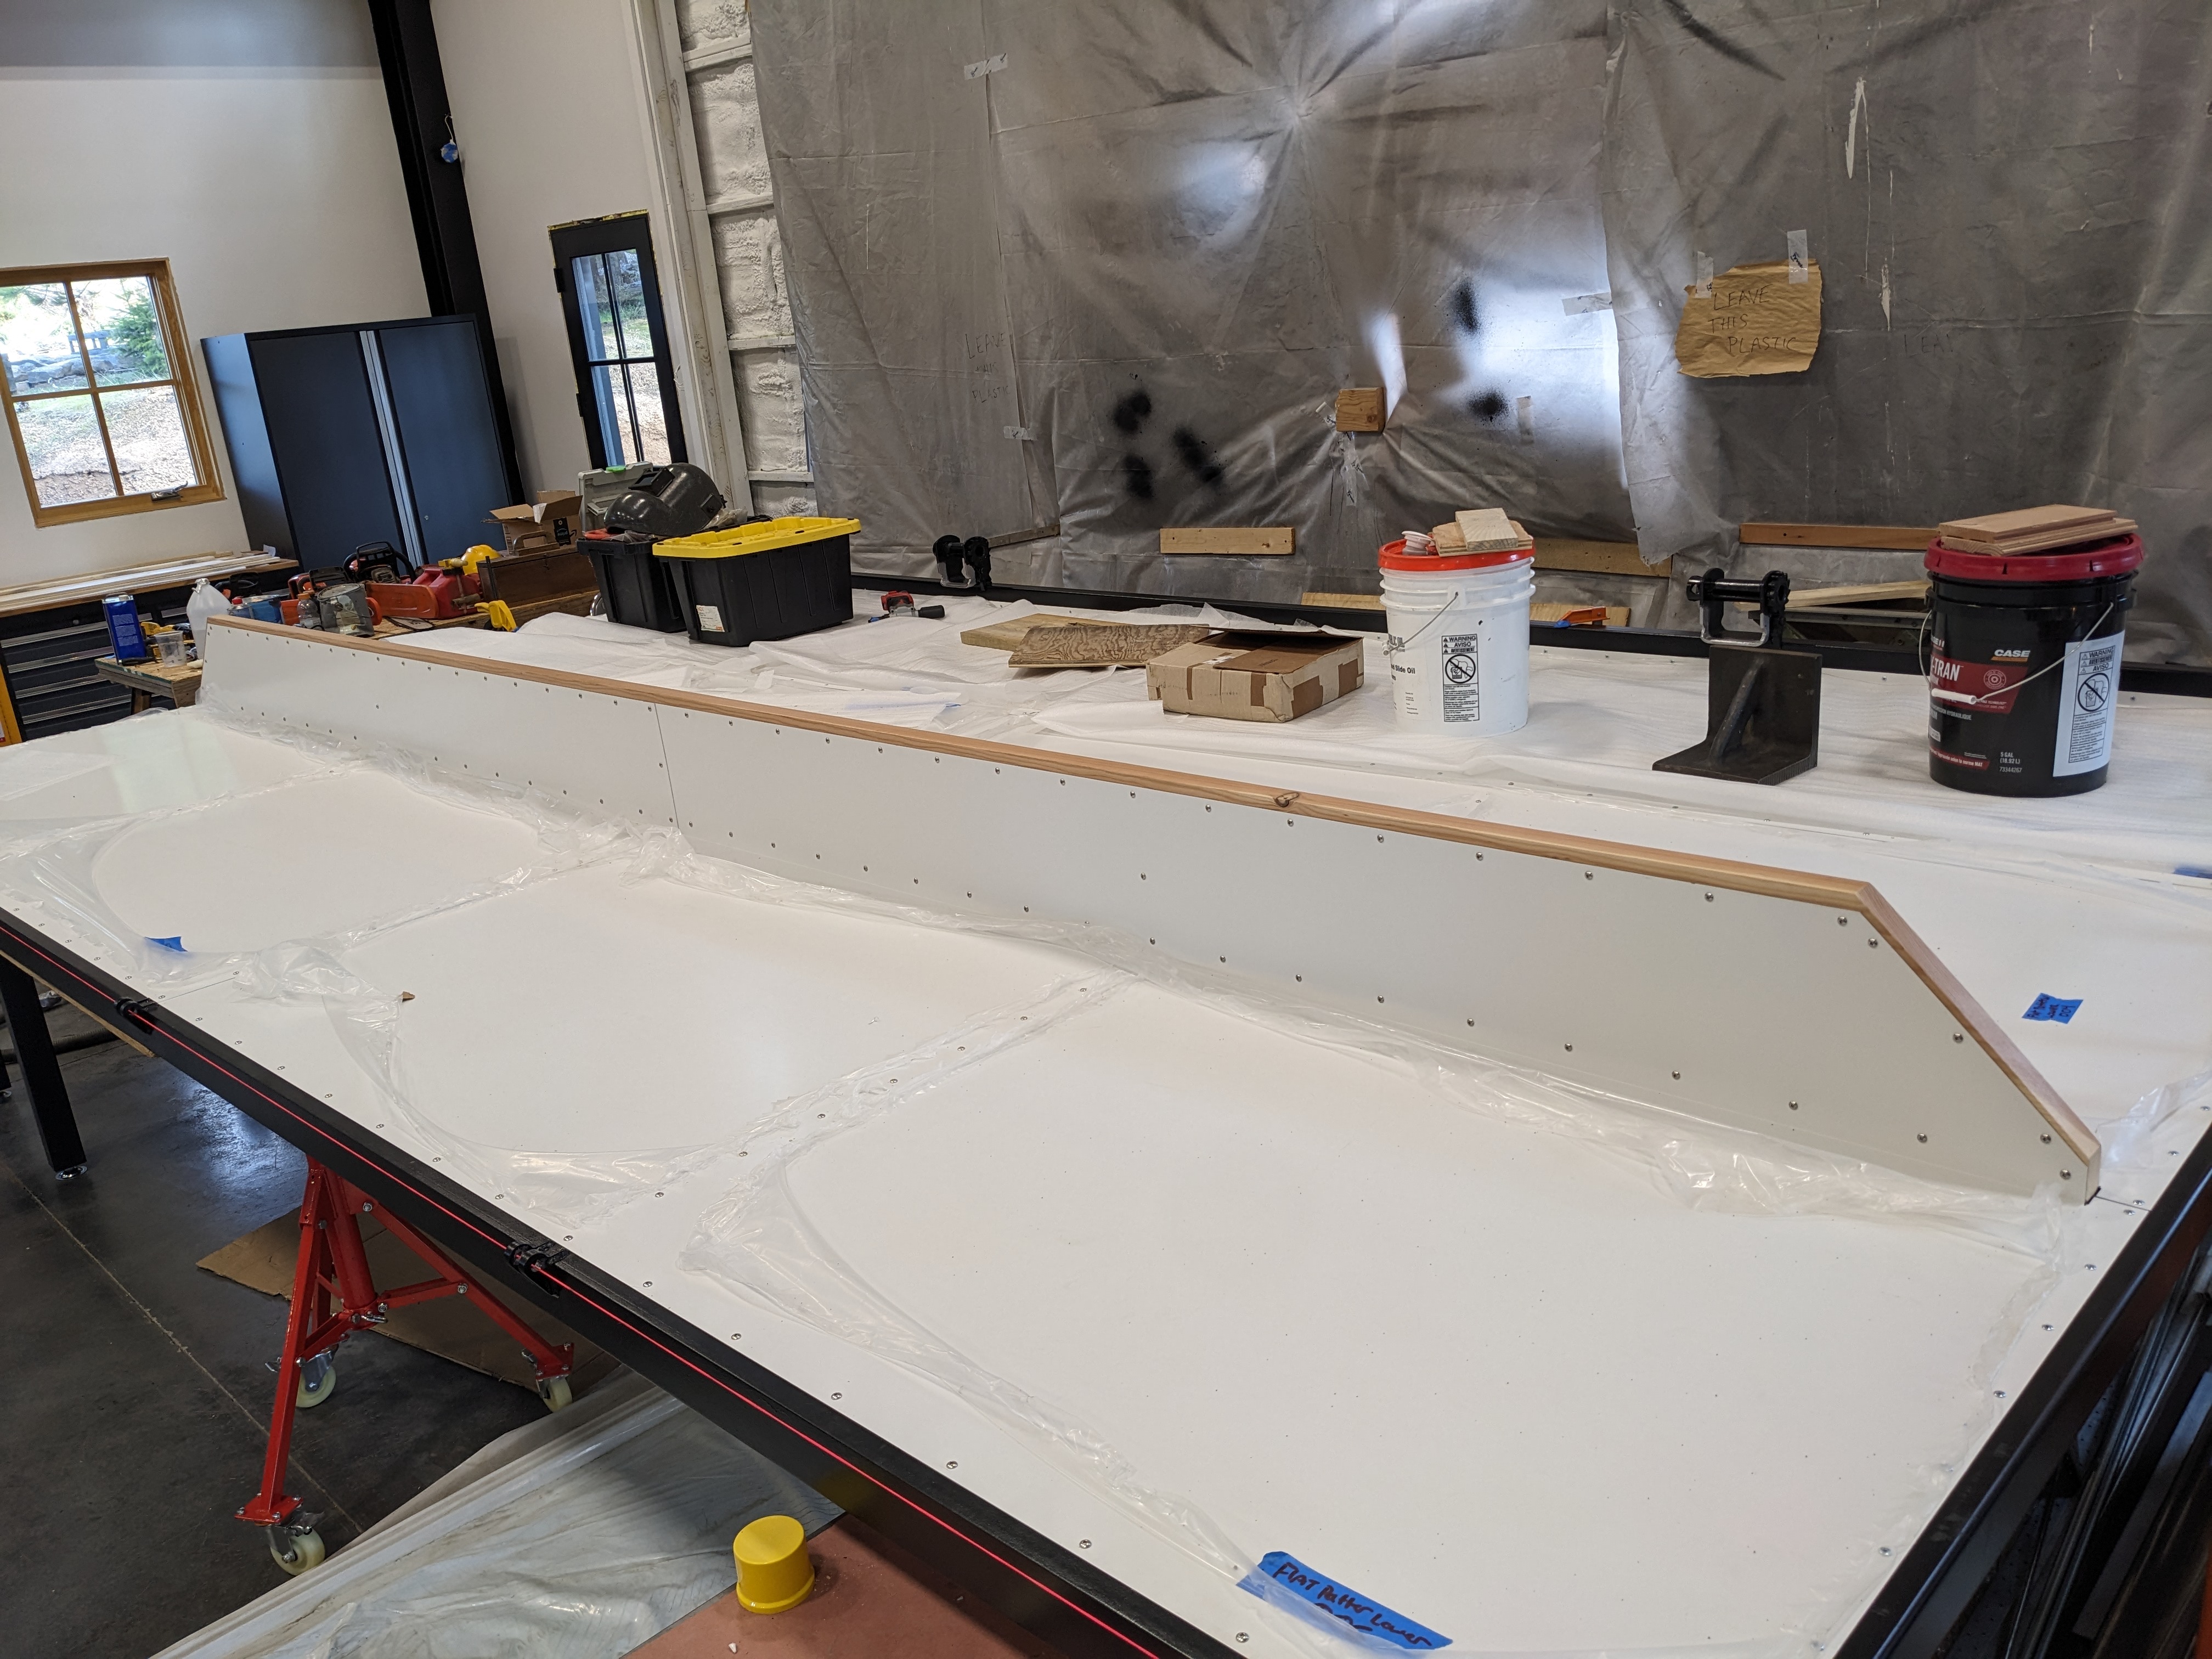
For additional weight savings, we used wood instead of steel for the internal supports. The cross members also help to keep the door square.
It was a little bit of a challenge to keep everything square and in-line, but we had some extra hands to help. Under Buster’s supervision, Jackson helped secure the final wood supports.

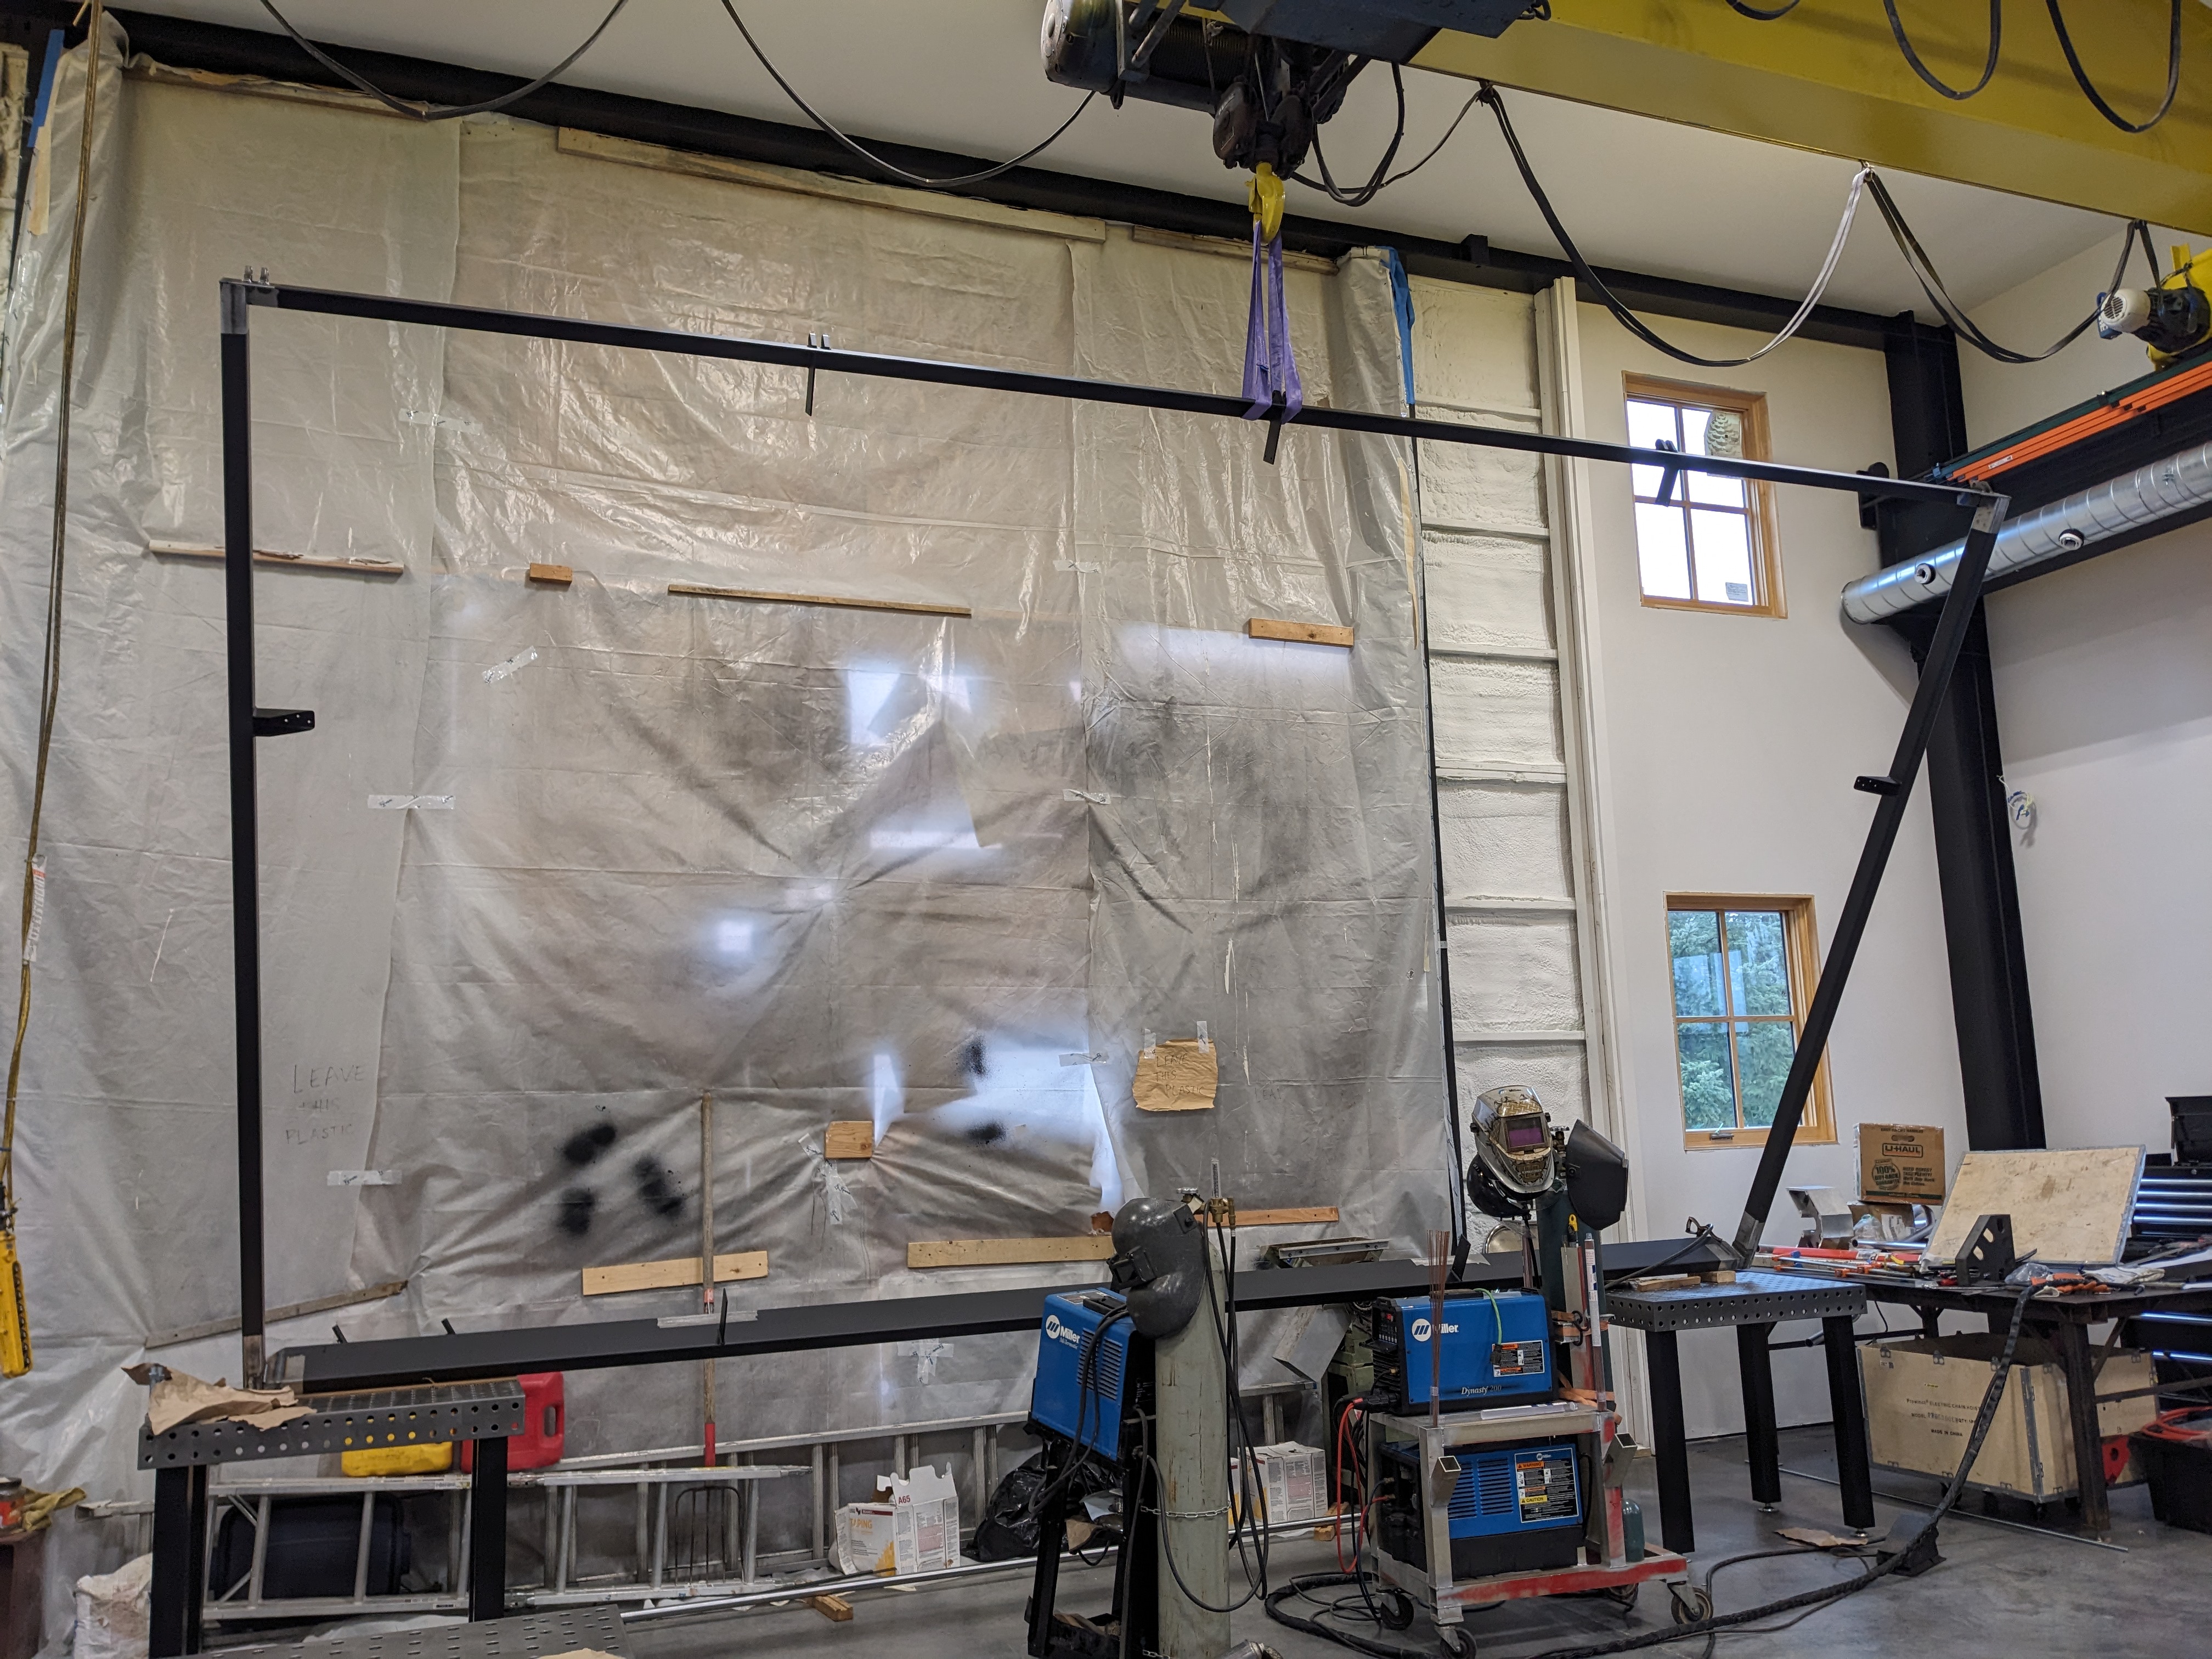
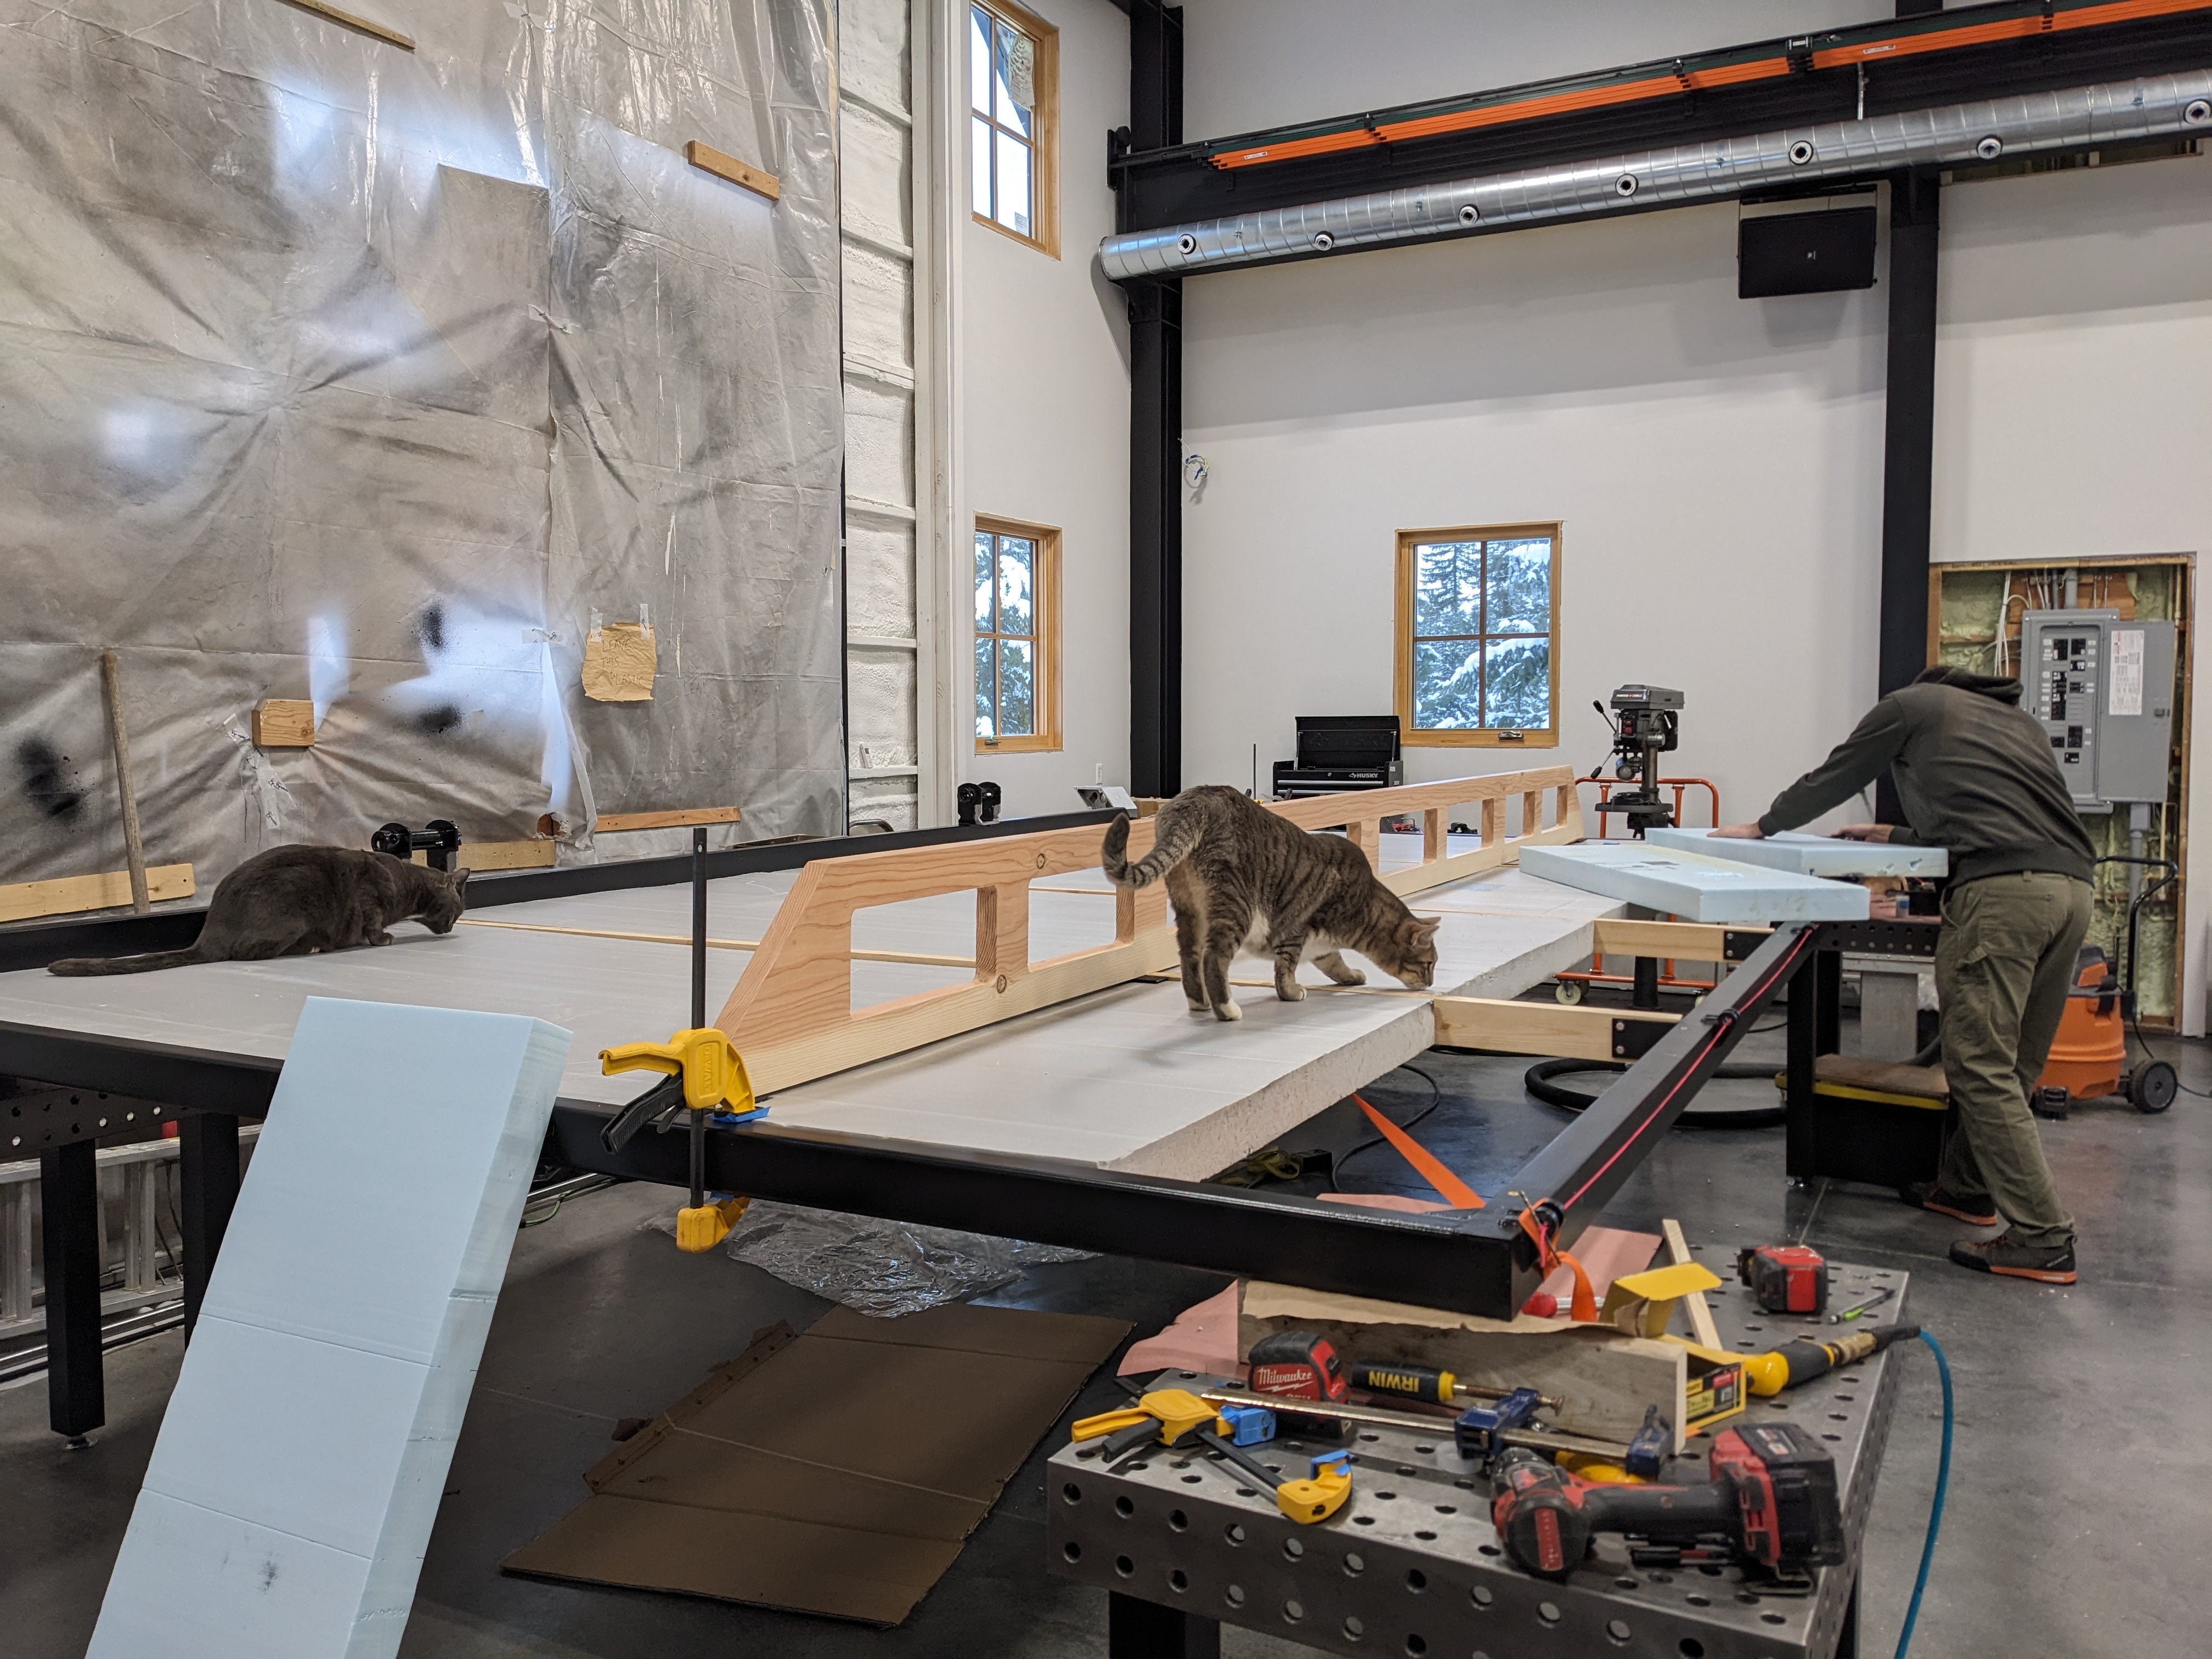
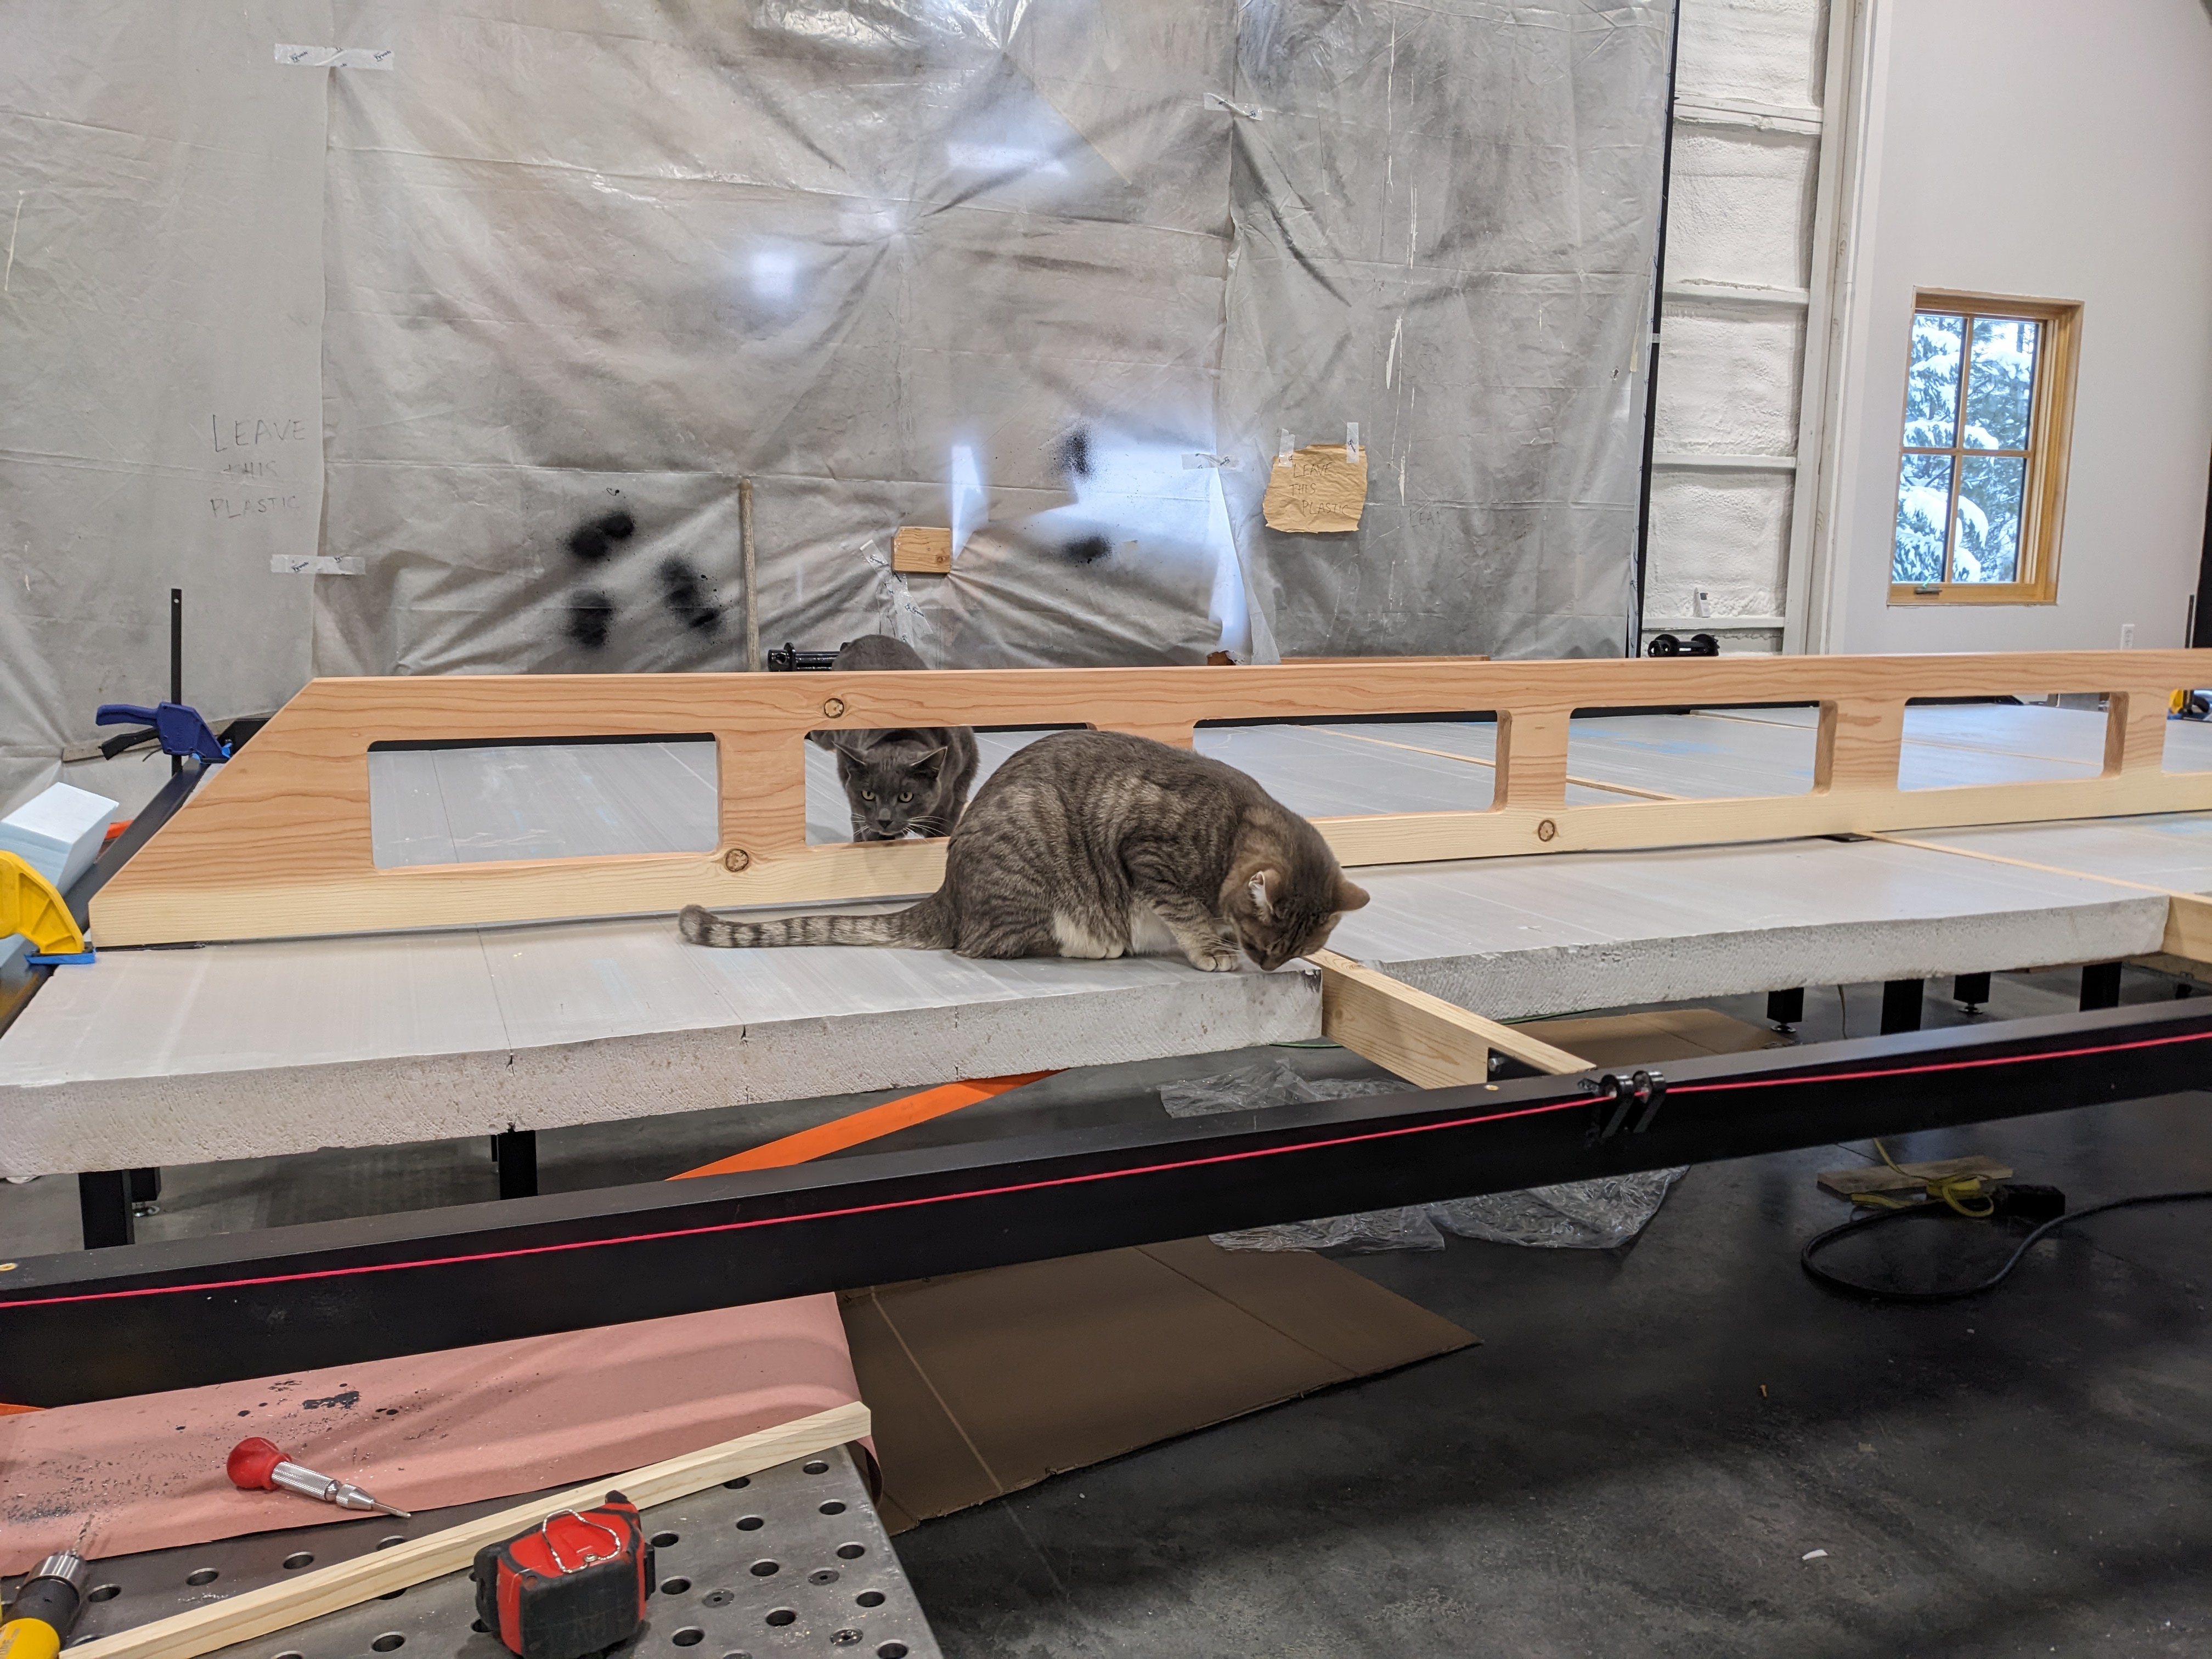
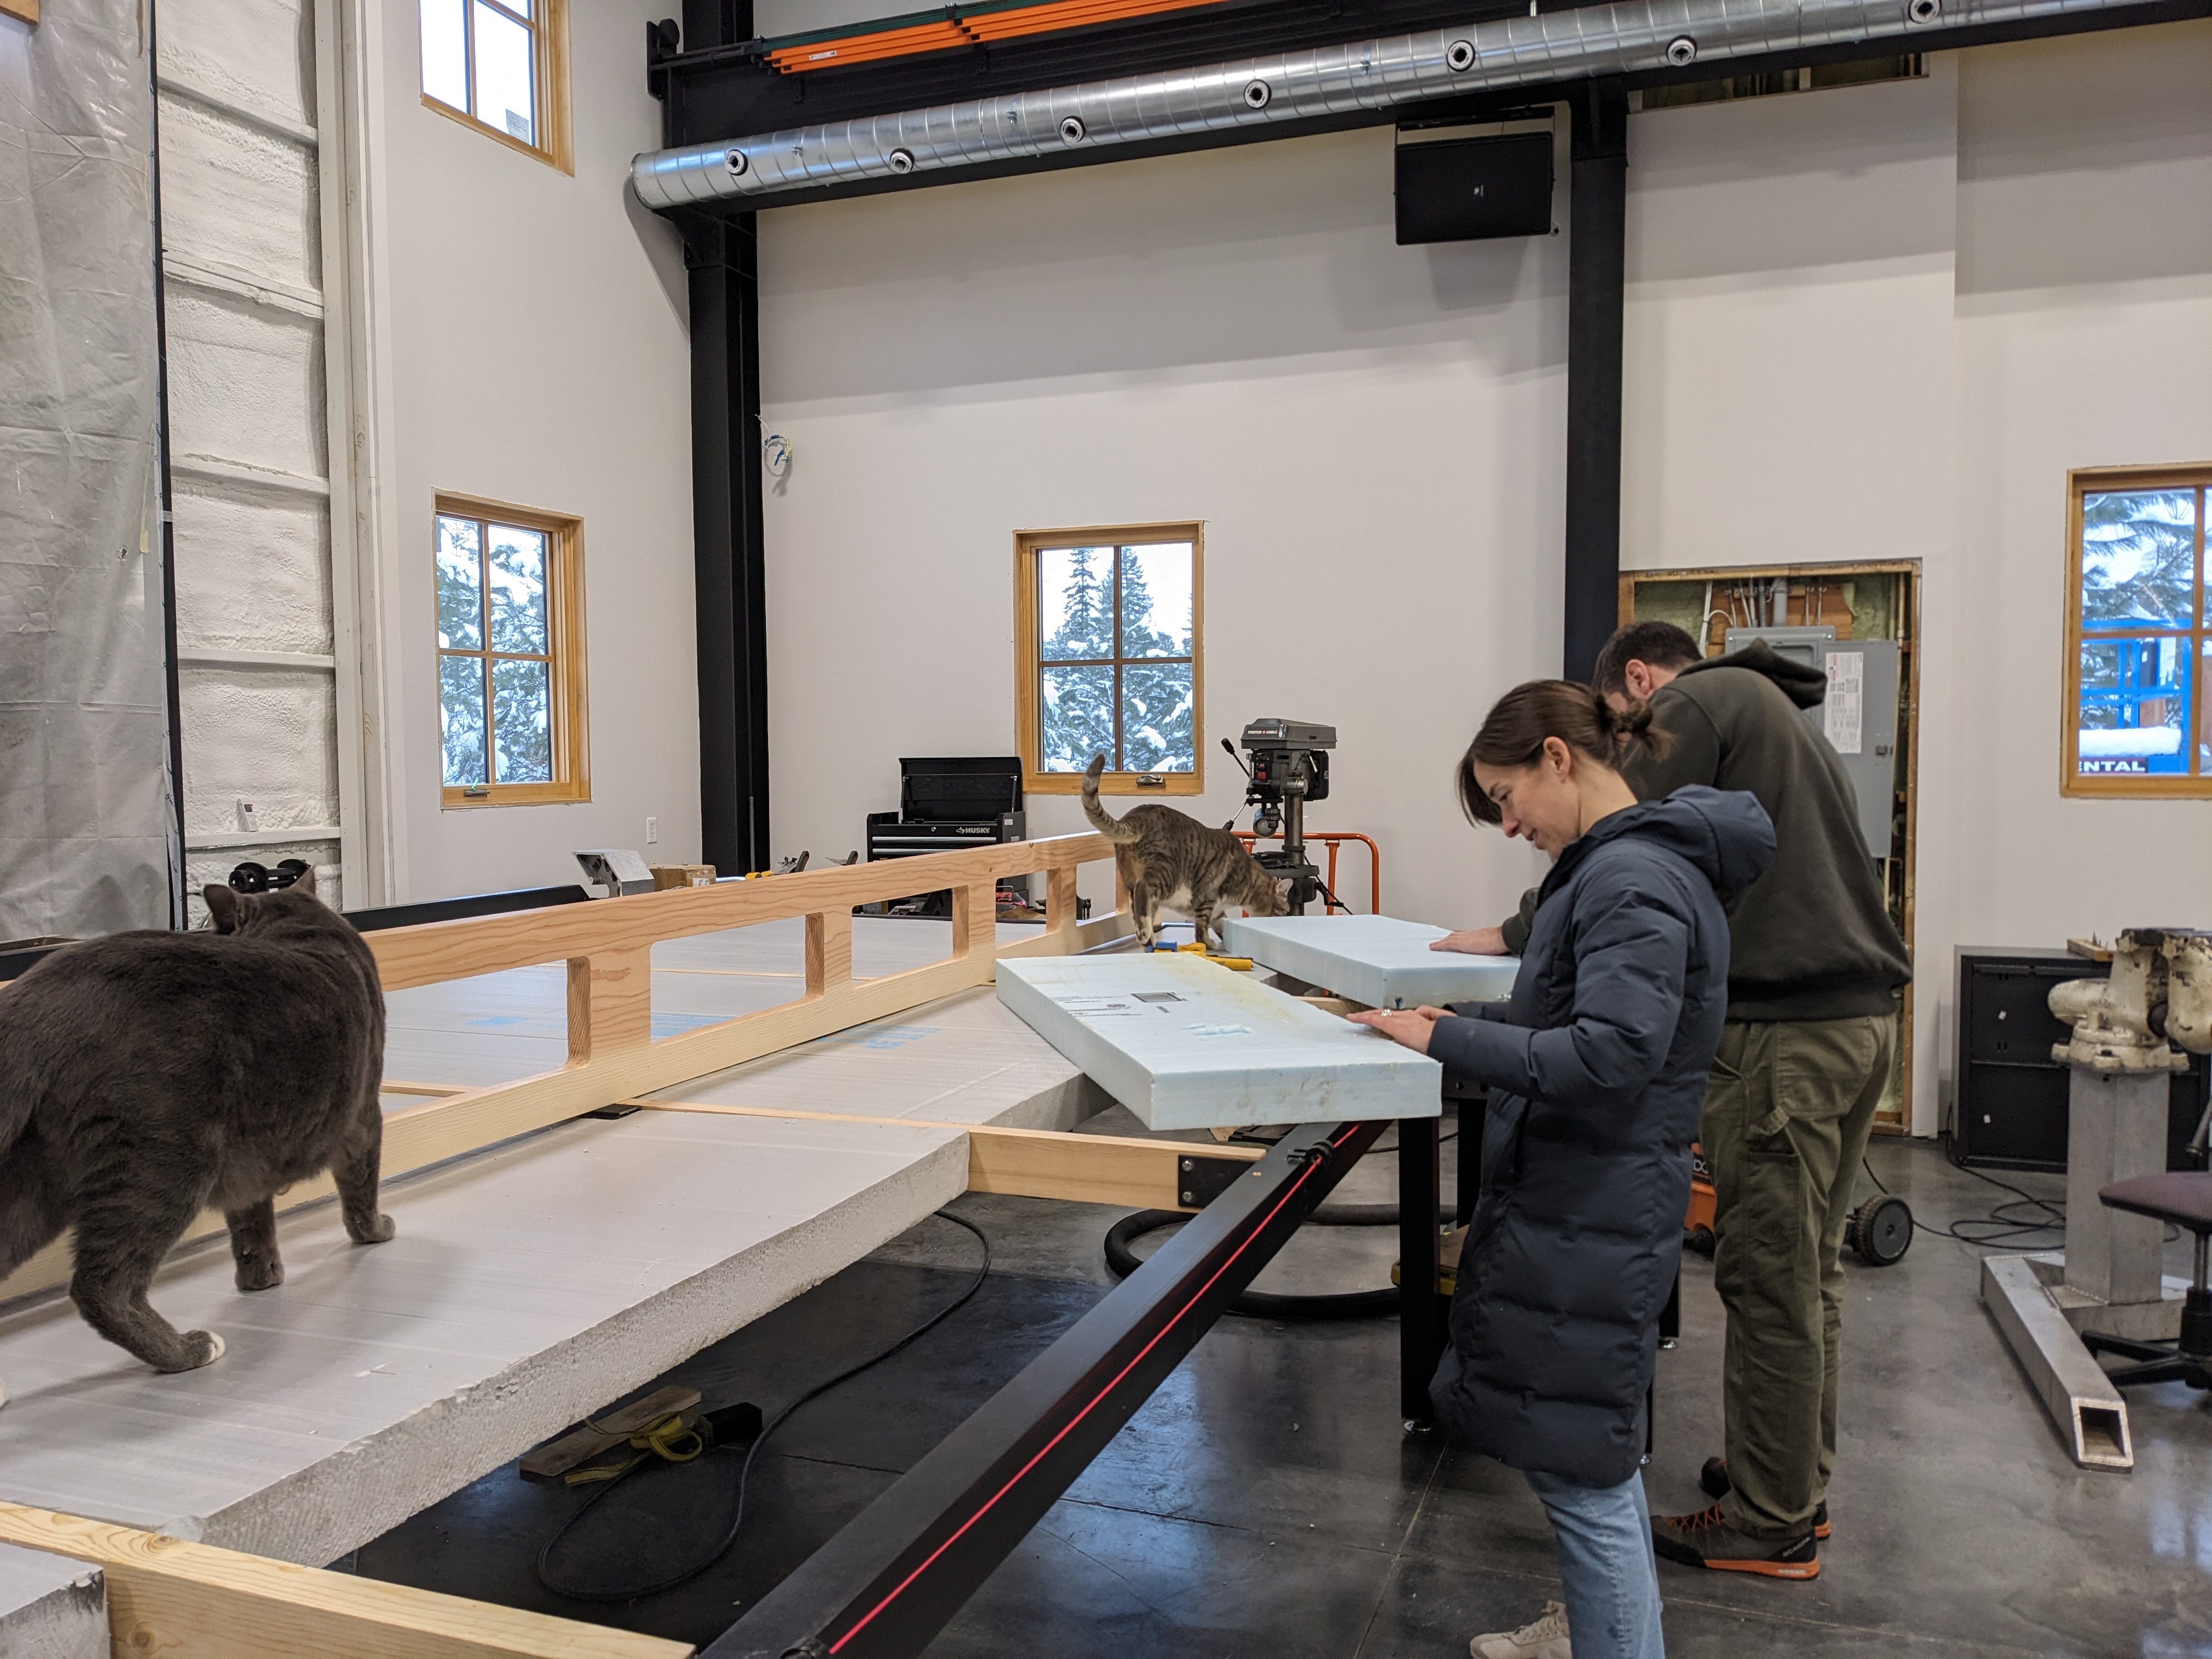
Once the frame was complete, we cut 3″ foam insulation to fill the inside of the door. Our friends participated in a messy session of foam cutting, and we later filled the small gaps with spray foam. The cats just love foam. In fact, we had to store the foam boards suspended in mid-air so they wouldn’t destroy them (and who wonders why we need a crane?).
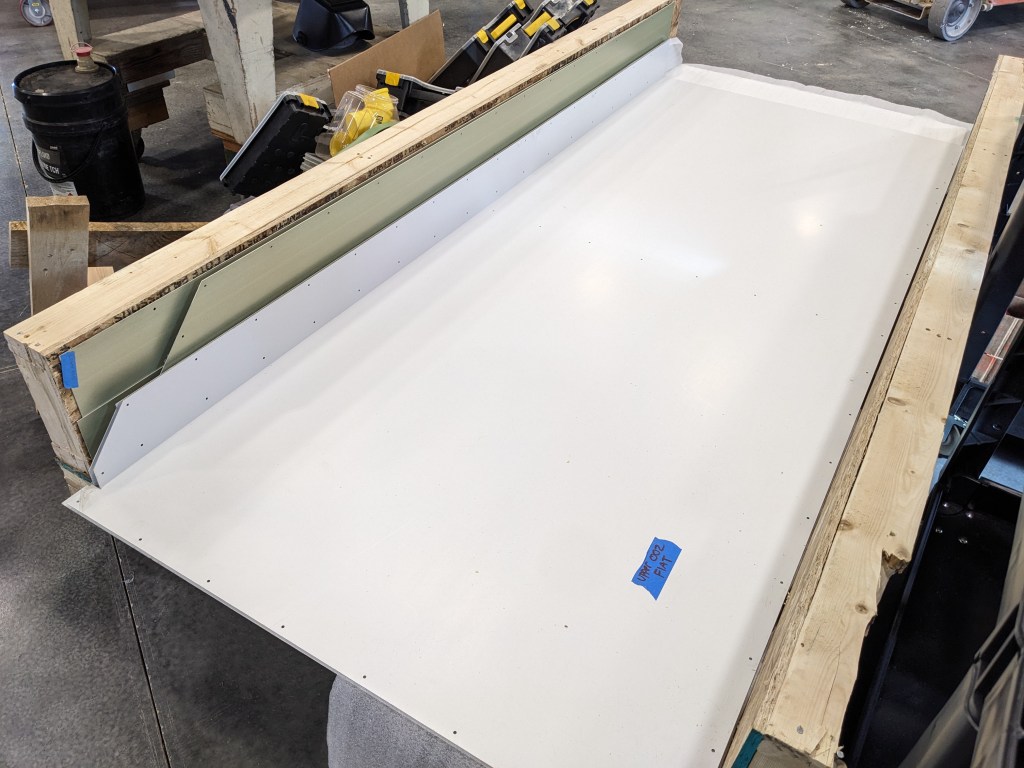
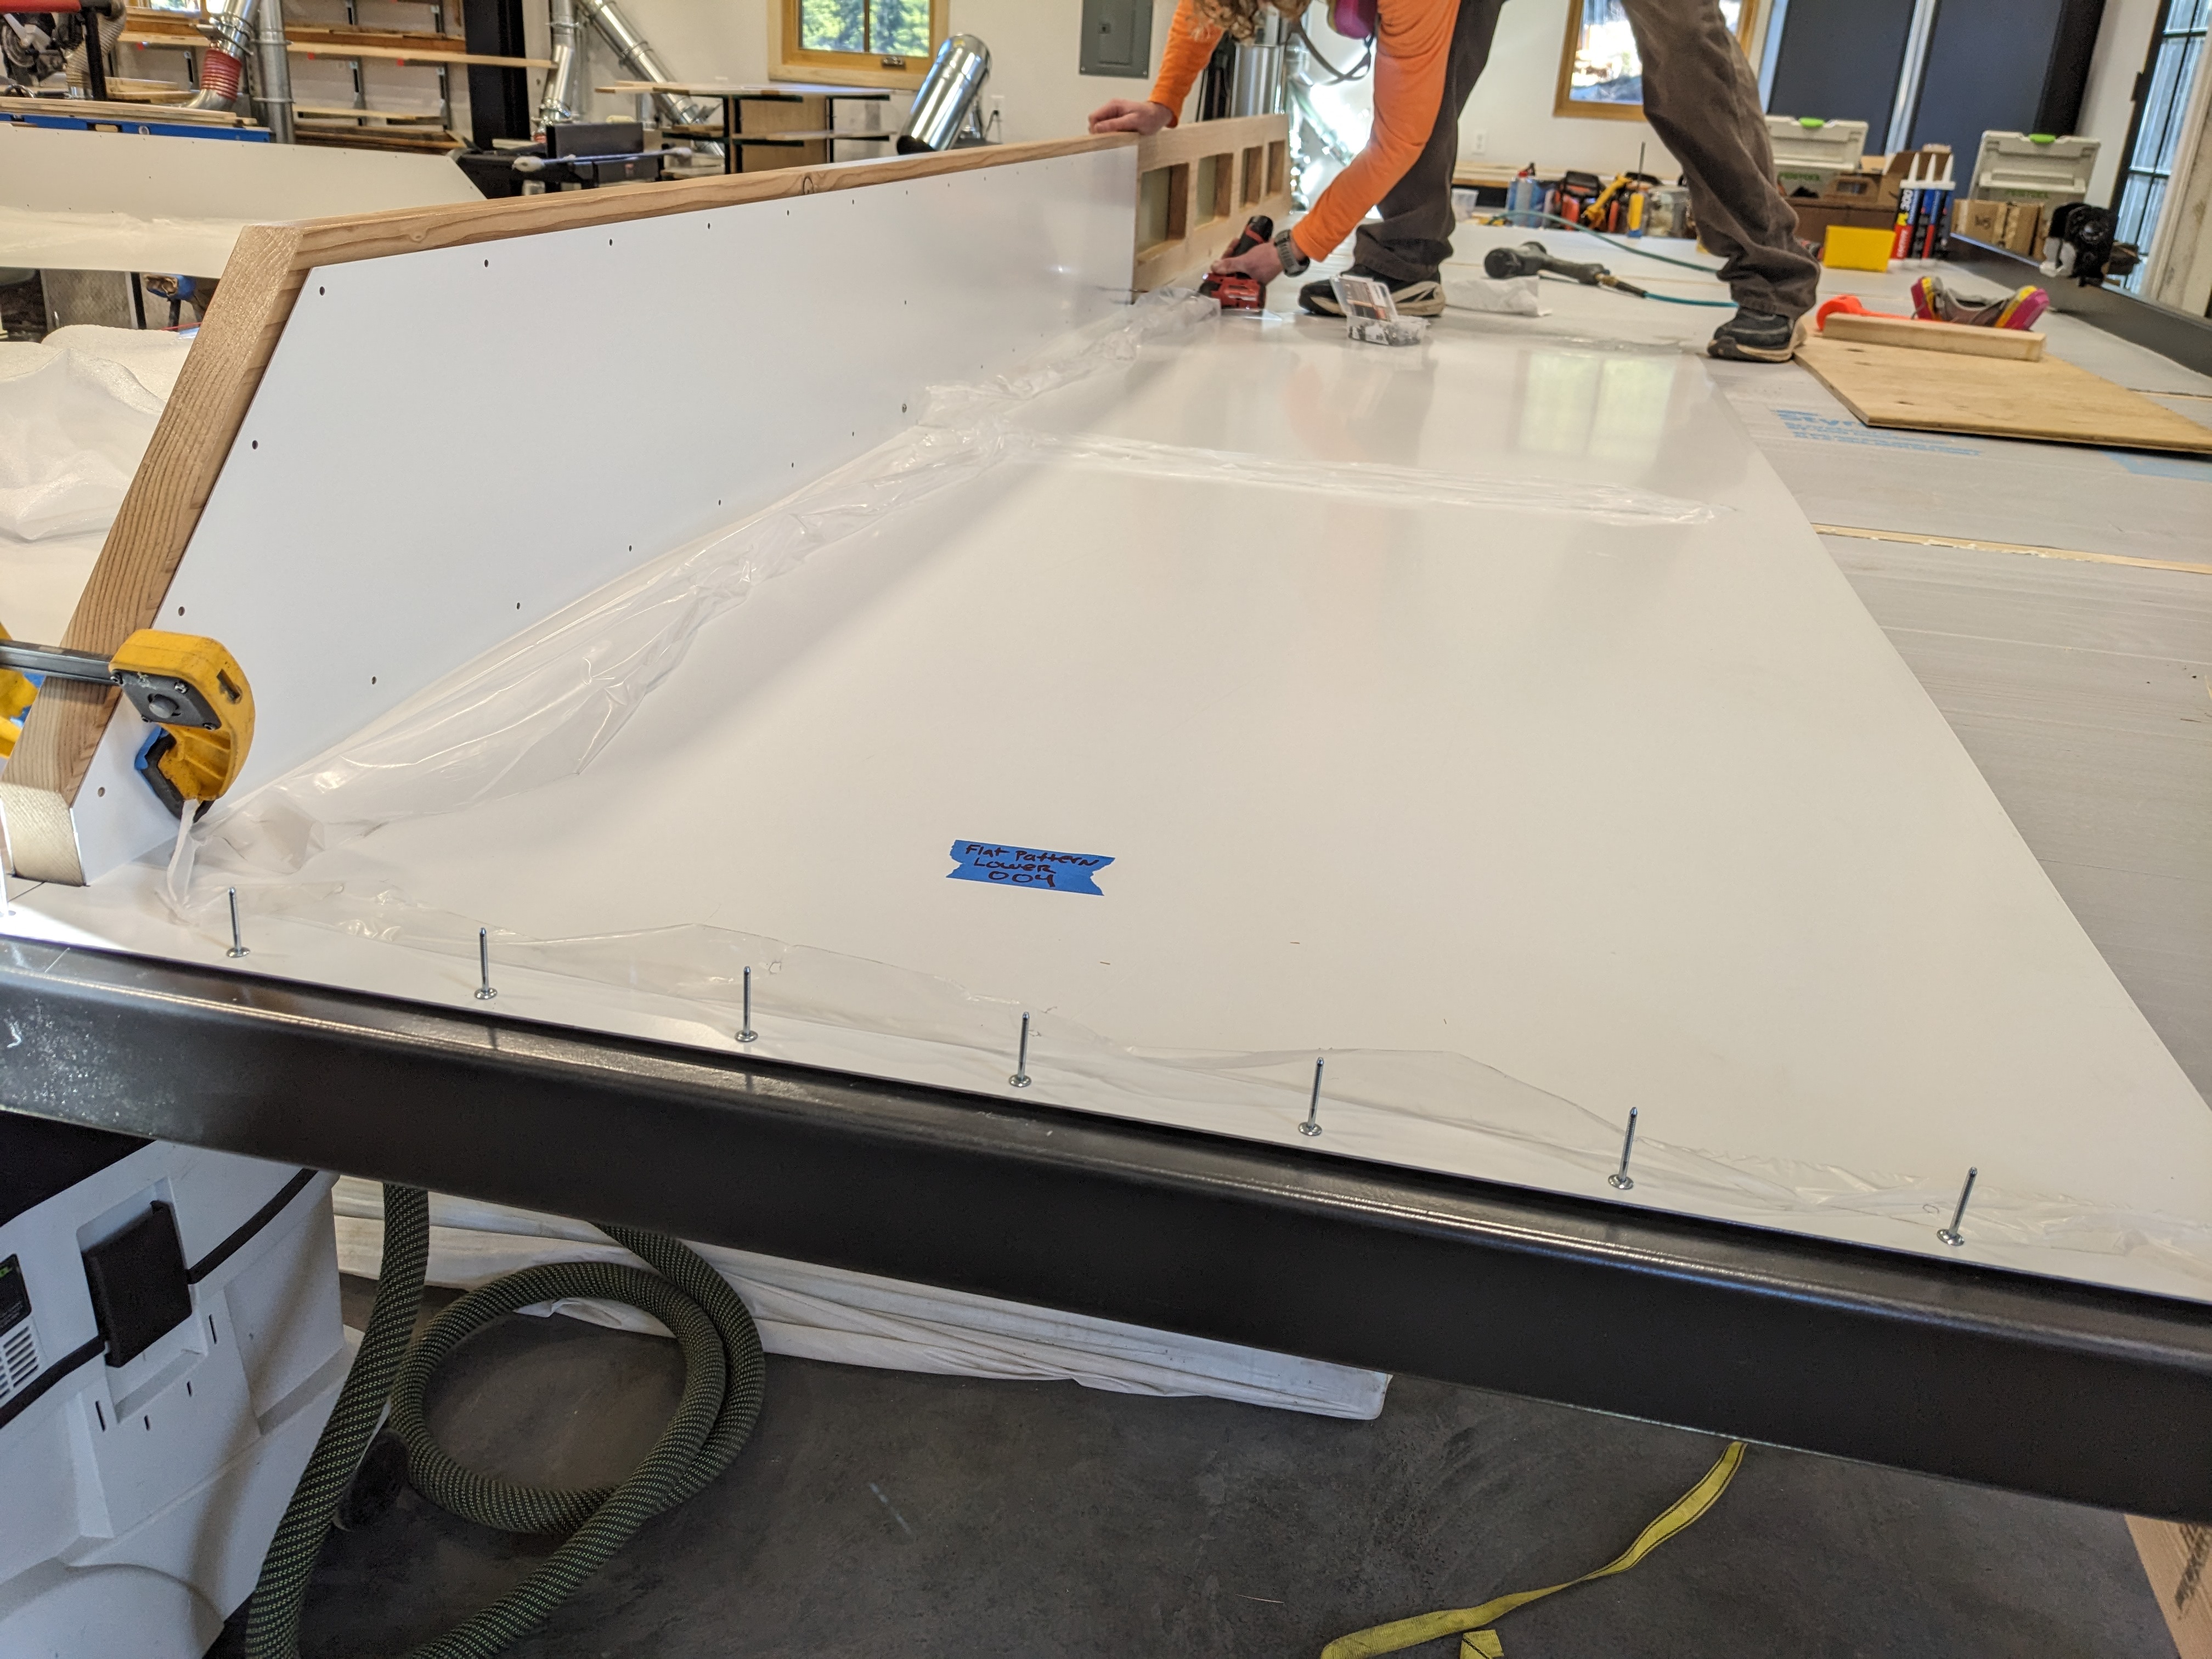
Sam designed custom panels to cover the interior side of the door. (We haven’t ordered the exterior cladding yet.) They are painted white aluminum and came from SMS, the same company who made our siding. After much anticipation, the panels arrived! However, there was a slight mishap with our order. Several of the panels were made backwards!
The company quickly shipped us new ones and we continued.
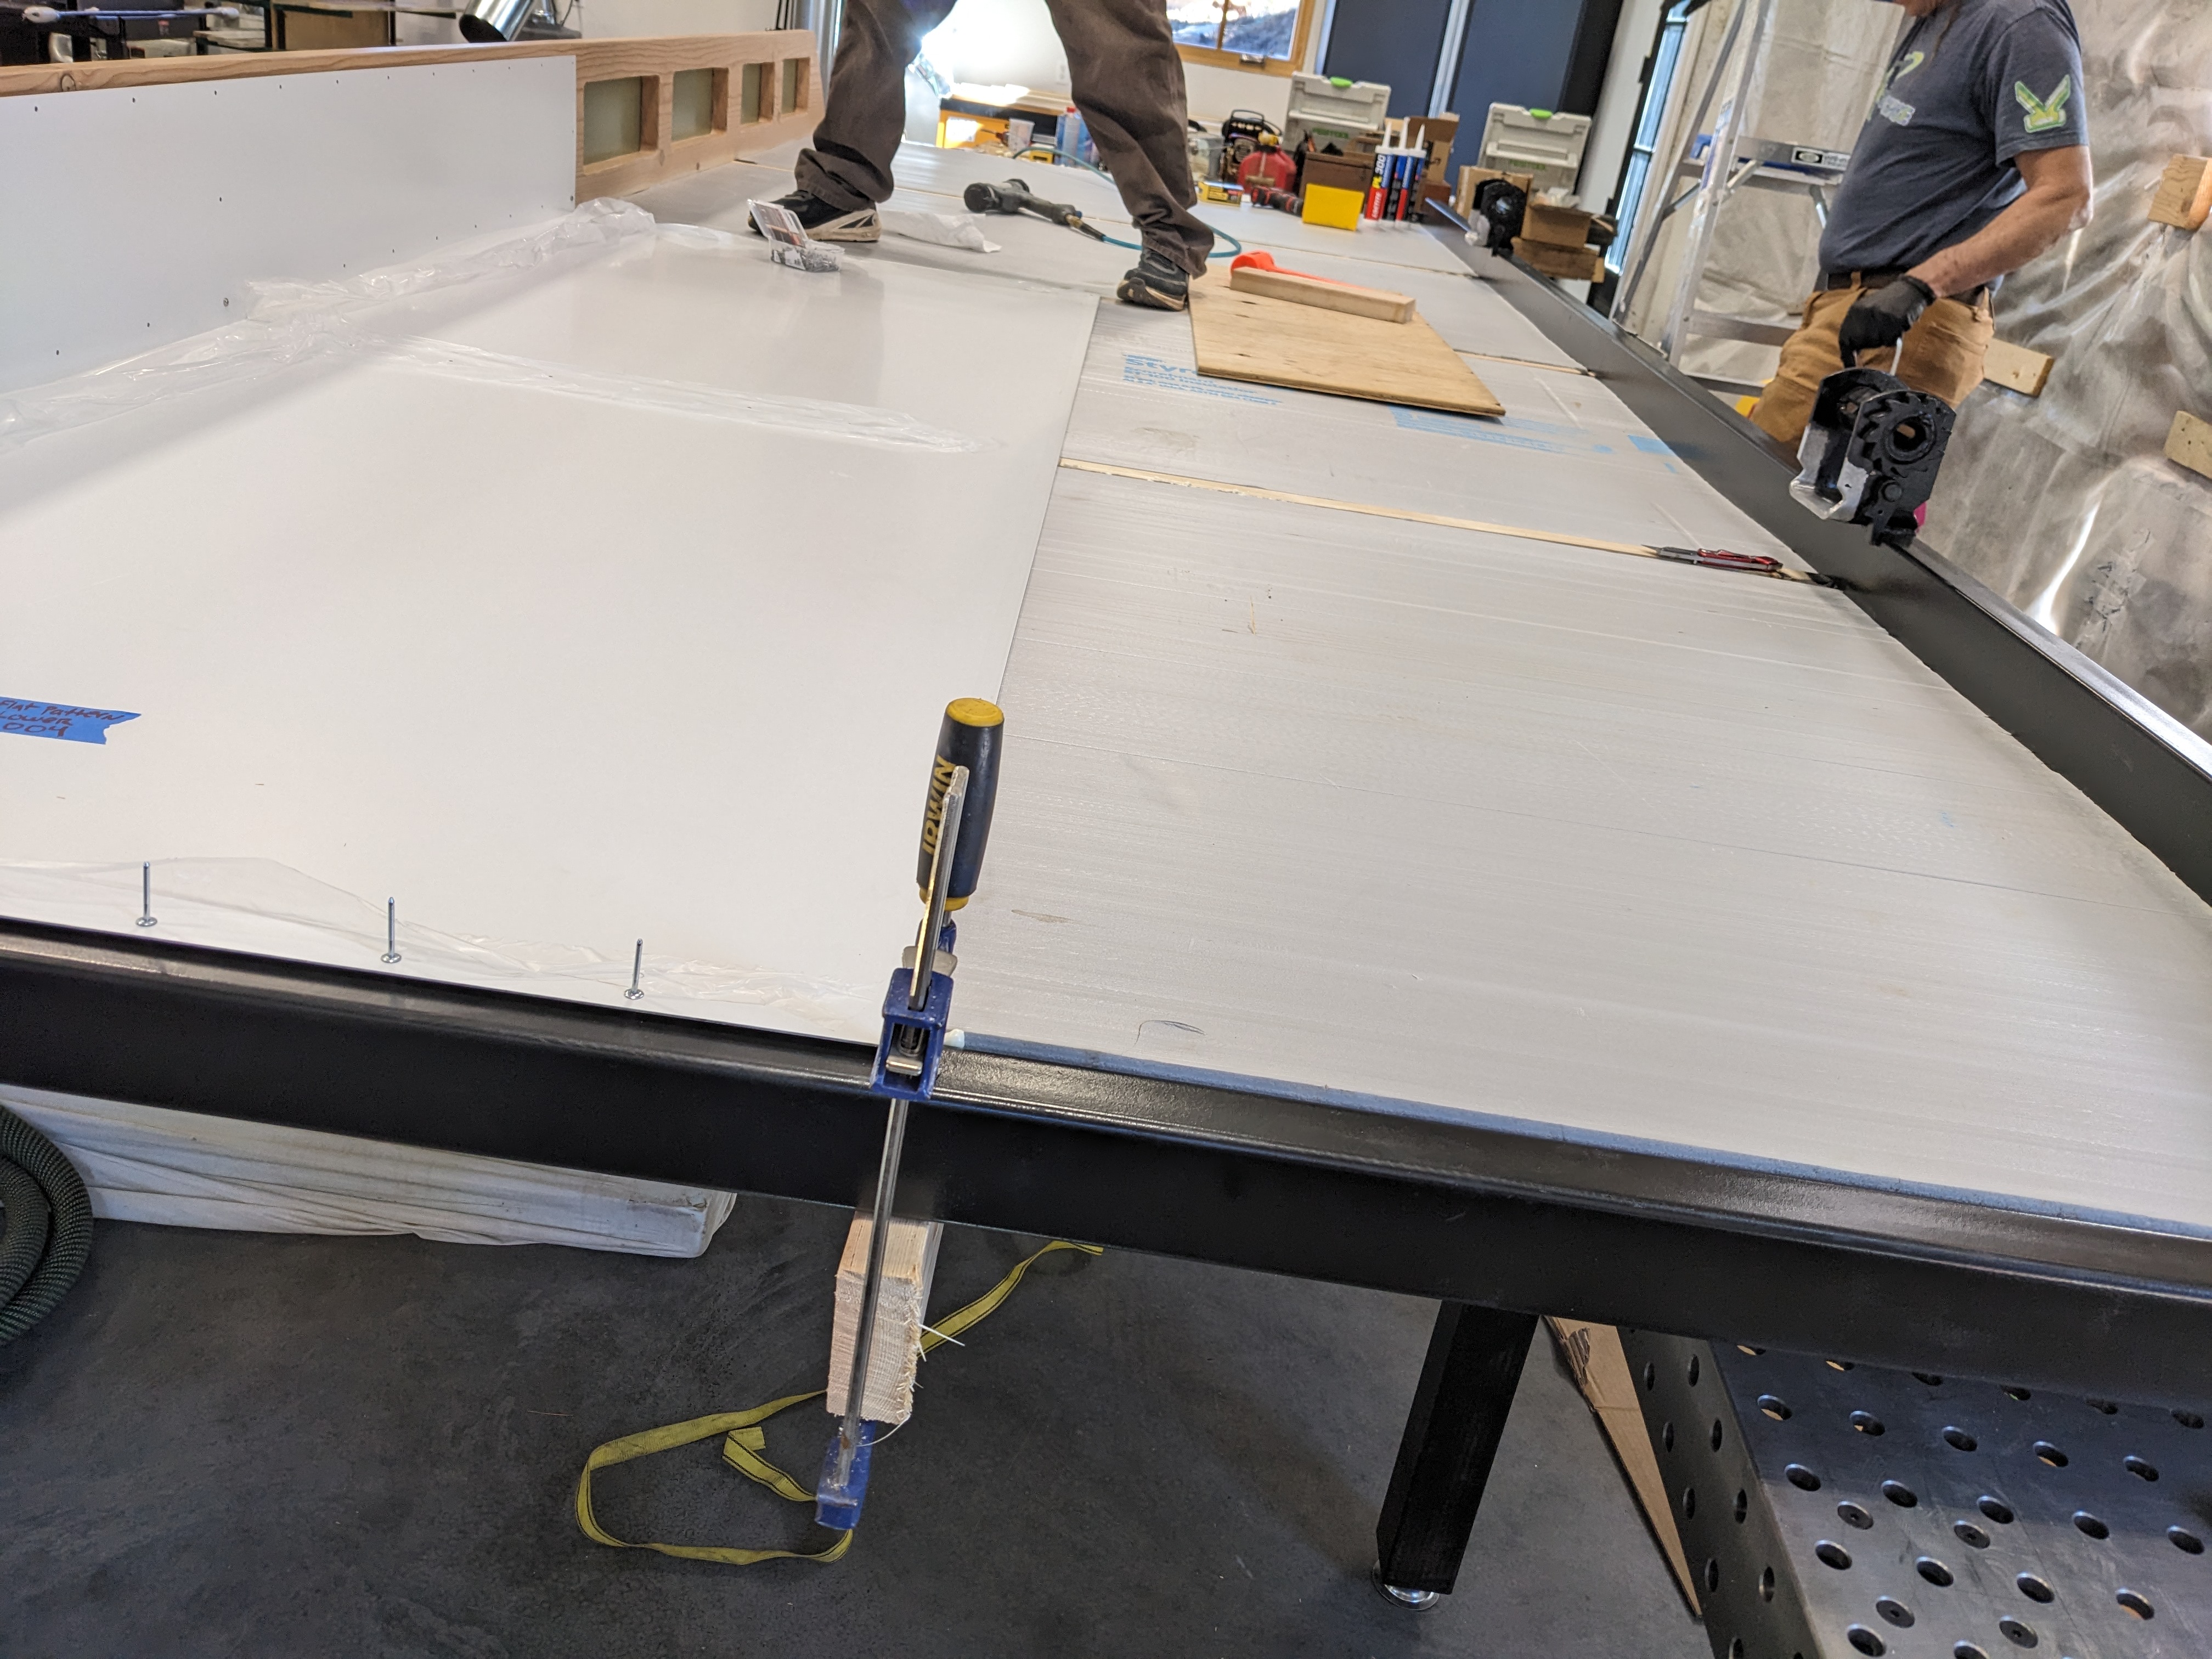
We test fit the panels and were relieved to see that all the fastener holes lined up with the frame correctly.
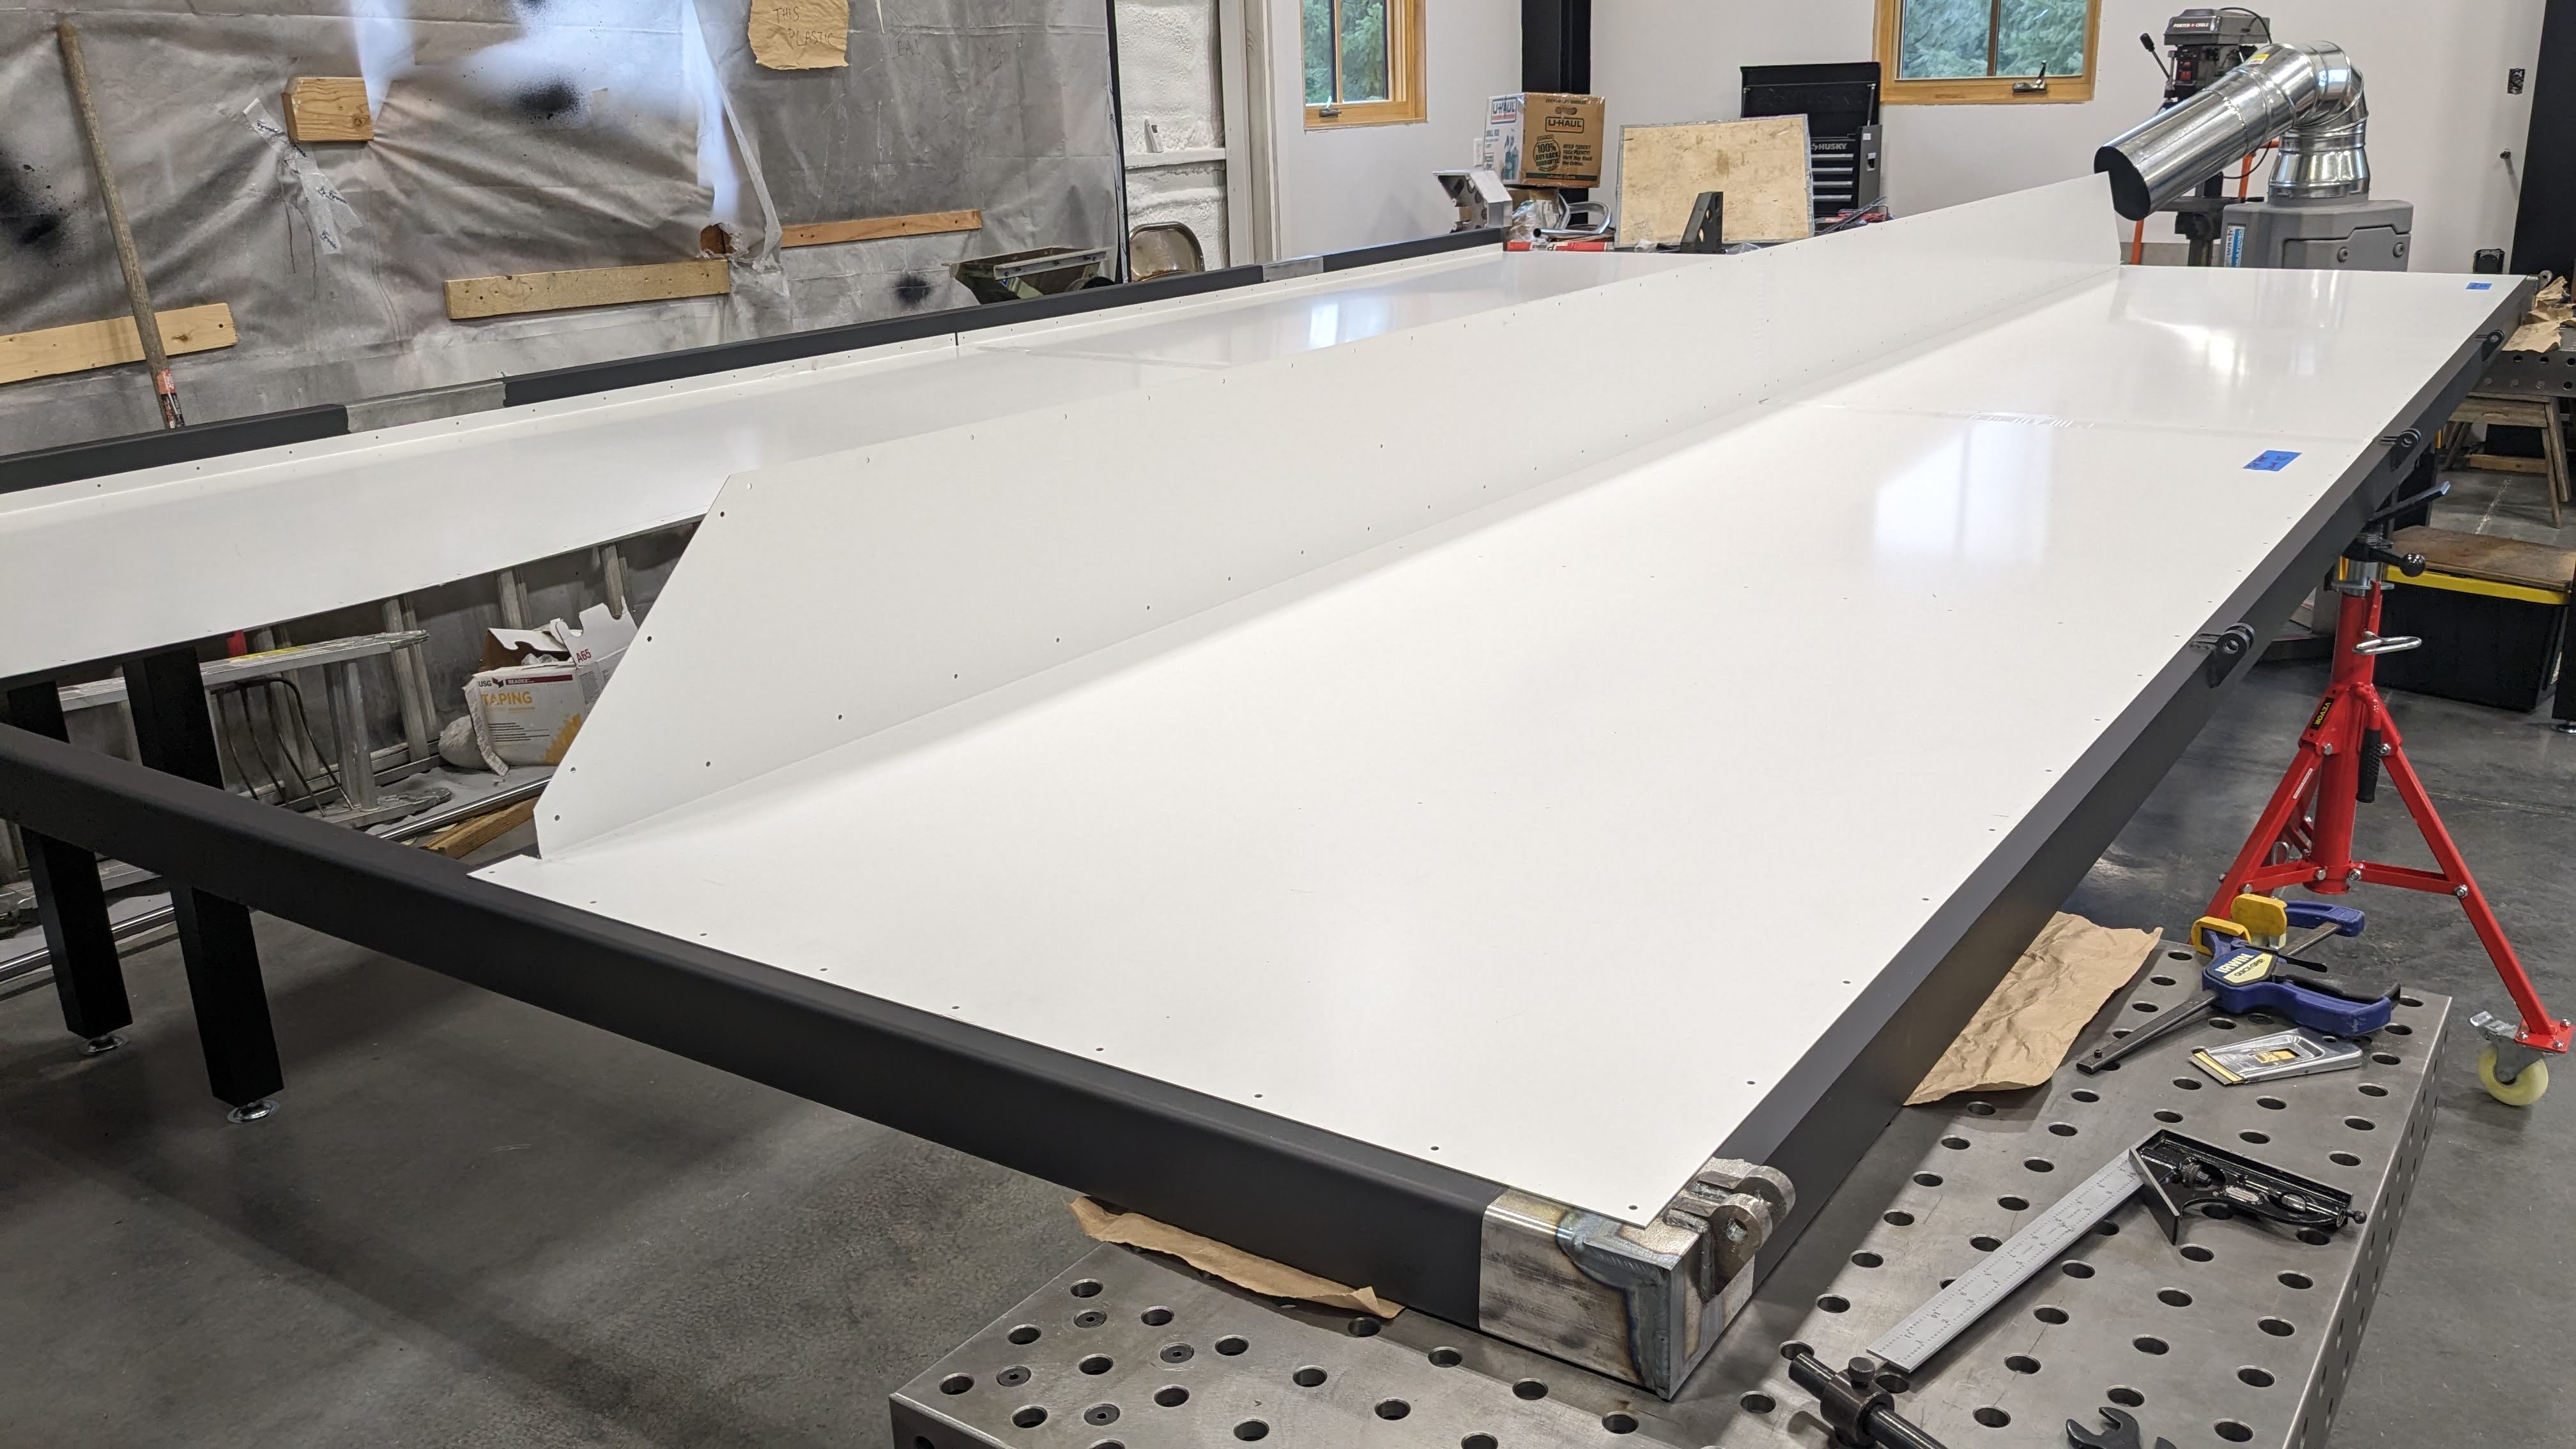
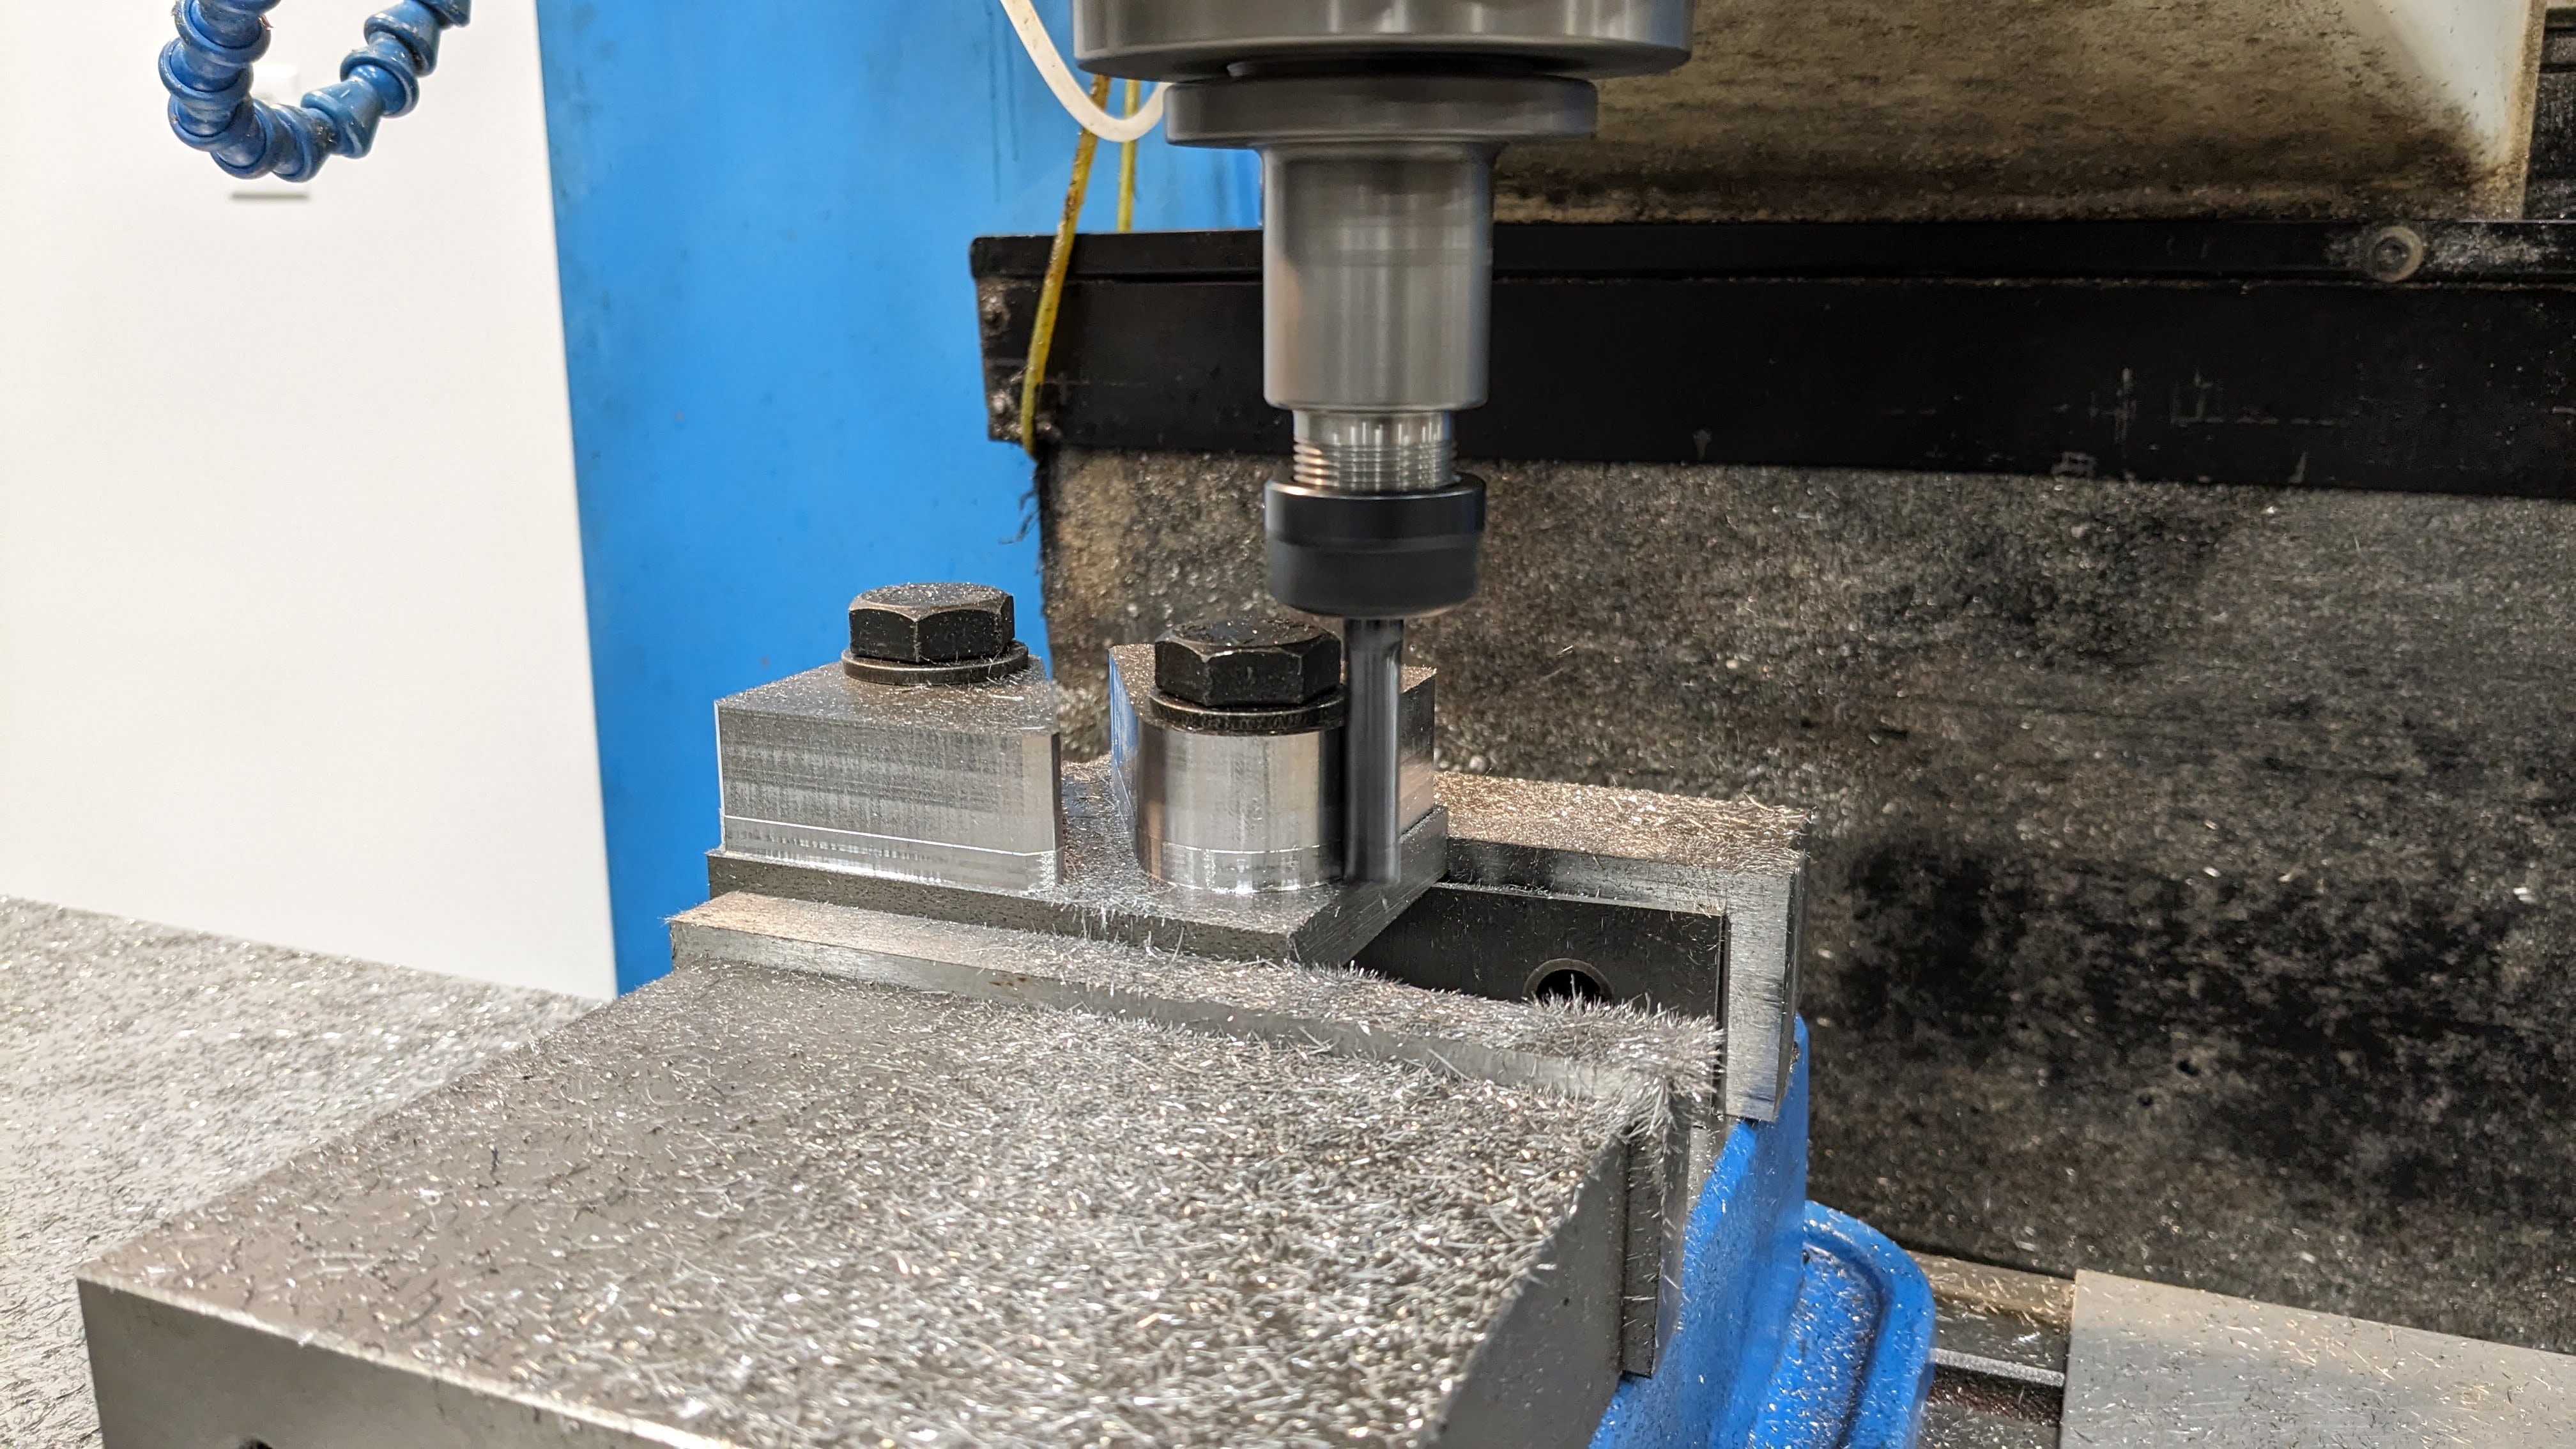
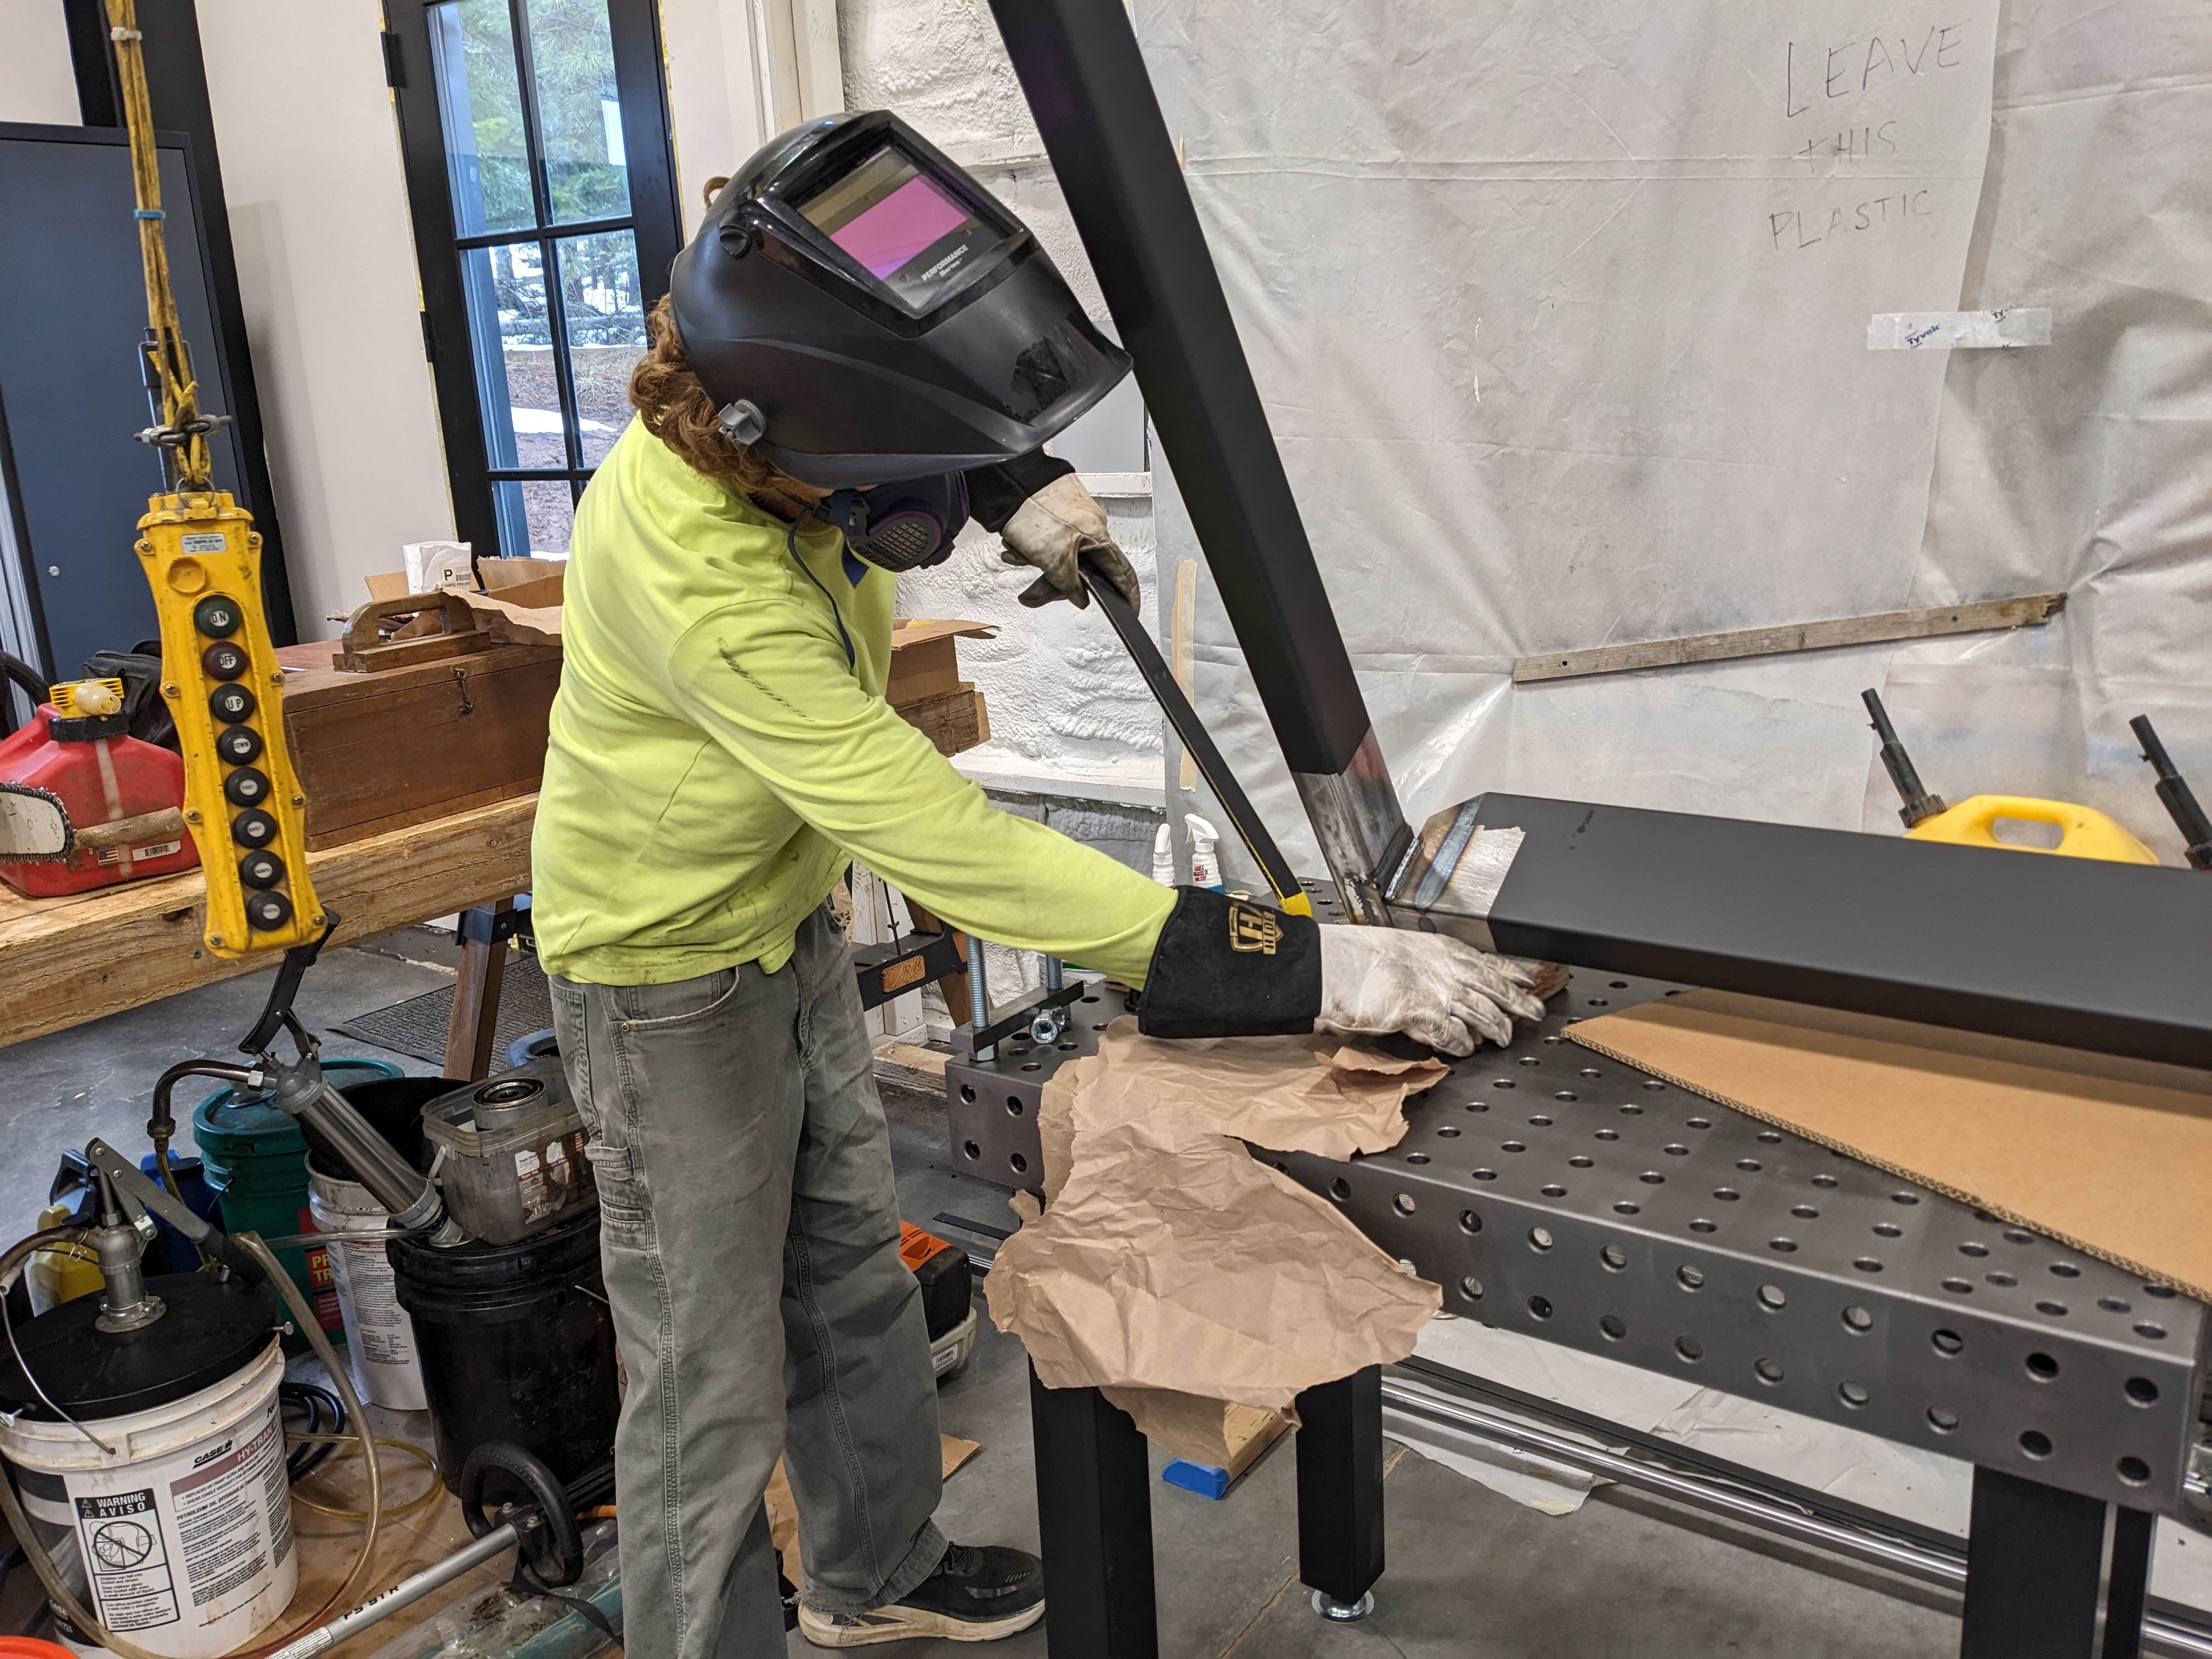
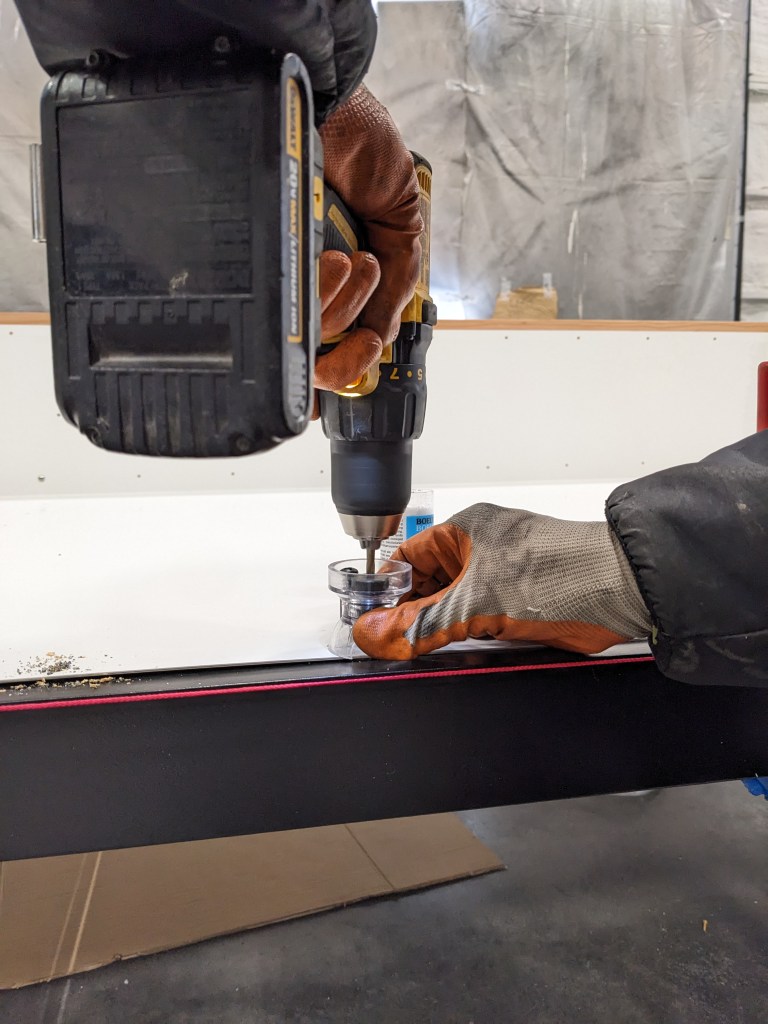
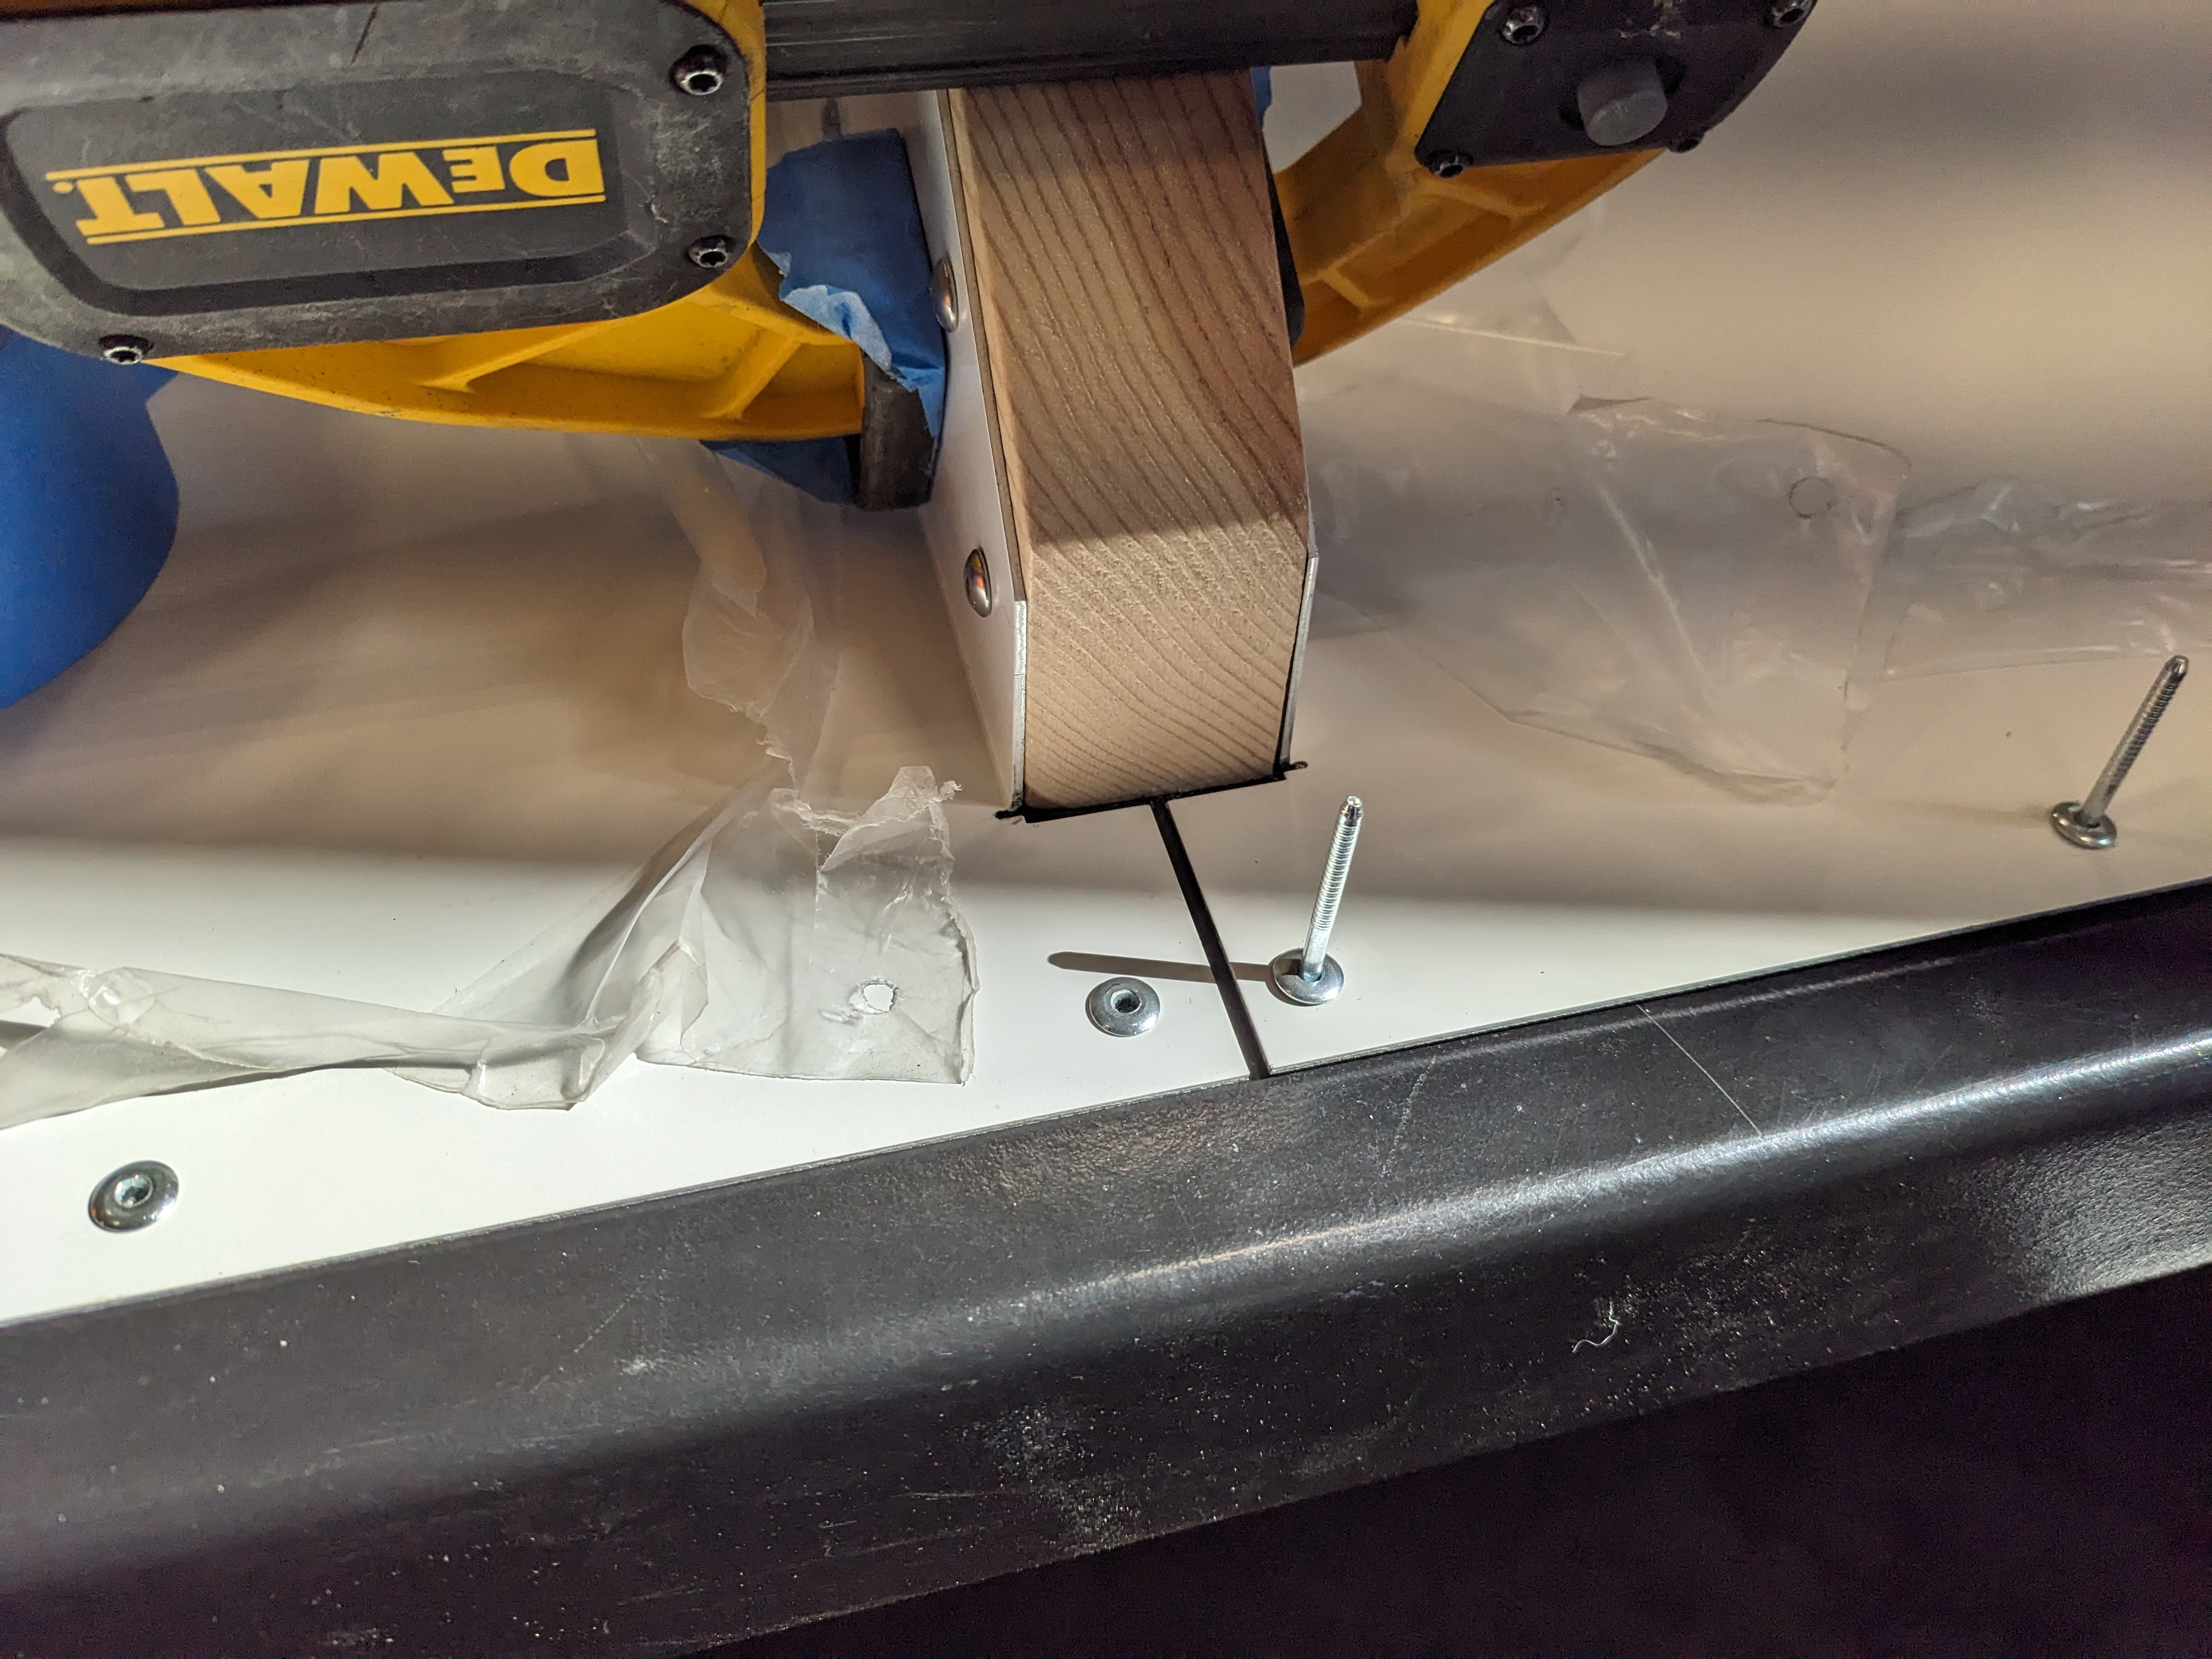
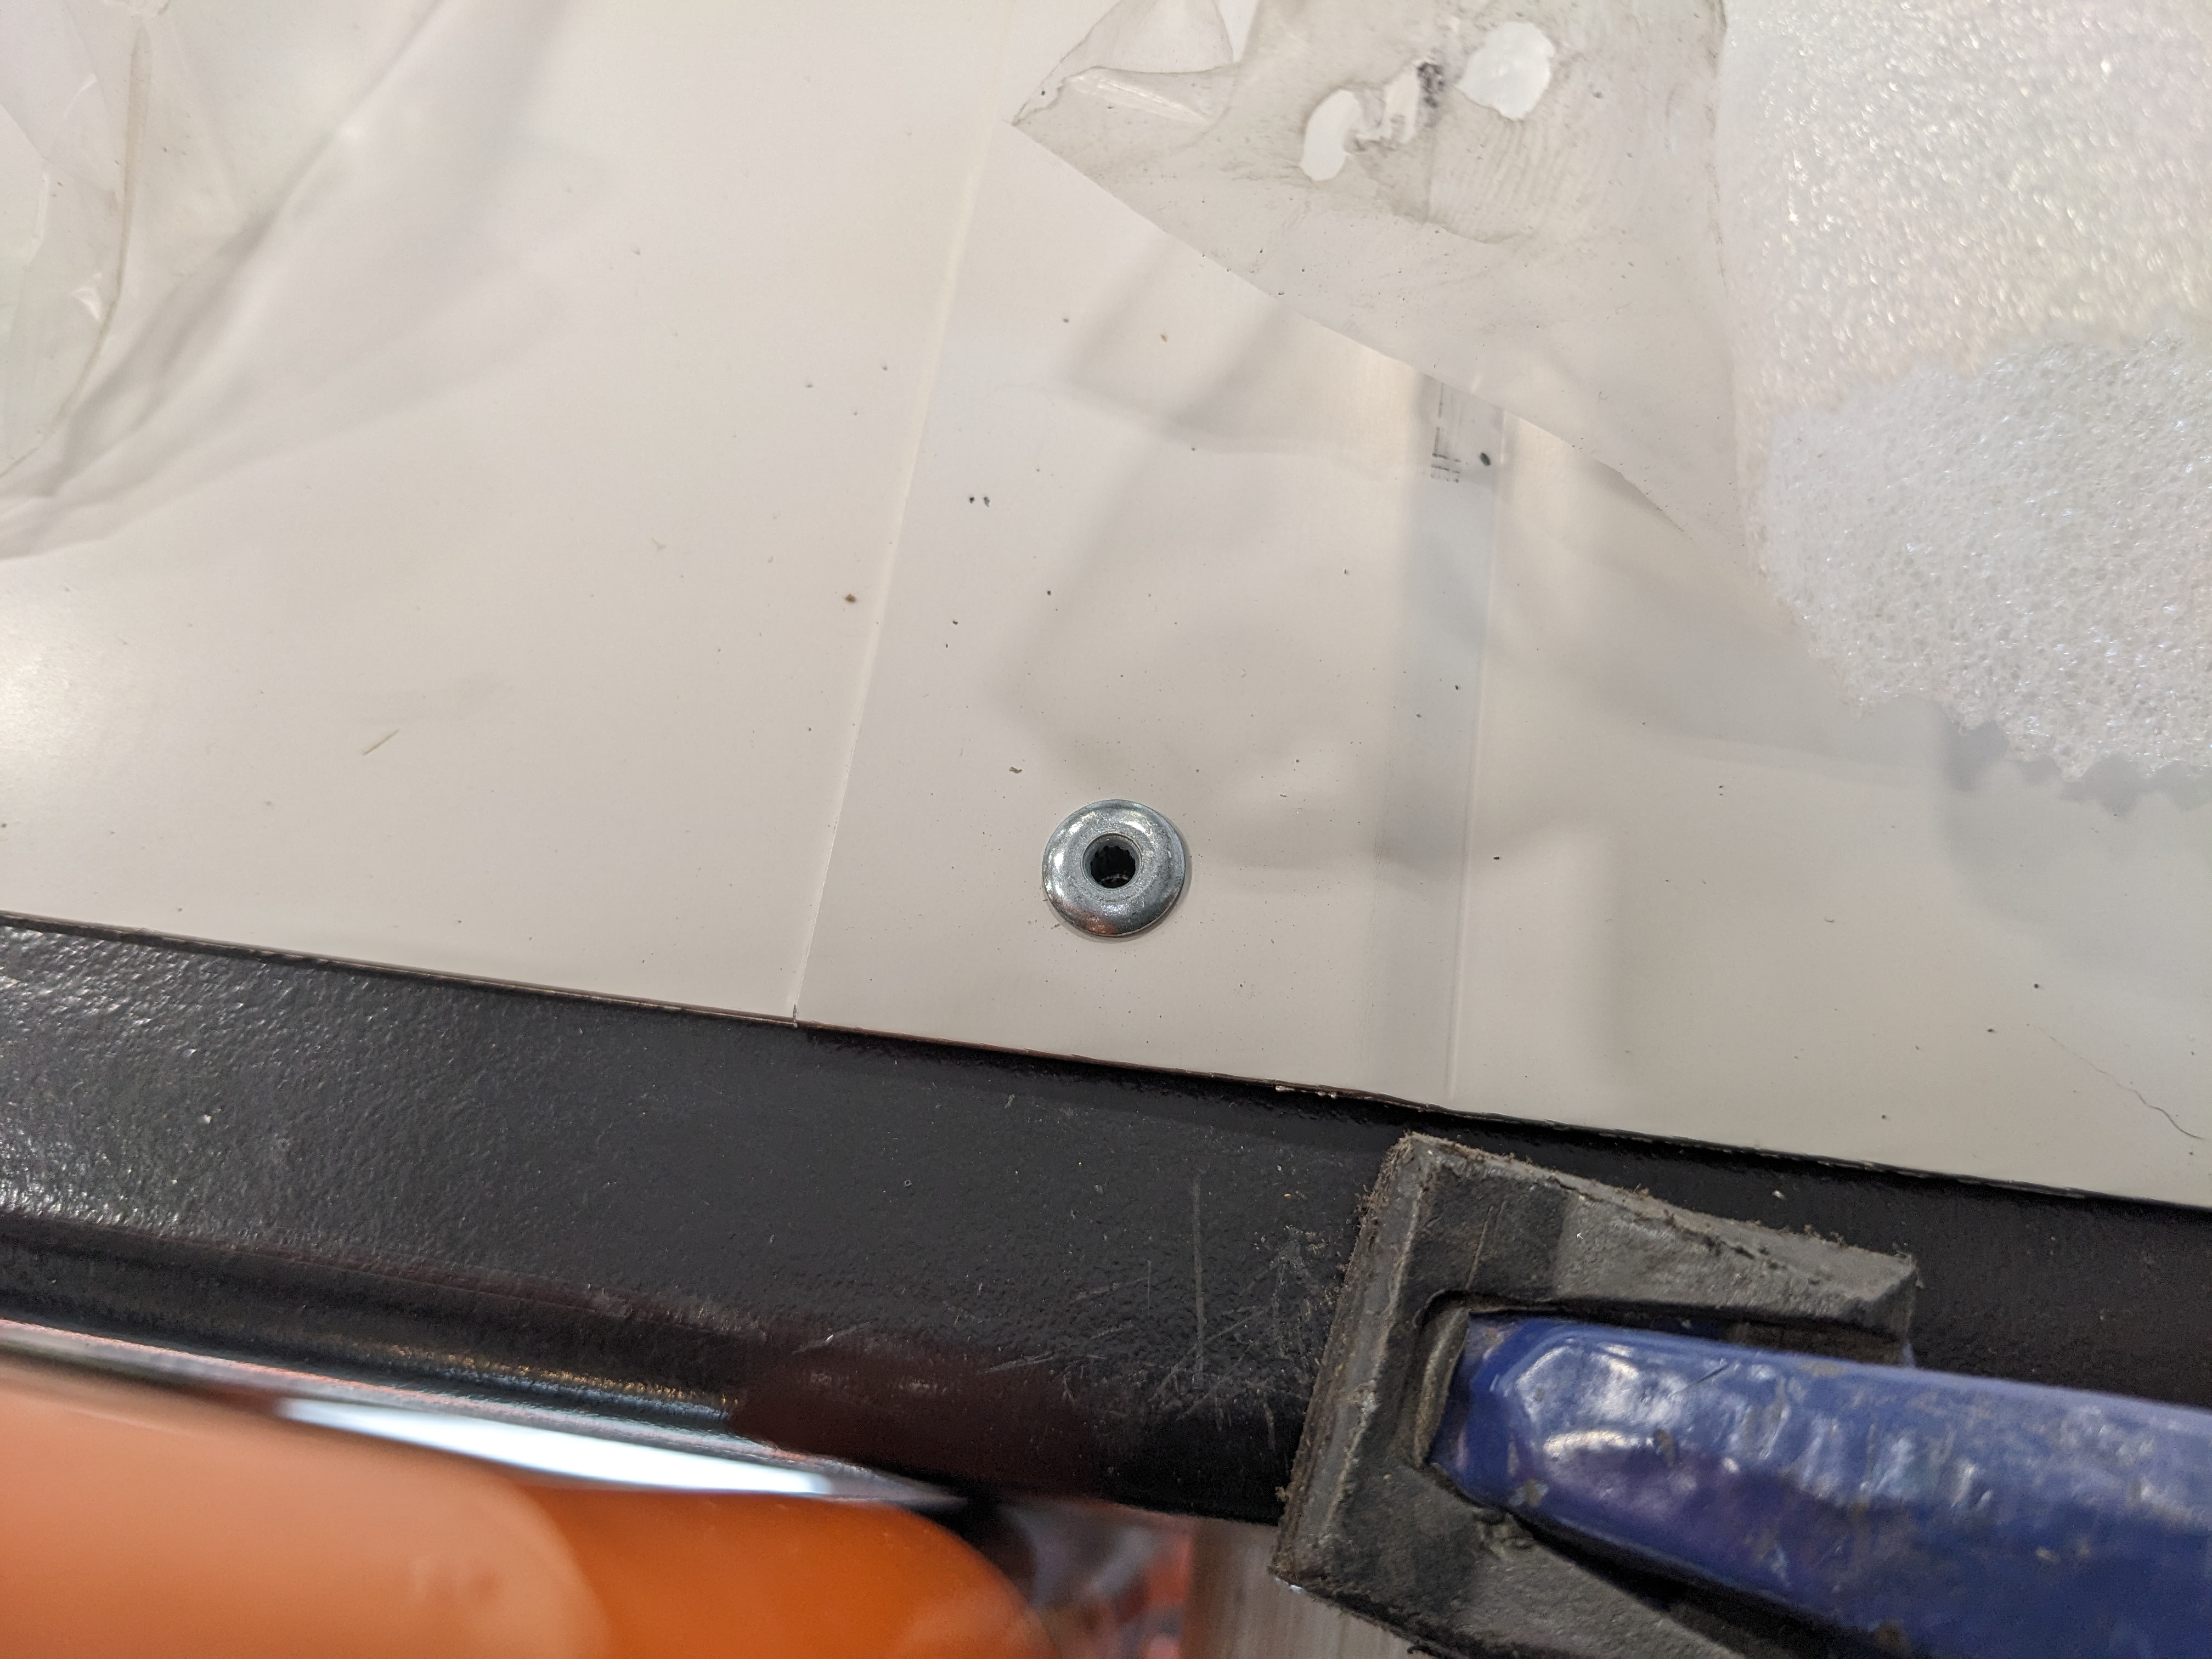
We decided to screw the panels to the wood parts of the frame and rivet them to the steel members. The fasteners required a lot of prep work. We had to pre-drill the steel frame first. Sam got this nifty thing to hold the drill straight.
Once the holes were drilled, we removed the panels. Sam applied construction adhesive to the foam for the final installation of the panels. After gluing, we proceeded with the rivets and screws.

The first half of the door is almost done! It will be awhile before we get to the second half. We might need to build a bigger shop first.

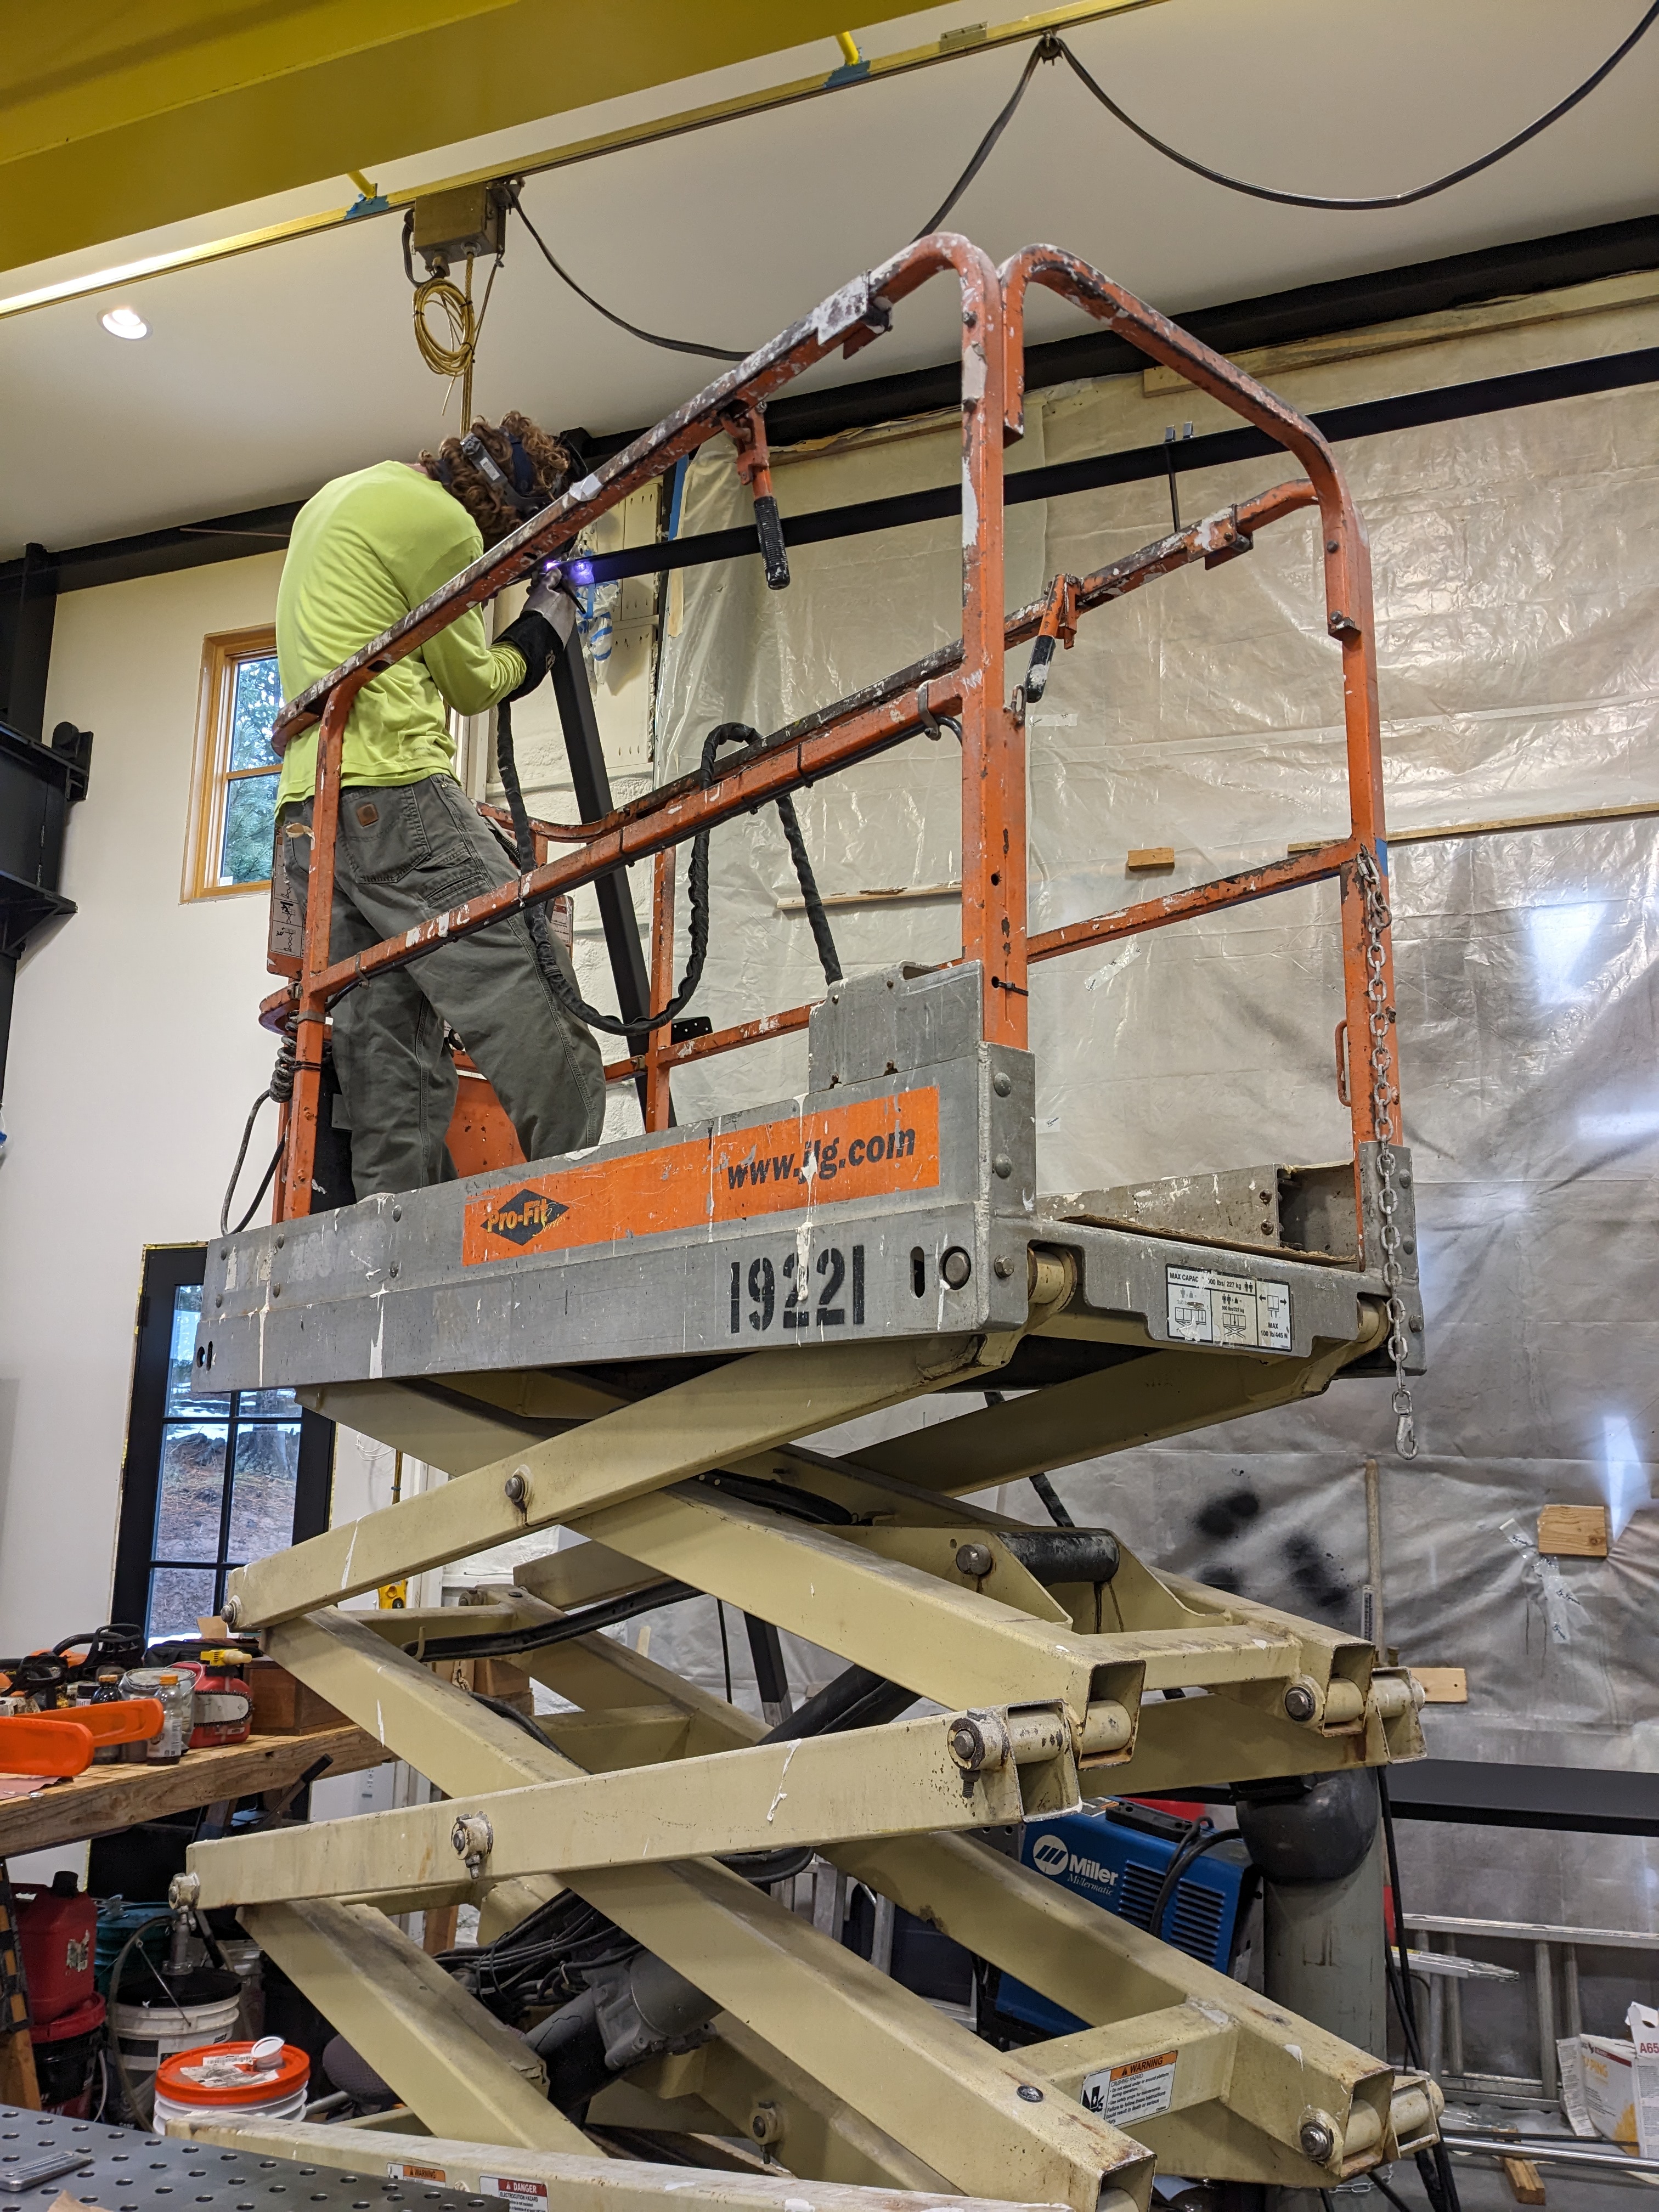
Happy to see Sam wearing his PPE while doing this!
You 2 never fail to amaze.
LikeLike