While I was hibernating earlier this winter, I finalized the layout of all the rooms, including the precise locations of the fixtures – sinks, bathtubs, etc. Then I handed my plans over to Sam, so he could design the plumbing system. I hadn’t the slightest clue on how everything works (nor did I have much interest), but I trusted Sam would figure it out.
What an undertaking it was! Sam spent days researching, designing, and ordering parts. Boxes and boxes of valves and fittings were arriving at our house every day. The fort of boxes grew, eventually blocking the front door, a sign that it was time to start putting everything together.
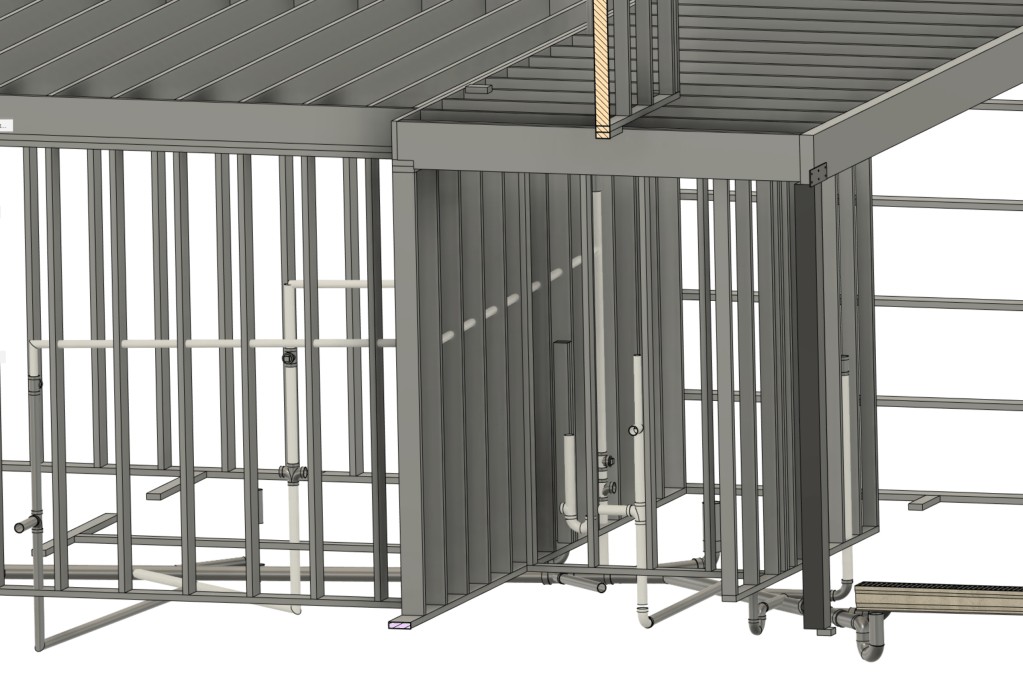
The plumbing project involved running hot and cold water lines to all the fixtures, as well as ventilation and drainage for everything. (Most of the drainage system was completed before we poured the foundation.)
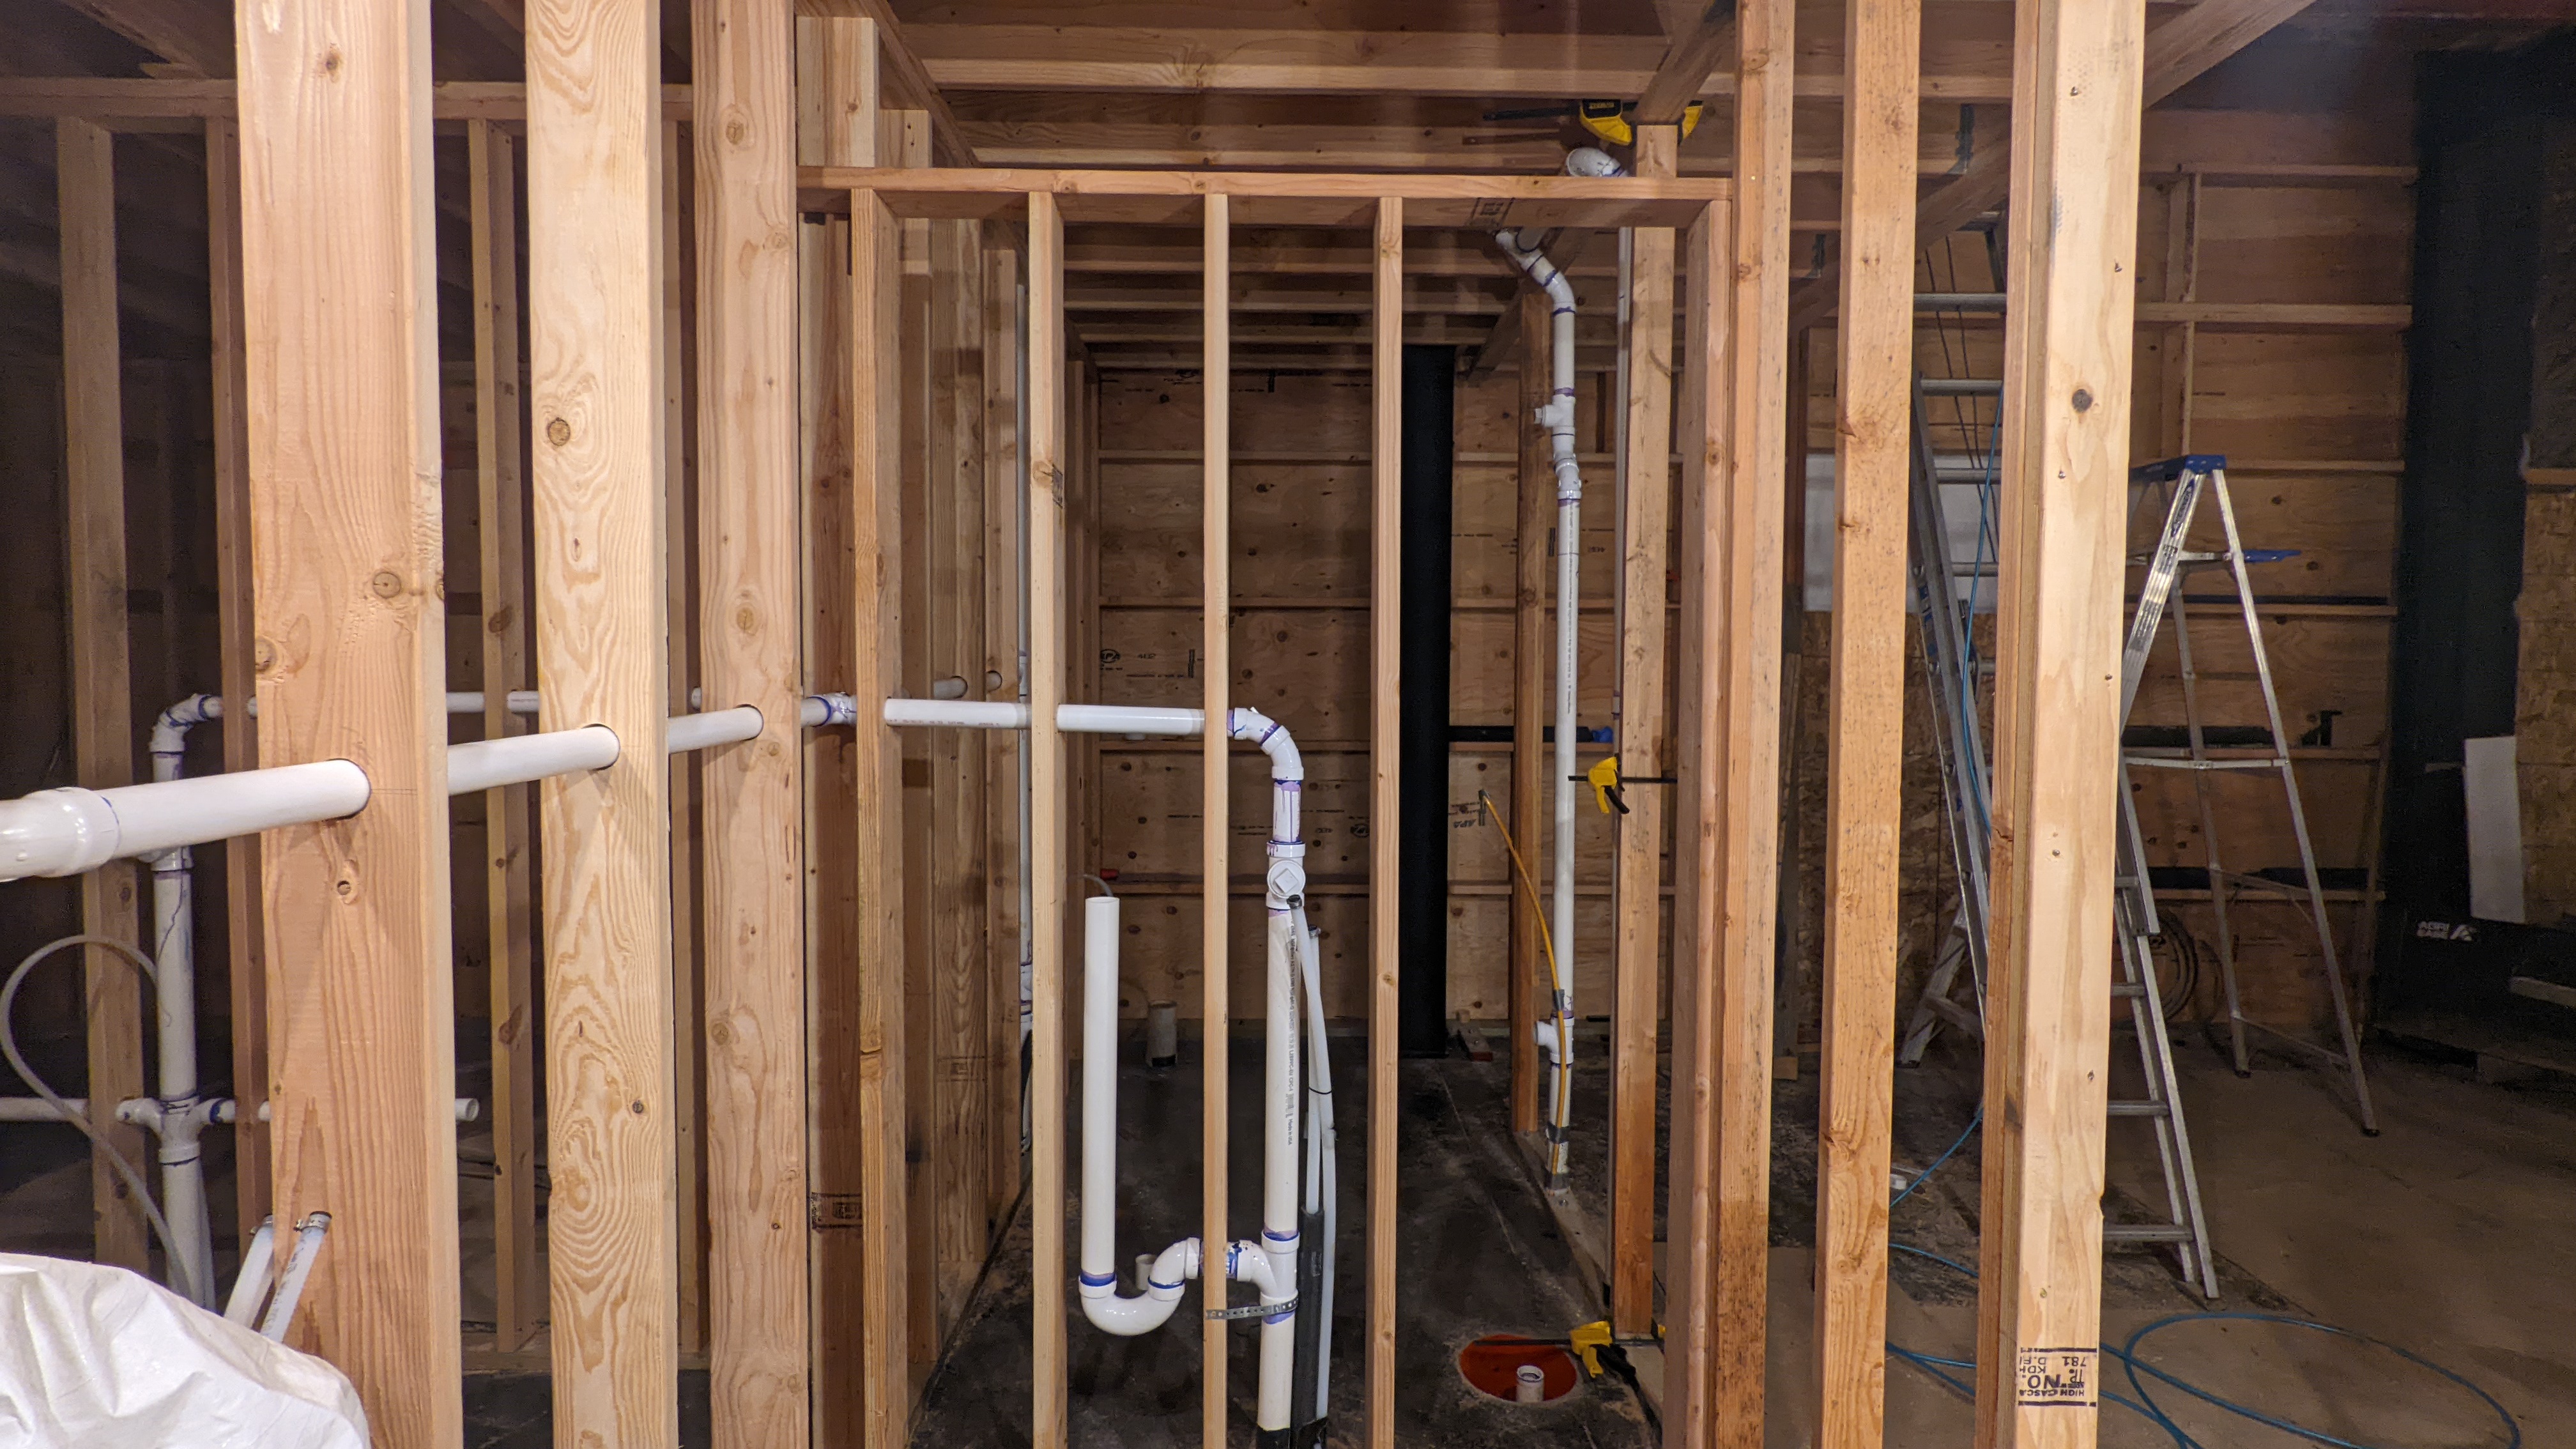
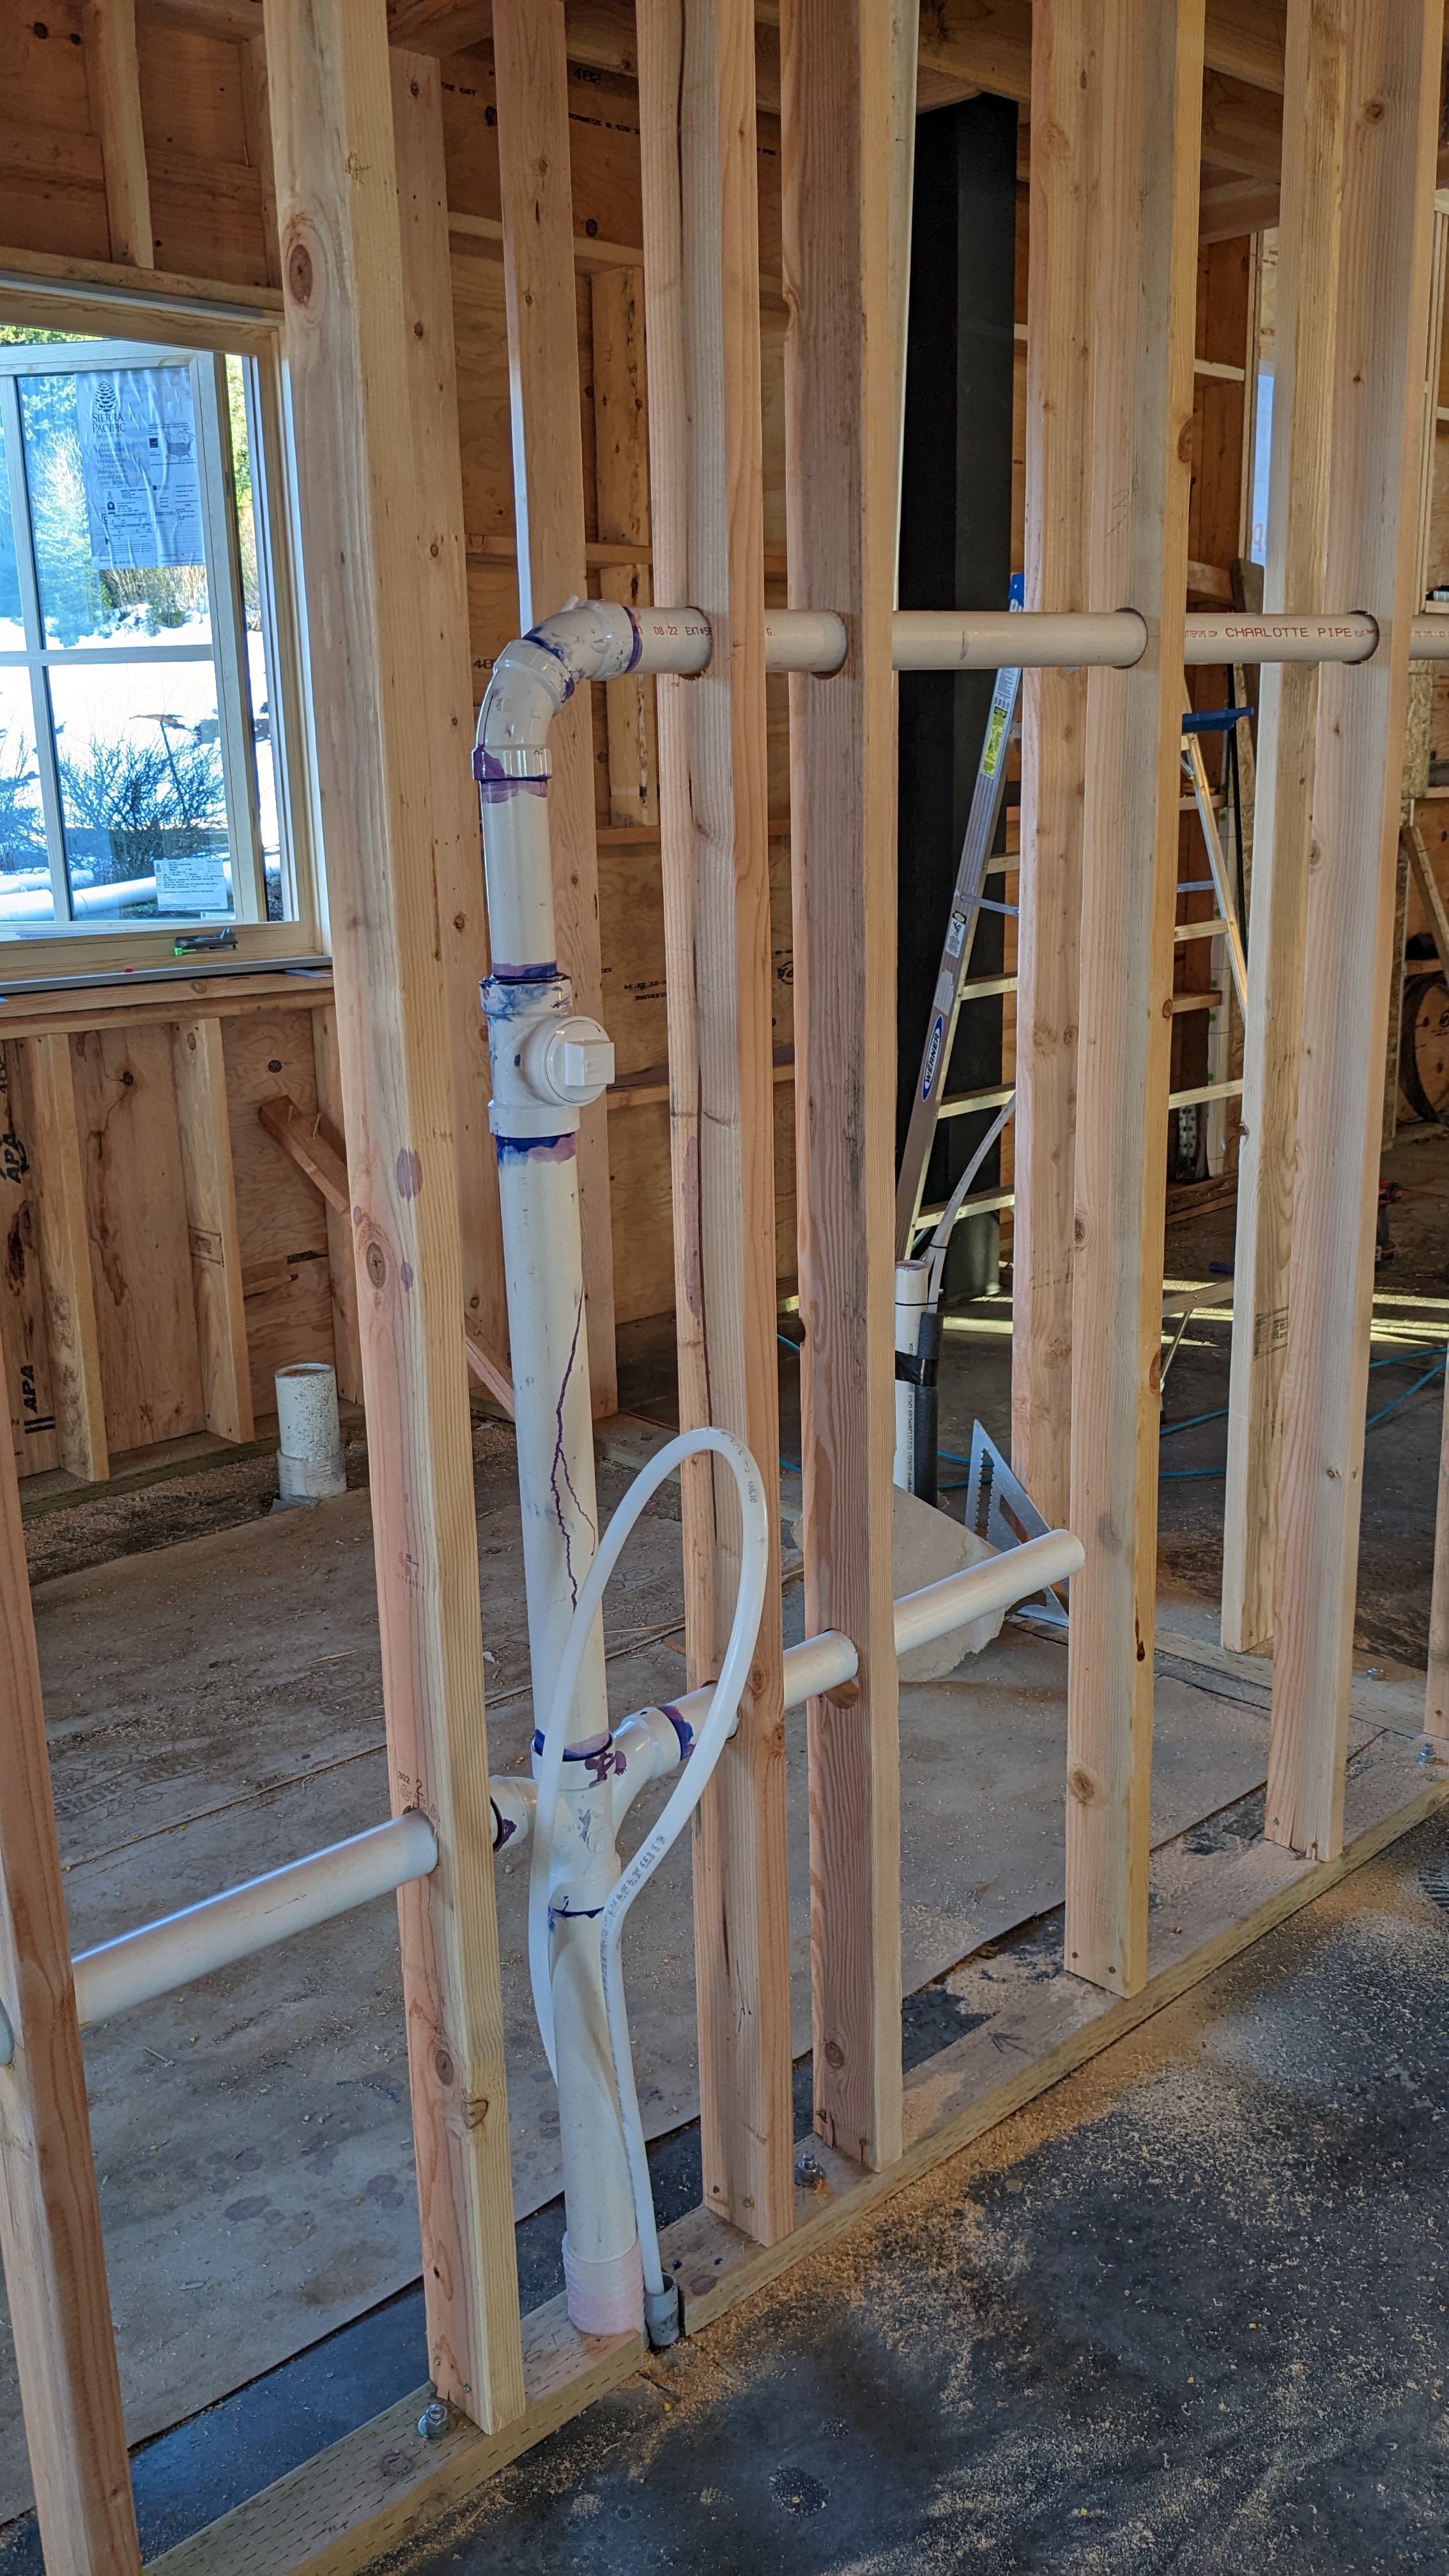
We worked on the interior framing in conjunction with the plumbing. Many of the pipes go through the wall studs, making it impossible to drill large holes and install the pipes after the framing is complete. Sam was constantly thinking a few steps ahead to ensure that the pipes would have enough clearance and that the hot and cold water lines would end up on the corrects sides. Only once did we forget something and have to remove a stud.

Another thing to keep track of was the slope of the drain and ventilation pipes. The holes in the studs had to be drilled at different heights to slope the pipes correctly. Some of the corners were tricky too.

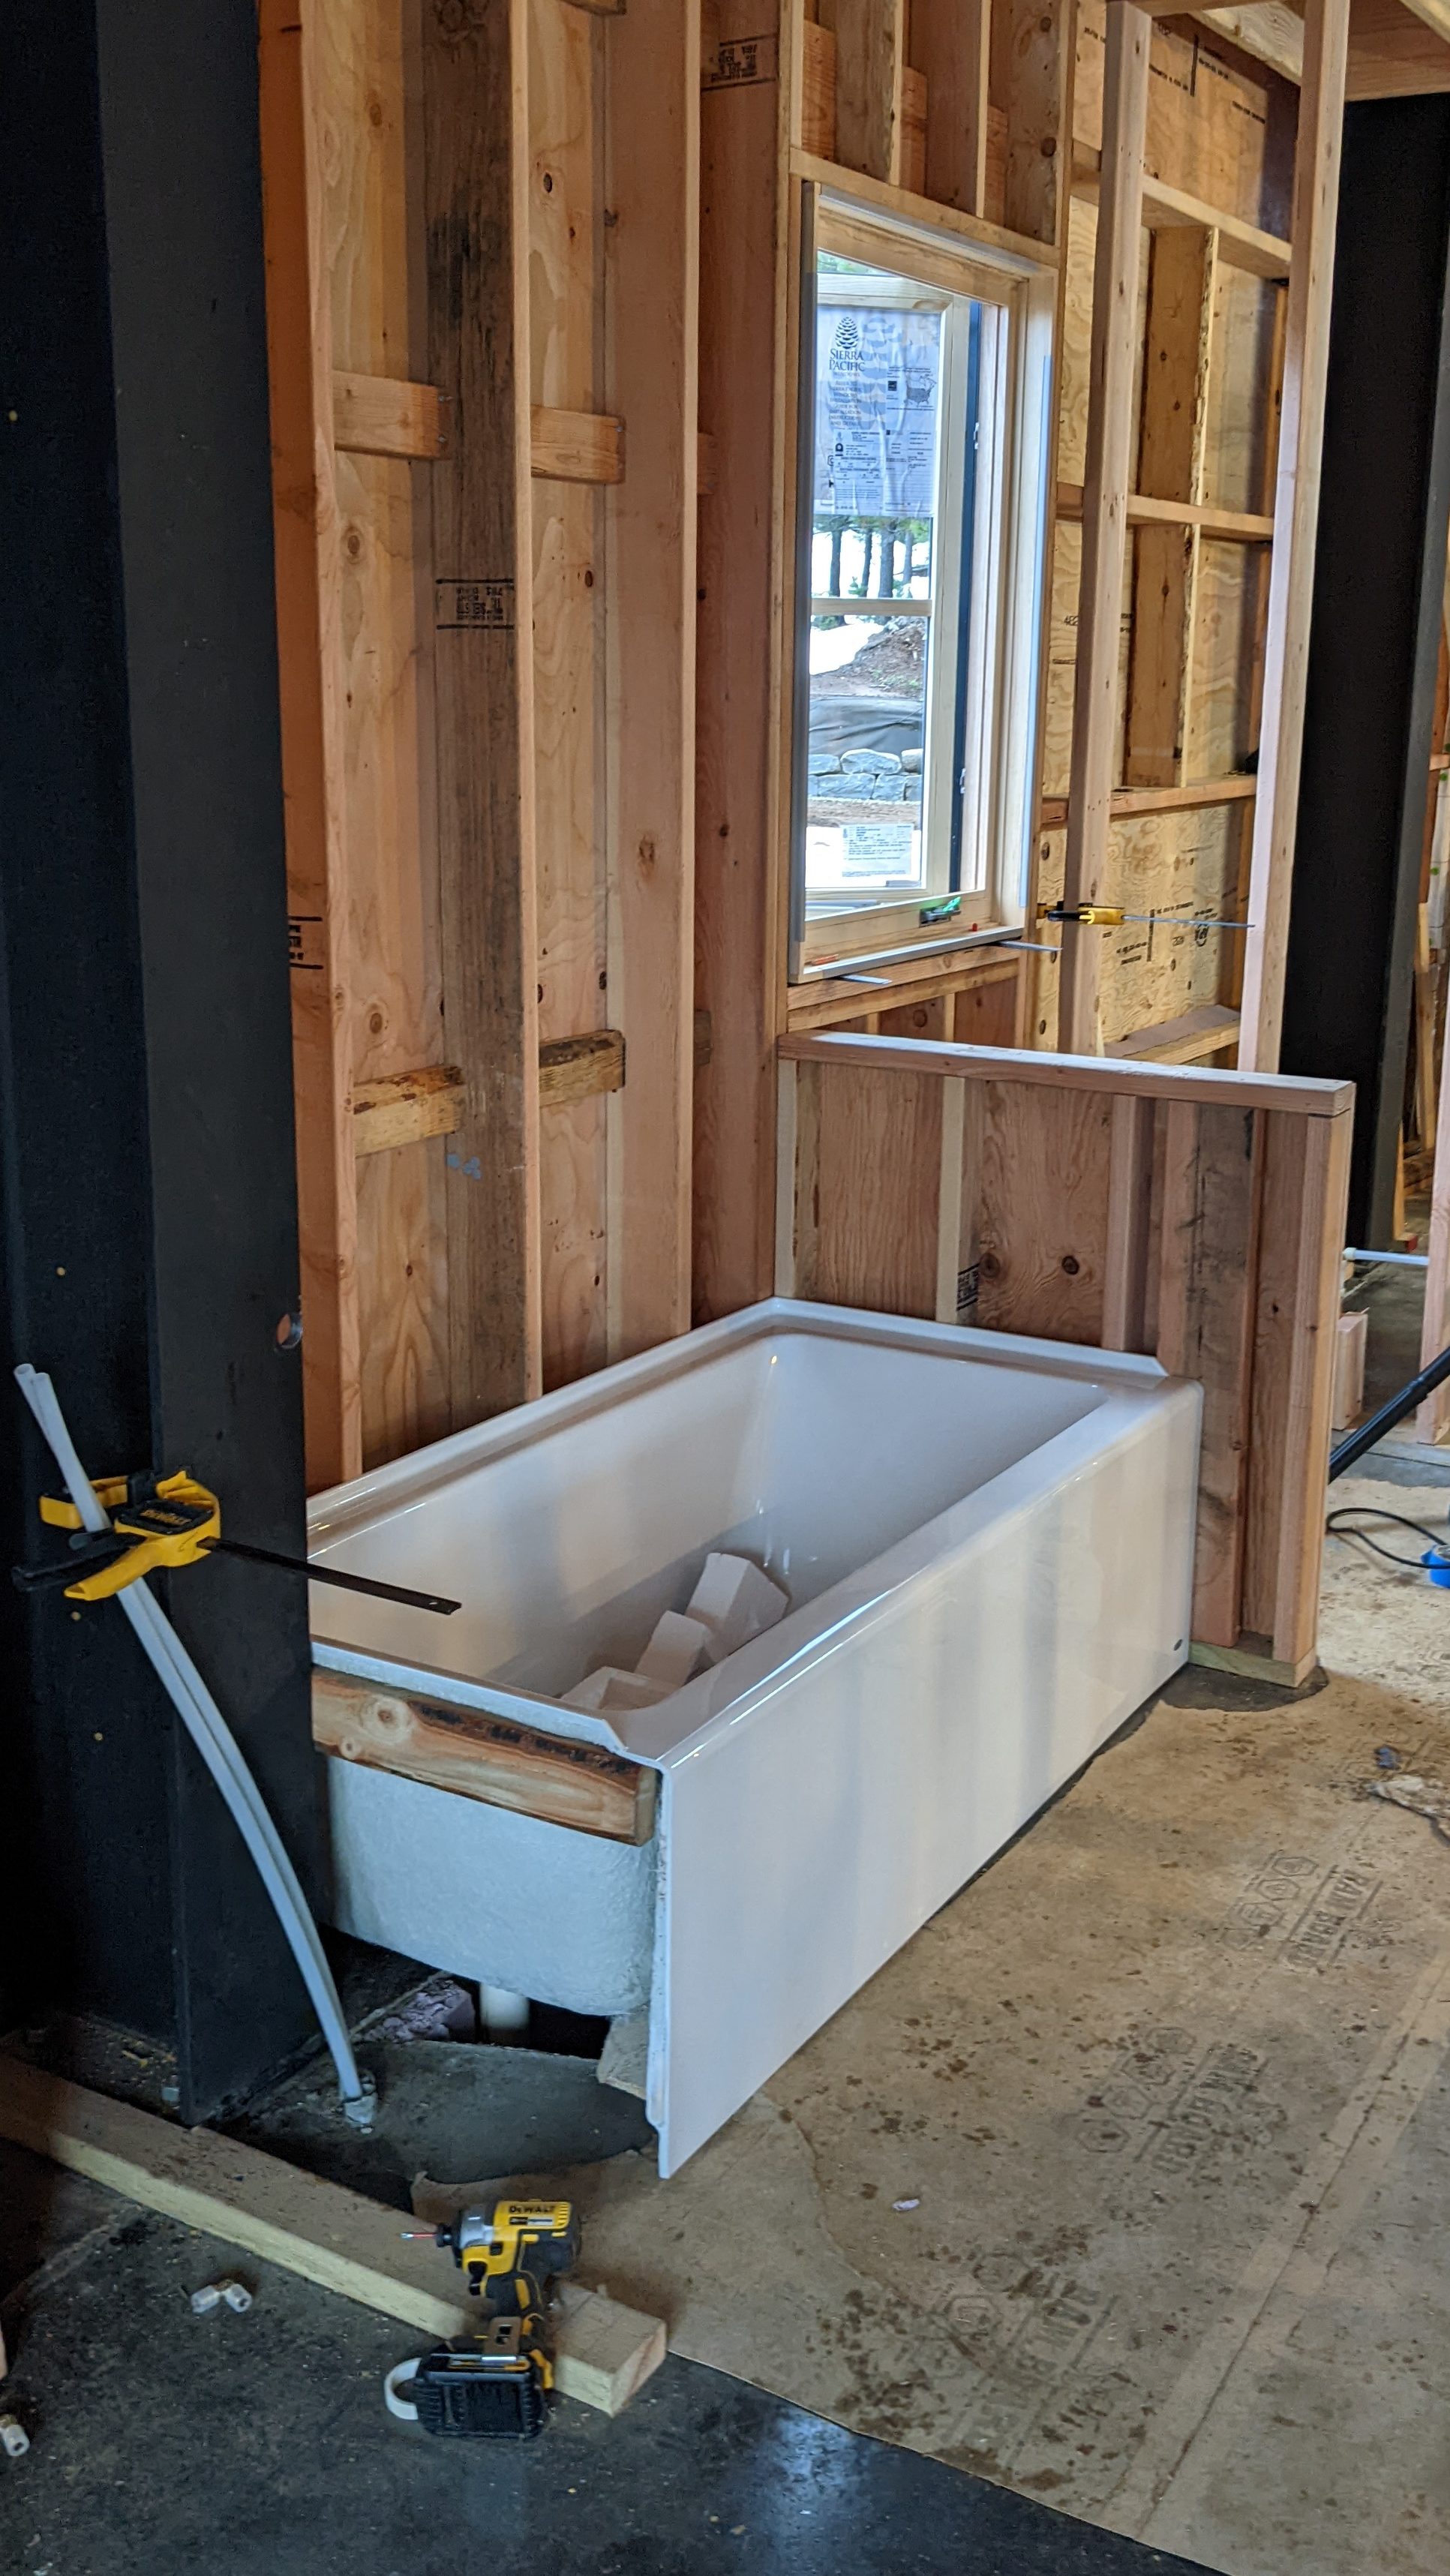
We test fit our bathtubs to check the position of the shower heads and faucets. We also built a knee wall in the master bathroom.
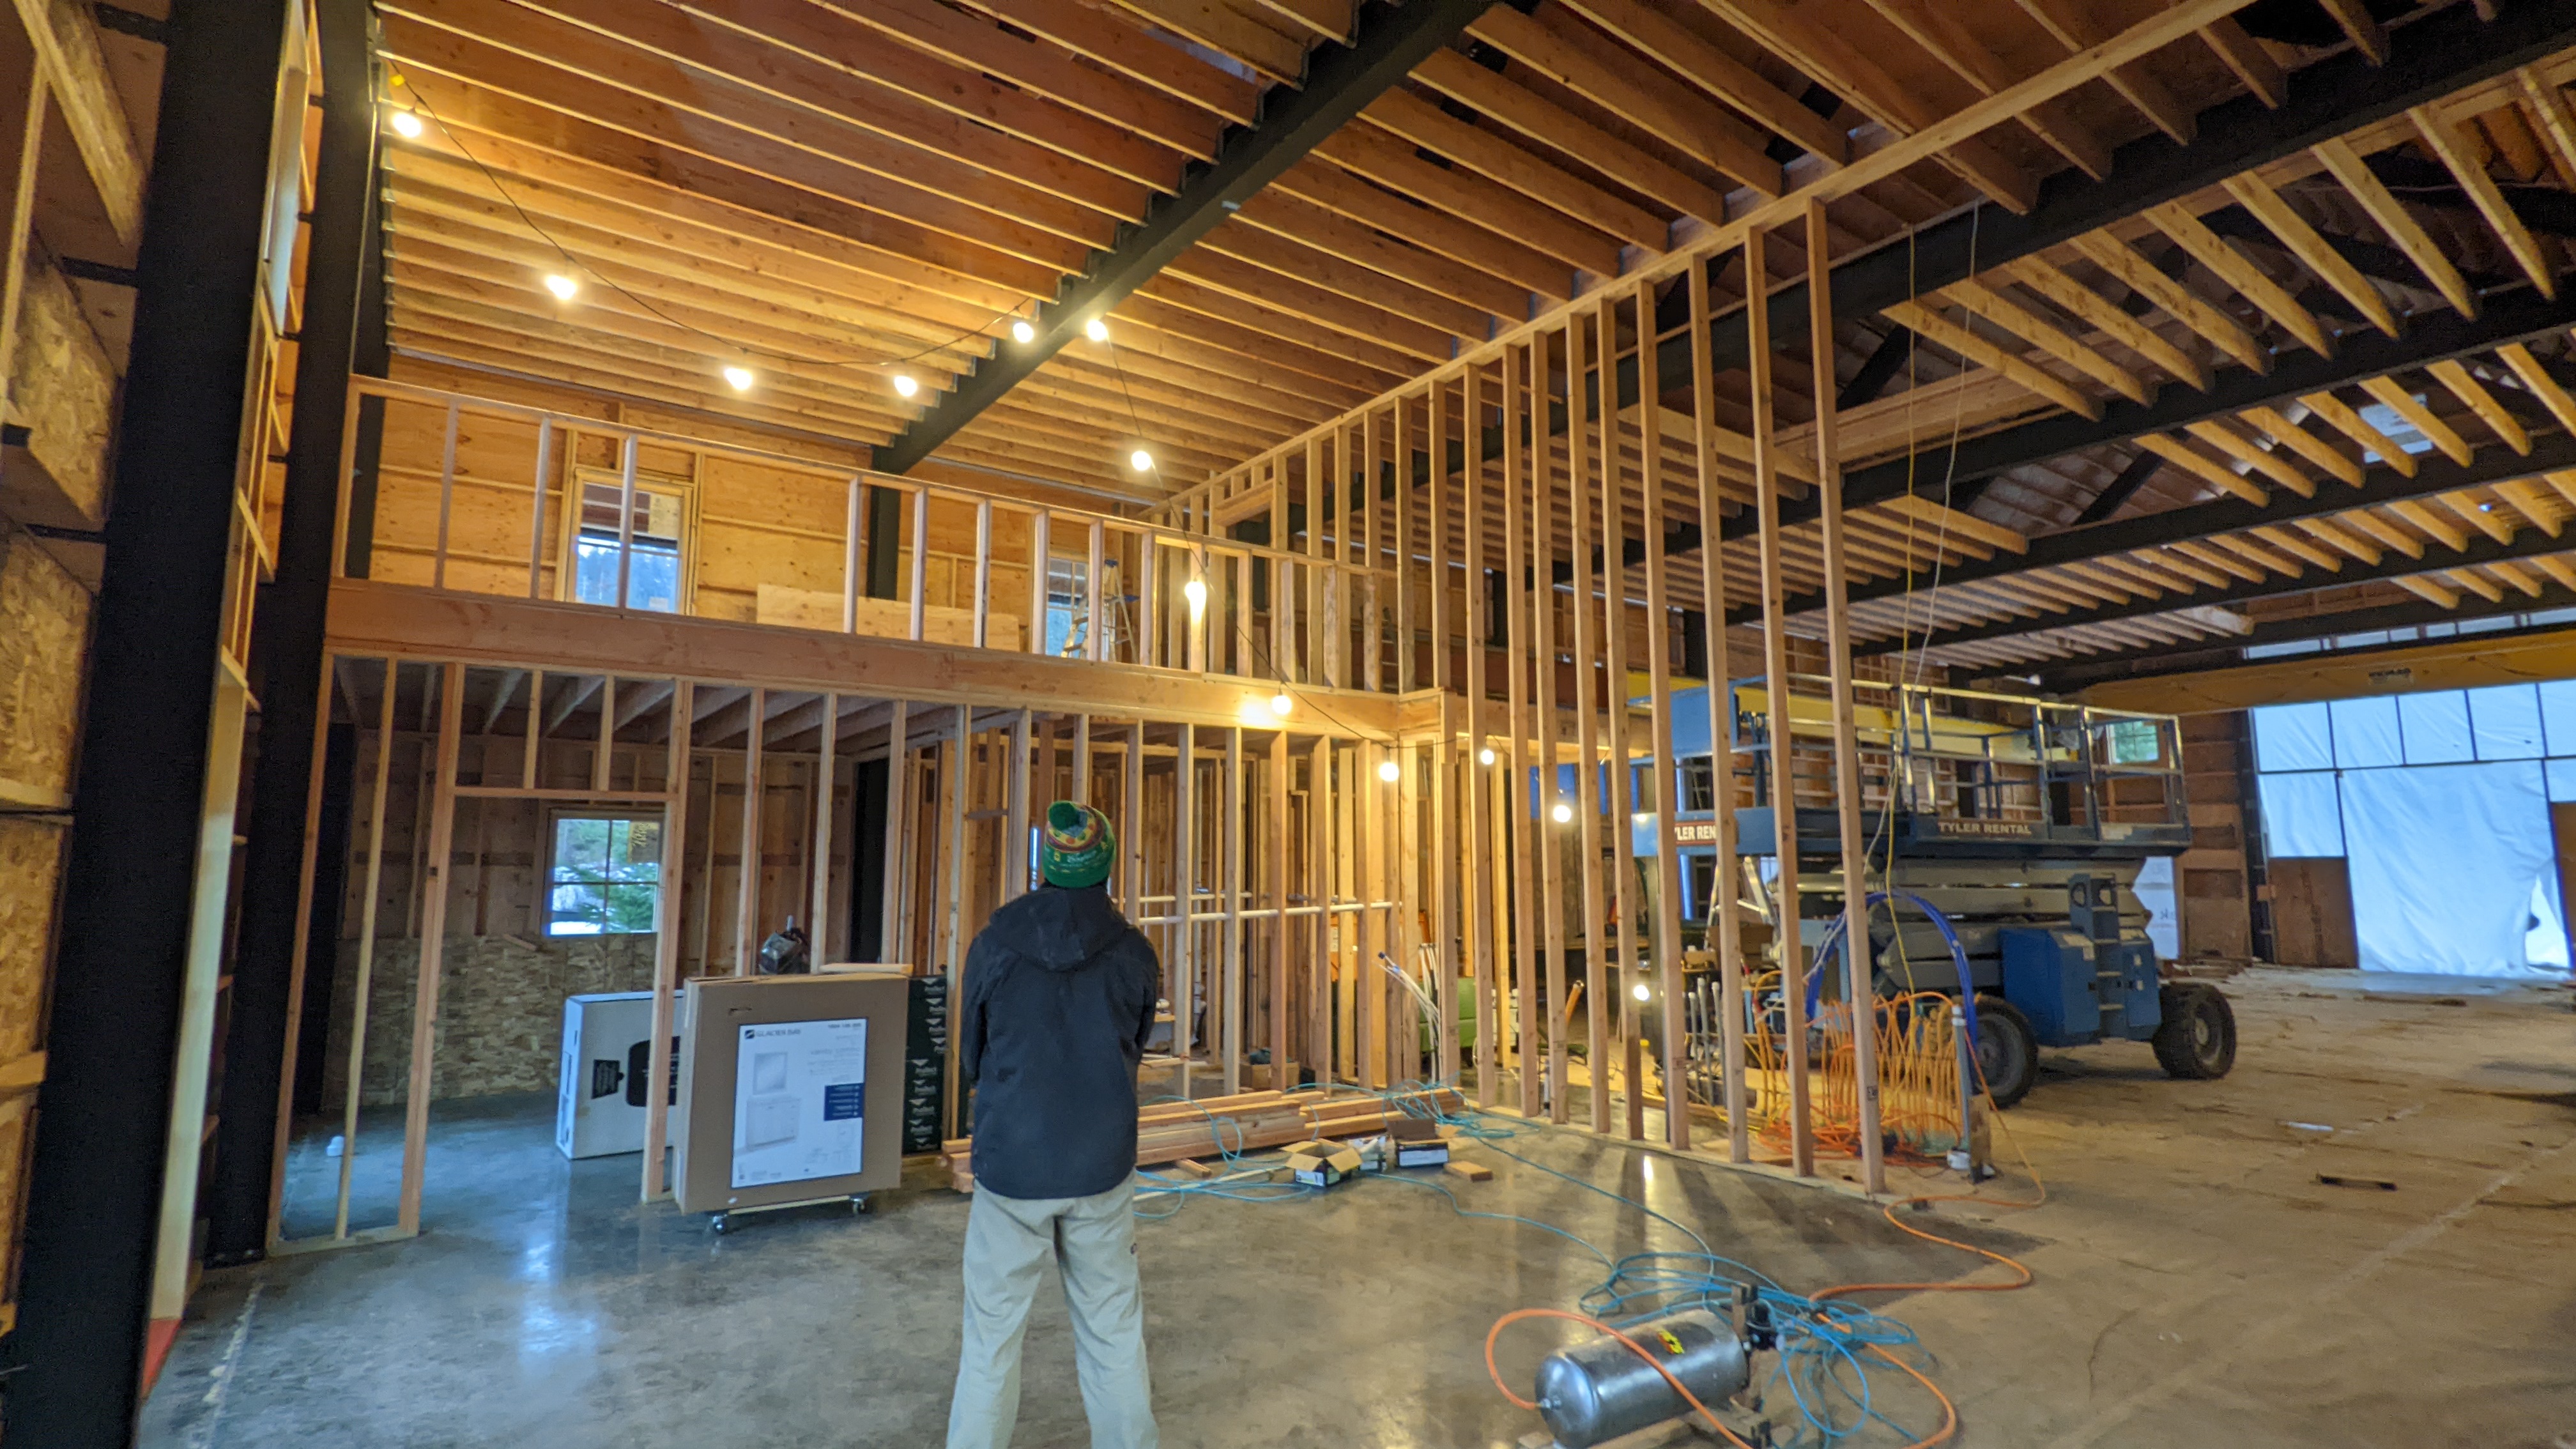
All of the rooms are taking shape.
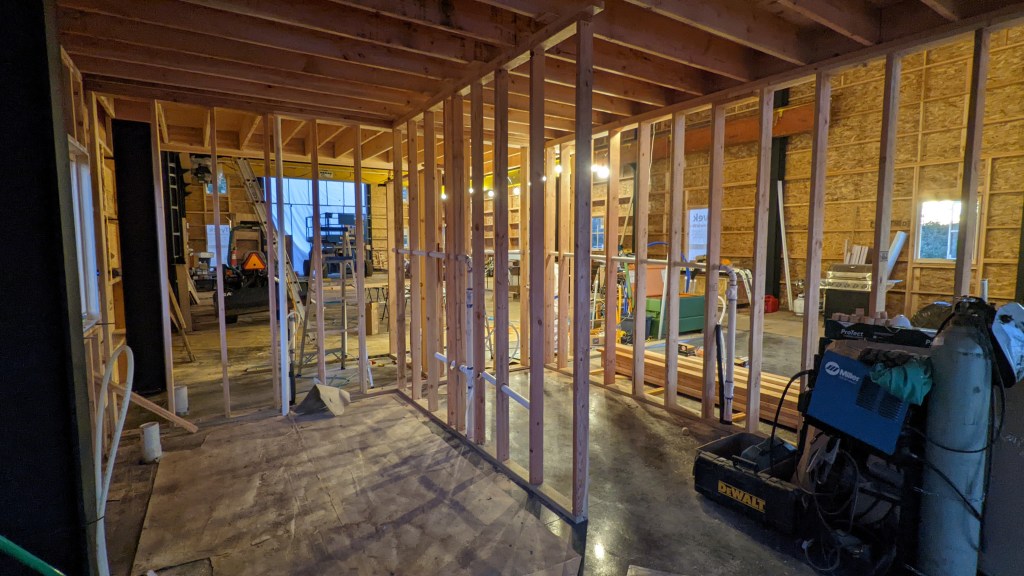
The half wall in the office is complete, making it safer.

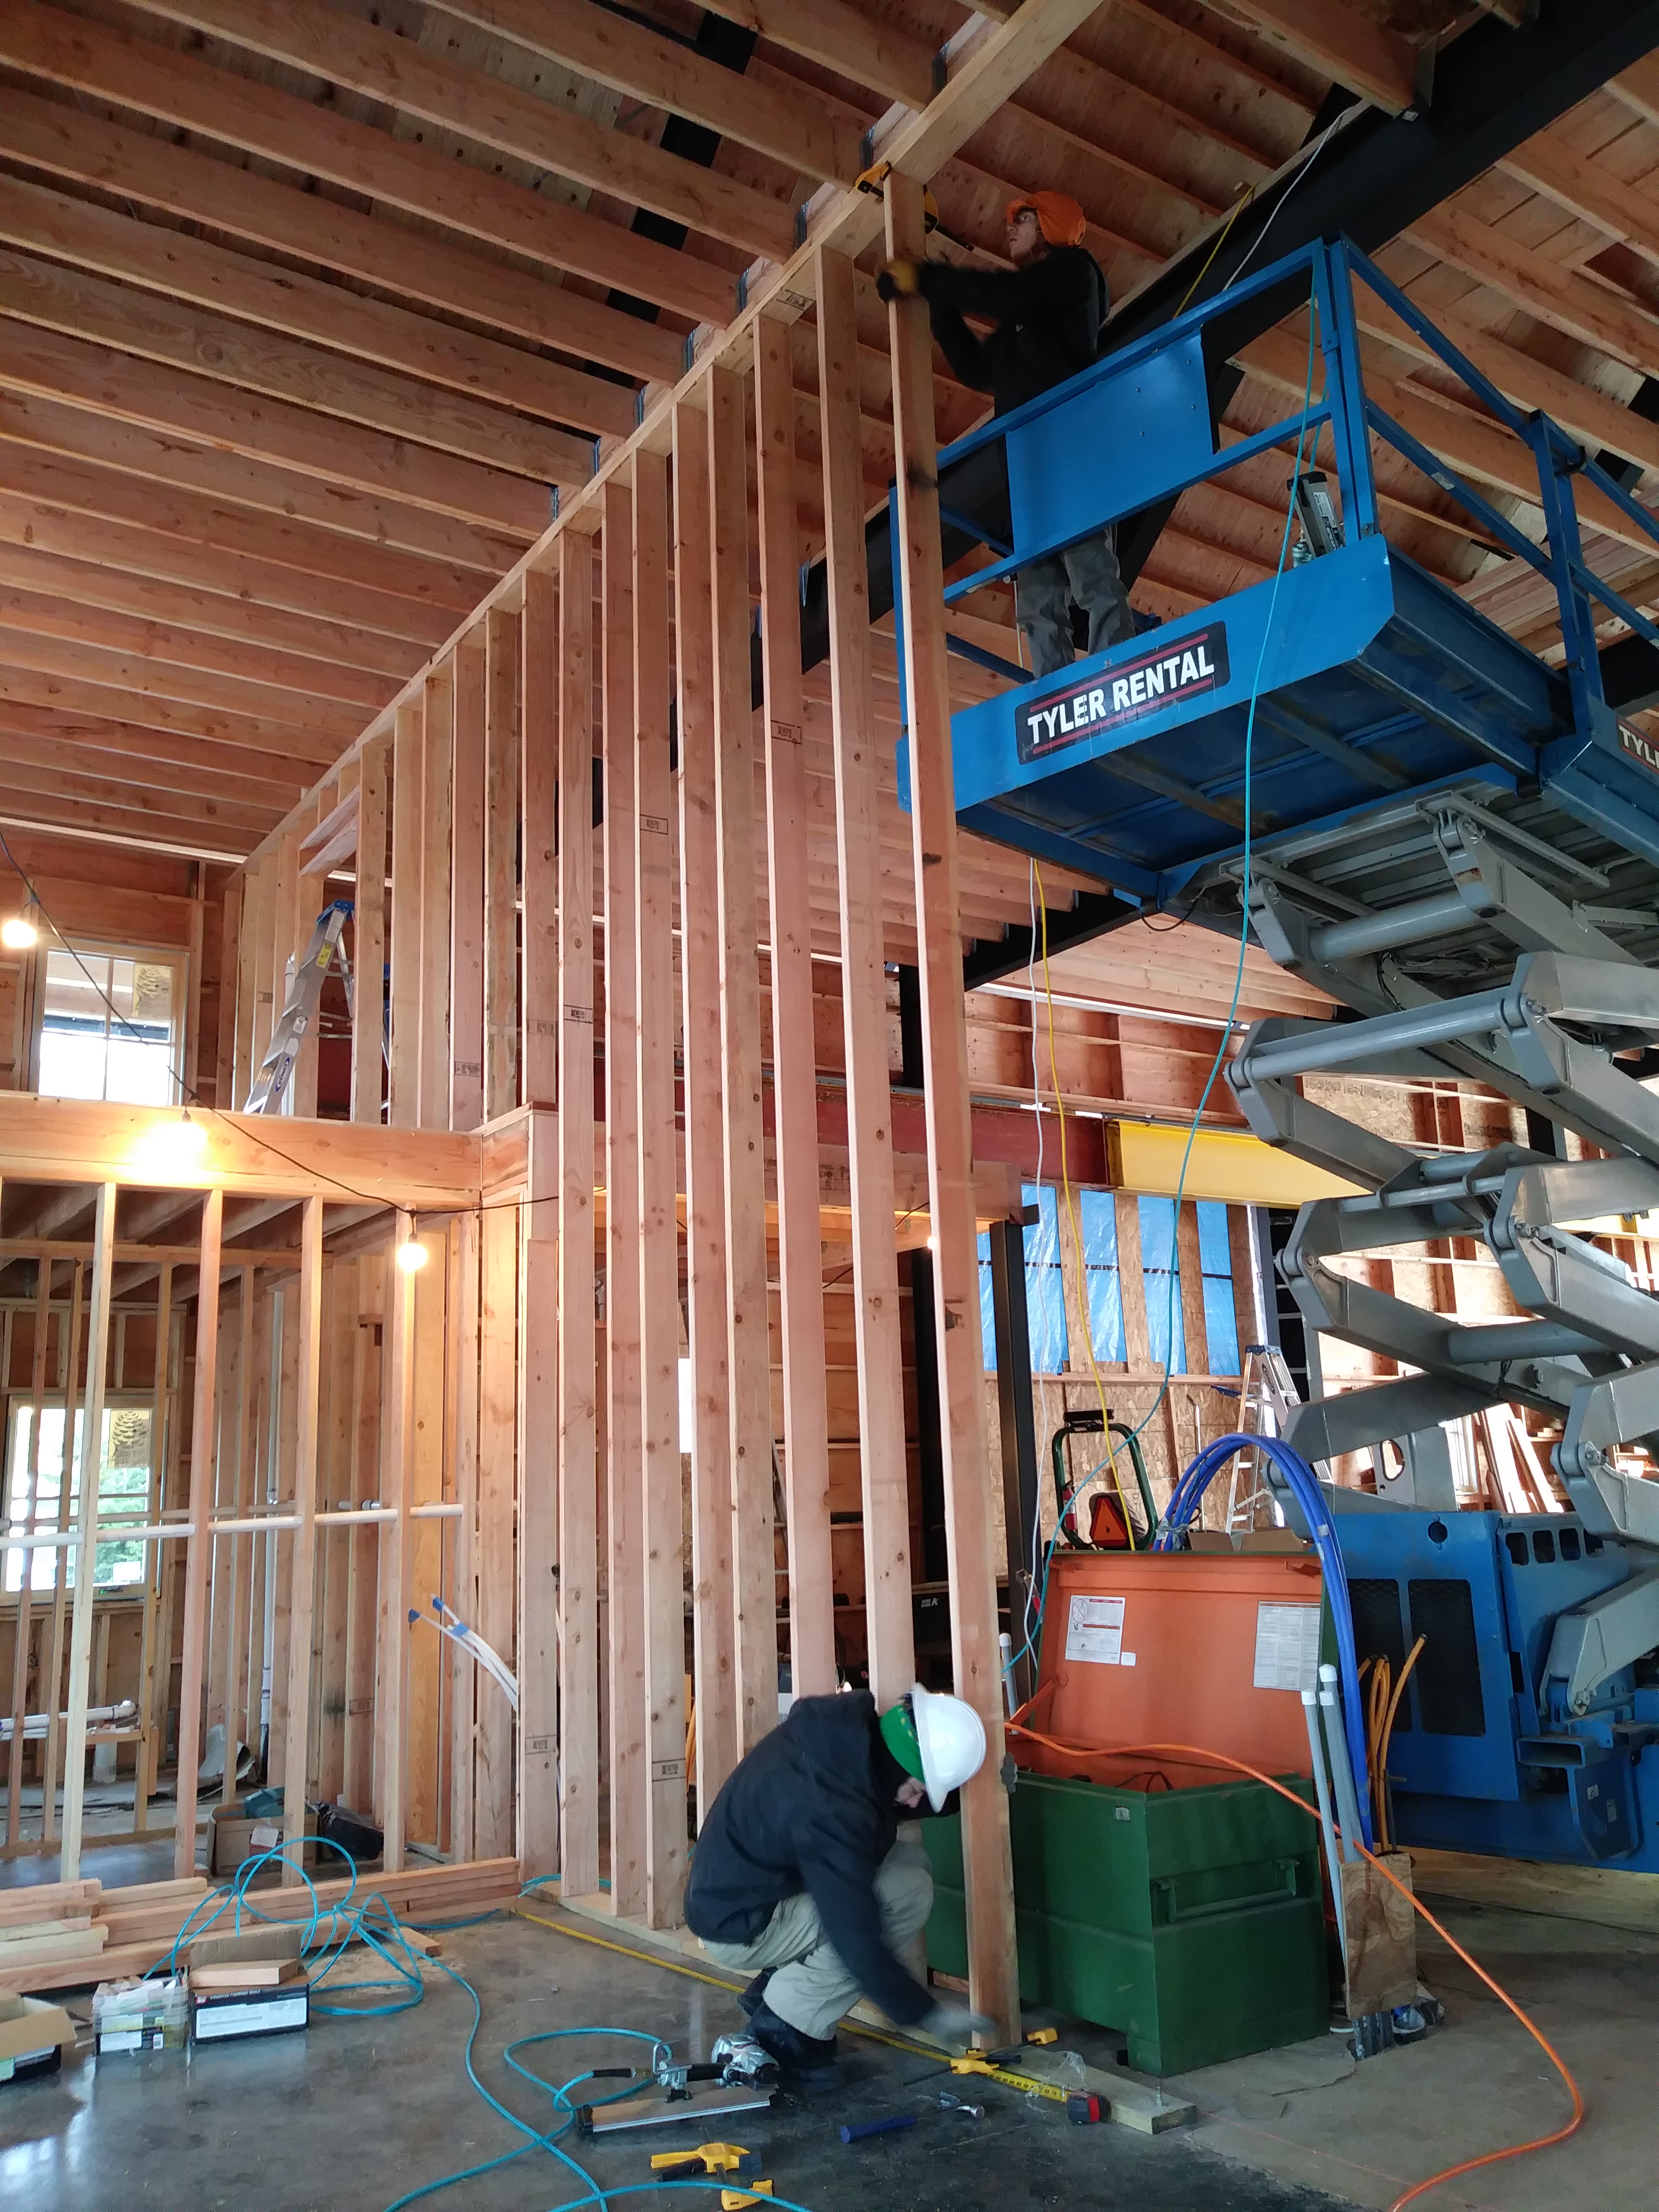
The dividing wall between the shop and apartment is impressively tall.

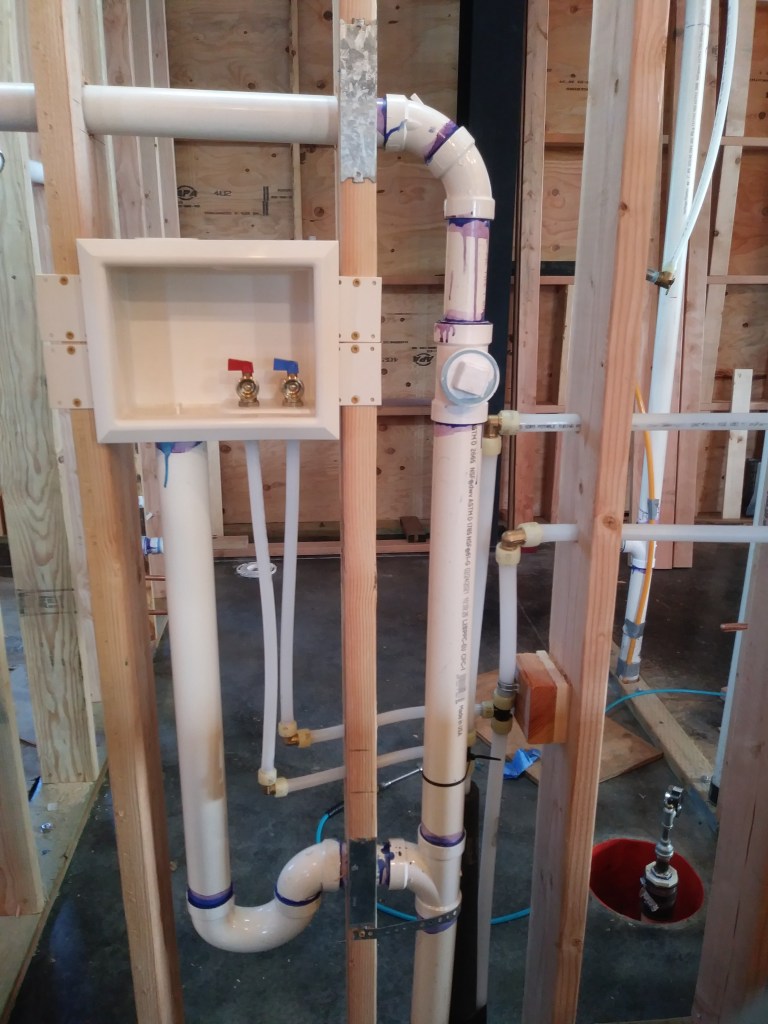
The vent pipes connect into a single pipe that exits through the roof.

For the hot and cold water lines, we used PEX A tubing.
In lieu of clamps, PEX A can be joined to plastic and metal fittings with a process called “cold expansion”. Of course, a new tool was required to facilitate this. We rented this fun power expansion tool.

First a plastic collar goes over the end of the PEX tube. The tool is inserted into the tube/collar to expand them together. The tool opens and closes repeatedly, gradually expanding the tube/collar.
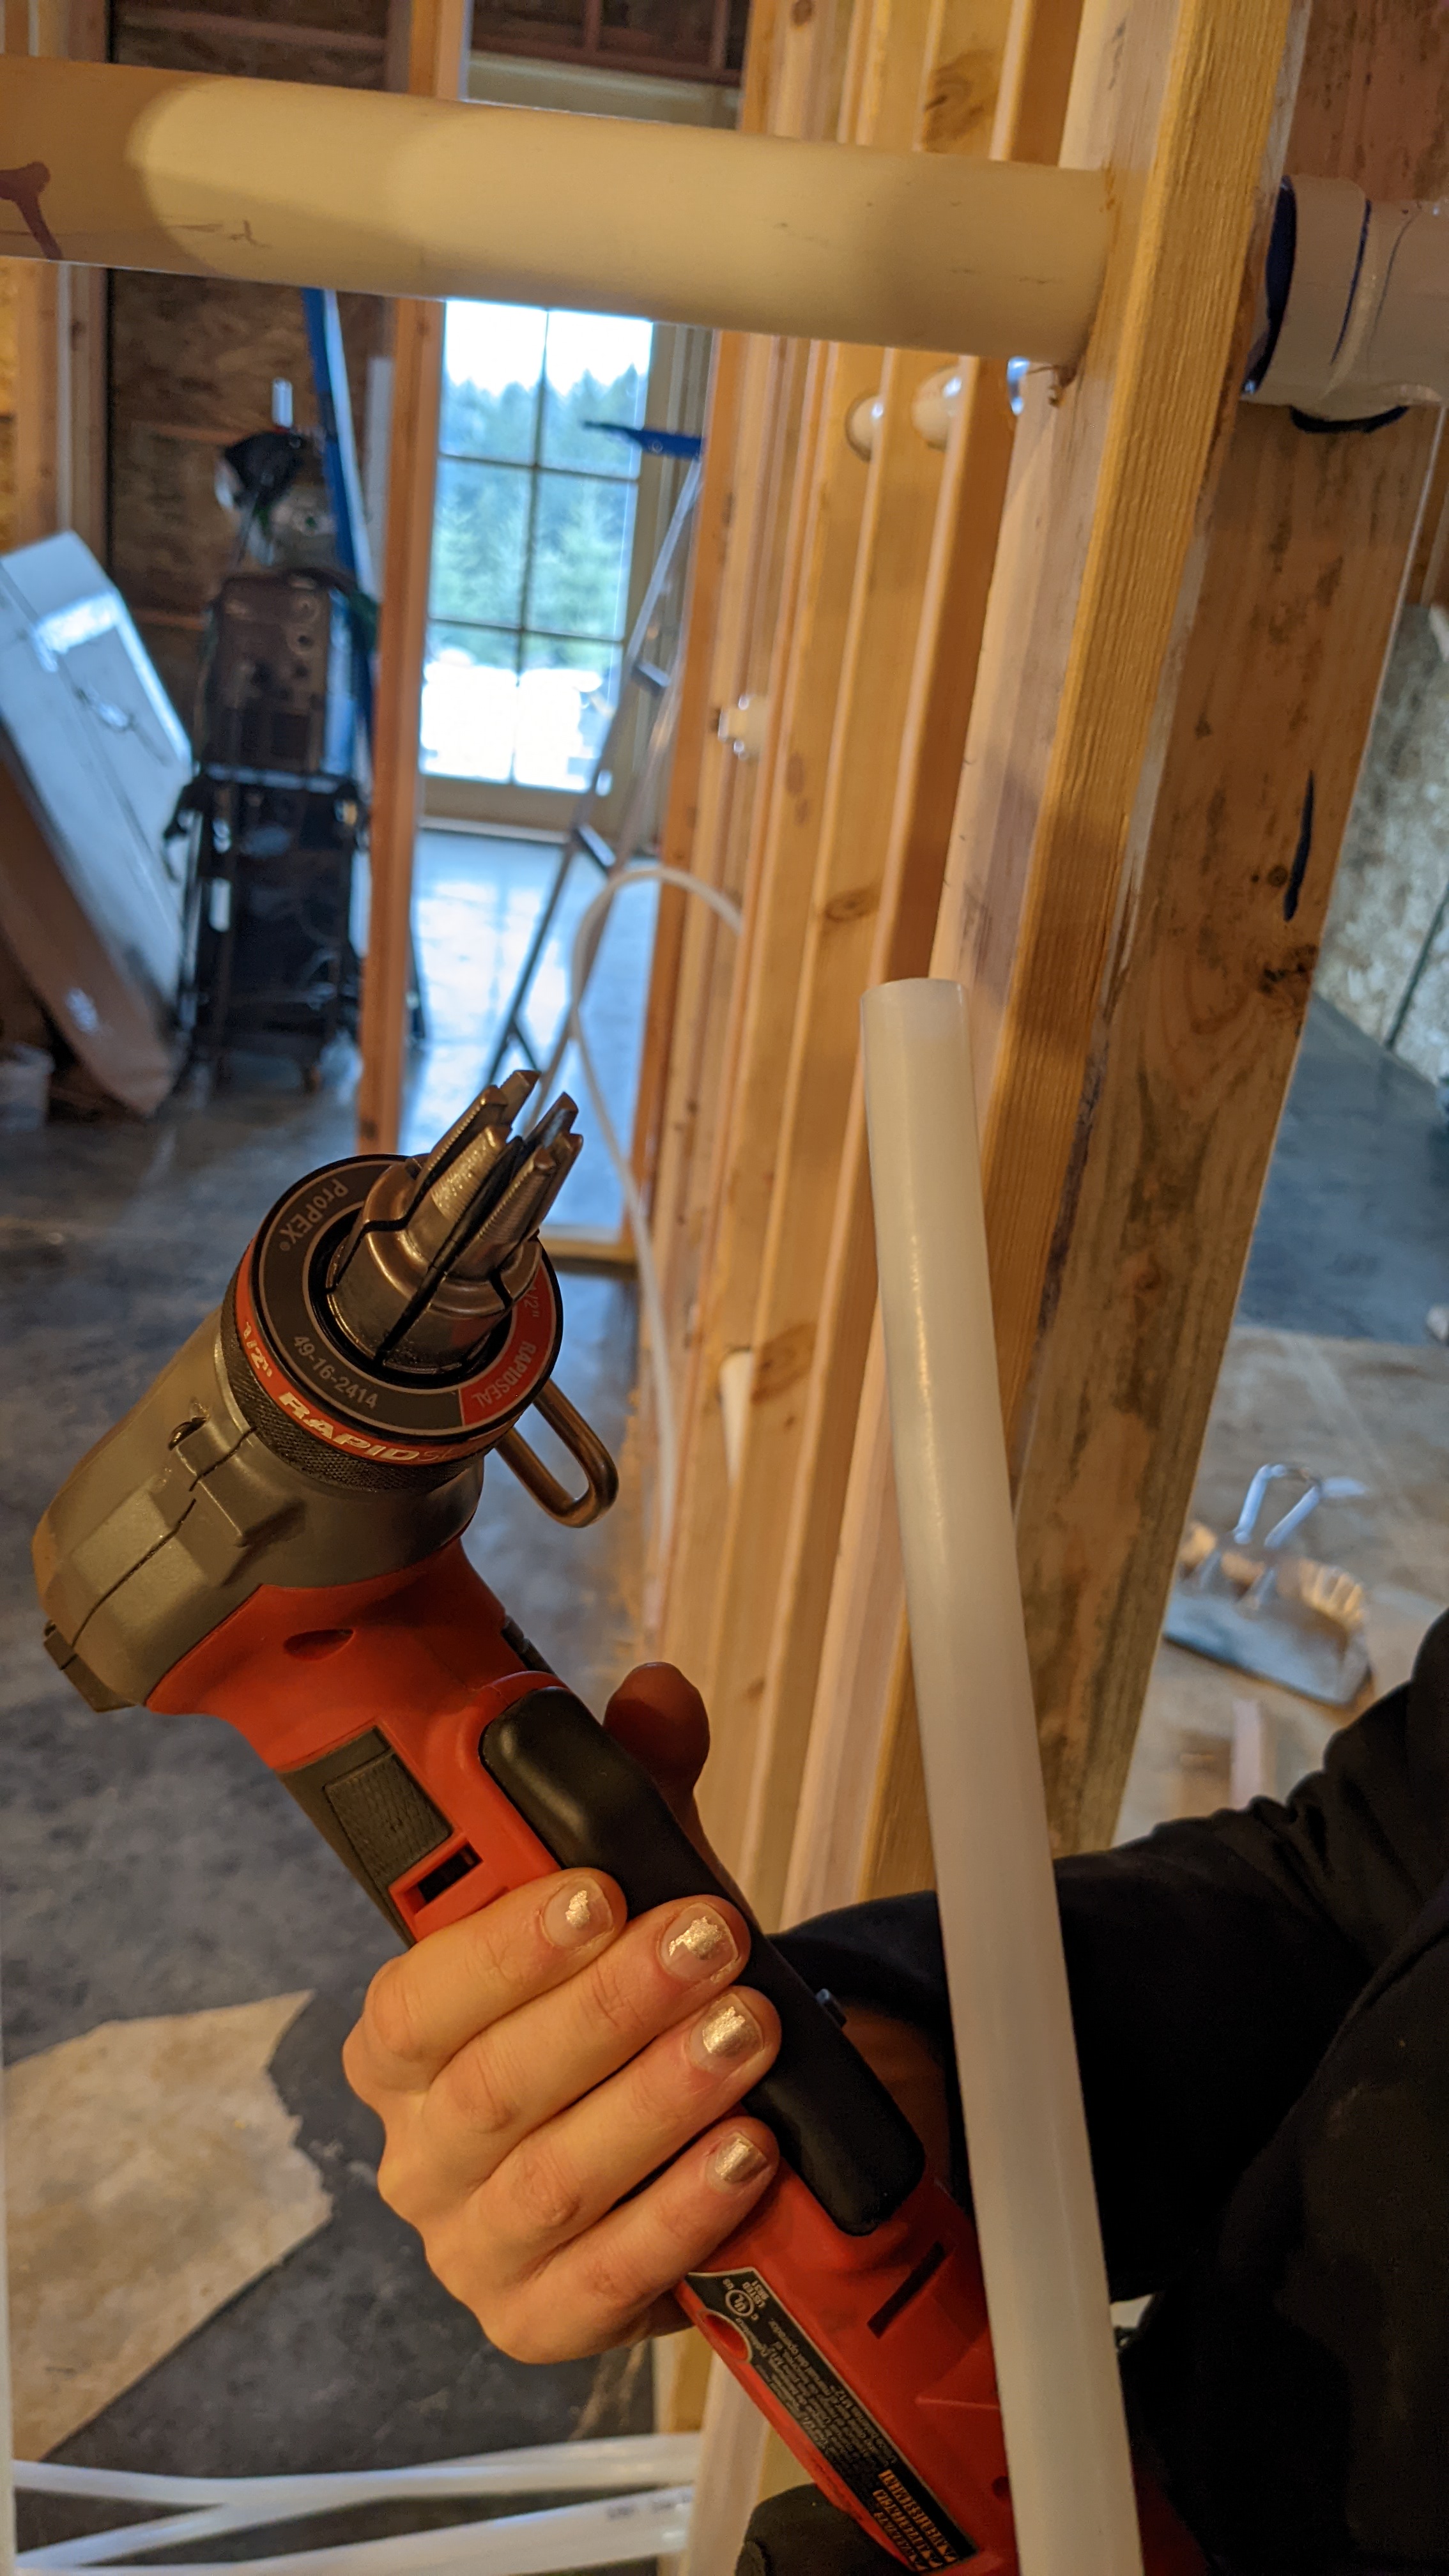

After a few seconds of running the tool, you quickly insert the expanded tube/collar over the plastic or copper fitting. You hold everything in place until the tube/collar shrinks down to its original size. Just like that, they’re locked together. No glue or clamps necessary.

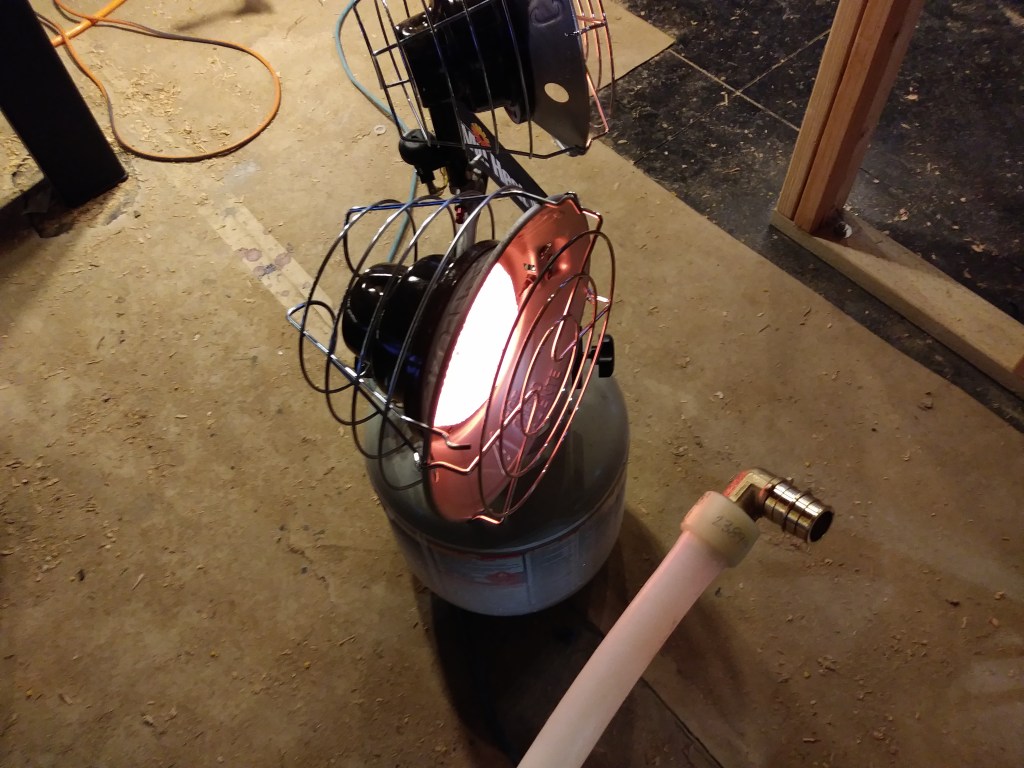
The PEX shrinks faster in a warm environment, so you only have a few seconds to lock everything in the right position. For once, the cold weather was helpful. It gave us extra time to get the connections correct. The cold air, however, did not help our ability to manipulate the tubes.
PEX tubing isn’t as flexible as it looks. In fact, it’s almost completely rigid when it’s cold out. I warmed some sections of it so we could bend it.
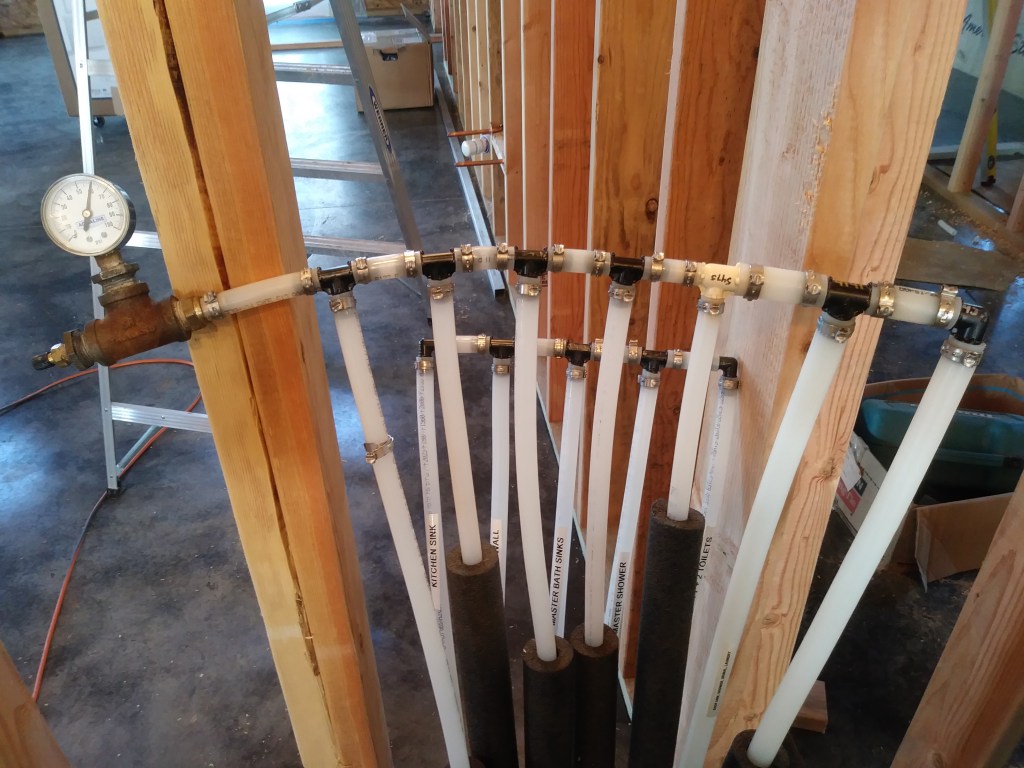
The plumbing system is a maze and also amazing. Sam outdid himself on this project!
Plus, it works! We built a temporary manifold to connect the hot and cold water lines and then we pressure tested the whole system. (Check out the labels I made with my fancy new label maker!)

Paul – new update.
LikeLike